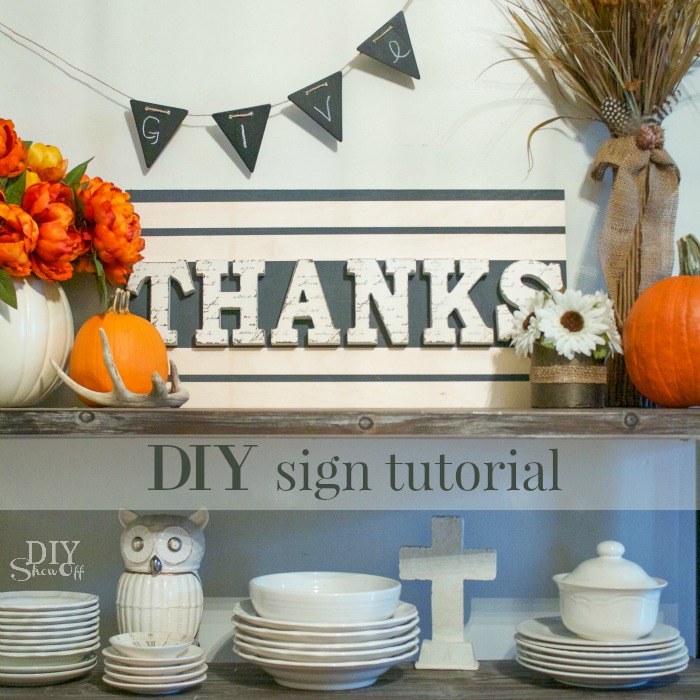
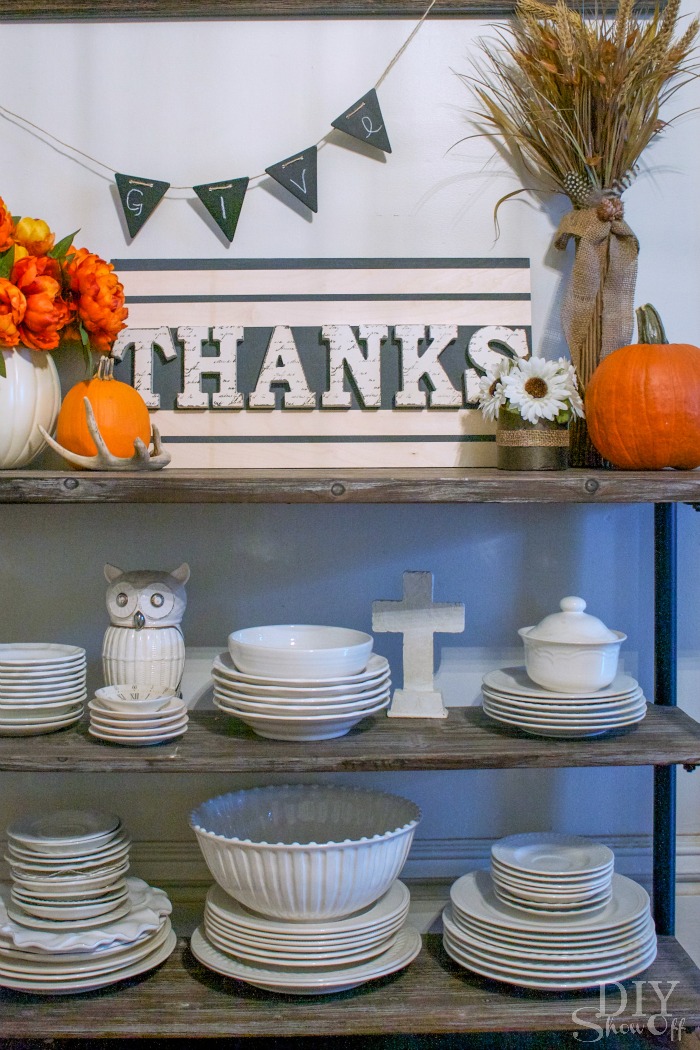
Happy Thanksgiving, friends! Hosting Thanksgiving dinner? It’s a bit late for this tutorial but there’s always filing it away for next year. Make up this easy sign to add the finishing touches on your Thanksgiving decor.
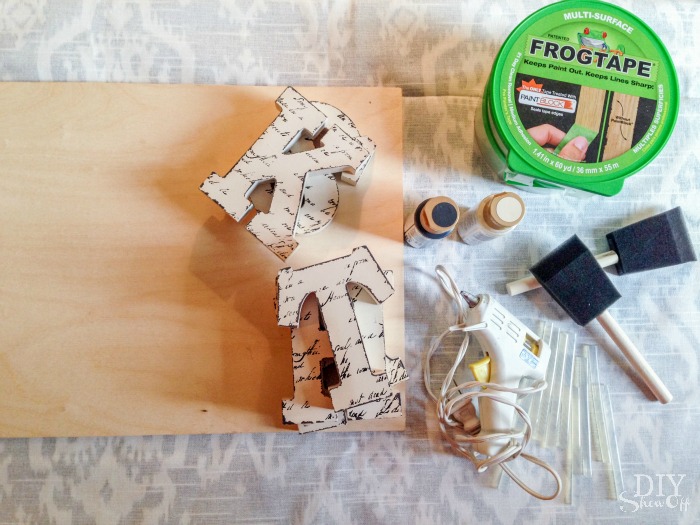
What I used:
- 12 x 24 piece of plywood
- FrogTape®
- paint and foam paint brush
- wooden letters
- hot glue (or wood glue and clamps or screws)
What I did:
1. Paint wooden letters if needed and let dry. Mine came from the craft store dollar section pre-finished.
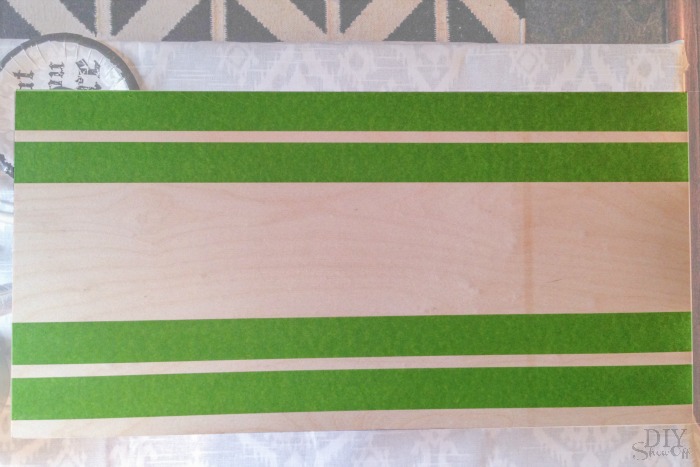
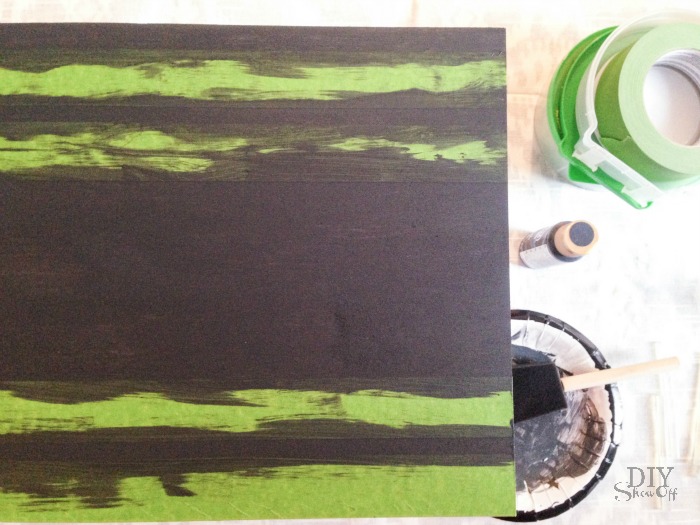
2. I taped off stripes using FrogTape Multi-Surface. I made a larger stripe in the middle to create a darker background since my letters are lighter in color.
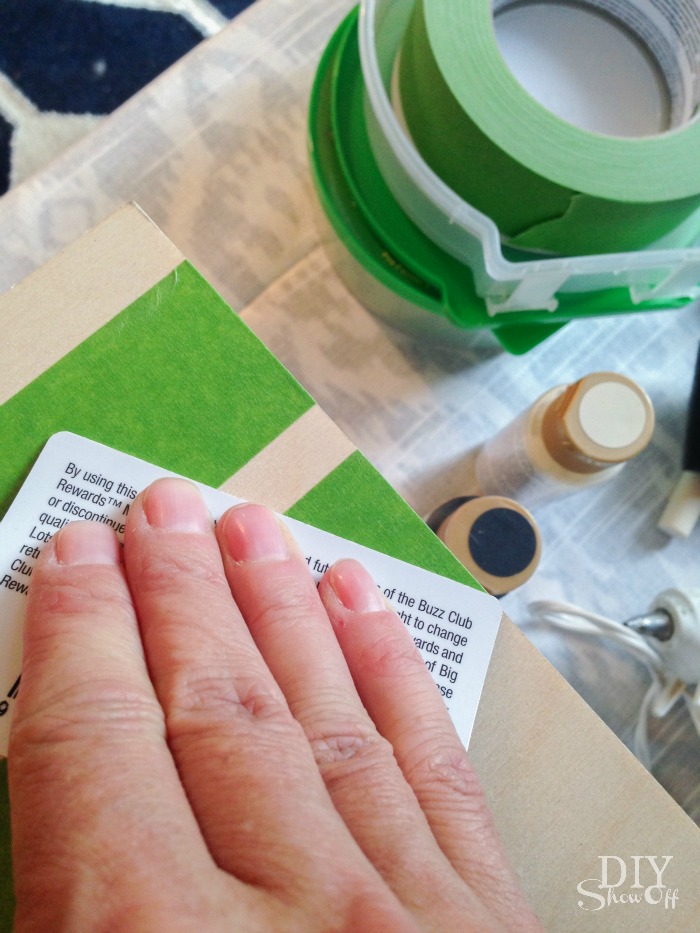
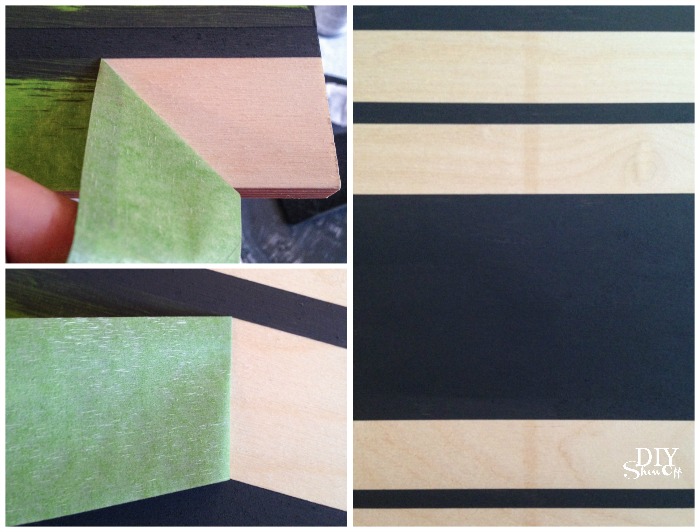
3. Using a plastic card, I burnished the edges of the tape to ensure crisp clean lines.
4. Next I applied a coat of paint.
5. While paint was still wet, I carefully removed the FrogTape. Then let the paint dry.
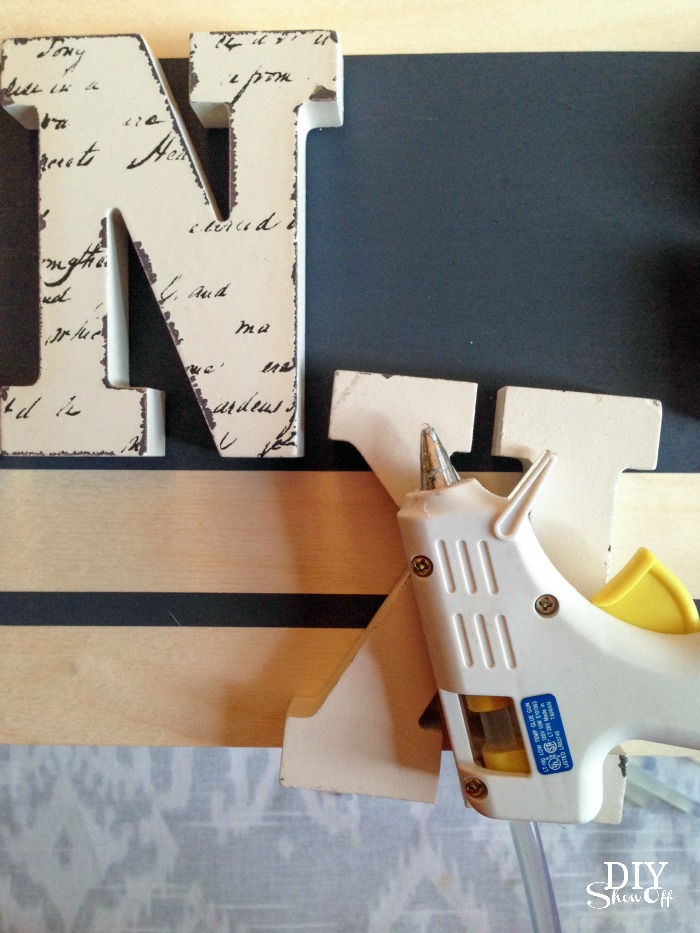
6. I secured my letters using hot glue.
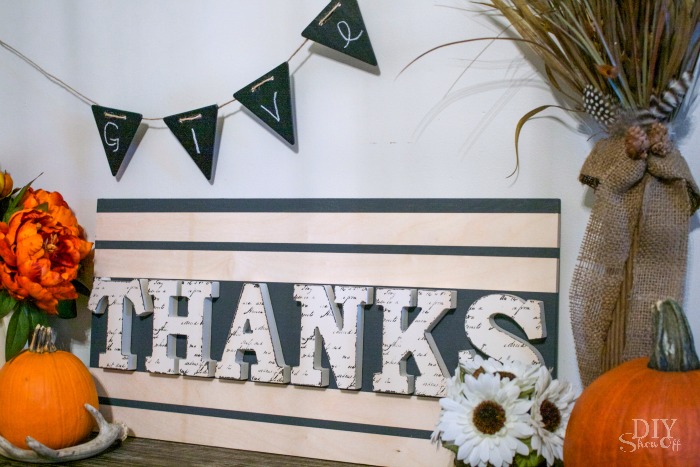
I love this quick and easy piece to add to my Thanksgiving vignette:
*I received compensation to complete this project for using FrogTape® products. All opinions, projects and ideas are based on my own experience.


