Bathroom Makeover

The other day I shared the before and after bathroom transformation. I’ve gone from sitting and staring all day long at our recently finished open pantry (makeover here) to wanting to sleep in my new peaceful bathroom. Since the bathroom had was a nightmare before, ANYTHING would look good after. This is what we got with this old farmhouse…
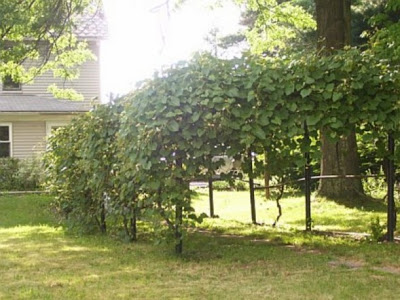
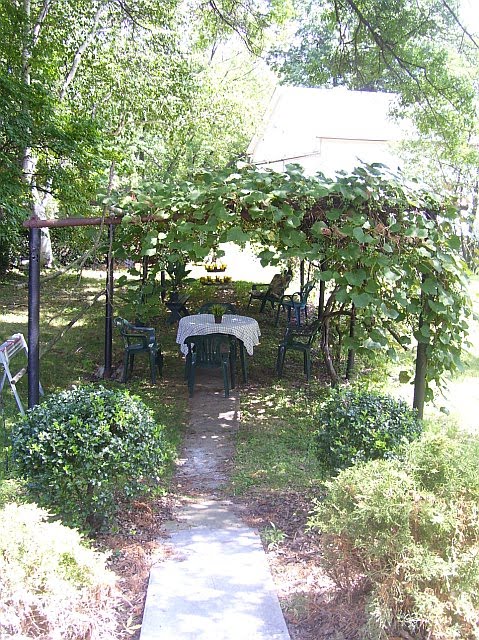
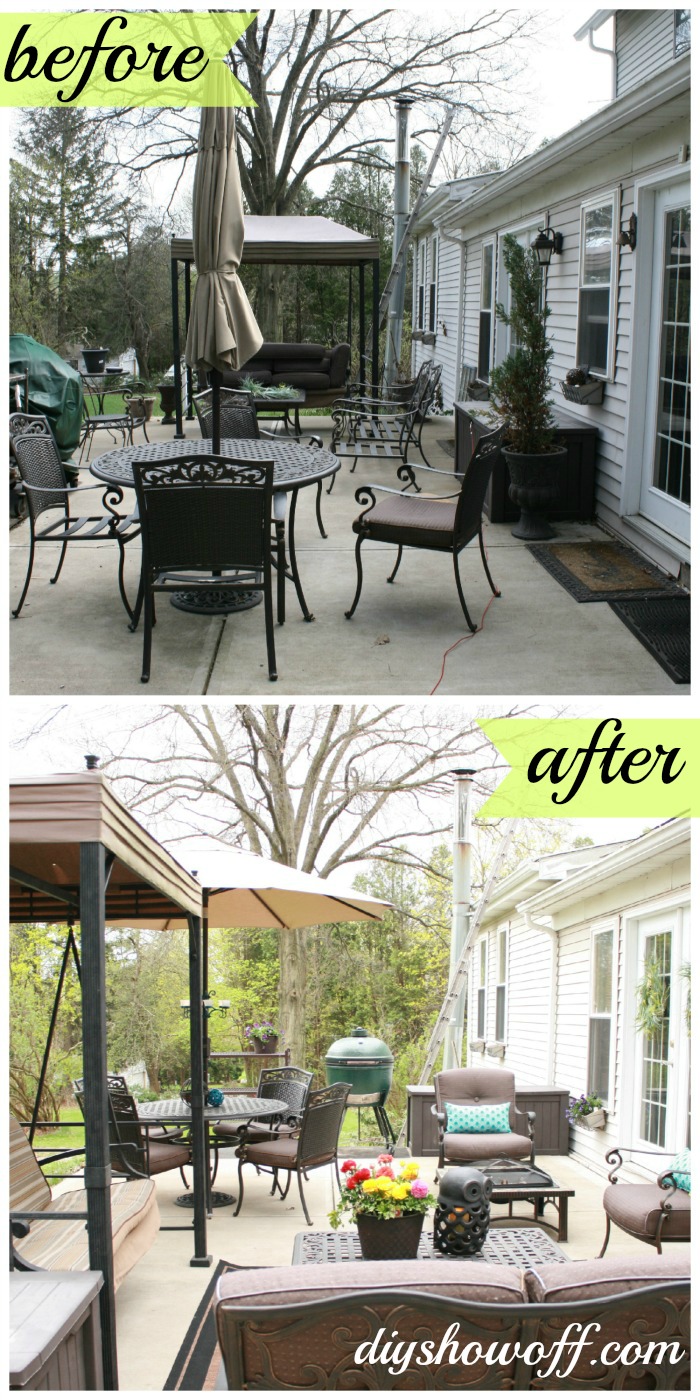
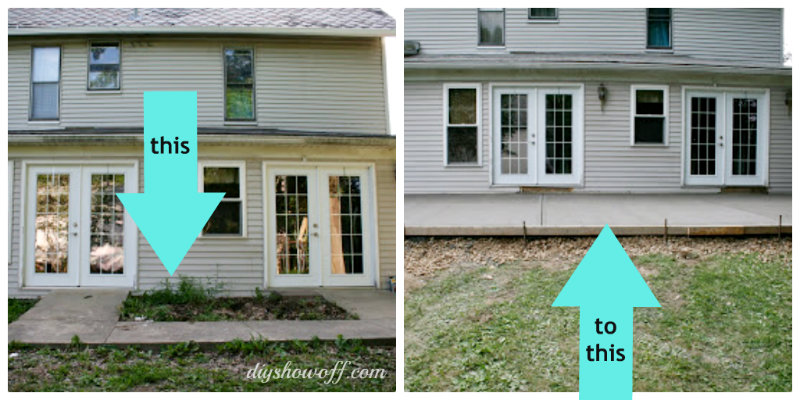
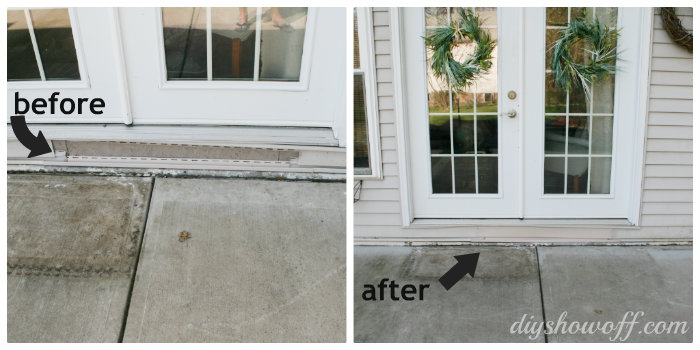
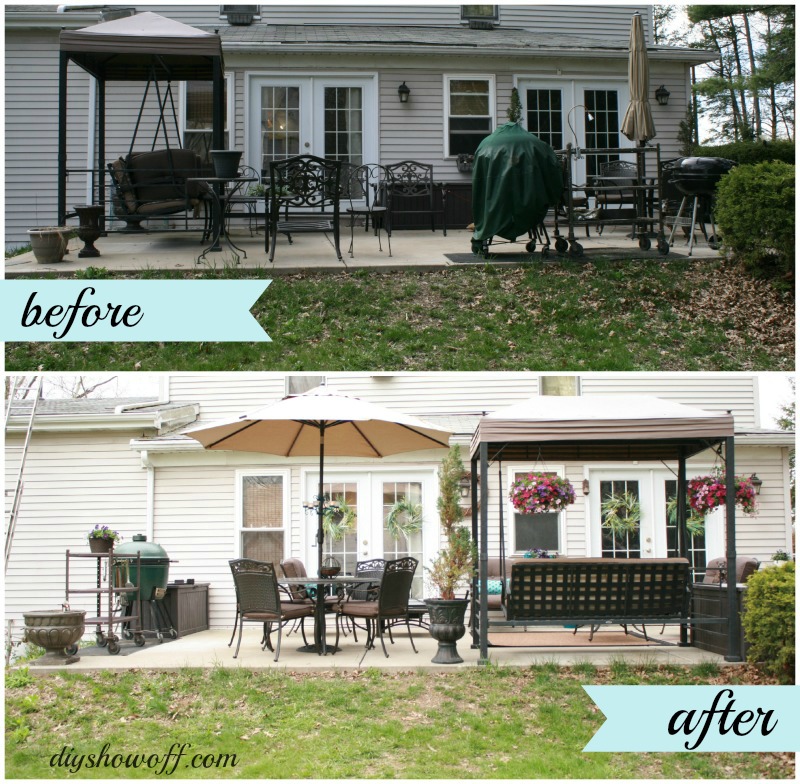
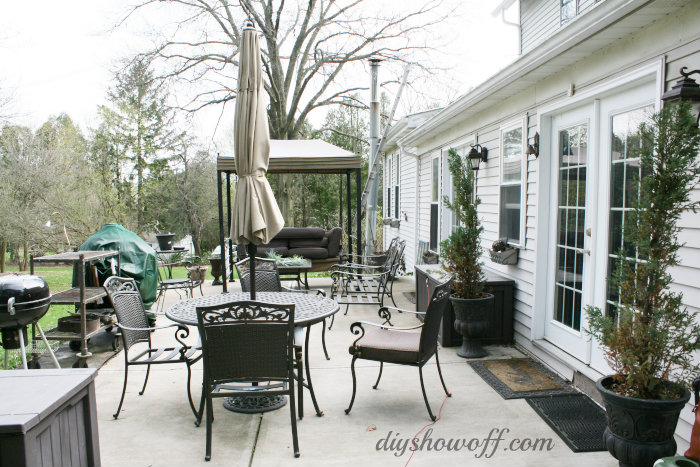
Before – yikes!bathroom makeover before

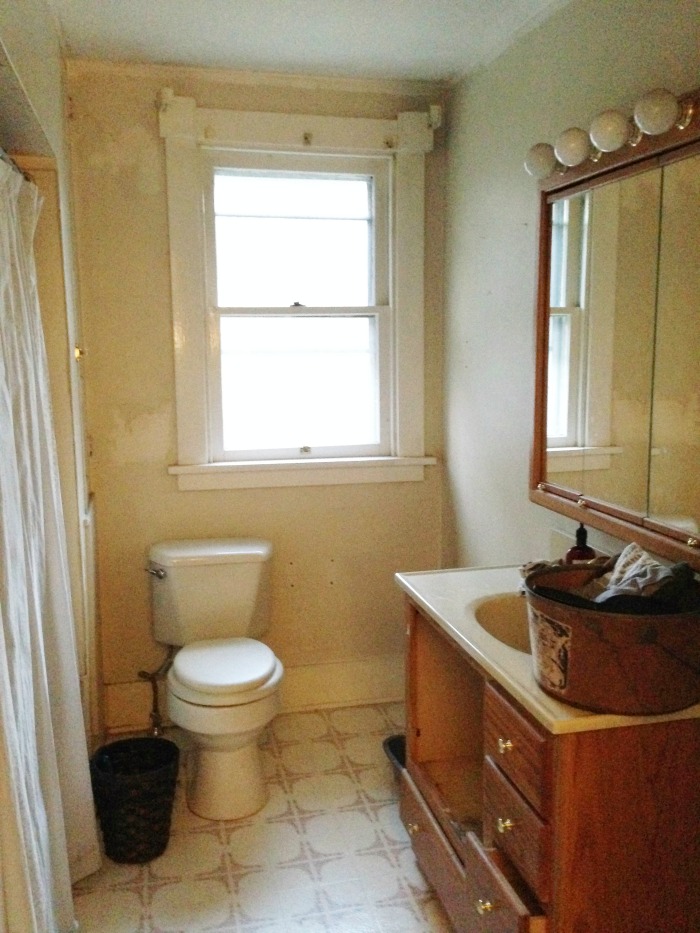
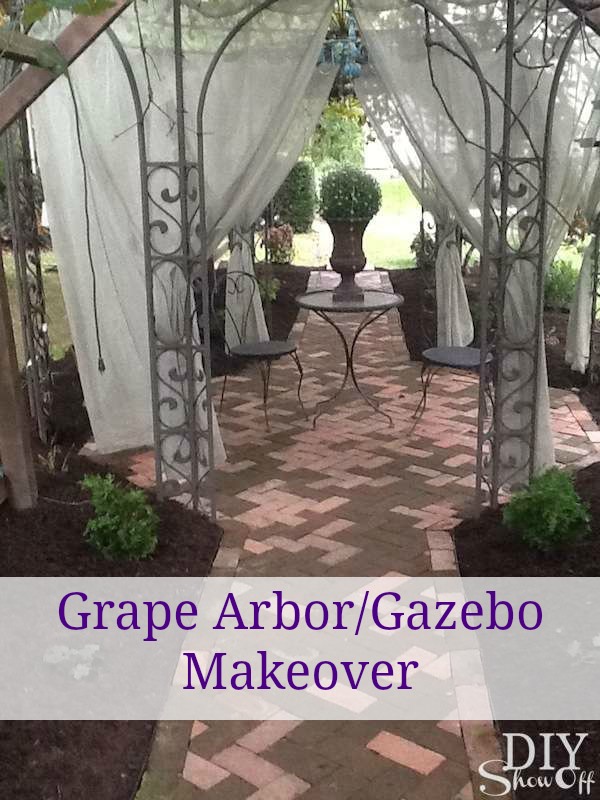
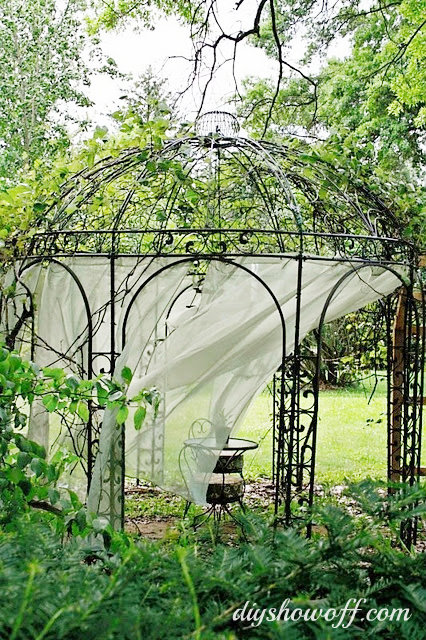
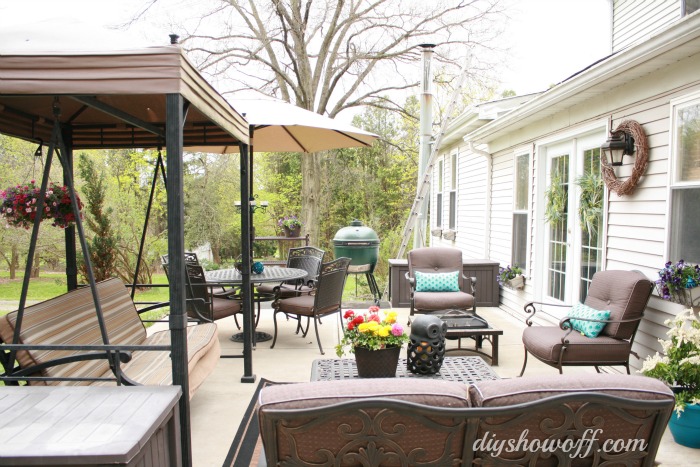
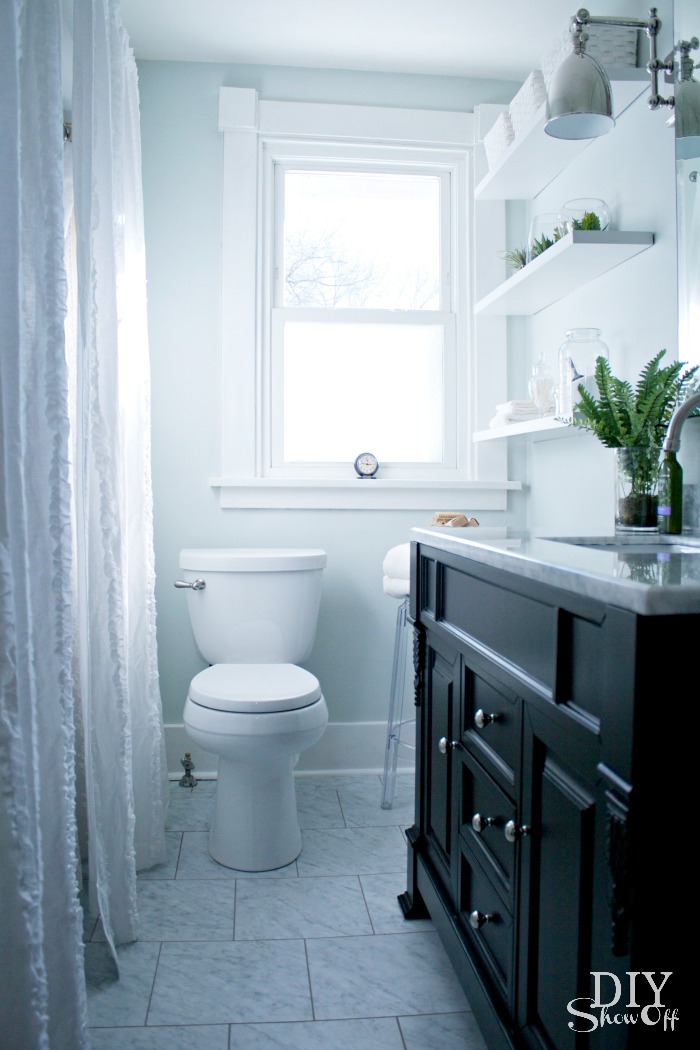
And this is the potential I saw. I’m in love with the soft peaceful ‘after’ results! Bathroom Makeover

Bathroom Makeover Details at DIYShowOff

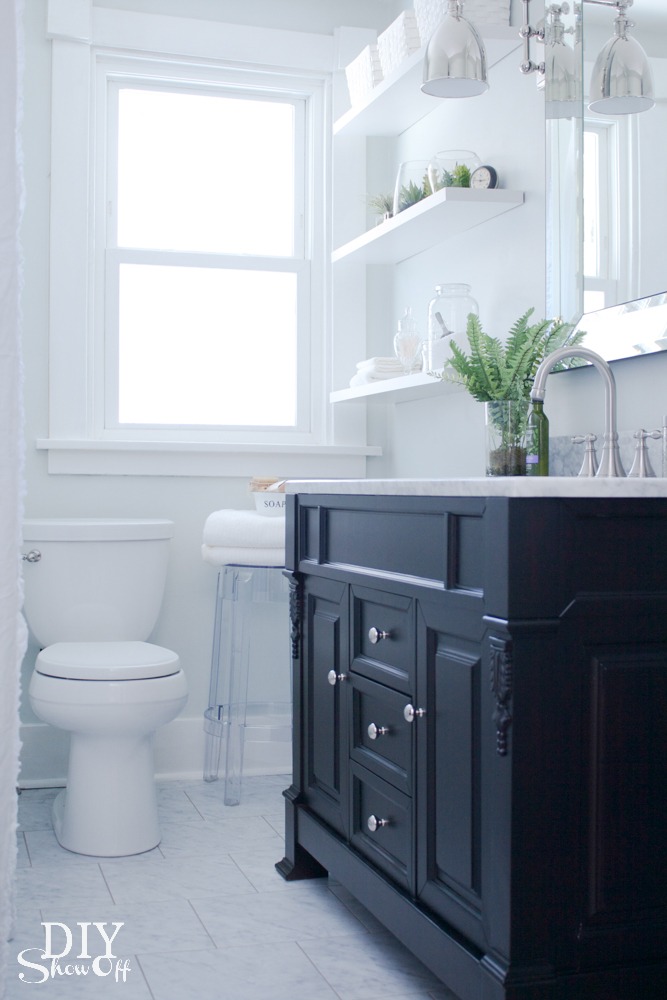
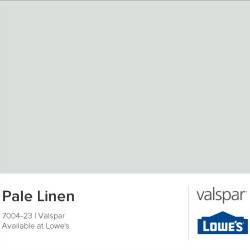
Paint: Those walls! Believe me, I did a good scrubbing but is there any better way to really clean up walls than applying a fresh coat of paint? Love this color! Valspar Pale Linen: Depending on light, sometimes it has a soothing blue tint, sometimes more of a gray/white tone but definitely a tranquil light blue color.

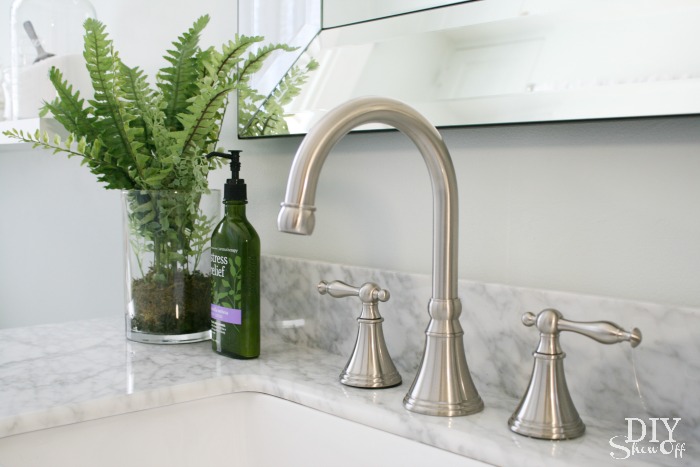
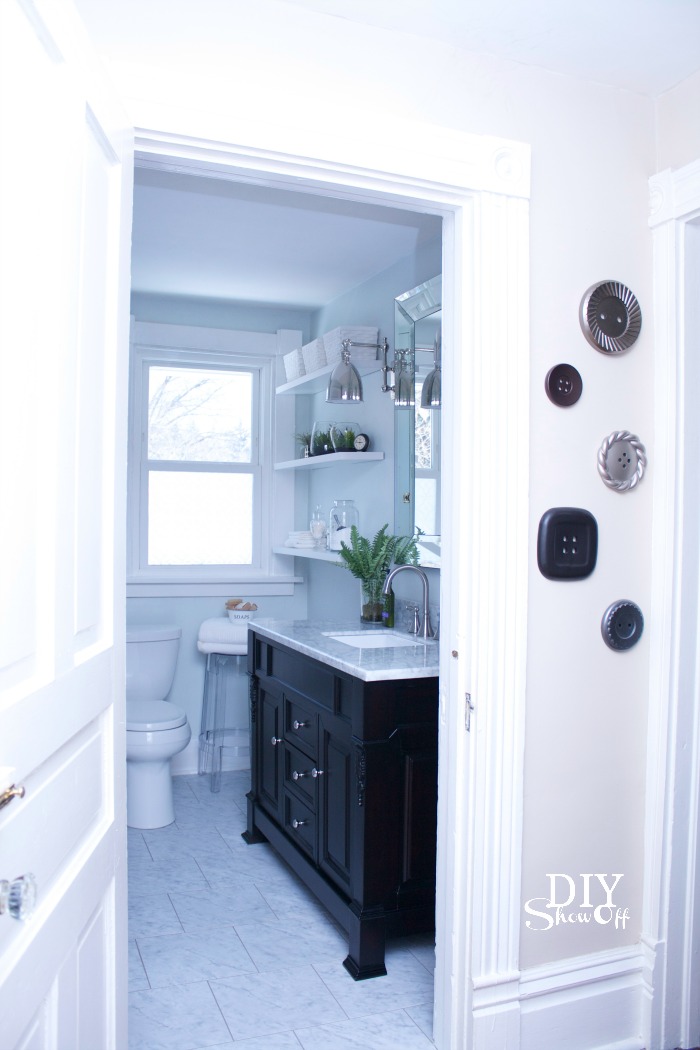
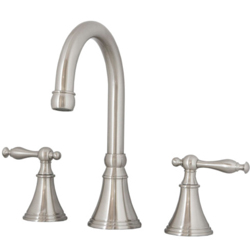
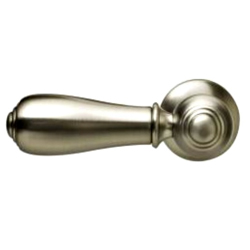
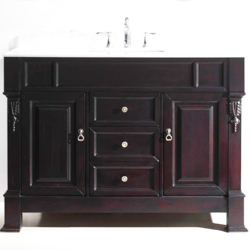
Vanity: The gorgeous Huntshire vanity with marble countertop and Talia faucet set from Virtu USA is the luxurious center of attention! Check out the beautiful detail and gorgeous espresso color.

Virtu USA Huntshire vanity

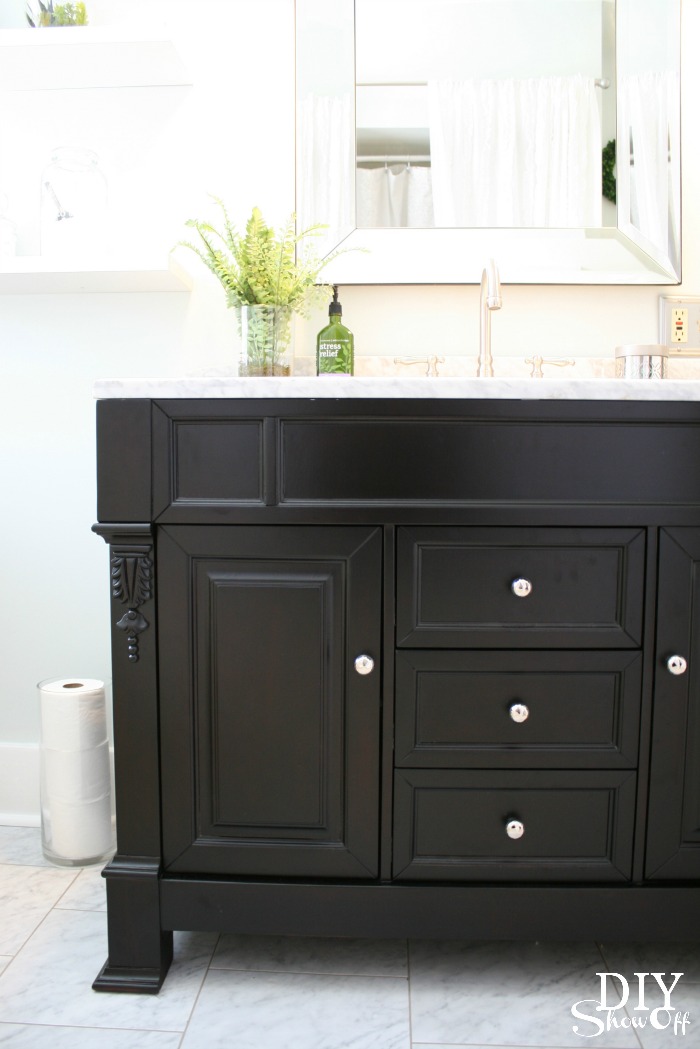
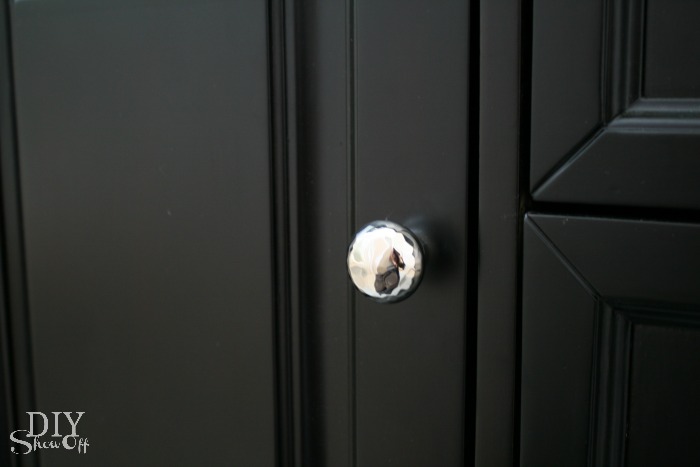
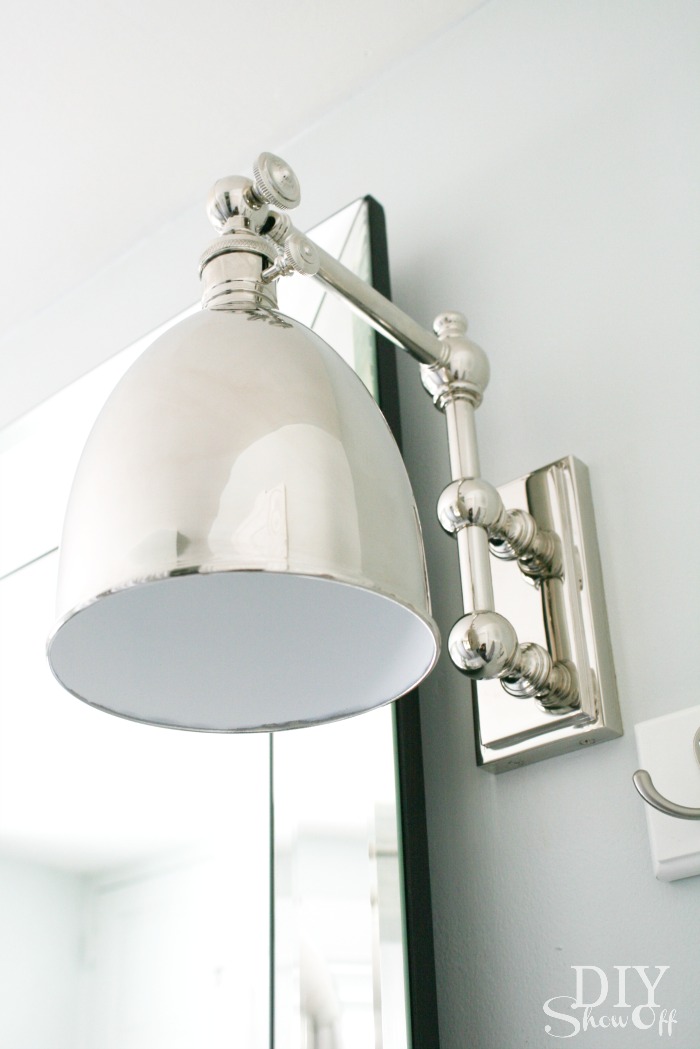
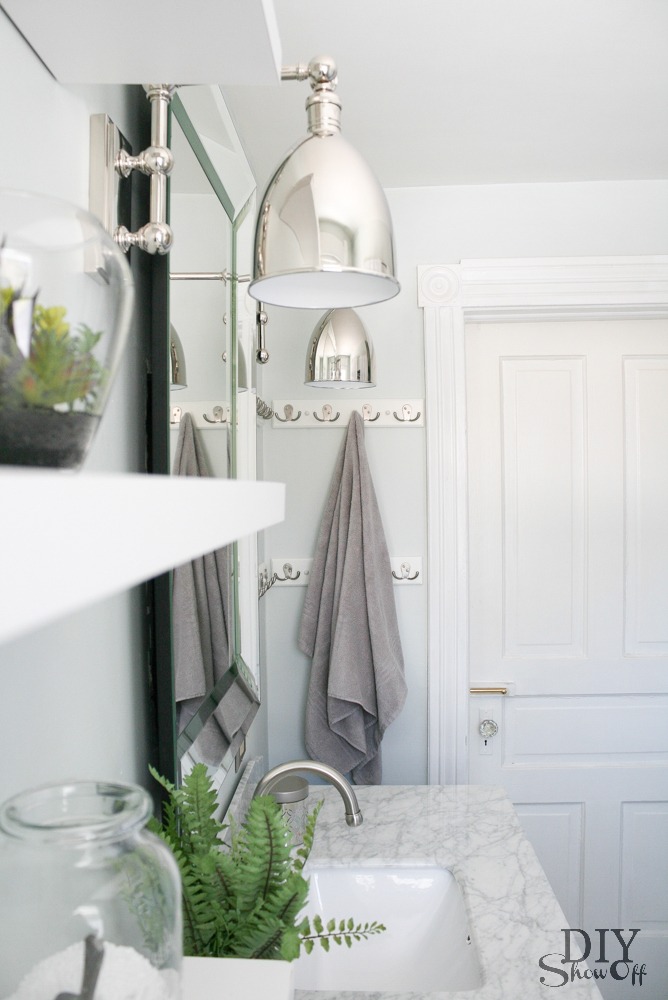
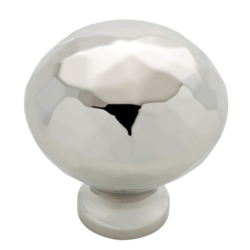
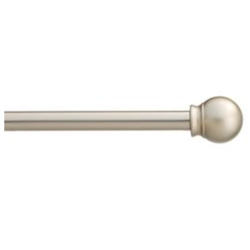
Metallics: Mixing the silver finishes like the brushed nickel faucets, polished nickel sconces, polished nickel vanity knobs, satin nickel curtain rod add just the right amount of bling!

Virtu USA Talia faucet - DIYShowOff bathroom makeover

The vanity comes with beautiful antique gold hardware which I’ll re-use on another piece of furniture since I swapped them out for these beautiful polished nickel knobs.

polished nickel knobs

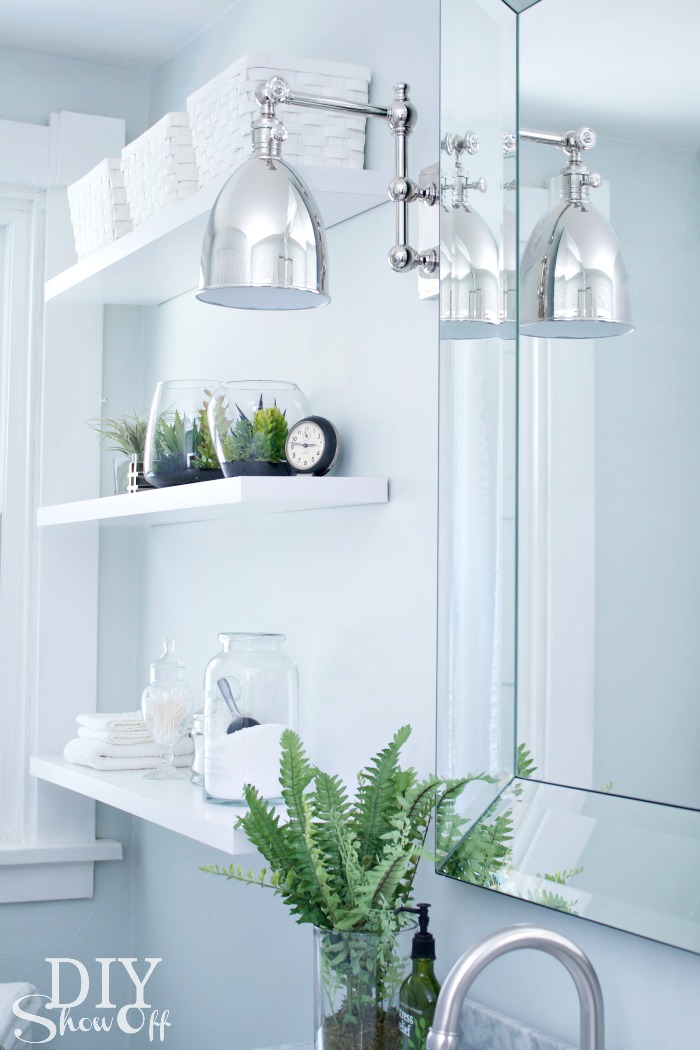
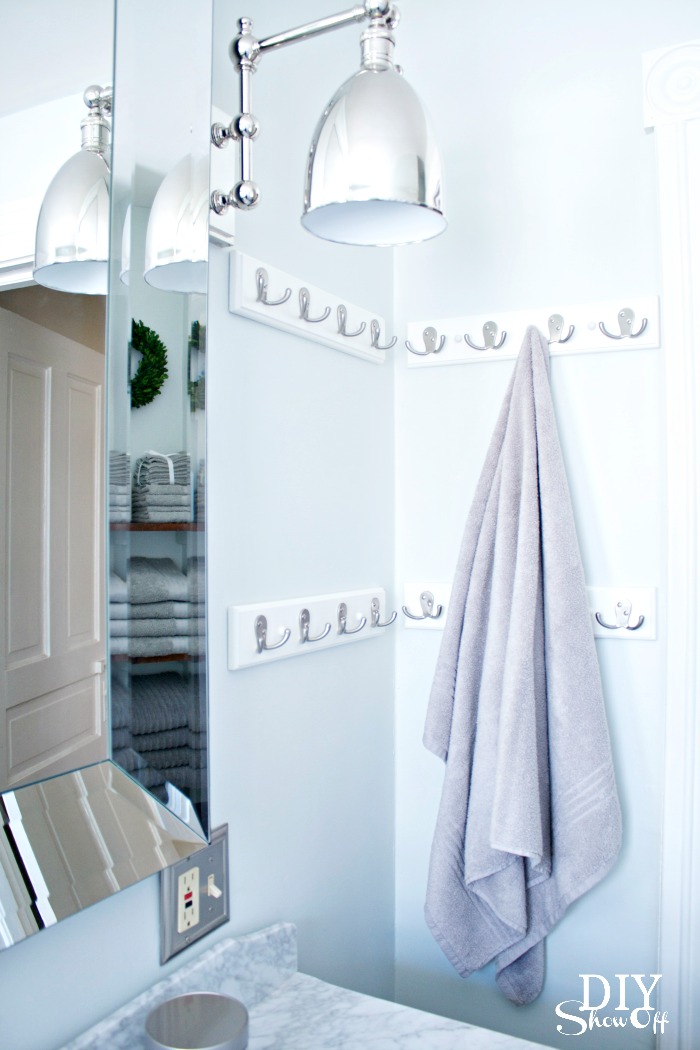
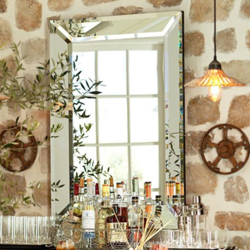
Pottery Barn Bevel Mirror: Go big or go home! {Heavy! Molly bolts included.} The mirror’s beveled mirror frame is the perfect glamorous accessory reflecting light and the illusion of more space into this small bathroom. 

bevel mirror

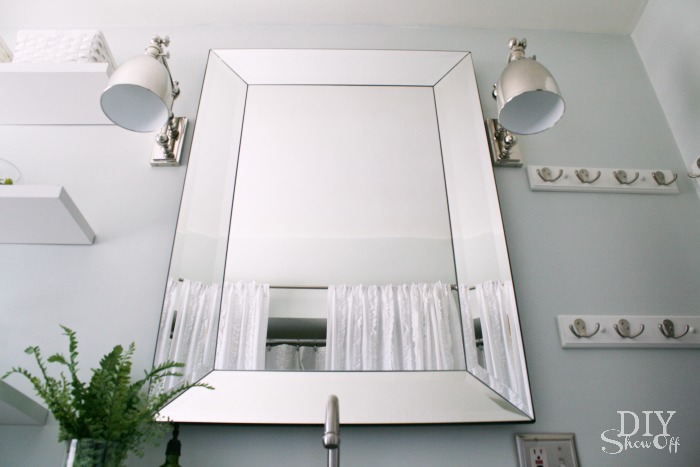
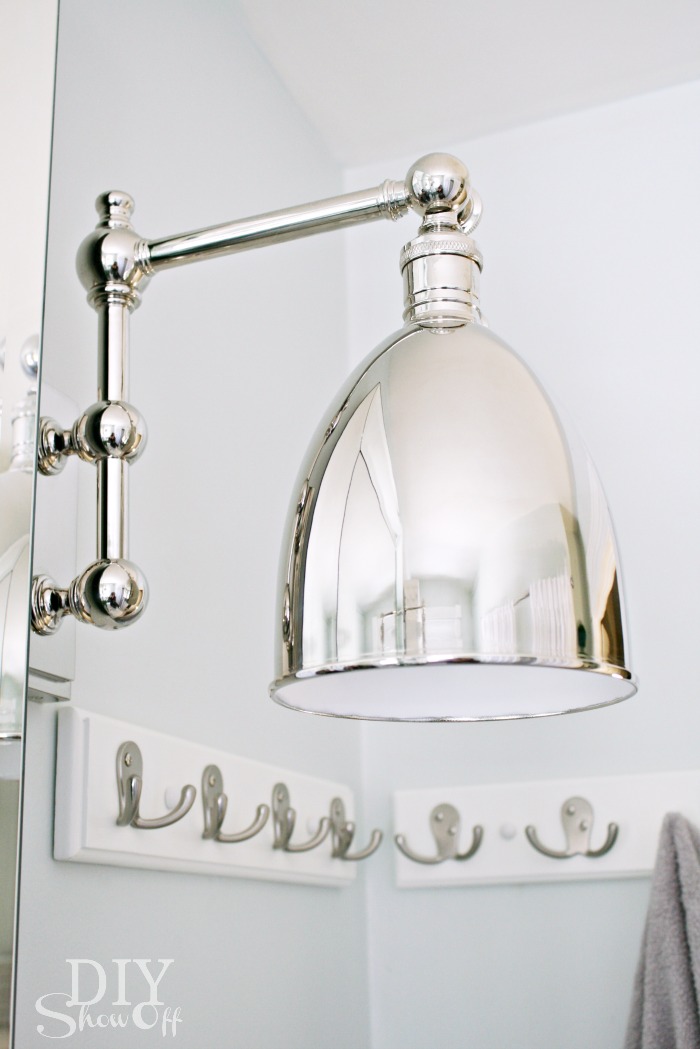
Lighting: Drool-worthy. ::sigh:: Thanks to LampsPlus for the stunning lighting! {Hudson Valley Monroe polished nickel adjustable wall lights} These are just the icing on the cake, aren’t they? Definitely my most favorite fixture in my home!

Lamps Plus Monroe Adjustable Arm Sconce

Floor: I did this all by myself! Would you believe they’re vinyl tiles? Easy to install and grout (use grout for vinyl) gives it a look so similar to real marble but without the maintenance or cost and installed in just a few hours! Check back for the tutorial.

grouted vinyl floor tiles - diyshowoff bathroom makeover

 The tub and shower will get a makeover later this year. In the meantime, I “framed” the bathtub nook/shower curtain with curtains (difficult to photograph that side of the room!)…

bathroom curtains

bathroom makeover diyshowoff

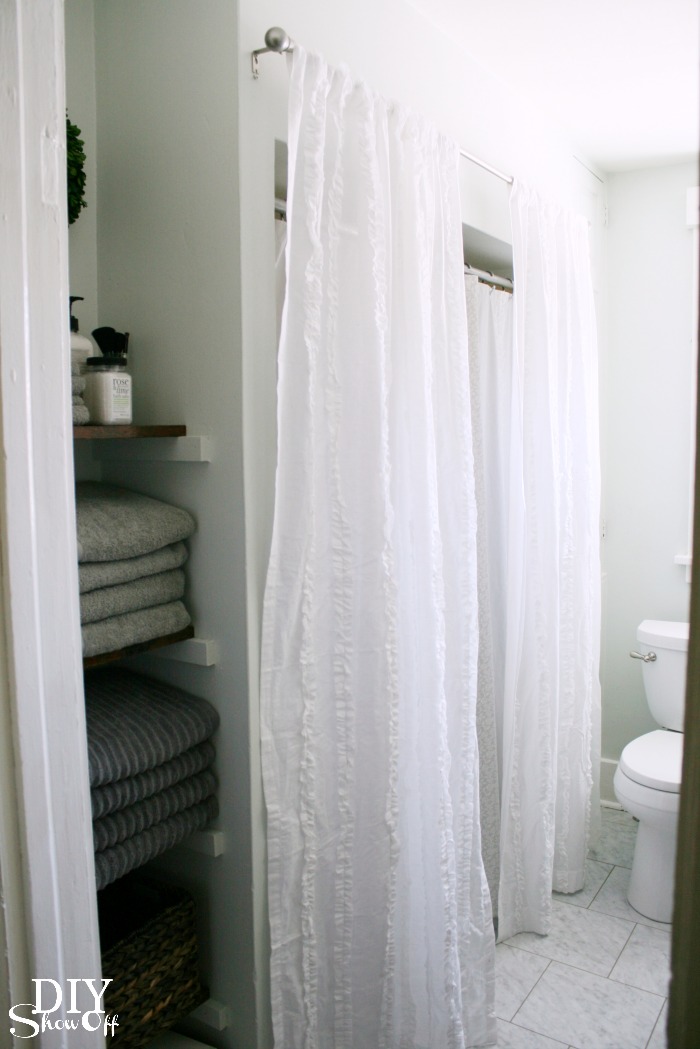
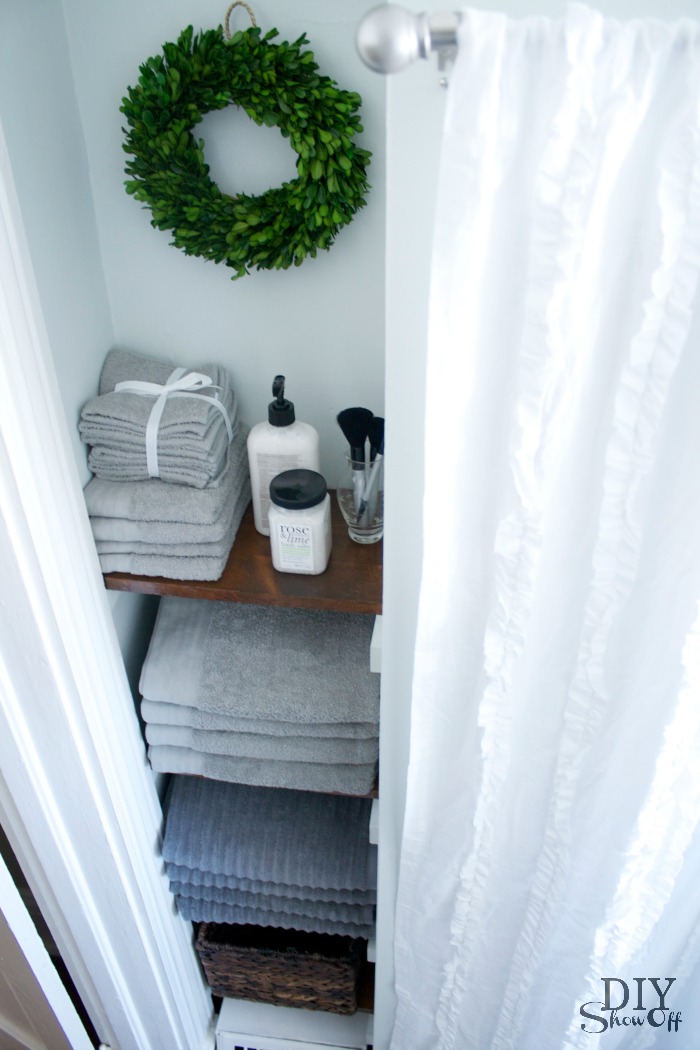
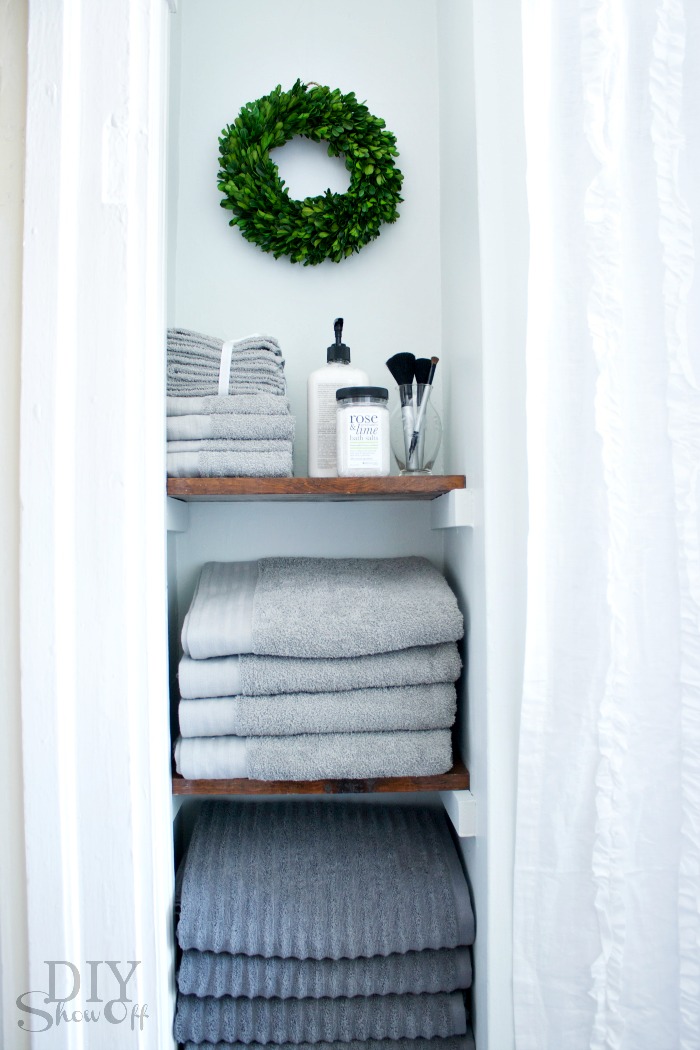
Storage to the left of the bathtub/shower:

bathroom storage

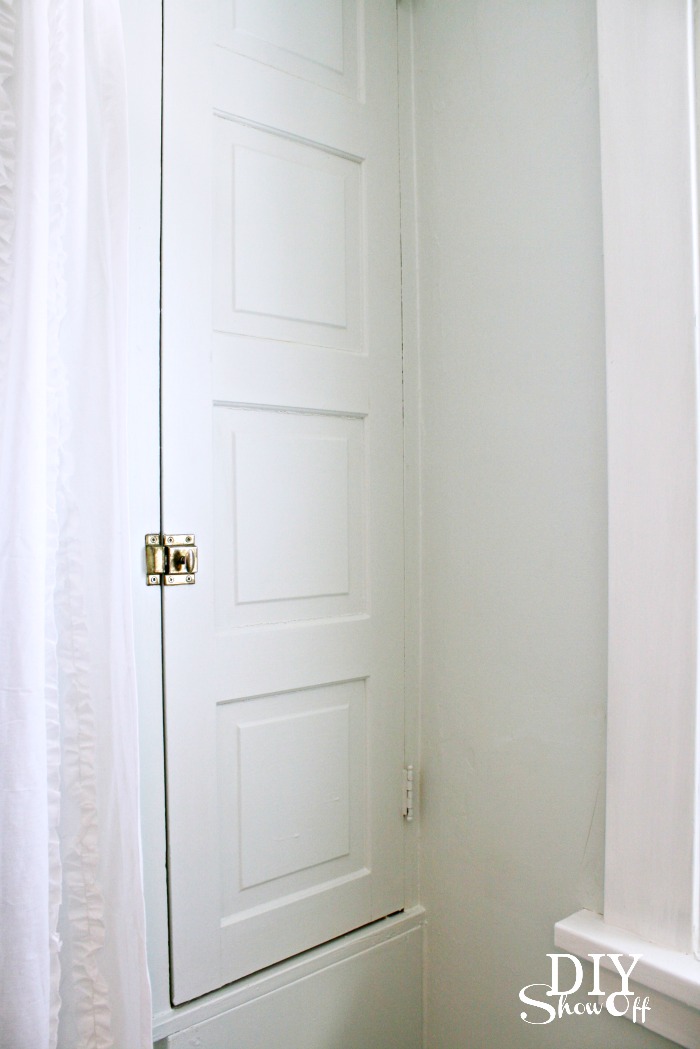
Built in storage cabinet to the right…

bathroom storage cupboard

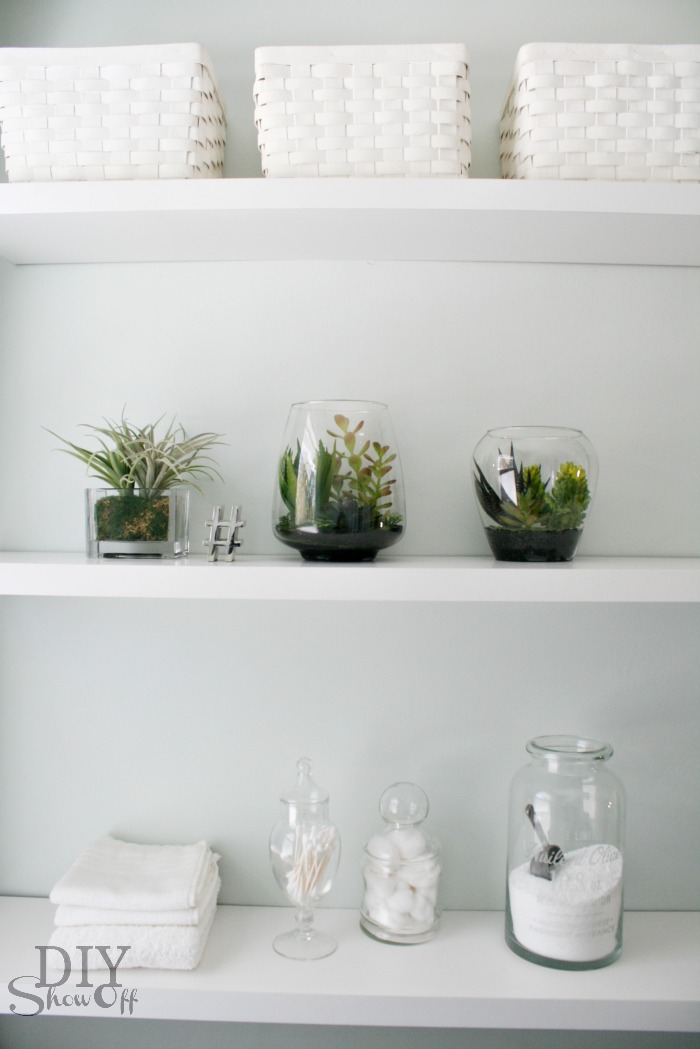
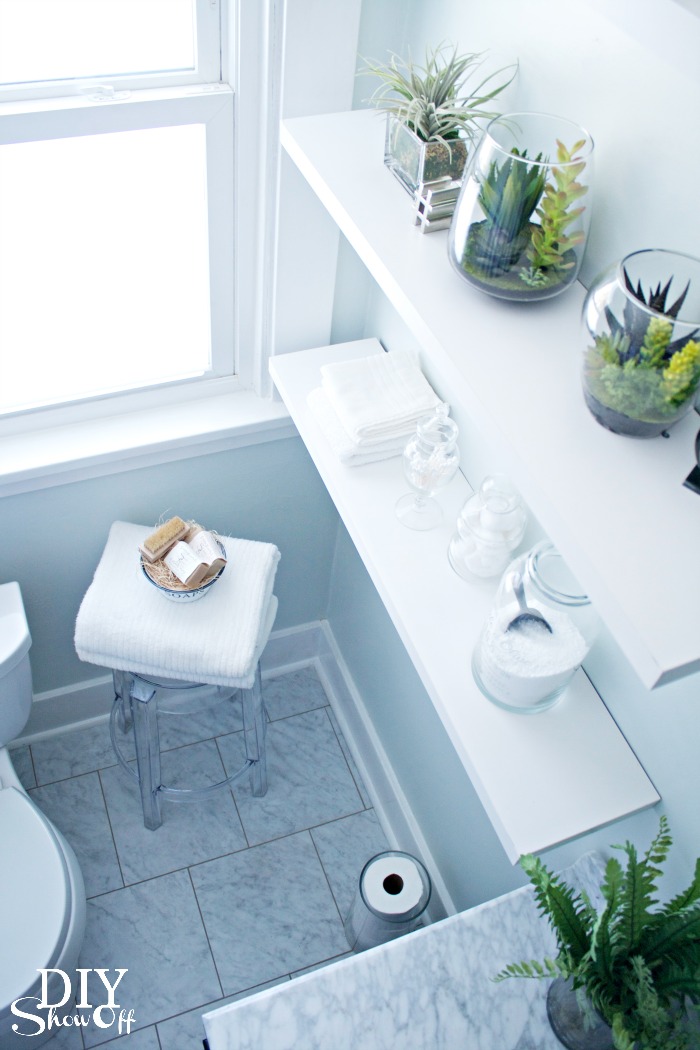
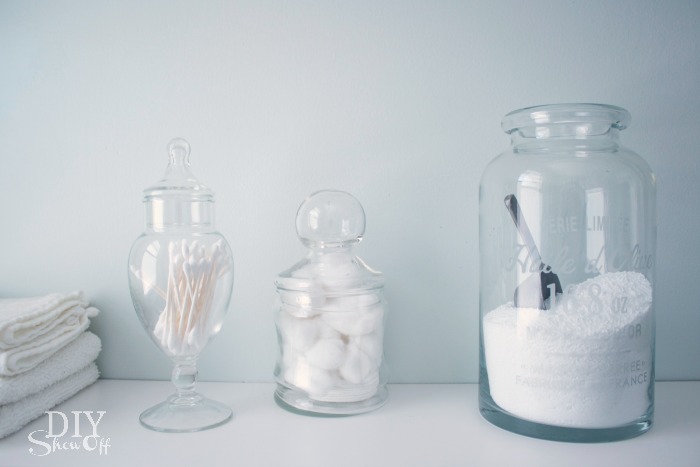
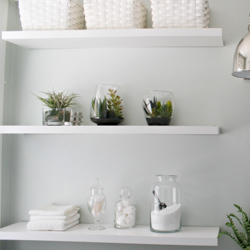
 Floating shelves and baskets provide more storage options. 

DIYShowOff bathroom shelves

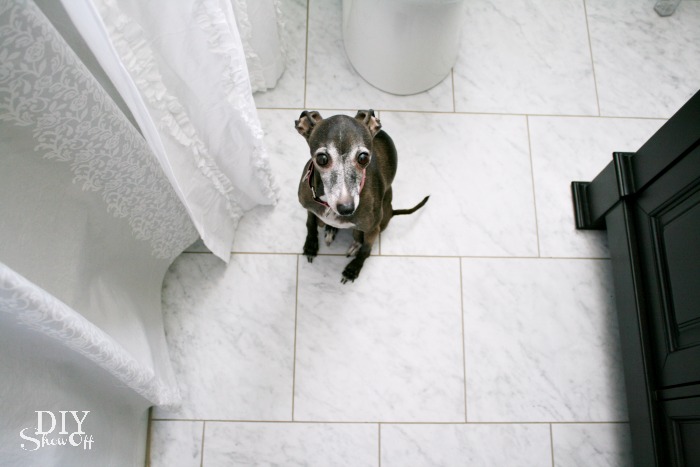
Because there is no such thing as too many photos:DIYShowOff Bathroom MakeoverLampsPlus Monroe Adjustable Wall Sconce

Bathroom makeover - towel nookFarmhouse Wares soap gift set - diyshowoff bathroom makeoverDIYShowOff bathroom accessoriesDIYShowOff bathroom lighting from LampsPlusBathroom storageDIY bathroom makeovertowel hooks - diyshowoff bathroom makeover

For those of you asking about the button wall art, they’re about 10 years old and I can’t remember where I got them so I’m pretty sure they’re out of stock (it was probably somewhere like JoAnn’s) but here’s button wall art I spied on Amazon, if you love buttons: 

bathroom makeover - diyshowoff

I’ve received a lot of questions about some of the accessories and fixtures shown above. Here’s a source list. Click the images for to be redirected. 

DIYShowOff bathroom makeoverDIYShowOff bathroom makeoverDIYShowOff bathroom makeoverDIYShowOff bathroom makeoverDIYShowOff bathroom makeoverDIYShowOff bathroom makeoverDIYShowOff bathroom makeoverDIYShowOff bathroom makeoverDIYShowOff bathroom makeoverDIYShowOff bathroom makeoverDIYShowOff bathroom makeoverbathroom makeover at diyshowoff.comDIYShowOff bathroom makeoverDIYShowOff bathroom makeover - Valspar Pale LinenDIYShowOff bathroom makeoverDIYShowOff bathroom makeoverDIYShowOff bathroom makeoverDIYShowOff bathroom makeoverDIYShowOff bathroom makeoverDIYShowOff bathroom makeoverDIYShowOff bathroom makeoverDIYShowOff bathroom makeoverDIYShowOff bathroom makeoverDIYShowOff bathroom makeover

Still have a question? Let me know in the comment section and I’ll get right back to you. Thanks so much for stopping by! 

Don’t forget to swing by to enter to win the Virtu USA Dream Bathroom giveaway to get started on creating your dream bathroom makeover. Easy to enter, lots of prizes! 

Ready for some more bathroom makeover inspiration? Check out these awesome blog friends for more:

Linking up to: 

Grape Arbor Gazebo Makeover

The grape arbor gazebo has been a work in progress for years. DIY takes patience sometimes, my friends. Especially when you’re working as time and money allow. I can’t tell you how GOOD it feels to have it complete!Grape Arbor Gazebo Makeover

Let’s start at the beginning. When we purchased our home, we loved the grape arbor’s size and maturity.

 grape arbor before

See those poles? Very, very rustic and home to some critters even…hello!chipmunk

As much as I love rustic and as cute as it looks in the picture below, it felt like a tetanus shot just waiting to happen not to mention, 6’2″ Mr. DIY had to duck to walk beneath it. 

So the rebuilding process took place. Most of the roots to the vines are on the one side. We sort of ‘peeled’ those back one section at a time while a gazebo was installed in the center and more study wooden frame was built on each side. 
 
Mr. DIY and family {thanks, Butch!} built up the new wood structure around the old rusty iron skeleton, lifting and shifting the grapes in the process before removing the old iron poles. 
 
Rebuilding can be stressful but the grapes survived! Maybe they were even a little grapeful (haha!) for the home makeover. 
 
 
Beautiful! But then all that gorgeous-ness didn’t go with the overgrown messy underneath. 
grape arbor gazebo
And that’s where this summer’s DIY project of installing a recycled brick patio and path came into play. 
grape arbor path before
 
See the recycled brick patio and walkway tutorial for more details about the transformation and steps Mr. DIY took to install it with his own two hands. Great job, honey! xoxo
DIY brick patio
 
Once he finished the brick patio and walkways, it was time for some landscaping. I didn’t know where to start. I was so overwhelmed with the size, the work that it would involve. Plants intimidate me. So, the decision was made to hire professionals for weed clean up, planting, edging and mulching. 
 
The view from our kitchen French doors: 
recycled brick walkway
Worth every penny. 
recycled brick walkway
Wow! It was a treat to watch what a team of 5-6 landscaping professionals with the right tools can accomplish in 3 hours. Yes. I said ‘three hours’. This would have taken me months of backbreaking labor. My back hurts just thinking about it. 
recycled brick walkway
Now I feel like I can maintain this area, plant more, decorate. And just enjoy every square inch. 
recycled brick patio
Isn’t it pretty? So romantic. So quiet and peaceful. 
recycled brick walkway and patio
 
I’ve been window-shopping for furniture and ideas but will likely wait until spring. I’ve had the sheer drapes for years but this year, they look the best they ever have. 
DIYShowOff gazebo
 
grape arbor gazebo reveal
And scary… {ghost tutorial}
DIY ghost tutorial
haha!
 
The back yard before…
backyard before
The back yard now…
backyard after
Grape arbor now.  
grape arbor
I can’t wait for the plants to fill in. I’ll be adding a few here and there this week too. Maybe something that will come up in the spring.
 
Now when you visit, we have a place to talk and catch up. Weather permitting. DIY brick patio
 
Do you have a special outdoor area at your home?
 

Decorating a Lamp Shade with Vinyl

Lamp Makeover

Plain white lamp shades are the perfect clean slate for adding a little DIY color and pattern to a room. I used vinyl on the inside of my shade to make it a little more special. When the lamp is turned off, the design is subtle, almost invisible but when the lamp is turned on, there’s a sweet little reminder to “shine bright”.

vinyl lampshade tutorial

Materials I used:

lamp shade and vinyl

  • old lamp
  • FrogTape® Multi-surface
  • spray paint (Valspar Indigo)
  • Ikea Jonsbo lamp shade
  • Glossy adhesive vinyl (turquoise) from Happy Crafters
  • optional: elastic gemstone bracelet

Tools: Silhouette Cameo

How I did it:

After taping off the light socket and cord using FrogTape®, I spray painted my old lamp a pretty navy and let it dry. Then simply removed the FrogTape to reveal a nice clean cord and nice clean switch and socket. 

spray painting lamp

For the vinyl wording: I created my lettering in the Silhouette Design Studio. Be sure to right click the text when finished and “flip horizontally” so it shows backwards. IMPORTANT: MIRROR IMAGE the TEXT!

mirror image text

I also used a flower garland shape for my design in addition to “shine bright”. 

vinyl flower design

I sent both to my Silhouette Cameo to “cut” once I adjusted my settings for vinyl. If you don’t have a vinyl cutter, you could also use vinyl decals if the design looks the same backwards (remember: text must be flipped horizontal/mirror image for this project).

Silhouette Cameo tutorial

I then removed all of the unnecessary vinyl from my designs by weeding away the vinyl that isn’t a part of the design…

vinyl lettering and design

and added the transfer paper. 

Happy Crafters vinyl

I removed the waxpaper backing and placed my designs on the inside of the lamp shade. I used a credit card to rub down the design for transferring. Then I removed the transfer paper. 

applying vinyl to lampshade

Note: I found cutting and adding my flower design in sections of two to be the best way with the rounded/tapered lamp shade. Keep vinyl pieces individual/smaller sized to go around the curved lampshade to prevent wrinkling when applying. 

applying vinyl to plastic lamp shade

I added the turquoise bracelet for a little additional bling. 

accessorizing lamp

Here’s a shot of the inside and outside. I do love how the turquoise vinyl lettering on the inside shows navy-ish on the outside. I couldn’t have planned that better if I tried!

inside outside of lampshade

It’s perfect on a side table in our family room for a little extra reading light…

lamp makeover

lamp makeover

Lamp off… 

lamp makeover

 Lamp on…

lampshade makeover


NEAT! Love it! I also thought “Note to self: Relax.”, a monogram or a damask pattern would have been pretty. What would your lamp shade say?

FrogTape Blog Squad*This is sponsored by FrogTape®. FrogTape provided by Shurtech. The opinions are completely my own based on my own experience. 

Happy Crafters supplied the vinyl for this sponsored blog post.

 HClogopngsmall

Patio Season {small updates}

I love that the weather is warming up! We have a patio off of the back of the house which we utilize as an outdoor room in the spring, summer and fall. We spend a lot of time in this space, weather permitting. It’s not a pretty sight by the time winter ends. Blah! The Lowe’s Creative Ideas challenge this month is outdoor mini-makeovers. Perfect timing!

patio update

Trip down memory lane: When we purchased this house, we installed two sets of French doors. There were concrete sidewalks with ramps to the old ‘single’ doors. When we bought the house:

house-before

A few years ago, we installed a concrete patio

concrete-before-after

but we never replaced the siding where the old ramps were located. (I also address the dirty concrete. Keep reading!)

missing-siding

I headed to Lowe’s with iphone pictures and measurements. The Lowe’s associates were super helpful in directing me to the siding supplies, advising what I’d need: a “J-channel” to match up/attach the vinyl siding. They even provided tin snips and a tape measure so I could cut it to fit in my vehicle.

j-channel

Installing the J-channels was easy, just nail into place. Then we just  a close-matching piece of vinyl siding (“heather”, also available at Lowe’s) and snapped it into place.

installing-vinyl-siding

Finally! No more embarrassing eye sore of missing siding…it’s those little things that really bother the home owner more than anyone else, ya know and one that is so surprisingly easy and cheap, I’m wondering why we put it off. Hopefully with some age, it will blend in even better.

before-after-siding-fix

I moved all of the furniture and gave the concrete a good scrubbing (water + Krud Kutter). It cleaned off the surface dirt and mildew but not rust or grease. However, it looks a much brighter!

scrubbing-patio

I used spray paint to freshen up some existing decorative accents, planters and a ‘grill cart’ and added some colorful flowers to planters and window boxes.

patio-accessory-update

Some new things available at Lowe’s:

Outdoor area rug defines the cozy seating area…

patio-makeover

Love this umbrella candelabra (misted with Rustoleum’s “Lagoon” spray paint to match other accents) and beautiful fat hanging flower baskets…

umbrella-candle-holder

The sun sets on the other side of the house. Sometimes evenings are chilly. This wood burning firepit is perfect for a little heat (and roasting marshmallows)…

firepit


Cutest decorative owl candle holder…

owl-candle-holder

When it’s warm and not raining, I start my day with a cup of tea here. When we entertain small groups and it’s warm, this is the party location…lots of family dinners/cookouts and since it’s right off the kitchen, hosting and clean up are super convenient. It’s also where we enter the house. Now it’s visitor-worthy, pretty and relaxing. C’mon over!

patio-before-after


BEFORE

patio-before

AFTER

patio-makeover

More pics…

patio-flowers

cocorosie


patio-makeover

patio-makeover

Next up for this space:

  • rearranging some of the furniture another time or two
  • pallet herb garden
  • canopied swing bling
  • patio pet bed
  • raised flower bed
  • grape arbor/gazebo path/patio is on the DIY list again (maybe this year?!)

Free Standing Pallet Herb Garden:

free-standing-vertical-pallet-herb-garden

Patio Swing Makeover:

how to add curtains to a patio swing


Sharing at Project Inspired.

See more fun DIY ideas at Lowe’s Creative Ideas, follow Lowe’s on Instagram, Pinterest and sign up for the Creative Ideas magazine and app!

Spring 13 Blogger Badge Subscribe Banner Version

*Disclaimer: As a member of the Lowe’s Creative Ideas Creators and Influencers network, I received a Lowe’s gift card to complete this project for a mini outdoor makeover challenge, however the tutorial images, instructions and opinions are my own. 

How to install a tiled backsplash

We’re finally shopping for tile for behind our stove area so I wanted to revisit how our kitchen has evolved and the tile we chose for our back splash as well as review the steps we took to install the tile. Our kitchen when we bought the house was outdated…

When we moved we only paint the walls green, inserted new SS appliances and range hood. We lived with it for 3 years then painted the cabinets and finally replaced the countertop with granite (Virginia Jet Mist). Working as time and budget allow sometimes mean waiting for the things we want.
tile-backsplash-tutorial
We had a savings to get started on our dream kitchen (the dream where we have savings but the dream without winning the lottery.
The back splash:

Materials:
Venatino Polished Marble Tiles 12×12 mosaic, 5 Venatino Pencil Borders
OmniGrip Maximum Strength Adhesive
Tile Guard Natural Stone Penetrating Sealer
QuartzLock Grout – silver
FrogTape
Caulk

Tools:
Tile saw
Trowel
Float
Putty knife
Bucket
Sponge
Bucket
Paper towels
Rags
Caulk gun
DAP Pro Caulk Tool Kit

Back Splash Tutorial:

1.  Apply caulk to gap where countertop meets the wall.

2.  We used a DAP Pro Caulk Tools to make an even/straight line, but a using your finger (and water) works just as well.

3.  Prep area.  Cover countertop or clean as you go to protect the counter top.

4.  Upper cabinets sit back further than the edge of the countertop. We wanted out backsplash to cover the entire area. We started at the edge of the counter for our backsplash. Decide how your tile edge will be finished.  We used a matching border from the countertop’s edge vertically and ended at the bottom of the end of the wall cabinet.  We mitered the joint where vertical meets horizontal.
5.  Apply border and tile with OmniGrip Adhesive using a trowel.  Coat the wall (can be done directly on drywall).  OmniGrip is pre-mixed so there’s no guessing on consistency and this product works really well for a back splash.
6.  To lessen breakage and crumbling when cutting (the vibration nearly pulverizes edges of the marble), we used FrogTape on cuts.

7.  Apply pressure to ‘set’ tiles in place.

Another shot of how we ended the tile on the countertop/cabinet edge.

8.   Let dry at least 2 days.

9.  Seal tiles using Tile Guard.  Wipe on with a rag.  It dries within seconds.

10.  After drying, prep area by covering countertops or clean as you go – dried grout {We chose Quartz Lock in a darker gray} will be hard to remove.

Have a bucket of water handy.

11.  Apply generous amount of Quartz Lock to the float using a putty knife.

Quartz Lock is pre-mixed. We cover with a plastic grocery bag, then the lid with a tight seal and save leftover for a future project.
12.  Add grout to spaces between the tiles, filling every gap, working in small areas going to next step and starting again with the next area.  Smoosh it in the gaps.
13.  Using a well-wrung wet sponge, wipe in a diagonal motion (except when necessary against countertop and cabinets), wiping away grout from tile.  Grout should stay in the cracks and gaps, but be cleaned away from tiles.

14.  Rinse sponge.

15.  Repeat.

16.  Let dry.  Grout will hide imperfections/crumbled edges of marble tile.  Don’t stress with tiny chips. Grout will disguise them. We have an old farmhouse, so our motto is “imperfection adds character”.
Before Grout:
After Grout:
Kitchen before:
Kitchen after:
We’re thinking of stainless steel tiles for behind the stove but I haven’t decided on the pattern or shape of tiles yet.
stainless-steel-tile
We just calculated that we’ll be in our house 7 years this summer. And we’re ready to put the finishing touches on the kitchen. About time, right?  We’ll be removing the cabinets above the stove to install a proper vent. It means losing those two cupboards but more on a pantry coming soon too. What do you think?
tile-kitchen
I think the chef’s dream stove/range is on that ‘winning the lottery’ dream kitchen and he’ll have to make do with what we have but it’s functional. Sorry, Mr. DIY.
See more about our kitchen makeover at our Home Tour
DIY Show Off farmhouse kitchen makeover
Similar products for this project:
Star Quartz Quartz Lock 2 Ug Tile Grout-Birch 18lb bucket
Carrara Marble Italian White Bianco Carrera 3×6 Marble Subway Tile Honed
Custom Building Products TLOSQT-3 TileLab OneStep Cleaner and Resealer
Frog Tape 82021 Pro Painters Masking Tape, 1-1/2-Inch by 60-Yards, Green
Pro Caulk Complete Caulking Kit (As Seen On TV)
Goldblatt G02391 1/4-Inch By 3/8-Inch By 1/4-Inch Square Notch Trowel With Plastic Handle
TBC Margin Trowel Float 6″x 2-1/2″ Professional Gum Rubber Face Bonder to Foam Rubber Pad. Speciality Grout Float Designed for Hard to Reach Areas. Narrow Width & Offset Handle Allow Work Under Toe-Kick Space Under Cabinets and Small Areas. Float 11″
SKIL 3540-02 4.2-Amp 7-Inch Wet Tile SawThis is a sponsored post brought to you by FrogTape. The opinions are completely my own based on my own experience. FrogTape Blog Squad