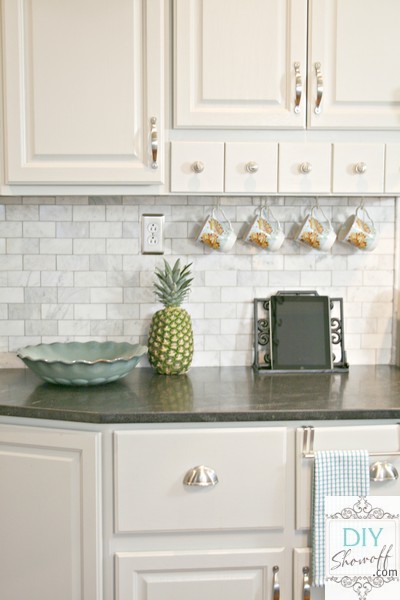
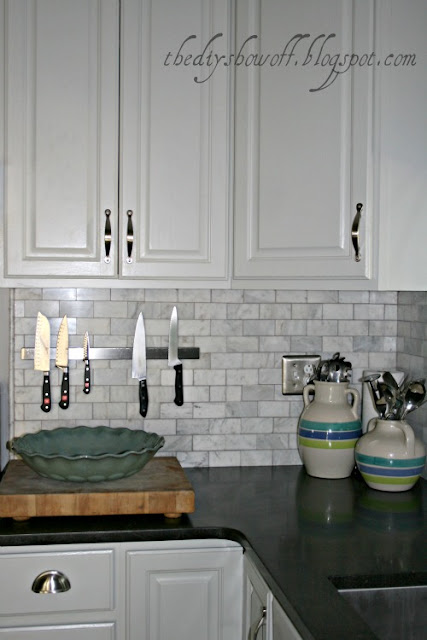
Back splash, back splash, back splash! It’s out of my system. I promise this is the last you’ll hear about it except for a link back to this tutorial at the kitchen reveal. Here is our DIY back splash tutorial. We finally finished installing our marble subway tile back splash. I’ve linked to the products we purchased. This took us about a month of weekends (some of that time was spent doing some electrical work for under cabinet lighting and swapping out old beige outlets/switches for clean white ones along the way).
Materials:
Venatino Polished Marble Tiles 12×12 mosaic, 5 Venatino Pencil Borders
OmniGrip Maximum Strength Adhesive
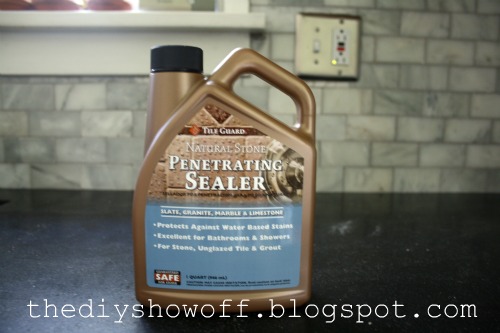
Tile Guard Natural Stone Penetrating Sealer
QuartzLock Grout – silver
Frog Tape
Caulk
Tools:
Tile saw
Trowel
Float
Putty knife
Bucket
Sponge
Bucket
Paper towels
Rags
Caulk gun
DAP Pro Caulk Tool Kit
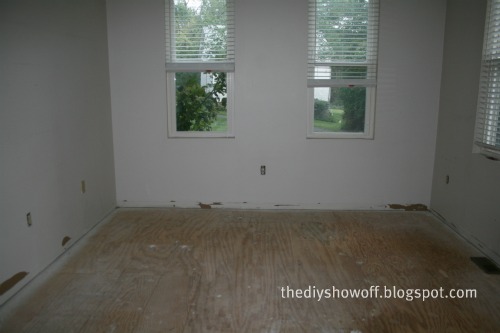
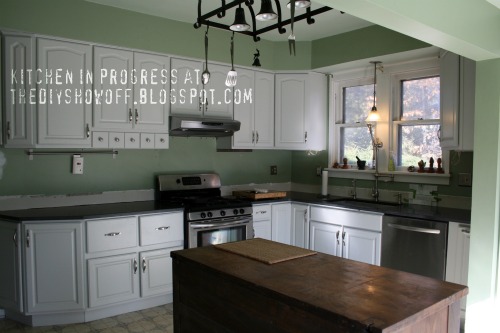
Just because we all love a good before and after…here was our kitchen when we bought the house (
cabinet painting tutorial)… ugly. All we did when we moved in was paint the walls green, insert new SS appliances and range hood then lived with it for 3 years until we just couldn’t take it anymore and we had a savings to get started on our dream kitchen (the dream where we have savings but the dream without winning the lottery)…
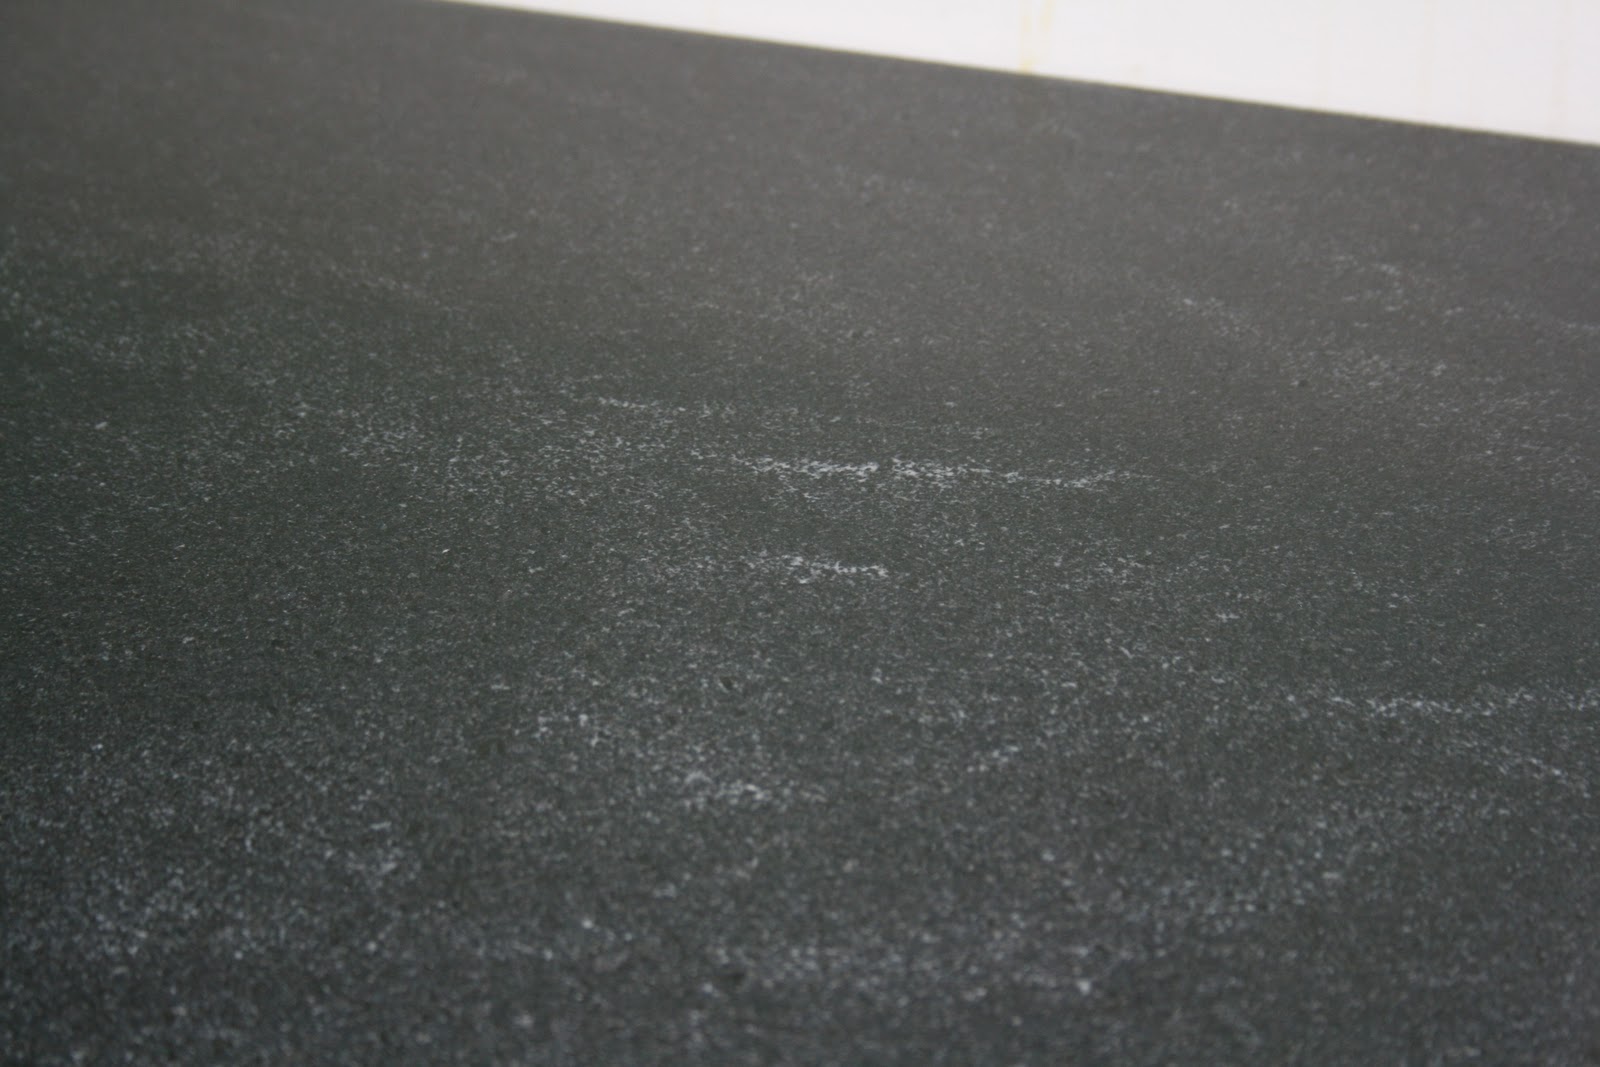
The above blue countertop (want it?) was replaced with honed Jet Mist granite…
(dark charcoal grey with random white veining)
Back Splash Tutorial:
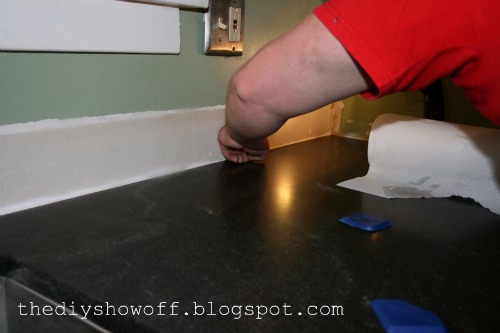
1. Apply caulk to gap where countertop meets the wall. I’m not sure why I didn’t get a picture of the caulking gun…but we did use one. (Just didn’t want you thinking it was magic, in case you were thinking so.)
2. Use a DAP Pro Caulk Tools to make an even/straight line. Love this little blue plastic tool!
3. Prep area. Cover counter top or clean as you go. Protect the granite!
4. Starting at the edge of the counter, decide how your tile will end. We used a matching border from the countertop’s edge vertically and ended at the bottom of the end of the wall cabinet. We mitered the joint where vertical meets horizontal.
5. Apply border and tile with OmniGrip Adhesive using a trowel. Coat the wall (can be done directly to drywall). It’s pre-mixed so there’s no guessing on consistency and this product works really well for a back splash.
Pardon the blurriness…DIY does not wait for camera battery to recharge.
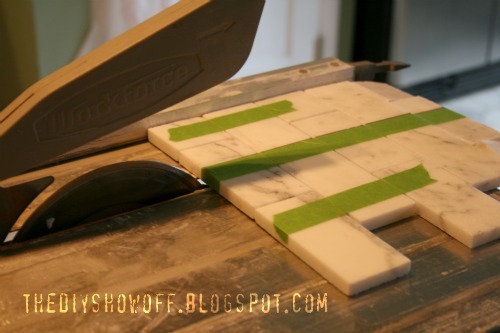
6. To lessen breakage and crumbling when cutting (the vibration nearly pulverizes edges of the marble), we used Frog tape on cuts as well as to secure mosaic while cutting.
Don’t forget your safety gear!
7. Apply pressure to ‘set’ tiles in place.
Another shot of how we ended the tile on the countertop/cabinet edge.
8. Let dry at least 2 days.
9. Seal tiles using Tile Guard. Wipe on with a rag. It dries within seconds.
10. After drying, prep area by covering countertops or clean as you go – dried grout will be hard to remove.
Have a bucket of water handy.
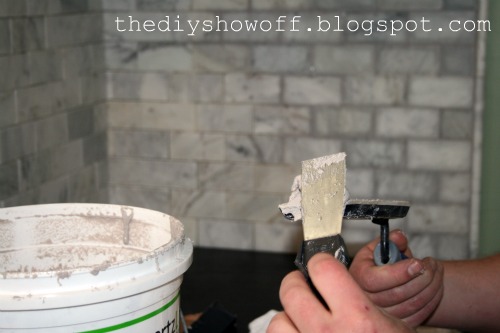
11. Apply generous amount of Quartz Lock to the float using a putty knife.
Pre-mixed. Put the lid on and save leftover for a future project.
12. Add grout to spaces between the tiles, filling every gap, working in small areas going to next step and starting again with the next area. Smoosh it in the gaps.
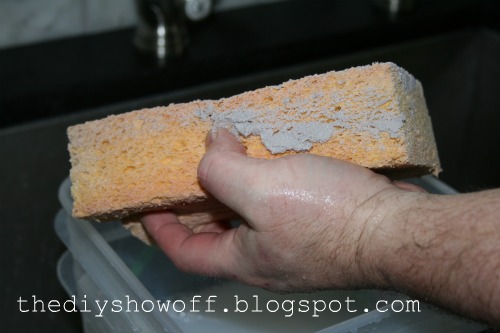
13. Using a well-wrung wet sponge, wipe in a diagonal motion (except when necessary against countertop and cabinets), wiping away grout from tile. Grout should stay in the cracks and gaps, but be cleaned away from tiles.
14. Rinse sponge.
15. Repeat.
16. Let dry. Grout will hide imperfections/crumbled edges of marble tile. Don’t stress with tiny chips. Grout will disguise them. We have an old farmhouse, so our motto is “imperfection adds character”.
Before Grout:
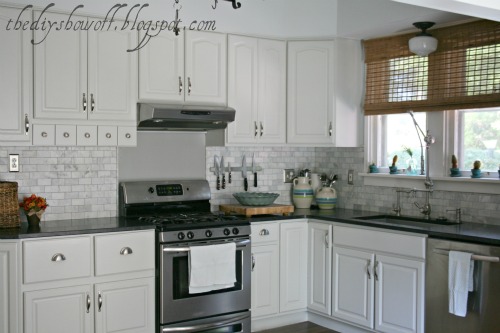
After Grout:
Admire work!
Again, before when we bought our home in 2007…
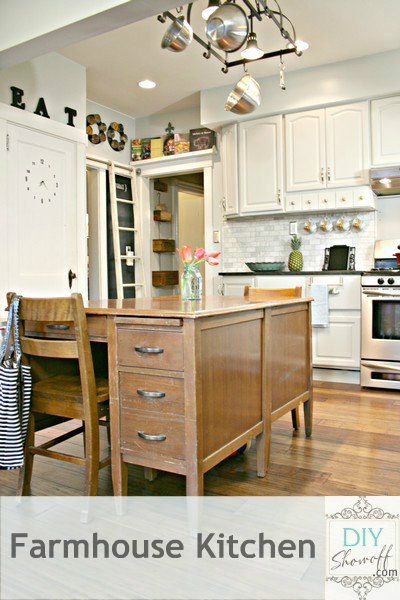
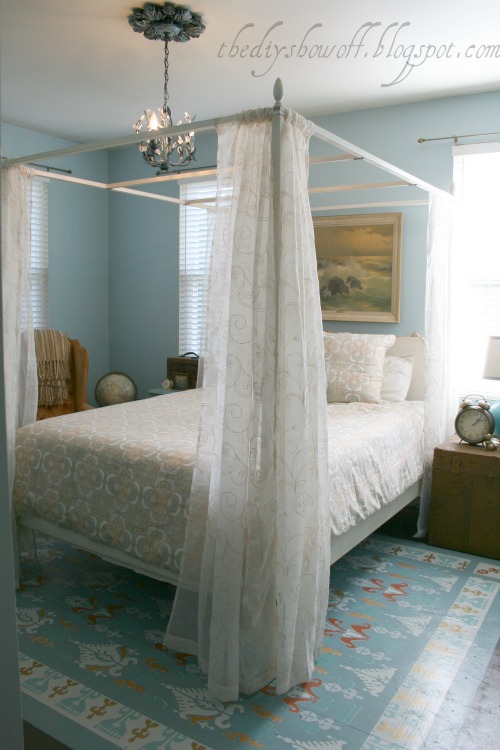
to this…
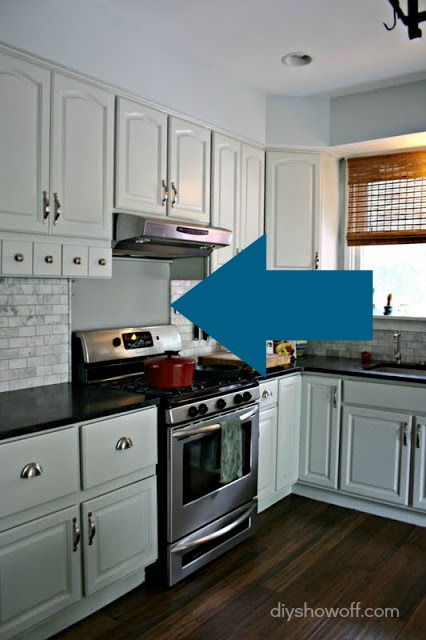
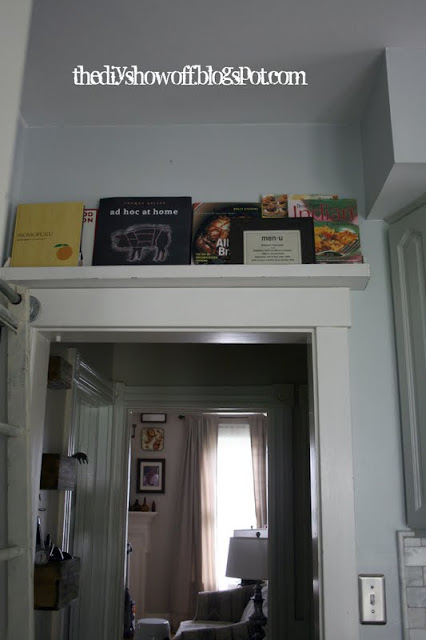
A work in progress 2011…
Next on the list, one of these:
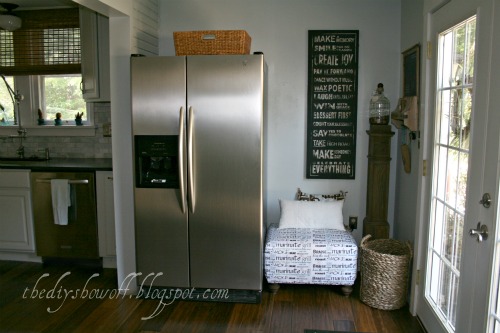
- Tearing out existing pantry to make room for future stand alone fridge and freezer (which won’t happen by time of reveal, but saving for it).
- Removing vinyl flooring – yipes!
- Building a larger built-in pantry. Original plans were for a table and open shelving. Russ has decided he’d like it built in. Not sure if it’ll be cabinetry or framed-out with doors. Still planning.
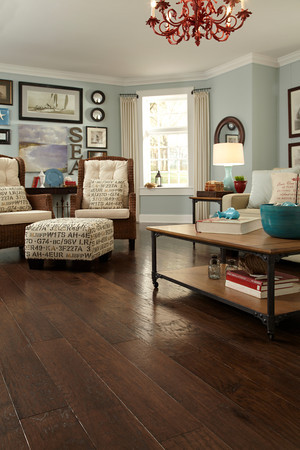
- Installing new wide plank hardwood or bamboo floors. Still on the hunt for our perfect floor.
- Painting ceiling and walls. I think we’ve agreed on a color!
- Framing a window and replacing French door frame with something more original looking.
- Adding reclaimed barnwood to make a header in the middle of the room look like wooden beam.
- Painting trim, freshening up old and primer/paint for new.
- Running electrical to new island.
- Building an island. DIY? Maybe incorporating reclaimed barnwood.
- Decorating!!!
~*~*~*~
Do you have a DIY project to show off this week? I’d LOVE to see it! Or please visit the links to get inspired!
If you’d like to link YOUR DIY project post to The DIY Show Off Project Parade:
1.You must use the button above and link to this post to share the linky love.
2.Include your name or blog name and project title. Add your permalink (not your blog url, but your DIY project post url). Feel free to link a Past Post, just invite your readers in a current post with a quick note.
3.Or email your link to thediyshowoff@gmail.com and I will add it for you.
4.If you notice your link has disappeared -please add the link back to The DIY Show Off to your post today, a button or a quick note to your readers about the party and try again! I love when everyone participates and readers check out everyone’s links, but I think the return favor of linking back is the nice thing to do so everyone plays fair and enjoys all of the projects and links. Also – this blog party is for DIY projects only. Links not related to DIY will be deleted.