There’s snow in the weather forecast and I can’t hold off any longer. Time to crank the Christmas carols and get into the Christmas spirit! I’ve heard about some other blog linky holiday parties coming up! If you have one coming up, please send me the info! I’d love to share them during my holiday feature so spread the holiday cheer!
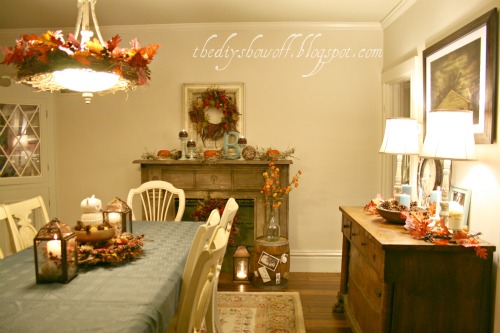
Who’s thinking about the holidays? There are 44 days until Christmas. We have a vacation coming up before that, so my plan is to have my decorating done in November. I know I’ve seen a few holiday related posts out there and it’s rubbing off. I’m ready for Christmas music, twinkly lights and holiday decorating. I recently decorated my dining room for Emily Henderson’s Holiday Guide. Then took it down and decorated for Fall and I’m ready to take that down and start all over again. Crazy, isn’t it? Here are some of my pictures from the feature:
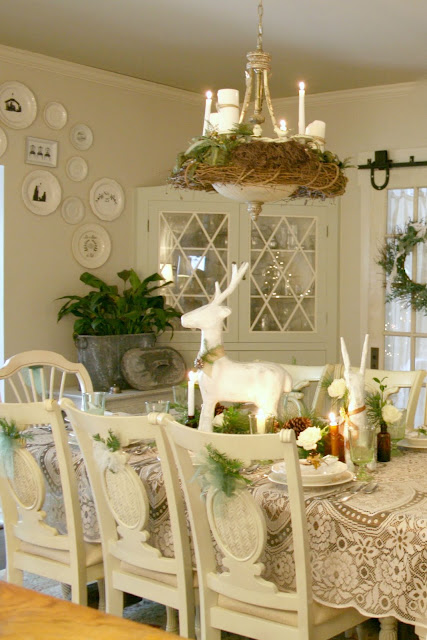
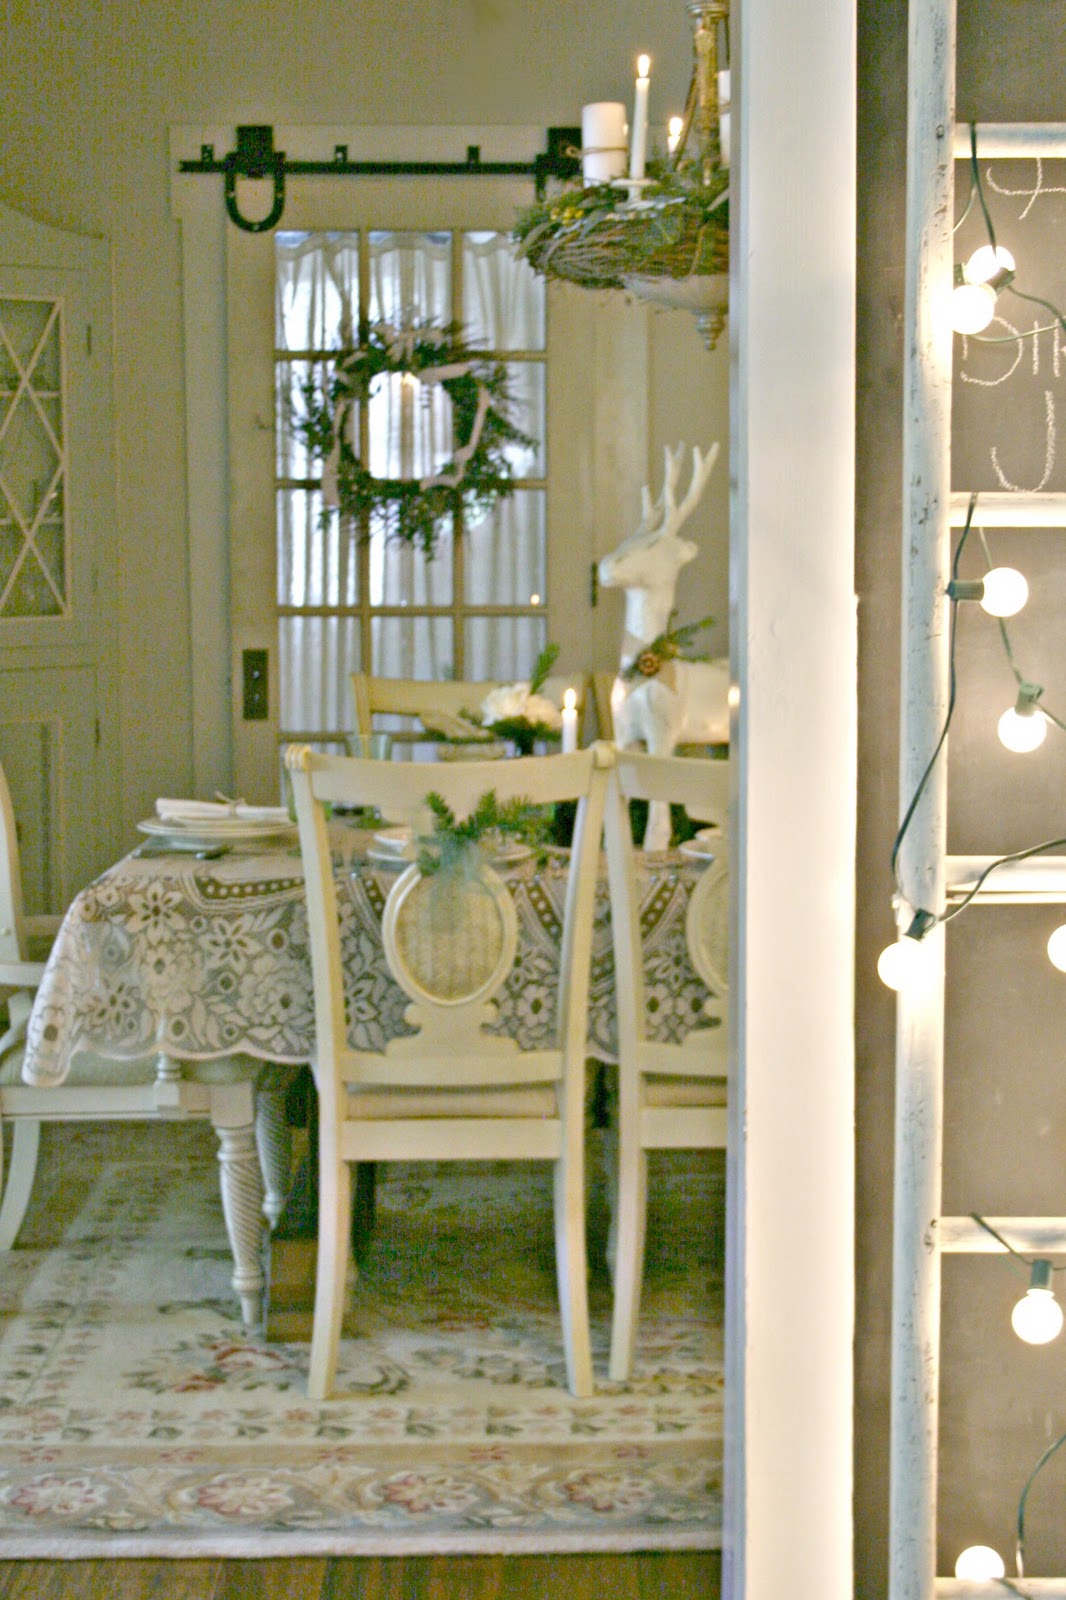
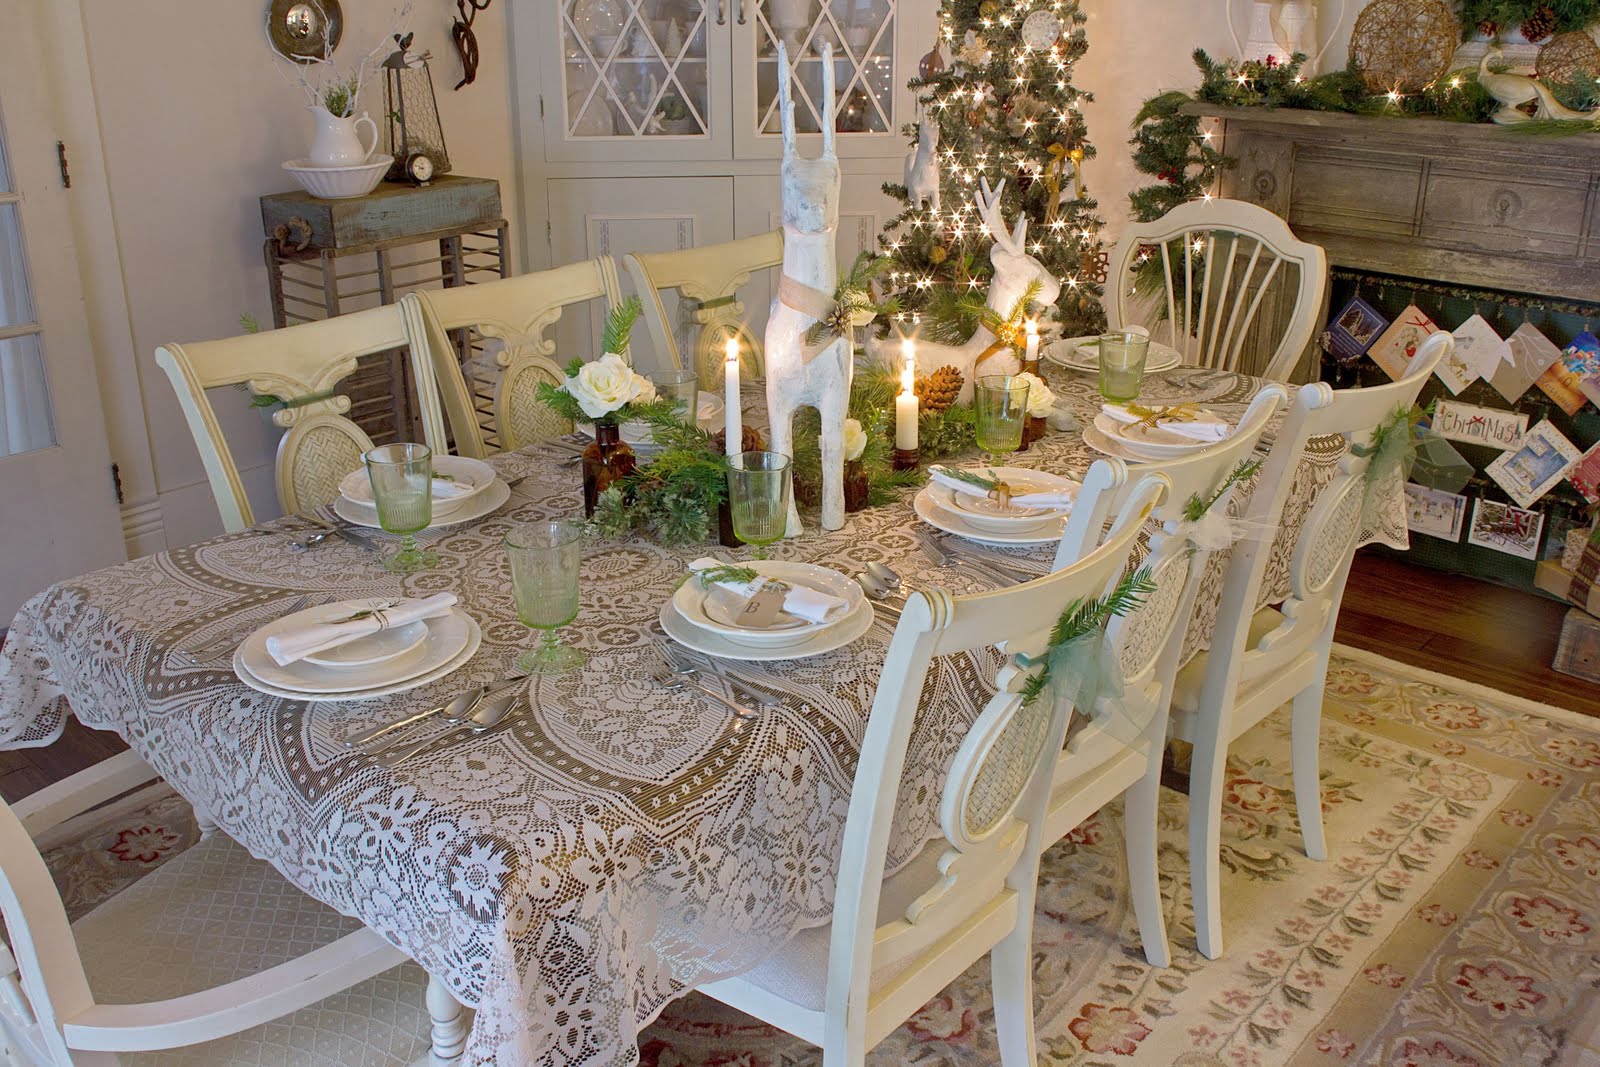
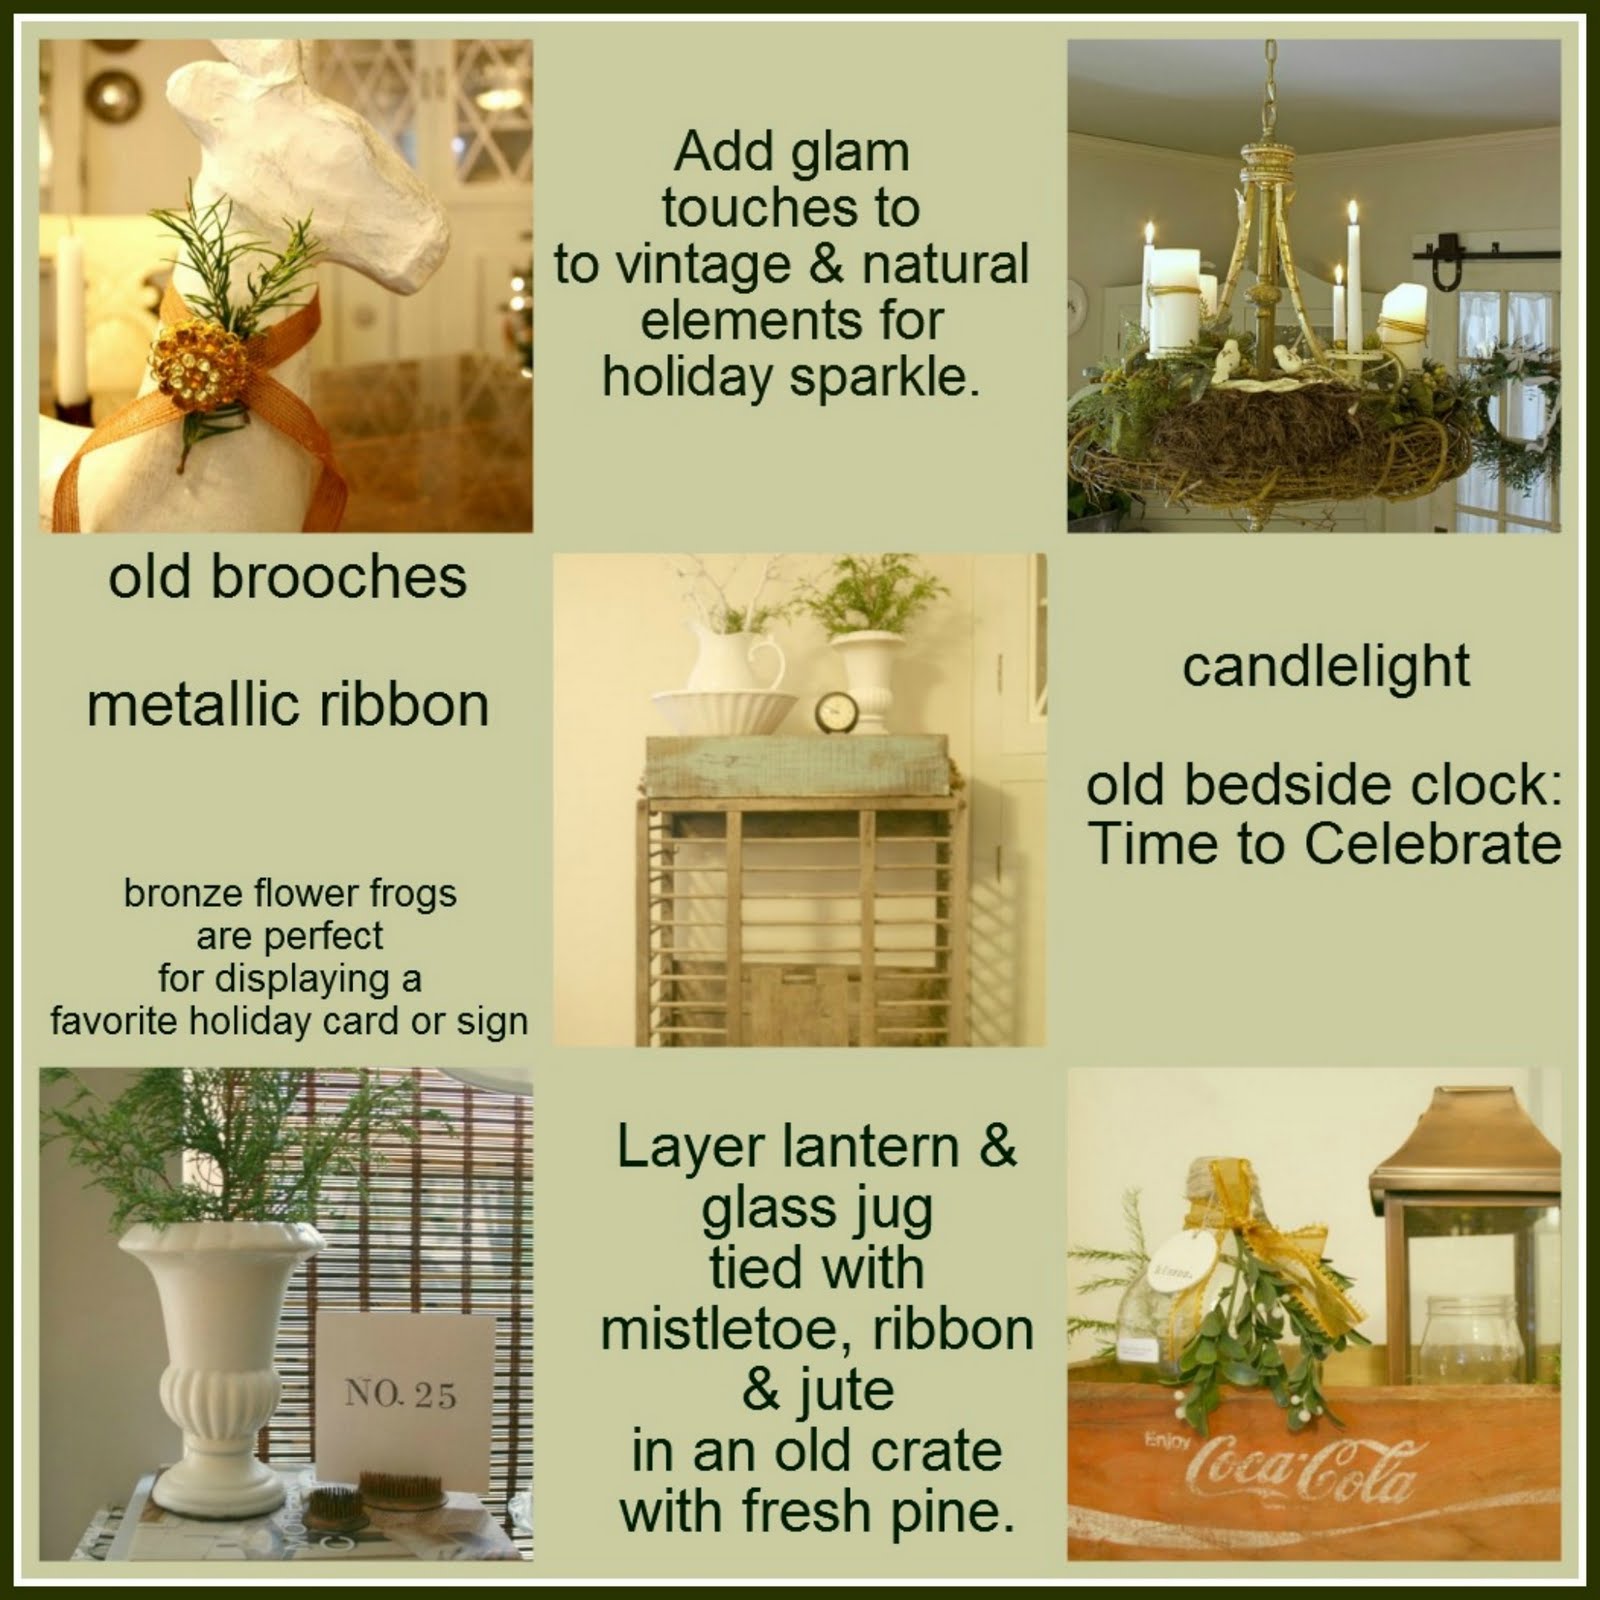
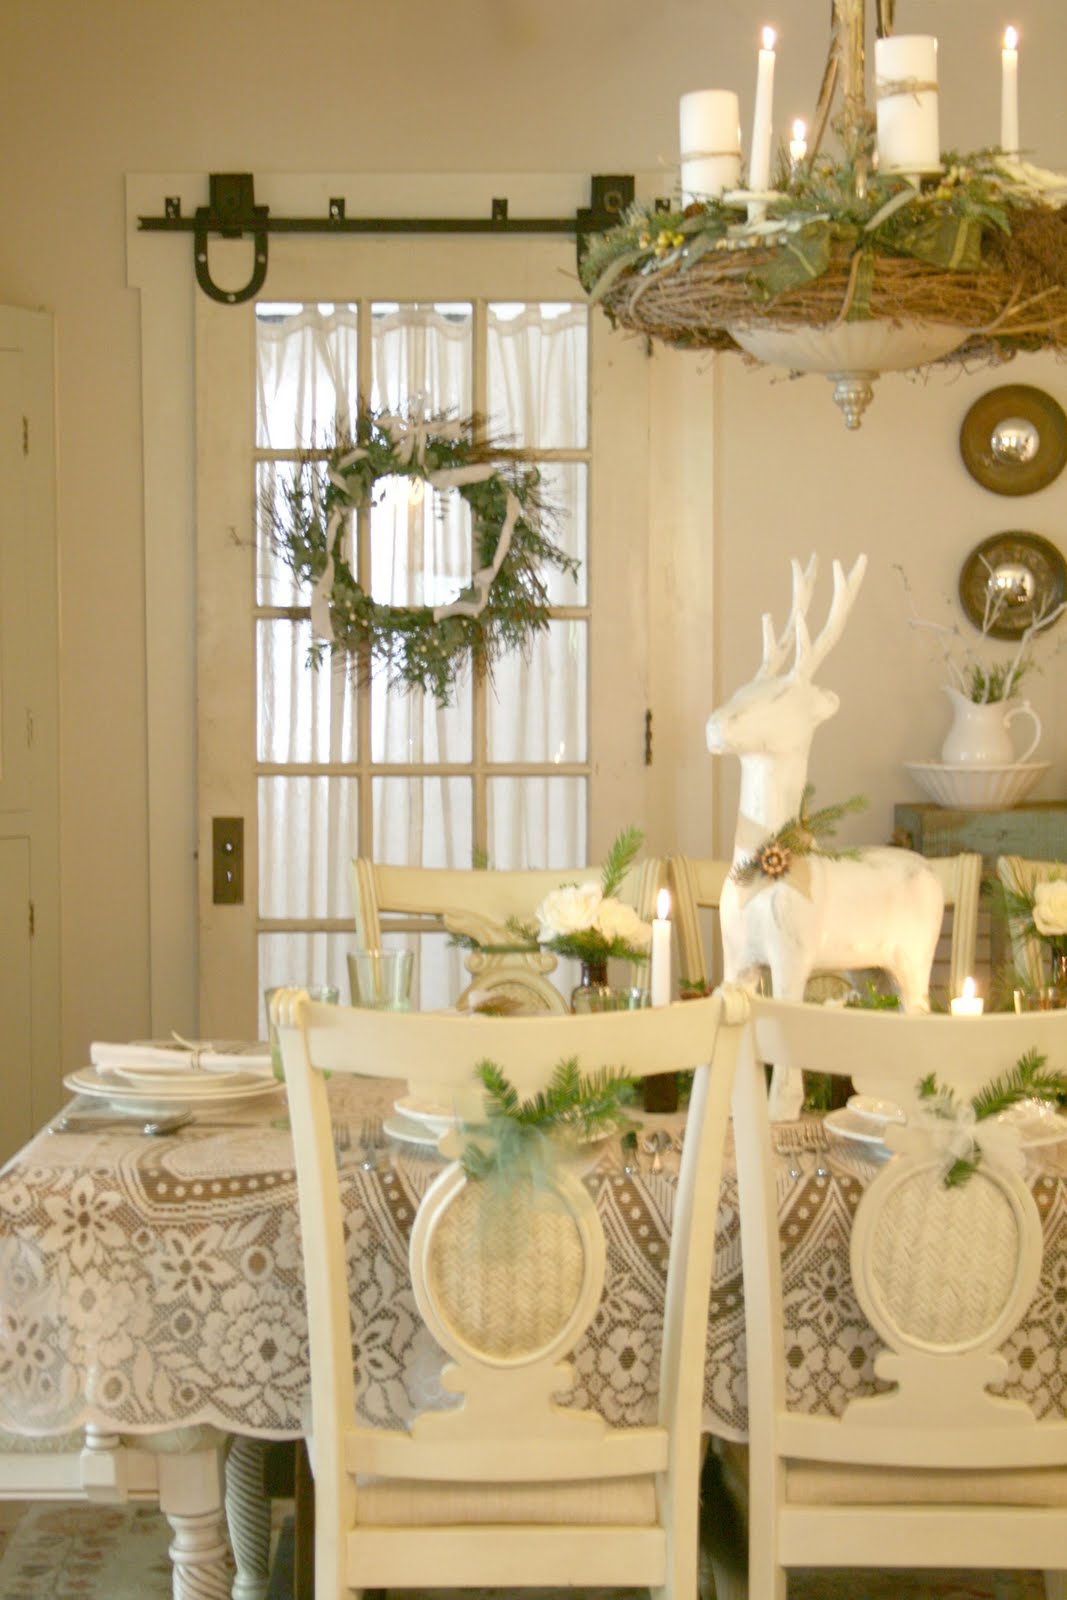
Natural elements, fresh pine and candles.
Centerpiece is made up of paper mache reindeer on a bed of pine,
some brown glass bottles hold candles,
some serve as bud vases for fresh white roses.
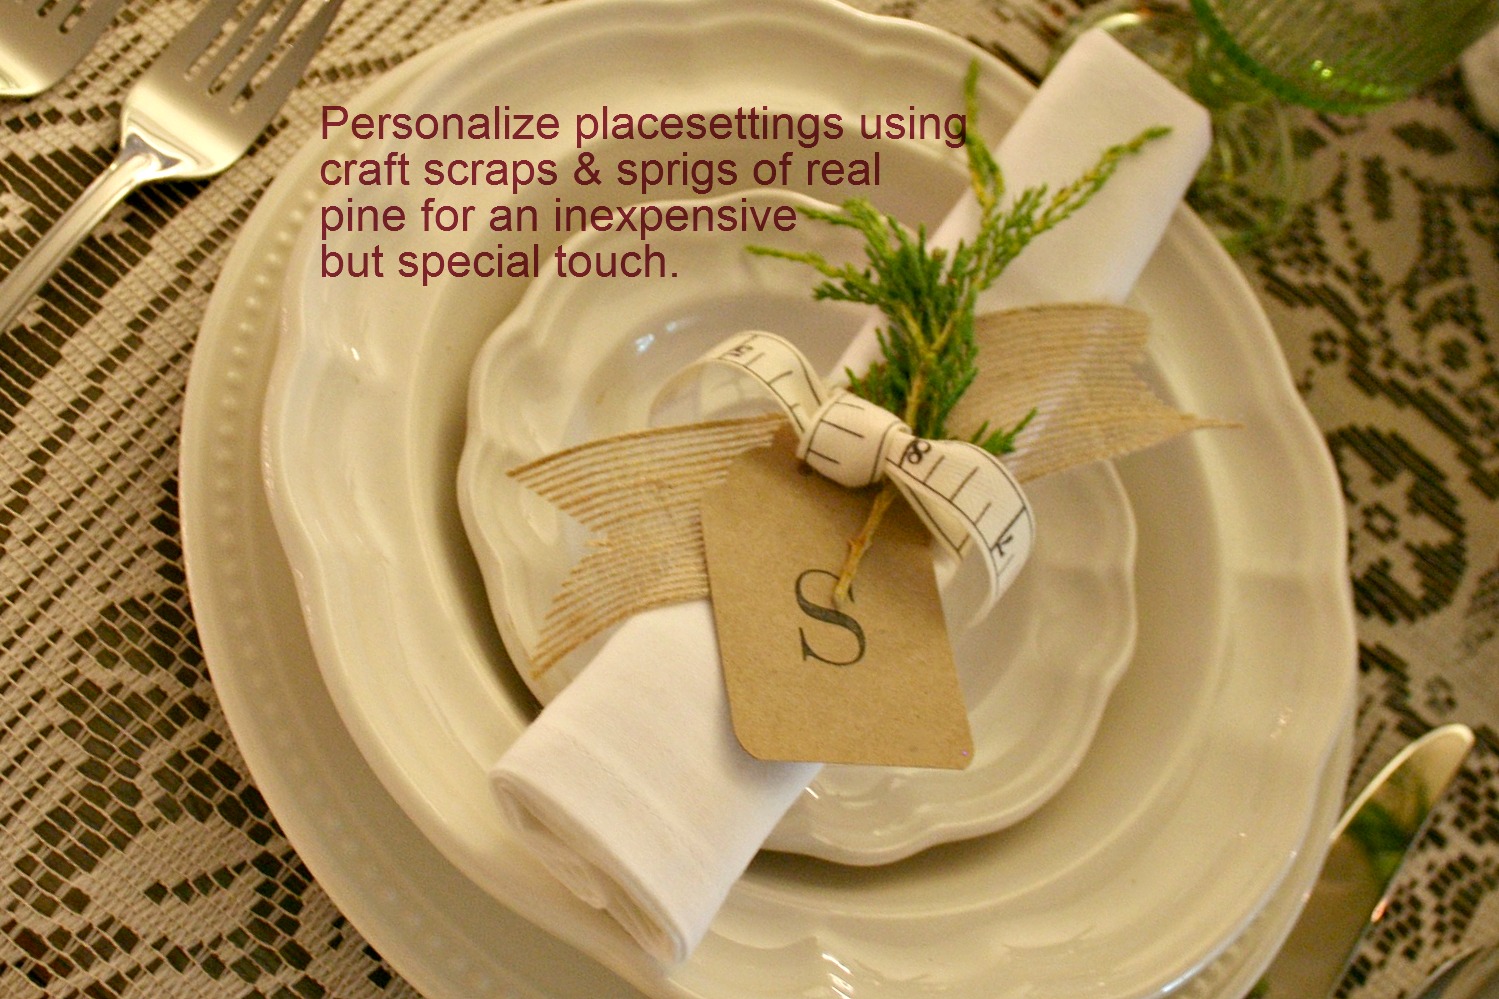
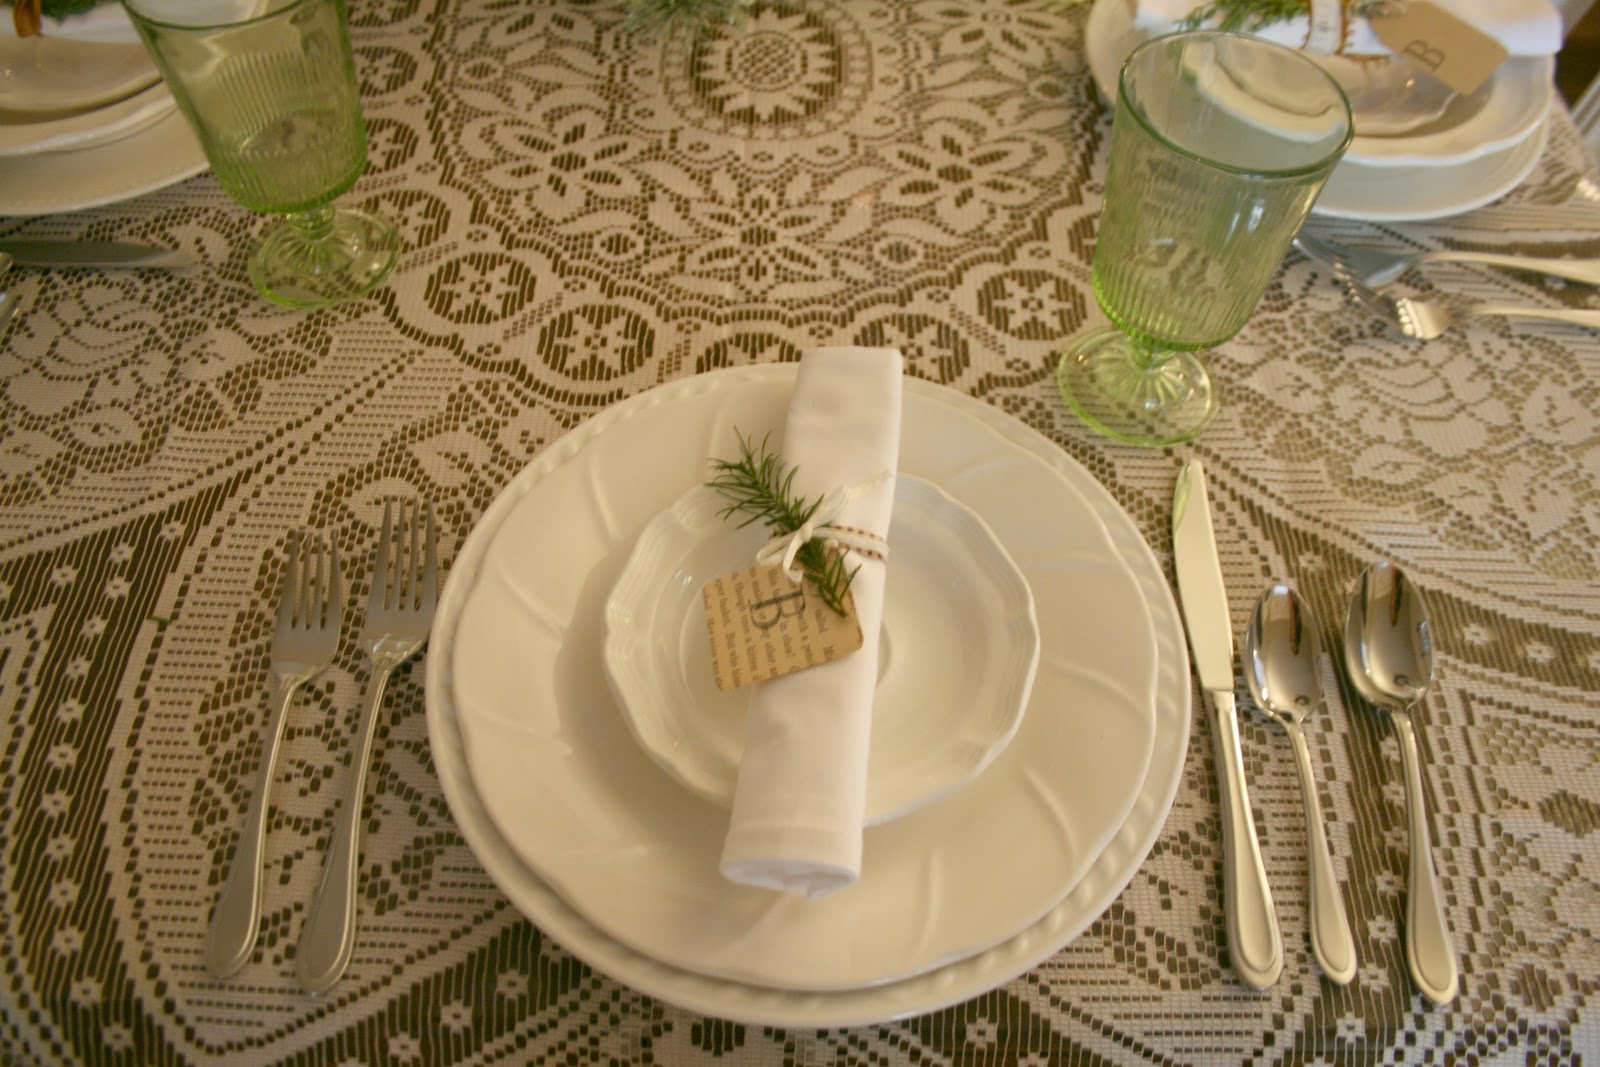
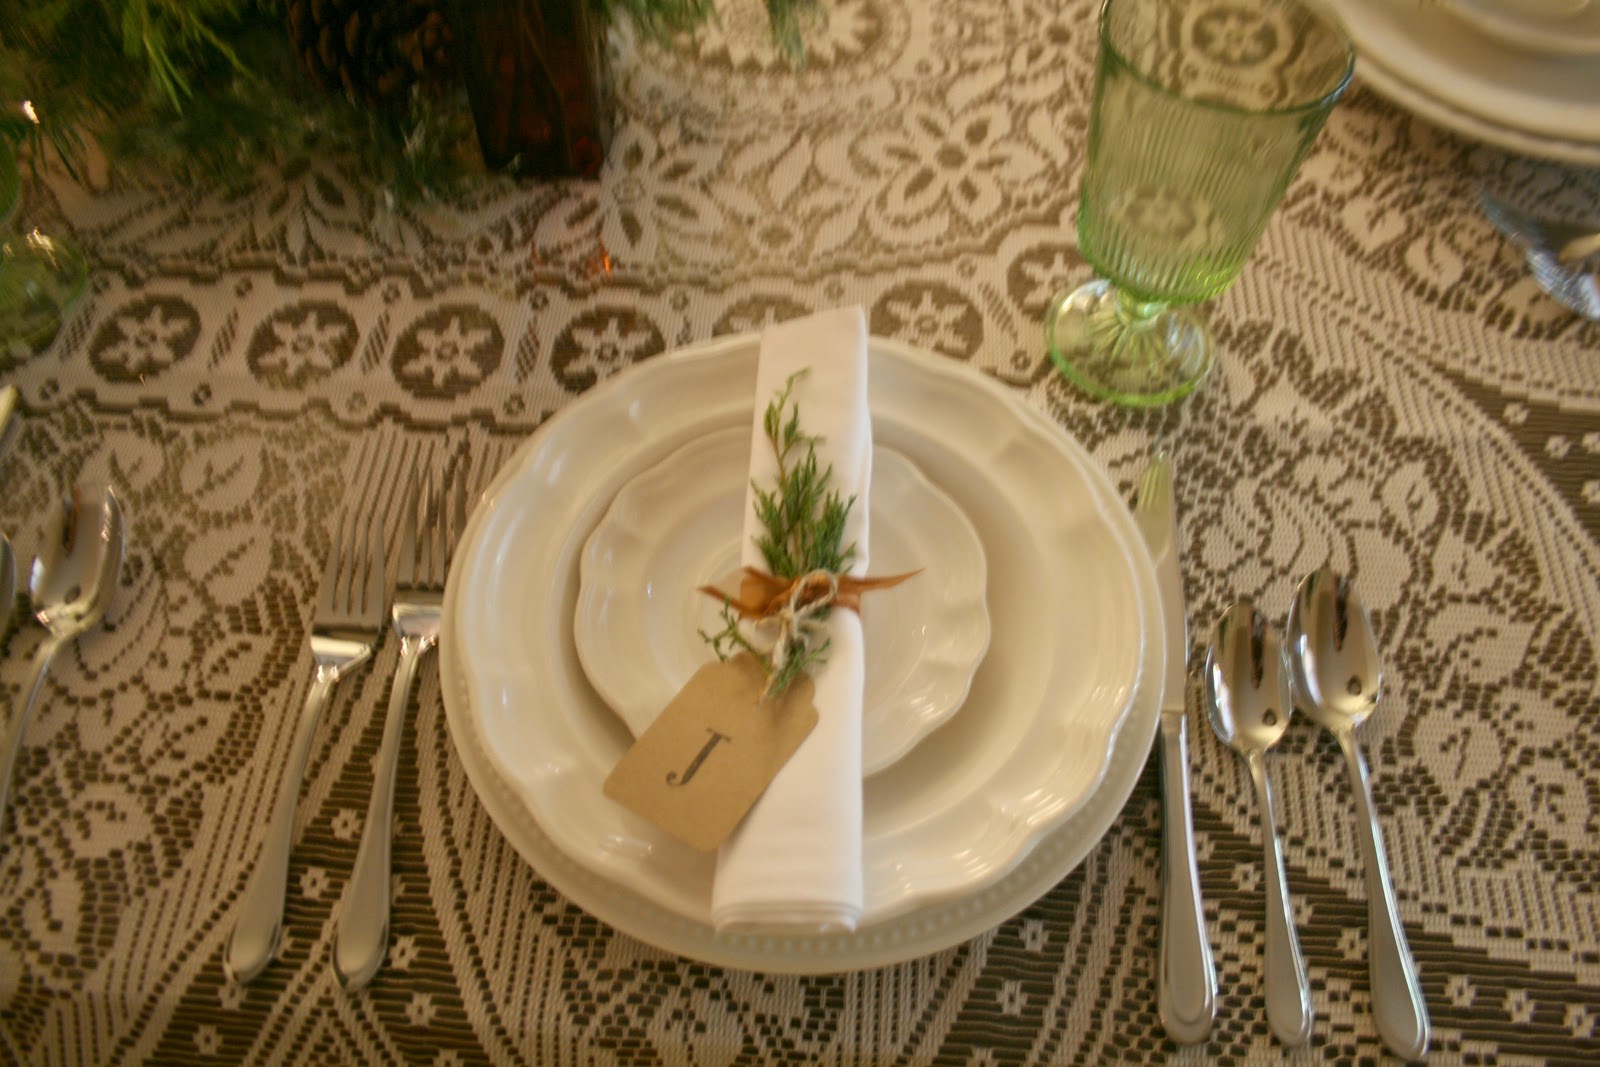
Monogrammed placecards: Stamped book page square, pine sprig tied with ribbon…
Simple but festive…
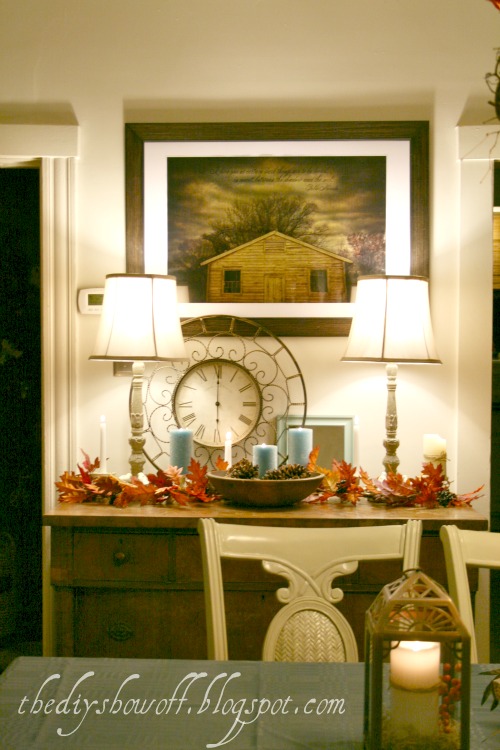
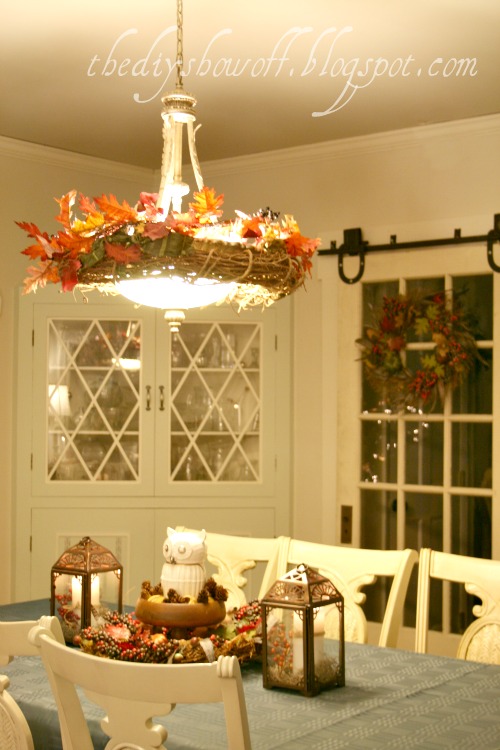
Even the light fixture looks festive!
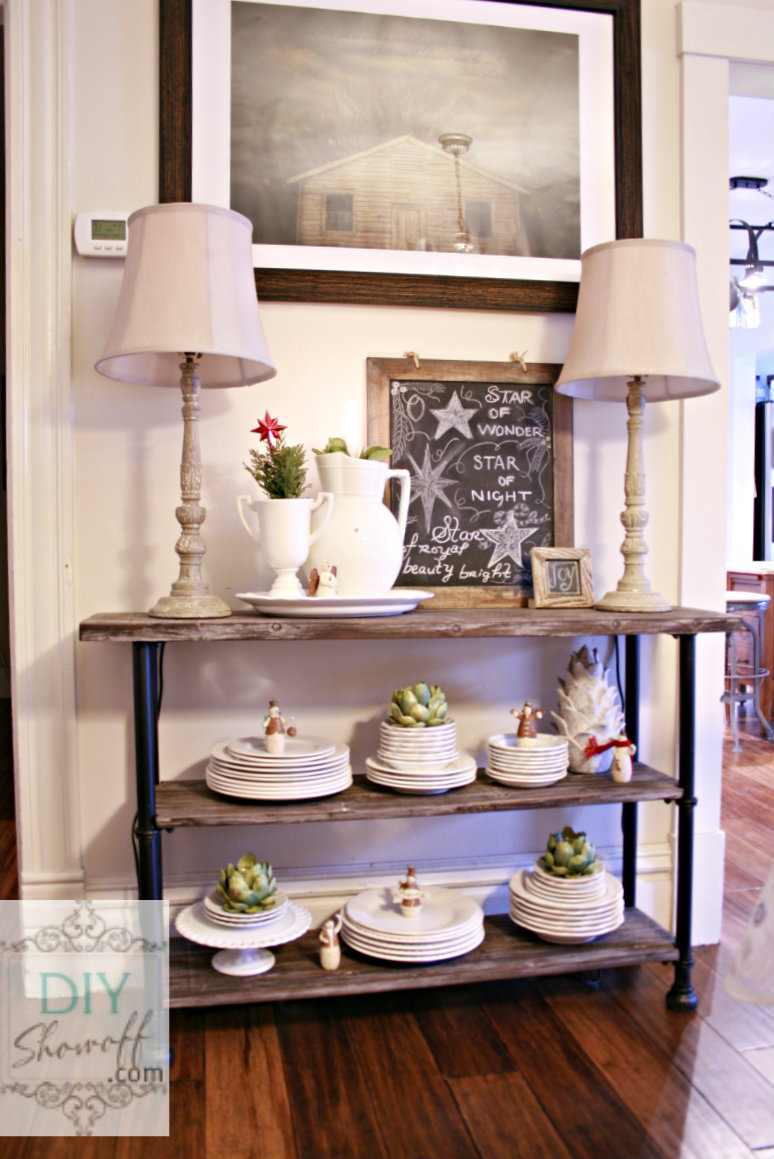
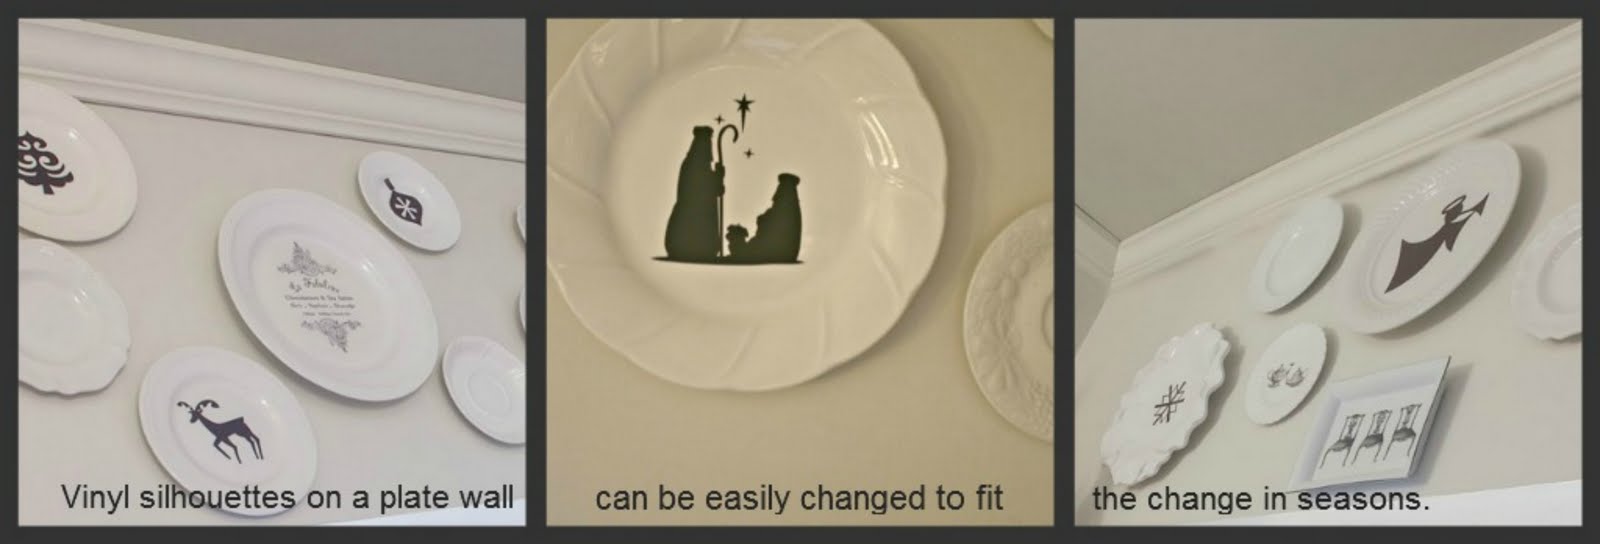
Holiday themed vinyl cutouts on white plates can be changed to reflect any season.
What do you think?
Next week, I’ll share a few tutorials of some DIY decorating projects in our dining room.
See ALL of the DIY Holiday Highlights party links including previous years for TONS of Christmas and holiday inspired decorating and DIY projects!
Please share your holiday posts below!
You must use the button above in your blog post or side bar to share the linky love.
Add your permalink (not your blog url, but your holiday project post url which is the web address that goes directly to your holiday project blog post, not your blog address). Feel free to link a Past Post, just be sure add the DIY Holiday Highlights button to your side bar.
Or email your link to thediyshowoff@gmail.com and I will add it for you.
If you notice your link has disappeared–please check the content of your post. Is it holiday related? Add the link back to The DIY Show Off to your post today with a quick note to your readers about the party and try again!
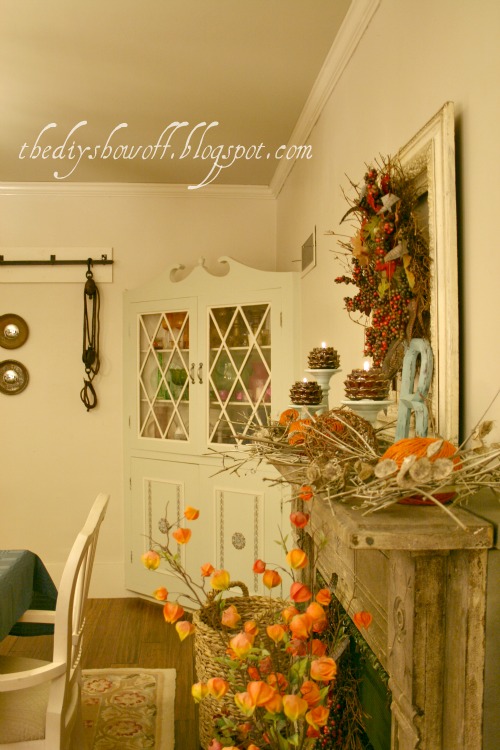
We have three built-in corner china cabinets in our dining room. Two are identical.
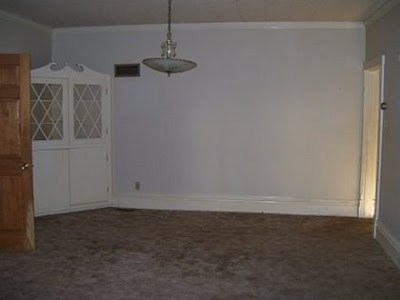
I made a mistake when we moved in. I was in a rush to get things cleaned up and painted. I was a little inexperienced with painting too. My paint job was semi-gloss over semi-gloss without sanding and the paint started to peel. Before:
The bottom doors were a little boring too. Just plain and we didn’t like the direction of the handles.
I sanded all of the wood using my Dremel Multi-Max.
I had to do some scraping too. Live and learn!
We added some picture frame molding to the doors to give them a little more interest. We mitered the joints. Since the trim was so narrow, we used Locktite to keep them in place rather than finishing nails.
We didn’t know it at the time, but always ask your True Value Hardware Store associate if they sell lumber. We just recently learned that our True Value carries lumber! It’s in the warehouse! Good to know!
We added weights and the let them dry a few days.
Then we brushed on two coats of primer.
I use Purdy and Benjamin Moore paint in Silver Sage. I did use painter’s tape on the edges of the built-in because of the corner angle. Normally, I can get a perfectly straight line with my Purdy paintbrush and a sturdy hand.
I didn’t repaint the diamond glass door trim on the top doors and I used the same paint there on the picture frame molding. I’ll have to update with pictures during the day (soon). Sometimes the Benjamin Moore silver sage looks green, sometimes blue. It’s subtle against my linen colored walls. I love it! We still need to add the handles but we’re trying to decide if we want to go with something completely different before we start drilling holes. 🙂
More pictures of our dining room makeover. It feels like something is missing…I love when Niski walked into the reveal pictures. 🙁
Office door above used to look like this…
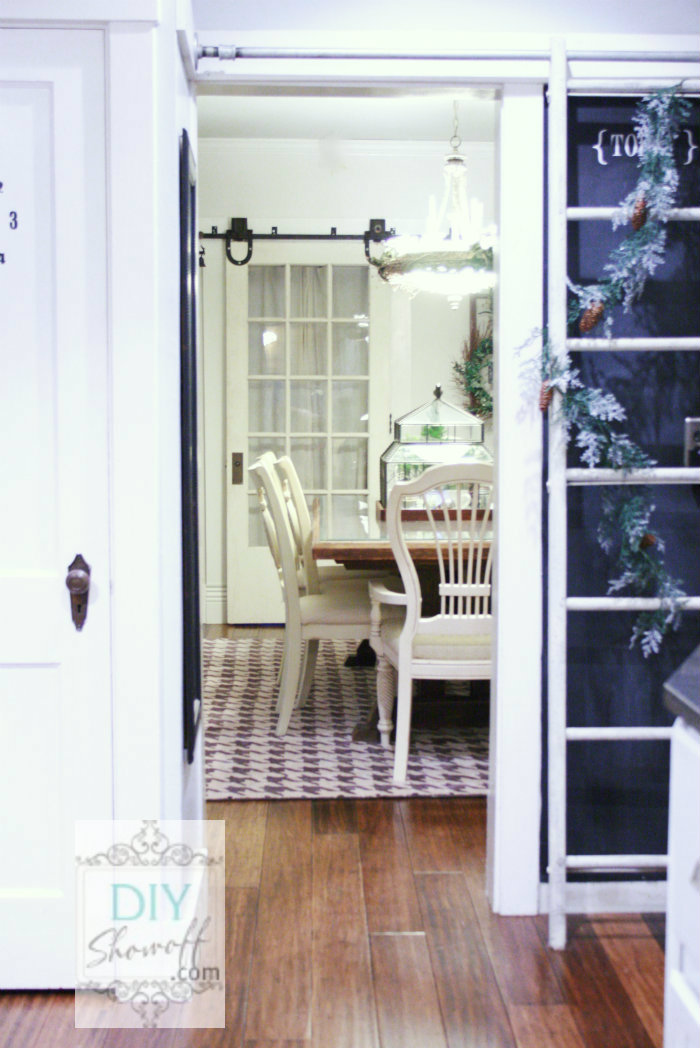
We found an original French door in the barn. The above door leads to my office and a part of the house that was added on a couple decades ago. As you can see, there no farmhouse charm. Inspired by Amy of WhisperWood Cottage, we were inspired to bring the French door back into the house . The barn door hardware and track were $30 on CraigsList (a huge difference from $300-500 brand new!).
We removed the old door frame trim. The Dremel Multi-Max was used to cut into the old trim so we could install trim with more character. Removing the entire piece of trim to be able cut it would have been a much larger project (taking pieces of plaster wall with it, etc.) so my Dremel Multi-Max with the cutting attachment was perfect for the job!
Our new trim is similar to what is in the rest of the house. We took extra care to attach the top beam into the studs since it will support the weight of the track and door…
We used carriage bolts to attach the horseshoe brackets to the French door.
Mr. DIY shows me what it will look like when it’s hanging…
When we bought our house, this is what the dining room looked like facing the back yard. There was a single door to go outside, nasty carpets and dirty white walls.
When we moved in, the mocha walls (the ceiling is a few shades lighter – Mr. DIY drywalled that ceiling after taking down stained tiles). It was a big improvement but it felt so dark even after we installed French doors to the back yard.
Our new reclaimed barnwood table just didn’t look good with the mocha shades. We used Mythic Paint in bleached linen to lighten things up.
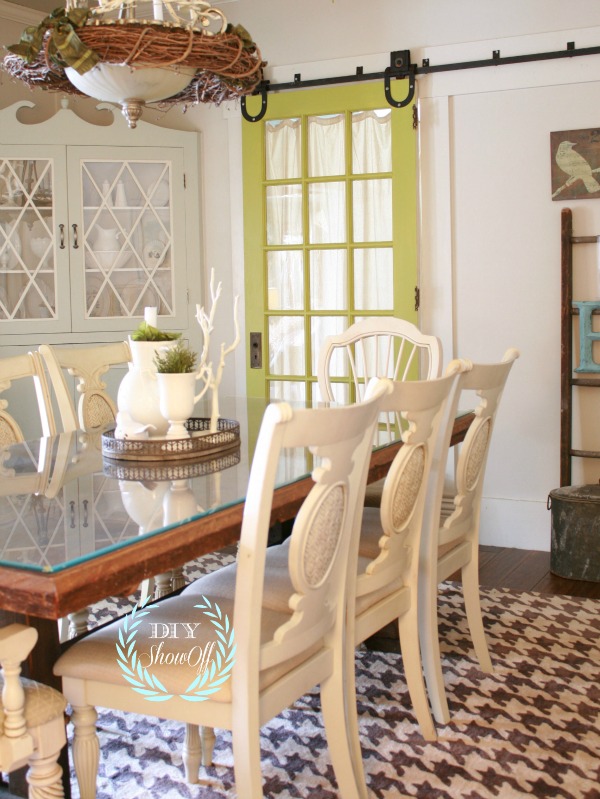
Now the dining room feels like it belongs in our old farmhouse…
I was one of the bloggers selected by True Value to work on the DIY Squad. I have been compensated for my time commitment to the program as well as my writing about my experience. I have also been compensated for the materials needed for my DIY project. However, my opinions are entirely my own and I have not been paid to publish positive comments.


 See that nasty carpet?