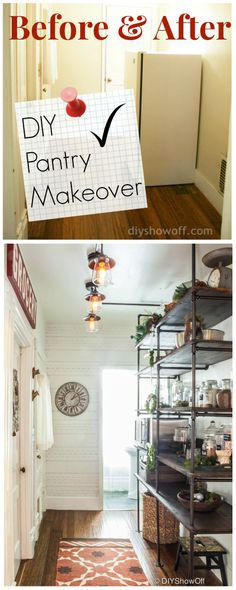
Organizing a pantry doesn’t have to mean a full renovation. With a few DIY projects and thoughtful storage solutions, you can create a space that’s both functional and beautiful. Here’s how we transformed ours step-by-step.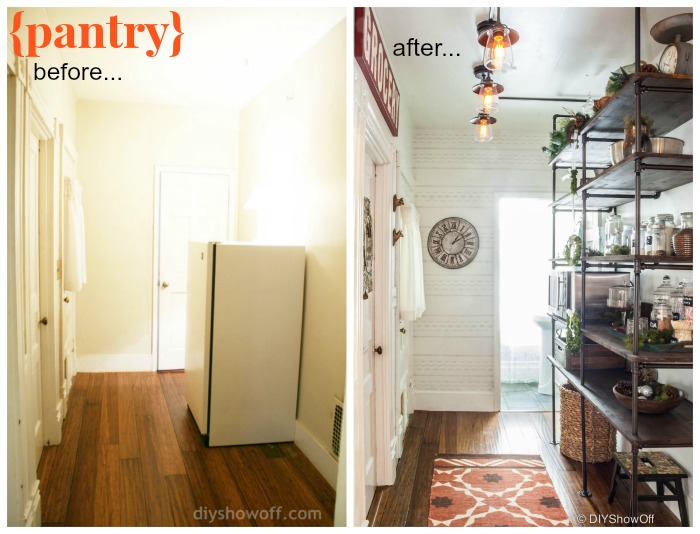
Did that space actually grow larger and taller with the addition of shelves or is it just me?
Planning & Inspiration
When we removed a pantry closet in our kitchen to move the refrigerator (more on that here), it decreased valuable storage space. What were we thinking?! What to do? Well, after much thought, the solution was to utilize an odd room/hallway to create more storage space. Lucky for us, that space exists in our home right behind the kitchen. Jackpot! Kismet. Fate. Whatever – it was finally time to make it happen!
The space is bigger than a hallway but six (6!) doorways make it too awkward to be a room. There are doorways opening to the kitchen, dining room, living room, old cellar stairwell, enclosed porch (original front door) and half bathroom. We walk through that room a gazillion times a day.
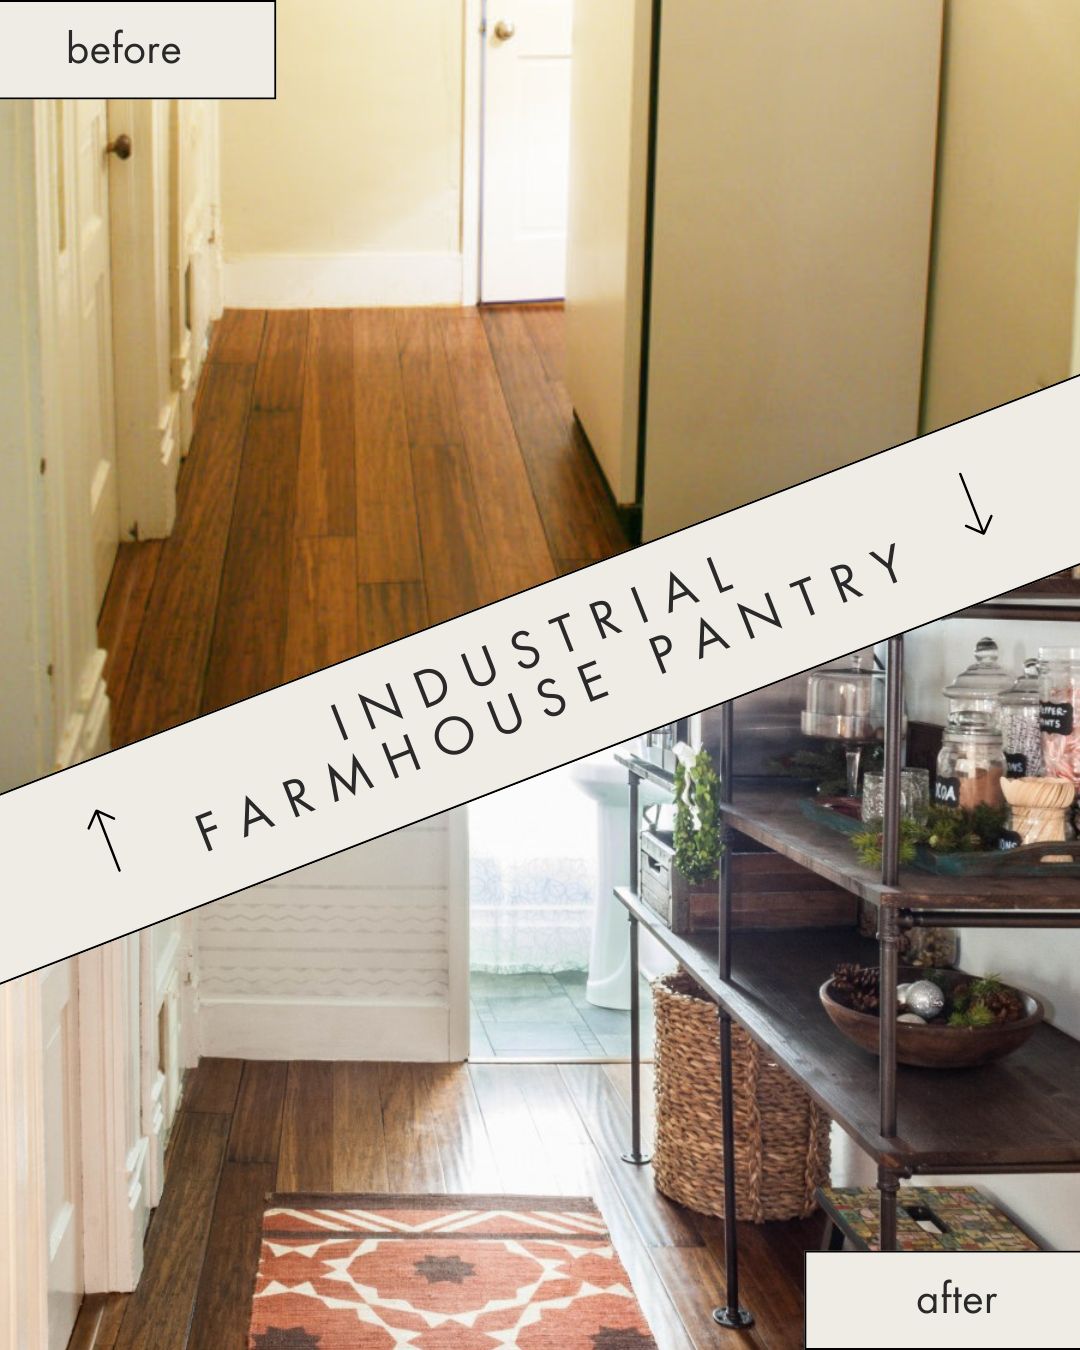
It’s approximately 6 ft. wide and 9 ft. long with 9 ft. ceilings. Ever since previous owners enclosed the front porch and re-routed the front door, this poor former entryway has been feeling forgotten. Perfect for some custom DIY industrial pipe shelving and a new job description as ‘open pantry’.
Where is all started: The idea to one day call this area a pantry formed three years ago after drooling over this awesome pantry by Emerson Made on Design Sponge.
And then falling in love with this cool pipe shelving I spied at the Brick House…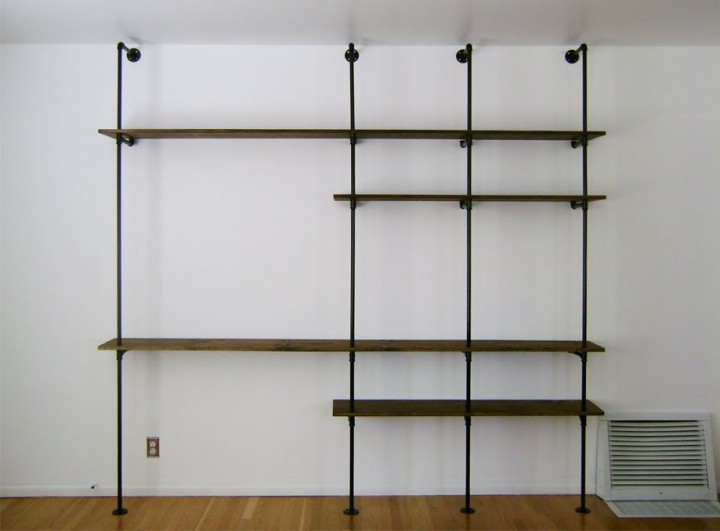
inspired the transformation of this space…
Before: Pantry Space
before – boring, useless, a lamp for light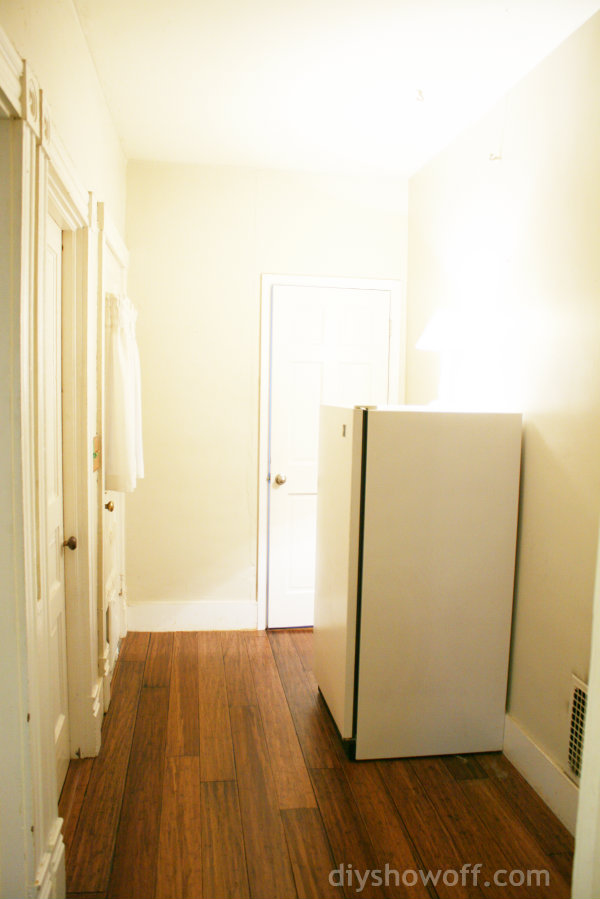
Pantry Organization Projects
DIY Shelving
We built custom industrial pipe shelving to maximize storage and fit the space perfectly.
Storage Solutions
-
baskets
-
jars
-
containers
Labeling + Organization
-
chalk labels
-
grouping items
Styling + Finishing Touches
Pantry Organization Tips
-
keep frequently used items accessible
-
use vertical space
-
mix storage + style
-
don’t overfill
Shop Pantry Organization Essentials
(affiliate links included)
-
shelving supplies
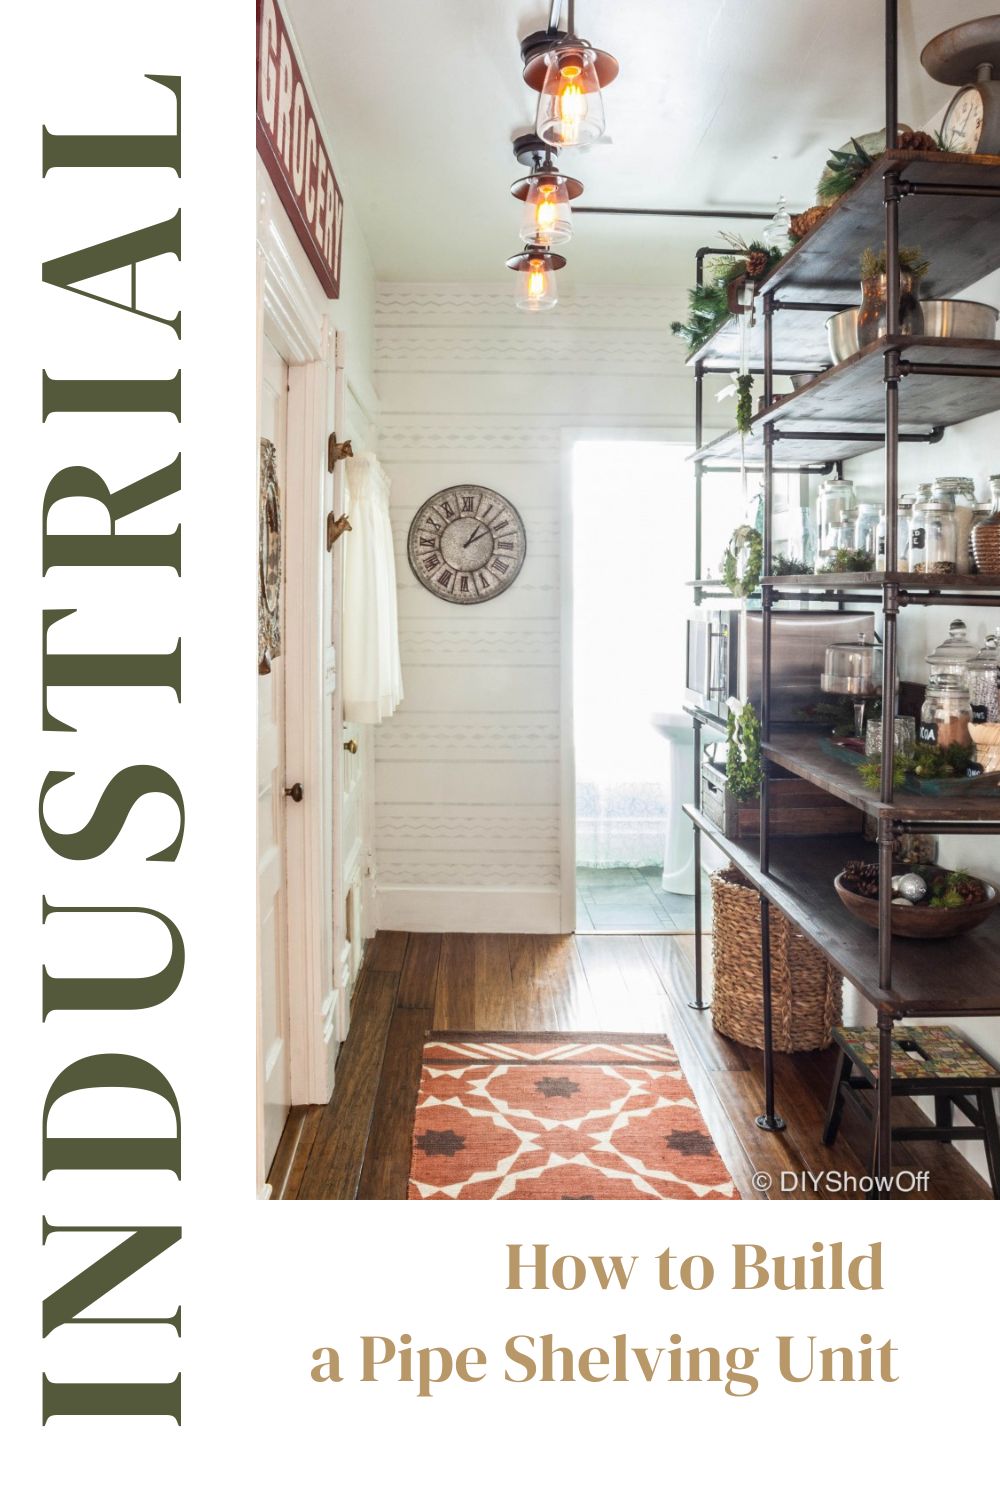
Final Result
Now: a functional beautiful open pantry area…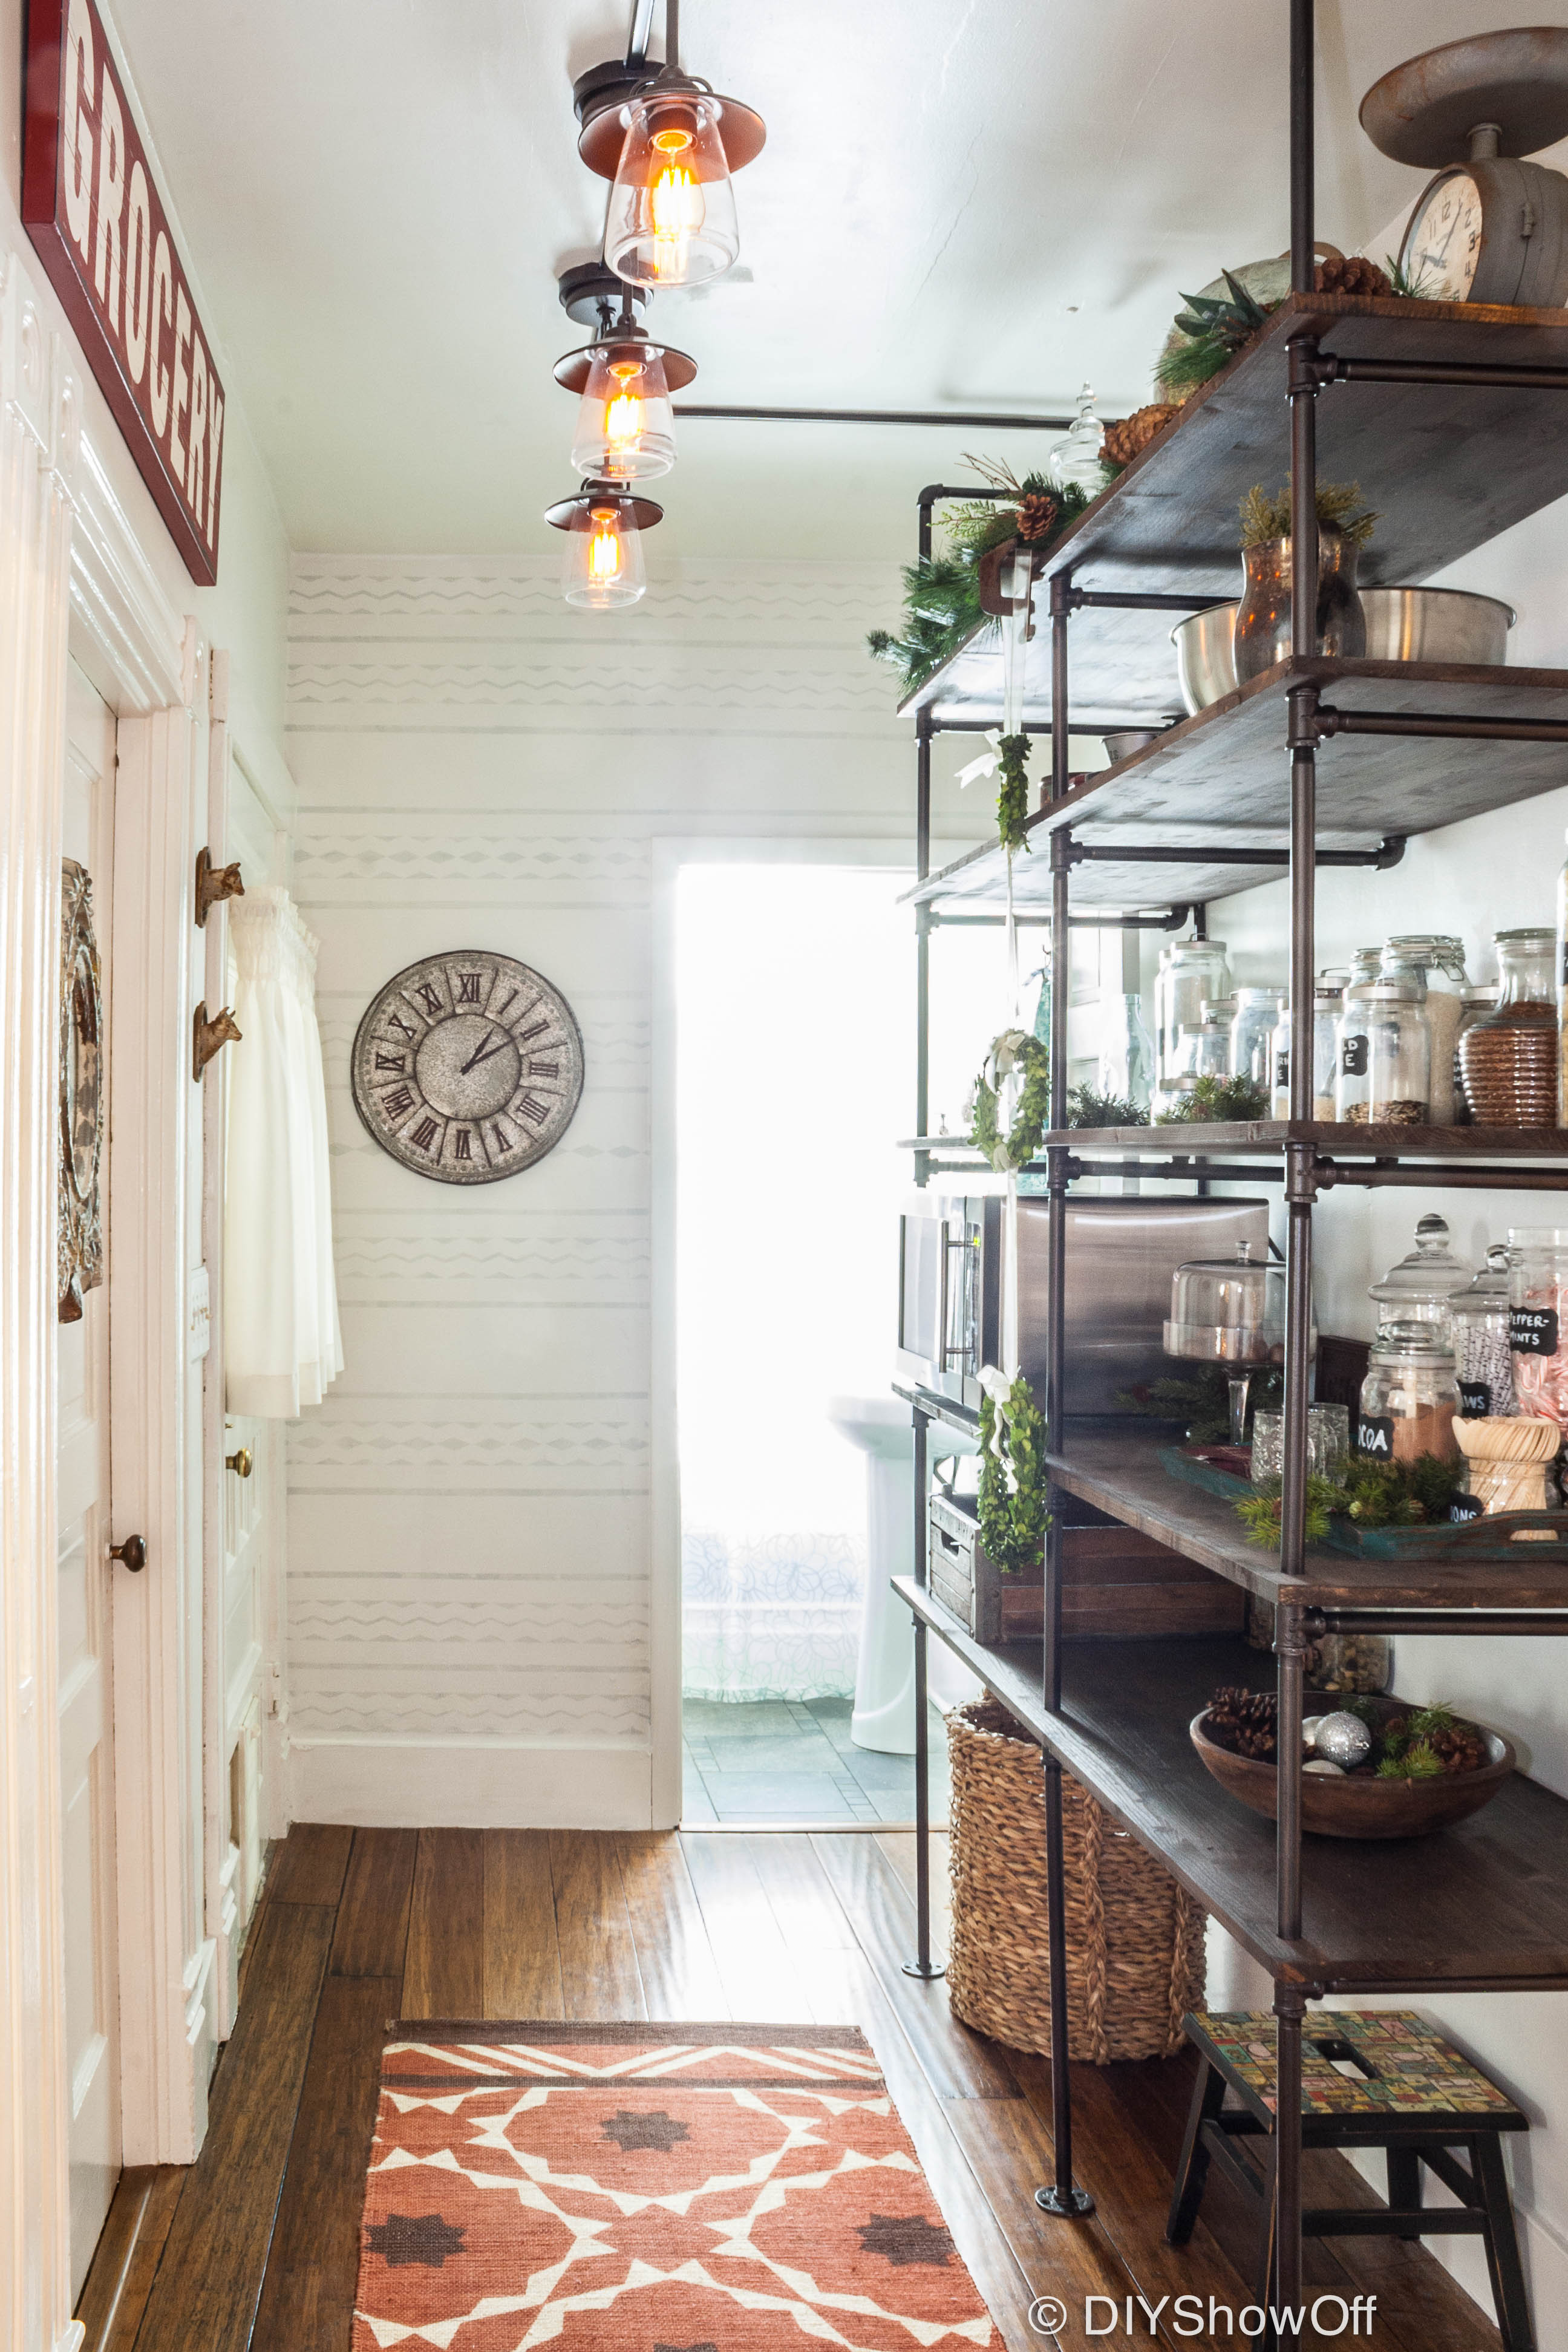
with new paint, new lighting and DIY industrial pipe shelving. It’s a small space…no room to get a photo straight on of the monstrous pipe shelves but plenty of walking room even with 20 inch deep shelving. I love storing dried goods in glass jars too.
Before from another angle…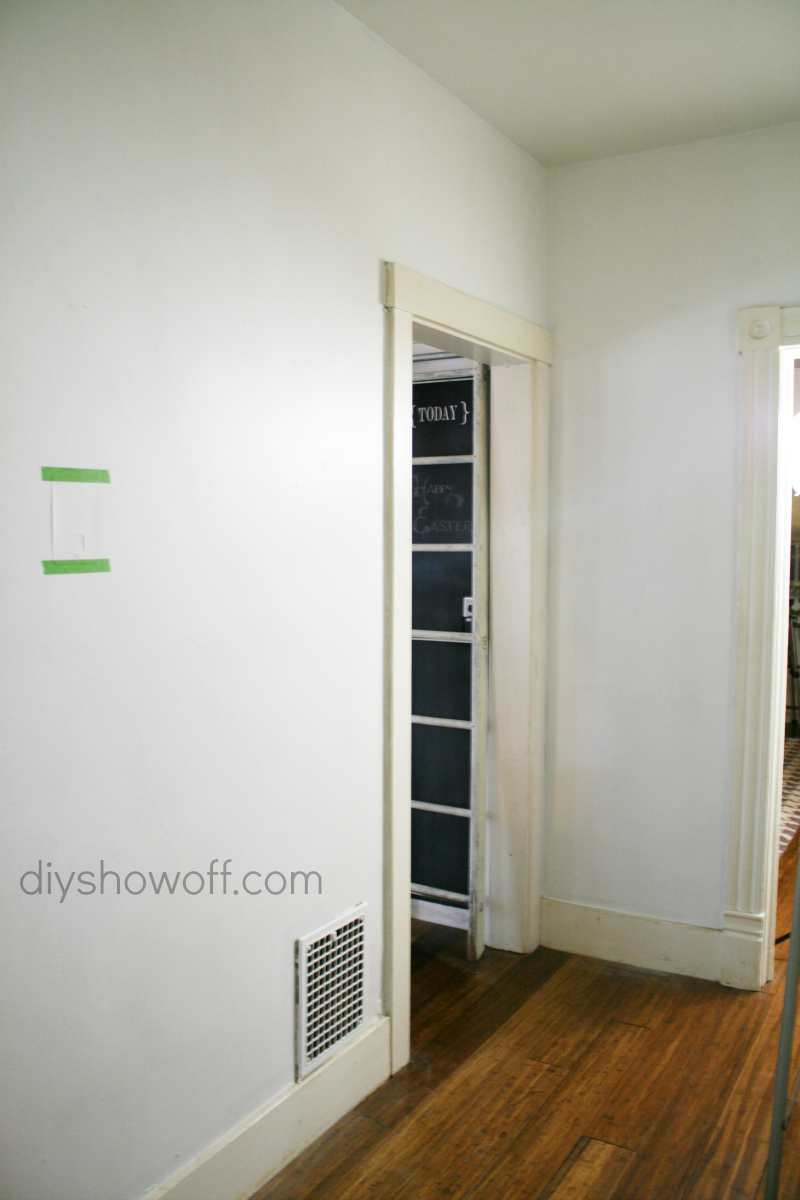
After…isn’t the industrial pipe shelving unit awesome?!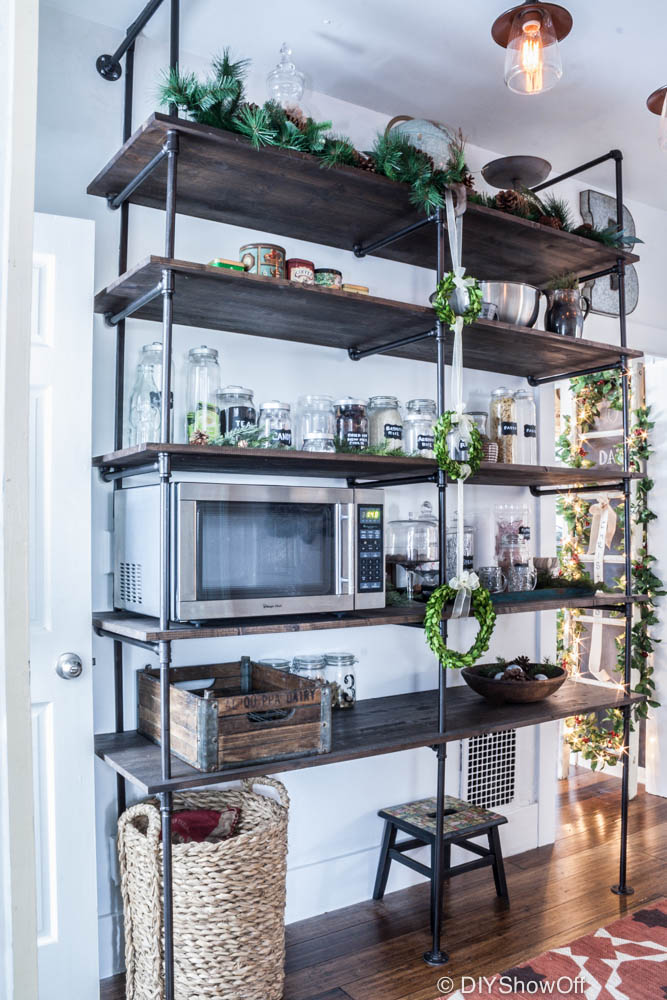
It’s super convenient with it’s location right off the kitchen.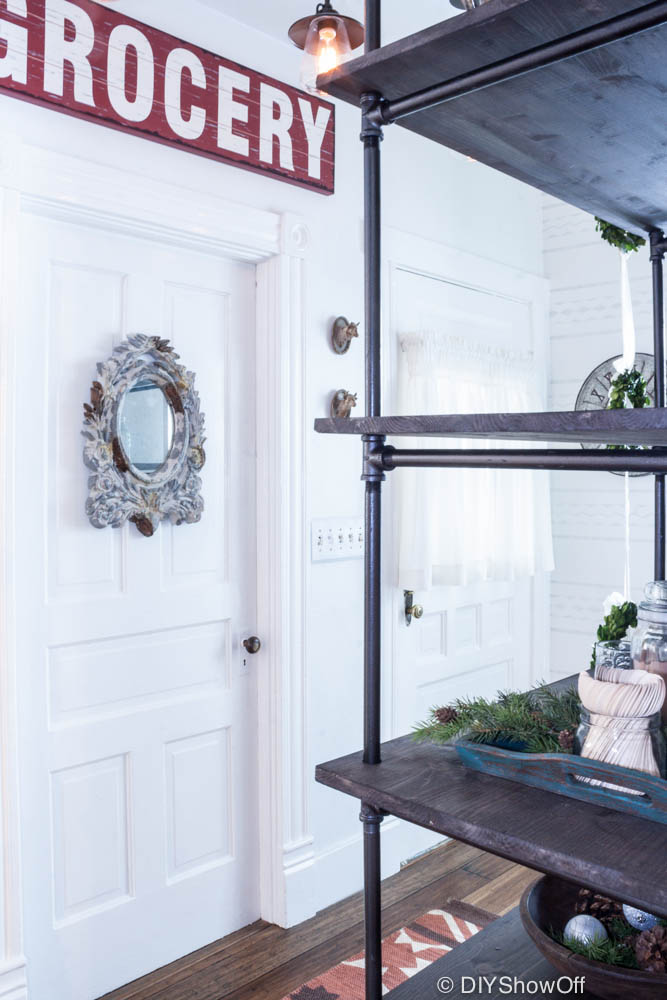
The shelves were designed to fit the wall to ceiling and floor space perfectly and to accommodate our microwave as well as dried goods and baskets. I’m still messing with getting it all organized but I loooove how this once awkward unused space is now functional and pretty! Hurray!
More photos: Notice all of the doorways?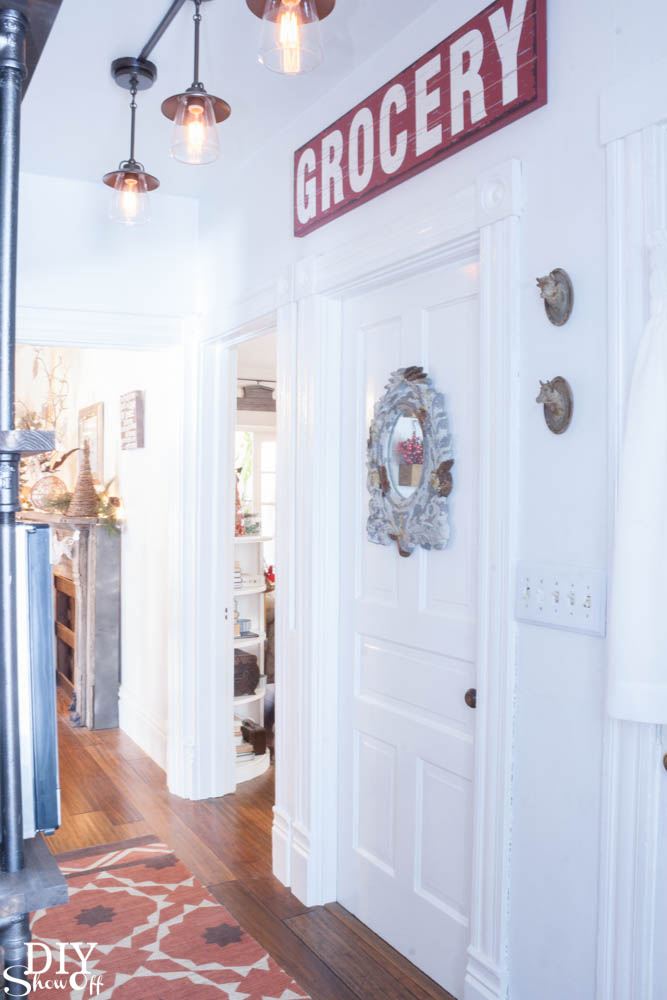
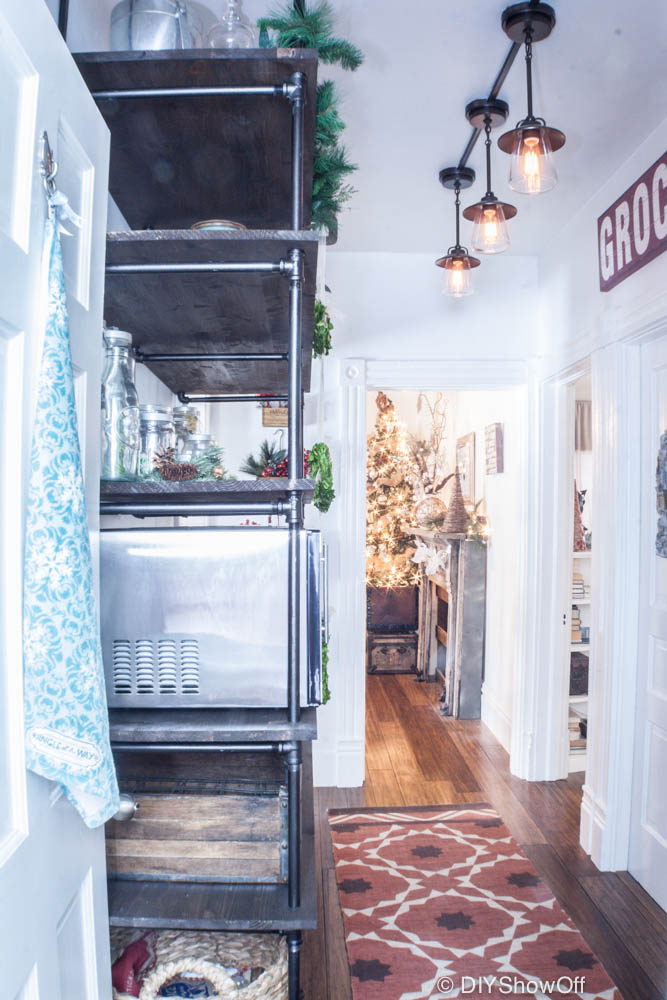
Custom design was also handy when working around the heat vent…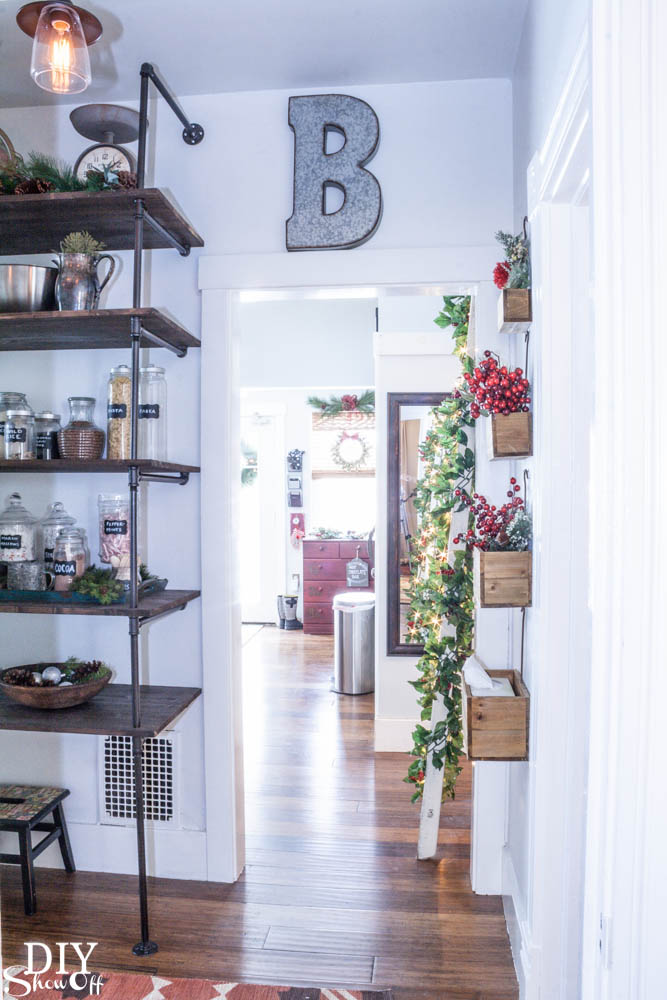
Why yes, that’s still a little Christmas hanging around for another week or so. Thanks for noticing!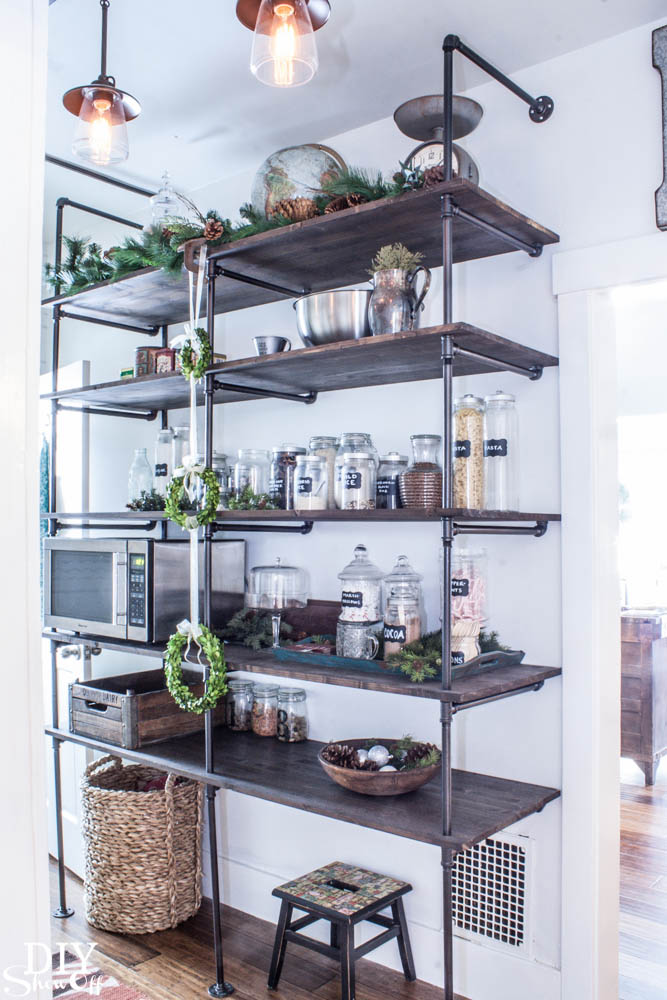
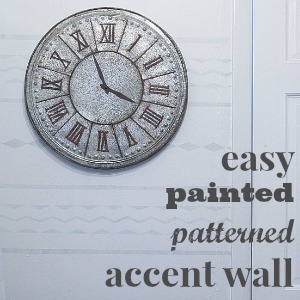
- Paint – inexpensive way to brighten up a room lacking natural lighting. (accent wall tutorial) Base wall color: Valspar Cool Grey.
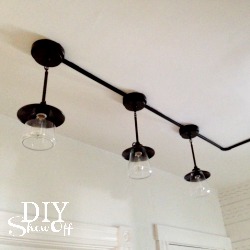
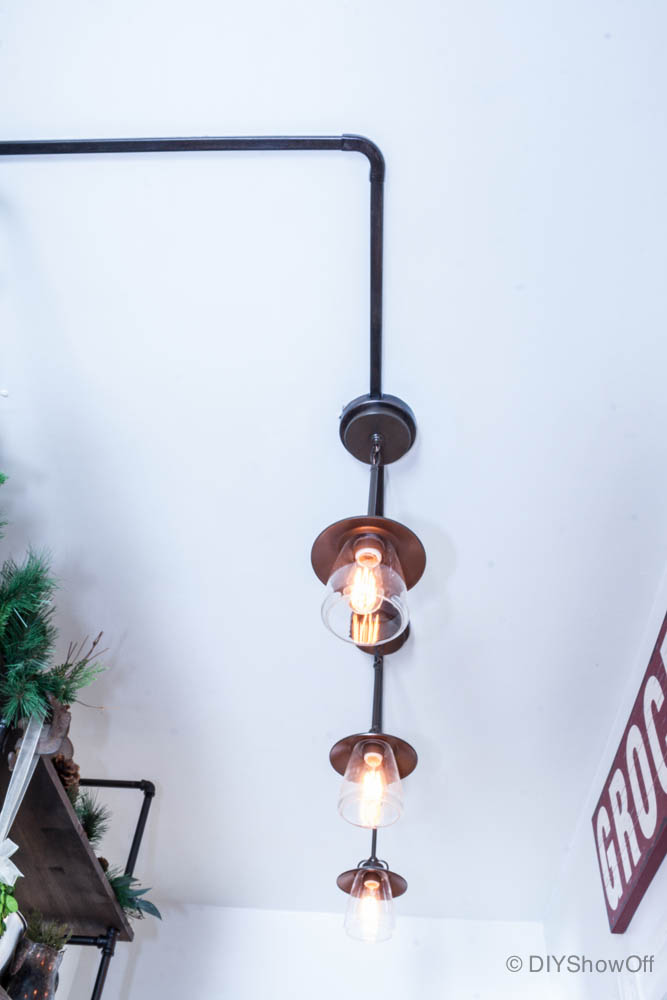
- Lighting – The Allen + Roth fixtures from Lowe’s were super affordable at around $57/ea. but electrical wound up costing more than I anticipated due to labor charges because there was no lighting whatsoever in the space from the get go and an outdated electrical outlet. (We did attempt DIY but it was over our heads and I’m not referring to just literally!) The exterior track/wiring adds to the industrial charm.
- Pipe shelving – DIY means custom to fit our space and needs. Not a cheap DIY but still more affordable than purchasing two manufactured floor to ceiling shelving units. I’ll share how we did in in a couple of days! Check back!
- West Elm Fiesta Tile Printed Jute Rug
- Flea Market Distressed Galvanized Metal Clock
- IKEA Burken jars with lids
- Large Seagrass Basket
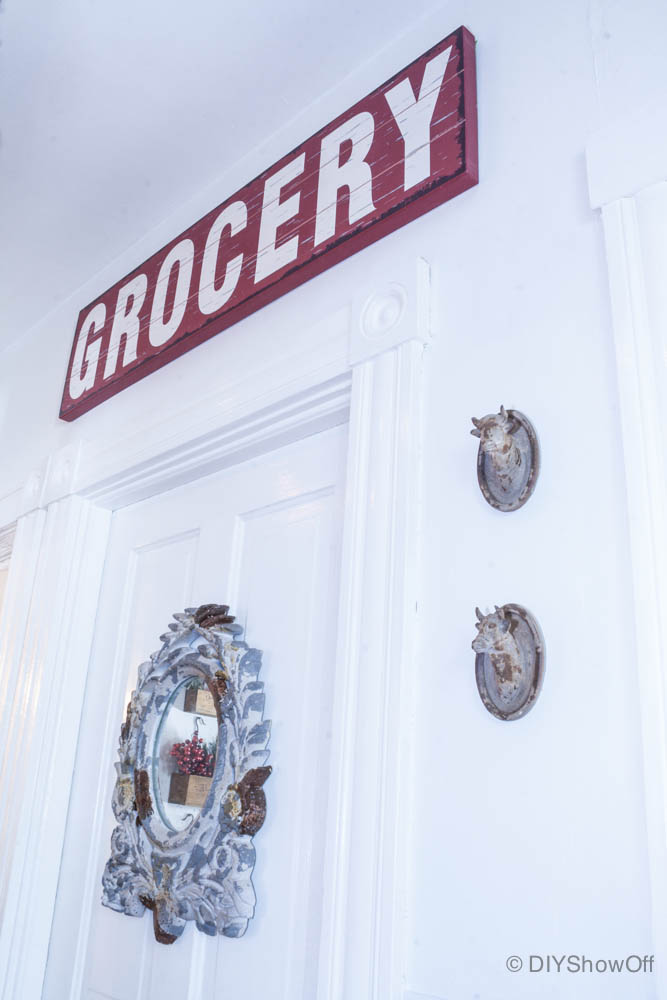
- Petite Cow & Bull Cameo Plaques, set of 2
- Grocery Sign
- Galvanized letter B – Hobby Lobby
Related Posts
DIY INDUSTRIAL PIPE SHELVING TIPS & TUTORIAL