I’m so excited to be invited by Lindsay at The White Buffalo Styling Co. to participate in this year’s Blogger Stylin’ Holiday Home Tours. Her style is so eclectically delicious. I honestly didn’t realize I had agreed to join three holiday home tours this year (oh no! My grandma brain!) It’s been quite the week! You know I don’t mind.

If you’re visiting via sweet Traci at Beneath My Heart, welcome friends! Hard to drag yourself away from her beautiful and cozy home, wasn’t it?
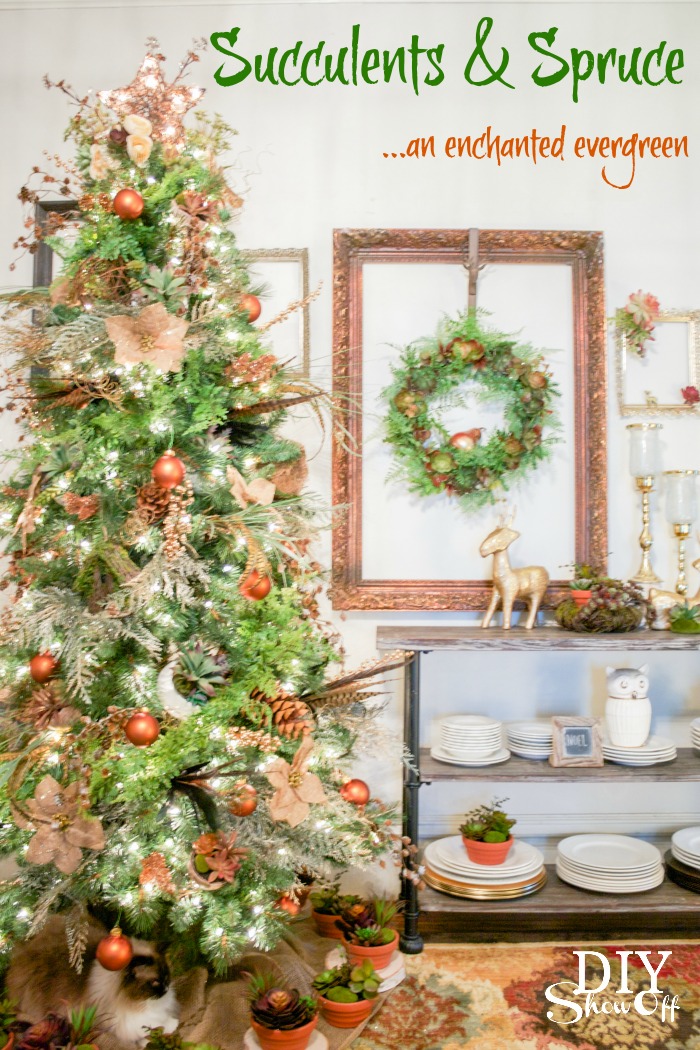
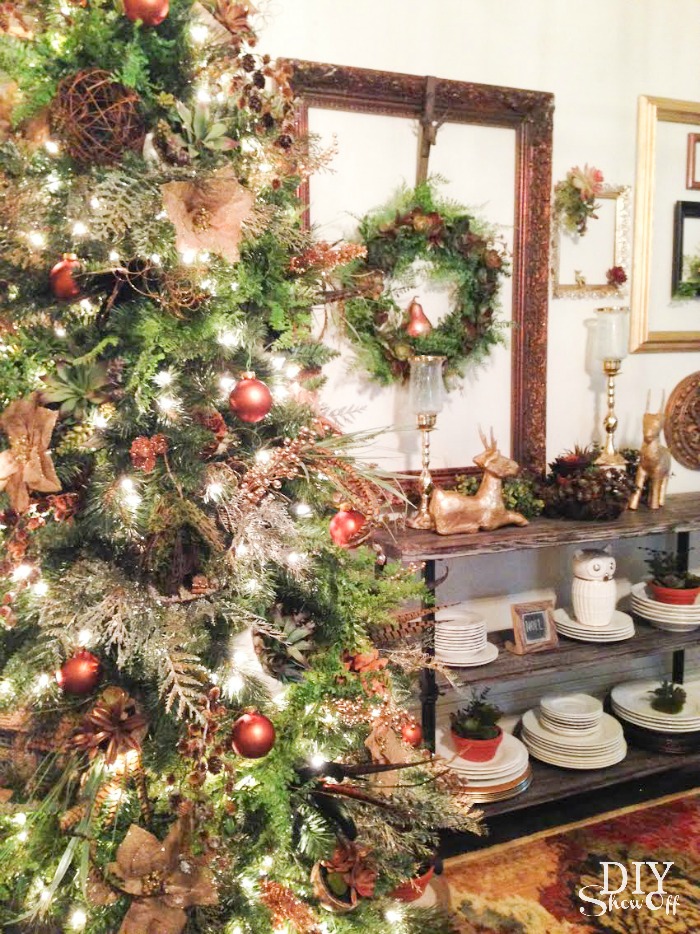
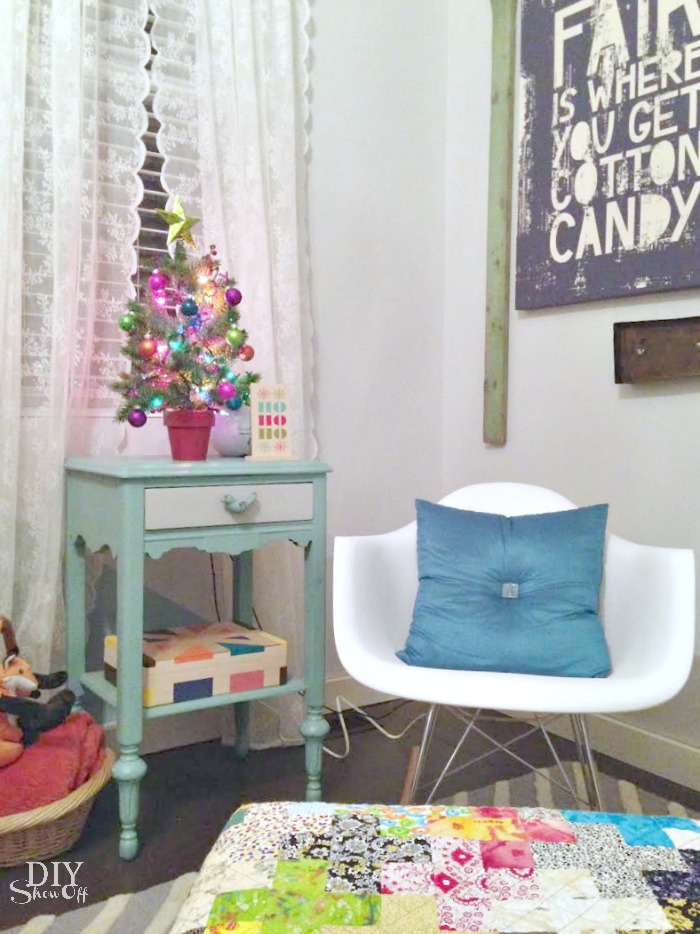
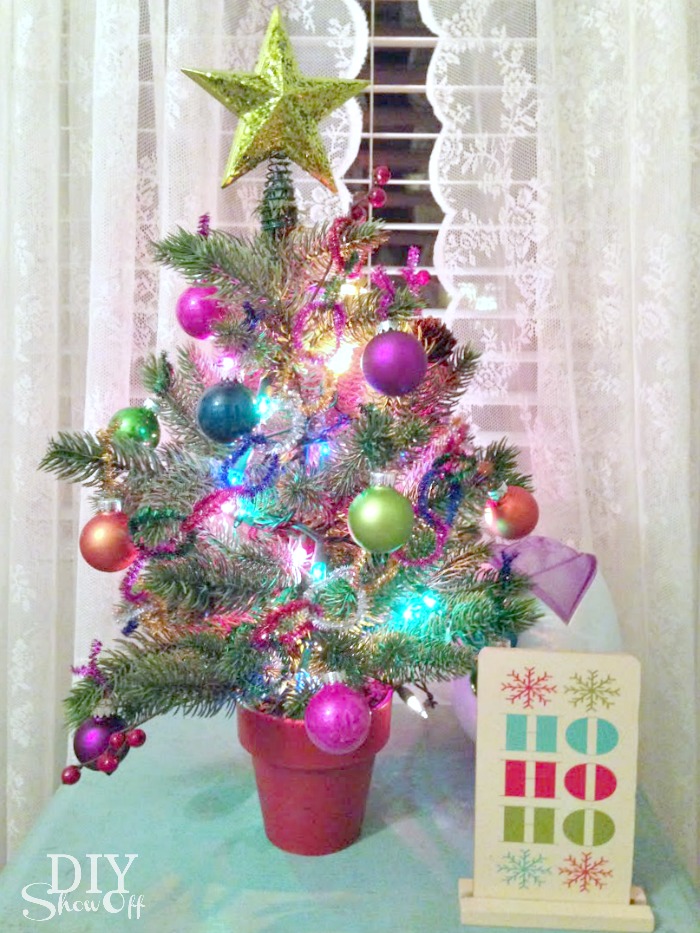
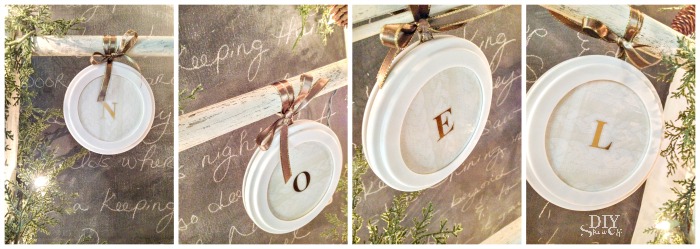
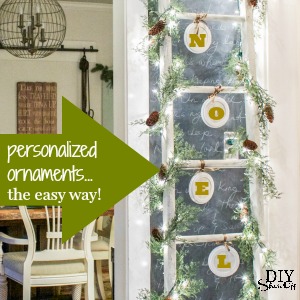
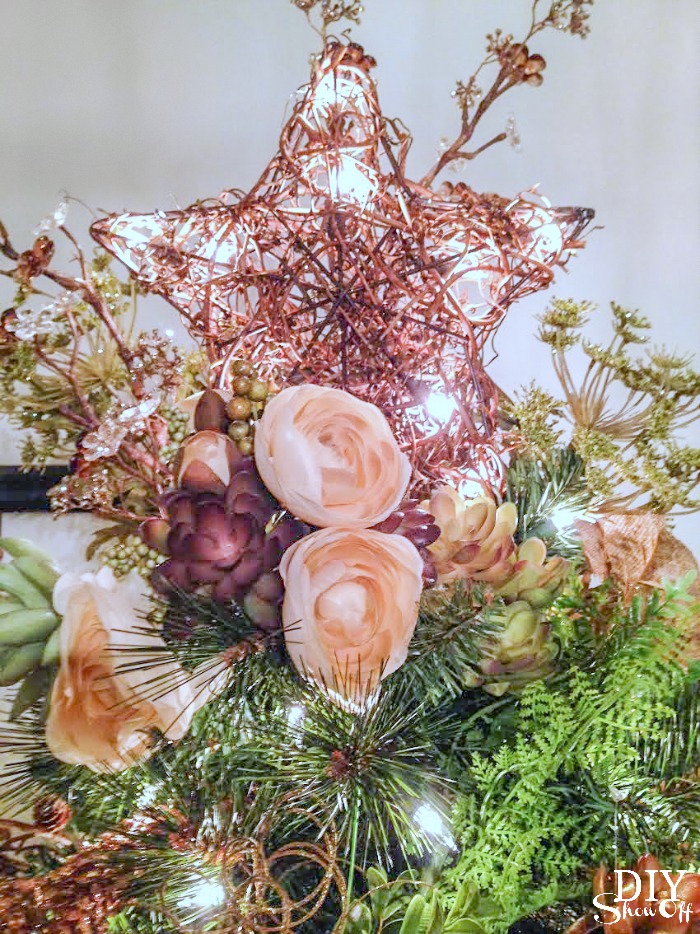
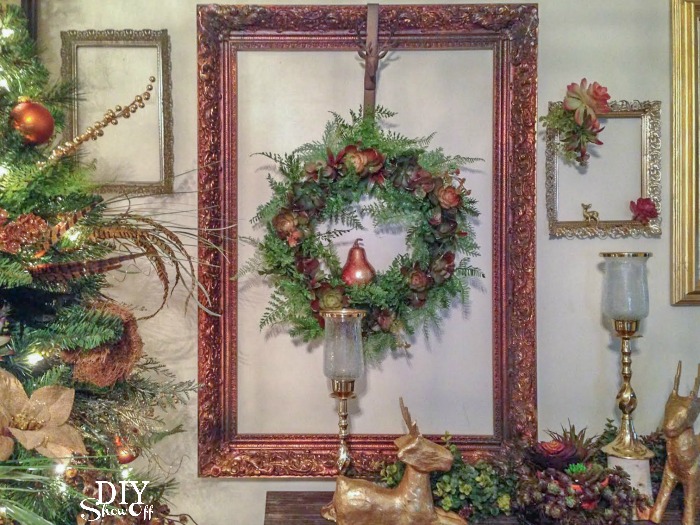
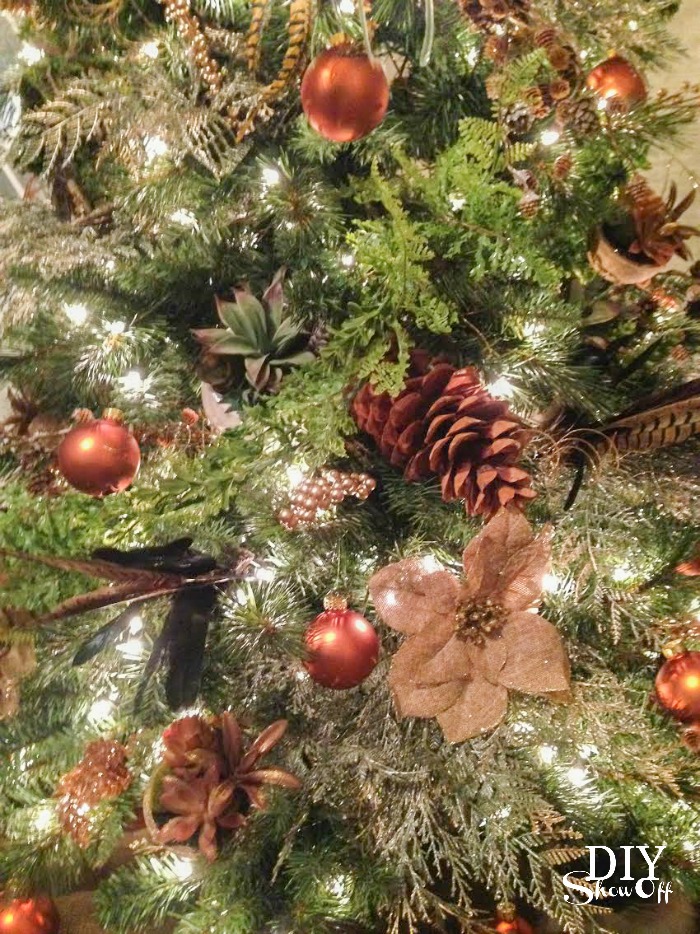
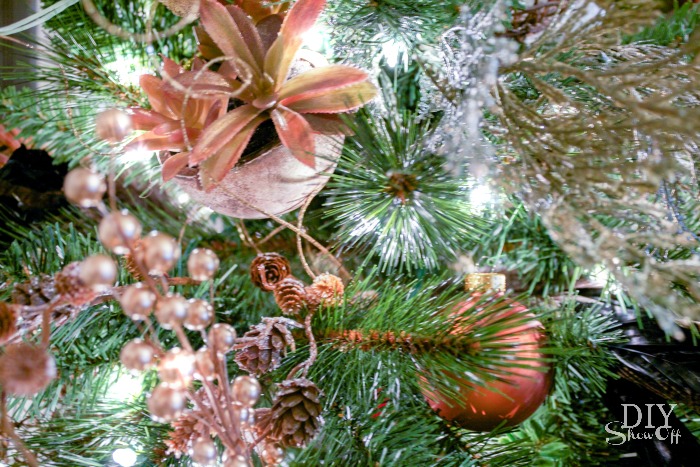
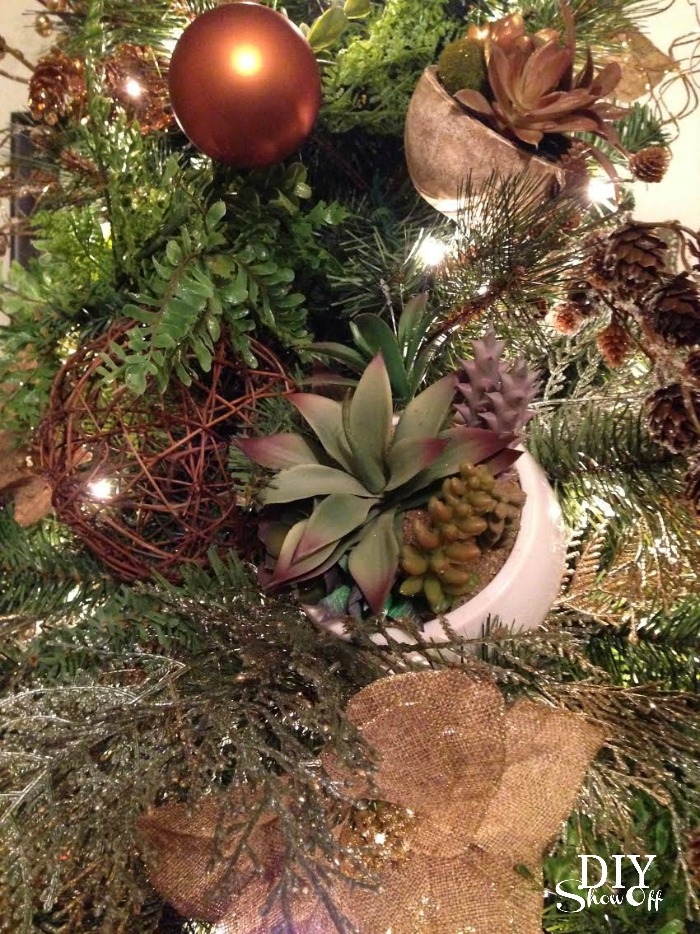
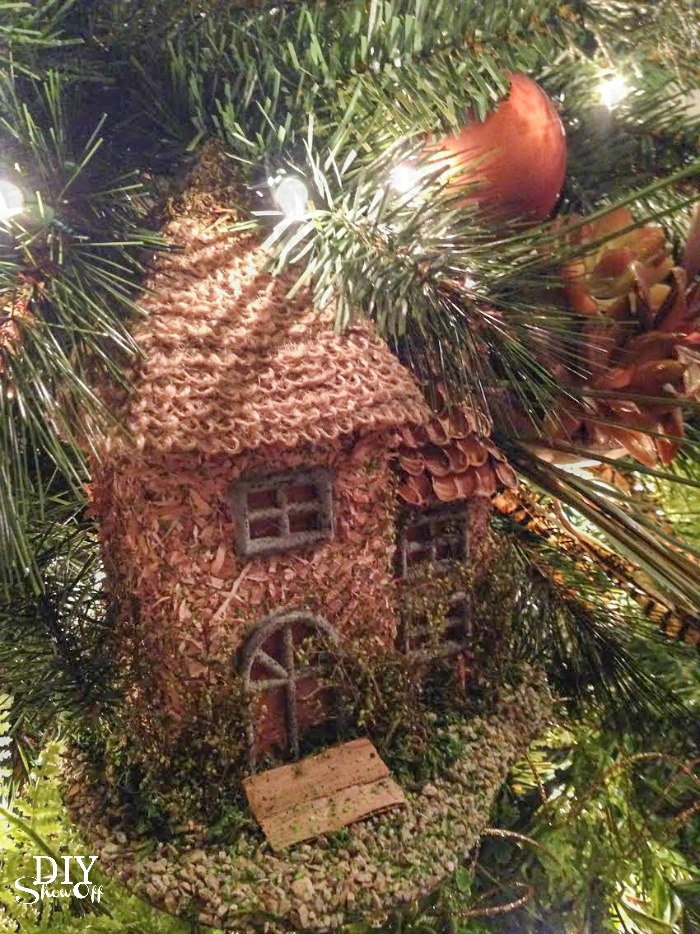
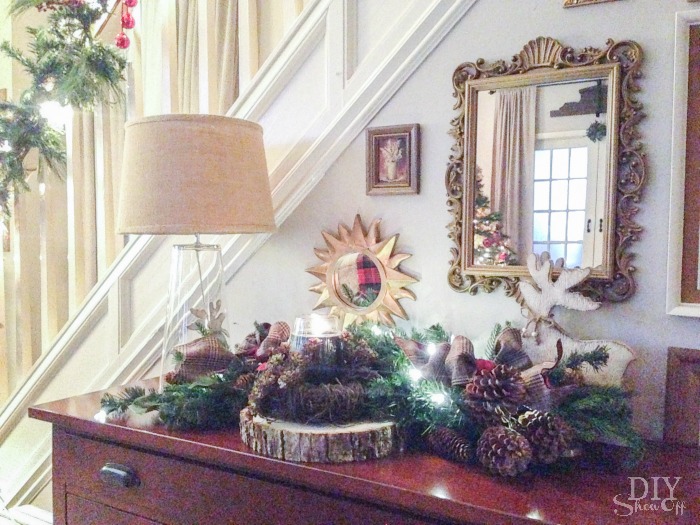
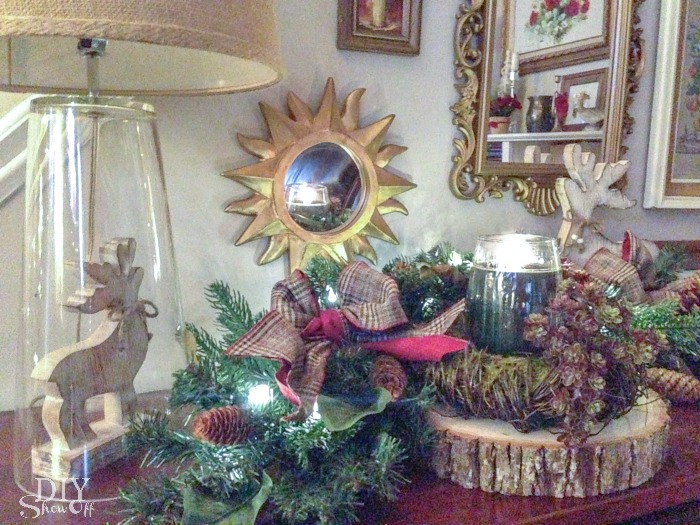
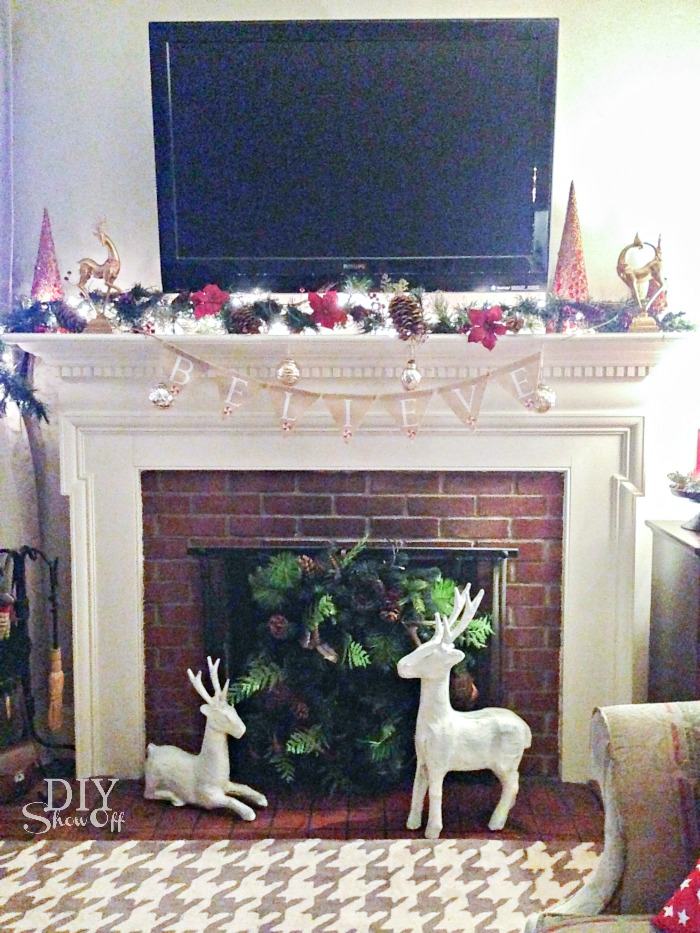
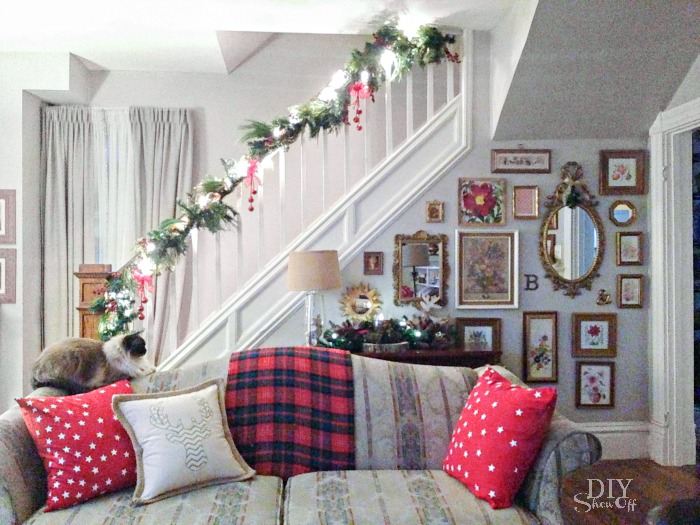
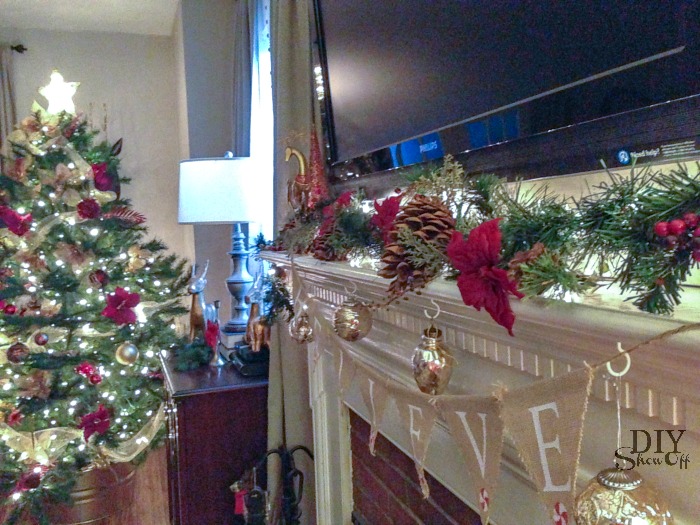
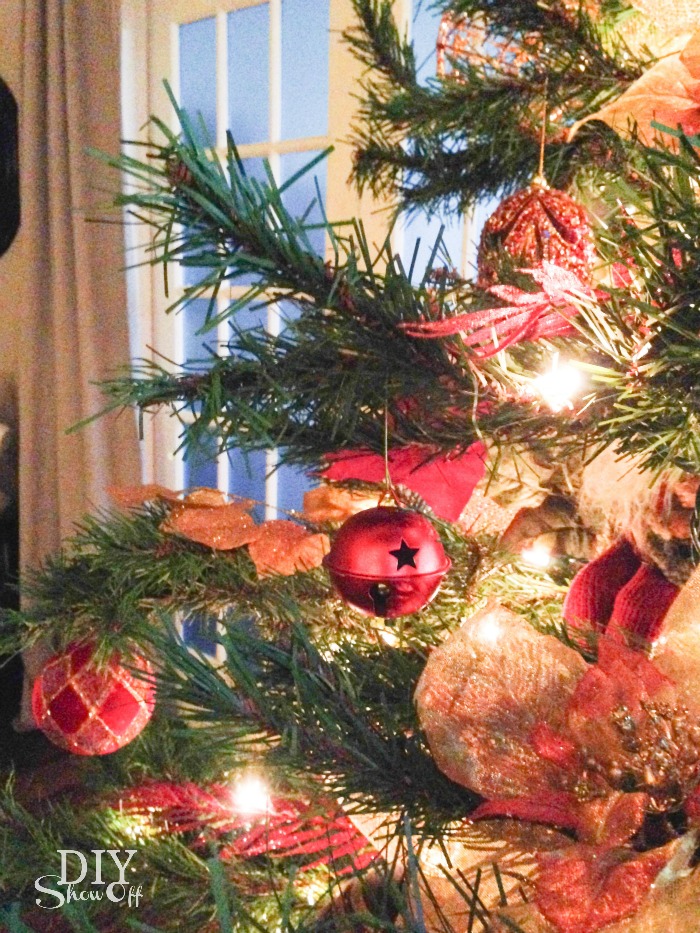
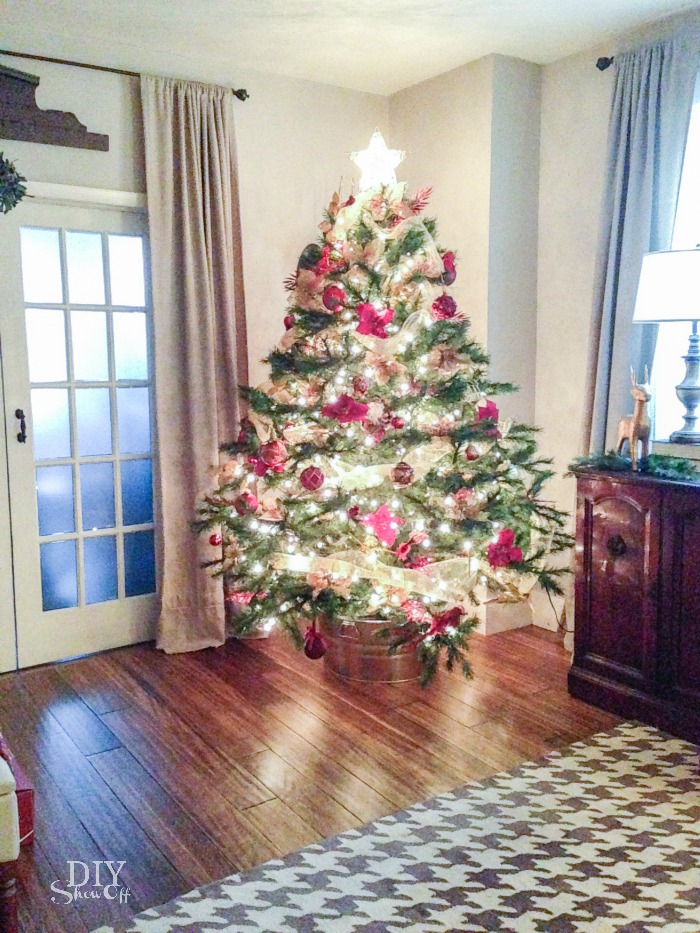
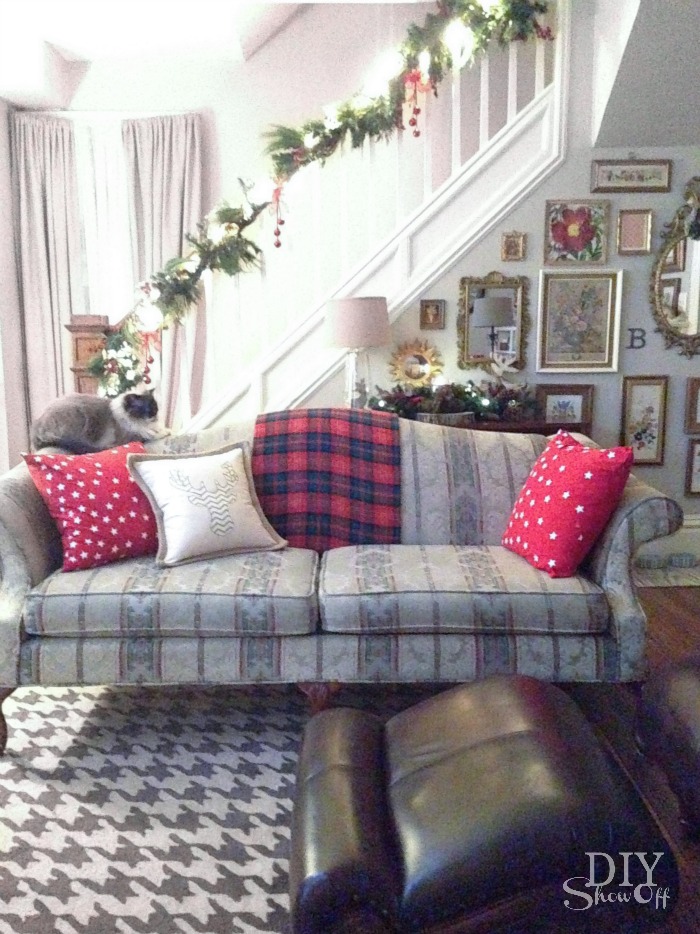
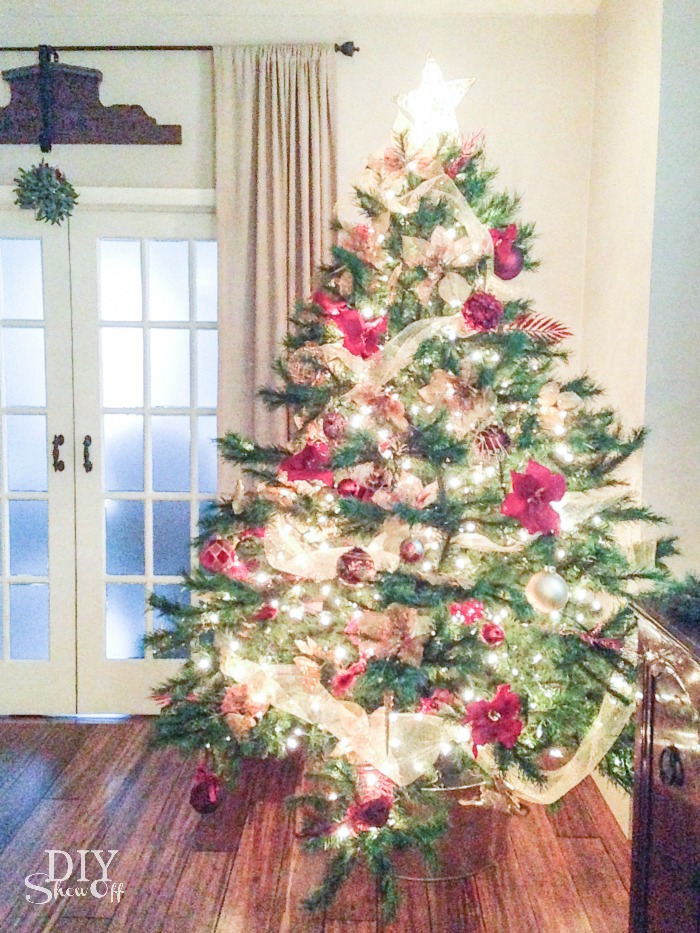
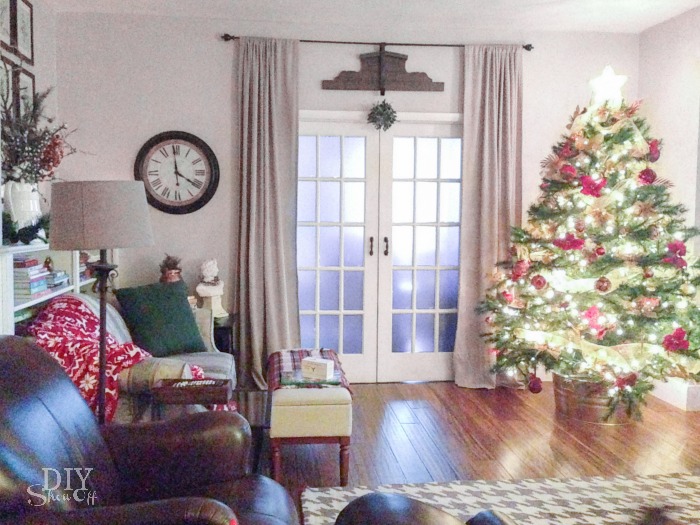
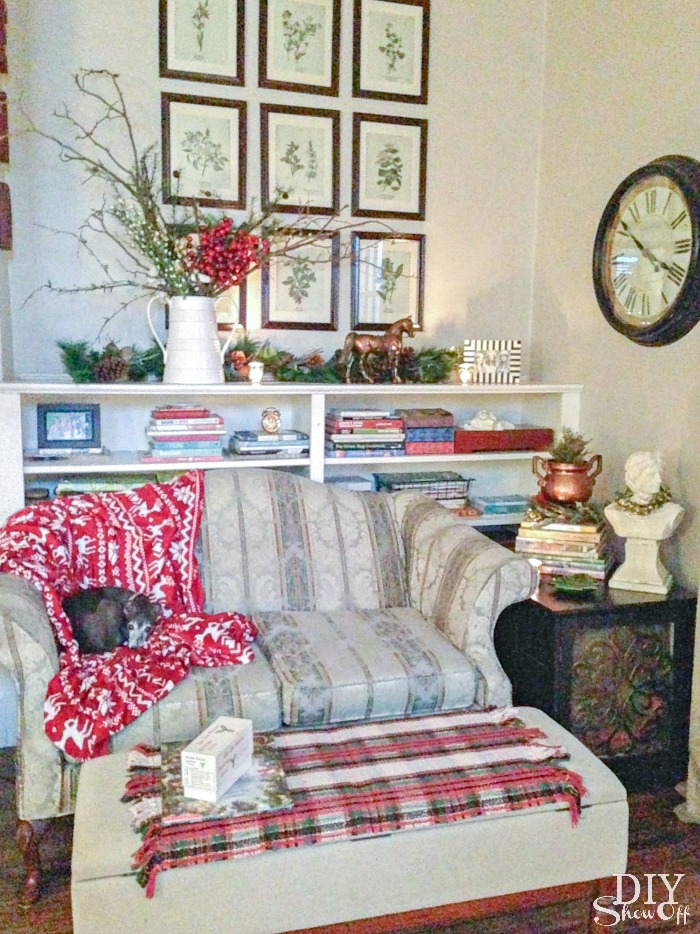
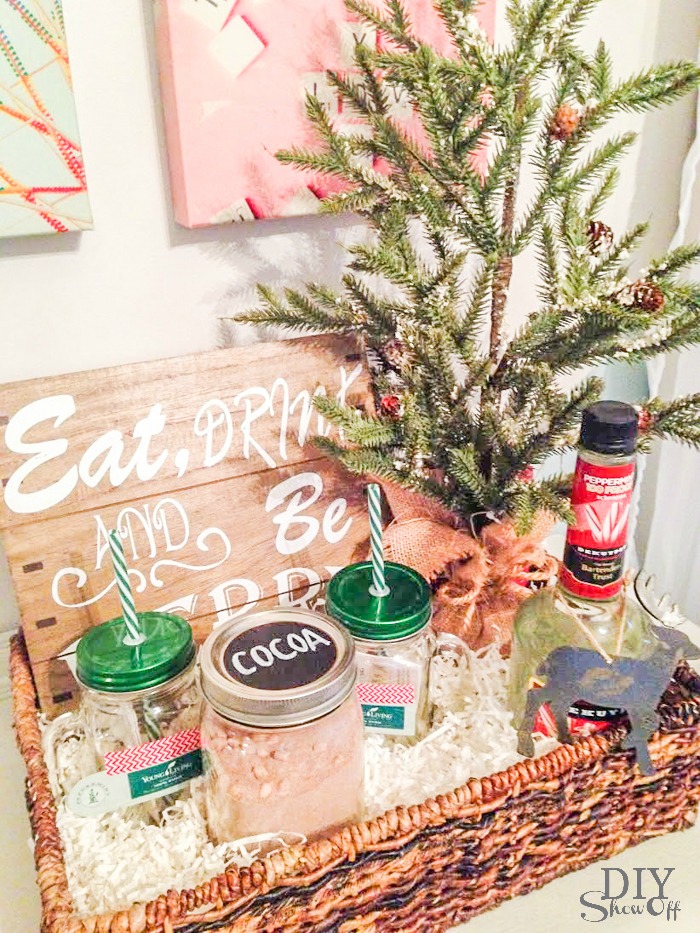
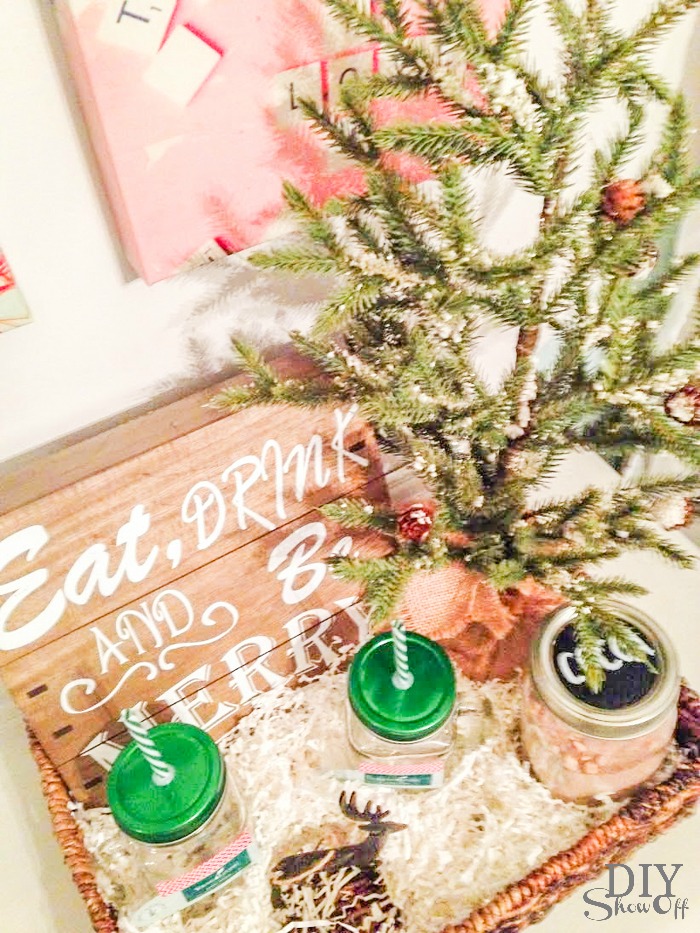
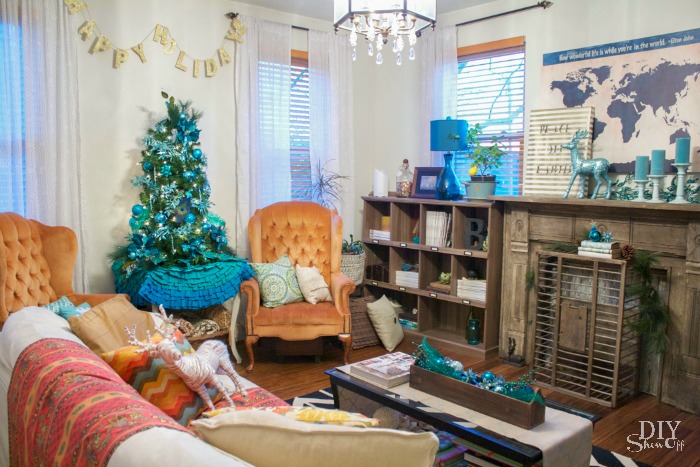
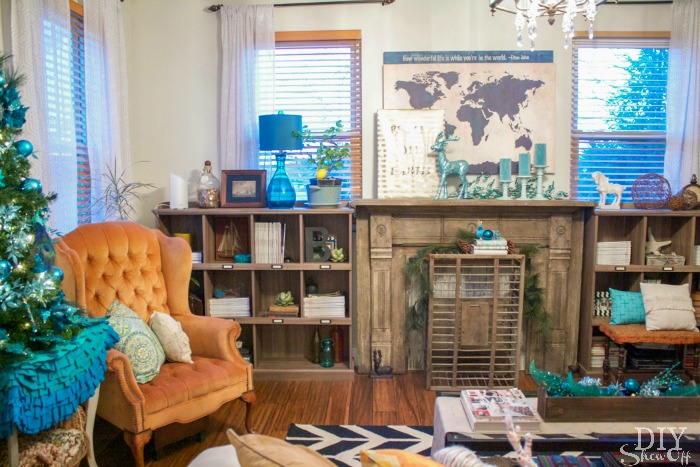
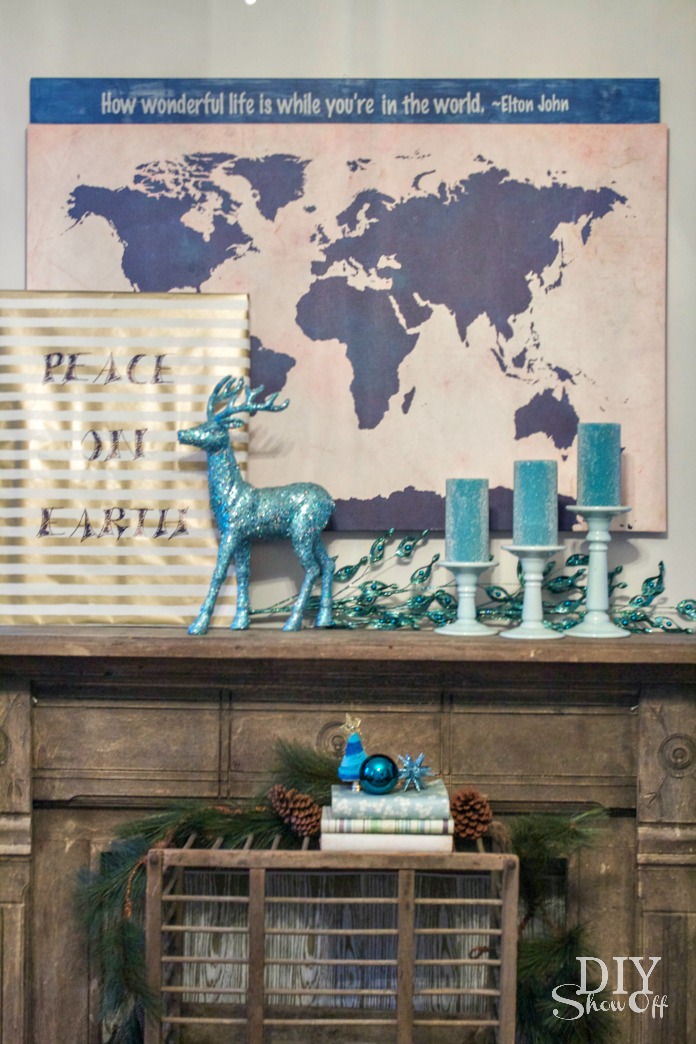
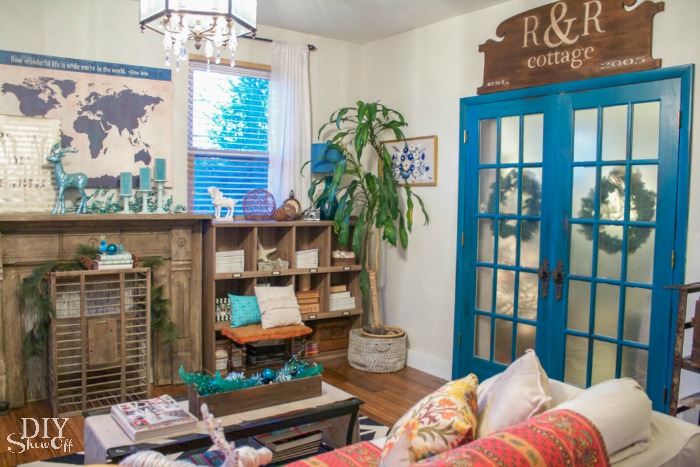
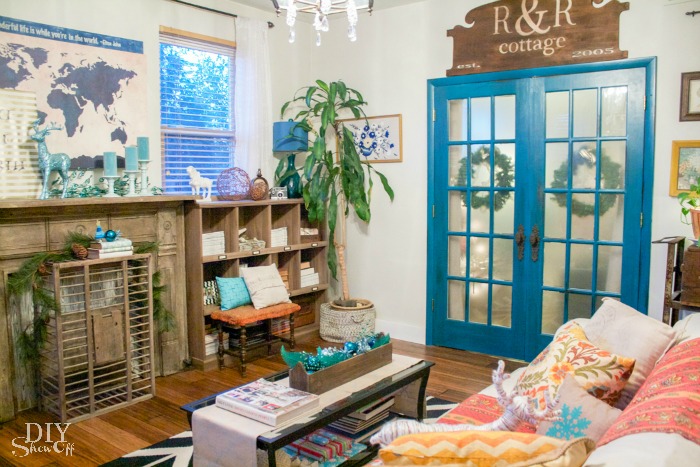
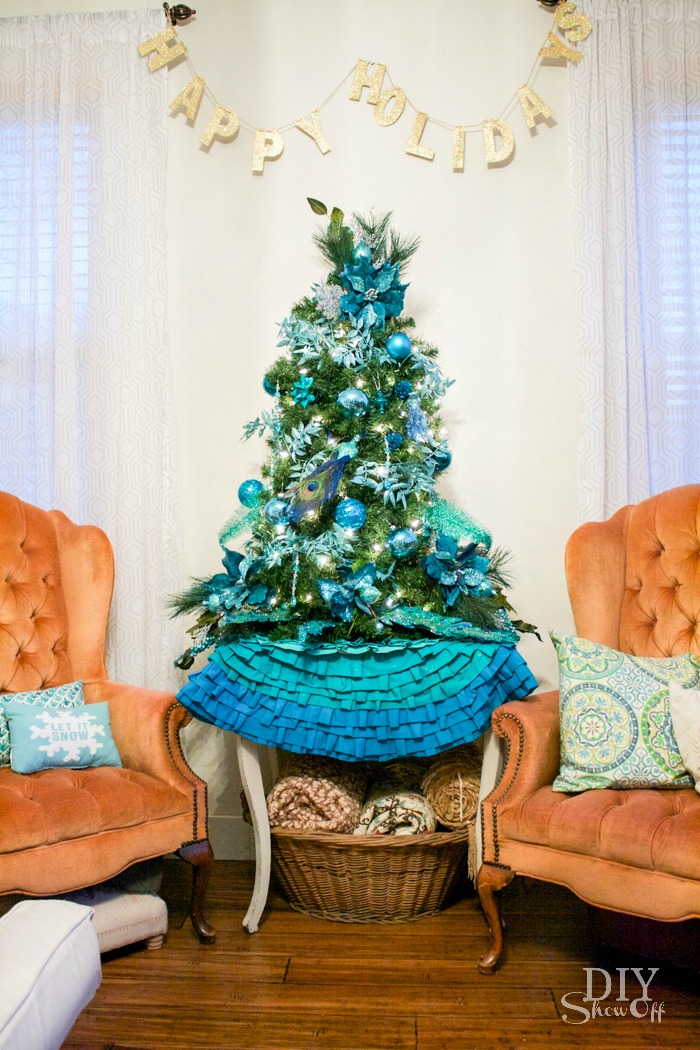
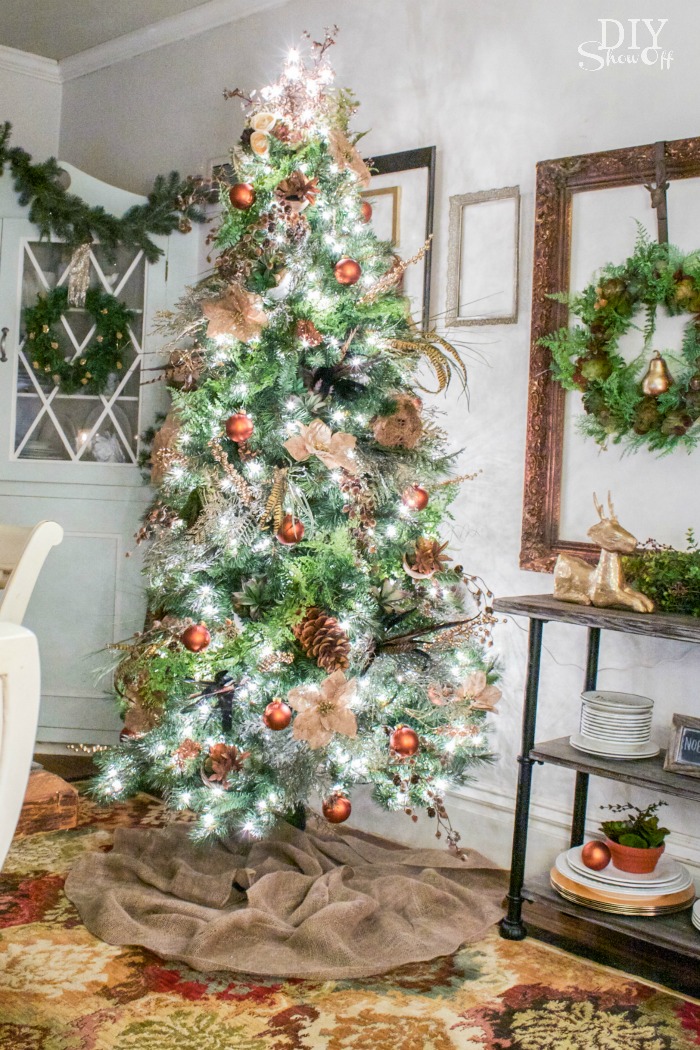
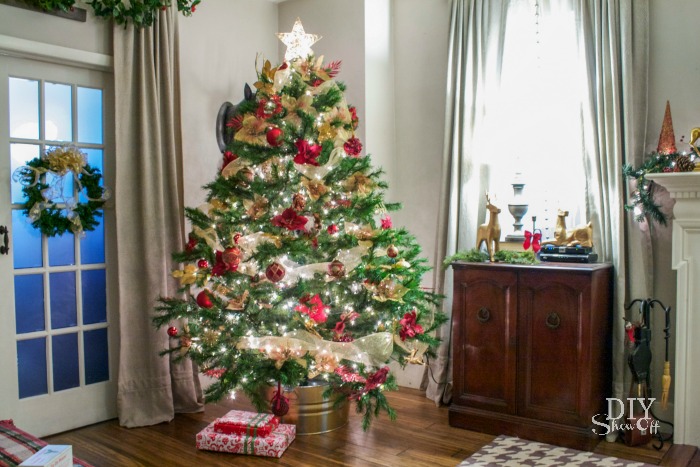
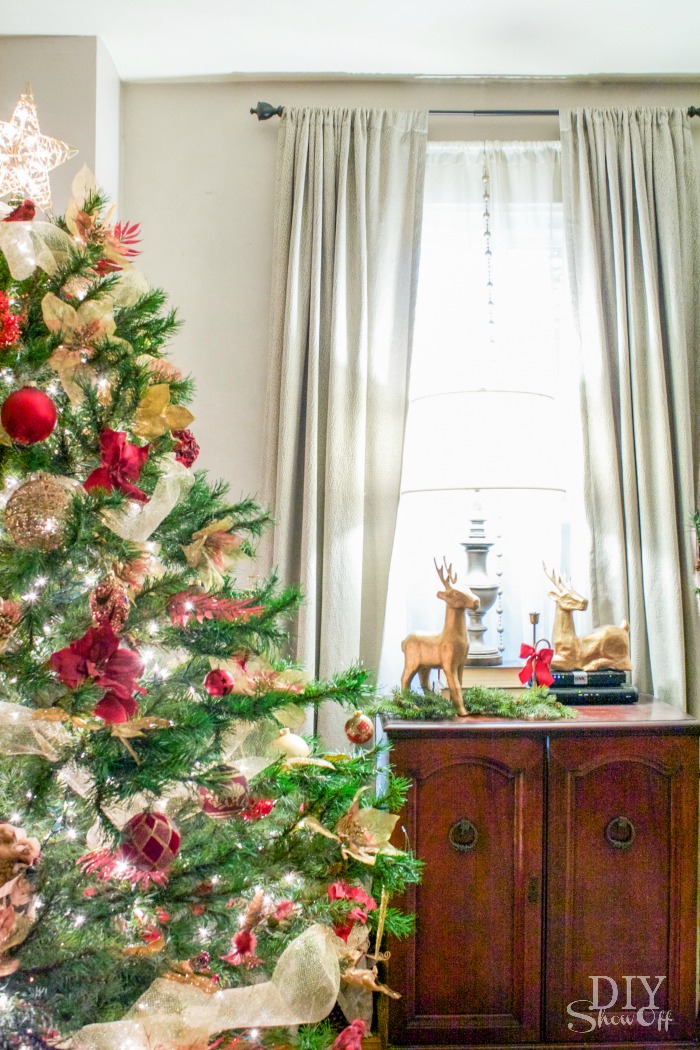
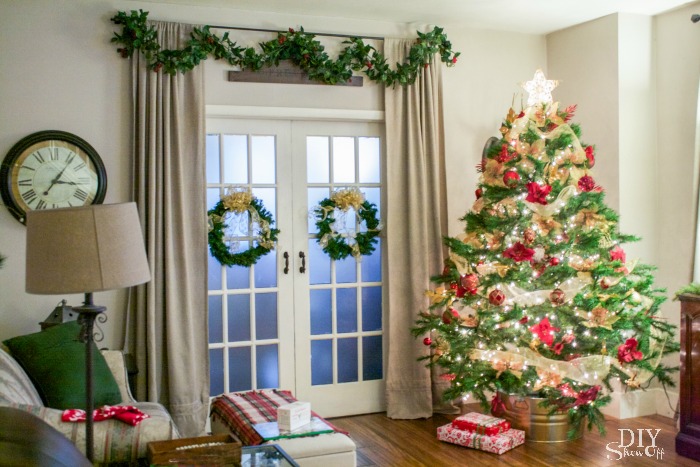
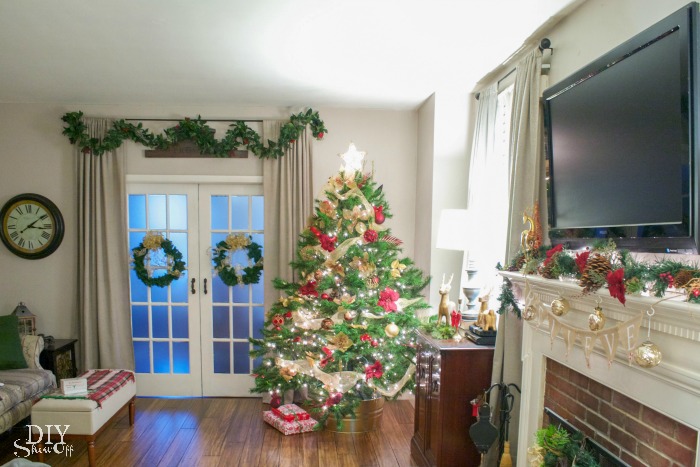
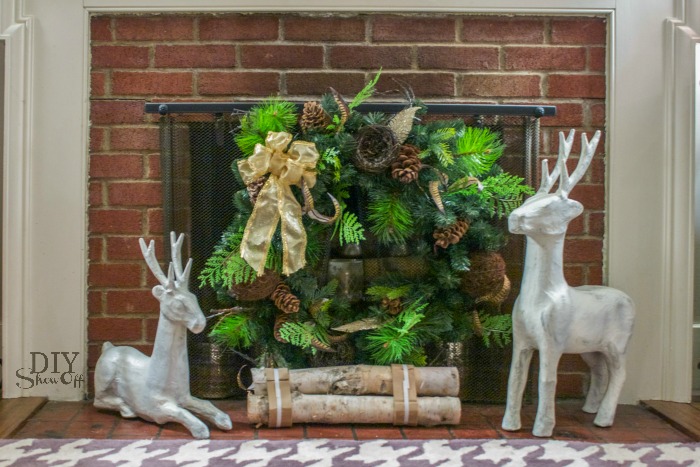
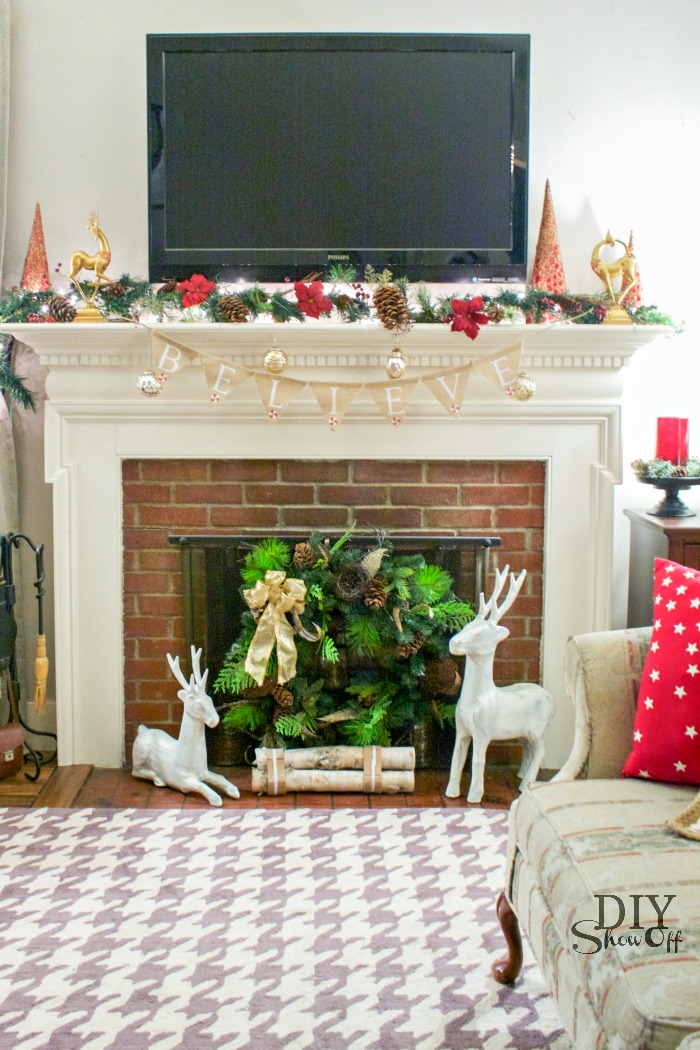
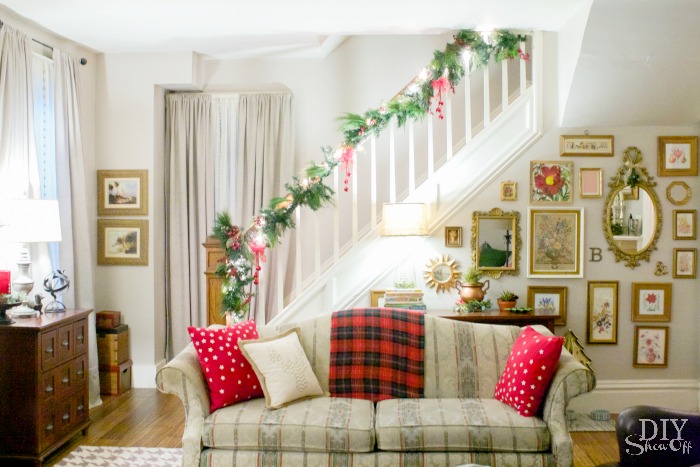
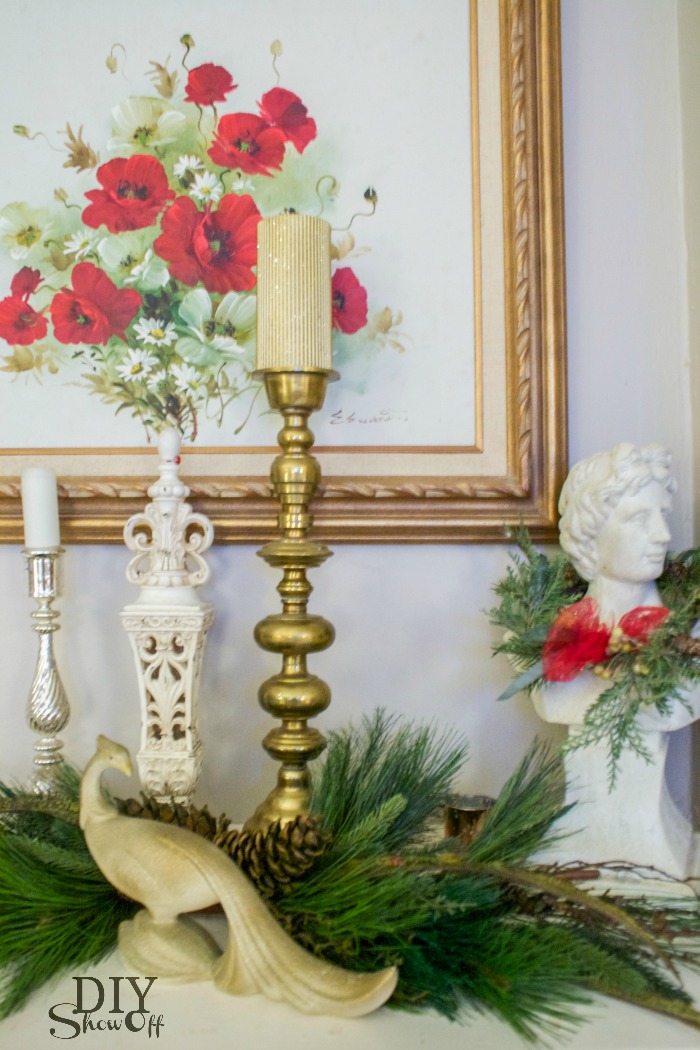
Today I’m sharing my family room. It’s a bit eclectic and crowded but comfy all the same.

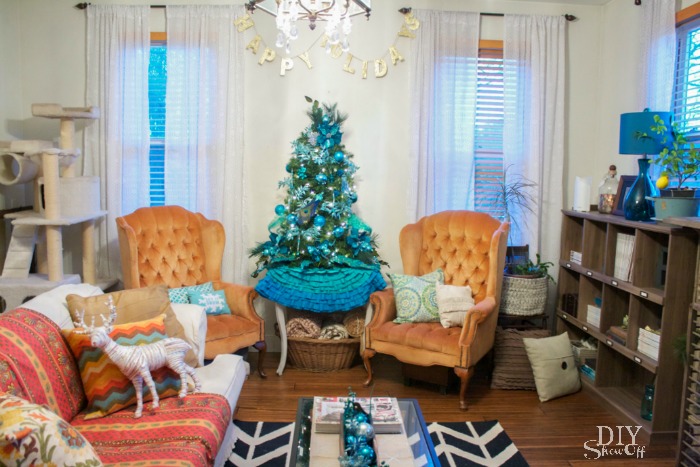
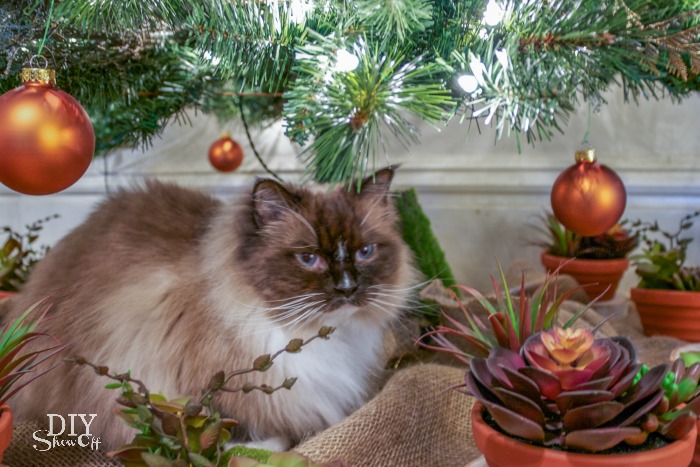
When was the last time you saw a cat tower in a home tour? Never? I know. But keepin’ it real, my friends.
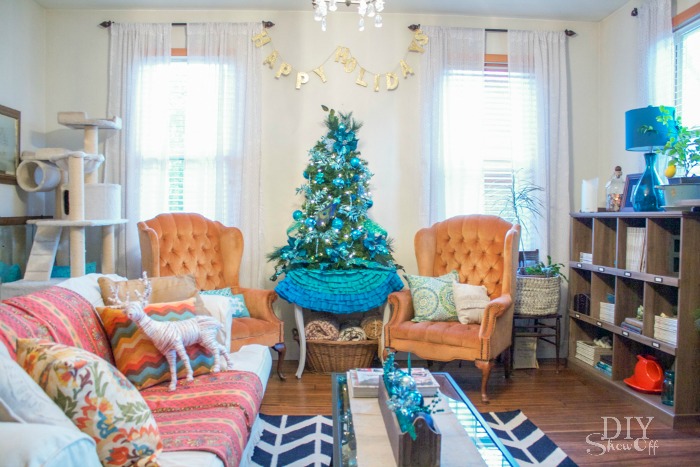
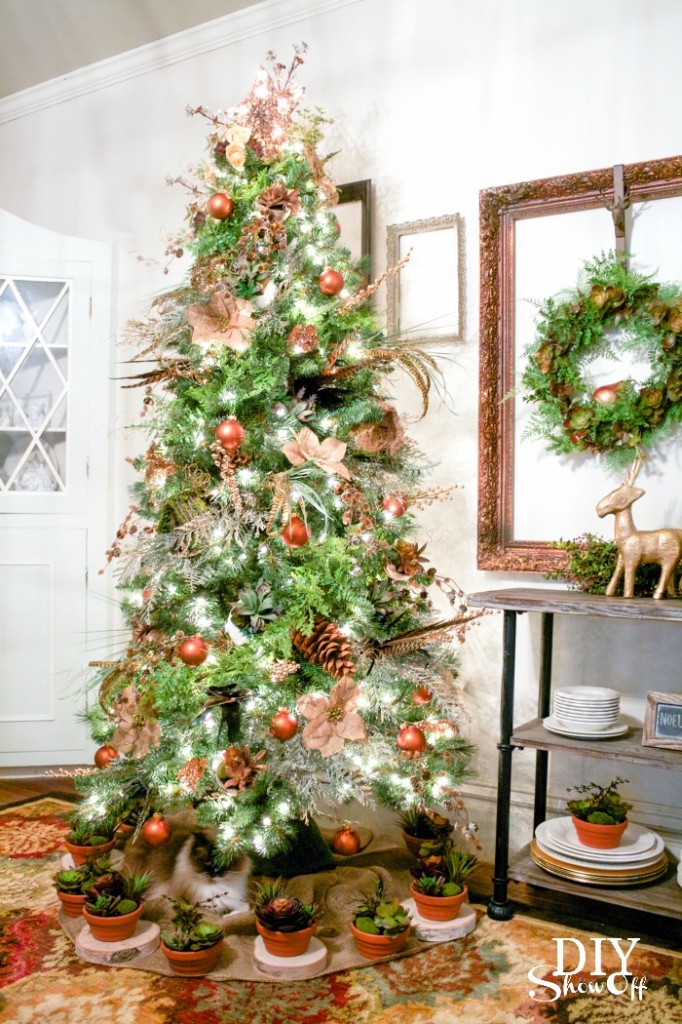
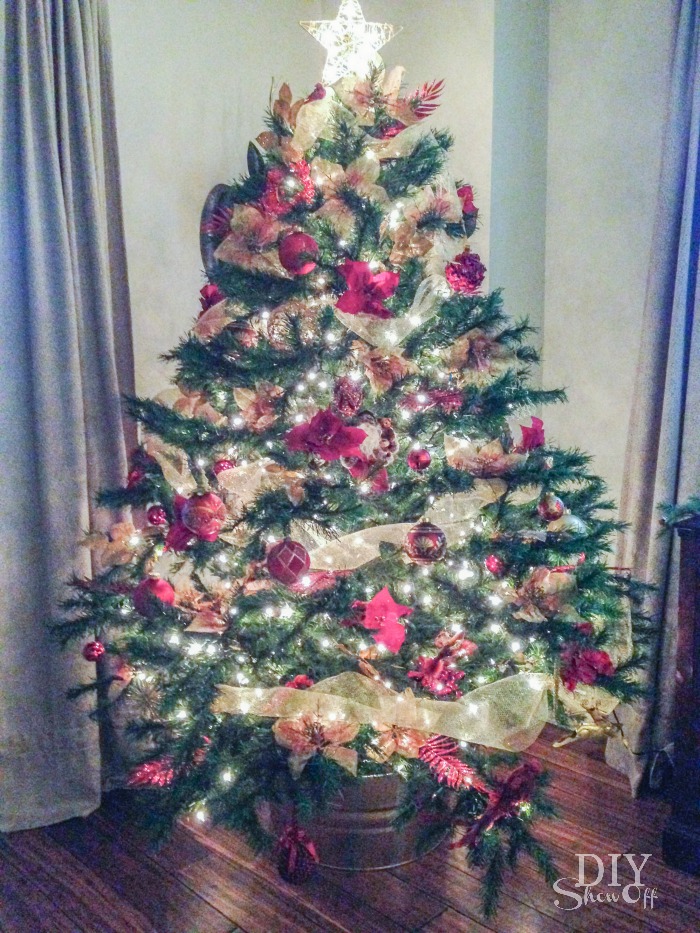
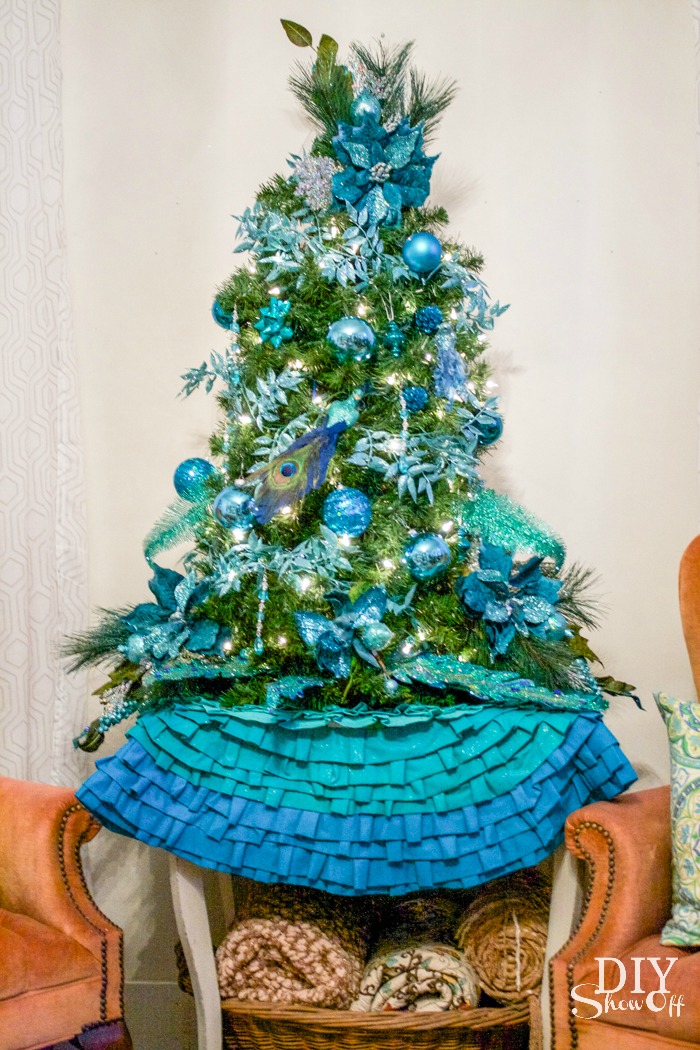
The ruffled tree skirt is a no-sew project from a couple of years ago (tutorial here). I used my turquoise on the tomato cage Christmas tree I made a couple of years ago.
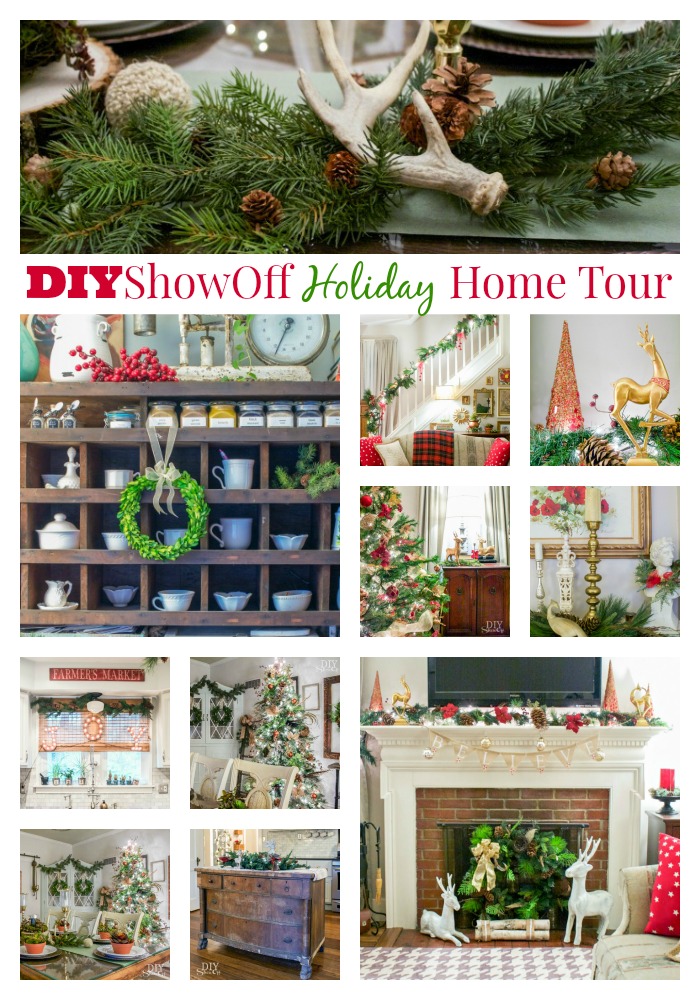
Here’s a quick recap from the rest of our home this year too (part 1 and part 2)…
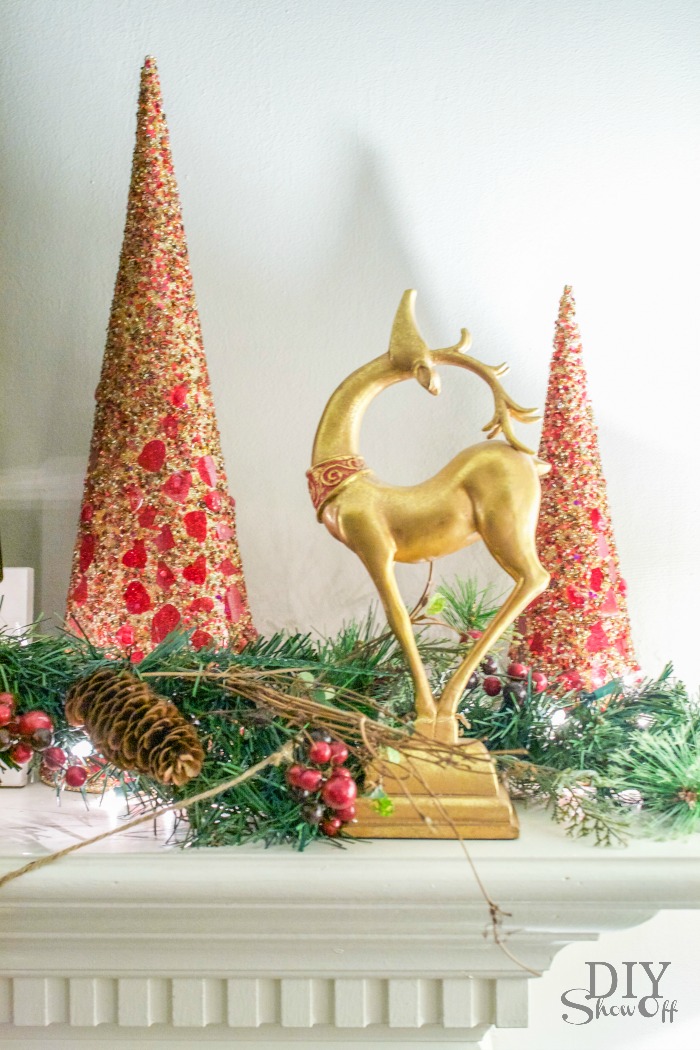
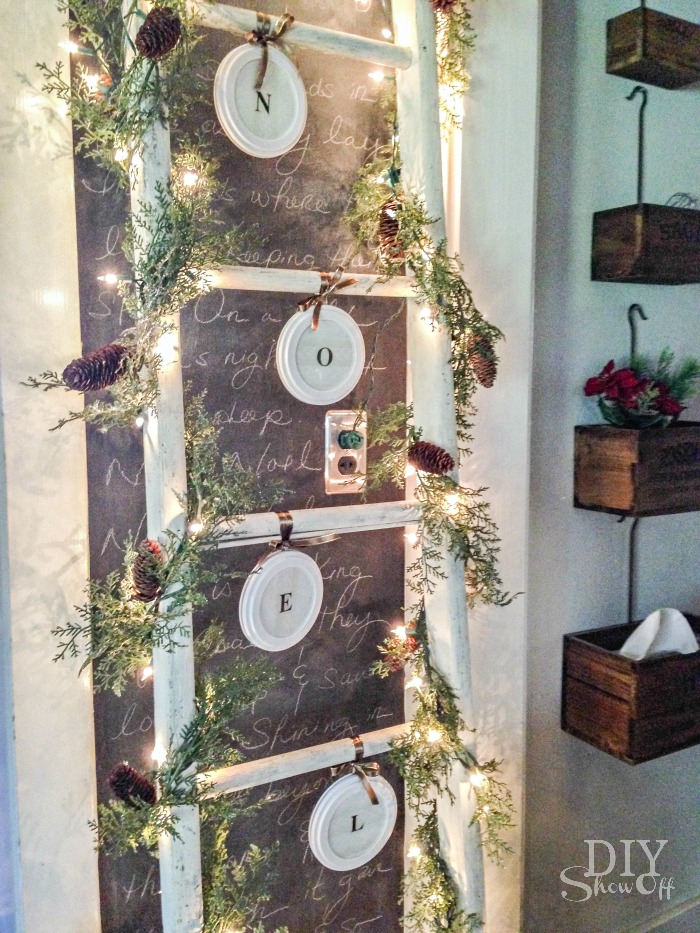
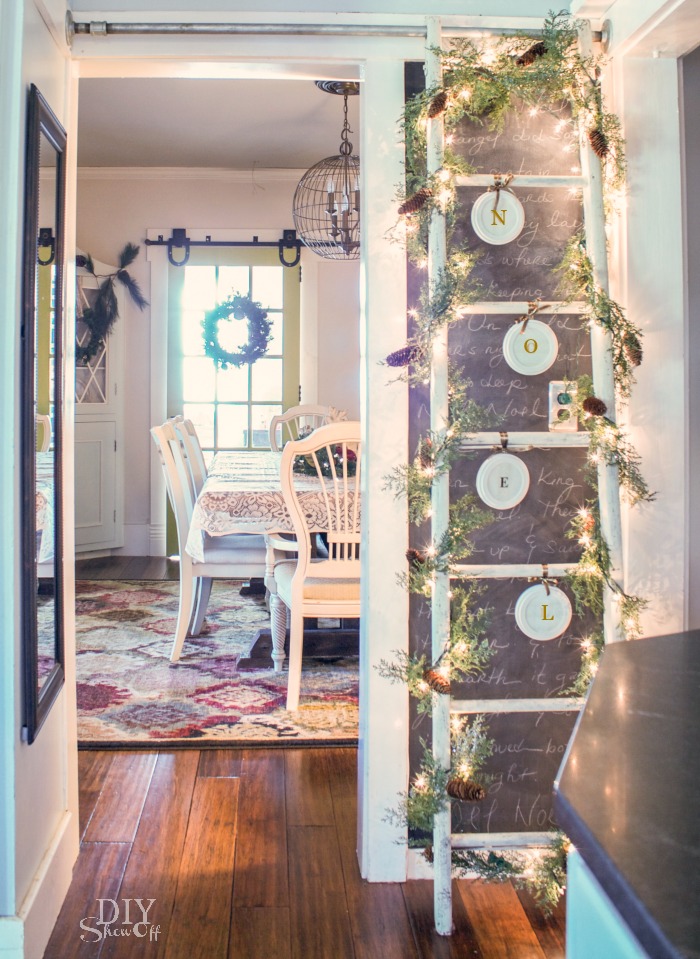
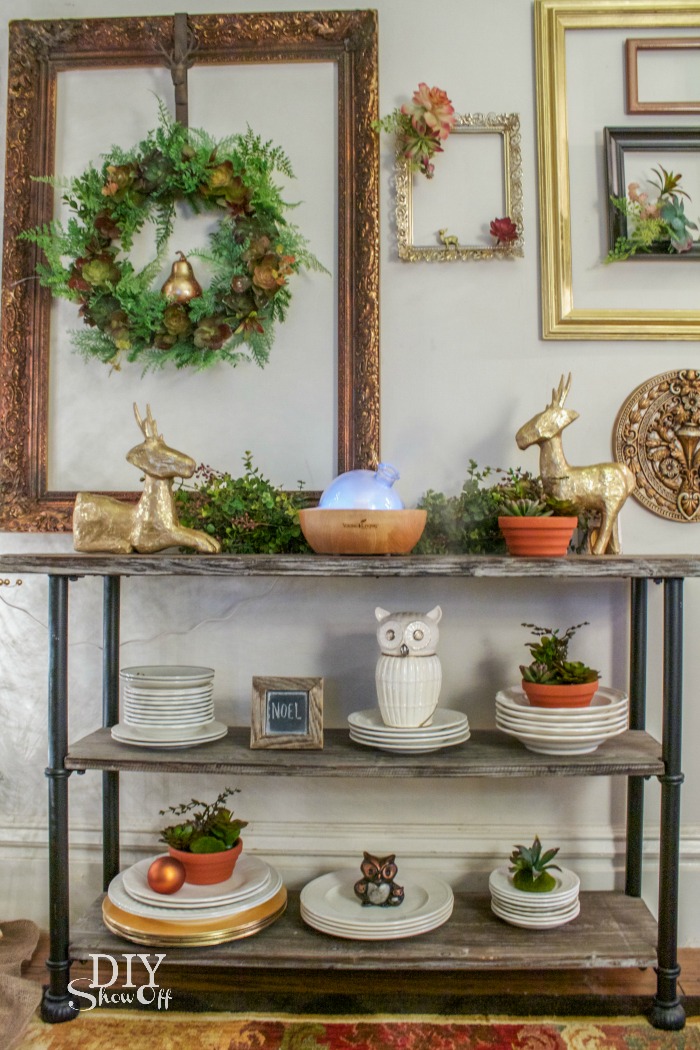
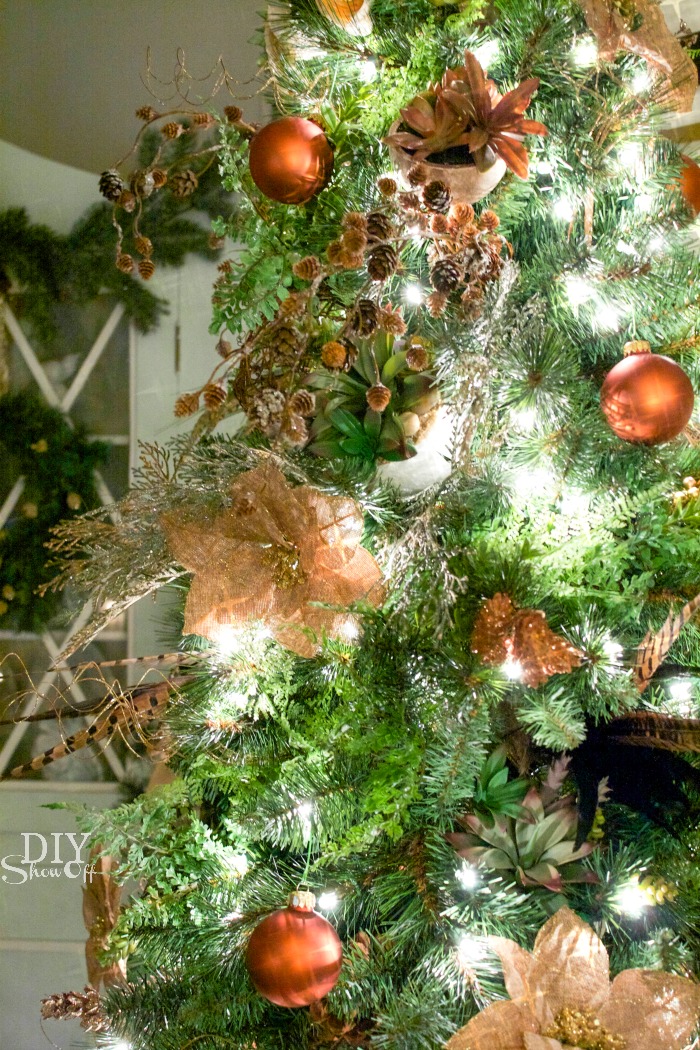
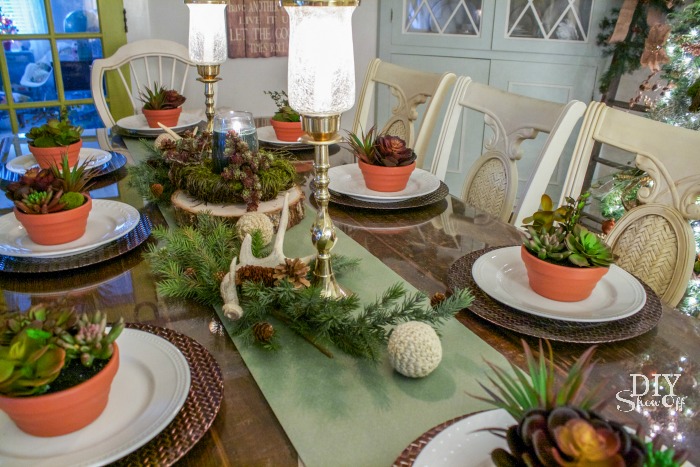
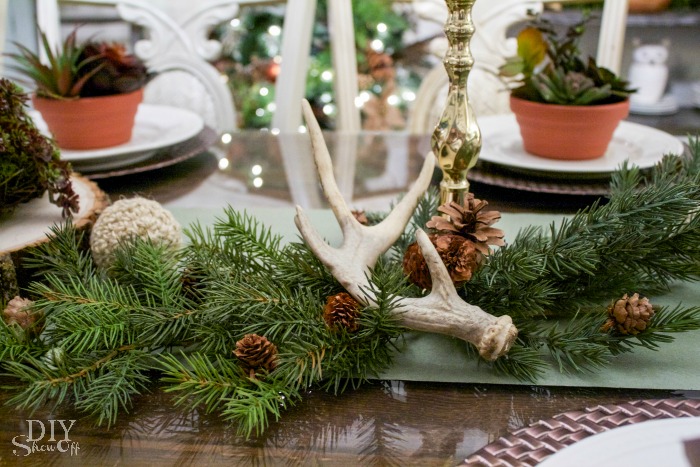
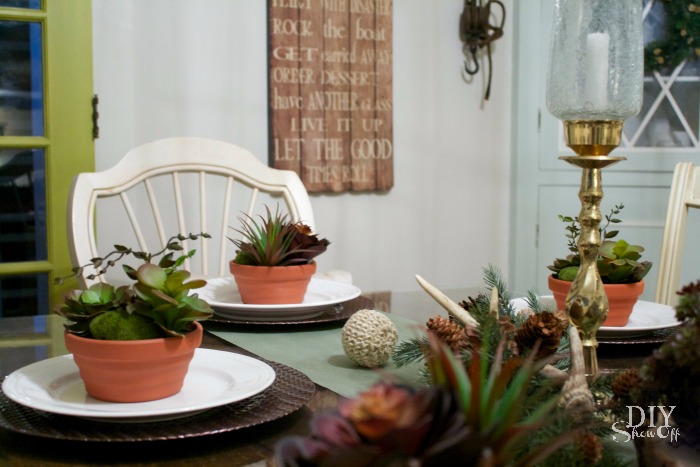
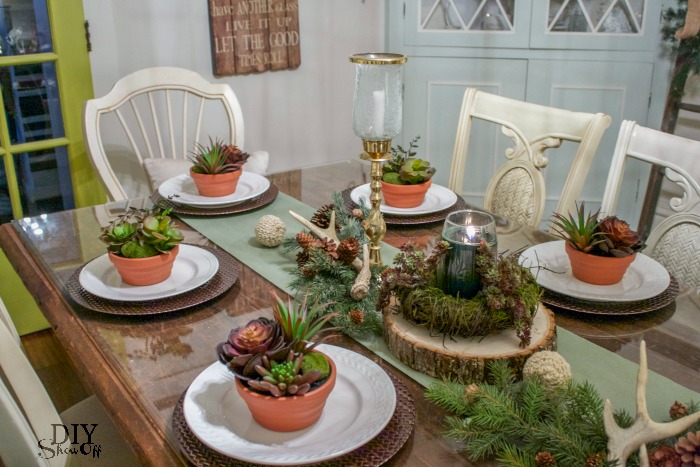
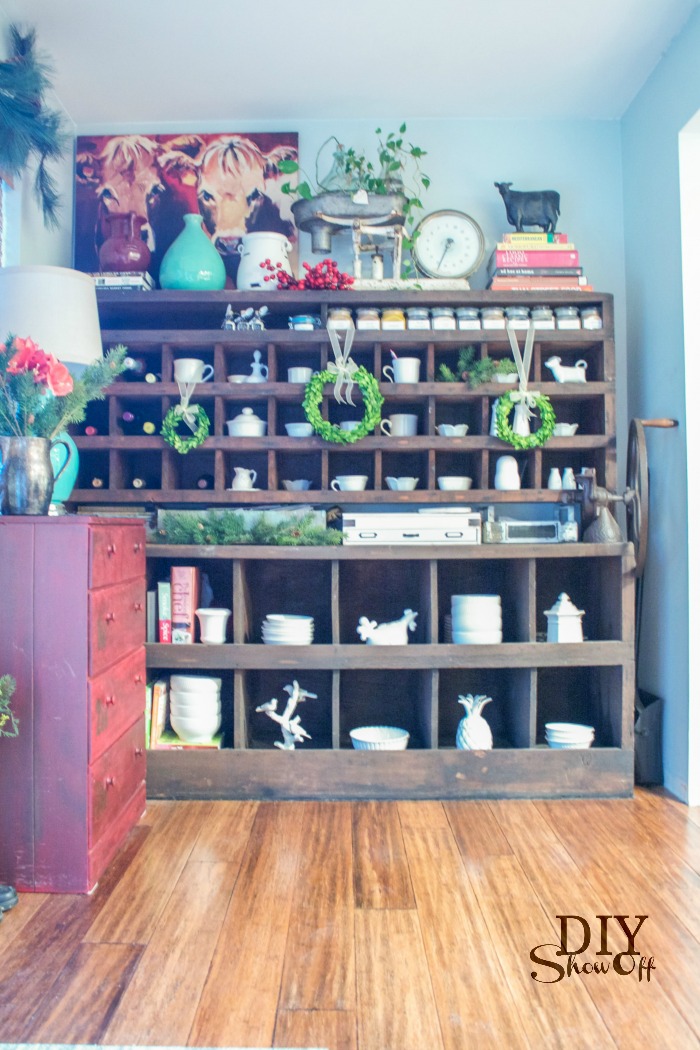
dining room:


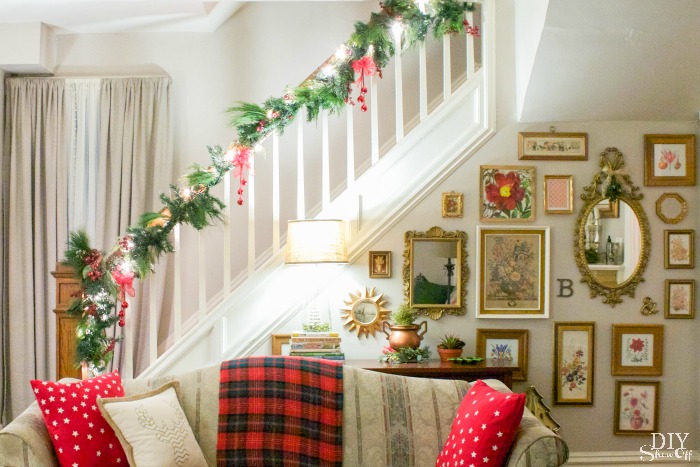
Living Room:


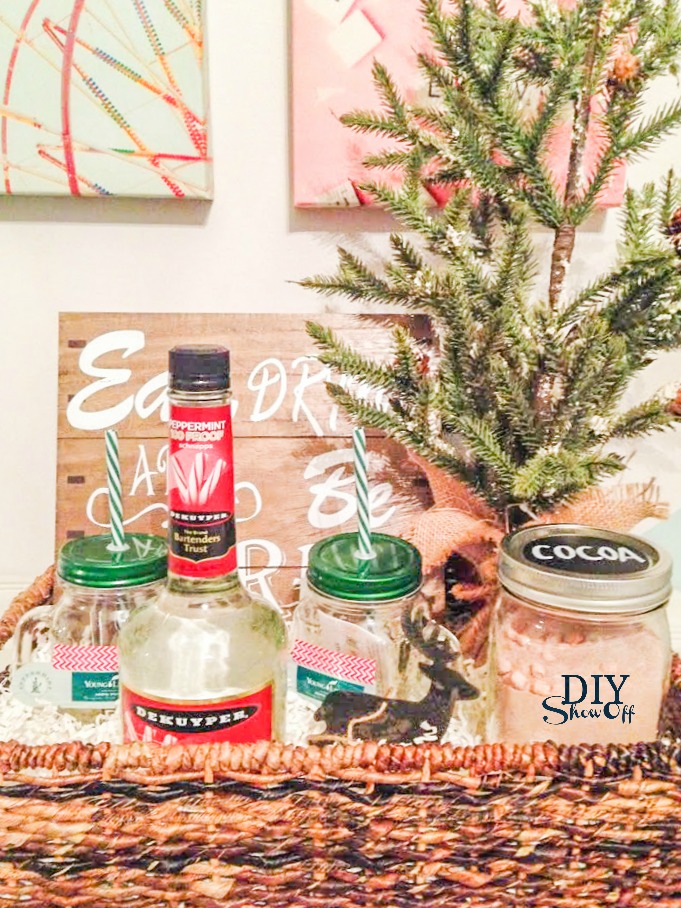
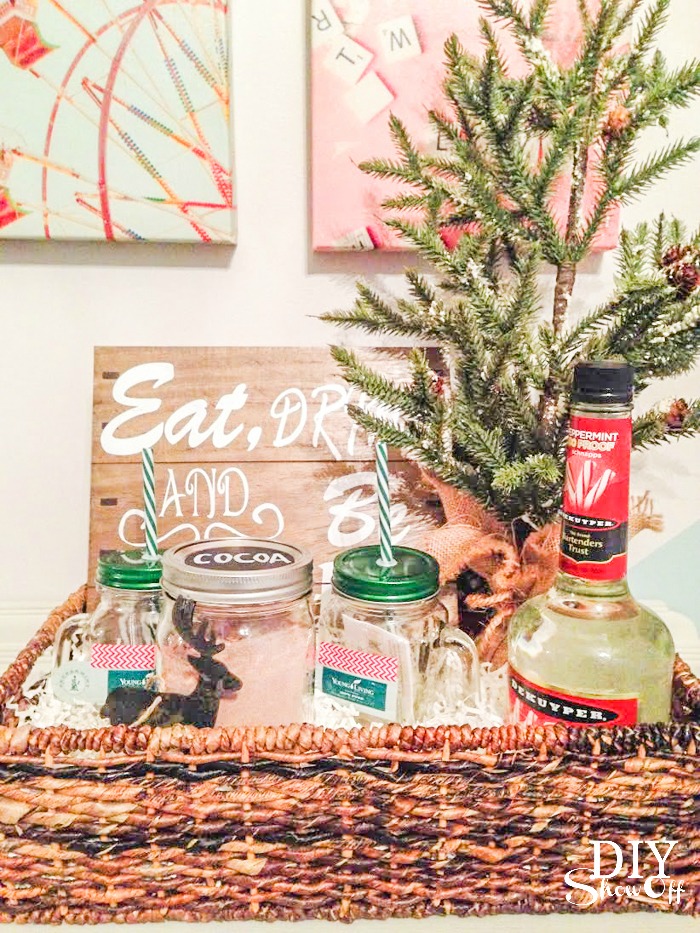
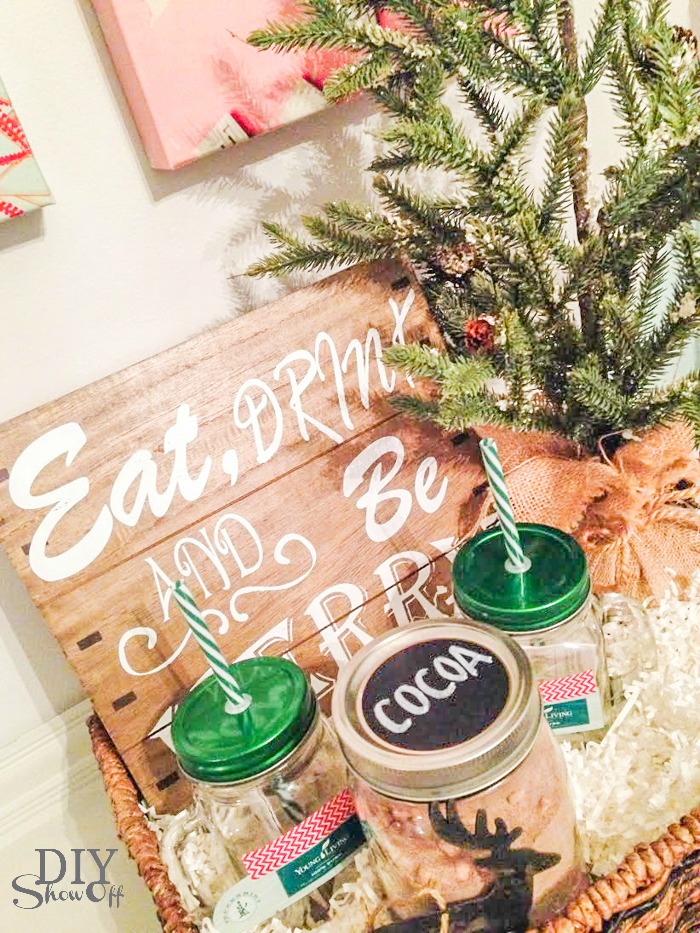
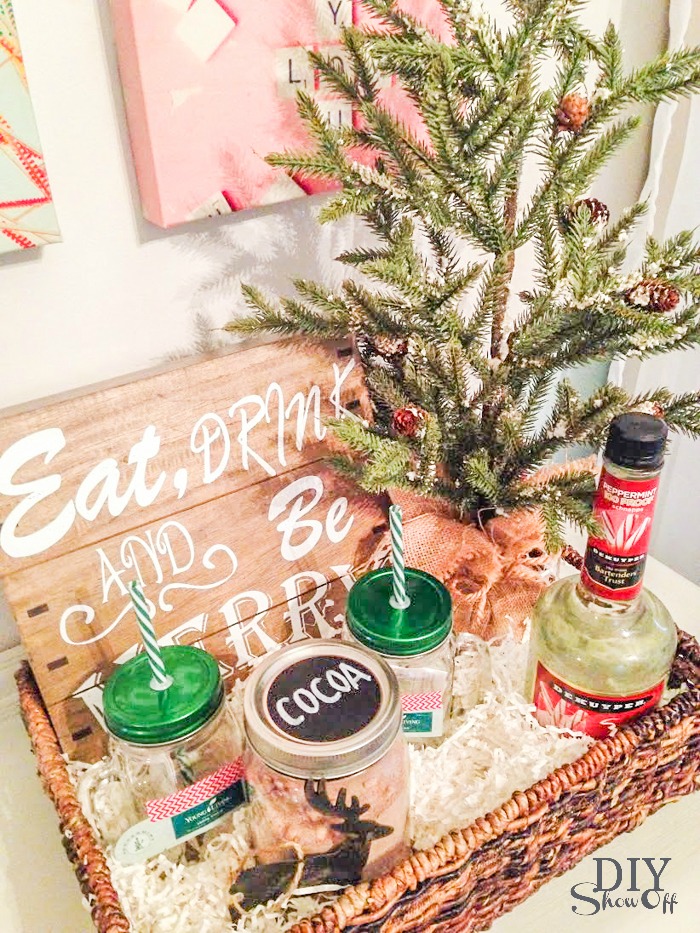
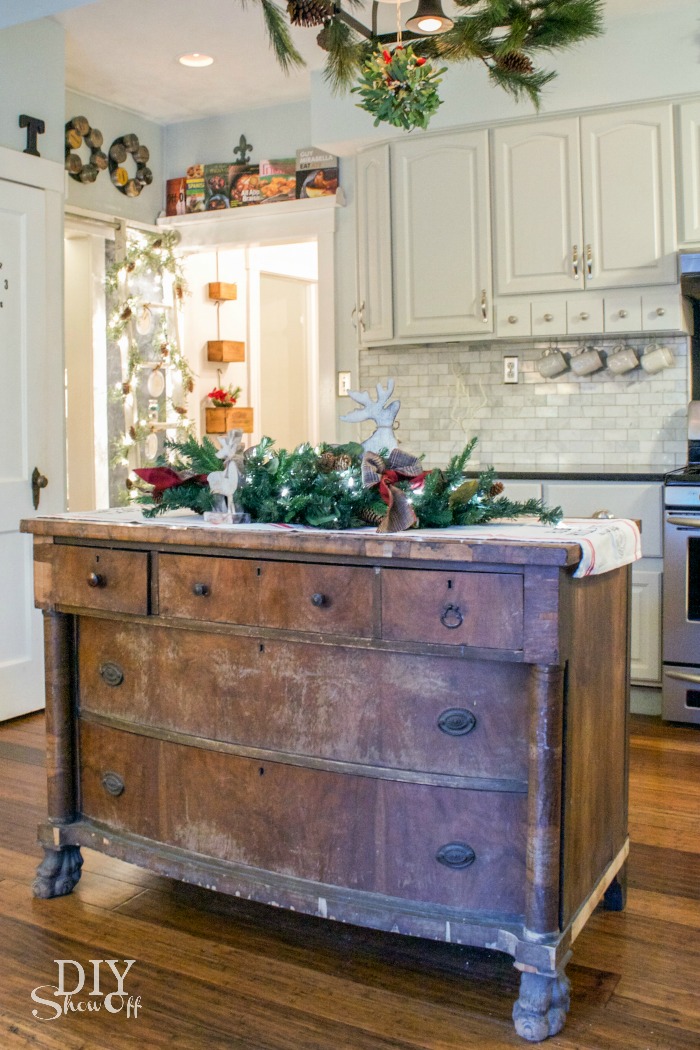
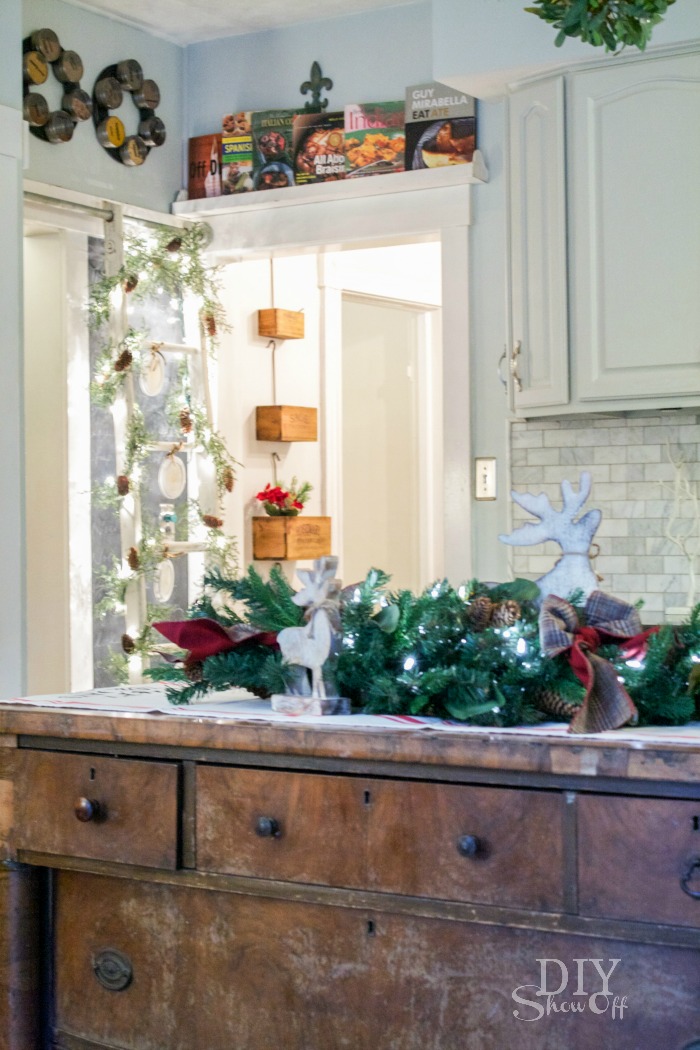
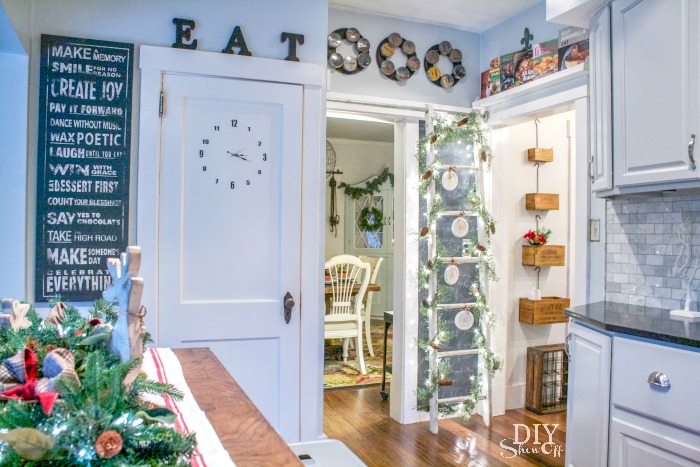
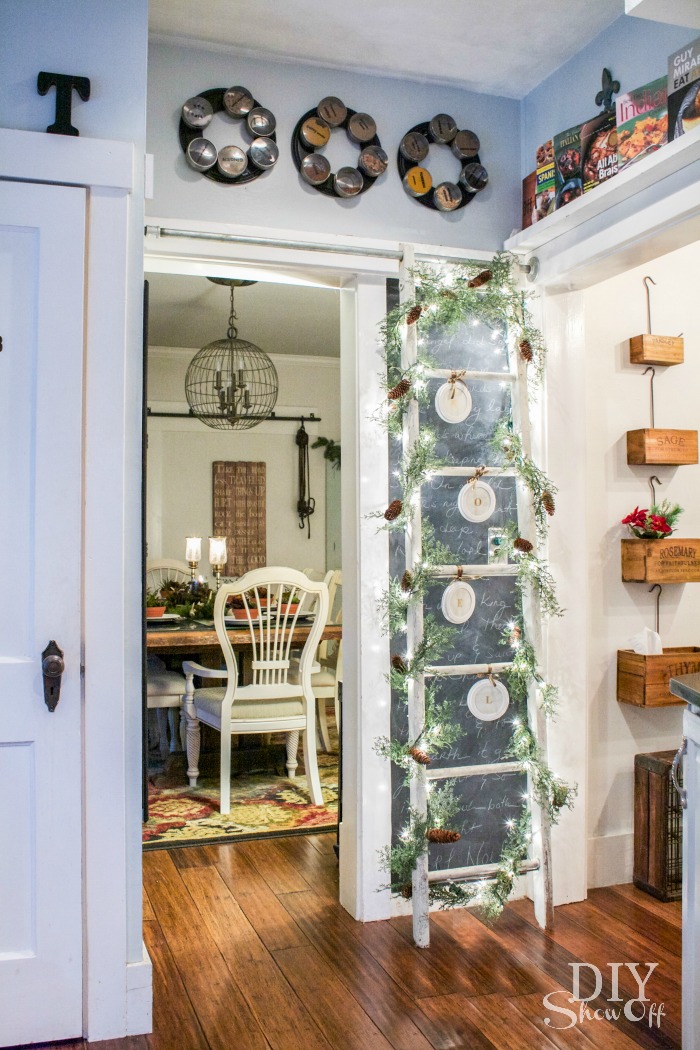
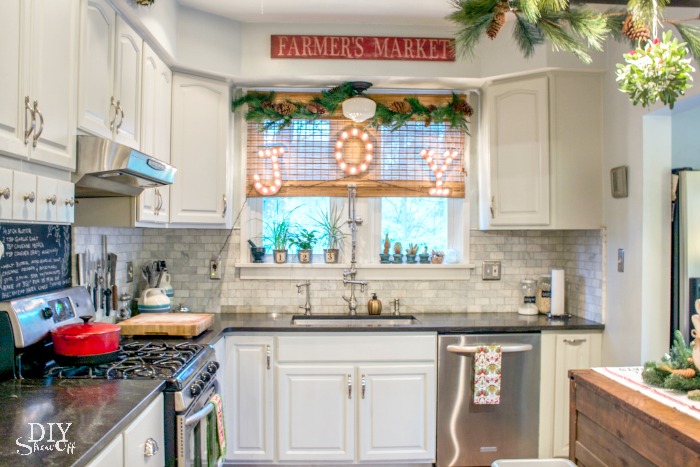
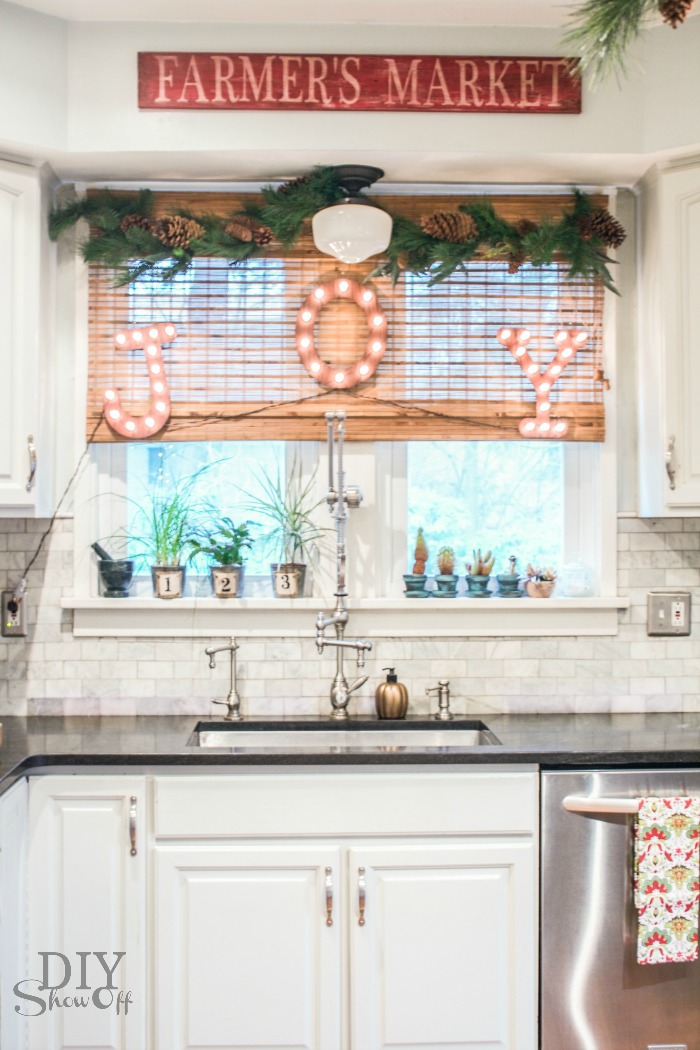
Kitchen:


Up next on the Blogger Stylin’ Home tour is Chris from Just a Girl. I can’t wait to see what she has in store for us. Knowing her, it’s going to be fabulous!
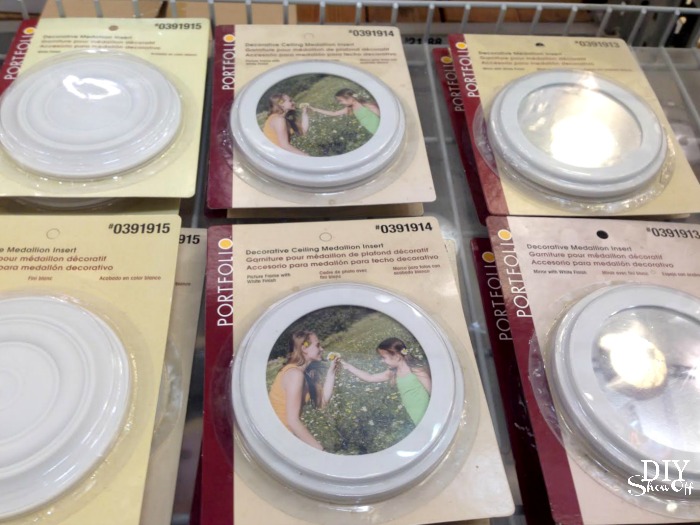
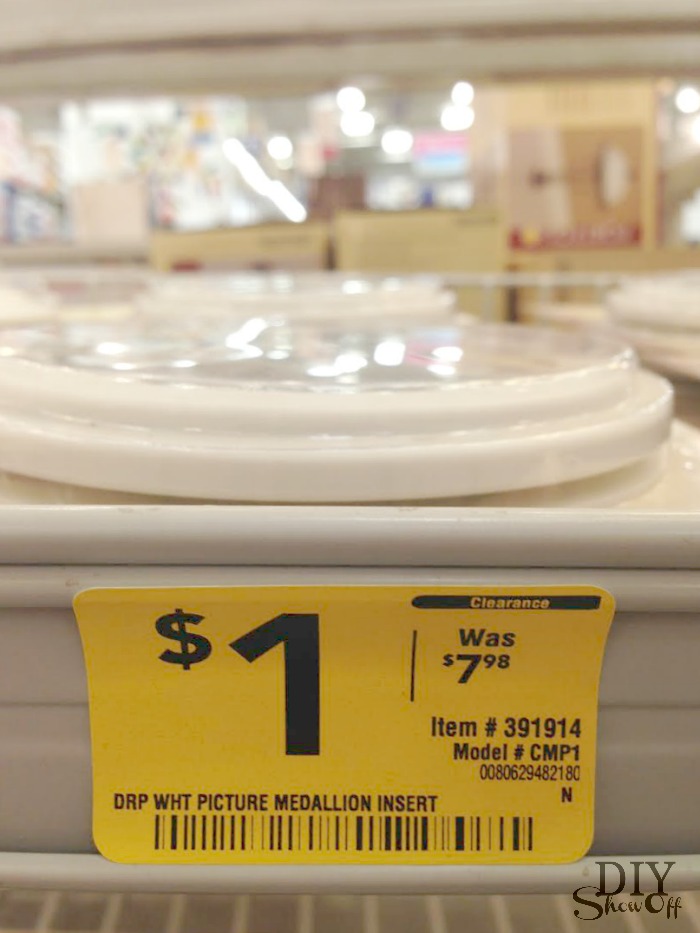
Like my style? You’re invited to check out DIYShowOff tutorials here…
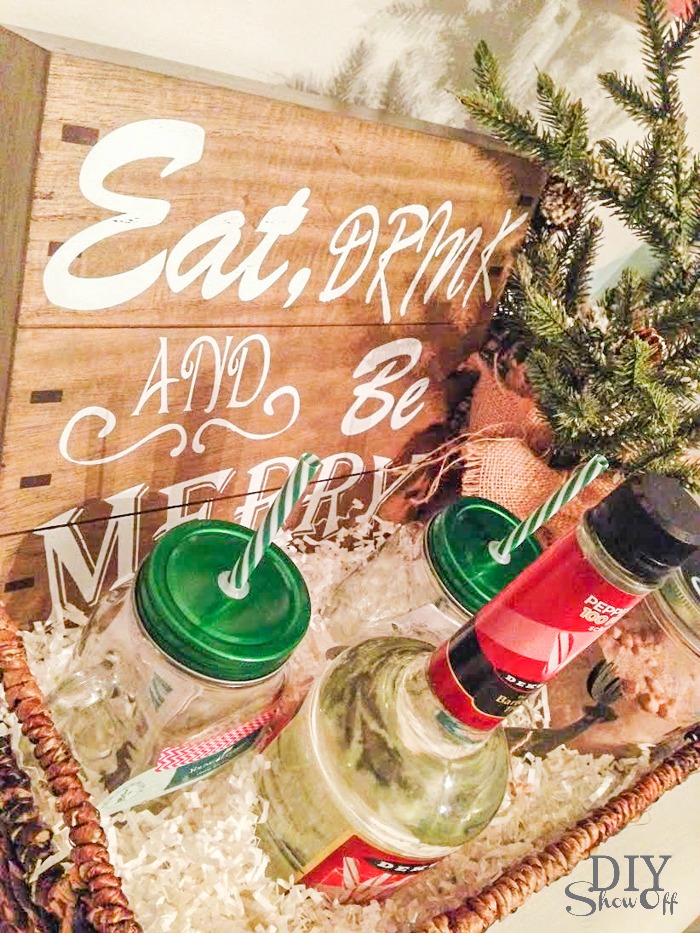
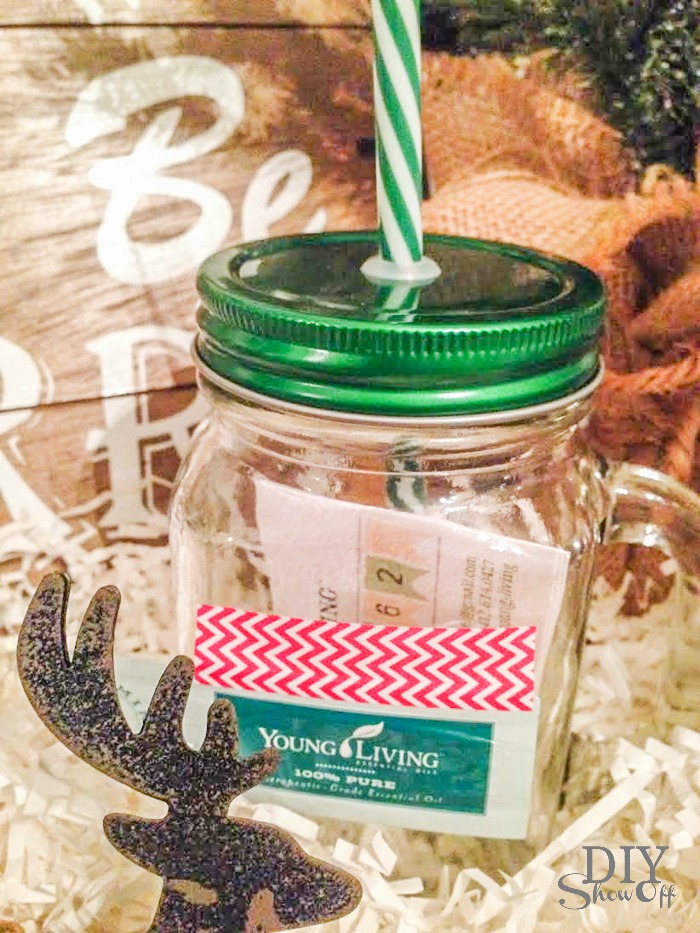
My newest blogging partner: With what feels like a recent cancer epidemic in my family, I’m starting to make healthier, more natural choices for my family. I love creating a comfortable beautiful home … and now I’m working to provide a safe, poison/chemical-free environment for my family too. Young Living essential oils are the newest/main way I help boost our immune systems, alleviate a lot of our minor aches, pains, and injuries and promote a healthier lifestyle . Read more about them here. My Young Living essential oils are also my newest business venture and so popular/loved that they’re sponsoring my blog. Thank you, friends! What a blessing! Interested? You can enroll by clicking here or contact me to learn more.