Yarn Wrapped Reindeer {Secret Santa Blog Tour}

Yarn Wrapped Paper Maché Reindeer Head Tutorial

Yarn Wrapped Reindeer {Secret Santa Blog Tour}

But first – Hellooo, DIY friends! I have the pleasure of participating in a fun secret Santa blog hop organized by my sweet friend, Dria at DIO Home Improvements. Dria is a hard working, generous and talented blog friend with a big heart. 

DIO Home Improvements

I was lucky enough to be Dria’s randomly chosen secret Santa. Here’s the DIY gift I made for her, hand-wrapped with love:

DIY yarn wrapped reindeer head @diyshowoff

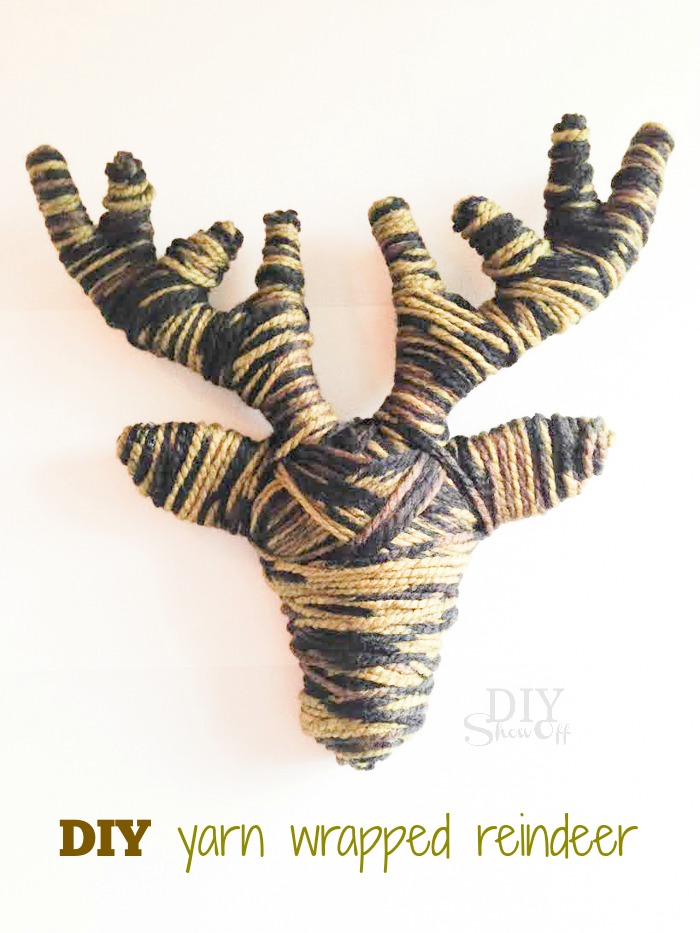
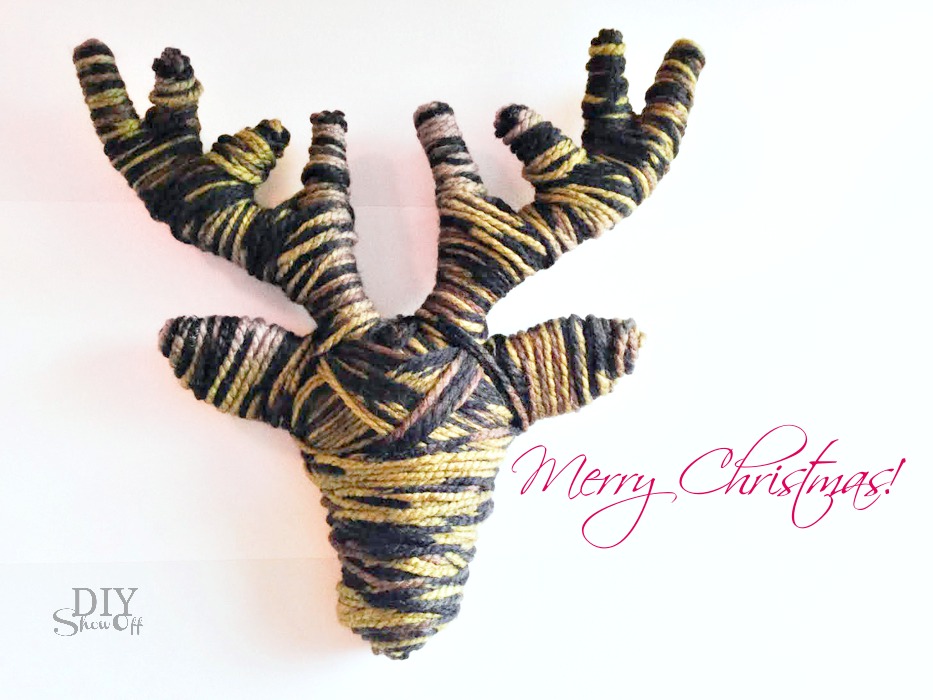
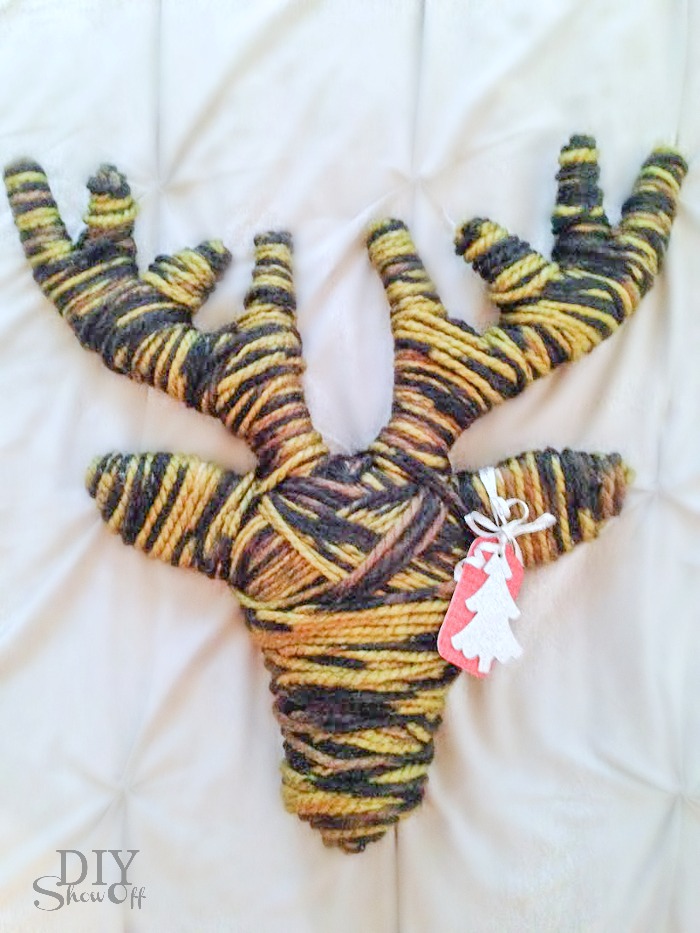
A yarn-wrapped paper maché reindeer head. Isn’t he cute? I loved the earthy tones in the super soft acrylic/wool blend yarn. I think he’ll be a great holiday decorative accent in her beautiful home.  DIY secret Santa gift @diyshowoff

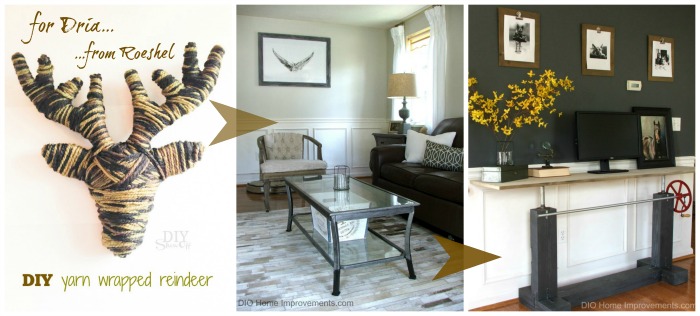
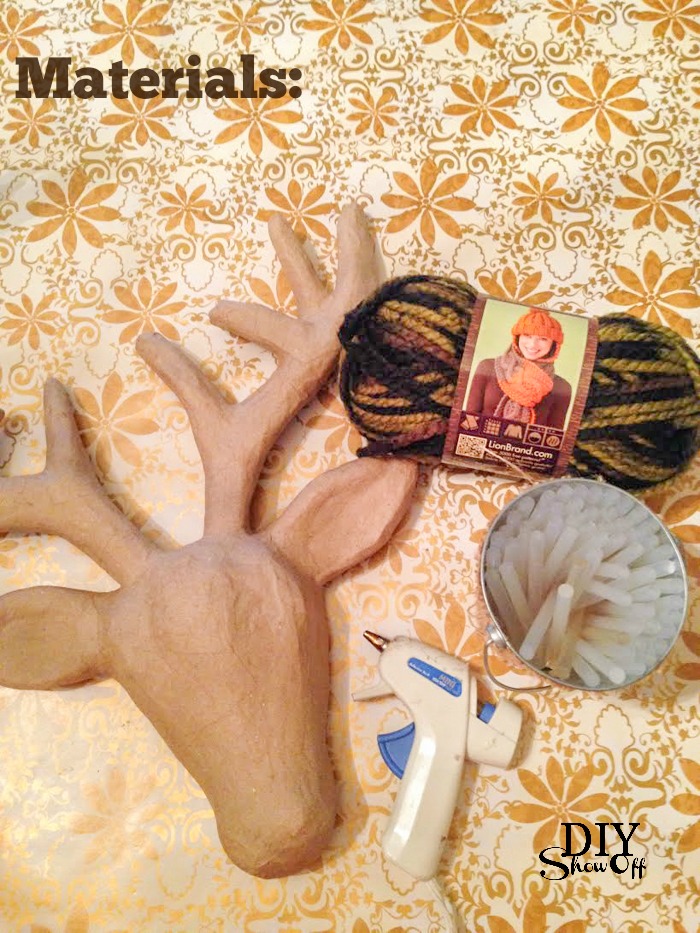
Materials: purchased from Michaels Craft Store

  • 1 skein of yarn (the thicker the yarn, the less work)
  • paper maché reindeer head 
  • hot glue

DIY yarn wrapped reindeer tutorial @diyshowoff

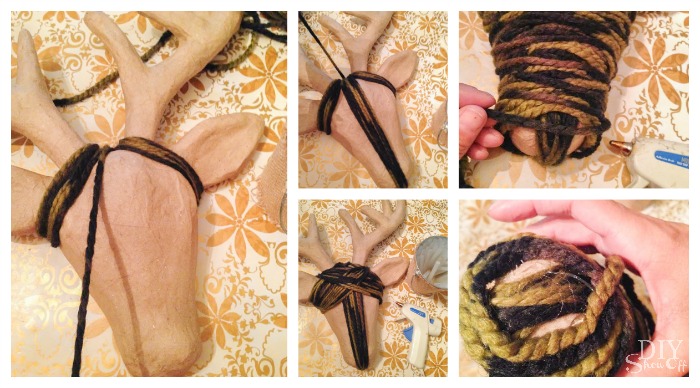
Tutorial: It’s pretty self-explanatory. I started with wrapping the reindeer face, securing where needed with hot glue. The curved areas are a little tricky!

DIY yarn wrapped reindeer tutorial @diyshowoff

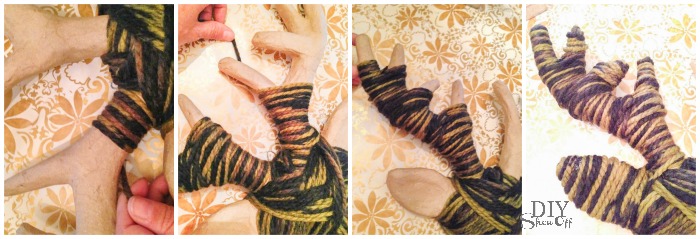
Then moved on to the antlers and ears, wrapping a large vertical portion then coming back and doing smaller areas. 

DIY yarn wrapped reindeer tutorial @diyshowoffDIY yarn wrapped reindeer tutorial @diyshowoff 

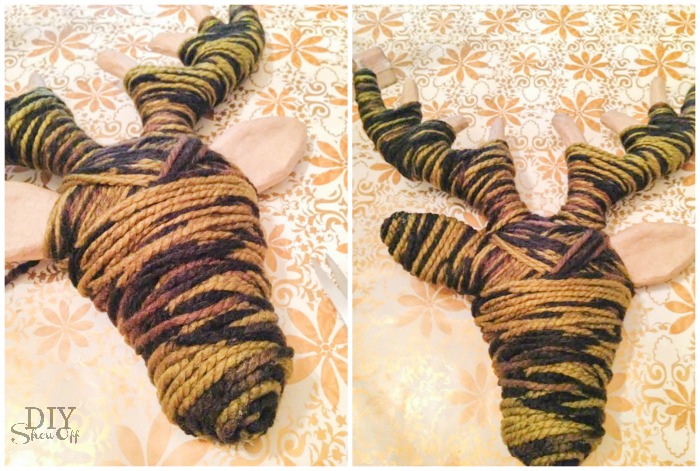
I hot glued any loose ends, adjusting yarn to cover paper maché where needed. And voila!

DIY yarn wrapped reindeer tutorial @diyshowoff

Then I simply added a gift tag, tucked in a few Yankee Candle pine scented ornaments, packed him up and shipped special delivery. 

DIY yarn wrapped reindeer tutorial @diyshowoff

Giving is the best part of a secret Santa gift exchange, isn’t it? Getting a gift in return is icing on the cake and boy oh boy does my secret Santa know how to create, if you know what I mean.

Thank You

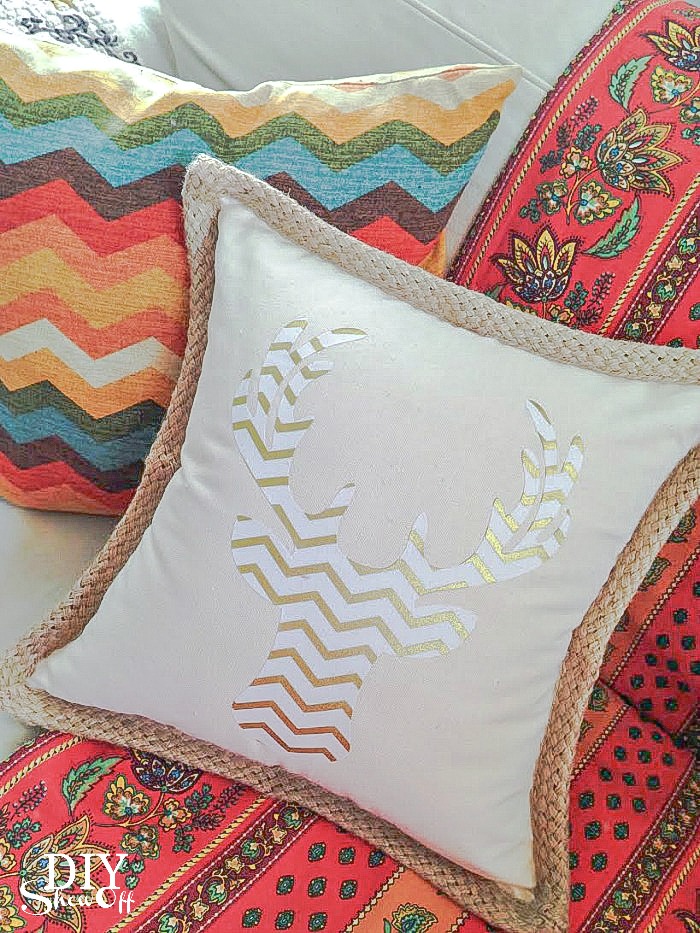
Along the same reindeer theme, Christy from Our Southern Home whipped up this beautiful chevron reindeer accent pillow. Just for me, you guys! Metallic gold chevron. Reindeer silhouette. I love it!

reindeer pillow

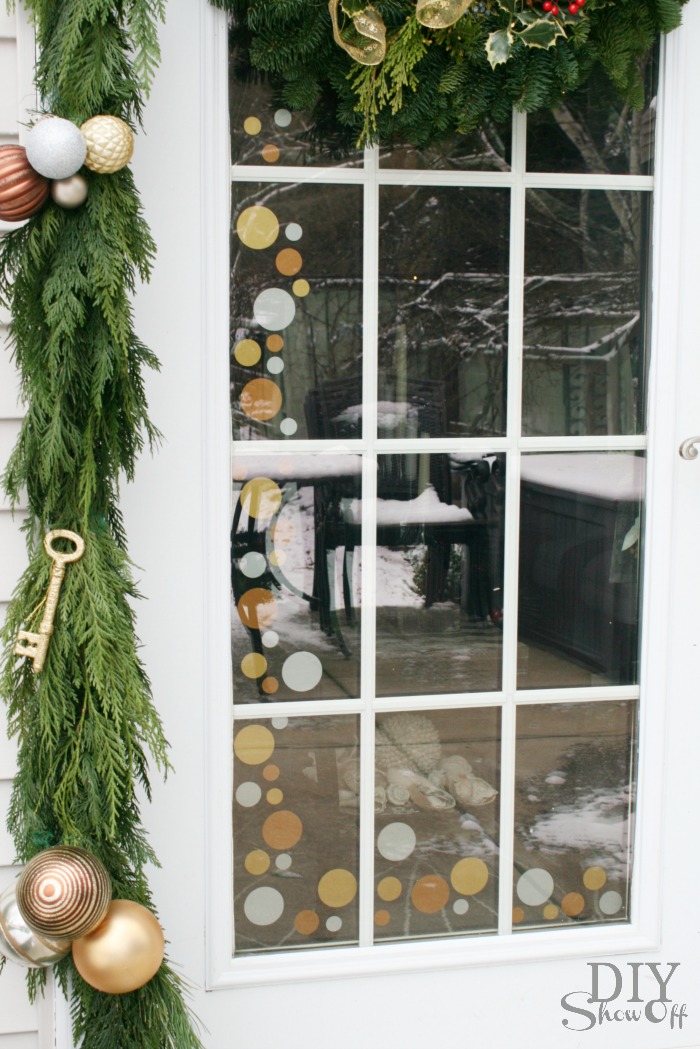
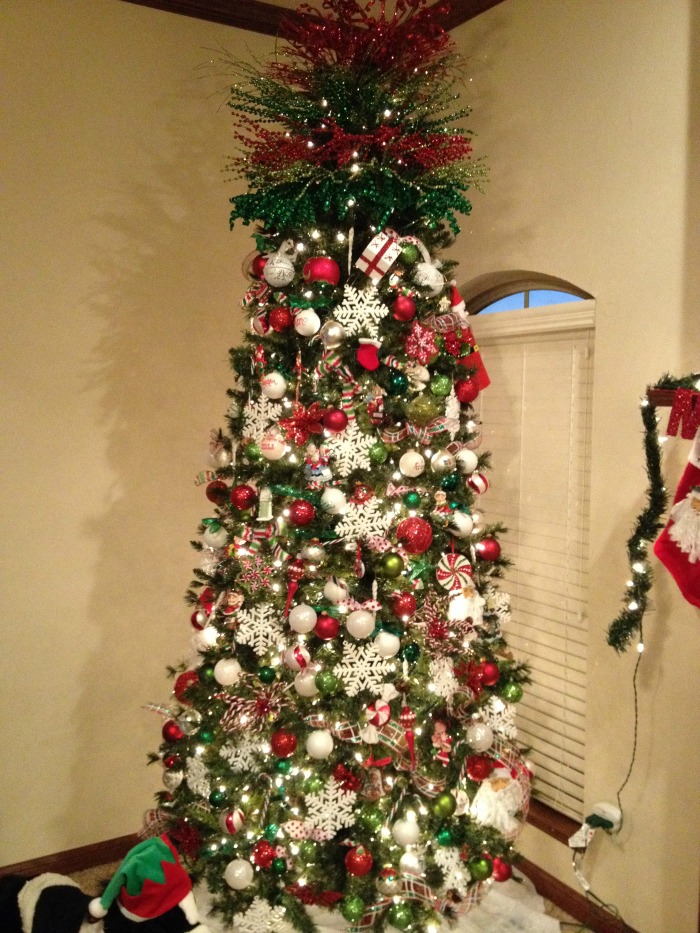
Follow the entire Secret Santa blog tour for some DIY gift inspiration. 


Merry Christmas, DIYShowOff friends!

Merry Christmas, friends! I hope you have an amazing and happy holiday surrounded by family and friends, full of laughter and love. 

Merry Christmas

I’m taking a few days off to celebrate with my family and will see you soon! I invite you to take a look around at the DIYShowOff Project Gallery or DIYShowoffHomeTour for some DIY inspiration for 2014. Thank you so much for your friendships, kindness and support this past year. You’re the best part of blogging! xoxo

Easy Ornament Craft – Pipecleaner Christmas Tree Bells

Christmas is nearly here! These DIY pipe cleaner Christmas tree bells are super easy and a fun last minute craft…with a rich velvet-y look and real ringing bells. They’d be so cute in a variety of colors to coordinate with any Christmas theme. 

easy DIY pipe cleaner Christmas tree bell ornament tutorial

Pipe Cleaner Christmas Tree Bell Ornament Materials:

  • pipe cleaners
  • mini Styrofoam cones 
  • small bells
  • hot glue
  • mini star tree topper ornaments (or thrifty costume jewelry)
  • fishing line/ornament hooks
  • optional: straight pins with color/ball heads, ribbon, embellishments – be creative!
  • optional: Krylon Glitter Blast

Tutorial:

Starting near the bottom of the cone, I simply pushed in my pipe cleaner and spiraled around the cone, again tucking the pipe cleaner’s end into the Styrofoam. Repeat as needed. I used three colors to create an ombrè effect. I even braided a few different colors for a different look. I didn’t, but you can use hot glue as needed. 

DIY pipe cleaner Christmas tree bell ornament tutorial

Add a smidge of hot glue to the top of a bell and insert into the bottom center of the Styrofoam cone to create a ‘bell’ tree trunk.PipeCleaner Christmas Bell Ornament

Embellish: using hot glue or straight pins, add a tree topper or pipe cleaner monogram.

DIY Christmas Ornament

Spritz with Krylon Glitter blast for a little sparkle. 

Easy. Simple. Pretty. Fun. DIY Christmas Ornament CraftThen..frame your creation with a pretty Christmas ornament frame.Christmas ornament frame

Create a matching (no sew) ruffled tree skirt.

DIY Ruffled Tree Skirt Tutorial

no sew ruffled tree skirt tutorial

See more inspiration at Holiday DIY/Decor Favorites from Christmas Past.

Decorating French Doors for Christmas – Part 2

There’s no place like home for the holidays! I meant to share this sooner but wow, the days are flying by! Part 1 of decorating our exterior French doors included beautiful pine garland and wreaths…

Lynch Creek Wreath Lynch Creek Farm Holly Wreath fresh pine garland and gold key fresh pine garland and gold feather garland and ornaments

but paired with Part 2 really completes the look and guests from the real life holiday home tour just loved it! Do you know Shelley from House of Smiths? You do now! That girl is so creative! And while it’s closed for the holidays, you’ll want to check out the House of Smiths Designs for some cute cute cute decorative vinyl accents to start the new year. You’ll notice the addition of metallic polka dots with SO many cute ideas.

Christmas French Door

My mixed metallic polka dots are a part of my holiday door decor but they’ll definitely be lasting until well into the new year too…imagine patio accents in gold, silver, bronze to go with our aged bronze patio furniture or metallic balloons for a summer party on the patio. I can’t wait…they won’t be coming down anytime soon.  

Mixed Metallic Christmas Decor polka dot door Polka Dot Vinyl DecalsMine came on large sheets in different sizes. Application is just like applying stickers, only easily removable!

Christmas French Door DecorPretty and festive! 

Lenzie’s beautiful tree for the Christmas Tree Party & ContestLenzie's Christmas Tree

Ornament Frames

Ever want to draw attention to a special ornament on your Christmas tree? Why not frame it?Christmas ornament frame

I used FrogTape® and acrylic craft paint to give mine a fun ombrè look for my ombrè Christmas tree. Here’s how:ombre ornament frame supplies

Tape off the middle section of a frame using FrogTape. I pressed down on the edges of the tape with my thumbnail in order to get a crisp clean line. ornament frame tutorial

Then I painted the top and bottom sections using my lightest paint color on top and the darkest on the bottom.

While the paint was still wet, I removed the FrogTape and let the paint dry.ombre ornament frame tutorialstriped ombre ornament frame tutorial

Then I taped off the middle section and followed the same steps.painted ombre ornament frame tutorialChristmas ornament frame tutorial

The frames serve as custom color coordinating ornaments themselves but they also draw the eye to the “framed” ornament.Christmas ornament picture frame Do you have a favorite or meaningful Christmas ornament?eclectic colorful Christmas

FrogTape Blog Squad

Disclaimer: I received compensation to complete this project for using FrogTape® products. All opinions, projects and ideas are based on my own experience.

Bumble tree submitted by Courtney for the Christmas Tree Contest

Bumble