We repurposed an old headboard with just a little work to use it as a decorative door pediment. I shared this a couple of weeks ago at the DIY Club but wanted to share here as well, plus I’m so exhausted. My back and knees are reminding me that I’m not in my 20s anymore and renovating alone is hard work! While working on the apartment renovation for our daughter, our own projects at home have been put on hold but I did manage to squeeze in an easy DIY decorative accent project!
Materials:
- Old headboard
- Gorilla Wood Glue
- Bessy ESZ Clamps (Rockler)
- TransTint Dye (Rockler0
- Vinyl stencil (created using Silhouette Cameo)
- Craft paint and small brush or paint pen
Headboard Pediment Tutorial
I started with removing the legs from a broken headboard. The headboard was beautiful but in very poor condition.

I removed the warped veneer and pulled out staples that were trying to hold it in place to reveal the unfinished wood.
To repair the few cracks int he wood, I filled them with Gorilla Wood Glue. I love it’s water-based formula (easy clean up) and “tough” holding power. It only takes about 20-30 minutes of clamp time to move forward with the project and 24 hours to cure.

I love these awesome HUGE Bessy ESZ clamps! They were super easy to use one-handed with their pistol style handles. No problems with increasing the grip and super easy to release when done.

After the glue was dry, I applied my vinyl stencil which wouldn’t stick so I traced the letters using a pencil.

Next I hand painted my words tracing the pencil marks with a paint pen and filling in with craft paint and let it dry.

Then, I lightly sanded the entire headboard (even the painted lettering) and gave it a coat of TransTint dye (dark mission brown) to age it.
Once everything was dry, we drilled pilot holes into the studs above the French doors in our family room and into the headboard. We secured it to the wall using drywall screws.

Pardon this mess! Room renovation on hold but in progress {actually it looks a lot messier than the photos at this moment – yikes!}…

Tada! After…

I love how it fills the empty space above the French doors? What do you think?
You can see more plans for the family room here:
Operation Family Room


ATTENTION! I am judging the Before/After contest at OPC’s Better Half this week and going through the links now. You have 4 weeks to enter and a couple of days before I get through 100+ links for me to see your DIY room makeover. 😉


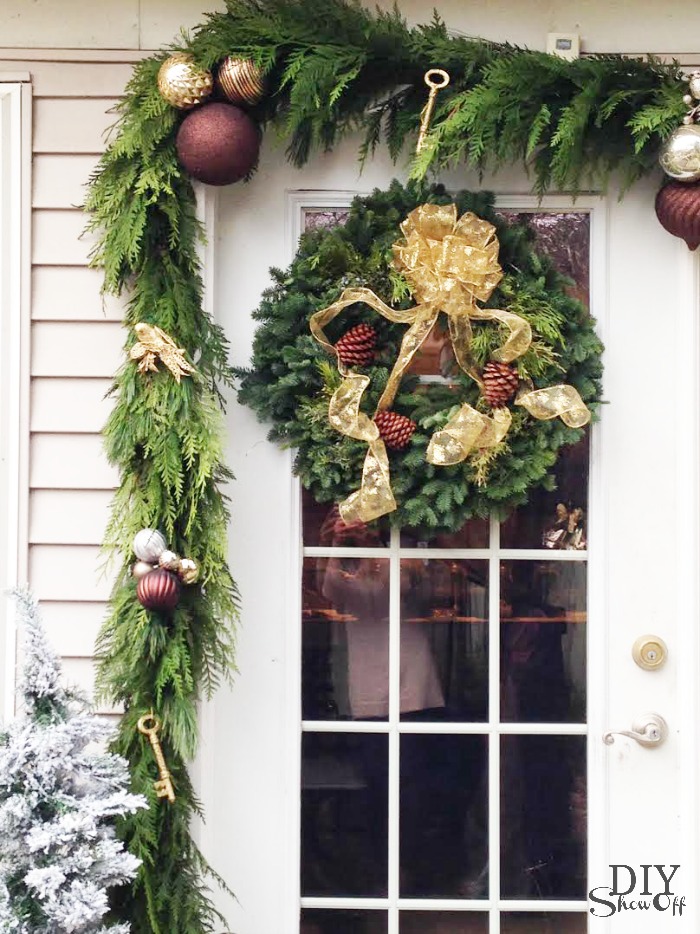

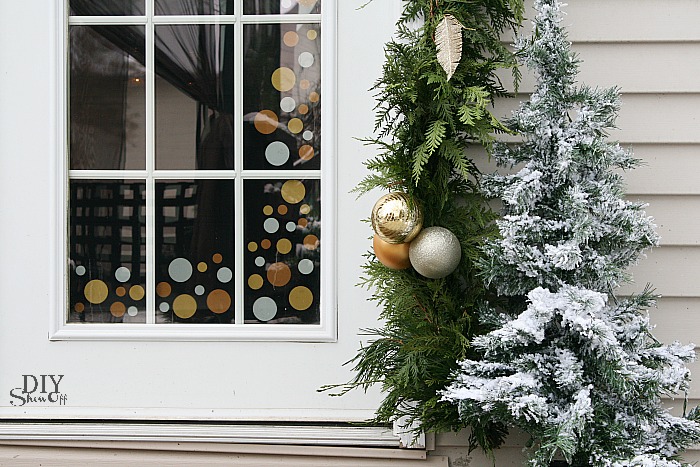
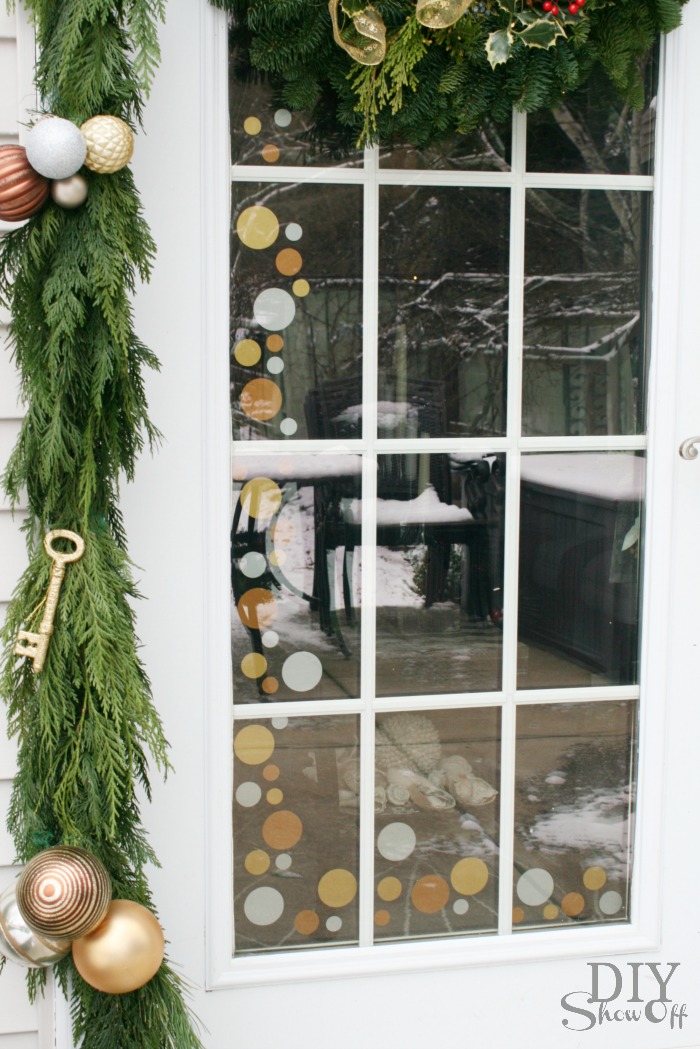 Mine came on large sheets in different sizes. Application is just like applying stickers, only easily removable!
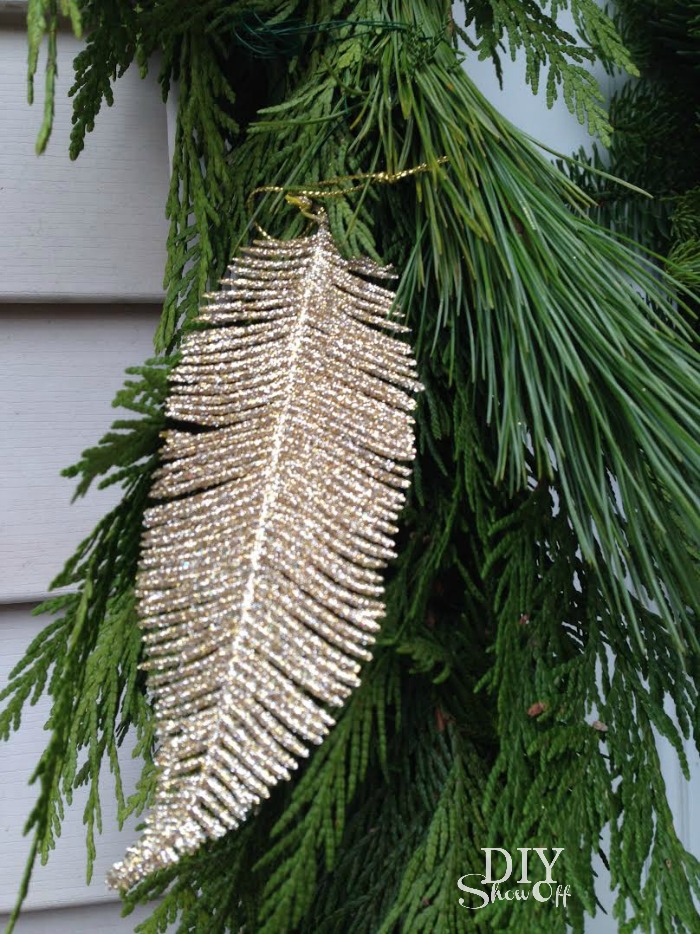
 Pretty and festive!