







Striped Gallery Wall

A little cabin fever with sub-zero temps had me looking at areas of our home to “clean” up which lead to painting a striped gallery wall. Strange how my brain works but once I cleared the bookcases (so much dust!), that inspired the idea to dress up the entire area. 

What I used: 

  • FrogTape® Multi-Surface
  • paint – I used leftover paint from our laundry room. Color is Valspar Mineral Ash. Existing wall color is Benjamin Moore Smoky Taupe. 

What I did:

I cleaned the wall above our build in bookcases. I marked where the framed prints hang on the wall then using the level, marked light pencil lines horizontally. 
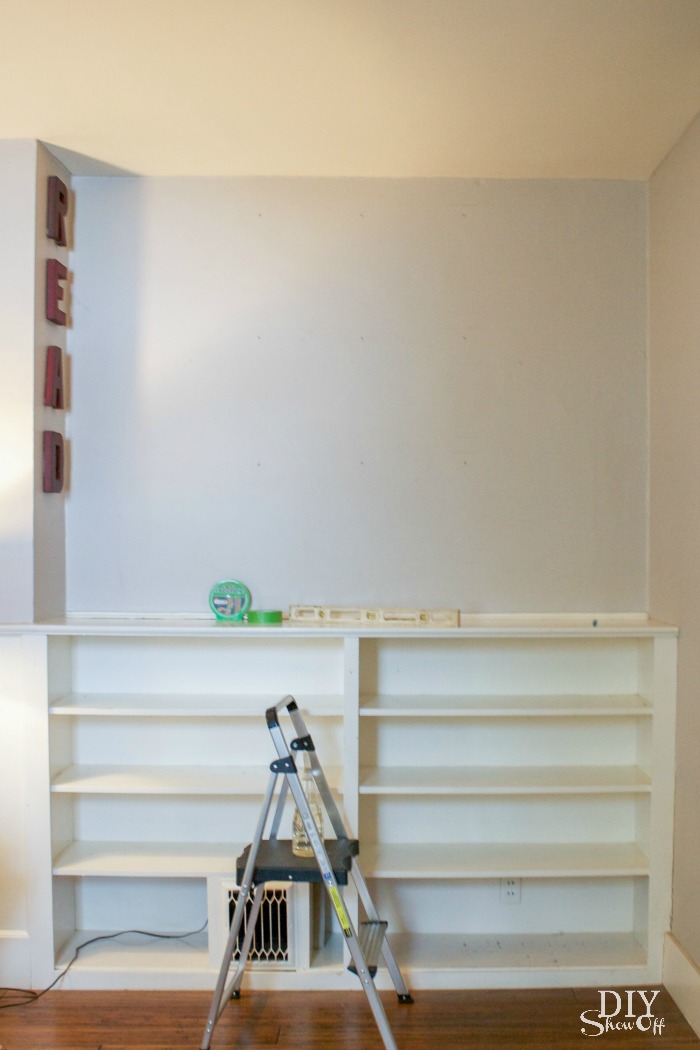
DIY striped gallery wall tutorial @diyshowoff

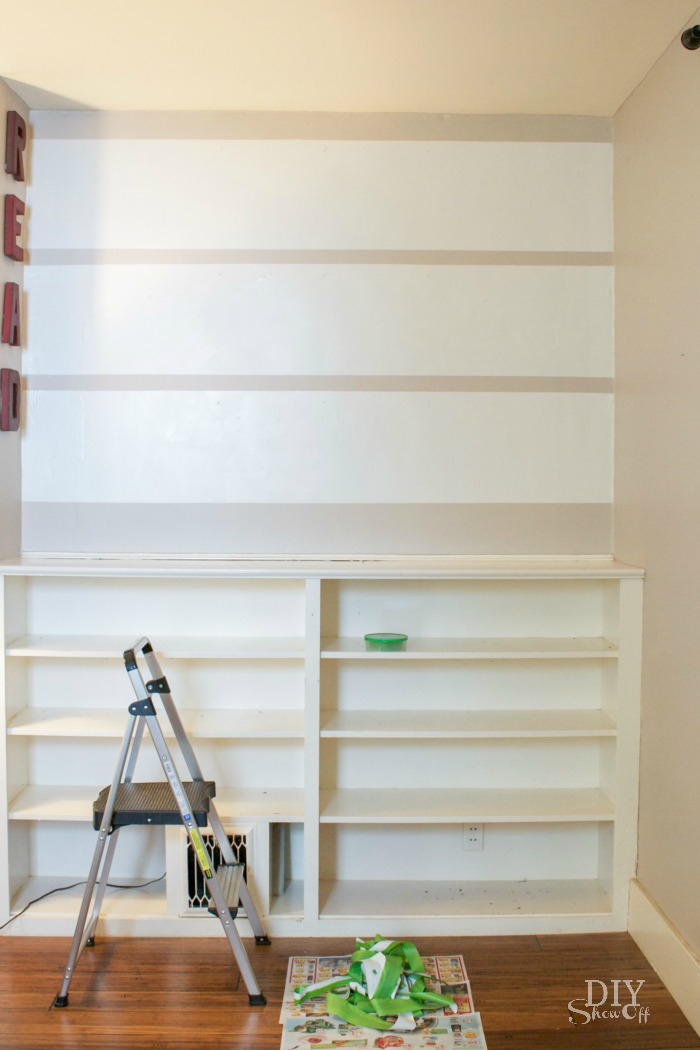
Then I applied the FrogTape.

DIY striped gallery wall tutorial @diyshowoff

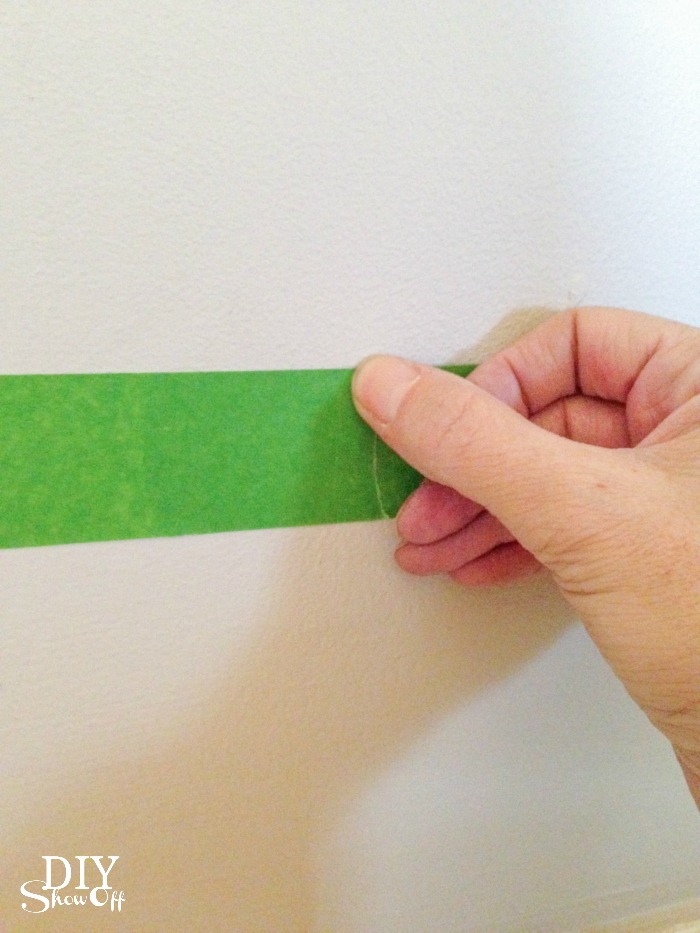
I used my thumbnail to secure the edges of the FrogTape to the wall in order to get nice crisp paint lines. 
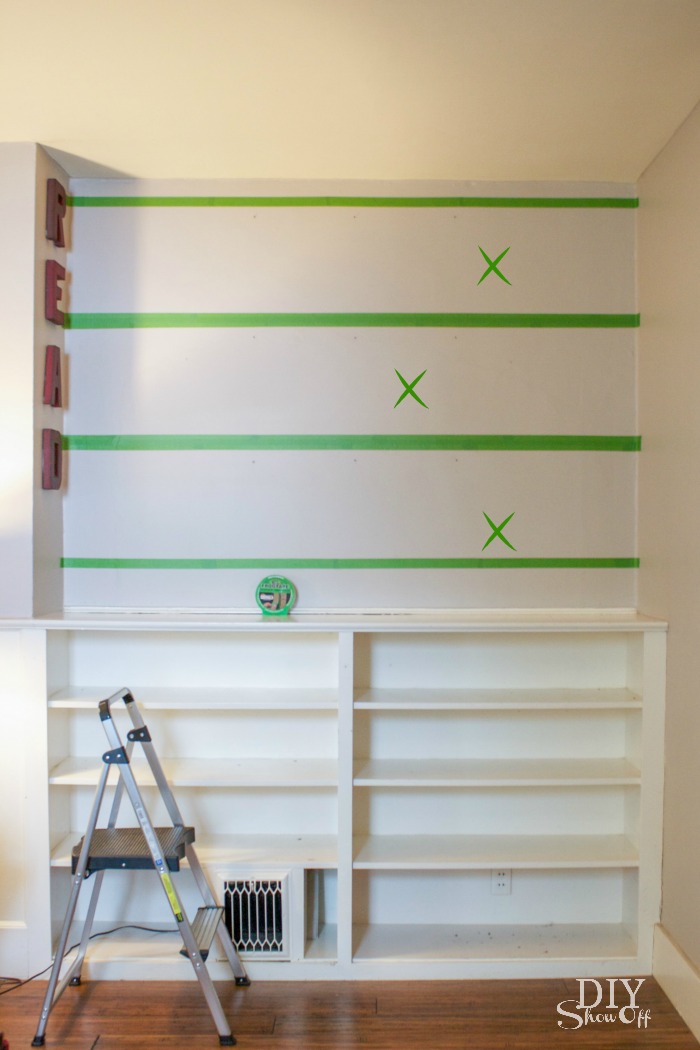
DIY striped gallery wall tutorial @diyshowoff

Then simply painted the wall two coats. 
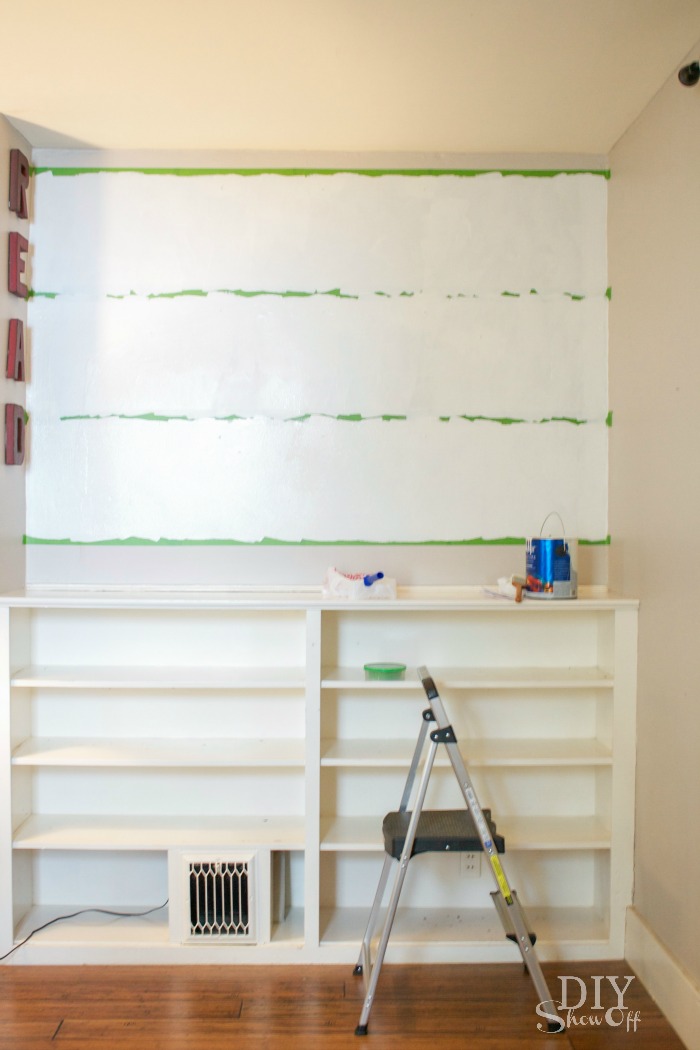
DIY striped gallery wall tutorial @diyshowoff

While the second coat was still wet, I removed the FrogTape and let the paint dry. 
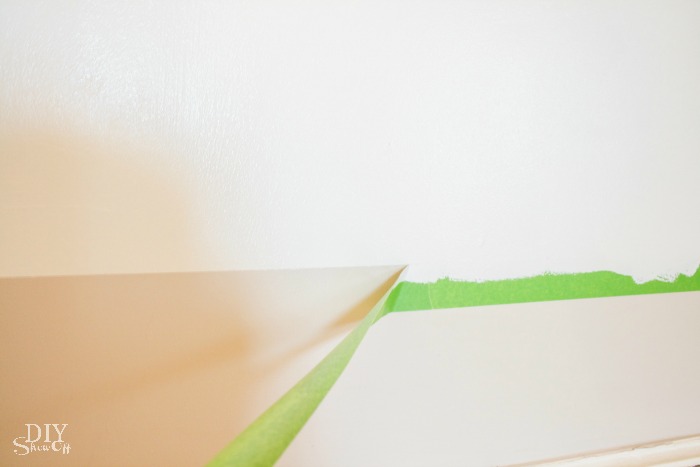
DIY striped gallery wall tutorial @diyshowoff DIY striped gallery wall tutorial @diyshowoff

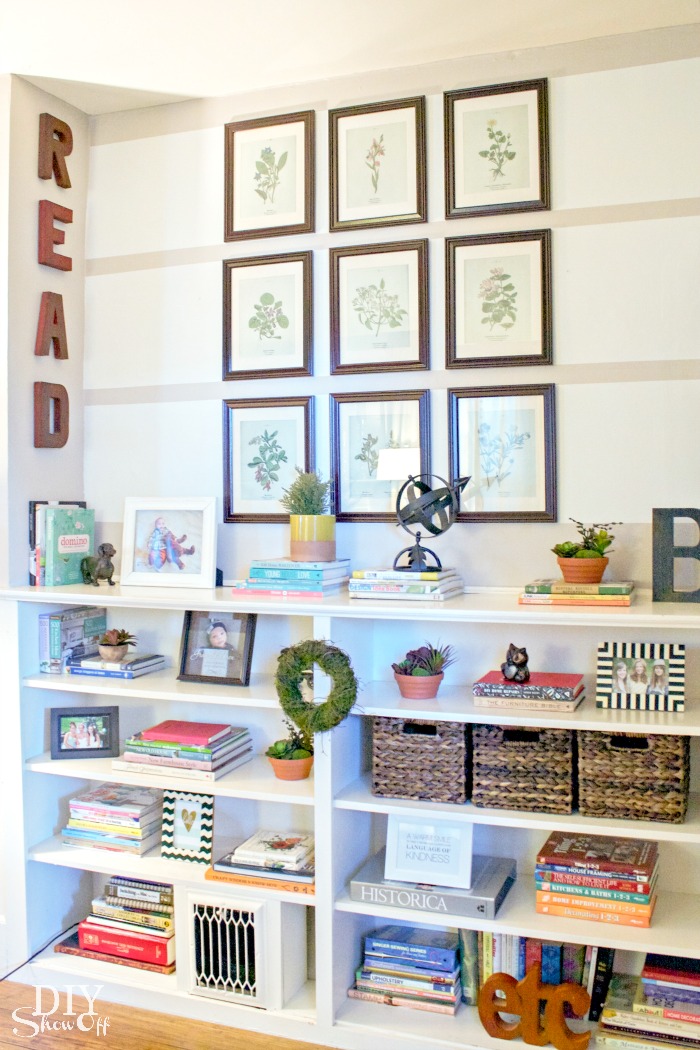
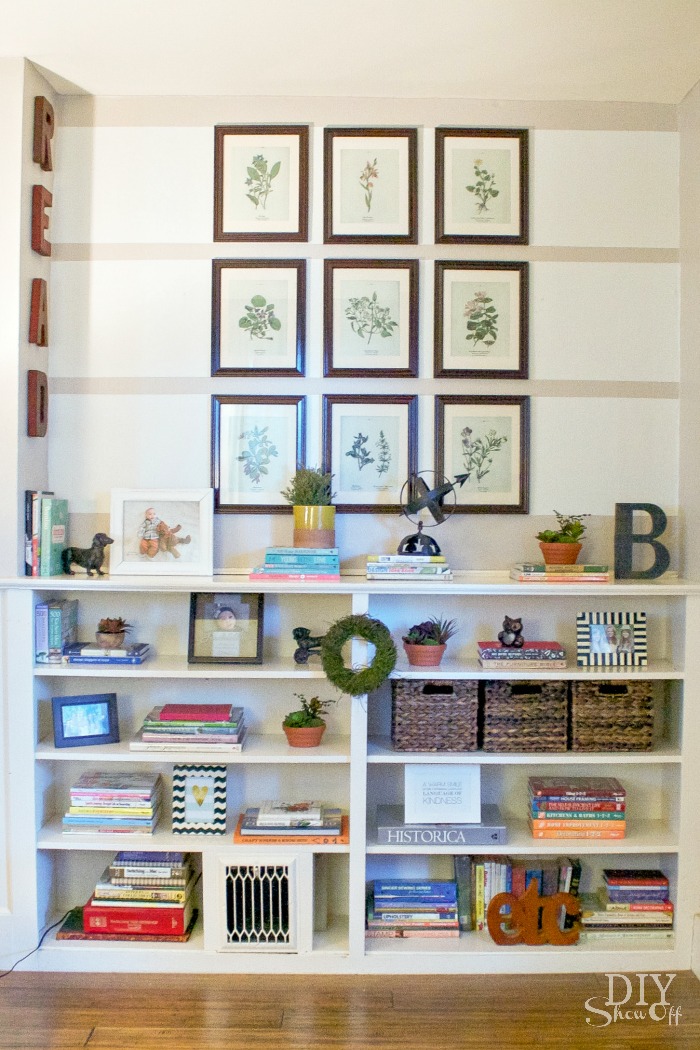
Then hung up my prints and restyled the bookcases. Paint is such an easy way to create a new look, add some interest and to freshen up the space.
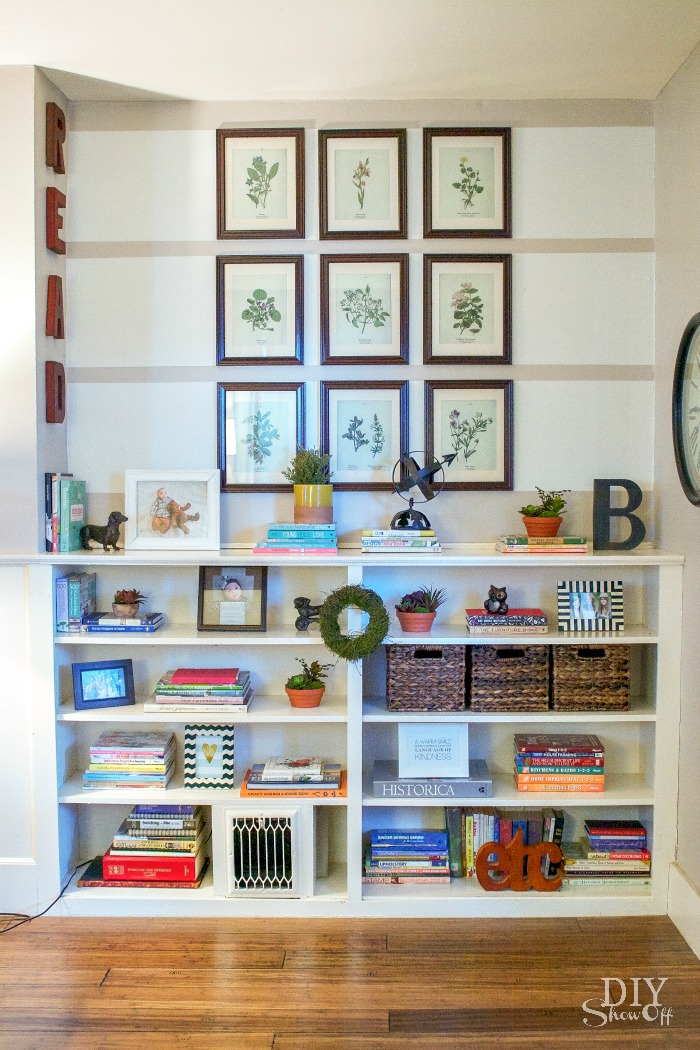
DIY striped gallery wall tutorial @diyshowoff DIY striped gallery wall tutorial @diyshowoff DIY striped gallery wall tutorial @diyshowoff

Now to come up with some seating for this area. Stay tuned!

FrogTape Blog Squad

Disclaimer: I received compensation to complete this project for using FrogTape® products. All opinions, projects and ideas are based on my own experience.
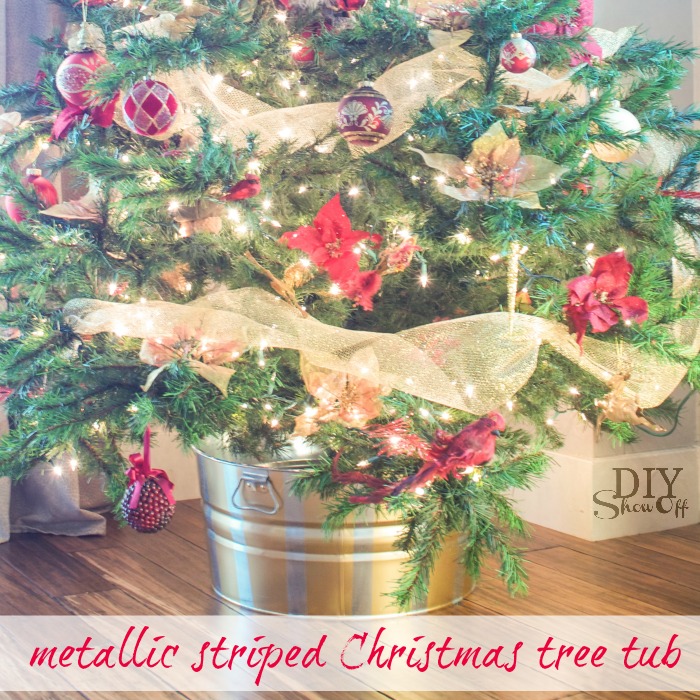
Metallic Striped Christmas Tree Tub

Looking for a new idea for your Christmas tree? Grab these things:

metallic striped Christmas tree tub tutorial @diyshowoff

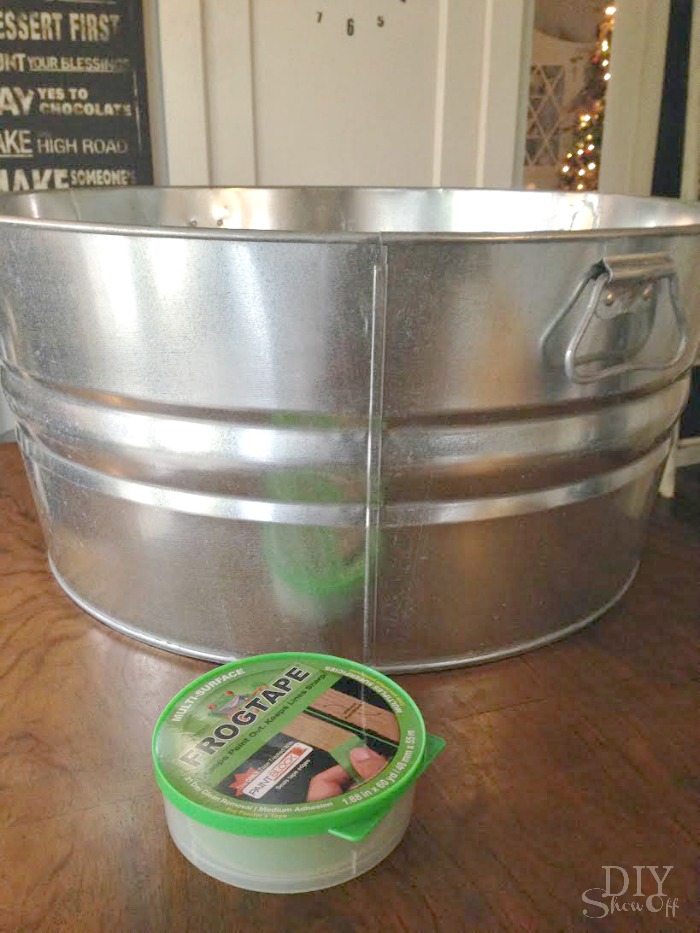
  • large galvanized beverage tub
  • gold spray paint
  • FrogTape® Multi-Surface

Christmas Tree striped tub tutorial @diyshowoff

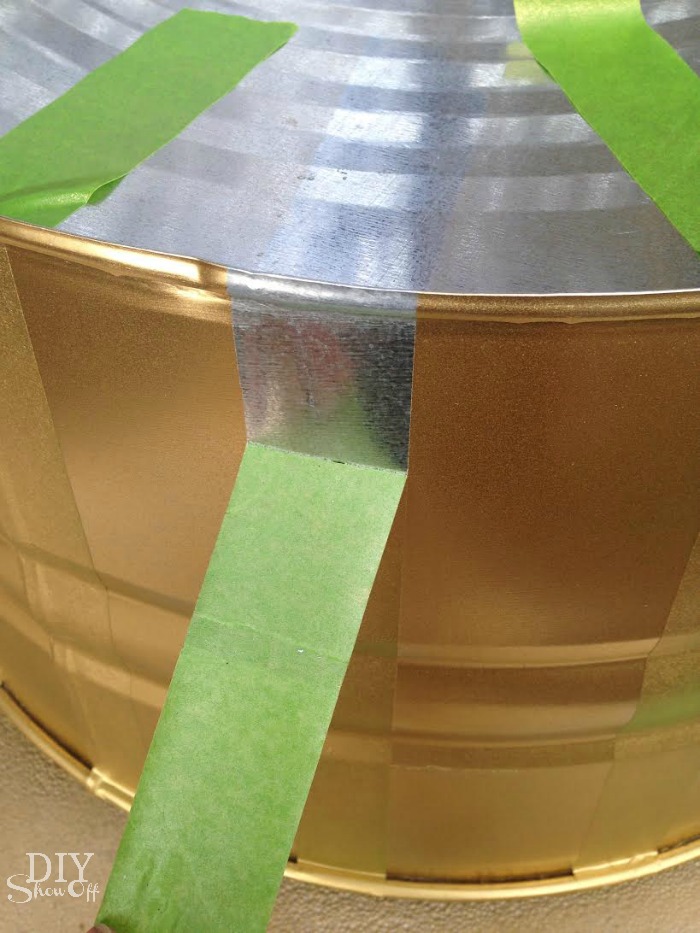
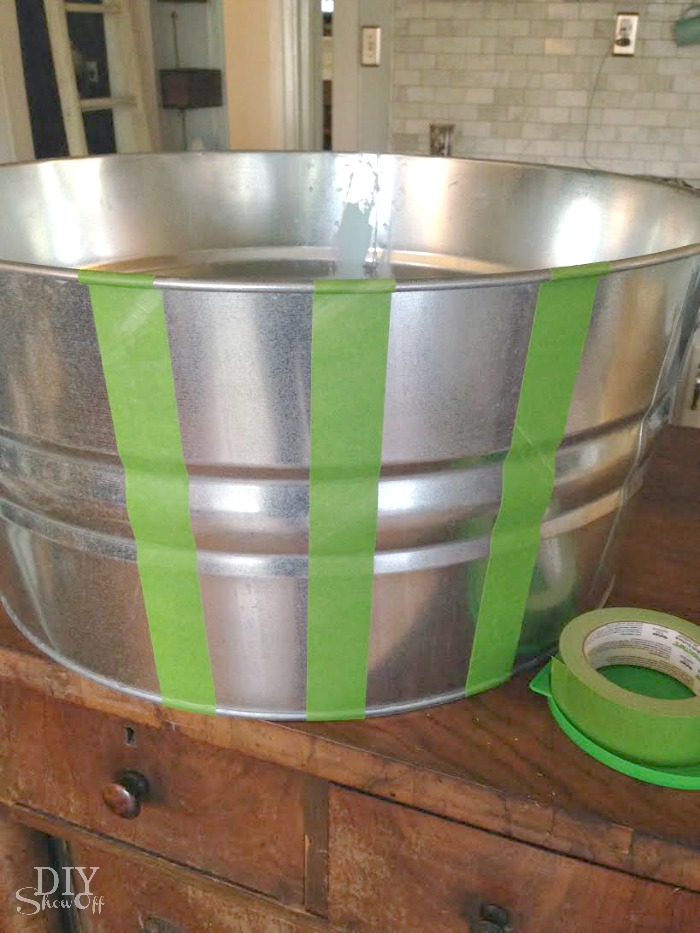
Use the FrogTape to create stripes or a pattern on the galvanized tub. i just applied mine without exact measurements. Wouldn’t triangles, x’s or chevron be pretty too?

Christmas Tree striped tub tutorial @diyshowoff

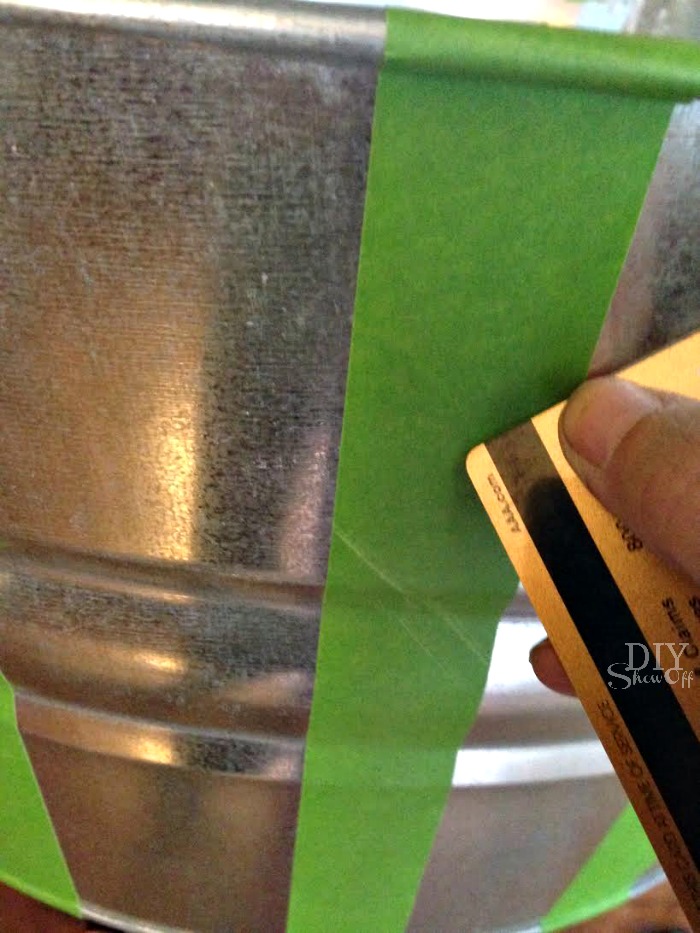
Using a plastic card, burnish the edges of the tape. 

Christmas Tree striped tub tutorial @diyshowoff

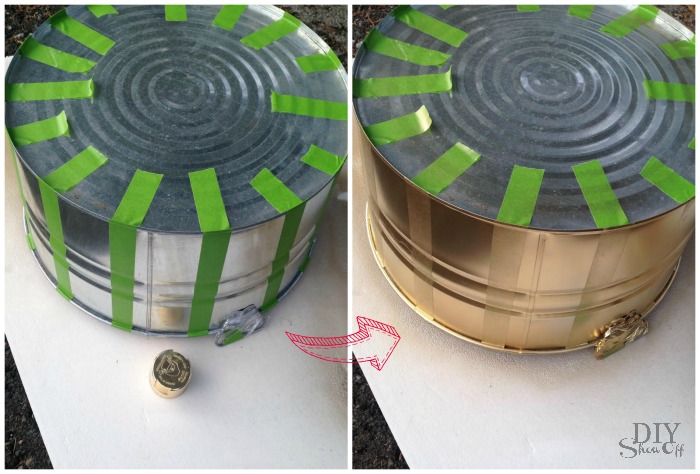
I covered the handles with sandwich baggies and taped them in the ‘up’ position. Spray paint the tub. I positioned mine upside down. 

Christmas Tree striped tub tutorial @diyshowoff

As soon as you’ve finished, carefully remove the FrogTape. 

Christmas Tree striped tub tutorial @diyshowoff

Let paint dry. Remove sandwich bags from handles. 

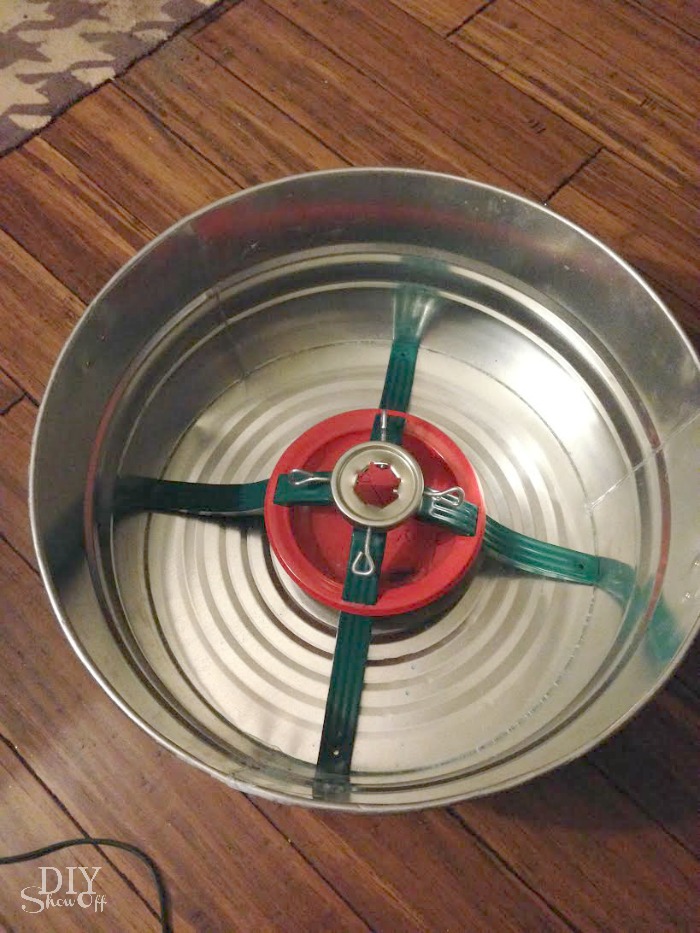
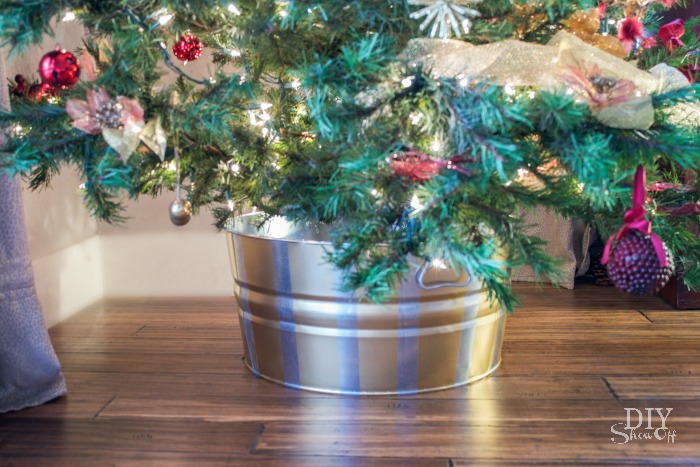
Add a tree stand, assemble and decorate the tree. 

Christmas Tree striped tub tutorial @diyshowoff

Since our cat likes to roll around on tree skirts, I love this option.

metallic striped Christmas tree tub tutorial @diyshowoffmetallic striped Christmas tree tub tutorial @diyshowoff

Holiday Housewalk @diyshowoff 

FrogTape Blog Squad

Disclaimer: I received compensation to complete this project for using FrogTape® products. All opinions, projects and ideas are based on my own experience.
Guest Room/Nursery Diagonal Wall Paint Refresh

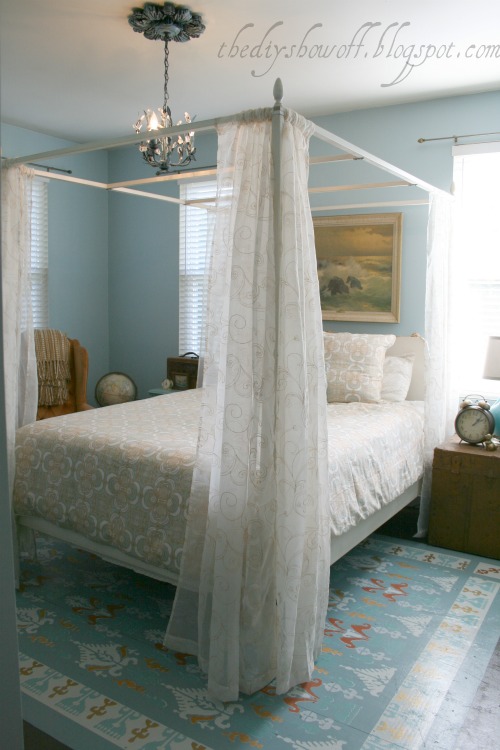
Our guest room was painted just a few years ago (and the color is a mix of several leftover paints, but I’d say it’s close to Benjamin Moore Smoke). And an occupational hazard of loving DIY and decorating is that walls wind up with tiny nail holes everywhere (they’re just holes! It doesn’t deter me from decorating and doing what I love when it’s such an easy fix). The walls also had some scuffs, etc. And well, with welcoming a grandson into our lives soon, I wanted to freshen up the guest room a bit and to add a few nursery details. So, time to freshen up those walls. 

Guest room before – not bad at all! But I want to freshen up the room, make room for a guest baby too!

poster bed with curtains, turquoise and orange, do it yourself, bedroom makeover

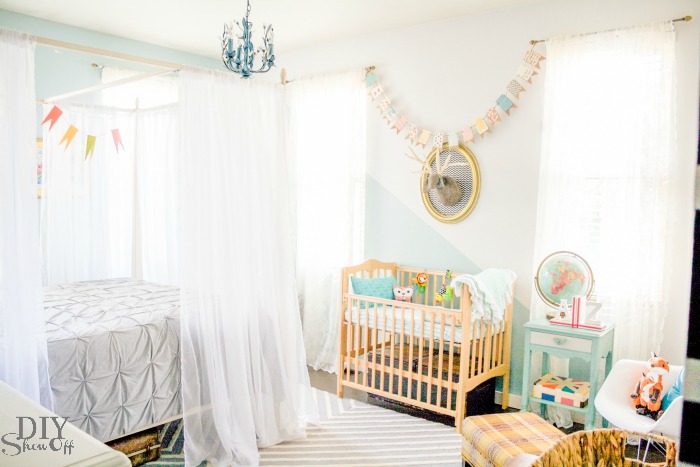
I really like the existing color. So I didn’t want to completely start over. I decided to add Valspar Sandstone Gray to the main areas that needed “freshened up”. How did I do it? By keeping the existing wall color on one wall completely and painting the opposing/opposite wall the new color. Then, the other two walls got a bit of a fun treatment. New color where I patched the nail holes, existing color remains on the bottom half where I didn’t have nail holes. 

Yes, that means a diagonal design. Simple. I am really loving the result!

How did I do the diagonal wall treatment? With…

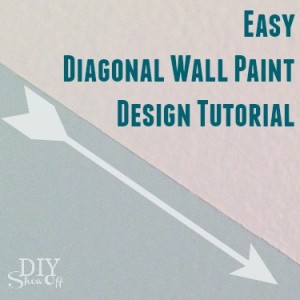
Diagonal Wall Paint Design Tutorial 

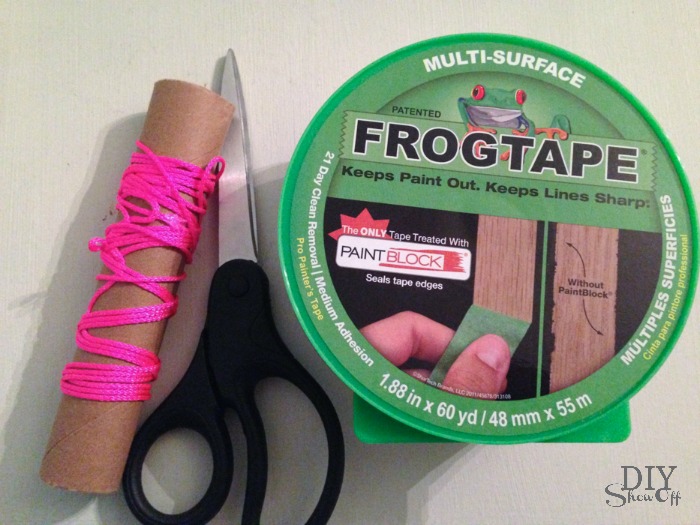
  • FrogTape® Multi-Surface
  • string
  • thumbtacks
  • paint

Note: I tackled this project before sunrise (crazy!) but I couldn’t sleep (it does feel like a productive day when you accomplish so much before lunch). Anyway, please pardon the shadows in the tutorial photos. 

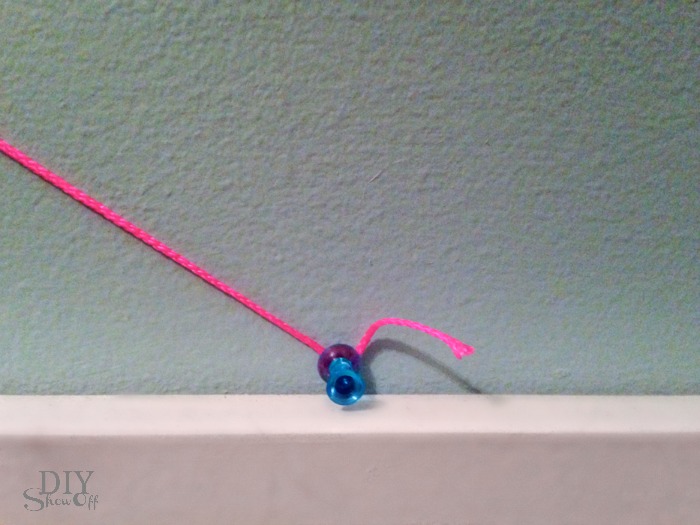
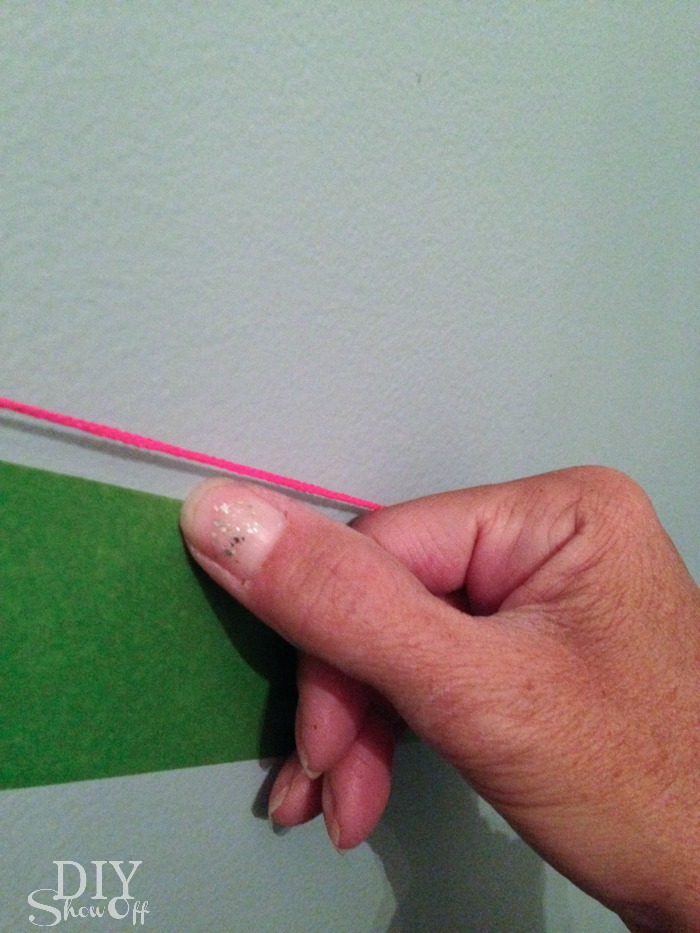
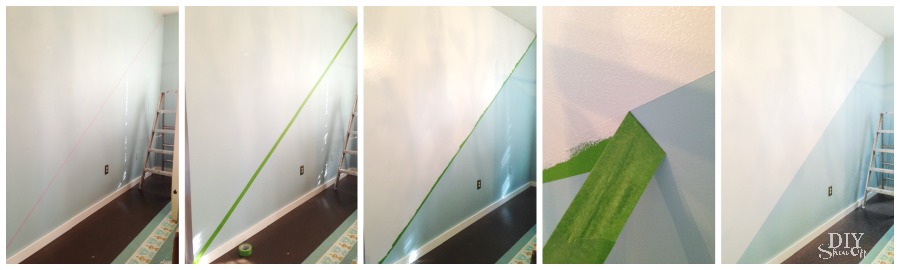
I attached string to the upper most corner of the wall with a thumbtack. Then did the same on the opposite bottom corner of the room.

Diagonal Wall Paint Design Tutorial

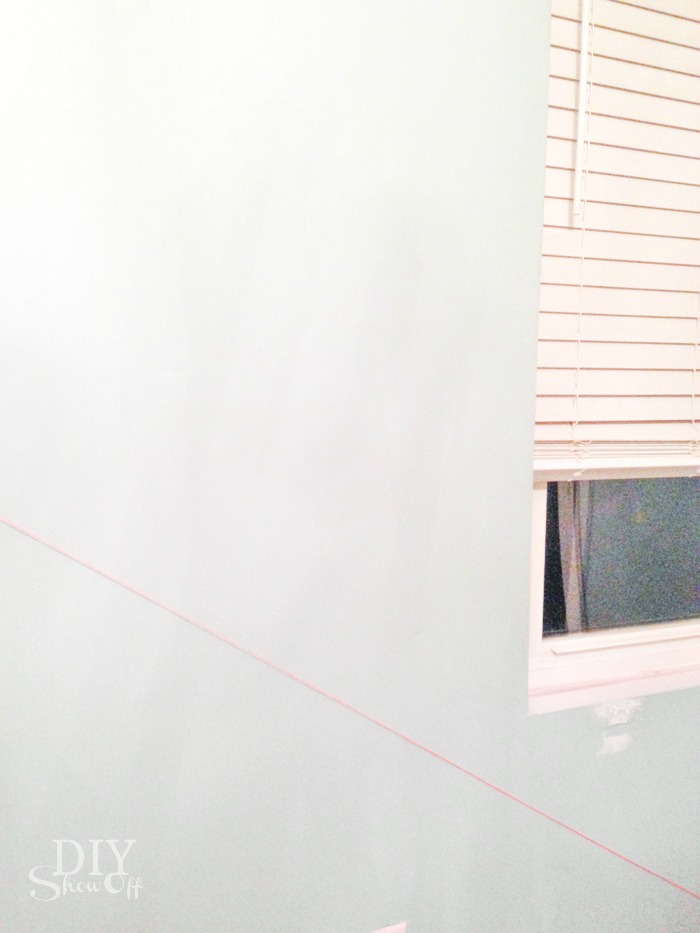
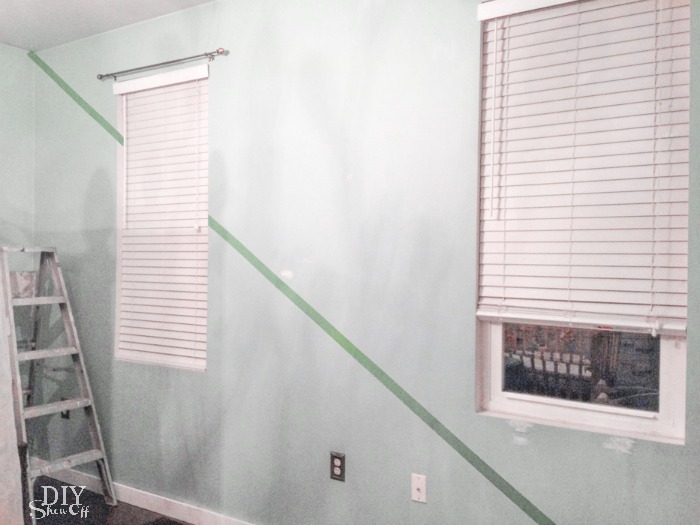
I used the string as a guide for placing my FrogTape. 

Diagonal Wall Paint Design TutorialDiagonal Wall Paint Design Tutorial

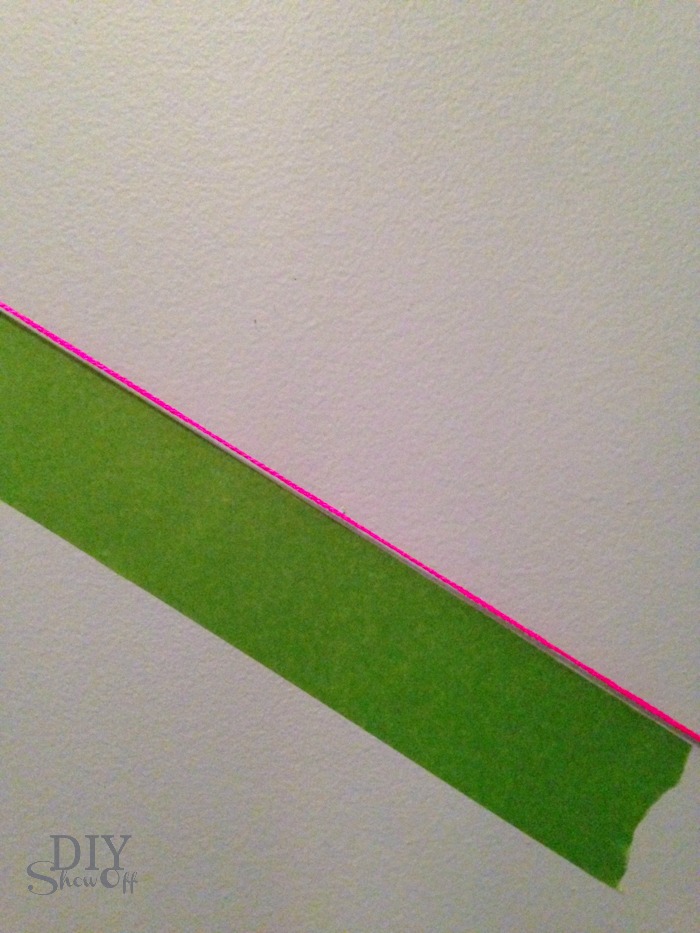
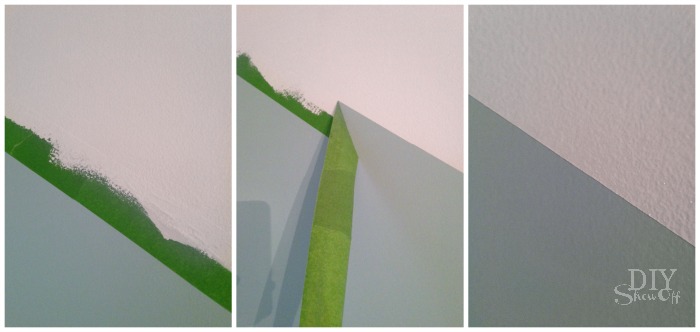
I used my thumbnail to burnish the edge of the tape that would meet the paint. 

Diagonal Wall Paint Design Tutorial

Removed the thumbtacks/string.

Diagonal Wall Paint Design Tutorial

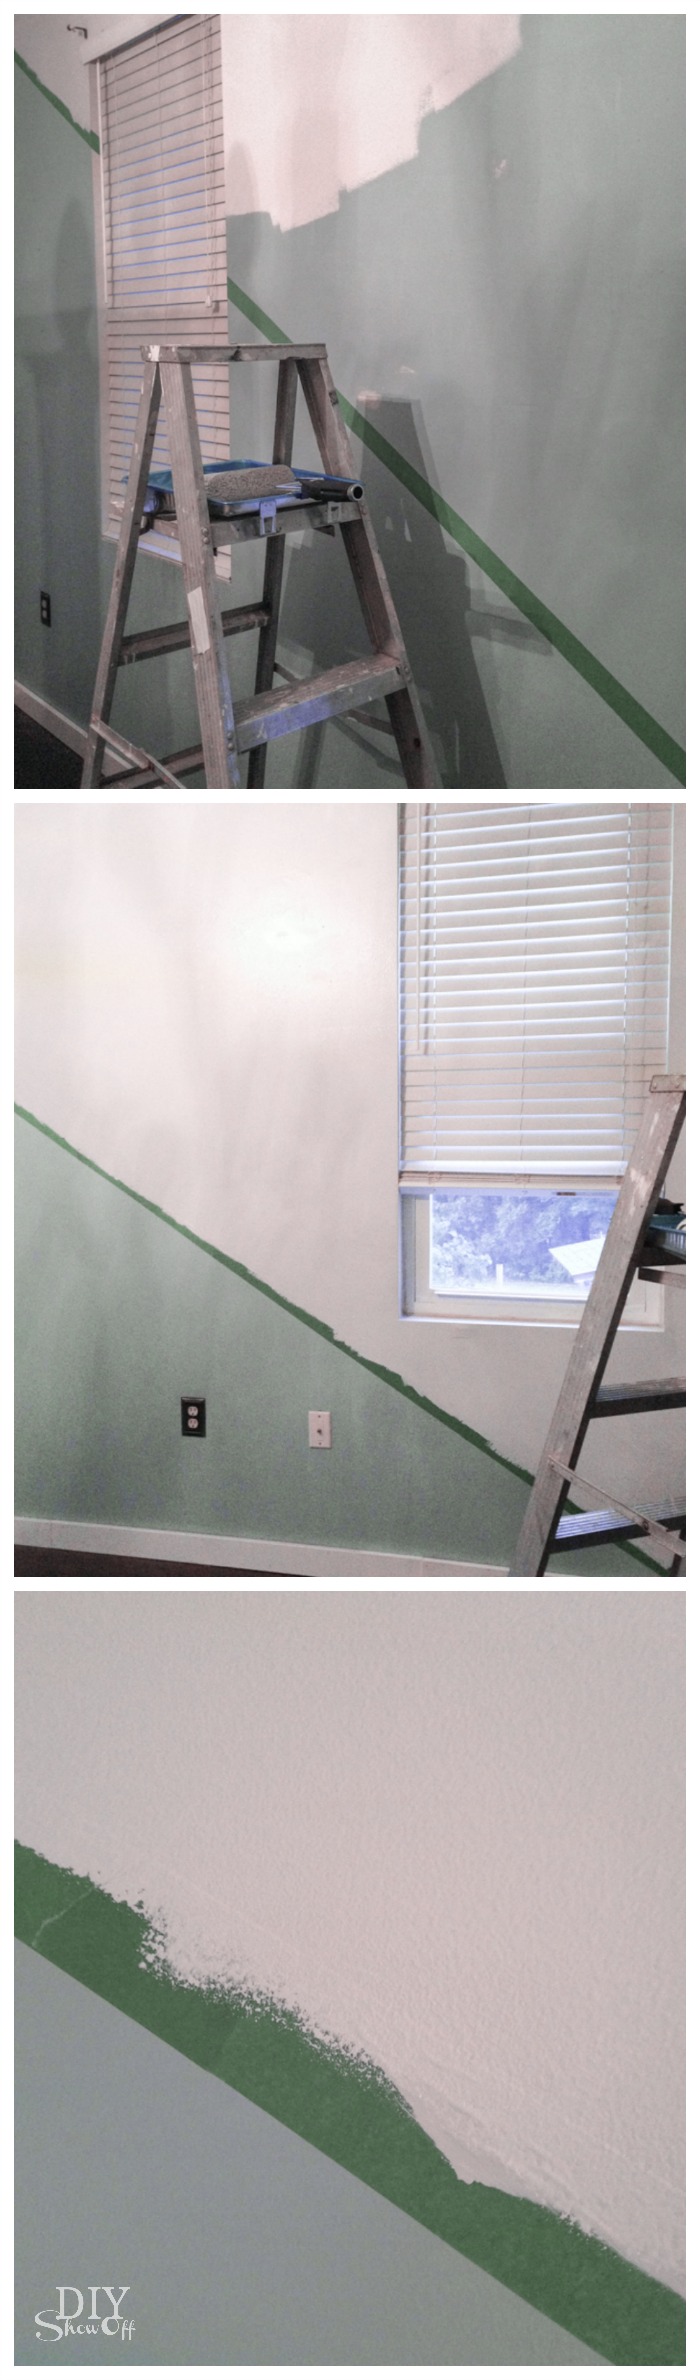
Then Painted the upper halves of the walls. Two coats. 

Diagonal Wall Paint Design Tutorial

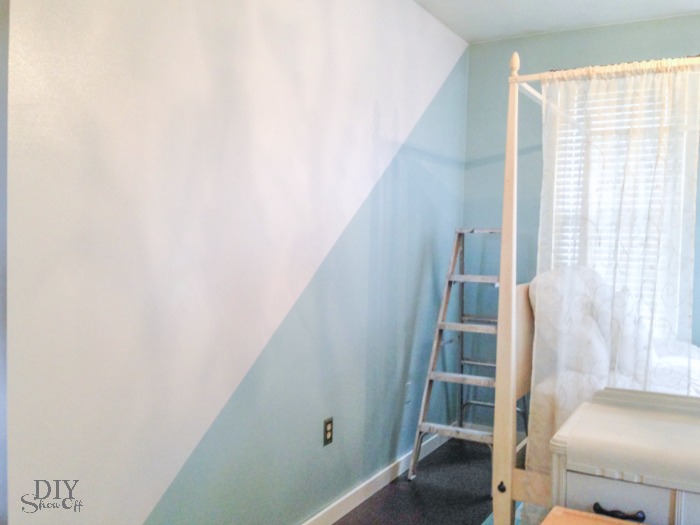
While the second coat was still wet, I removed the FrogTape and allowed the paint to dry before re-decorating. 

Diagonal Wall Paint Design Tutorial

I repeated the same steps on the opposite wall.

Diagonal Wall Paint Design TutorialDiagonal Wall Paint Design Tutorial

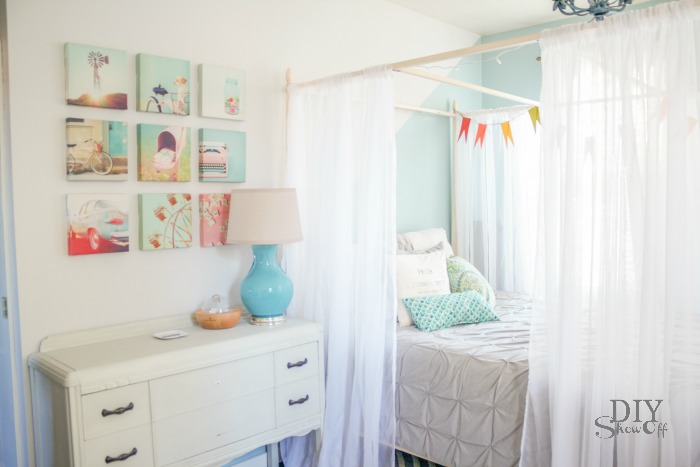
I really love the way I still have the original color but it’s updated, fun and freshened up!

Diagnonal Wall Paint Design @diyshowoff Diagnonal Wall Paint Design @diyshowoff

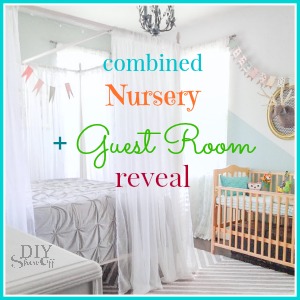
See the full guest room/nursery reveal here

combined guest room nursery reveal @diyshowoffDIY nursery wall decor at diyshowoff.comeasy diagonal wall paint design tutorial @diyshowoffpainted craft box DIY at diyshowoffDIYShowOff Michaels Makers back to school book ends feature

FrogTape Blog Squad

Disclaimer: I received compensation to complete this project for using FrogTape® products. All opinions, projects and ideas are based on my own experience.
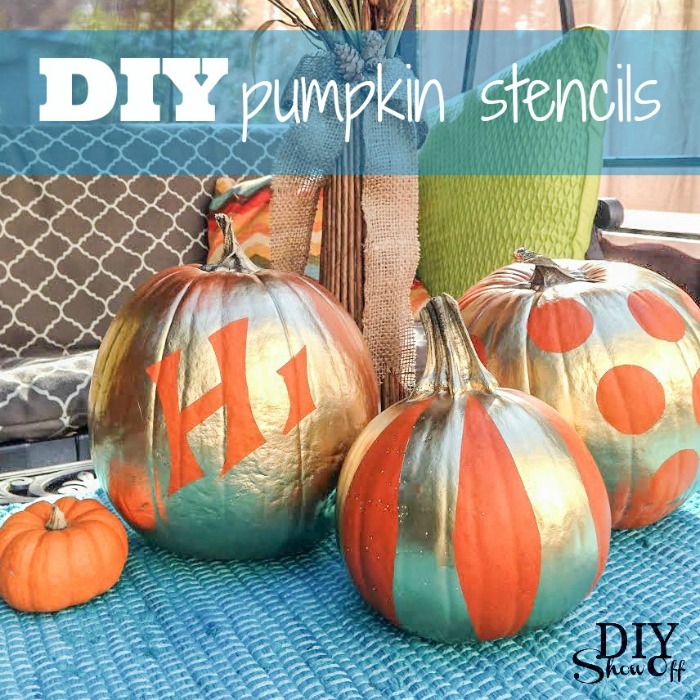
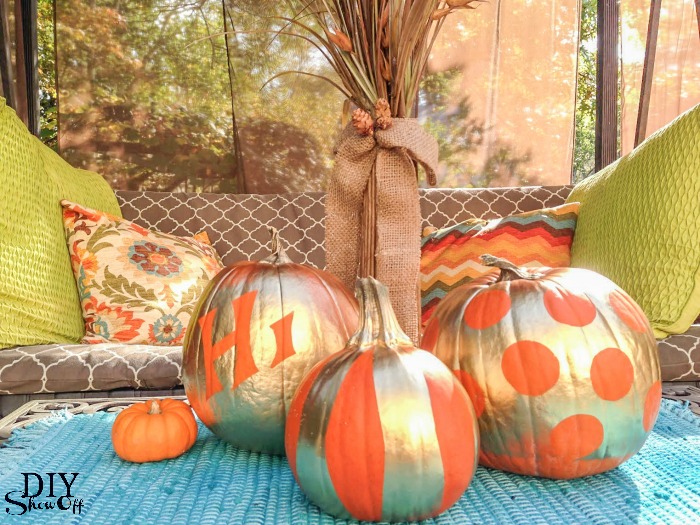
DIY Pumpkin Stencils

DIY Pumpkin Stencil Tutorial 

DIY pumpkin stencils at diyshowoff.com


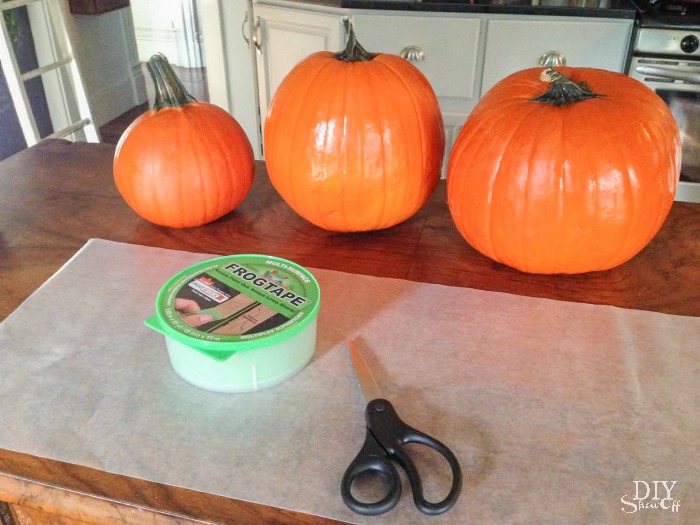
Materials:

  • Pumpkins
  • FrogTape® Multi-Surface
  • Wax paper
  • Spray Paint

DIY pumpkin stencils materials

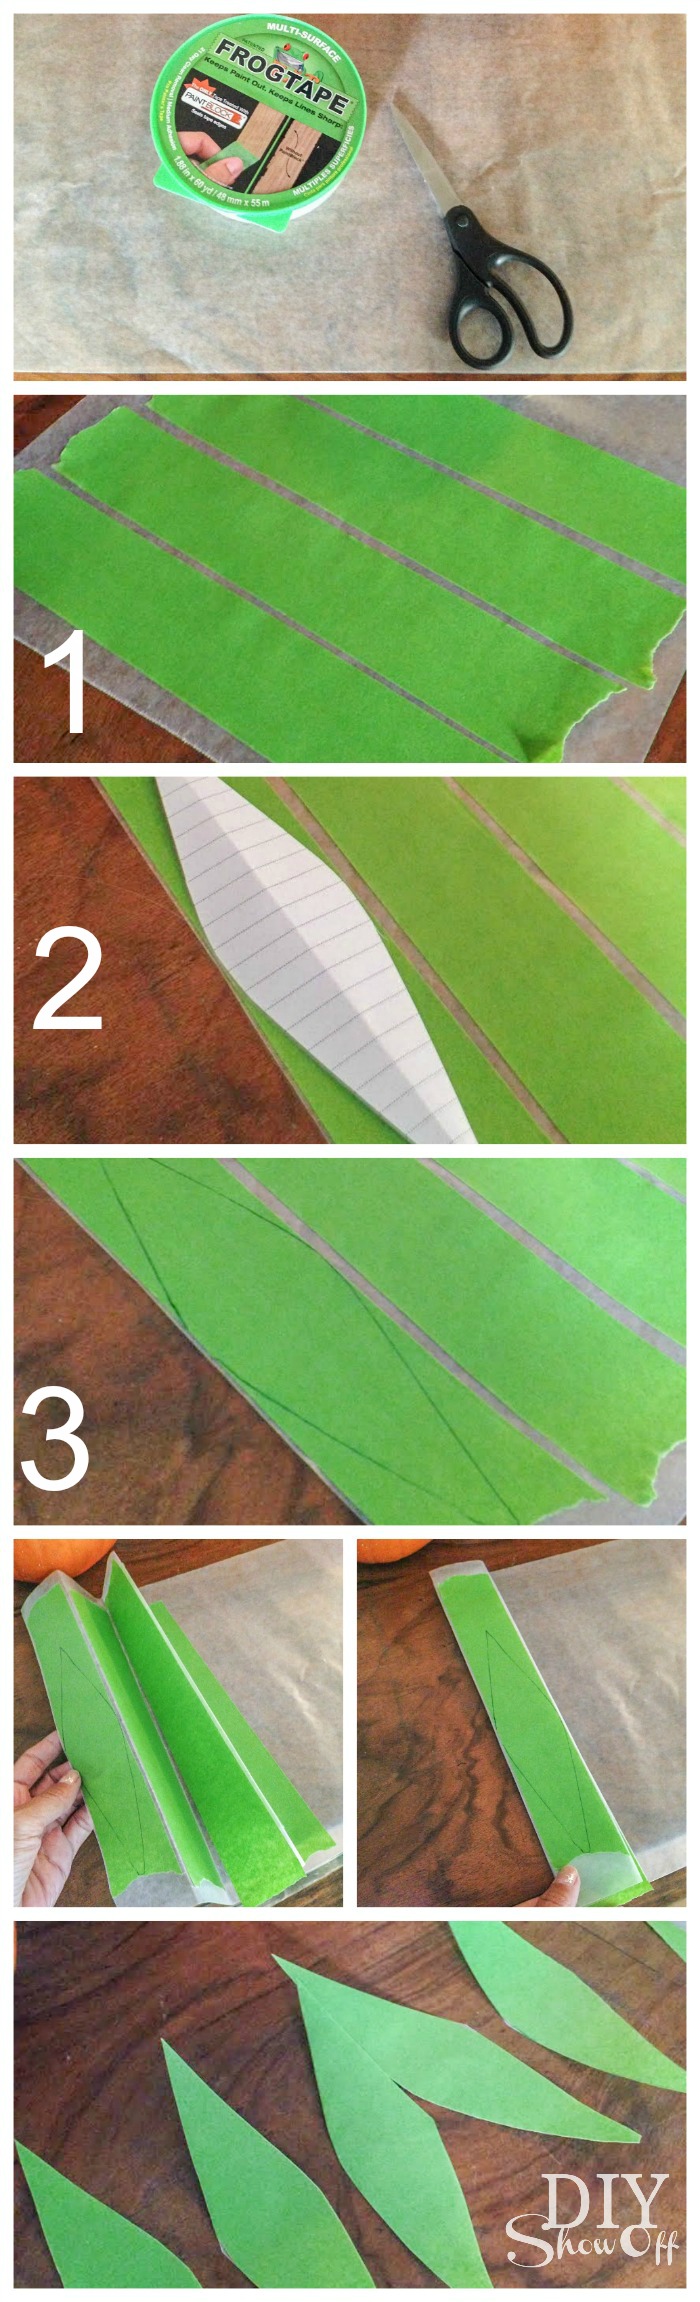
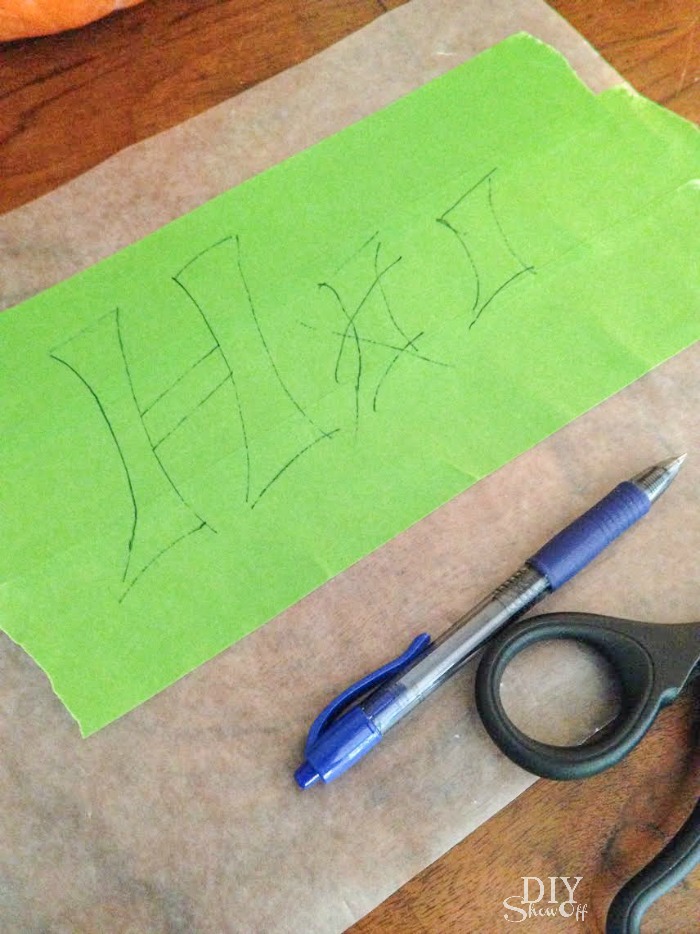
1. Adhere pieces of FrogTape to wax paper.

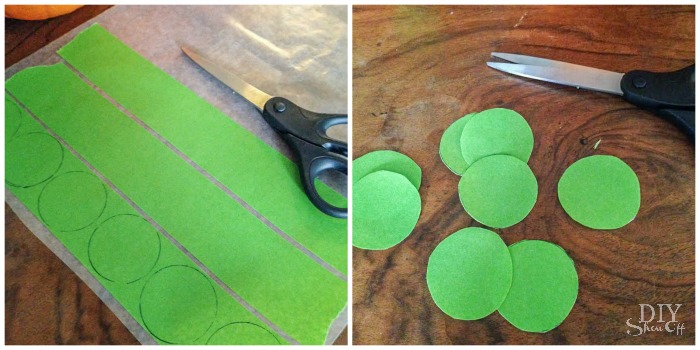
2. Using a pattern (I made mine from a piece of paper), freehand or by tracing shapes; create stickers. 

3. Cut out stencils. I folded a few of mine to create more.

FrogTape pumpkin stencil tutorial @diyshowoffDIY FrogTape stencils DIY pumpkin stencils with FrogTape at diyshowoff

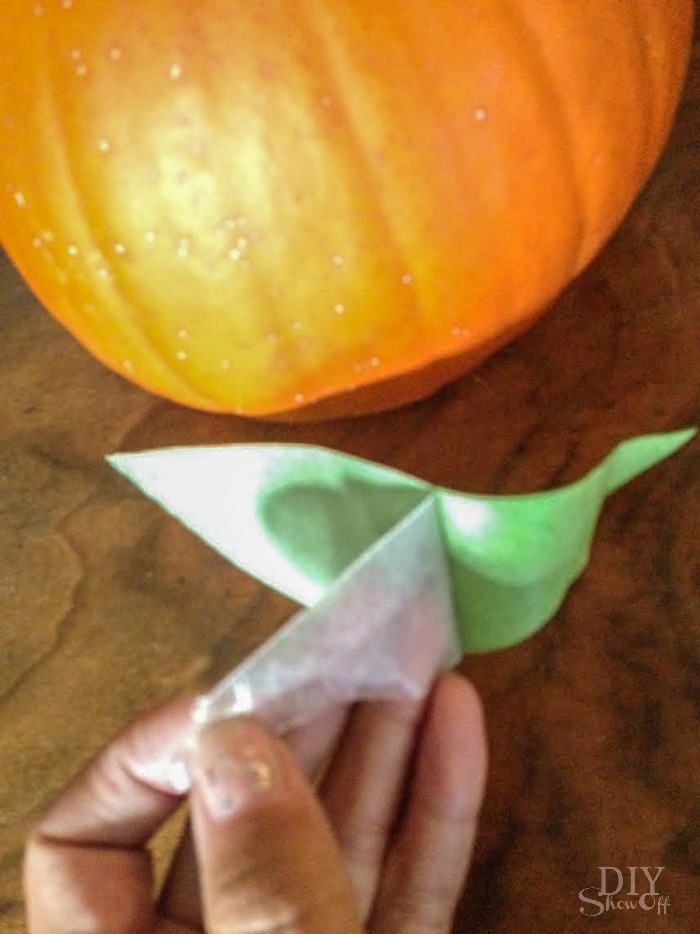
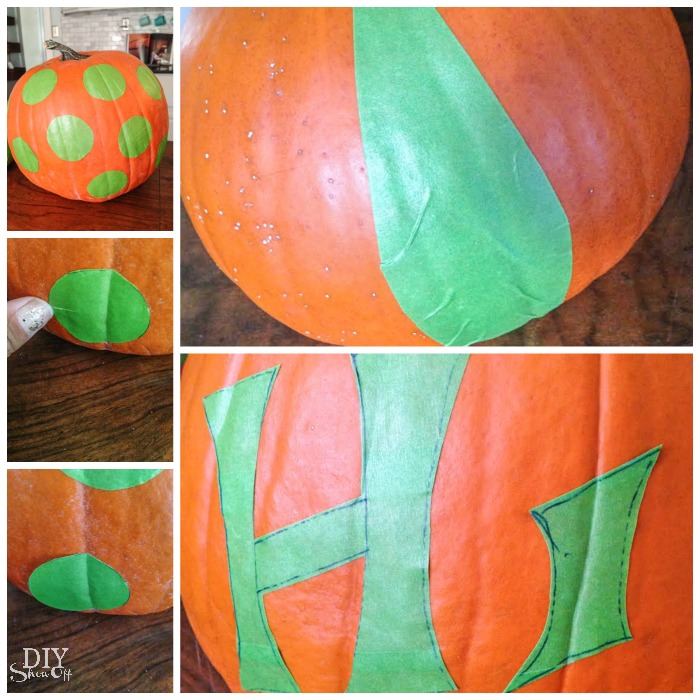
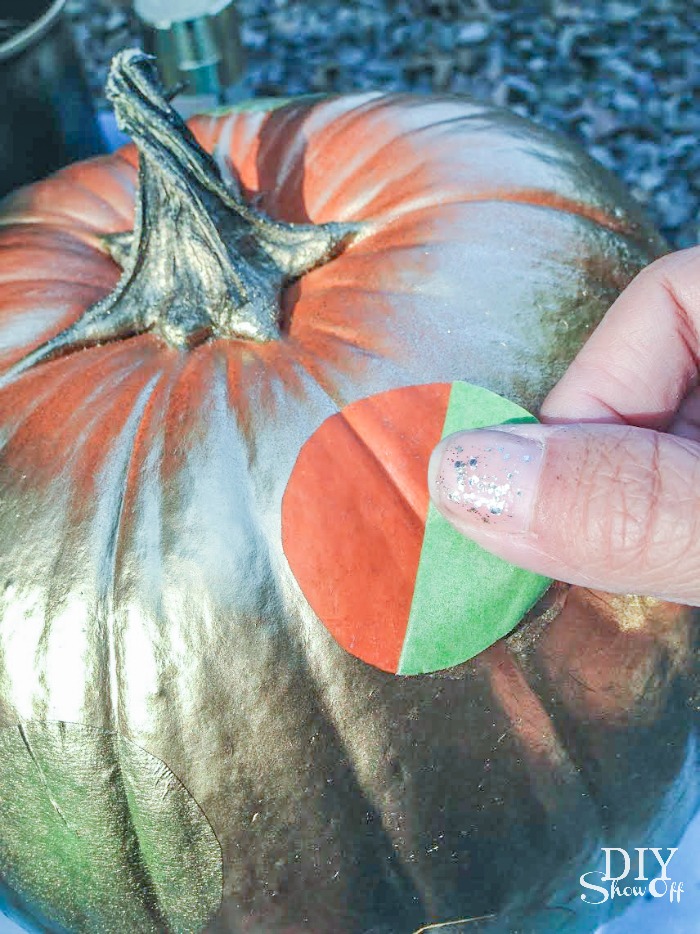
4. Remove wax paper backing and apply your DIY FrogTape stencils to the clean, dry surface of a pumpkin.

FrogTape pumpkin stencil tutorial @diyshowoff

5. Use your thumbnail to burnish the edges of the tape and to smooth out creases.

FrogTape pumpkin stencil tutorial @diyshowoff

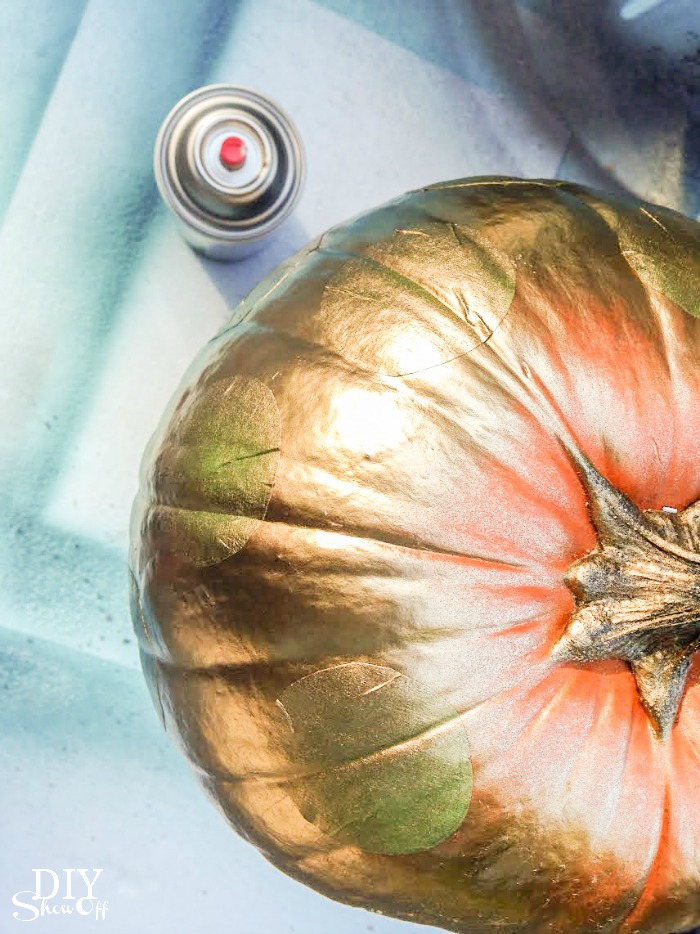
6. Tape off stem if desired. Spray paint pumpkin.

FrogTape pumpkin stencil tutorial @diyshowoff

7. Paint dried really fast for me since I just did a light coat with some of the pumpkin showing through in most places. After just a few minutes, remove stickers/stencils. 

FrogTape pumpkin stencil tutorial @diyshowoff

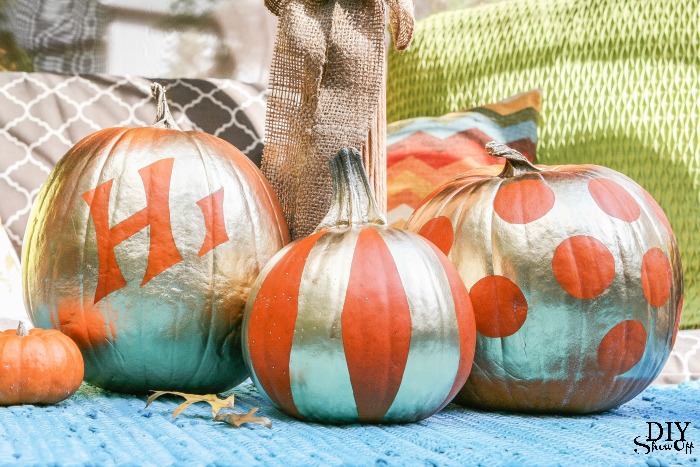
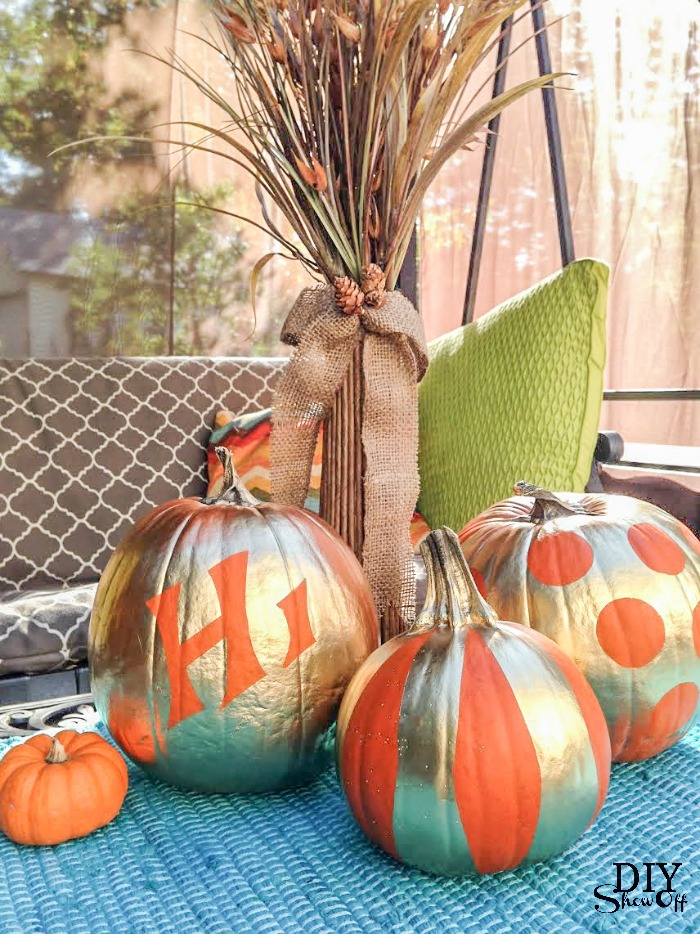
Display!

FrogTape pumpkin stencil tutorial @diyshowoffFrogTape pumpkin stencil tutorial @diyshowoffFrogTape pumpkin stencil tutorial @diyshowoffFrogTape pumpkin stencil tutorial @diyshowoff

FrogTape Blog Squad

Disclaimer: I received compensation to complete this project for using FrogTape® products. All opinions, projects and ideas are based on my own experience.
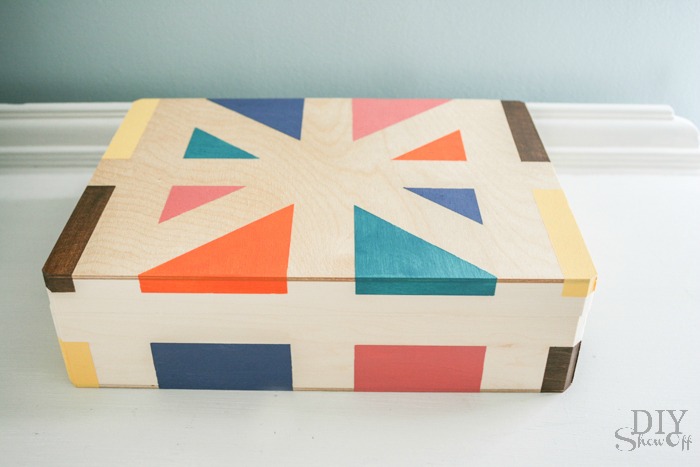
Painted Storage Box Craft

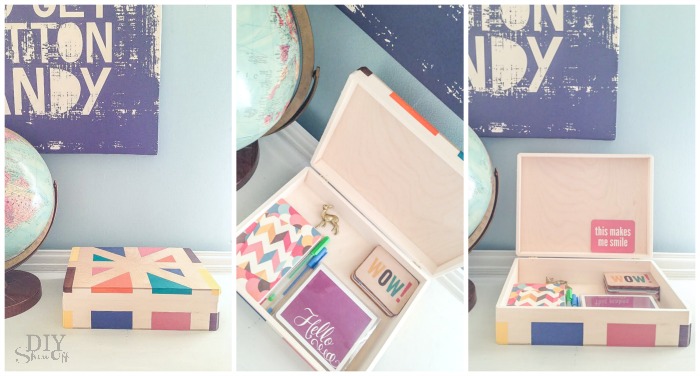
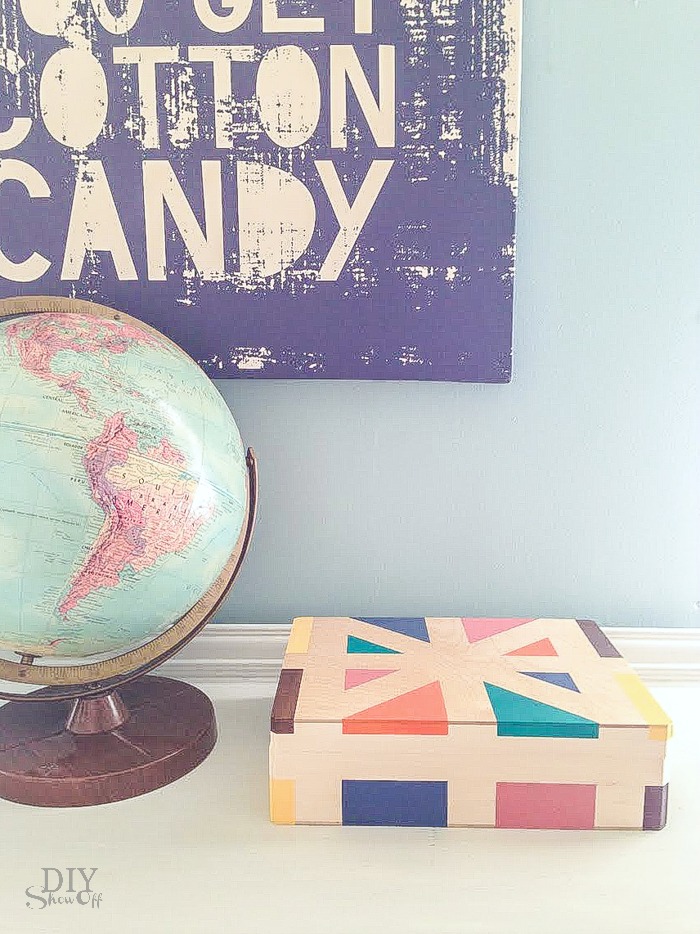
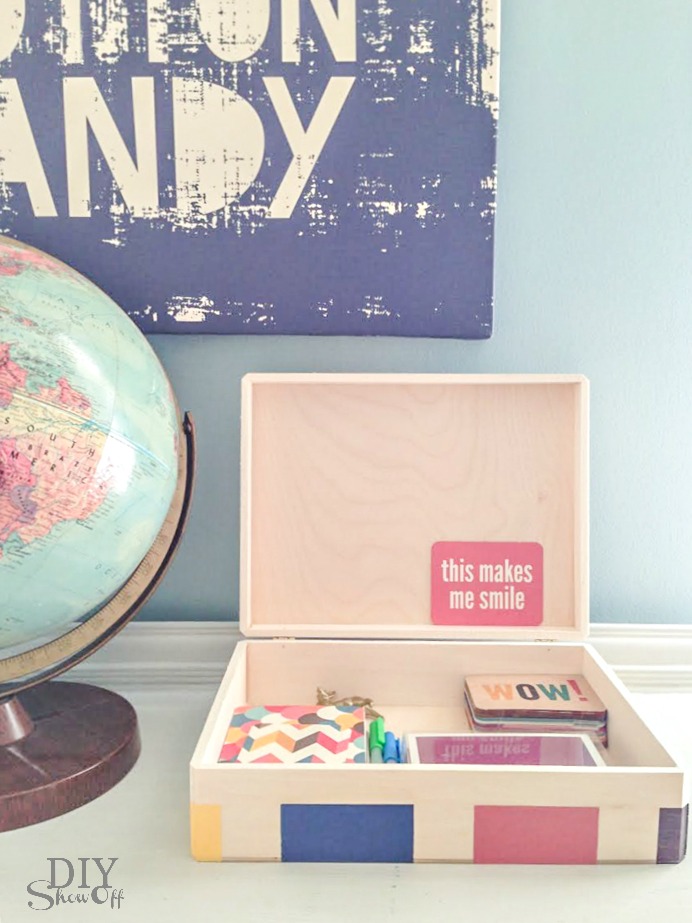
Organizing the desk top / homework station for the back-to-school season? A small storage box keeps school and homework accessories within easy reach but not on display. 

painted box craft idea at diyshowoff.com

Materials:

painted box craft idea at diyshowoff.com

What to do:

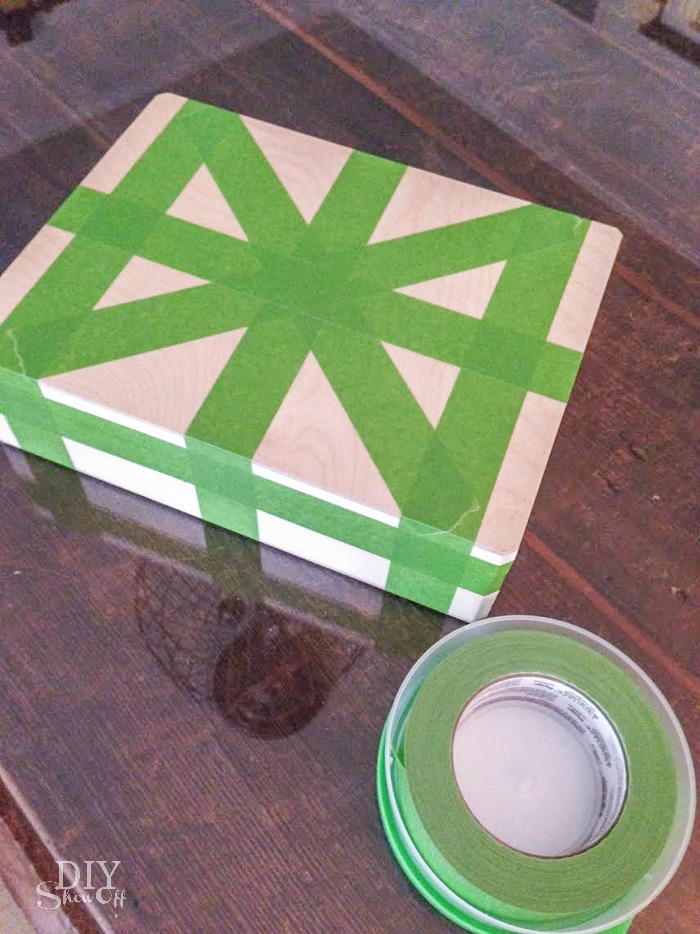
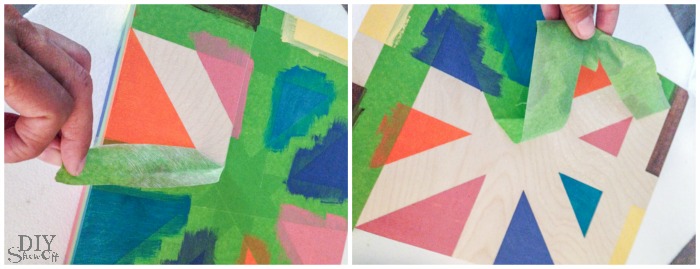
Tape off a design using your FrogTape. Stripes, checkers, plaid, triangles. So many options!
painted box craft idea at diyshowoff.com

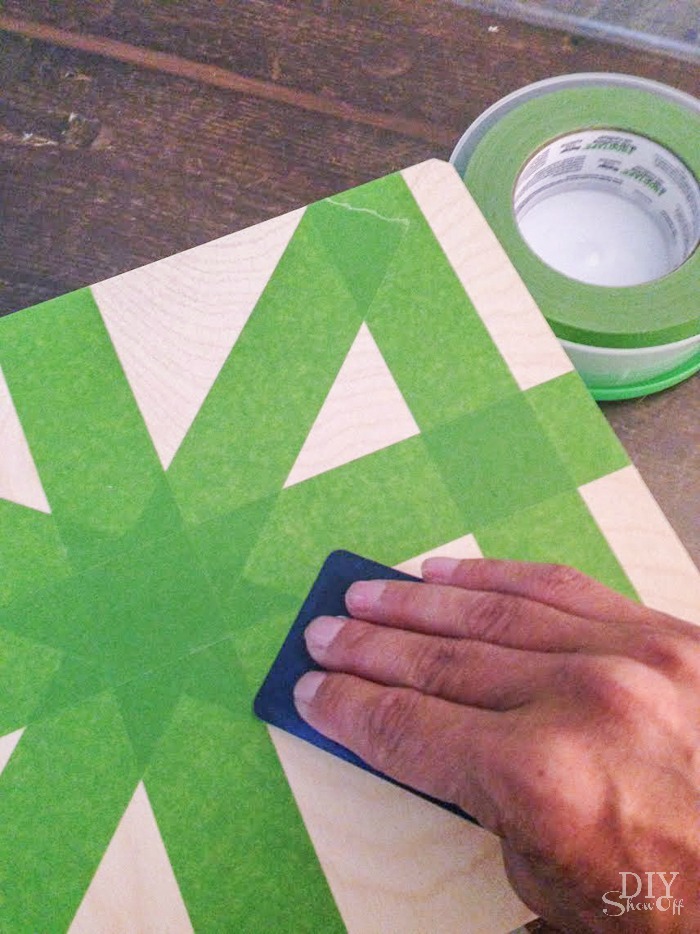
Using a credit card, gift card or just your own thumbnail, burnish the edges of the tape. Meaning: make sure the edges of FrogTape are good and stuck down with no gaps.

painted box craft idea at diyshowoff.com

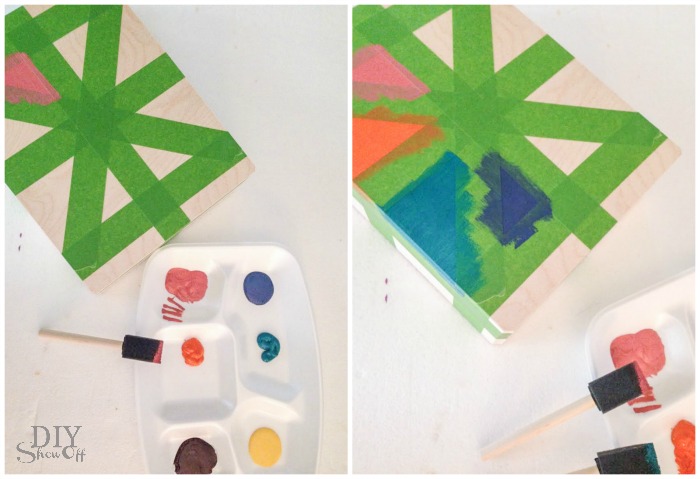
Now the fun part: paint each section. YOU customize colors to coordinate with decor or season.

painted box craft idea at diyshowoff.com

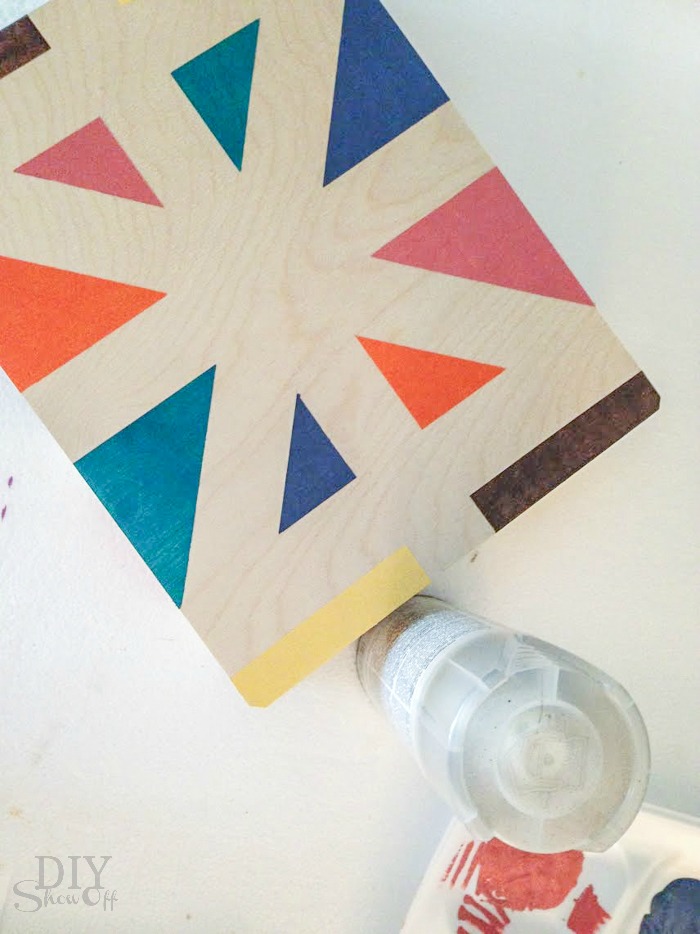
While paint is still wet, carefully remove FrogTape. Then let the paint dry.

painted box craft idea at diyshowoff.com

Give it a quick light spray of lacquer and let dry.

painted box craft idea at diyshowoff.com

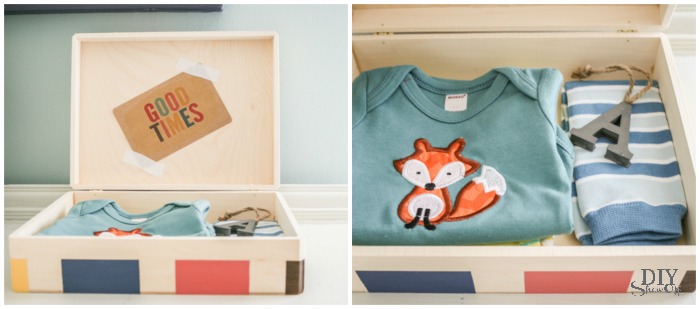
*Optional: embellish with washi-tape and decoupage, add a drawer knob, drawer pull or leather handle, adhere something from the junk drawer or little plastic animal using hot glue, add vinyl decals or stickers. Get creative! painted box craft idea at diyshowoff.compainted box craft idea at diyshowoff.com

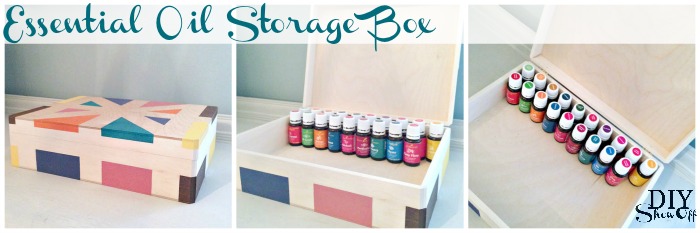
Use as a pencil box, for keepsake treasures, to store note or recipe cards, for organizing an essential oils collection, to tuck on a bookcase filled with bookmakers and highlighters, to keep cords handy or for a unique way of wrapping gifts.

painted box craft idea at diyshowoff.com 

It’s perfect for storing 70 15ml Young Living essential oils (more if you’re mixing in 5 ml sizes). Great idea for incentives, prizes or gifts – and YOU customize it to coordinate with your home. 

Young Living essential oil storage box @diyshowoff


FrogTape Blog Squad

Disclaimer: I received compensation to complete this project for using FrogTape® products. All opinions, projects and ideas are based on my own experience.