Thrifty Treasures – Chalkboard Tins

I’m sharing a small thrifty treasure makeover today at The DIY Club.

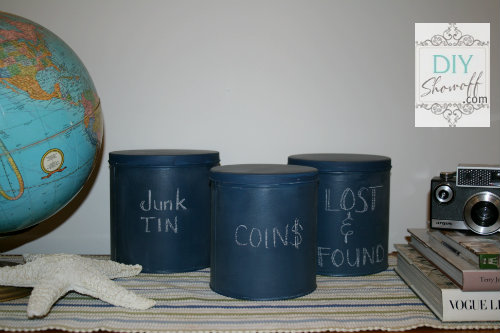
I used Deco Art Americana paint in Wedgewood Blue and Deep Midnight Blue + Deco Art’s new chalkboard medium (clear matte coat that transforms any painted surface into a chalkboard).

DIY chalkboard tins

Old tins + Deco Art = fun new storage. See the “how to” at The DIY Club.

DIY Club

Looking for a few guest bloggers for the end of next week. Interested? You’re invited to ‘show off’! Shoot me an email for more details at thediyshowoff@gmail.com or submit a project for feature. I welcome and appreciate your help and look forward to introducing you to fellow DIY Show Off readers and friends.
DIY Show Off - FacebookDIY Show Off - TwitterDIY Show Off - PinterestDIY Show Off - Feed


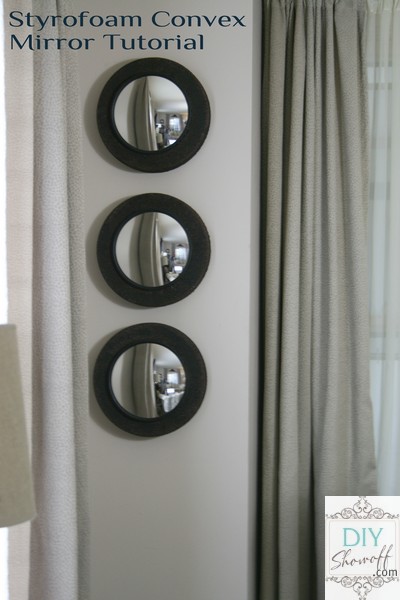
Styrofoam Convex Mirror Tutorial

I got crafty at the DIY Club recently. Loving most things Pottery Barn, these PB Found Parat Mirrors were on my birthday wish list but that day came and went and besides…
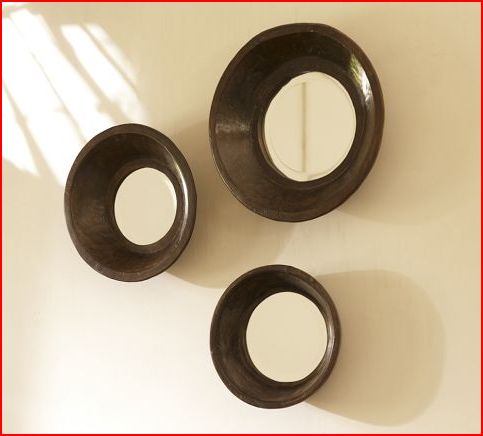
parat mirrors

they aren’t convex mirrors and the price tag of $79/each isn’t something I’d really want to spend. Lamps Plus has this LARGE convex beauty for $104. Definitely not in my budget.
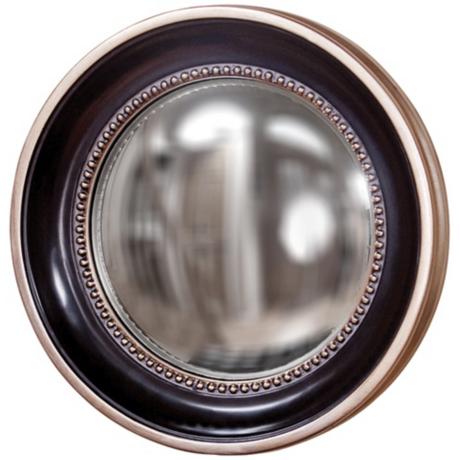
convex wall mirror

I’ve always wanted to do something with convex mirrors so I decided to create a DIY version.

Materials:

  • Styrofoam 12″ wreath forms (I used 3)
  • DecoArt MagiKote
  • Dark brown spray paint
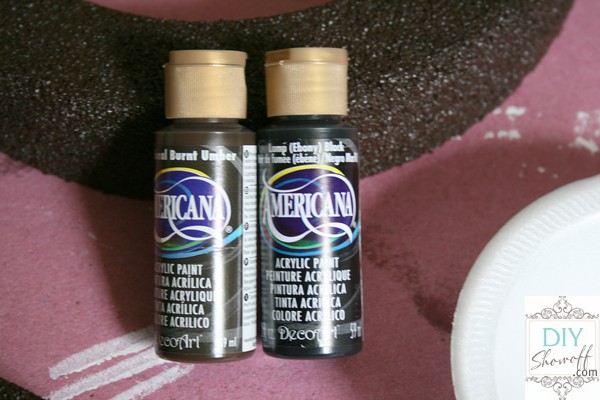
  • DecoArt Americana paints (Ebony and Traditional Burnt Umber)
  • Hot glue
  • 8 1/2″ Convex mirror (x3) affiliate link:
DIY convex mirror tutorial

Tutorial:

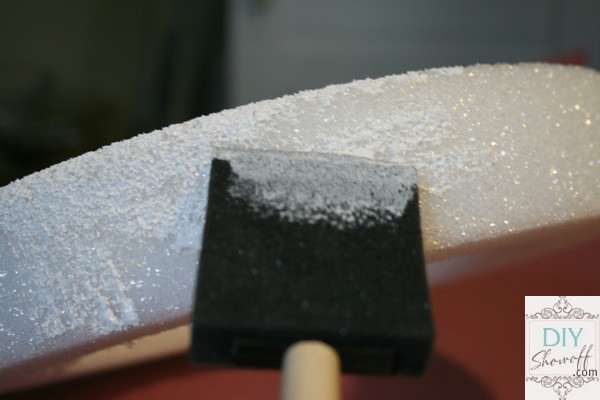
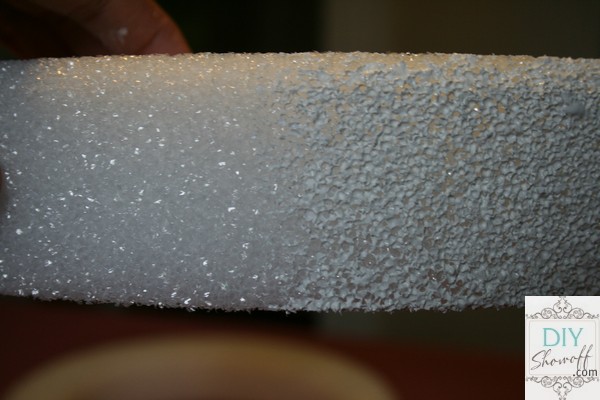
1. Using a foam brush, coat the top and sides of Styrofoam wreath form and let dry.
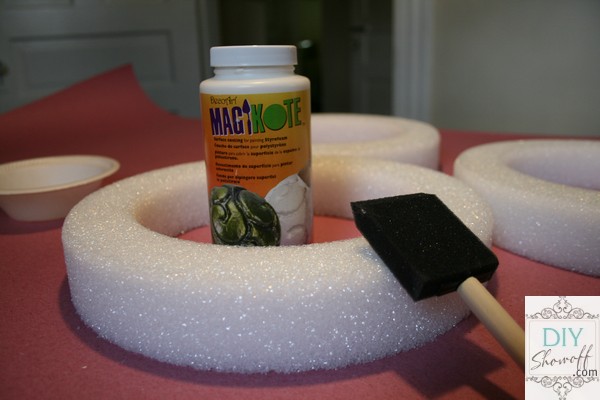
The DecoArt MagiKote seals the Styrofoam, creating a paintable surface.

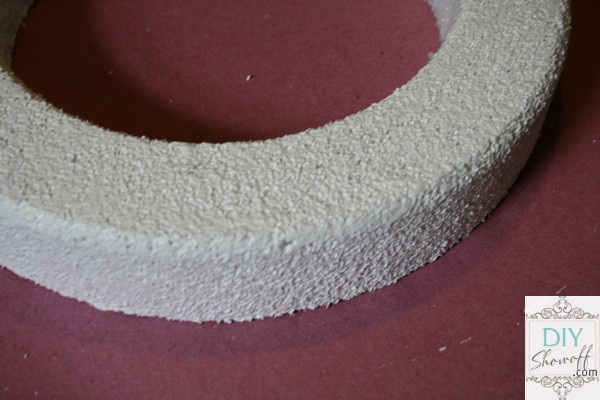
Without on the left, MagiKote on the right…
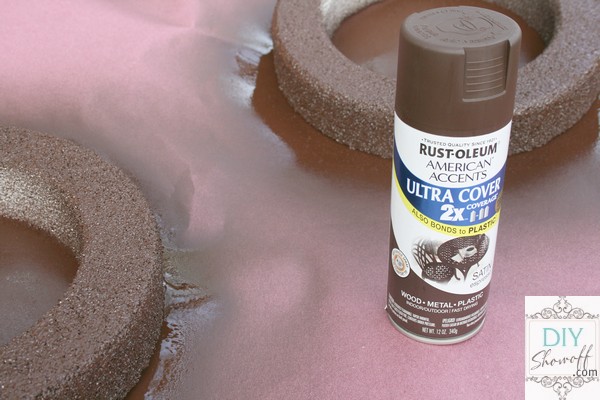
2. Give each Styrofoam wreath form 2 coats of spray paint (dry between coats).
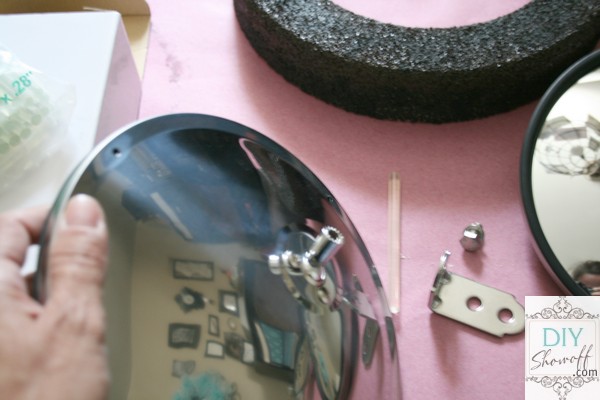
3. Remove brackets from back of convex mirrors.
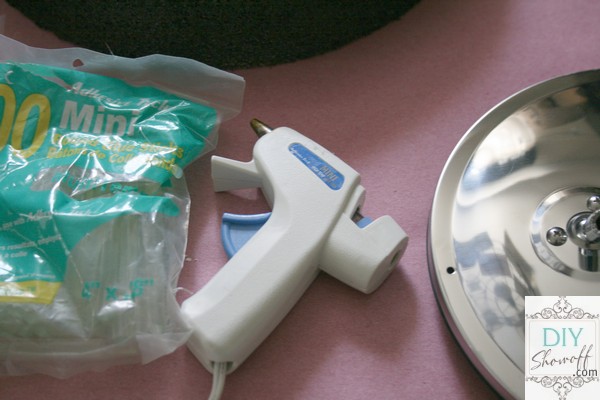
4. Attach convex mirrors to center of wreath with hot glue. I used hot glue on the back of each mirror. Once in applied to the Styrofoam in the center, I used hot glue around the perimeter of each mirror too.
5. Touch up with Americana paints.
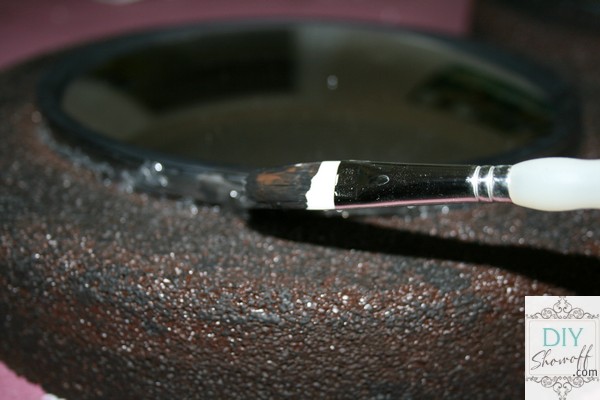
6. Let dry and hang using Command velcro strips.
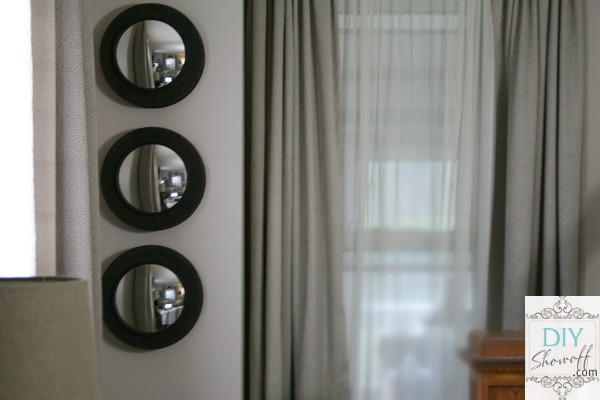
What do you think?  {besides the fact that the top one is a little off?!} It’s okay. They’ve since been moved and are now aligned.

I love them as they were but I can never leave well enough alone so I’ve done a little embellishing using beaded garland (attached with hot glue)…
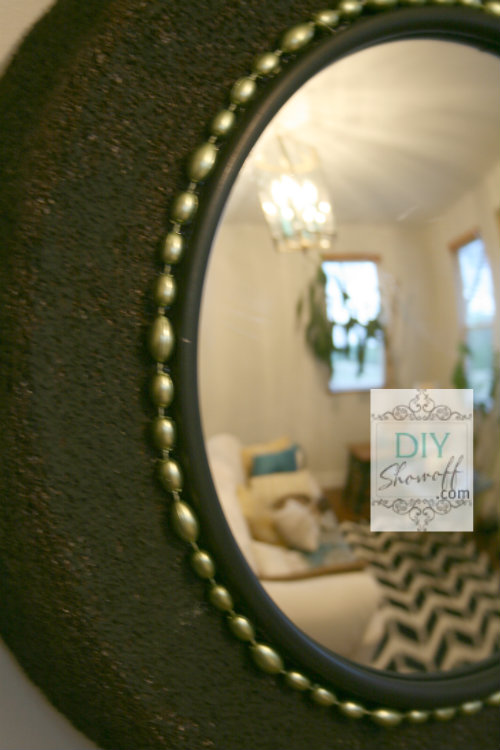
beaded detail on DIY convex mirror

My convex mirrors are hanging using Command Velco Strips.
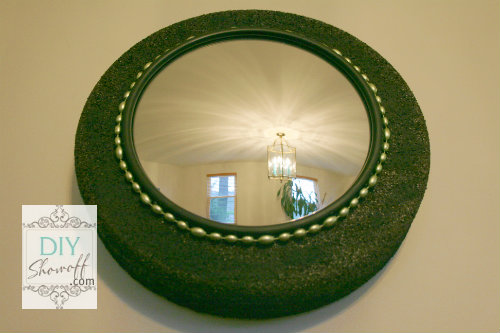
DIY convex mirror

These will go in our master bedroom makeover but for now I’m liking them here, in the family room
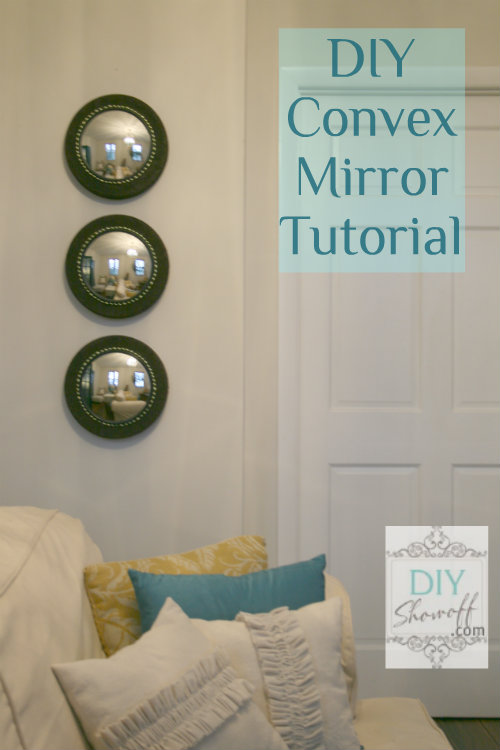
DIY convex mirror tutorial

…until next week when you’re likely to see them moved again. It’s a sickness. I just love rearranging. You know you do that too right? . . .

They’d look fab horizontally displayed too!
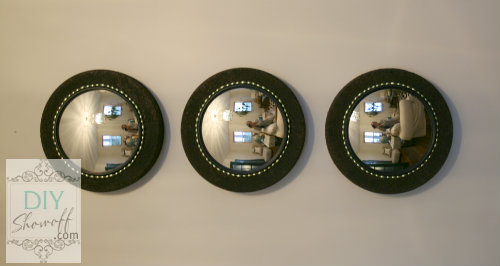
DIY convex mirror project

Like this project? I’d love for you to share! 

DIY Show Off - FacebookDIY Show Off - TwitterDIY Show Off - PinterestDIY Show Off - Feed


DIY Club

Bedroom Makeover Design Board

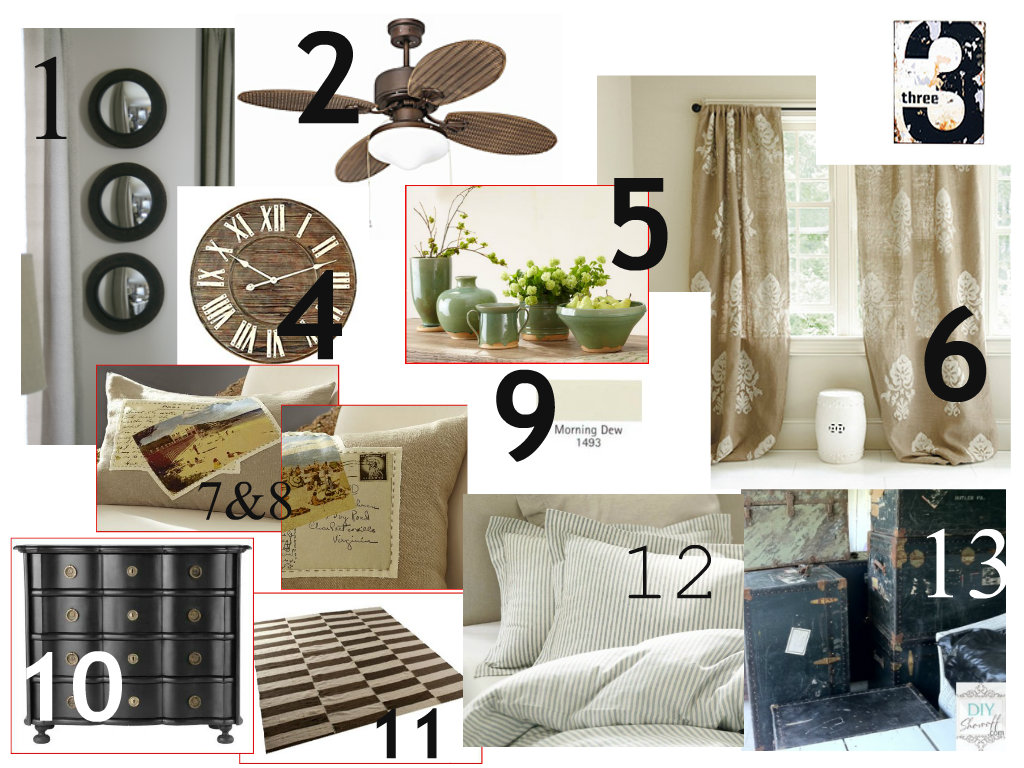
The master bedroom is on the DIY to-do list this year. I’m starting to put together some ideas and this is the first draft. However, if you know me, you know this will change. Still, just for fun, here is what I’ve come up with. A lot of items are things we already own that I’m trying to work into the design.

farmhouse bedroom design board

The details:

  1. DIY Styrofoam/Convex Mirrors – using DecoArt MagiKote, Americana craft paints and Styrofoam wreath forms and PARTSMART SMR729193 8-1/2″ Offset Mount Convex Mirror
  2. Rubbed Bronze Ceiling Fan (a Mr. DIY must) – Overstock
  3. Vintage Inspired Industrial Large Number Signs (our anniversary date) – Antique Farmhouse
  4. Distressed European Wall Clock – Wisteria
  5. Sage Chinese Pots & Vases – Wisteria
  6. Burlap Crewel Damask Draperies – Ballard Designs
  7. Beach Postcard Lumbar Pillow Cover – Pottery Barn
  8. Beach Postcard Lumbar Pillow Cover – Pottery Barn
  9. Benjamin Moore –  Morning Dew
  10. Black Bowfront Chest – Wisteria
  11. Handwoven Rustic Rug – Wisteria
  12. Vintage Ticking Stripe Duvet Cover – Pottery Barn
  13. Old vintage steamer trunk

Other things in the room:

  • Hardwood floors
  • Two mismatched windows – a challenge!
  • King sized sleigh bed
  • Old dressers
  • Built-in dresser with hutch/shelving

And of course the design board is only a wishlist/dream since some of the items are not in my budget so imagine a DIY spin on some of those numbered items. We’ll use dressers we already have. Curtain panels will be stenciled drop cloths, a DIY knock off on the accent pillows. Vases/planters will be thrift store finds + spray paint. #13 – I already have those trunks but hope to do something fun with it. And #1, the Styrofoam Convex mirrors are a DIY project. I’m sharing the tutorial today at the DIY Club.

DIY convex mirrors

Do you take the time to ‘dream’ up a mood board for your room makeovers? It’s a great way to see how things coordinate and come together. Sometimes catalogs/a little internet window shopping is a great source of DIY inspiration.

DIY Club