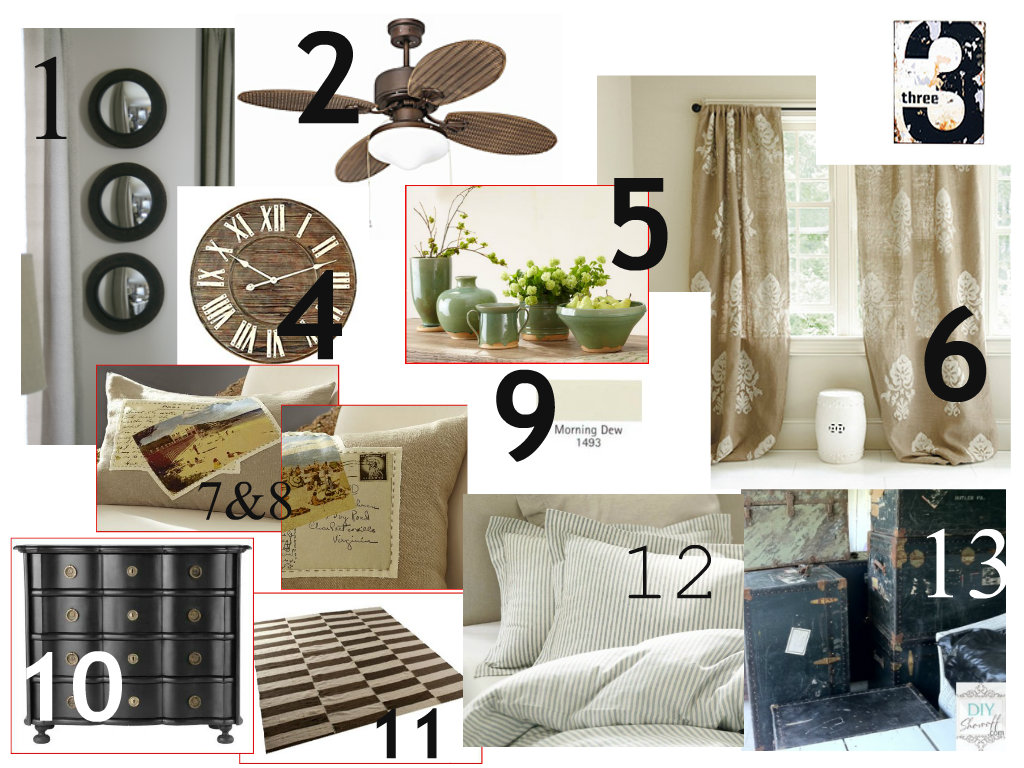
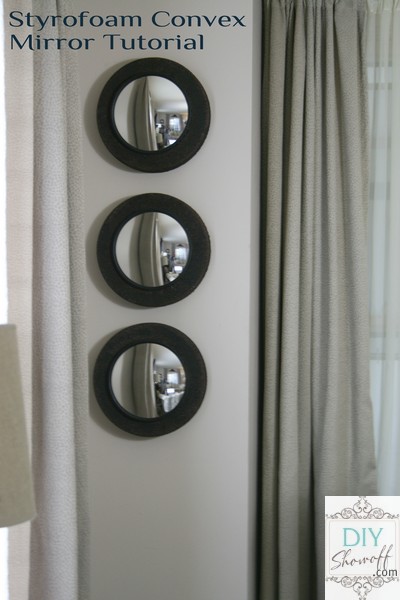
I got crafty at the DIY Club recently. Loving most things Pottery Barn, these PB Found Parat Mirrors were on my birthday wish list but that day came and went and besides…
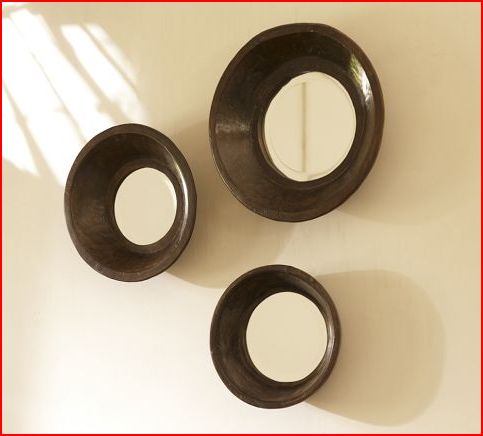
they aren’t convex mirrors and the price tag of $79/each isn’t something I’d really want to spend. Lamps Plus has this LARGE convex beauty for $104. Definitely not in my budget.
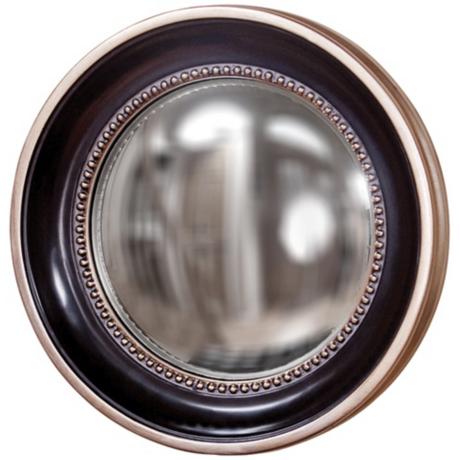
I’ve always wanted to do something with convex mirrors so I decided to create a DIY version.
Materials:
- Styrofoam 12″ wreath forms (I used 3)
- DecoArt MagiKote
- Dark brown spray paint
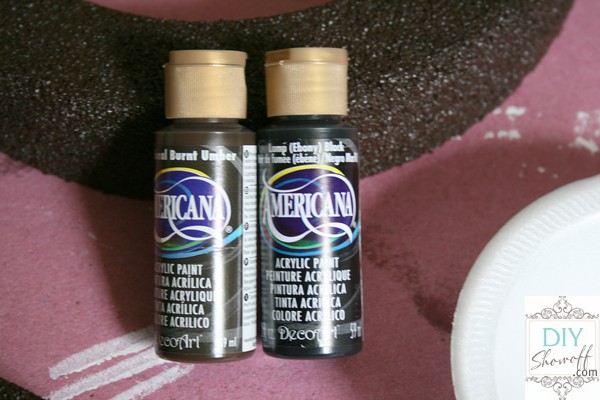
- DecoArt Americana paints (Ebony and Traditional Burnt Umber)
- Hot glue
- 8 1/2″ Convex mirror (x3) affiliate link:
-
Tutorial:
1. Using a foam brush, coat the top and sides of Styrofoam wreath form and let dry.
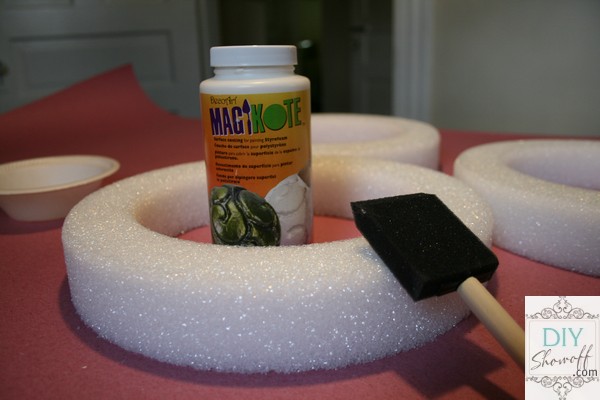
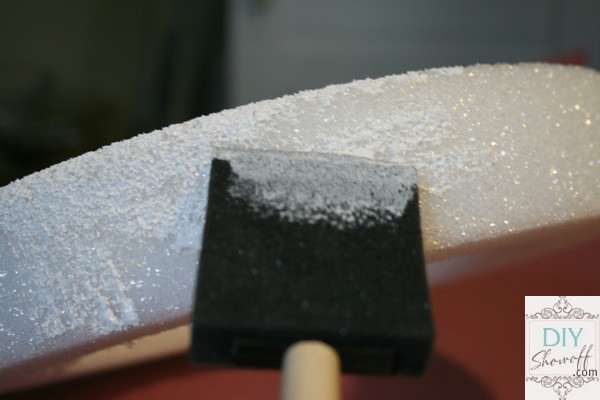
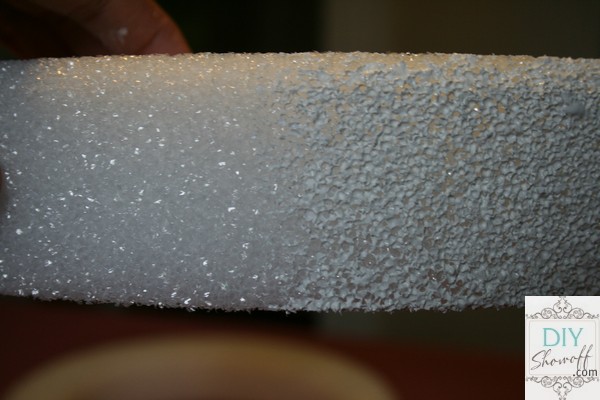
The DecoArt MagiKote seals the Styrofoam, creating a paintable surface.
Without on the left, MagiKote on the right…
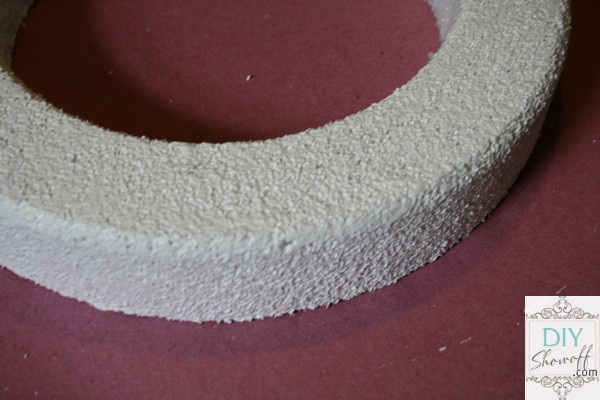
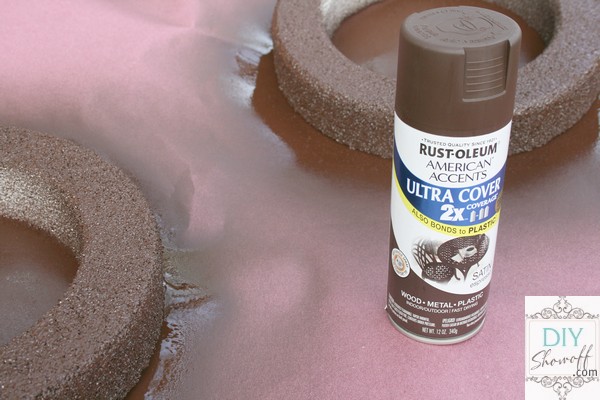
2. Give each Styrofoam wreath form 2 coats of spray paint (dry between coats).
3. Remove brackets from back of convex mirrors.
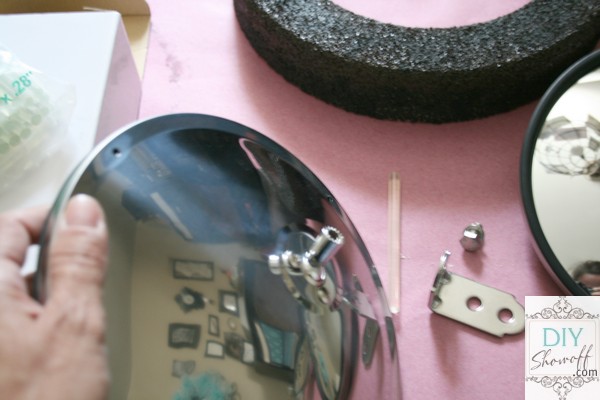
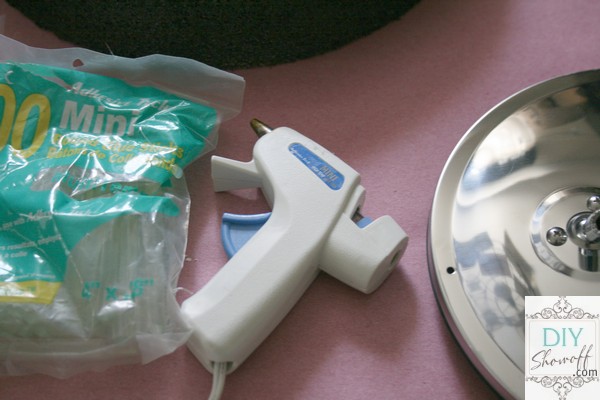
4. Attach convex mirrors to center of wreath with hot glue. I used hot glue on the back of each mirror. Once in applied to the Styrofoam in the center, I used hot glue around the perimeter of each mirror too.
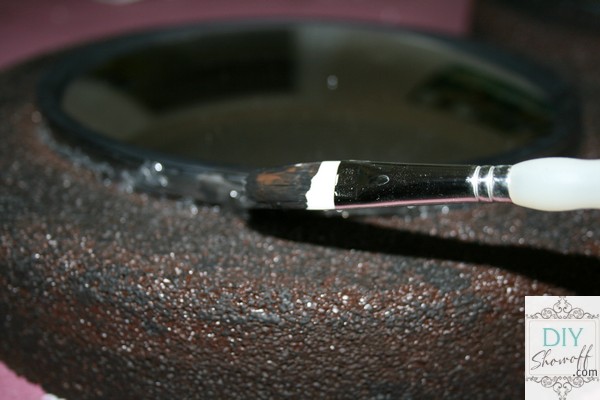
5. Touch up with Americana paints.
6. Let dry and hang using Command velcro strips.
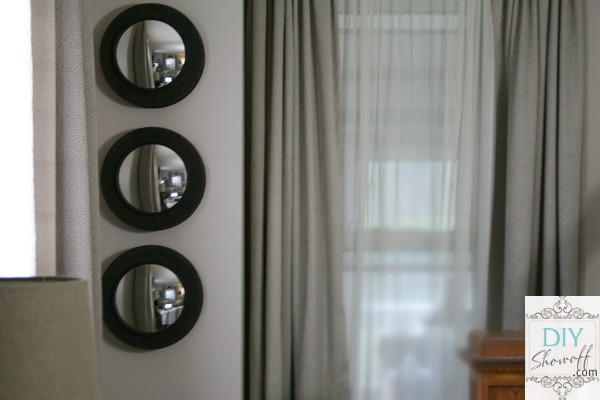
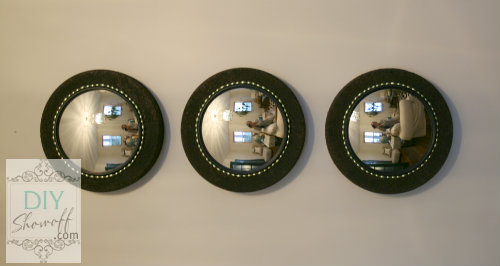
What do you think? {besides the fact that the top one is a little off?!} It’s okay. They’ve since been moved and are now aligned.
I love them as they were but I can never leave well enough alone so I’ve done a little embellishing using beaded garland (attached with hot glue)…
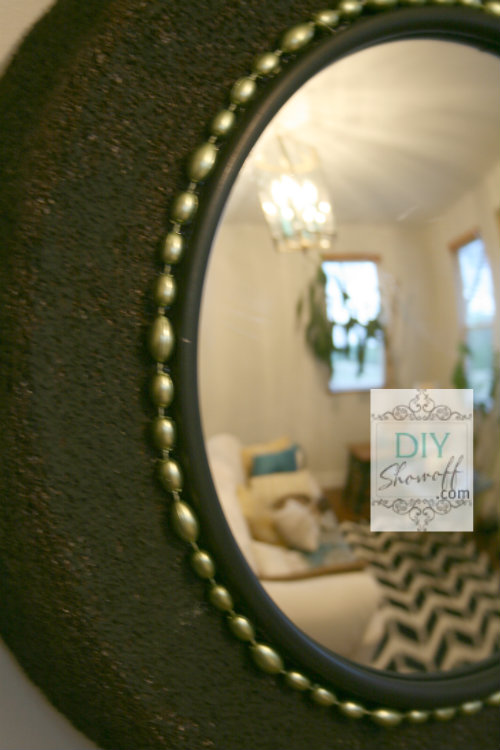
My convex mirrors are hanging using Command Velco Strips.
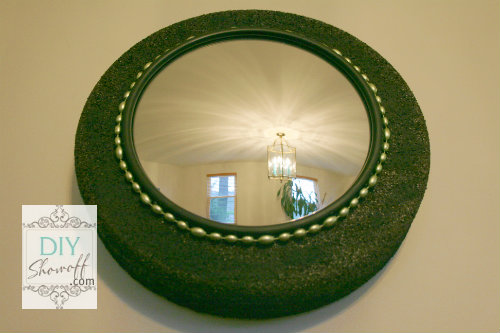
These will go in our master bedroom makeover but for now I’m liking them here, in the family room
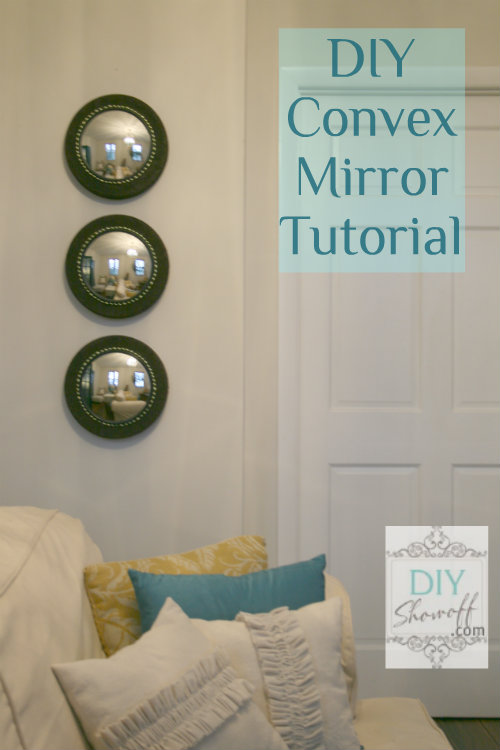
…until next week when you’re likely to see them moved again. It’s a sickness. I just love rearranging. You know you do that too right? . . .
They’d look fab horizontally displayed too!
Like this project? I’d love for you to share!


