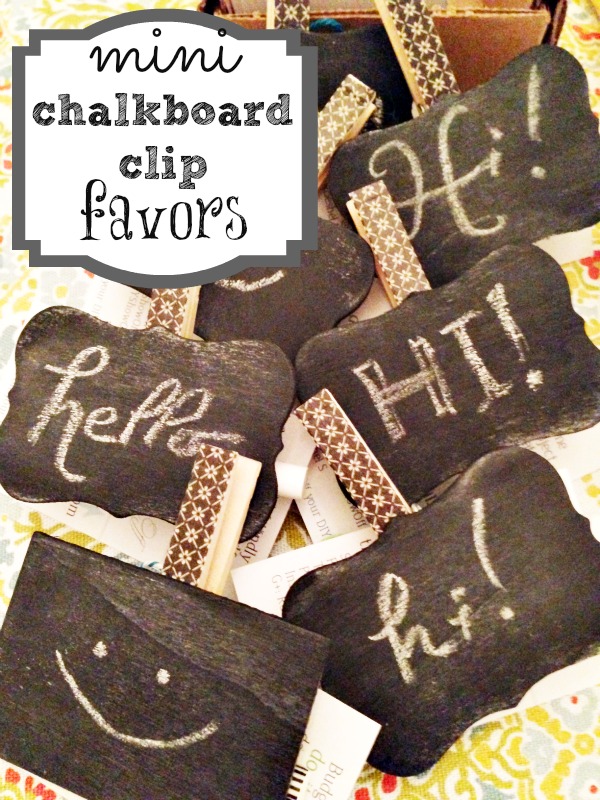
DIY Chalkboard Party Favors:
Materials:
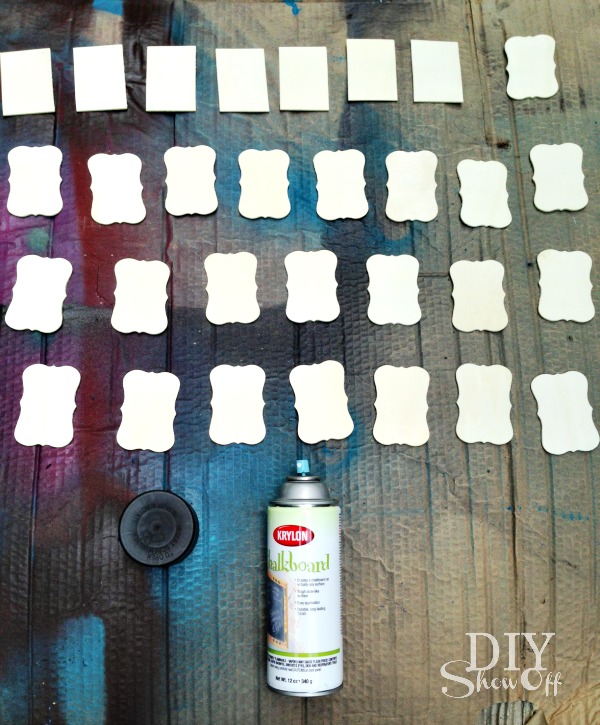
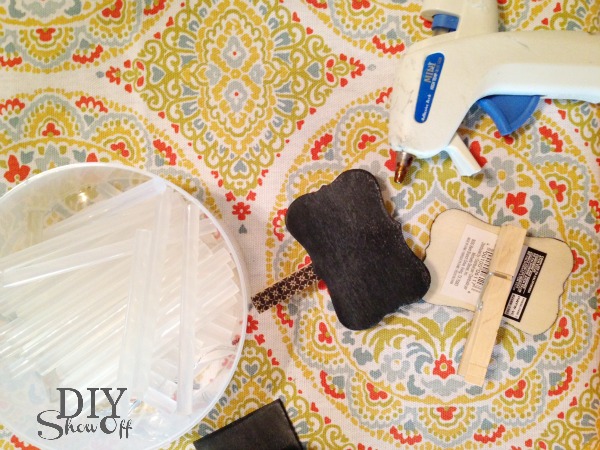
- small flat wooden pieces
- chalkboard paint
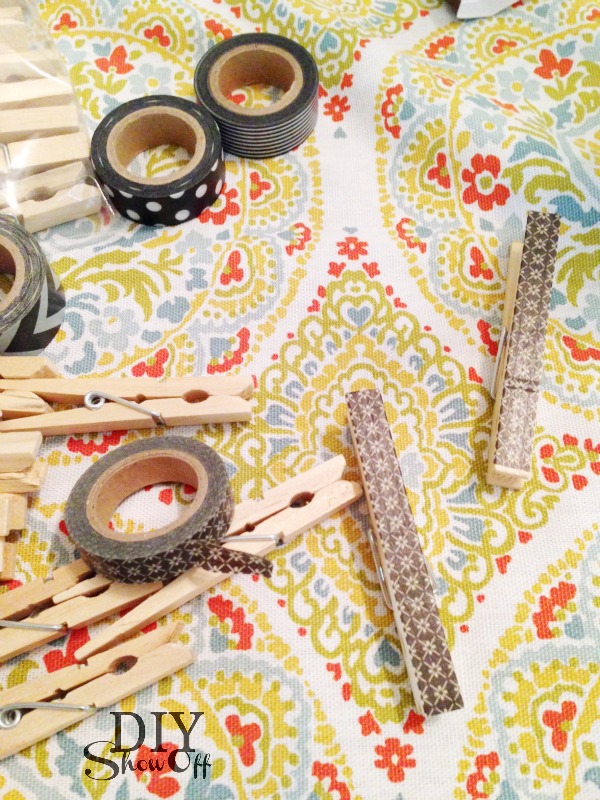
- clothes pins
- hot glue
- decorative tape or ribbon
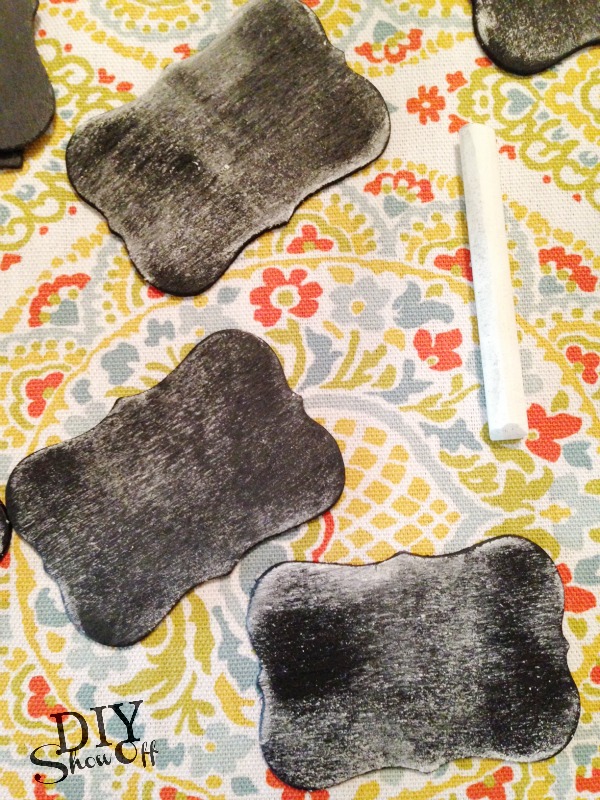
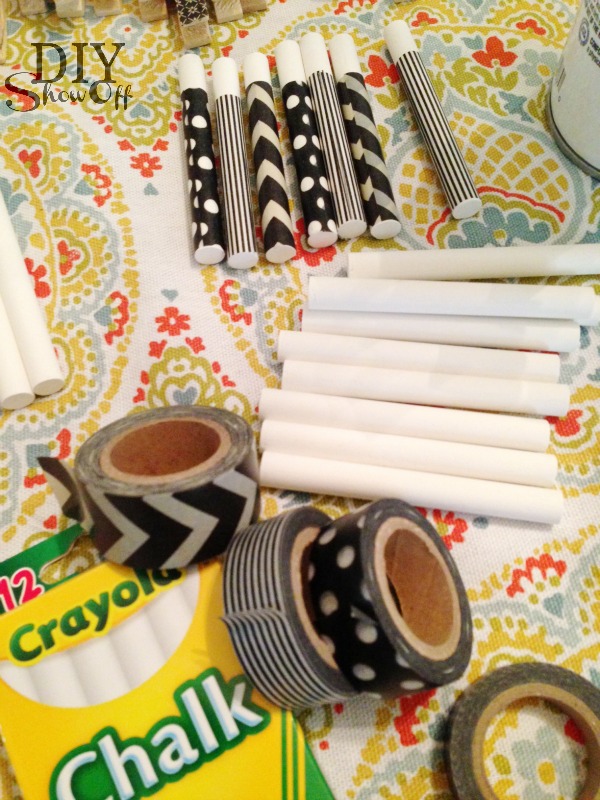
- chalk
- optional: add a magnet to the back of the clothespin
Tutorial:
1. I gave one side of my mini-chalkboards two coats of chalkboard spray paint and let dry.
2. I decorated my clothespins with decorative tape or ribbon. I recommend attaching/securing decorative tape or ribbon with glue (not just the sticky decorative tape) or spray paint clothespins.
3. Season chalkboards by rubbing chalk on the surface and erasing.
4. Hot glue clothespin to the back of the mini chalkboards.
5. And wrapped pieces of chalk with decorative tape too.
6. I also added some decorative tape to the back of my mini chalkboards. The clothespin holds the chalk.
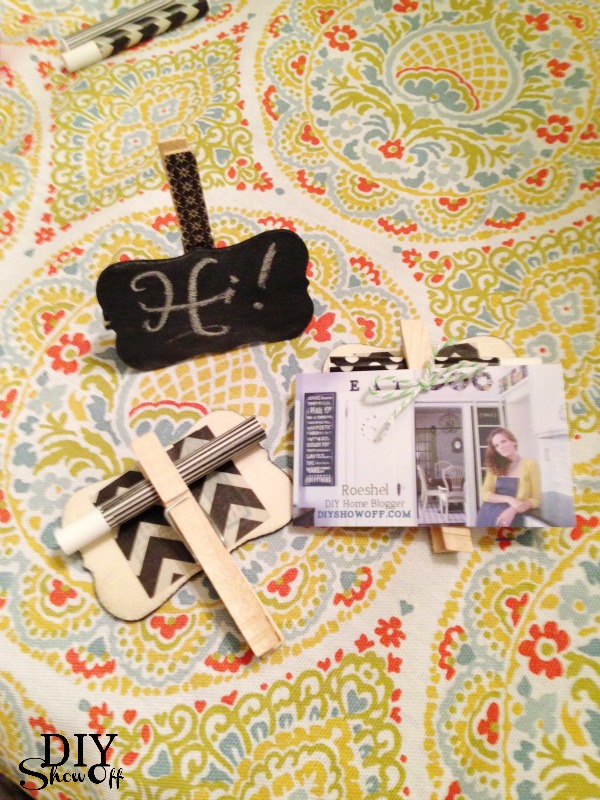
Since I made these for a group of 30 blog friends, I tied on my business card…cute!
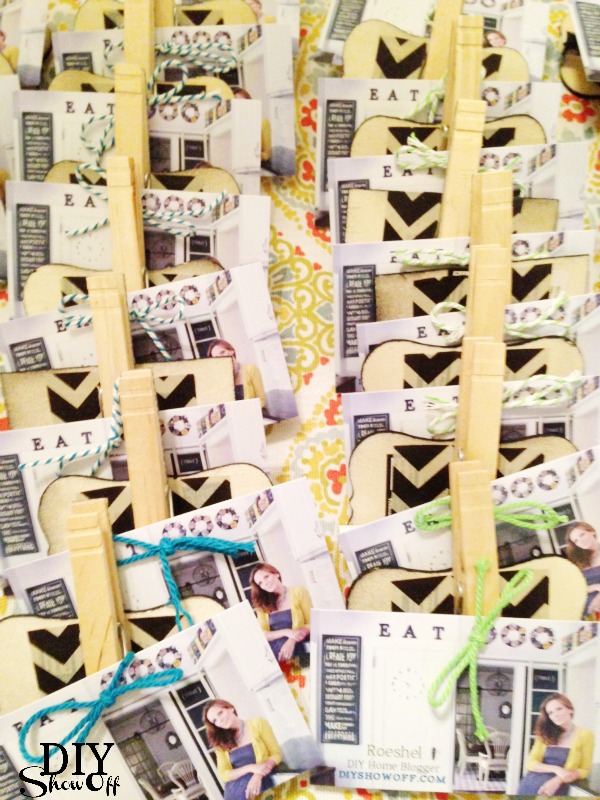
Great for a smaller sized get-together and I have a few left to attach some magnets to for the fridge. 🙂