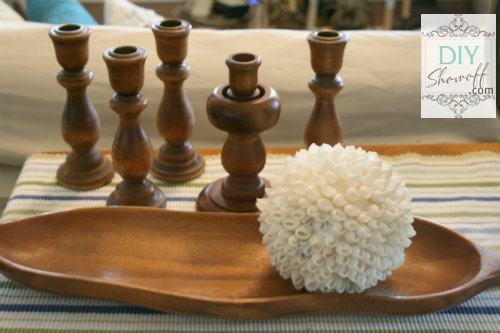
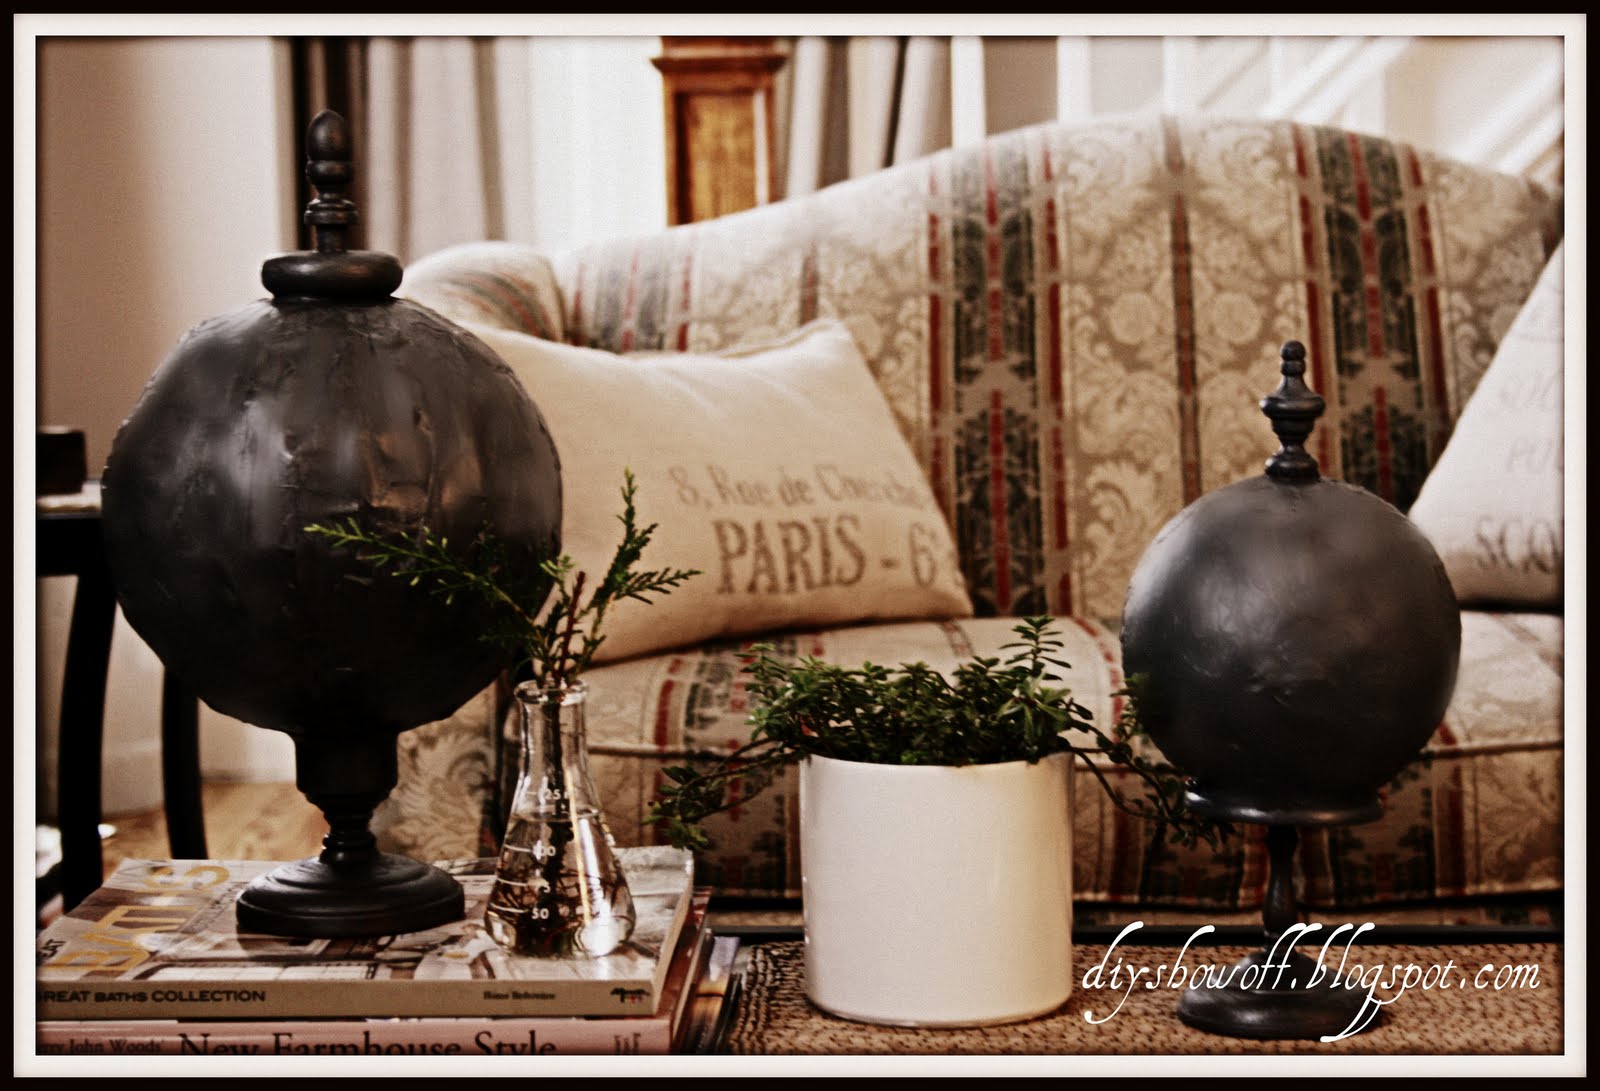
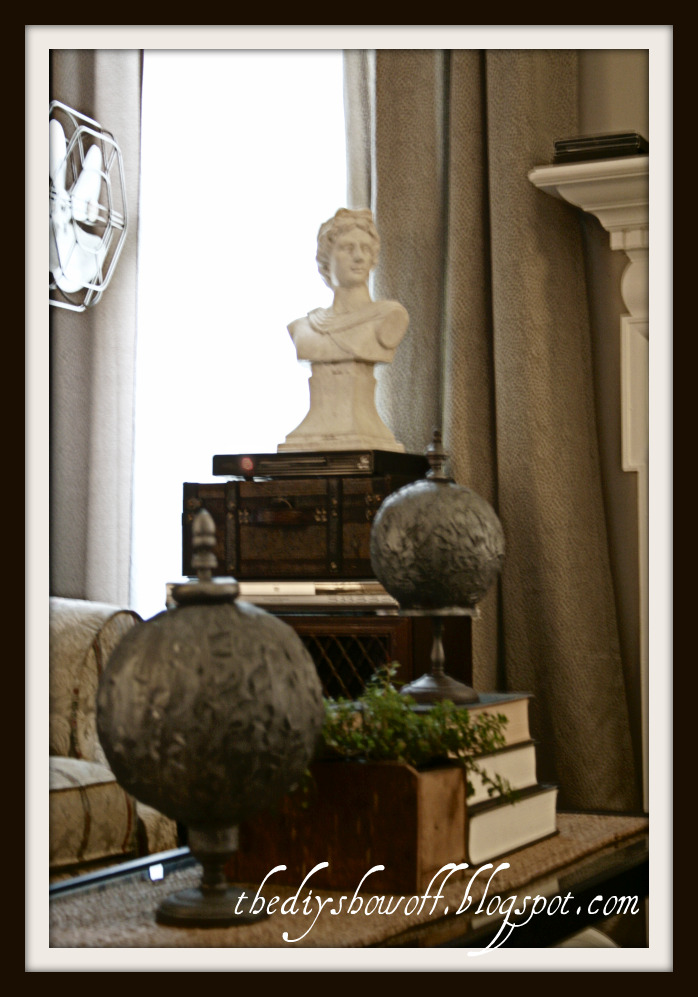
One of my favorite inspiration sources has zinc orbs and spheres. My version isn’t an exact replica but for a few dollars, they’re the same idea and I love how they look on our coffee table…
Here is the real version…
Sale price $135-175
and these:
Sale price ranges $71 – 119
The prices are a little steep for me. I’d love to see the day where that is do-able on my budget but we’re not there yet. So, what’s a DIY-thinkin’ girl to do? Yep. Get creative and DIY!
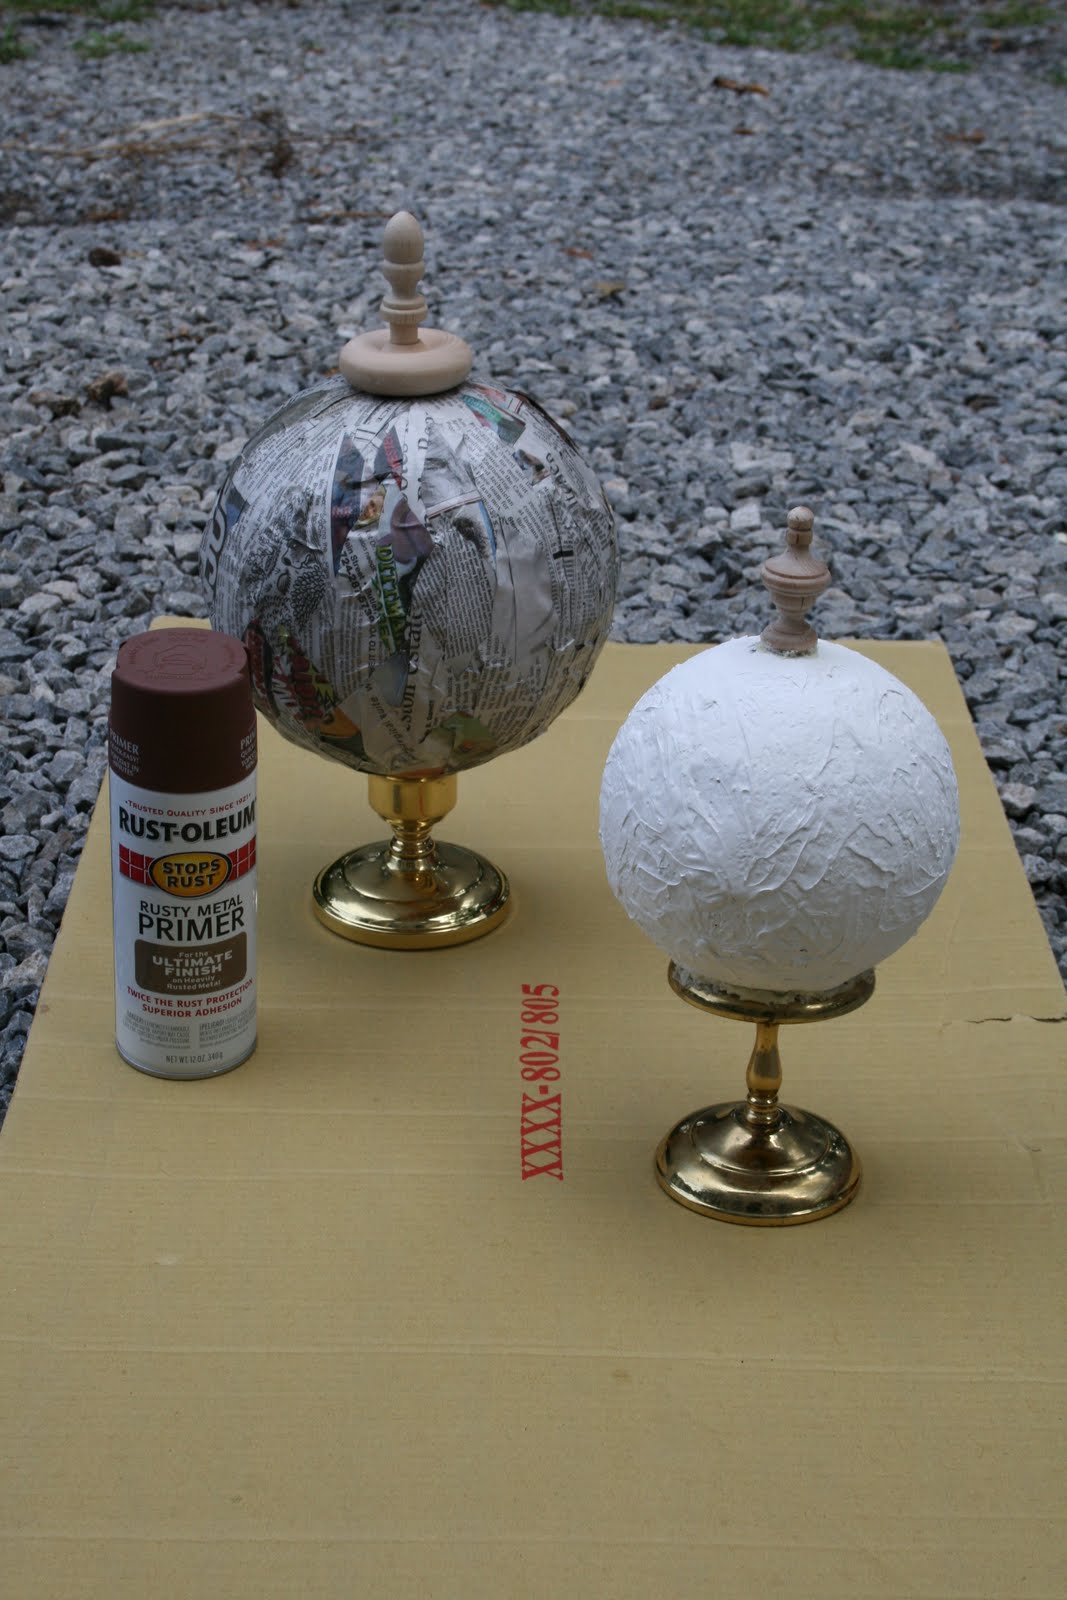
I used a different technique to construct each. One orb is made with drywall mud and the other with decoupage and newspaper. Below are the instructions for making each. (The drywall mud technique was easier.)
Materials for drywall compound orb:
Gorilla Glue
Spray primer (leftover from another project) in “Rust”
Candlestick (thrift shop)
Styrofoam ball (craft store)
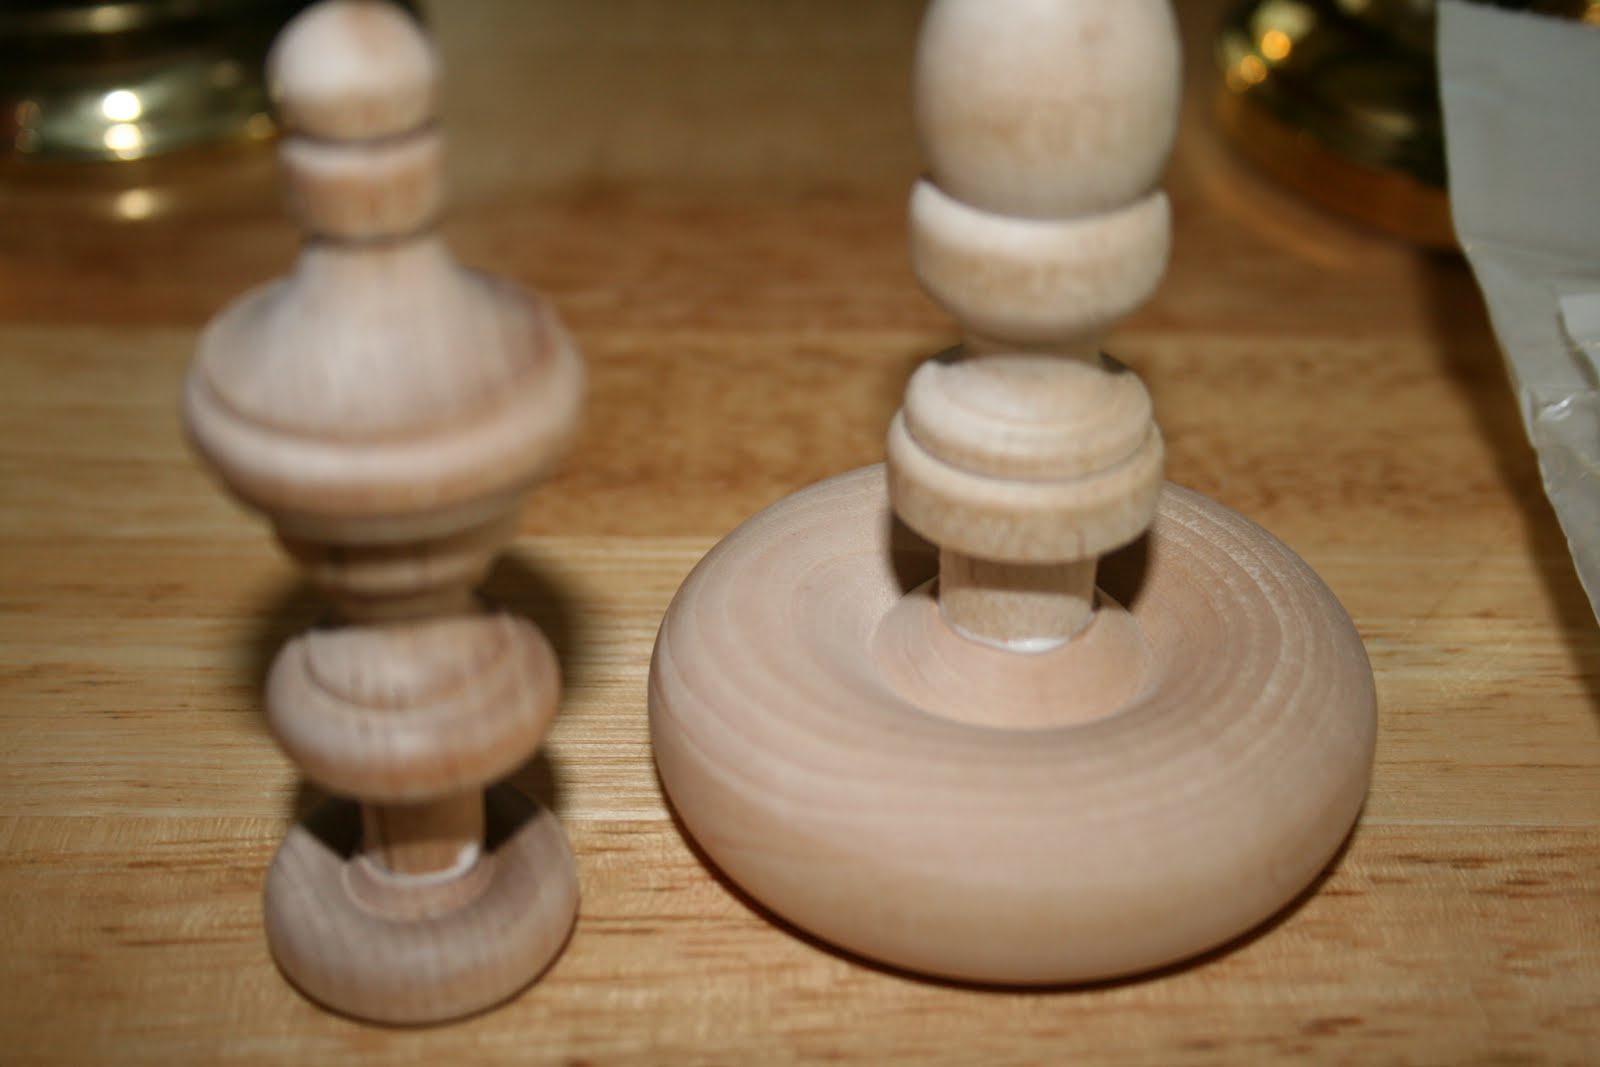
Finial (Rockler)
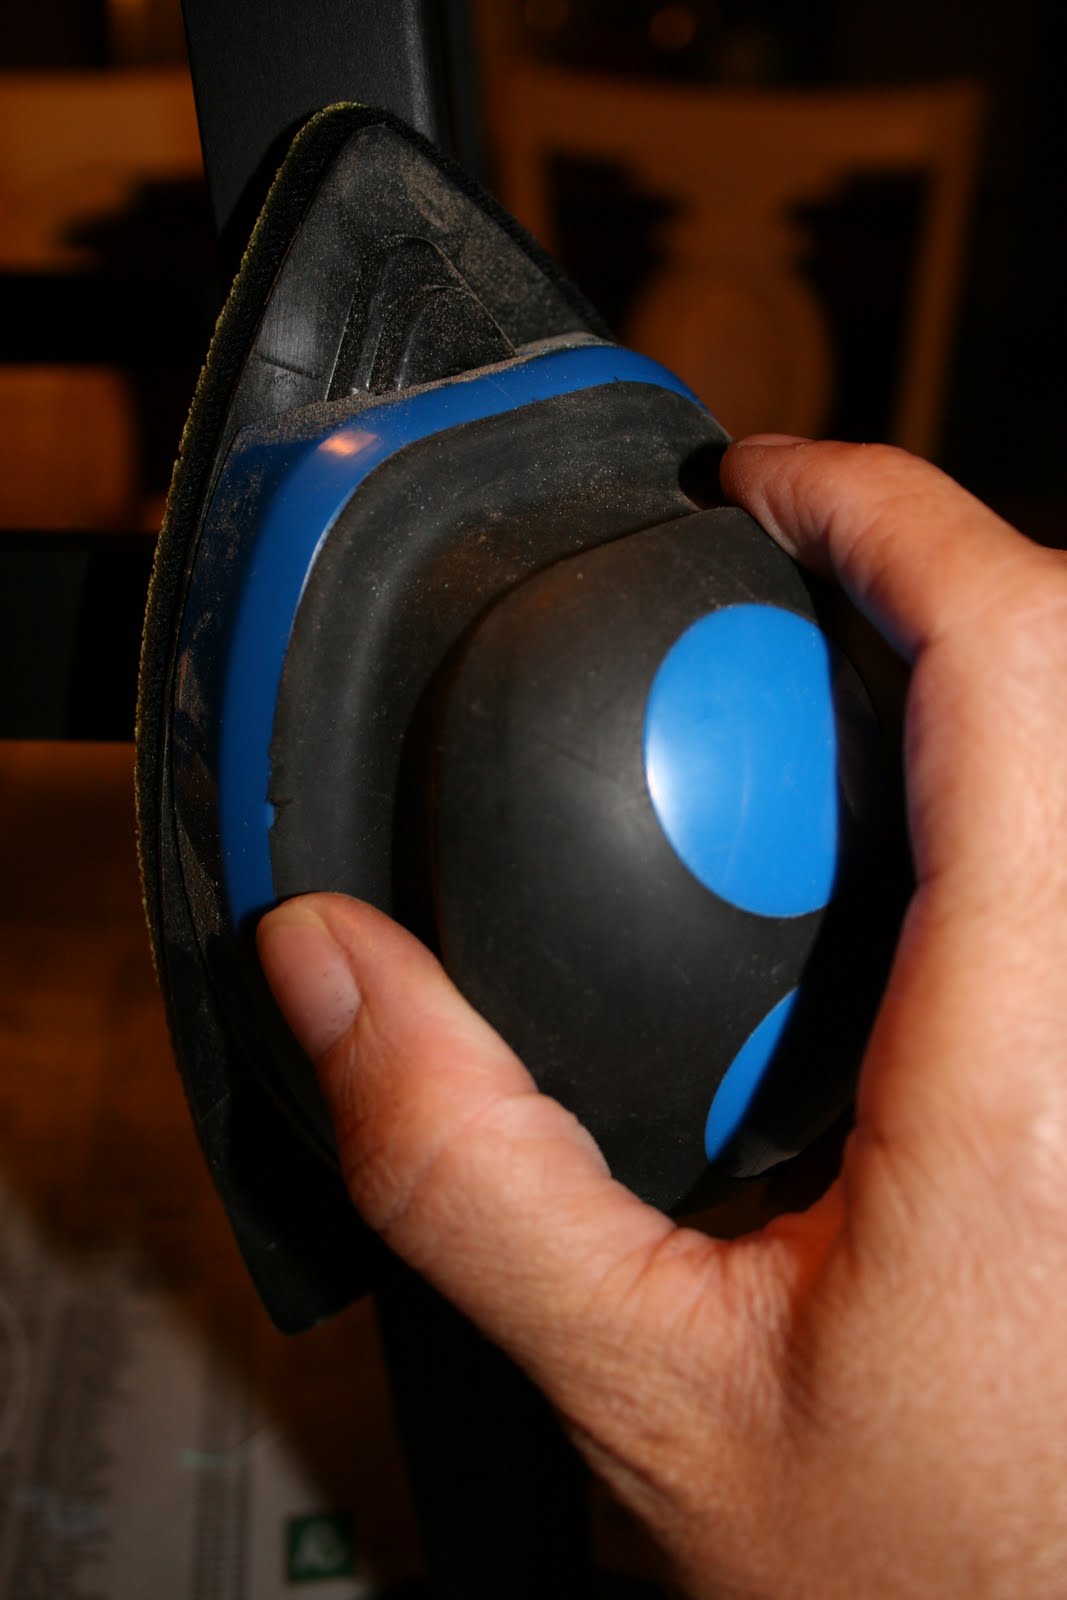
Sanding Bug (Rockler)
Assorted acrylic/metallic paints (Deco Art) I used Slate Gray,
Drywall compound (basement)
Materials for paper mache type orb:
Same as above but I used a larger Styrofoam ball (craft store), decoupage medium, newspaper and a wooden wheel and different finial (both found at Rockler). I also used pins as mentioned below to help with construction.
Tutorial for drywall compound orb:
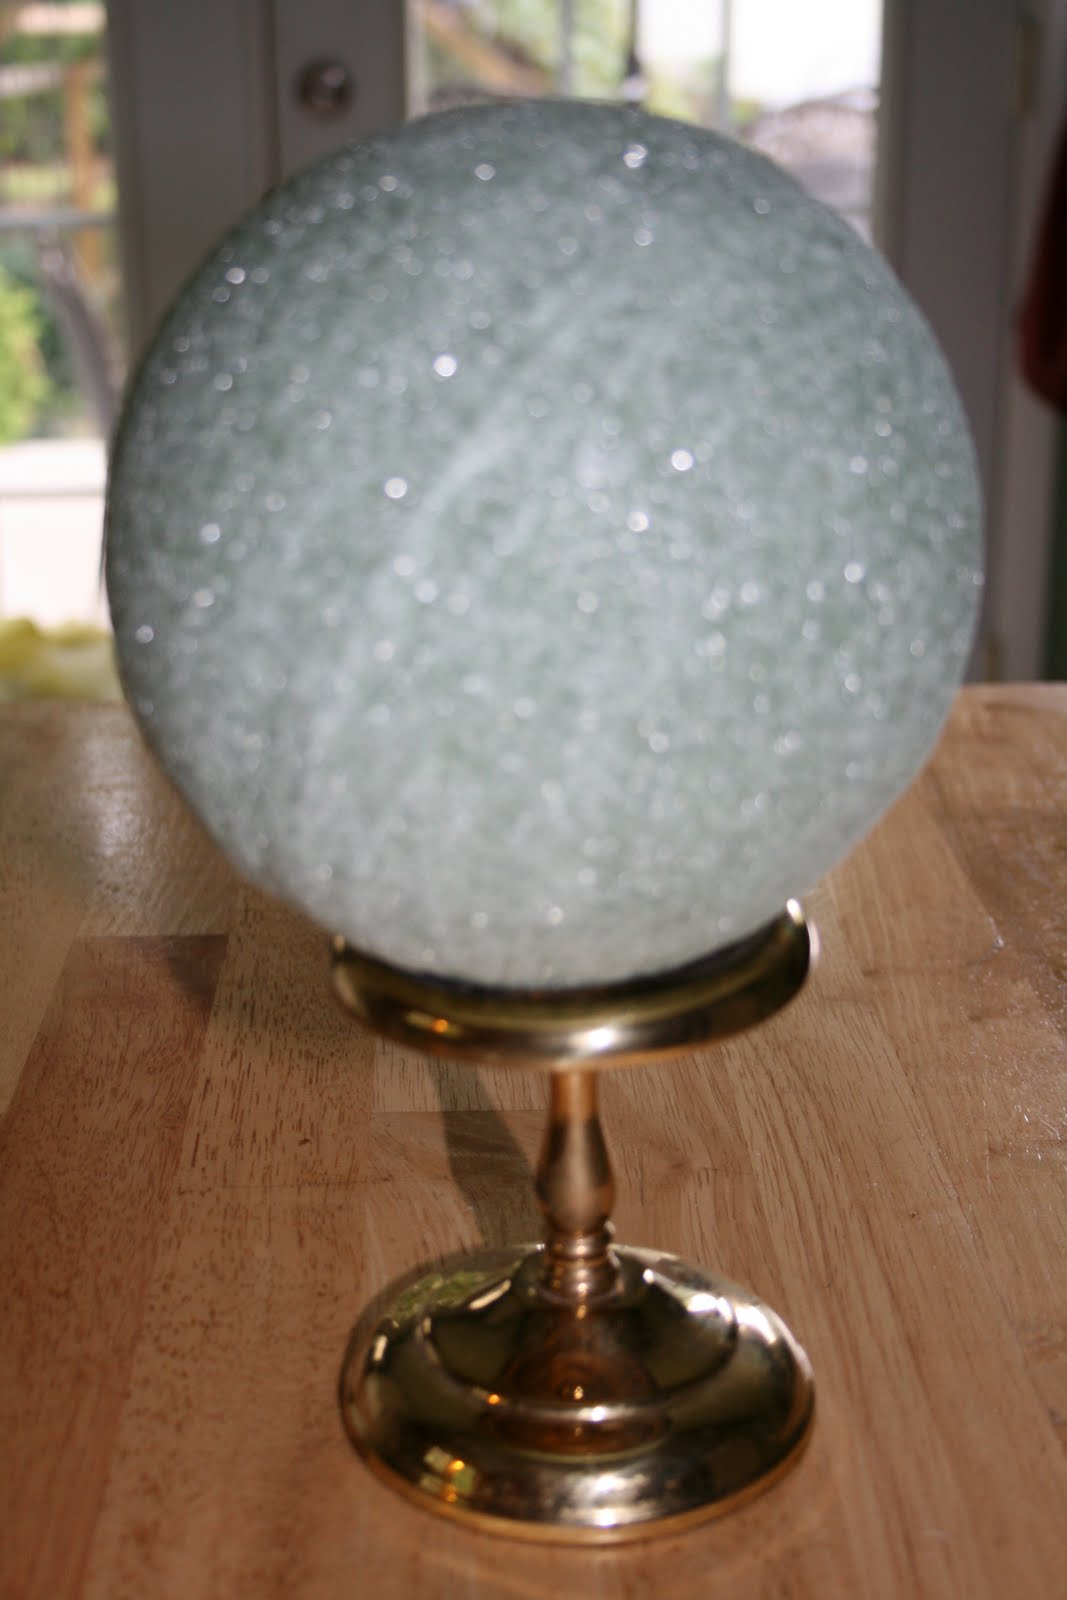
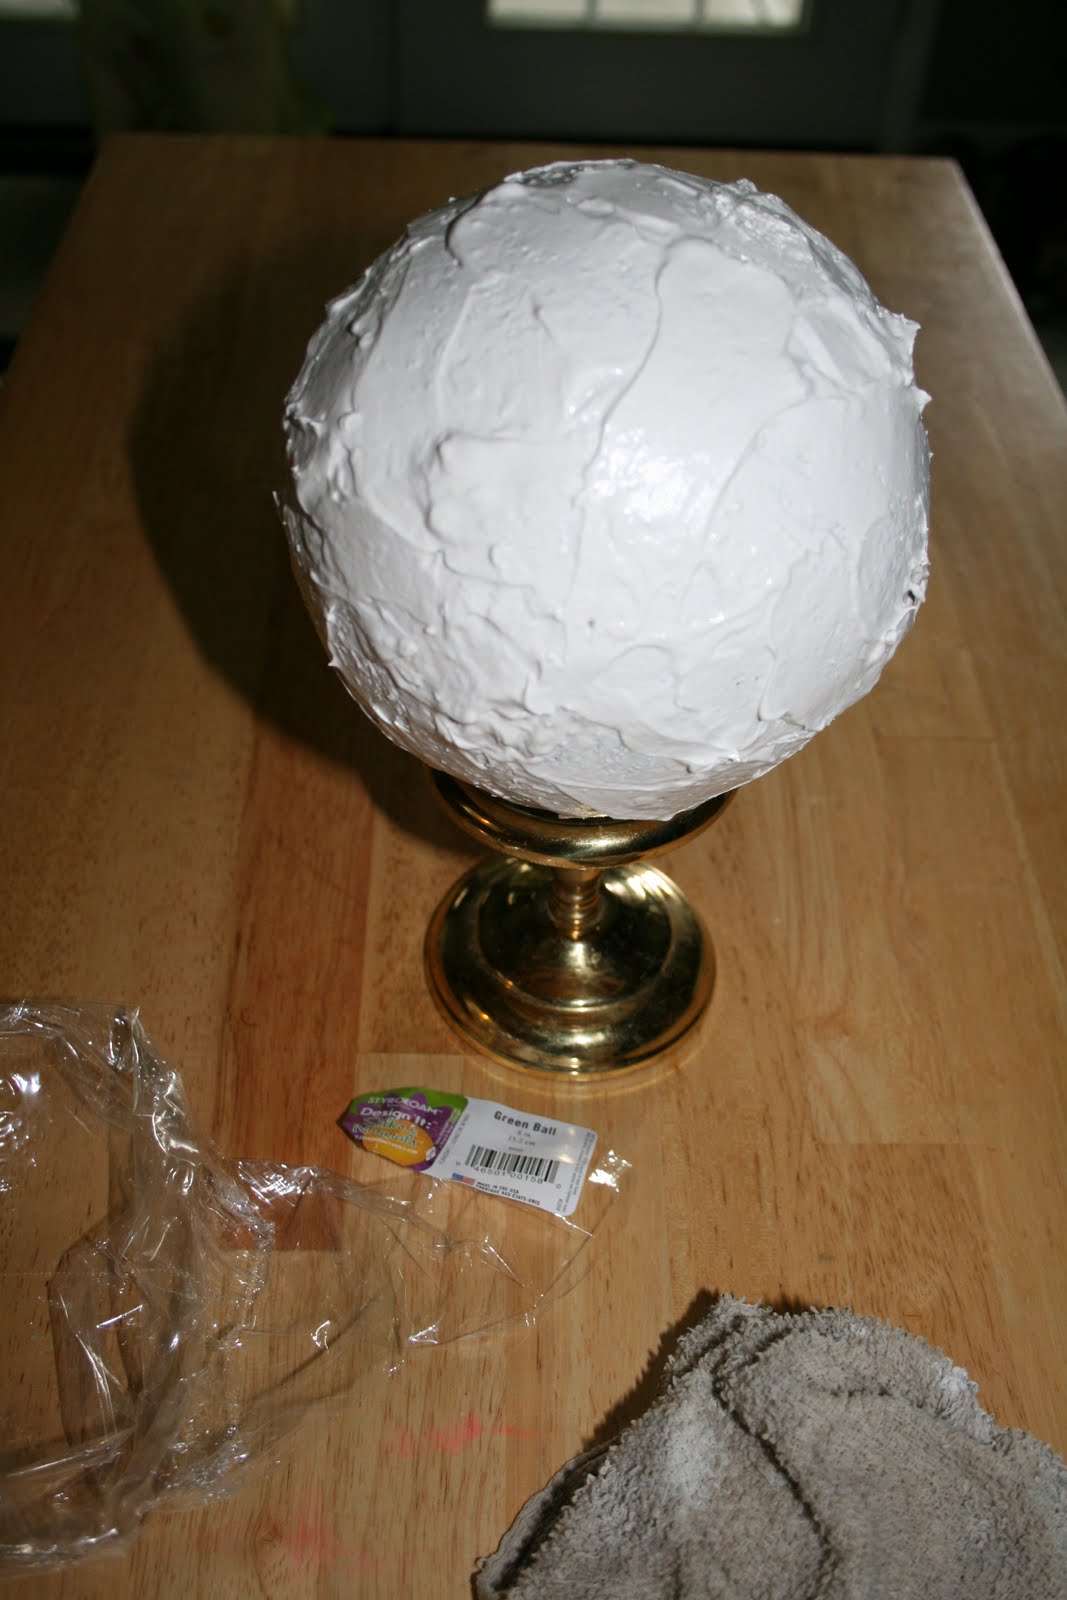
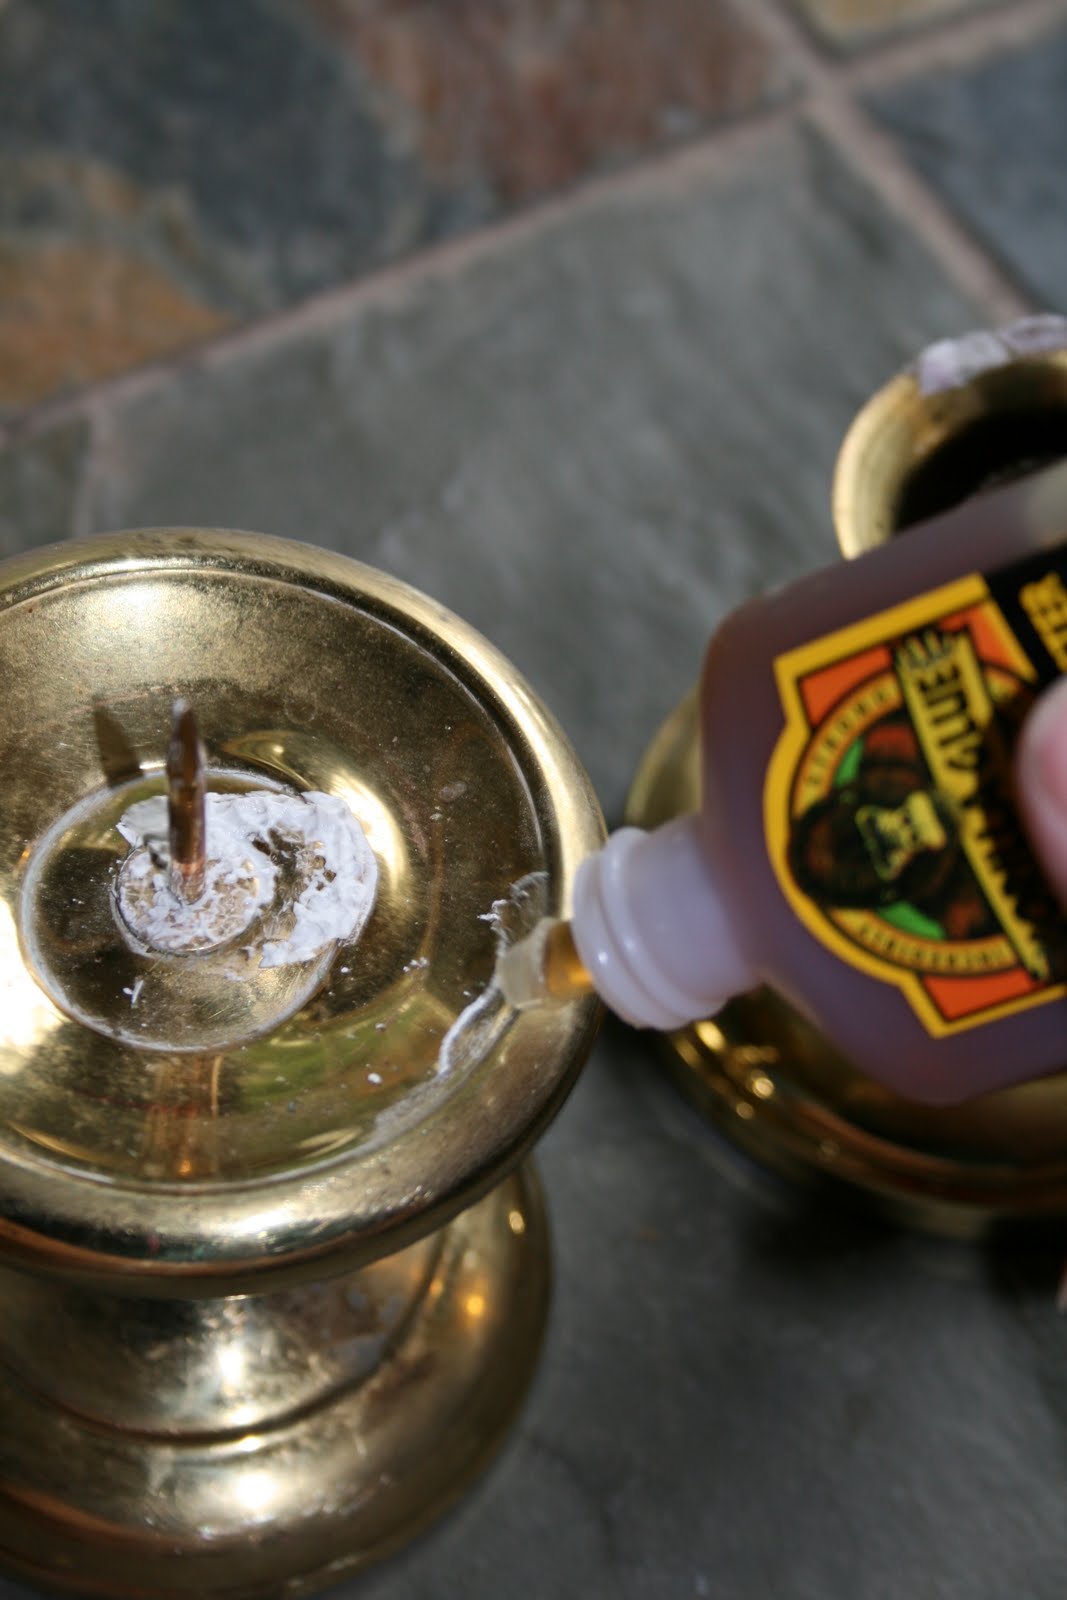
1. Using my Norton Sanding Bug, I sanded a candlestick to scuff up the smooth surface. Clean.
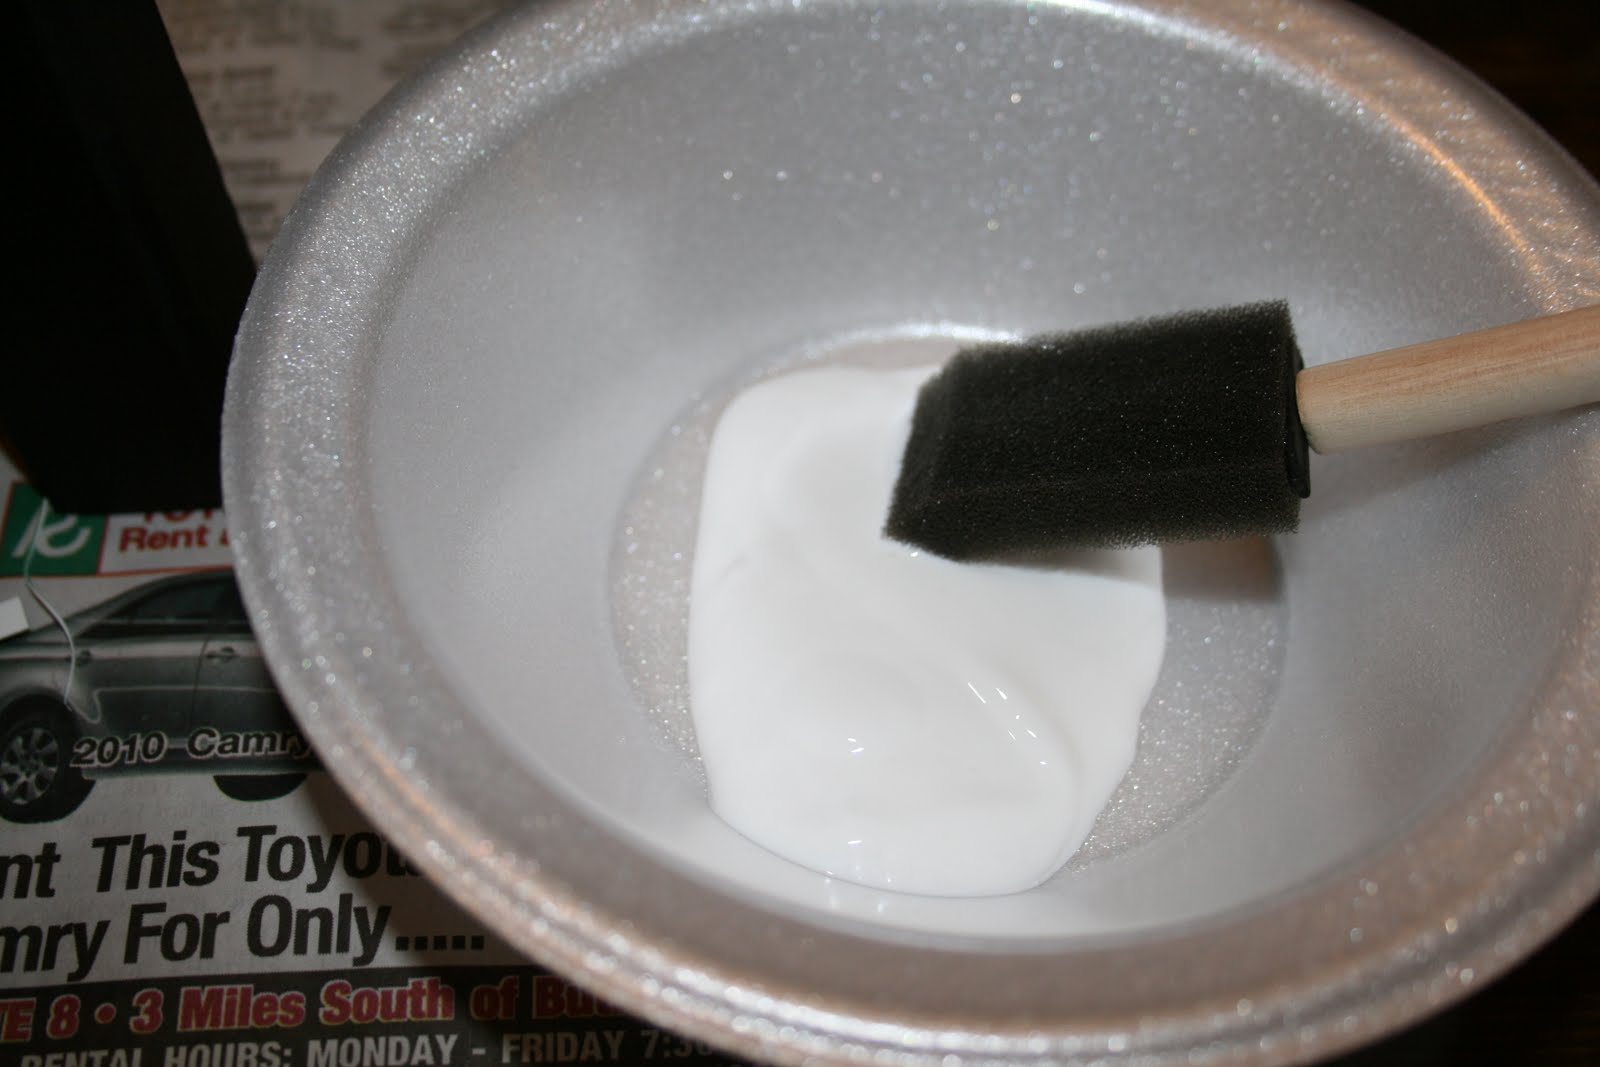
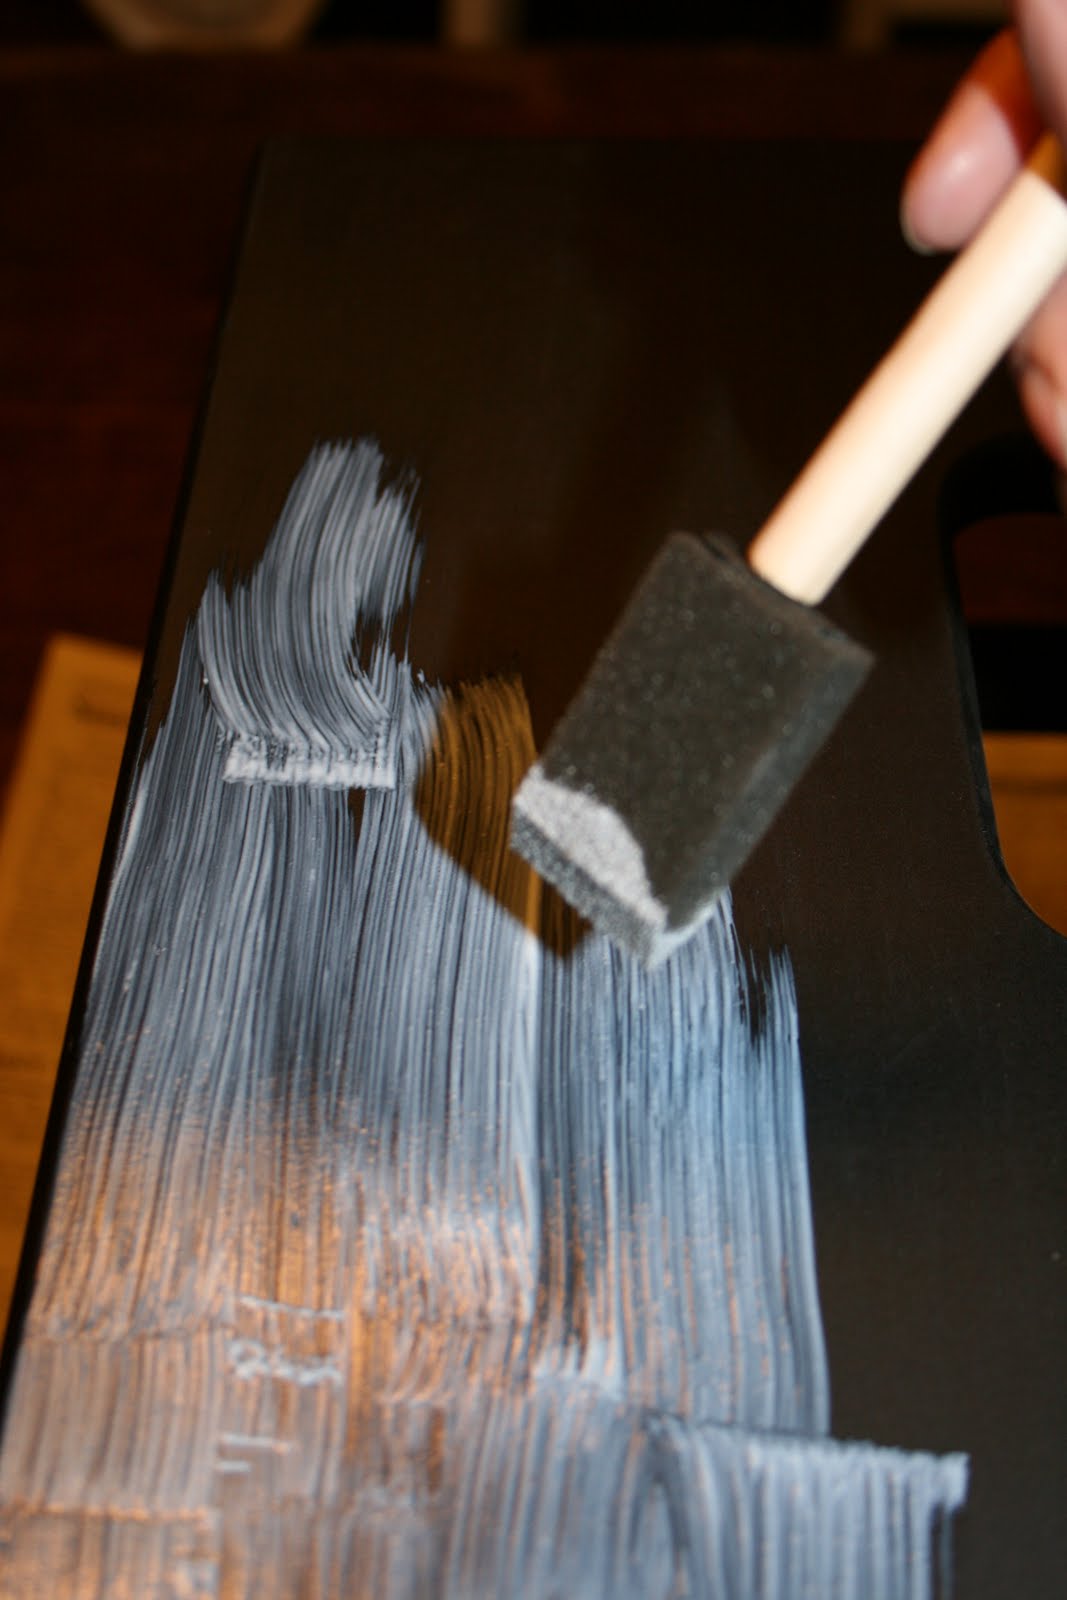
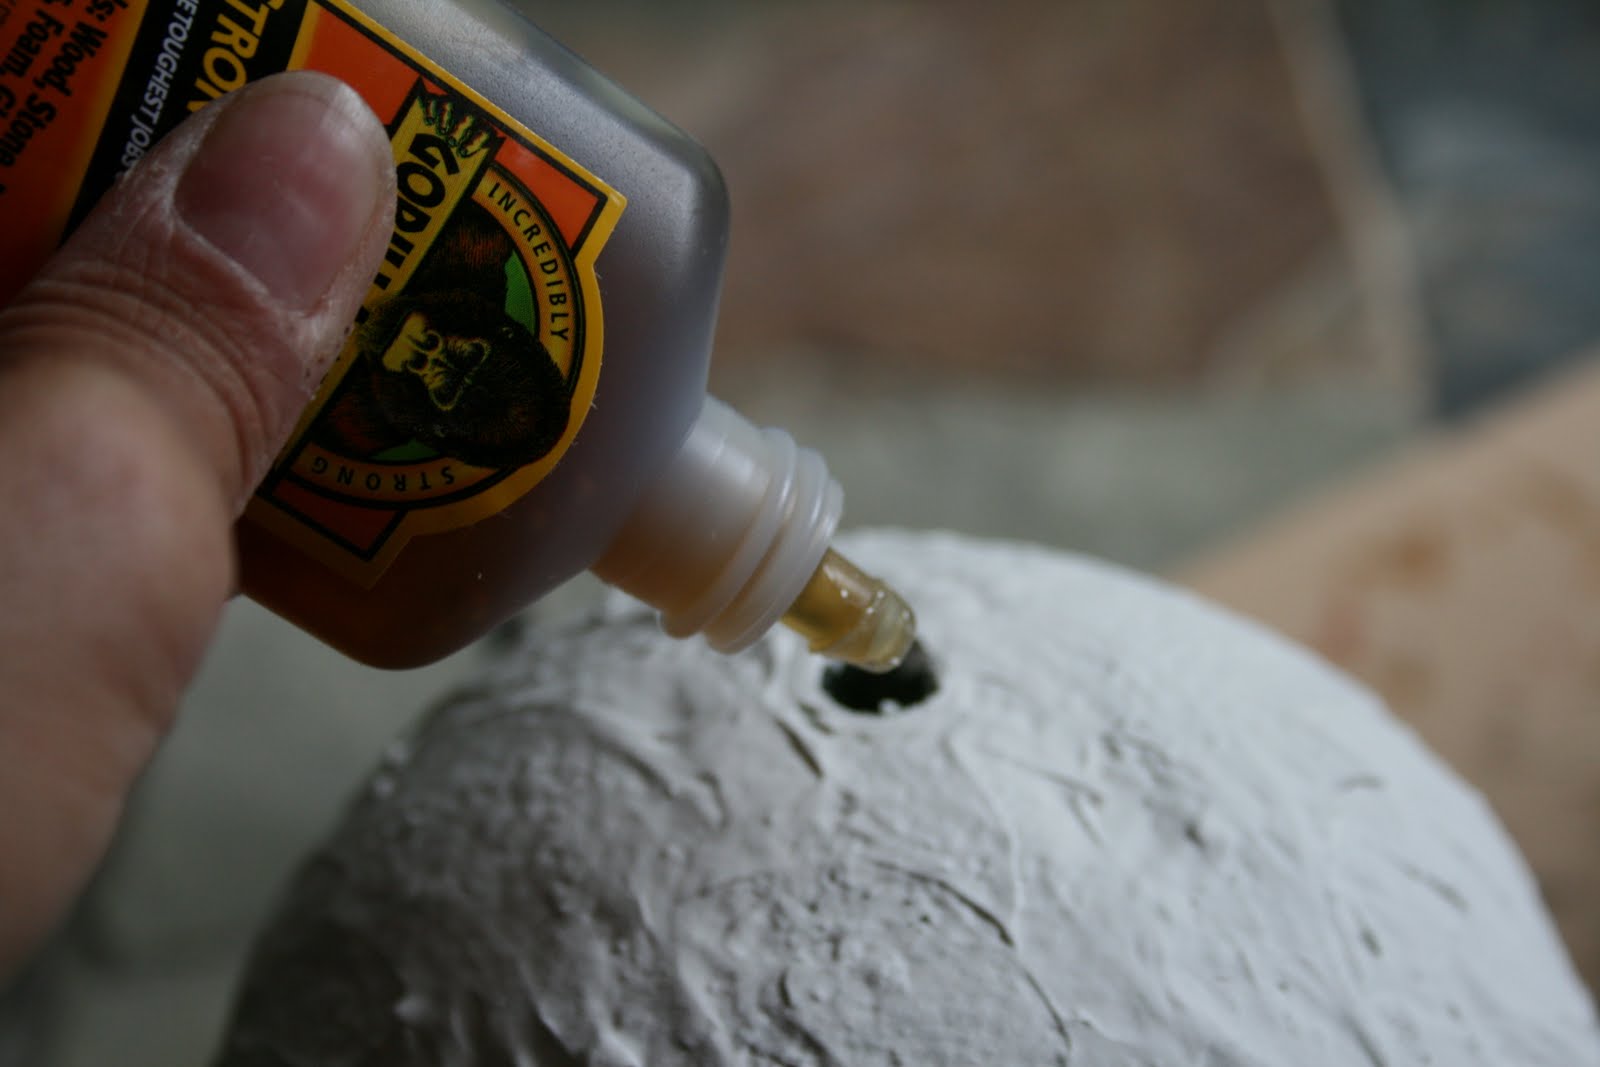
2. Using the candlestick as a pedestal, I applied drywall mud by “frosting” it with a butter knife. Smooth as much as possible, which is nearly impossible! Let dry (but see step 3 first).
3. Before the plaster dries, poke the finial through the wet drywall mud into the Styrofoam on the top to poke a hole. Remove and clean the finial. I used the Birch Turned Finial on the left. (
Rockler). You can also attempt to lightly sand the drywall – just be careful, it might crack!
4. Apply Gorilla Glue to the candlestick and stick on the Styrofoam ball. Let dry. My glue expanded a little but I just cut off the extra with an xacto knife.
5. Squeeze a small amount of Gorilla Glue into the hole in the top and insert the finial and allow to dry.
6. Outside, I sprayed the entire thing with the rust colored primer.
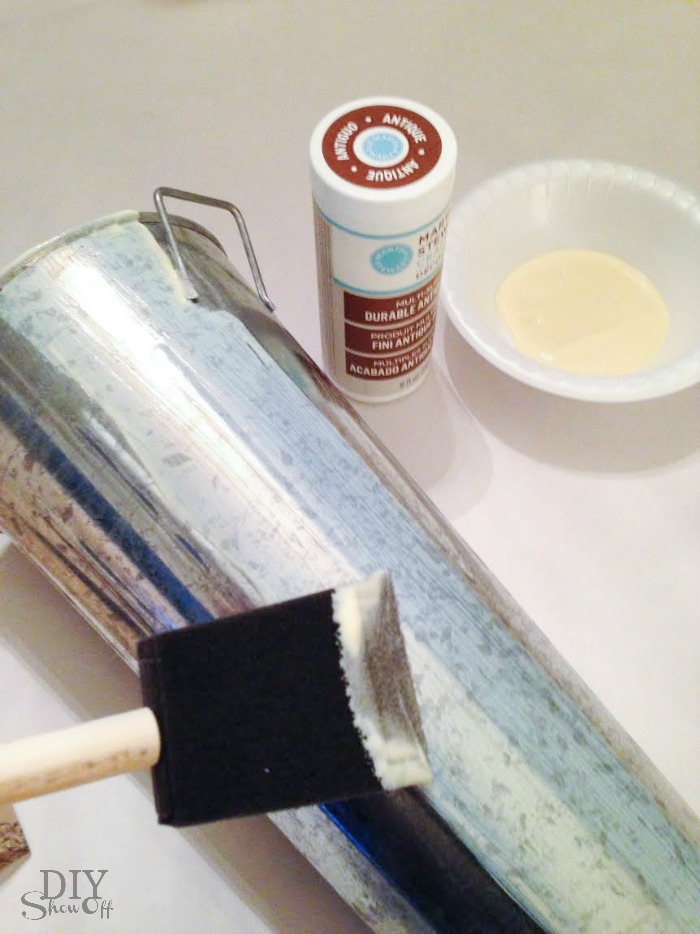
7. Next, I used a mixture
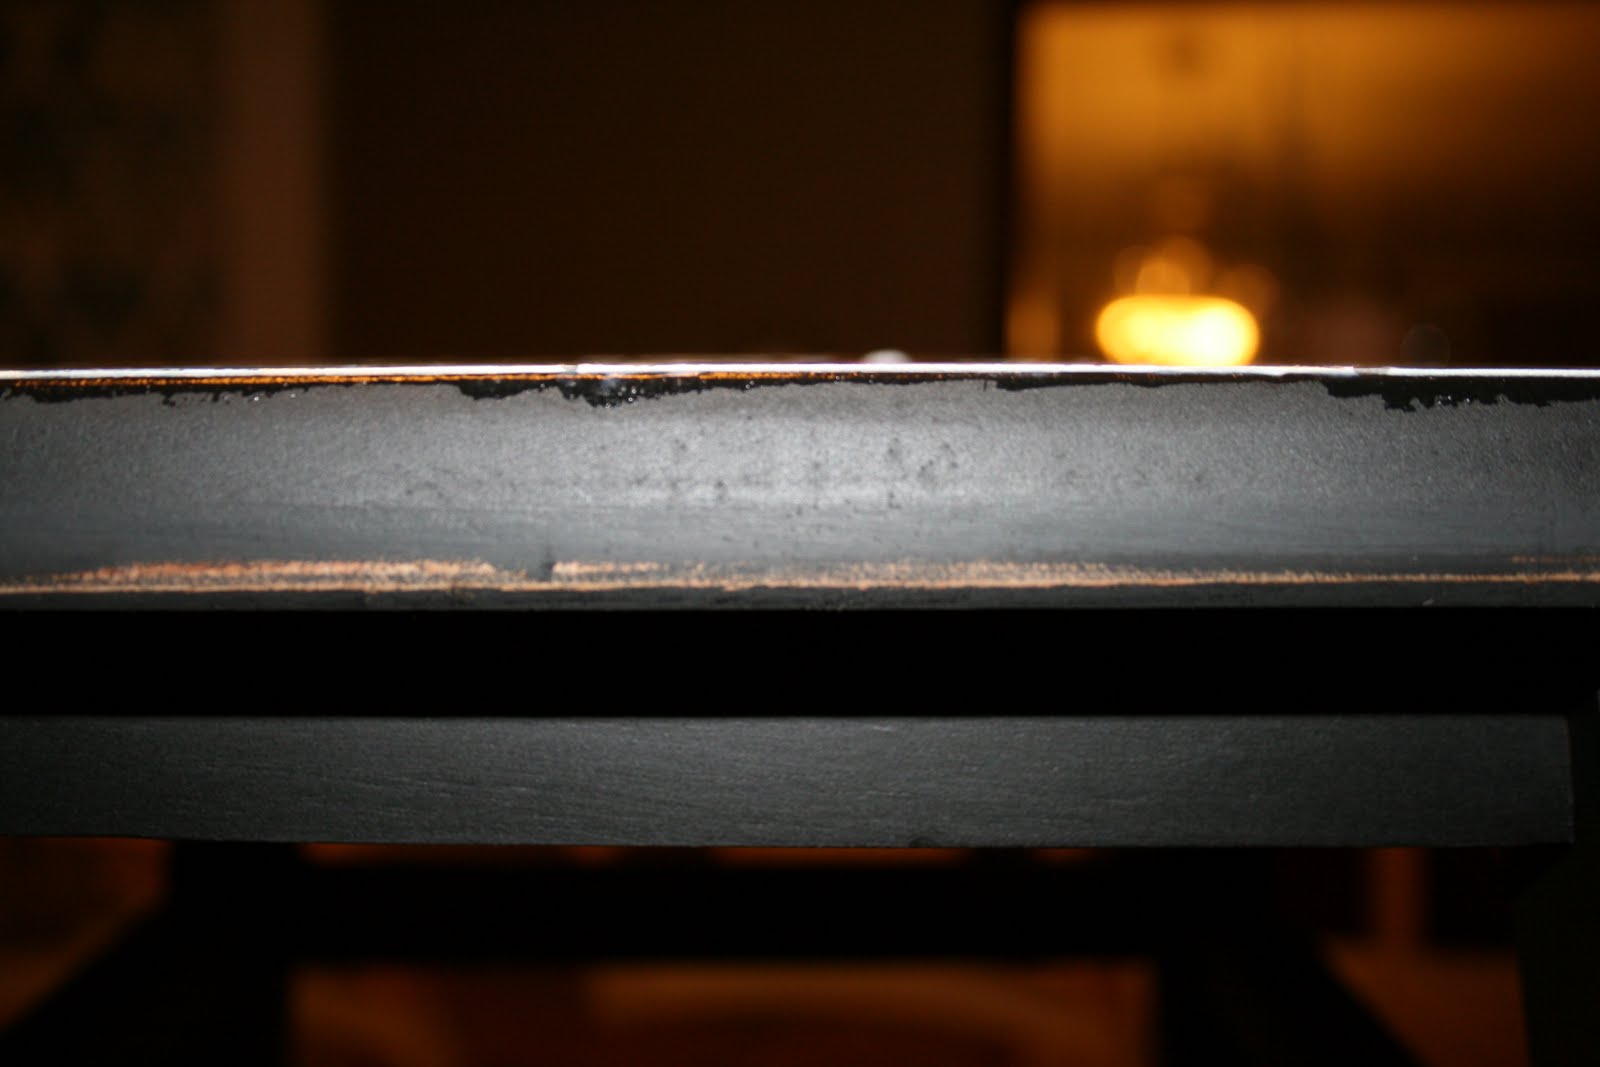
of Deco Art Americana acrylic paints and antiquing medium to come up with a few gray shades and Dazzling Metallics for silver shades. I applied the darkest paint first, allowing some of the rust to show through.
8. Then I took turns applying the lighter shades (and darker if needed) with a brush. I applied the last coats which had more white and silver paints last using a rag to apply and wipe off and let it dry.
It’s finished! (I do plan to apply a matte clear coat though.)
Tutorial for paper-mache type orb:
Using my Norton Sanding Bug, I sanded a candlestick to scuff up the smooth surface. Clean. (Same as step 1 shown above).
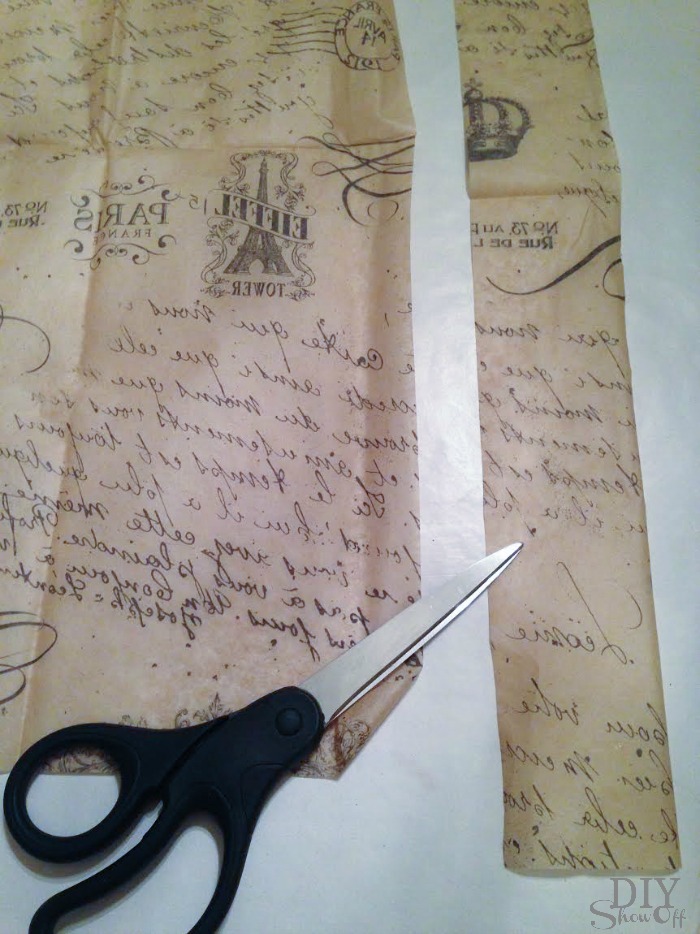
I cut out newspaper leaf shapes (a lot of them, more than needed but better to have too many than not enough when fingers are covered in decoupage medium).
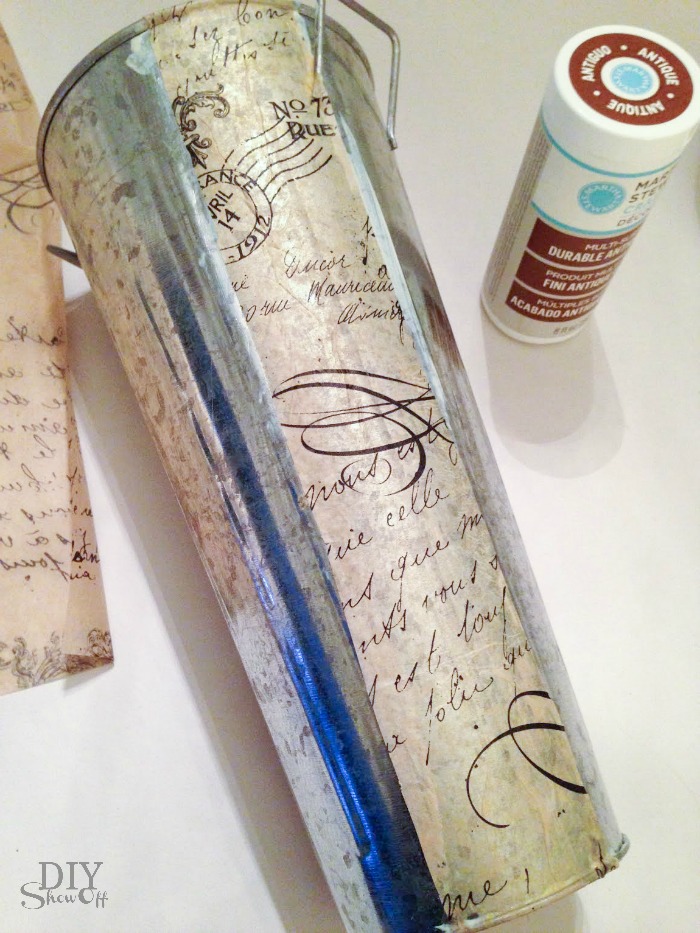
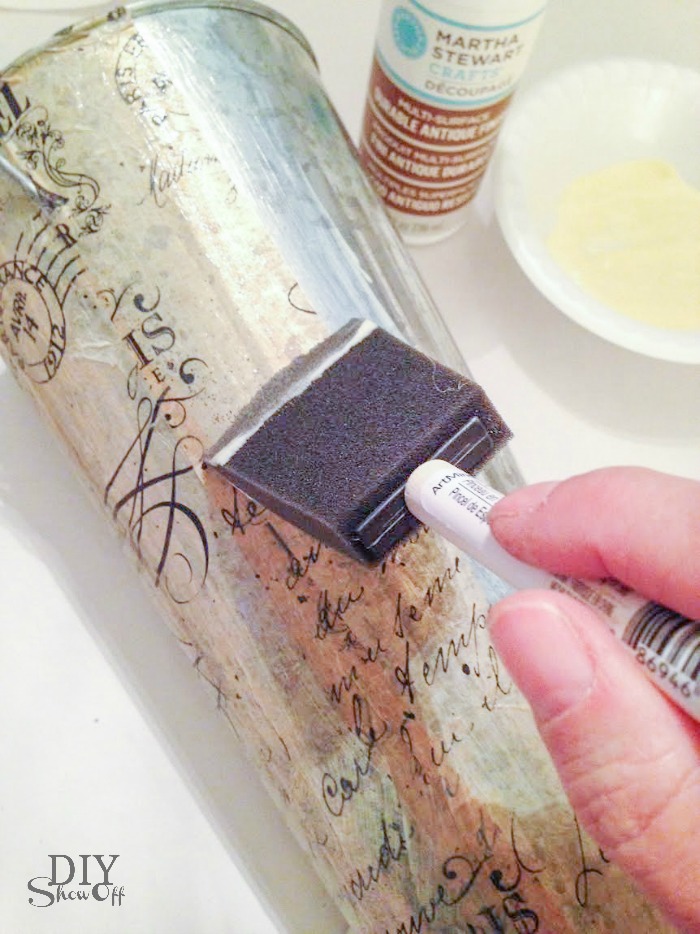
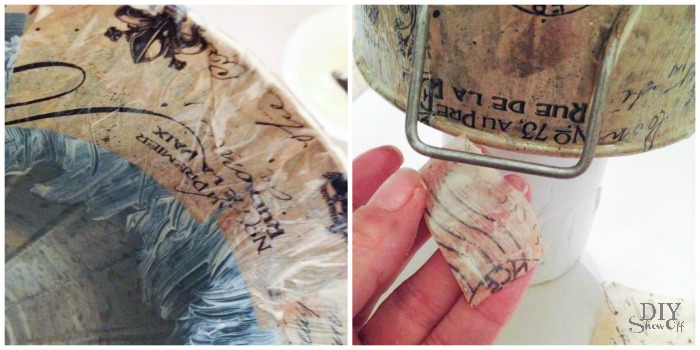
Pour the decoupage medium onto a piece of cardboard. Now it gets messy. Using my fingers, I applied the decoupage glue to both side of the newspaper, making a crease in the middle. I don’t have pictures of this step however…both hands were sticky! I applied the sticky newspaper to the Styrofoam ball and kept repeating this until I had the entire ball covered. I used pins along the way to help keep the newspaper in place. When the entire ball was covered in newspaper leaves, I smoothed on more of the decoupage medium. Let dry. (Move pins around as it dries, as needed.)
With regular Gorilla Glue, glue the newspaper covered orb to the candlestick and let dry.
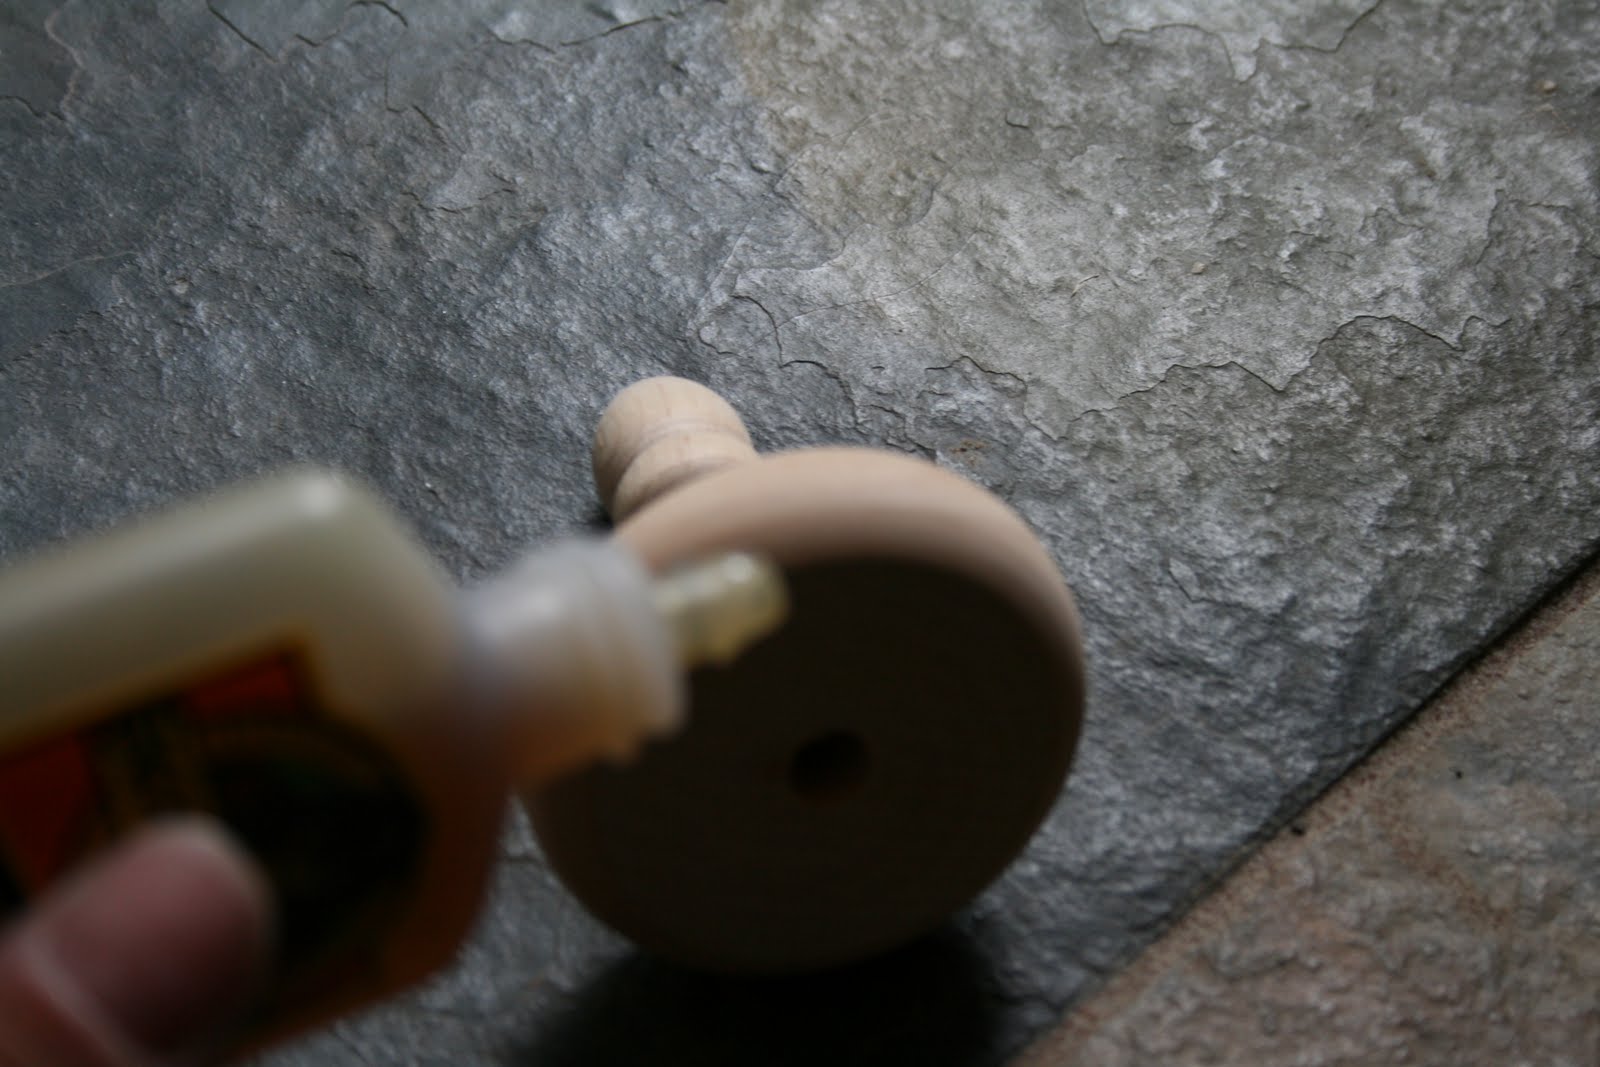
Using Gorilla Glue Wood Glue, stick the wooden finial to a the wooden wheel (
Rockler toy wood wheel). Let dry. (Shown on right.)
Using regular Gorilla Glue on the bottom of the wooden wheel, stick to the top of the newspaper-covered Styrofoam ball. Let dry.
Spray the entire orb, pedestal and finial with rust col
ored primer.
Follow the steps 7 and 8 as listed above.
All done!
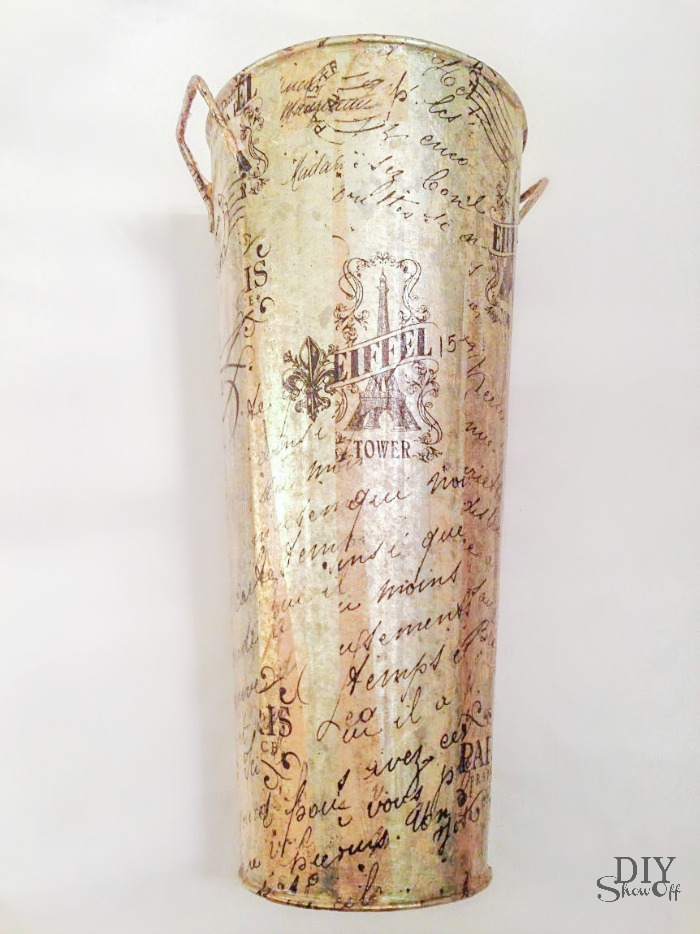
So, what do you think? Not a perfect copy obviously but it gives a similar unique look for much less!
—–

thediyshowoff.blogspot.com
~*~
http://diyclubinc.com/
~*~*~
So…care to share your DIY project? I’d love to see it!
SHOW IT OFF! What did you DIY lately?
If you’d like to link YOUR DIY project post to The DIY Show Off Project Parade:
- You must use the button above and link to this post to share the linky love.
- Include your name or blog name and project title. Add your permalink (not your blog url, but your DIY project post url). Feel free to link a Past Post, just invite your readers in a current post with a quick note.
- Or email your link to thediyshowoff@gmail.com and I will add it for you.
- If you notice your link has disappeared – please add the link back to The DIY Show Off to your post today with a quick note to your readers about the party and try again! I love when everyone participates and readers check out everyone’s links, but I think the return favor of linking back is the nice thing to do so everyone plays fair and enjoys all of the projects and links. Also – this blog party is for DIY projects only. Links not related to DIY will be deleted.
DISCLOSURE: As a member of the DIY Club team, some of my materials used for DIY, design, repurposing, creating and completing my projects are provided by sponsors. The ideas, tutorials and opinions are my very own.
Don’t forget – DIY Show Off Fall Festival on Fridays!
Get autumn inspiration or link up your fall related project! AND if you’re entering a project using Gorilla Glue, you’ll want to check this out: