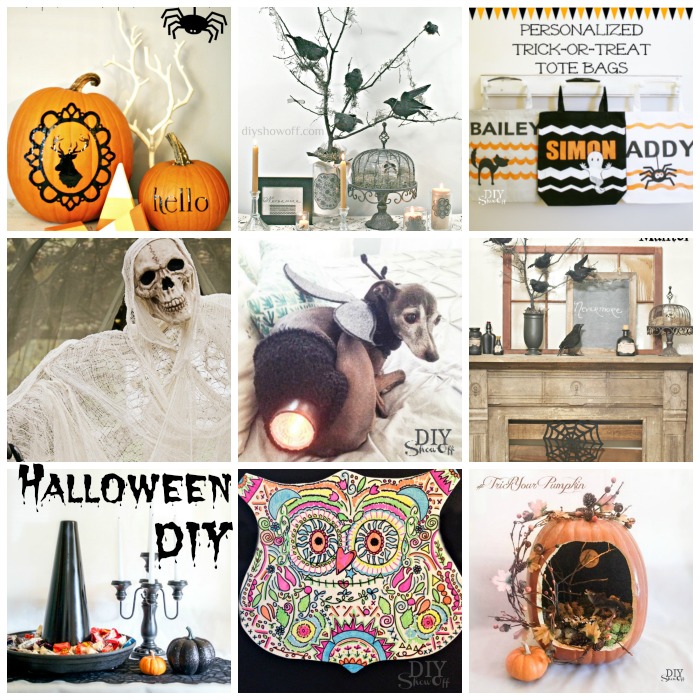
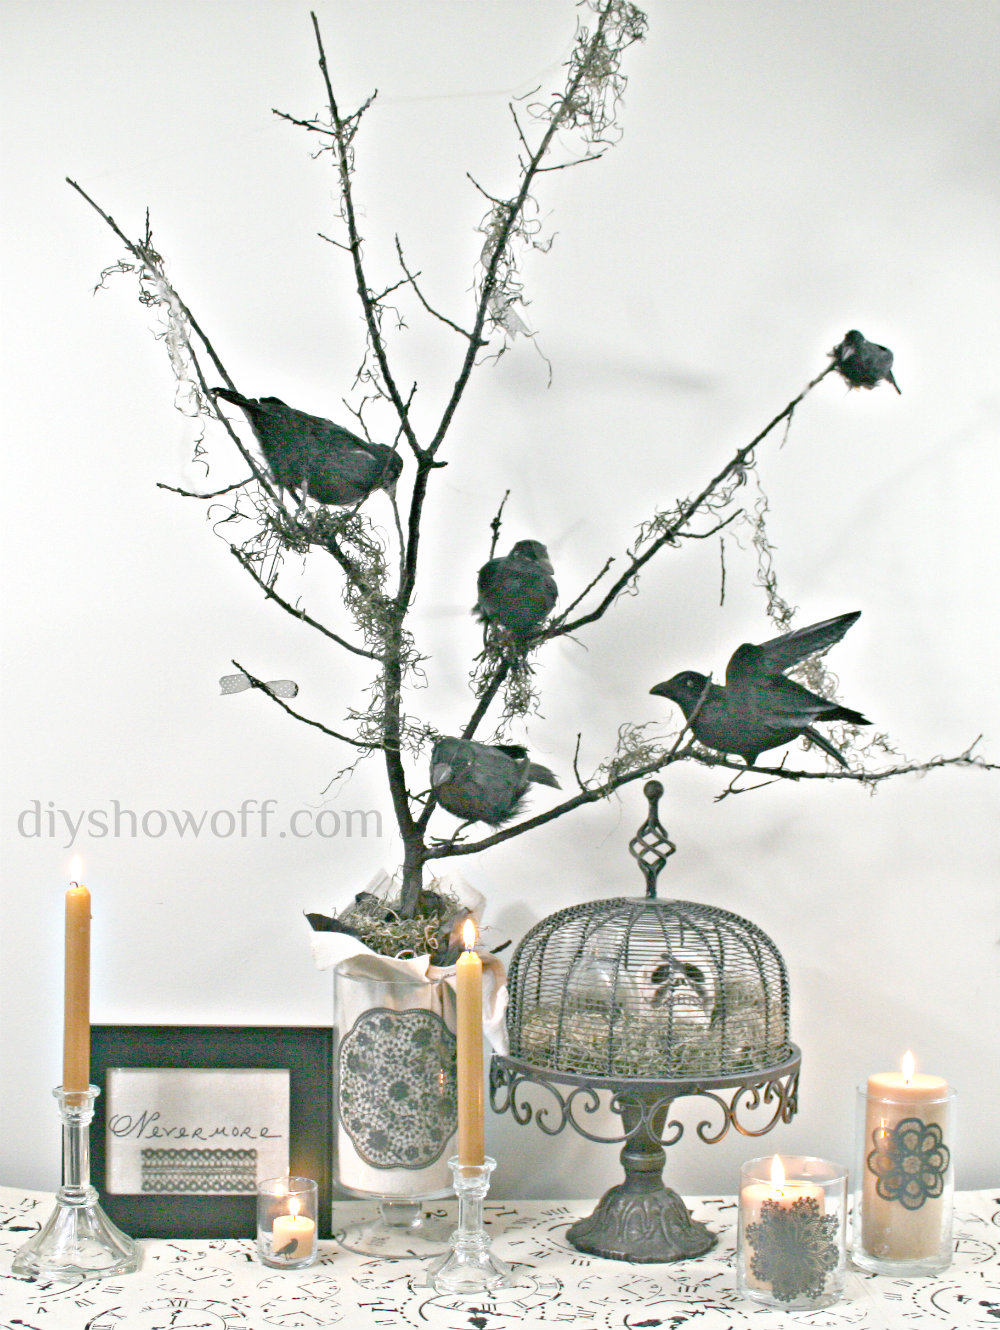
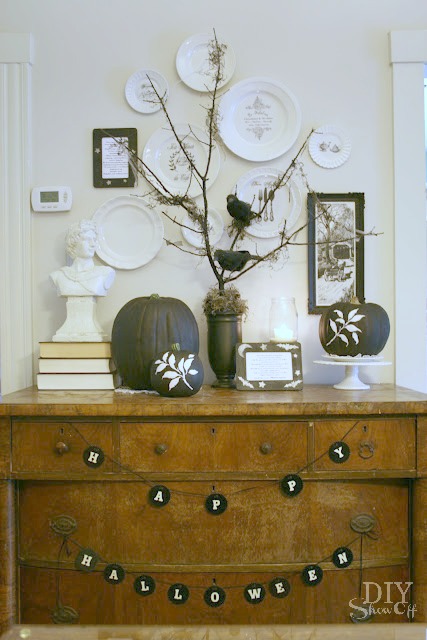
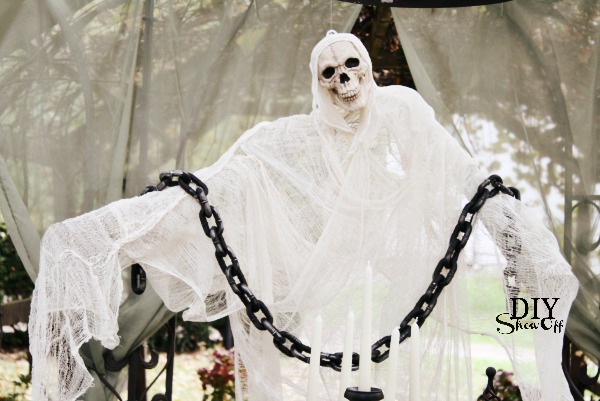
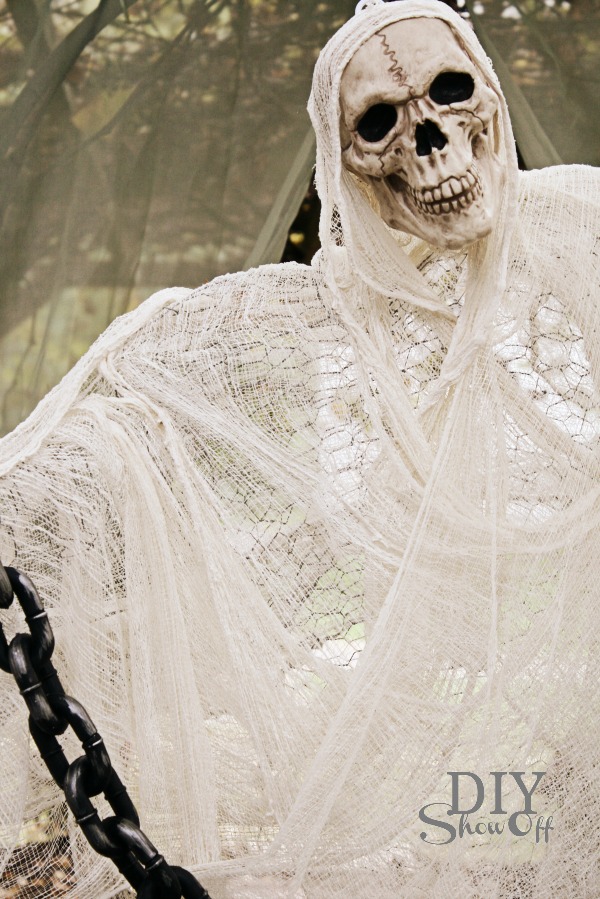
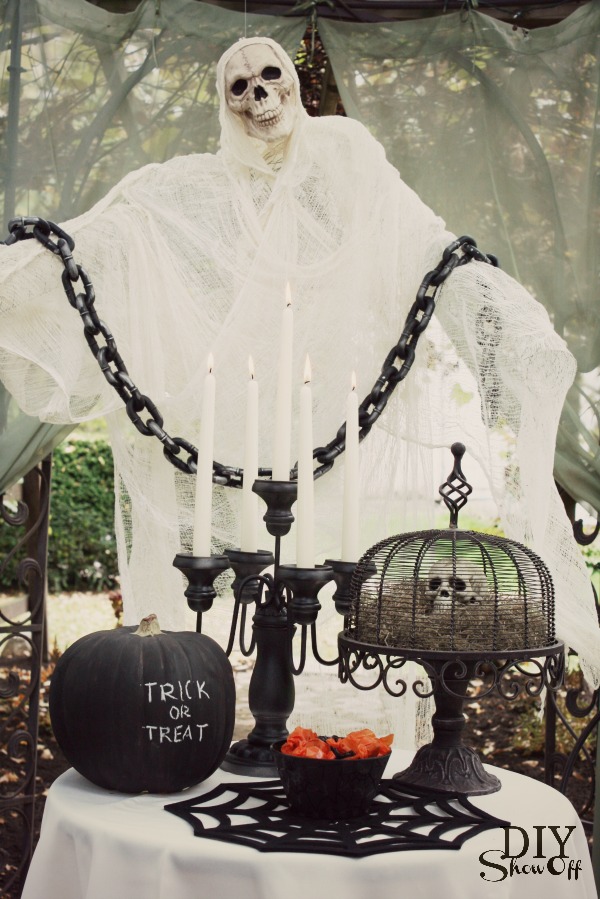
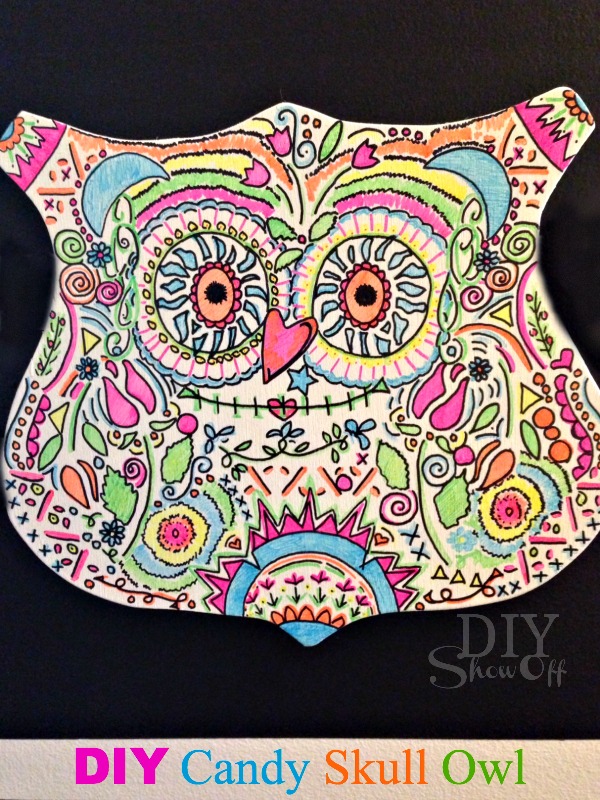
Boo! It’s nearing the end of October and I wanted to share of some of the past DIYShowOff Halloween projects for some inspiration.
Do you have some Halloween DIY to share? Link it up to this week’s That DIY Party!

















Boo! It’s nearing the end of October and I wanted to share of some of the past DIYShowOff Halloween projects for some inspiration.
Do you have some Halloween DIY to share? Link it up to this week’s That DIY Party!
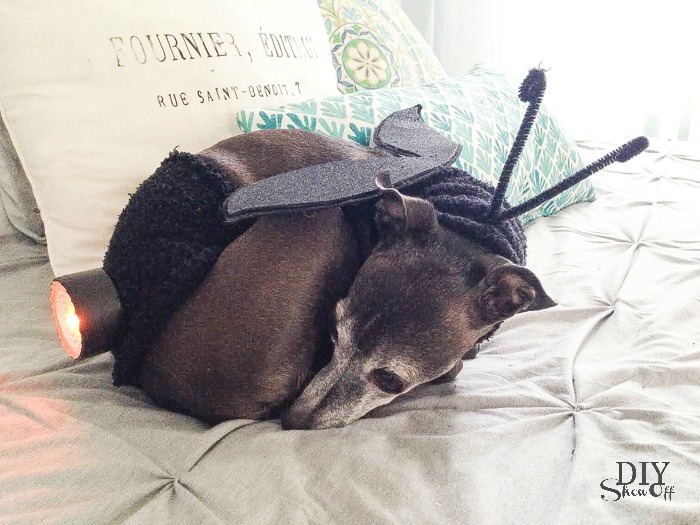
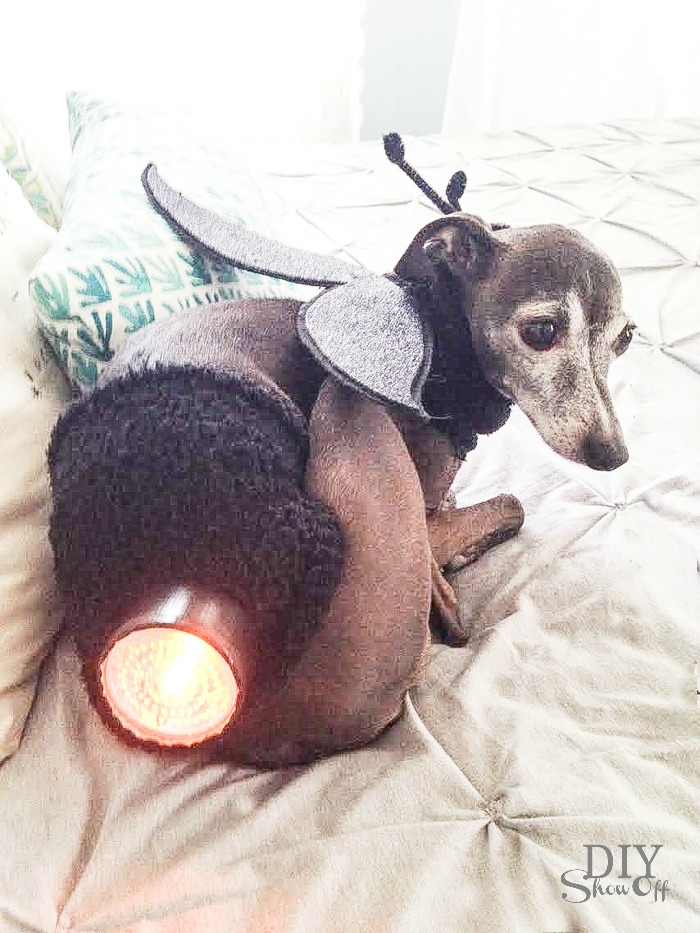
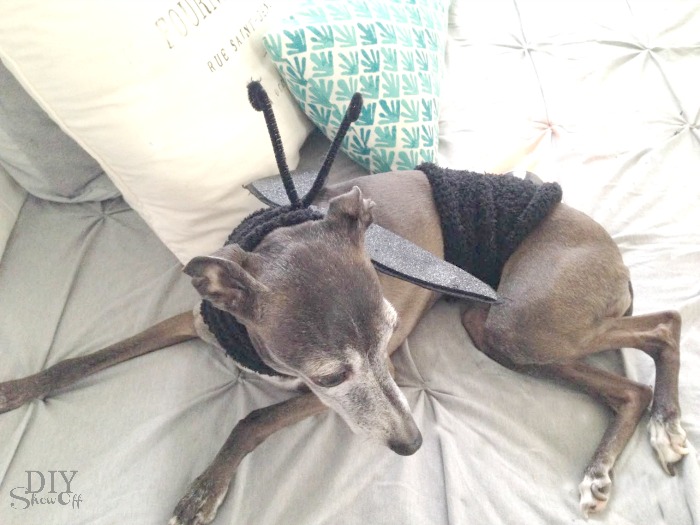
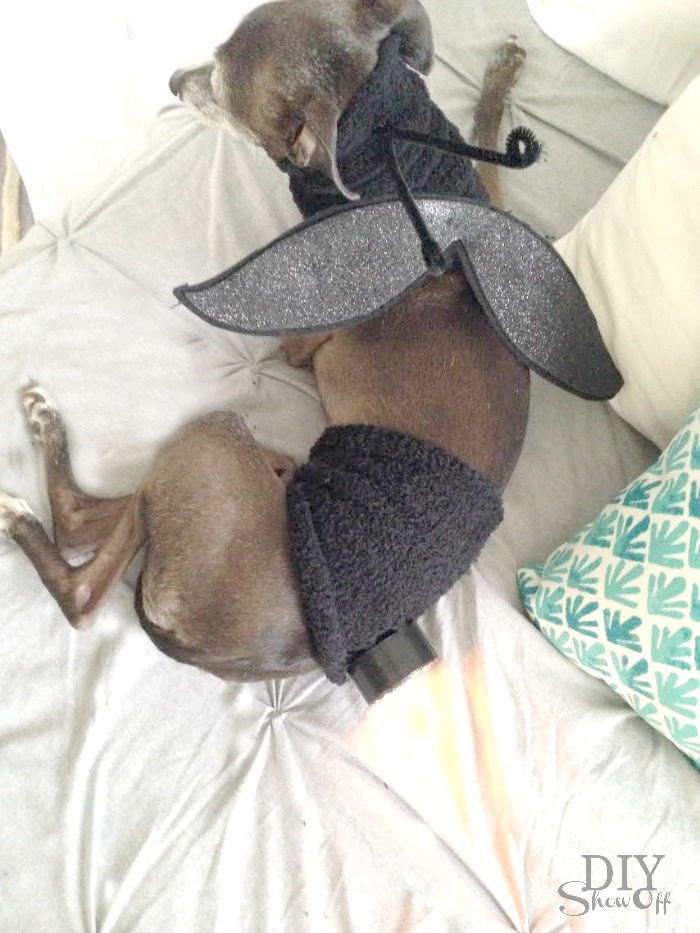
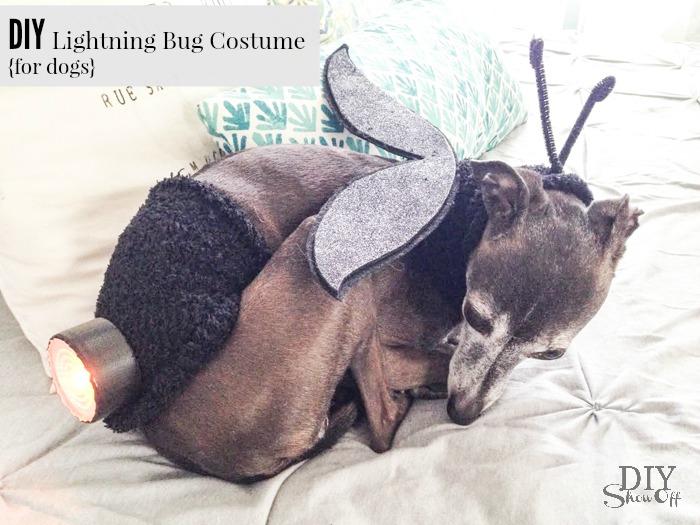
The Michaels’ Makers October challenge is ‘Halloween costume’. How fun! I received a gift card to create a cute lightning bug costume for my love bug, Rosie, our Italian greyhound.
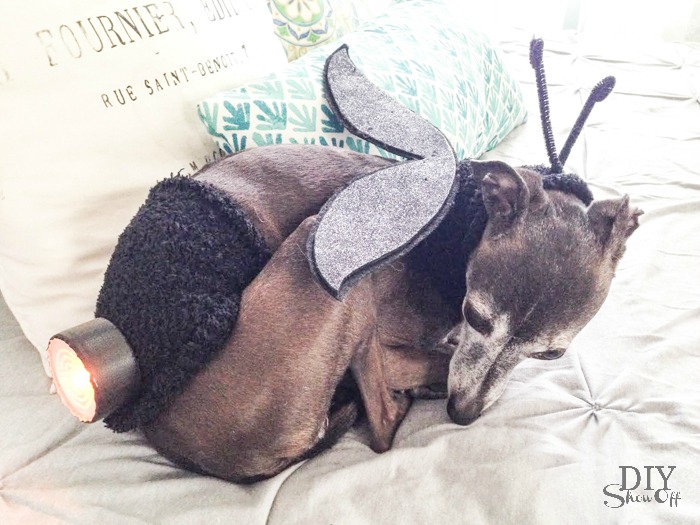
This will only fit small super skinny dogs. Rosie weighs in at 10 lbs. Alter the design to fit your dog’s size – sleeves of an old black t-shirt? Or sewing two stretchy/knit bands that fit your dog snug but comfortably.
Materials I used:
What I did:
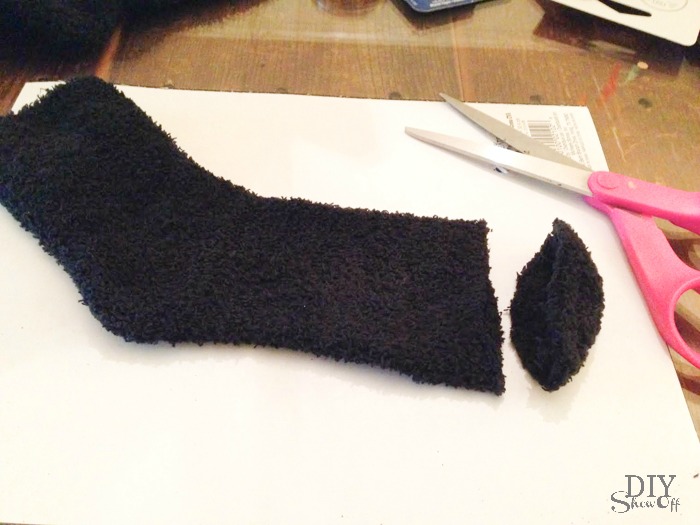
Cut the ends off of each sock.
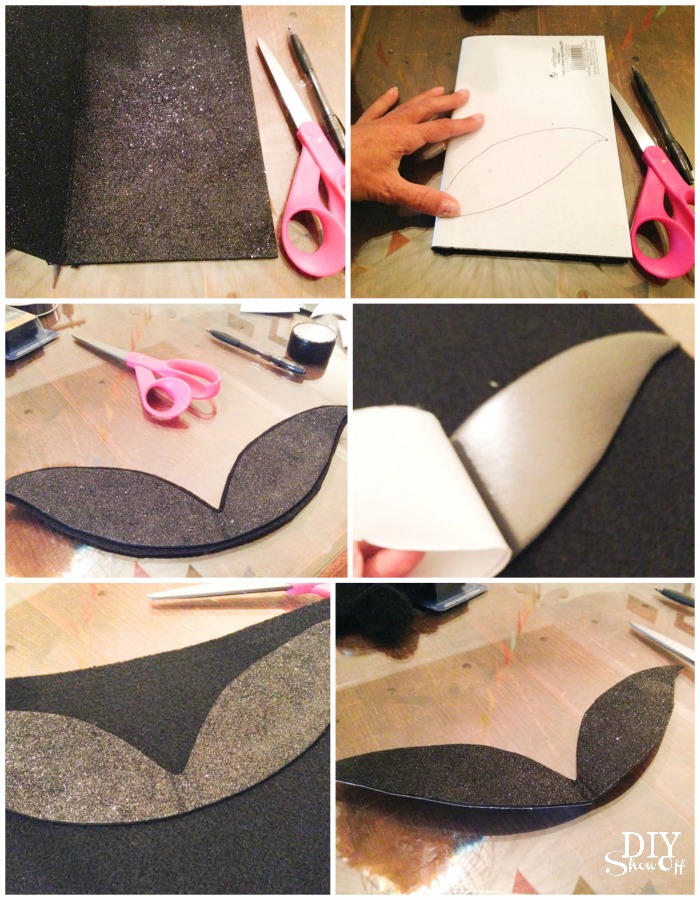
Fold adhesive felt in half and cut out a set of wings. (I drew out a few shapes to practice/choose a shape that I liked best). Remove backing, place onto black felt and cut around the ‘wings’. This gives the wings a little more sturdiness.
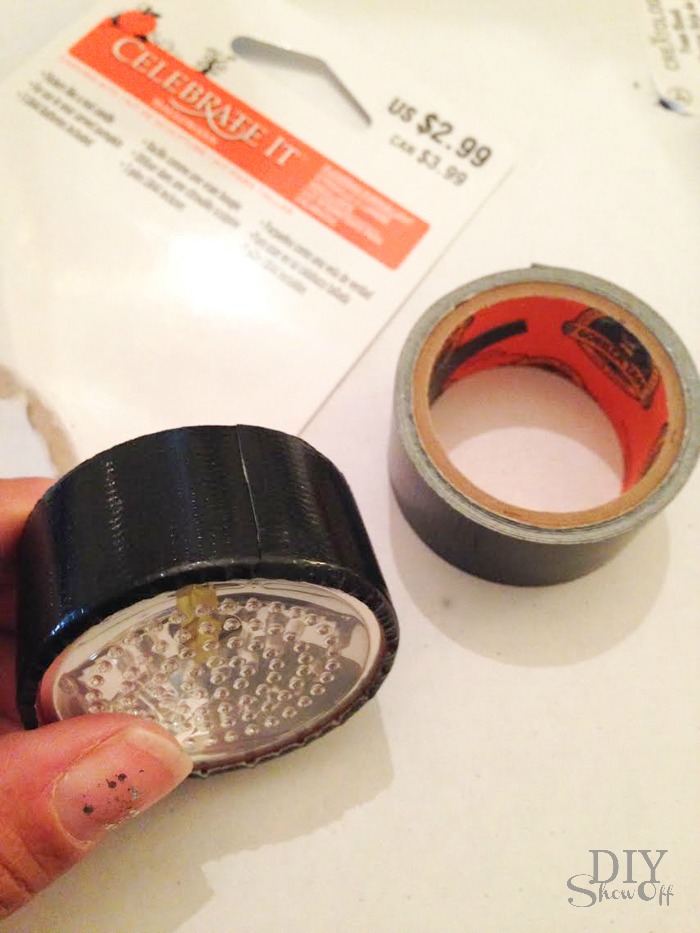
Cover light with black tape.
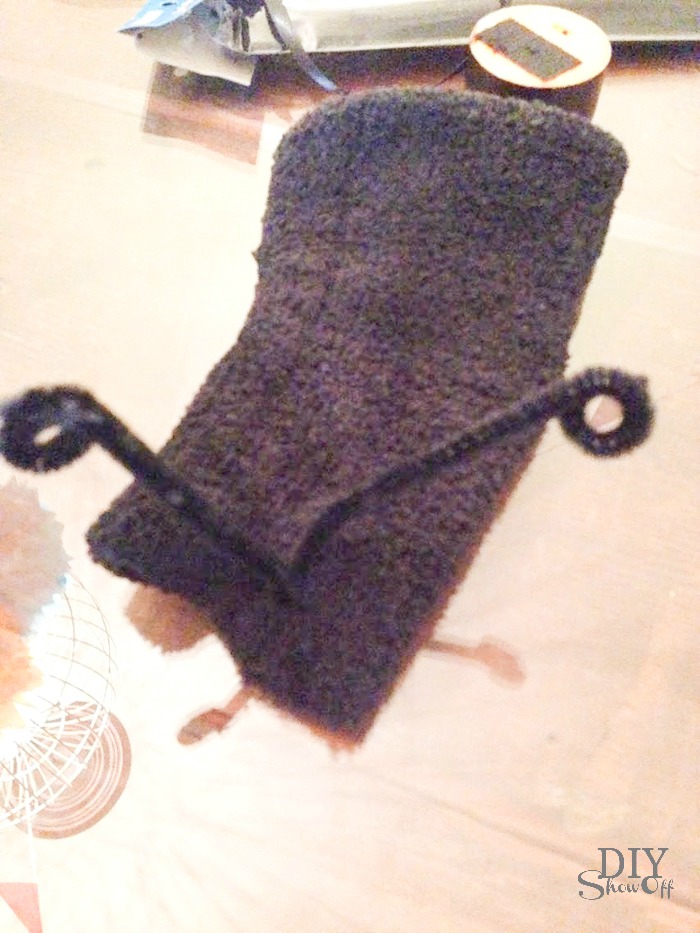
One of the socks will go around the neck. Poke the end of a pipe cleaner into the sock, fold pipe cleaner in half. Twist the base and curl the ends.
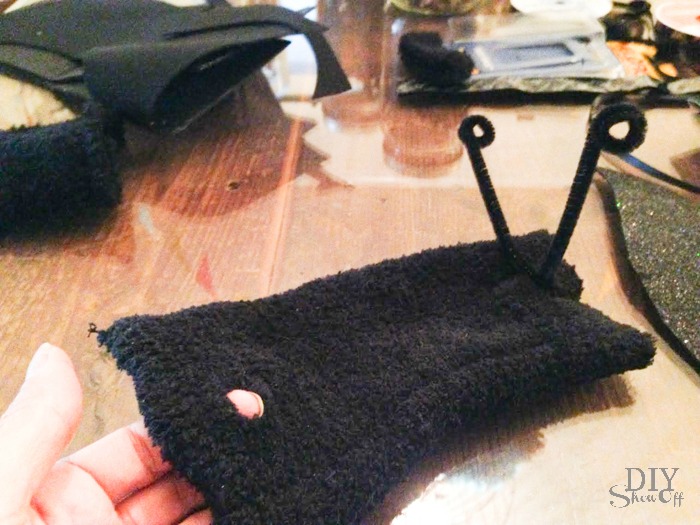
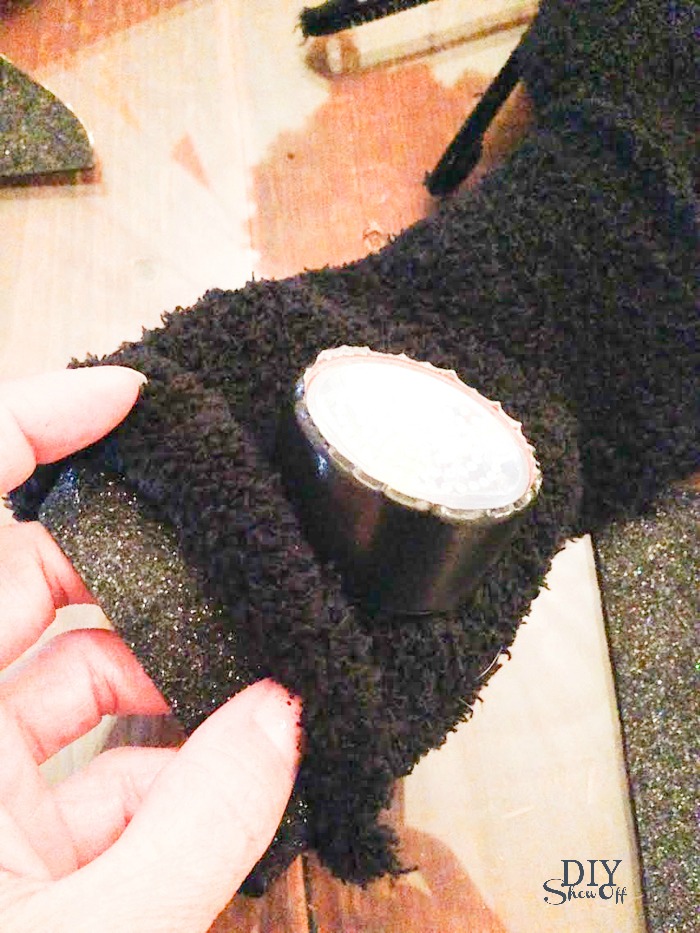
Towards the other end of the length of the sock, cut a small hole using a pair of scissors. That hole will allow a felt patch with velcro to show through for securing the wings.
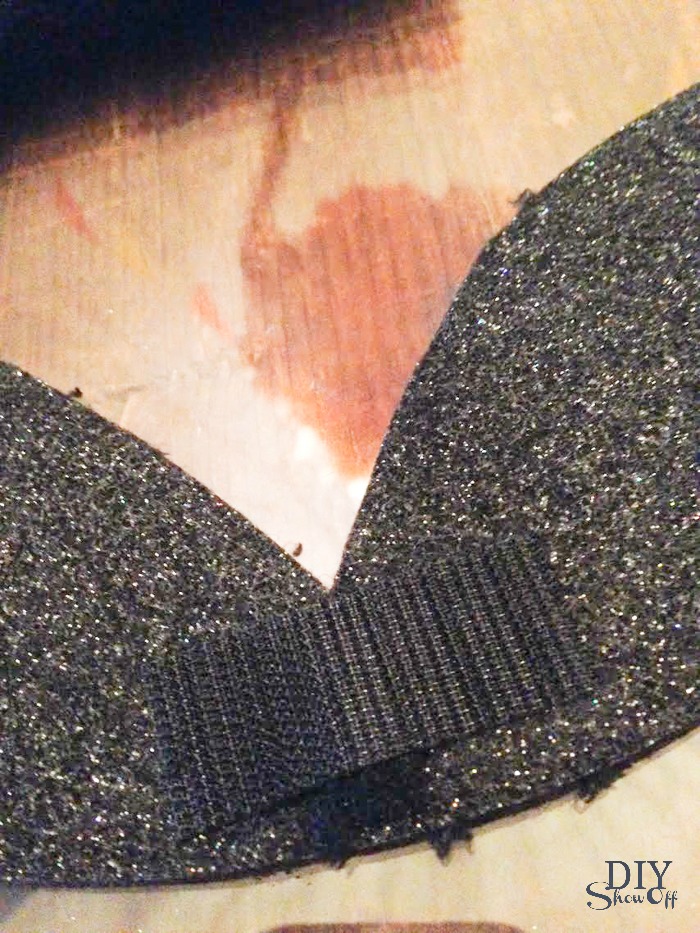
Attach a piece of velcro to the under side of the wings.
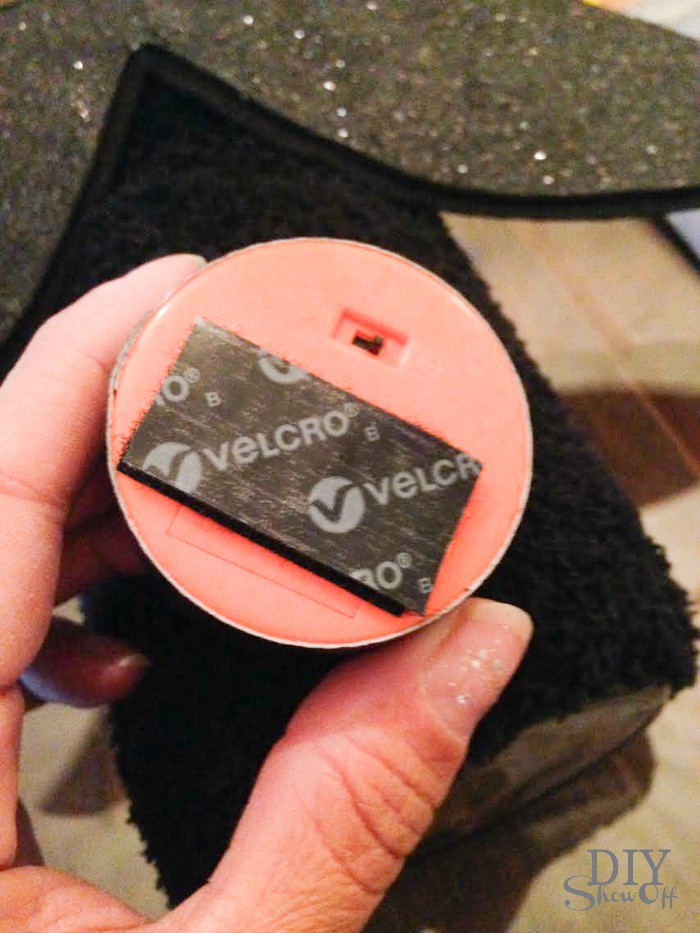
I added a piece of velcro to the back of the light and cut a small hole in one end of the second sock.
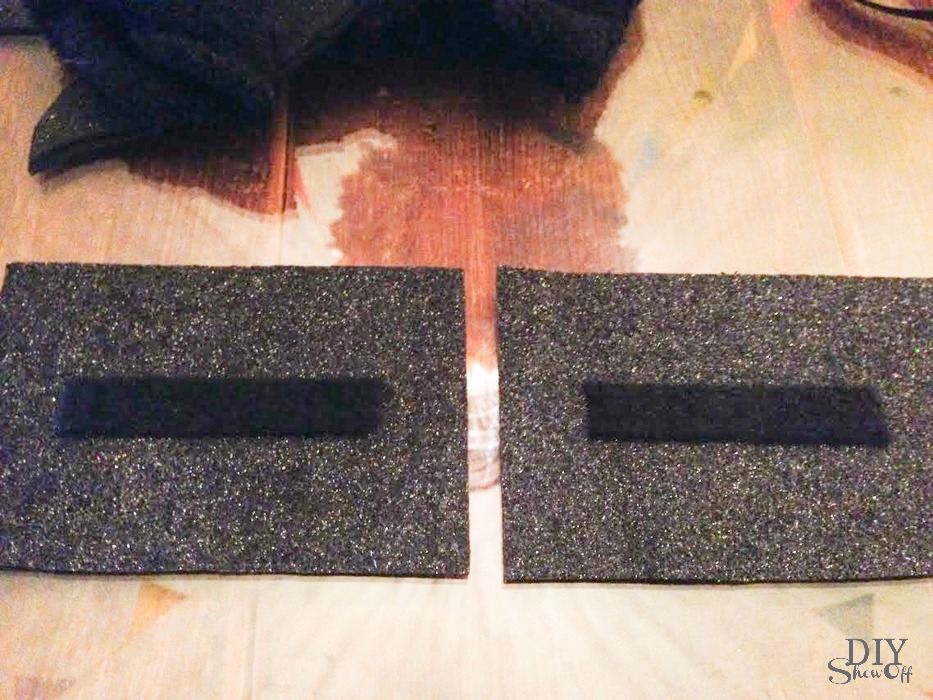
Cut rectangles from remaining felt. Attach a 3″ strip of velcro to each square of felt (velcro opposite of that used on the wings and light).
Dress the dog! One sock around her neck (this fits my dog comfortably). The other sock fits around her waist area, below her rib cage.
Once the socks were on my dog, I tucked the felt square into each sock with the velcro side facing the small holes. Attach wings and light, velcro side down to velcro showing through the small hole.
She’s more interested in being a cuddle bug than being a lightning bug Halloween costume model.
Isn’t she the cutest lightning bug ever?
Do you dress your pets for Halloween? Do they tolerate it? Act a bit embarrassed (like Rosie)? Roll around or proudly show off?
*Note: Please take your own dog’s temperament, personality into consideration and make your pet’s safety your priority.
More Halloween costume inspiration:
<!– end InLinkz script —>
As a member of the Michaels’ Makers team, I receive a gift card to complete and share fun craft challenges.
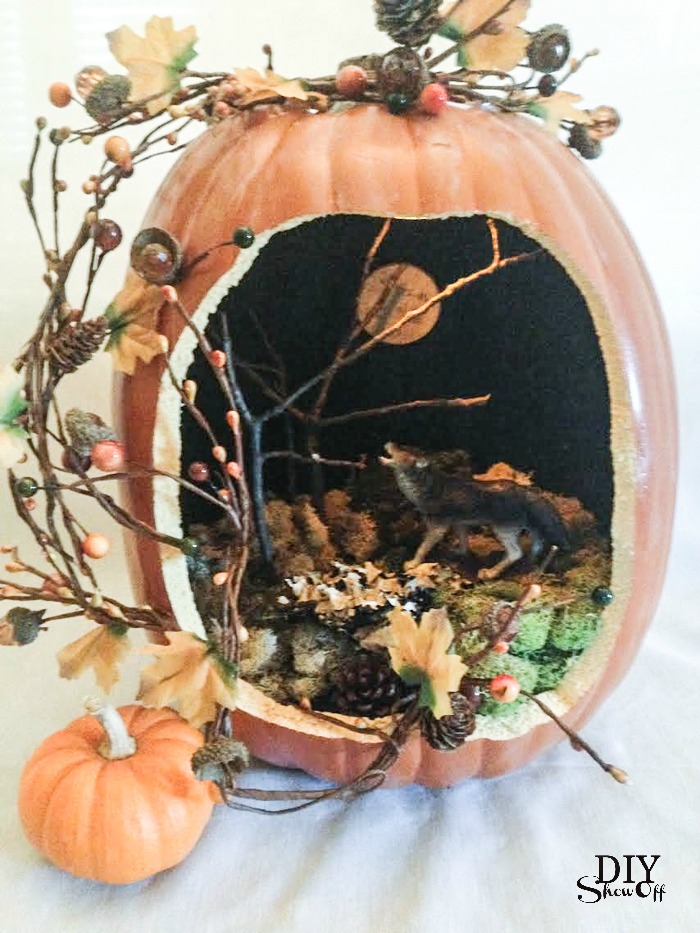
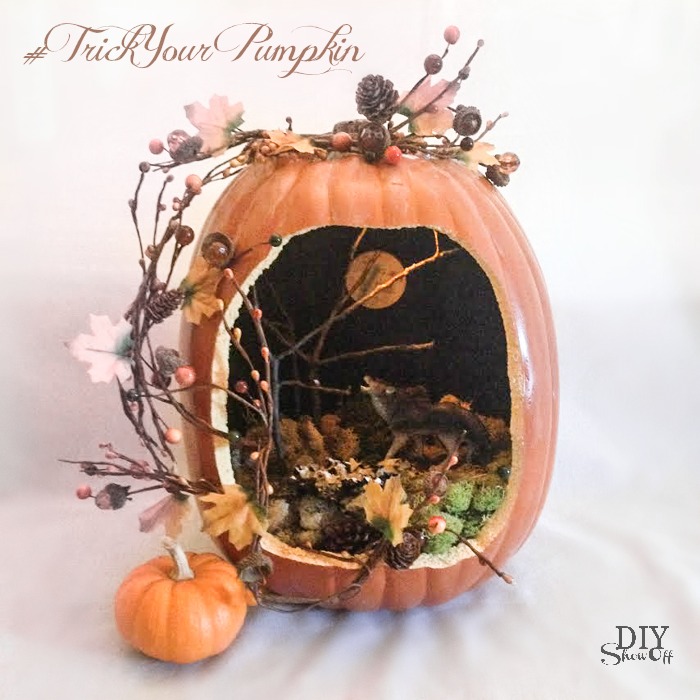
Inspired by a picture of a pumpkin diorama from Country Living that I stumbled across on the Michaels’ Halloween Pinterest Board, I couldn’t resist making up a scenic jack-o-lantern of my own. *This post contains affiliate links.
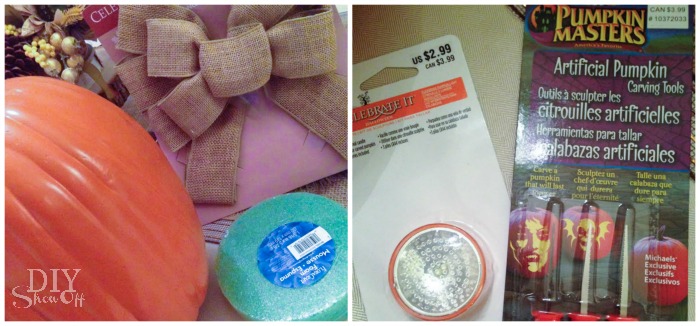
Materials I used (all purchased at Michaels Craft Stores with the exception of stick trees and rocks):
What I did:
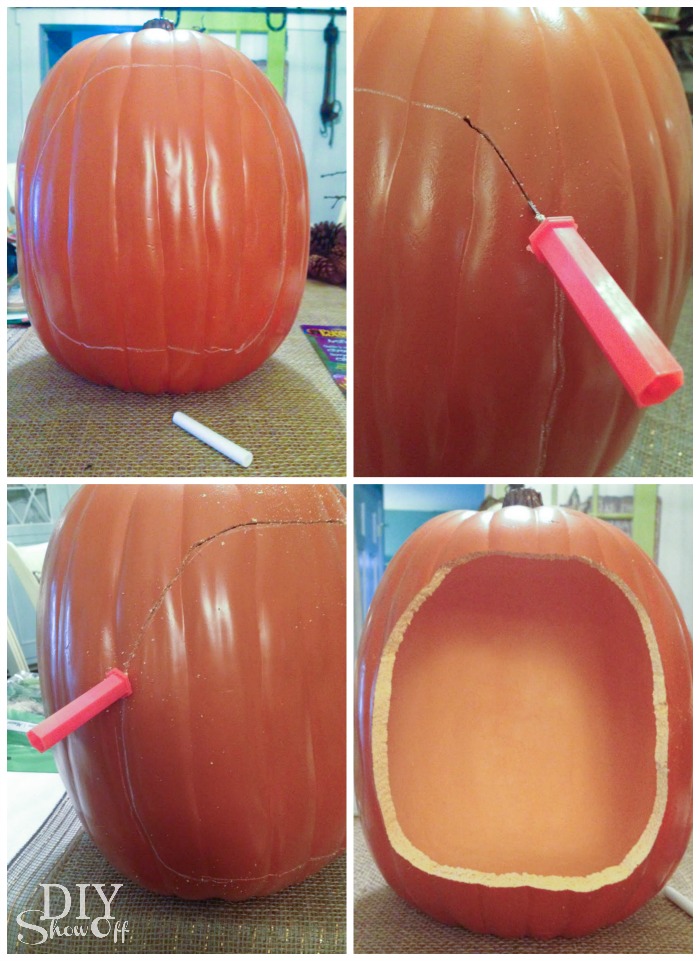
Using chalk, I drew a circular shape onto the front of my faux pumpkin, then cut out the shape using small carving tools. Then I cleaned the dust and pieces out of the pumpkin.
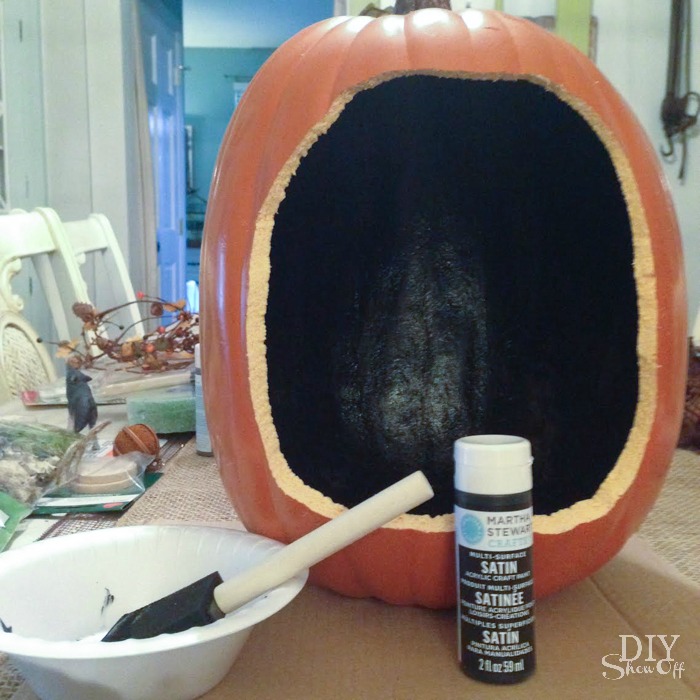
Using a foam paint brush, I painted the inside of my pumpkin black. I brushed on the dark glitter coat over top and let paint dry.
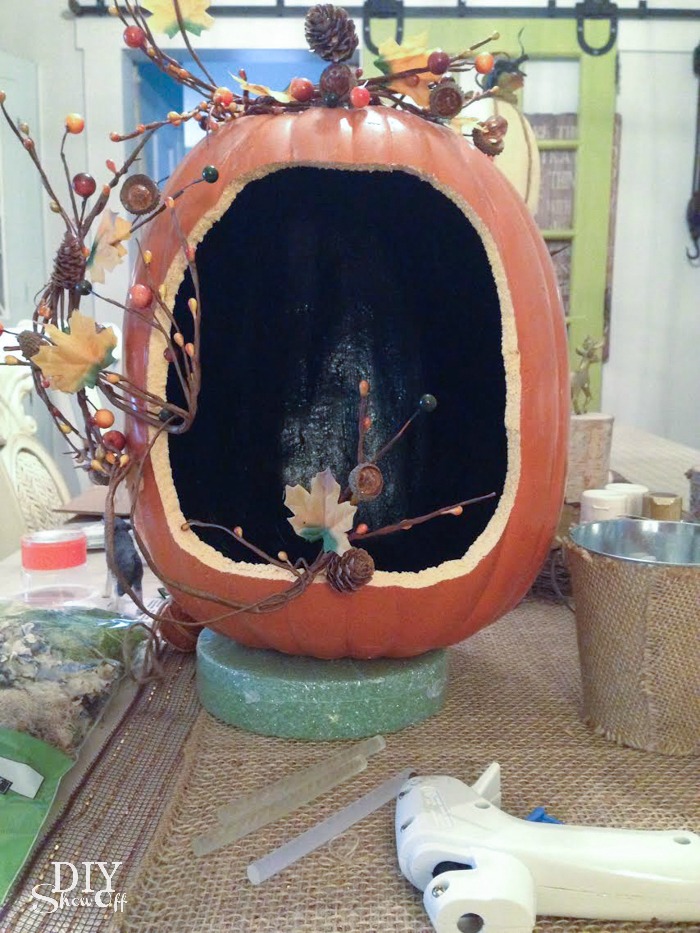
While the paint was drying inside, I attached a decorative fall garland with mini leaves and acorns to the outside using hot glue.
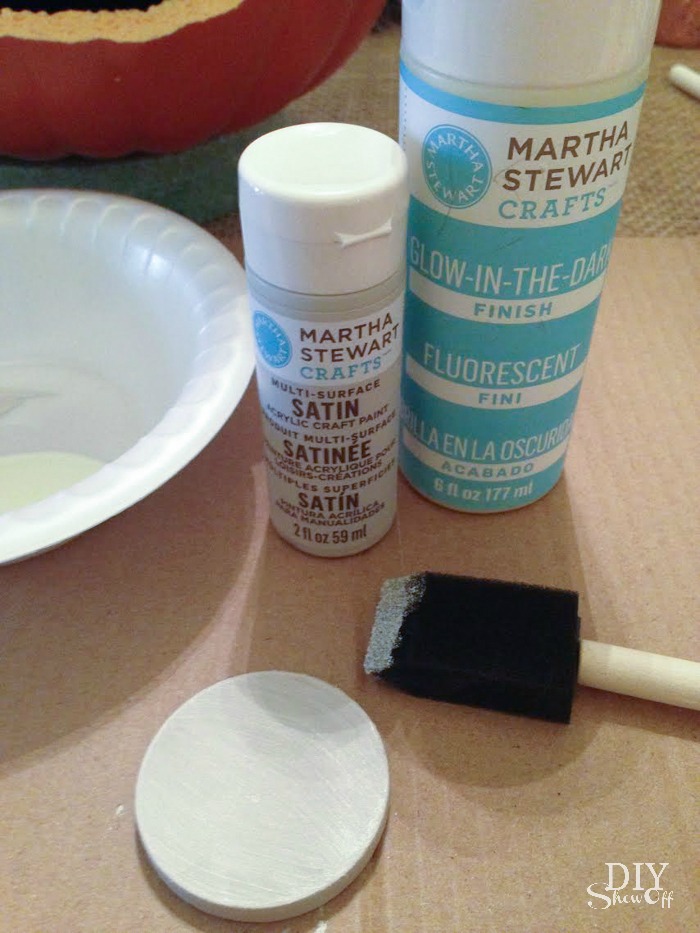
I painted the wooden disk white, followed by a coat of glow in the dark with a few ‘pounces’ of the dark glitter paint using my foam paint brush (not shown). Let dry.
I inserted the styrofoam disk into the bottom of the pumpkin. I left the plastic wrap on the styrofoam disk. Optional: I used some mini-pinecones to fill in the gaps along the sides.
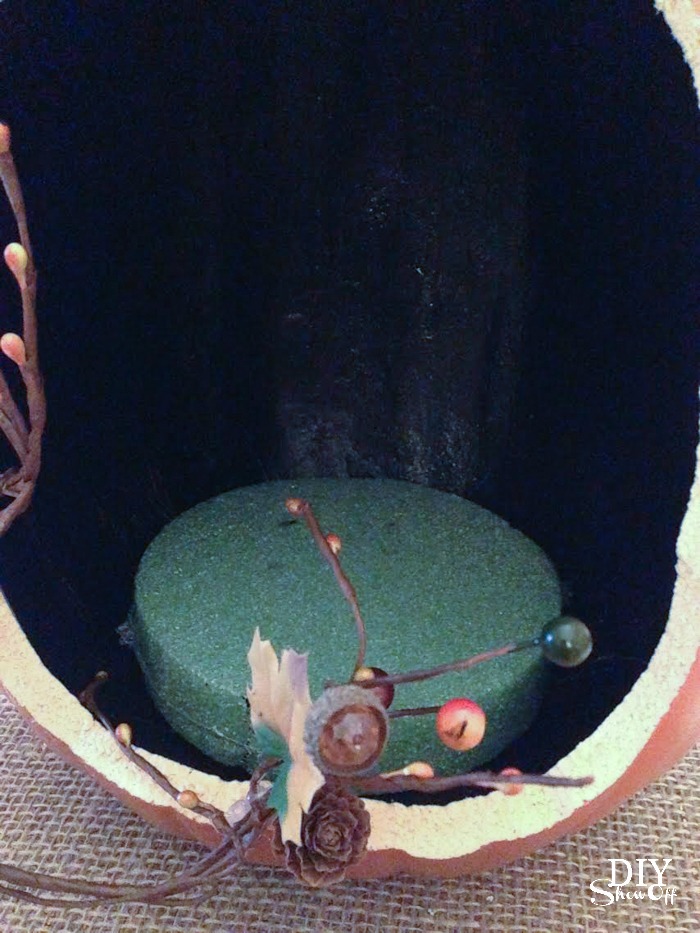
Then I topped it off with moss.
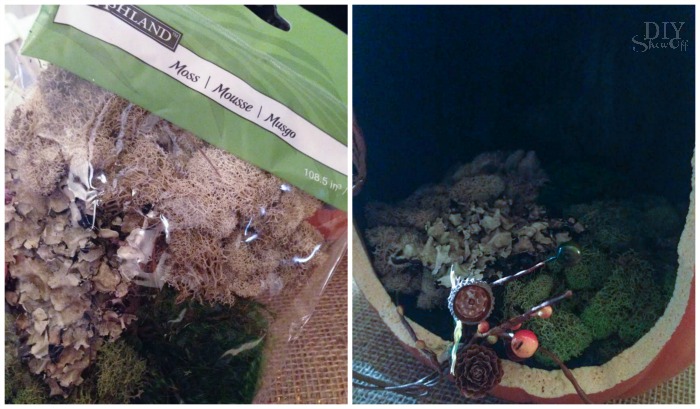
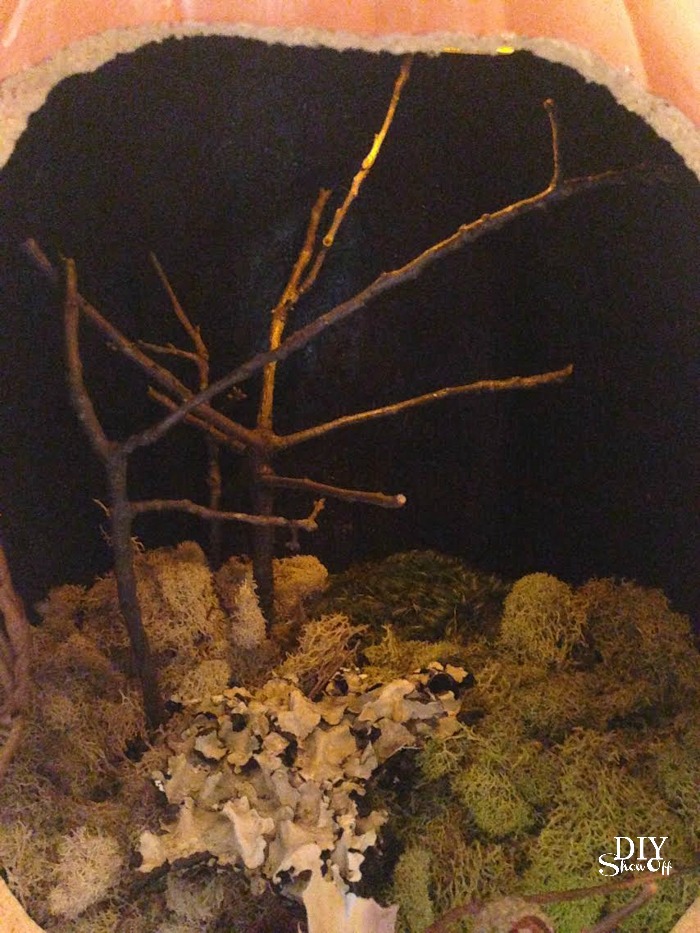
I carefully poked sticks (I found some in the yard that had sort of a ‘tree’ look) through the moss/styrofoam to create “trees”.
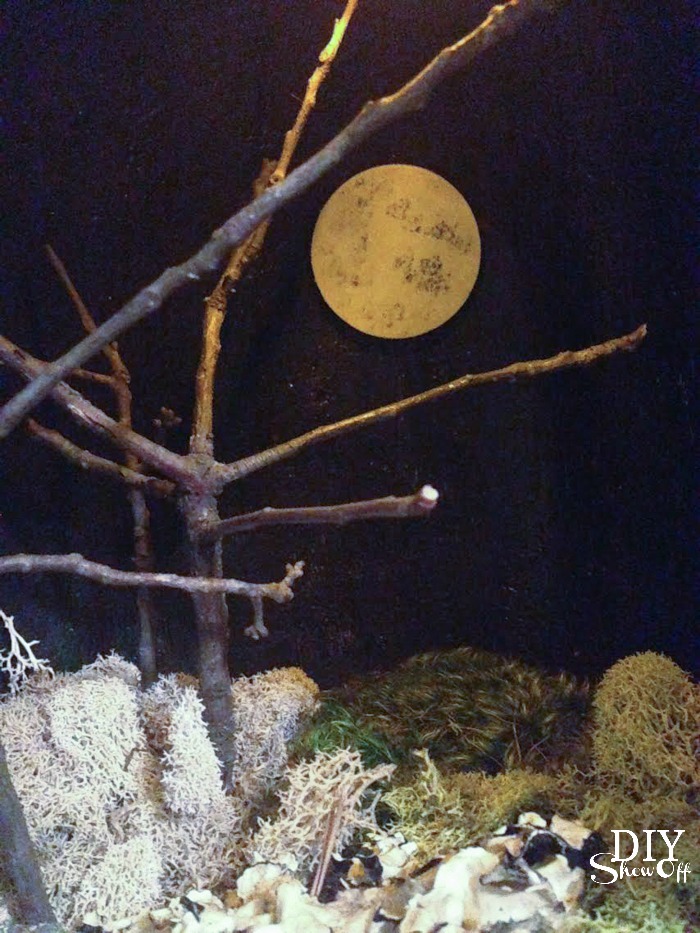
I then secured full moon to the back using hot glue. You could do this before adding the trees. I waited so I could decide the placement behind the trees.
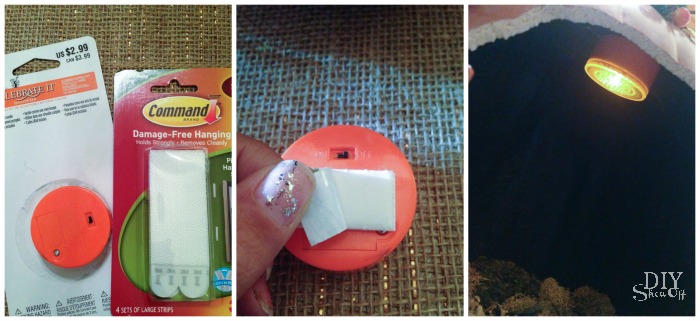
I added a piece of adhesive velcro to the back of the small battery operated light (don’t cover the on/off switch). It’s adhered to the “roof” of the pumpkin. The velcro attachment allows me to remove the light to turn if off and on.
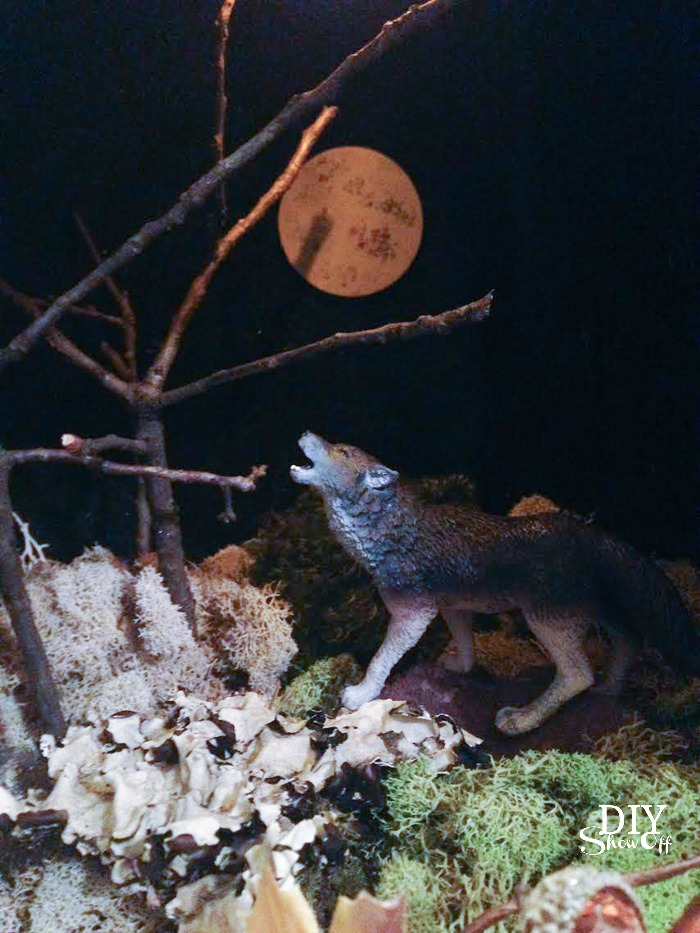
I finished it off by adding rocks and a wolf.
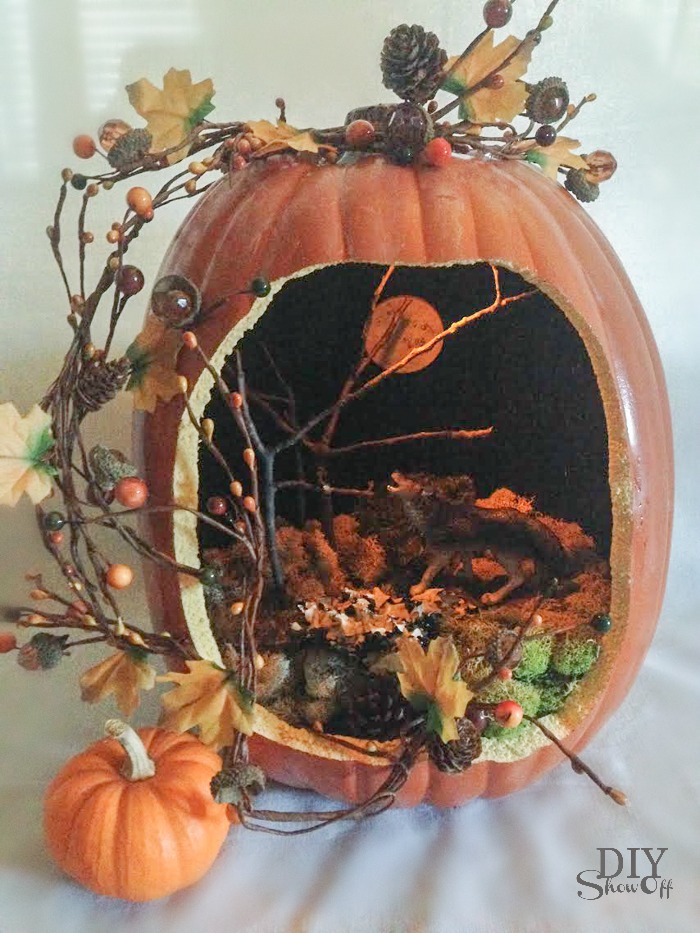
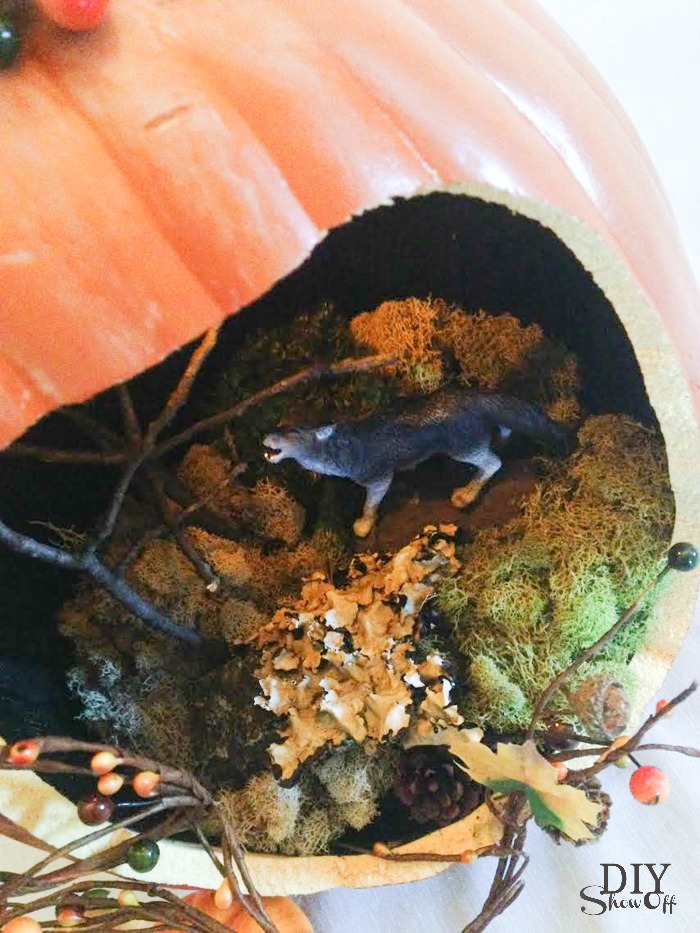
Display! Isn’t it fun? I’m going to raffle this one off at a local event but may just have to make one for myself too…maybe with a different scene: mini hale bales and a scarecrow or a ‘nevermore’ theme with ravens or a graveyard scene with tombstones. What about you?
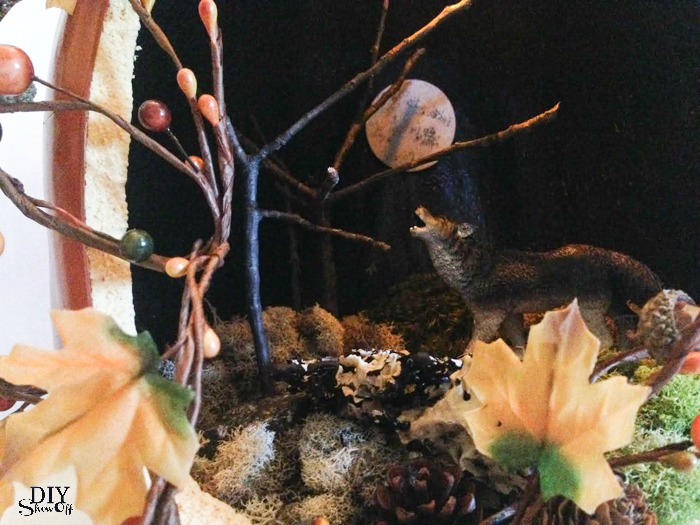
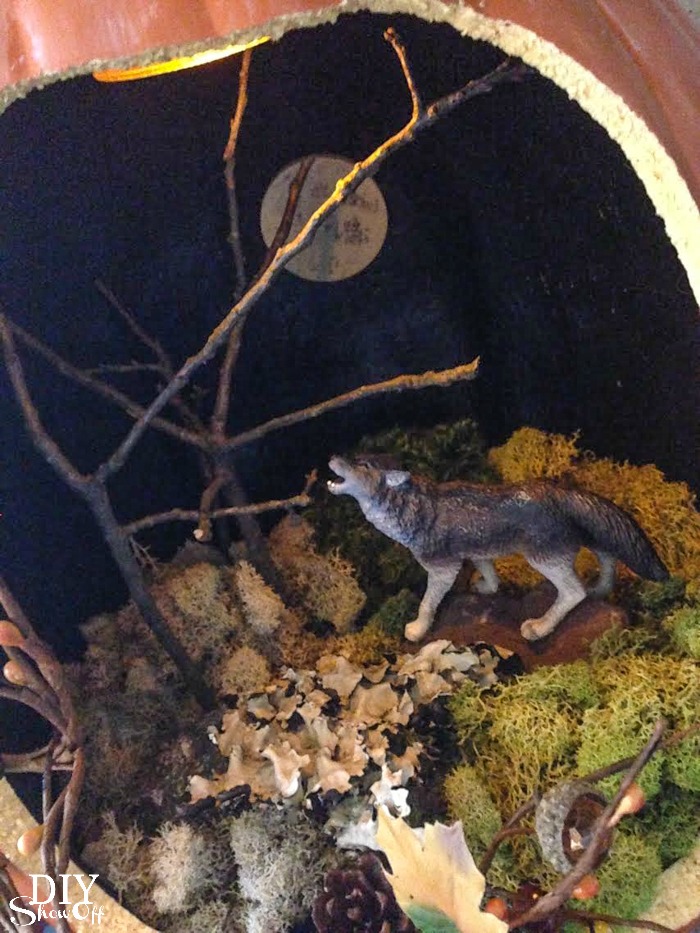
#TrickYourPumpkin Sweepstakes
The Michaels social team is working on a #TrickYourPumpkin sweepstakes. Crafters just submit their pumpkin creations via Instagram any time between Oct. 4th through 31th, 2014 for a chance to win a $250 Michaels gift card and Plaid products each Friday throughout the month of October! What would you do with a $250 Michaels’ shopping spree?
Michaels would love to see your pumpkin creation! Post your pumpkin project on Instagram (using #TrickYourPumpkin #sweepstakes and tagging @MichaelsStores). Simple! Good luck!
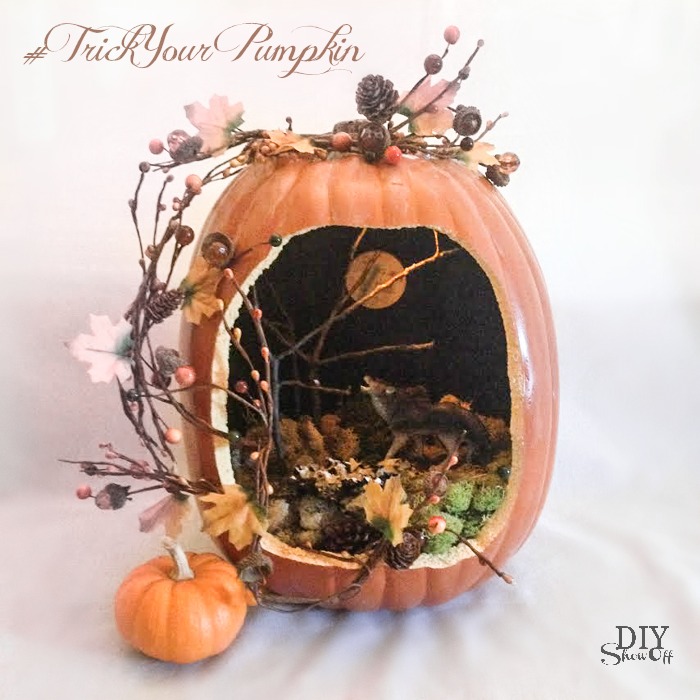
*I received a Michael’s gift card to complete this project.
Ready to show off your do-it-yourself projects? It’s That DIY Party time! Oh my! I was so caught up in co-hosting a baby shower today that I didn’t even notice that the regularly scheduled link party didn’t publish on time! Let’s get this party started!
DIYShowOff weekly recap:
DIY Halloween Witch Hat Project
Attention, friends! Did you know that Young Living has grown 180% in the past year? Experience for yourself why that is. Read my story here. I was getting so desperate for something, anything. All it took was ‘trying’. And to learn that something natural, something so simple actually works…I’m shocked, stunned, thrilled and so relieved each and every time. Why hadn’t I heard of essential oils before? I wish I had known sooner. I want to make sure you are aware! Reach out with questions and I’ll pass along some info. (roeshel at gmail dot com).

Stay tuned! What I’ve been working on: getting a guest room/nursery ready for my first grandchild. It’s almost time for his arrival! TODAY I’m co-hosting a baby shower. Cute woodland themed baby shower details coming soon! And a fun faux jack-o-lantern project and Michaels #TrickYourPumpkin sweepstakes details.
Party time!
1. Please use the button above or text and link to this post to share the linky love. Here is the link: https://diyshowoff.com/category/other/that-diy-party/.
2. This blog linky party is for YOUR DIY projects only. Links not related to DIY will be deleted. Please share your link one week only. Please do not link recipes, giveaways, linky parties, promotions or a collection of inspiration that isn’t your own DIY project. PLEASE DO NOT LINK TO YOUR ETSY SHOP.
3. By joining the party, you give permission for your project to be featured and ‘shown off’ via blog highlight, Twitter, Facebook, Pinterest, G+.
4. If you’re here to share your DIY and link up or just browse the links for DIY inspiration, please consider visiting one of the links above to too! Thank you so much for your support!
5. If you’re viewing in mobile, you’ll need to click over to “desktop view” to see the links.
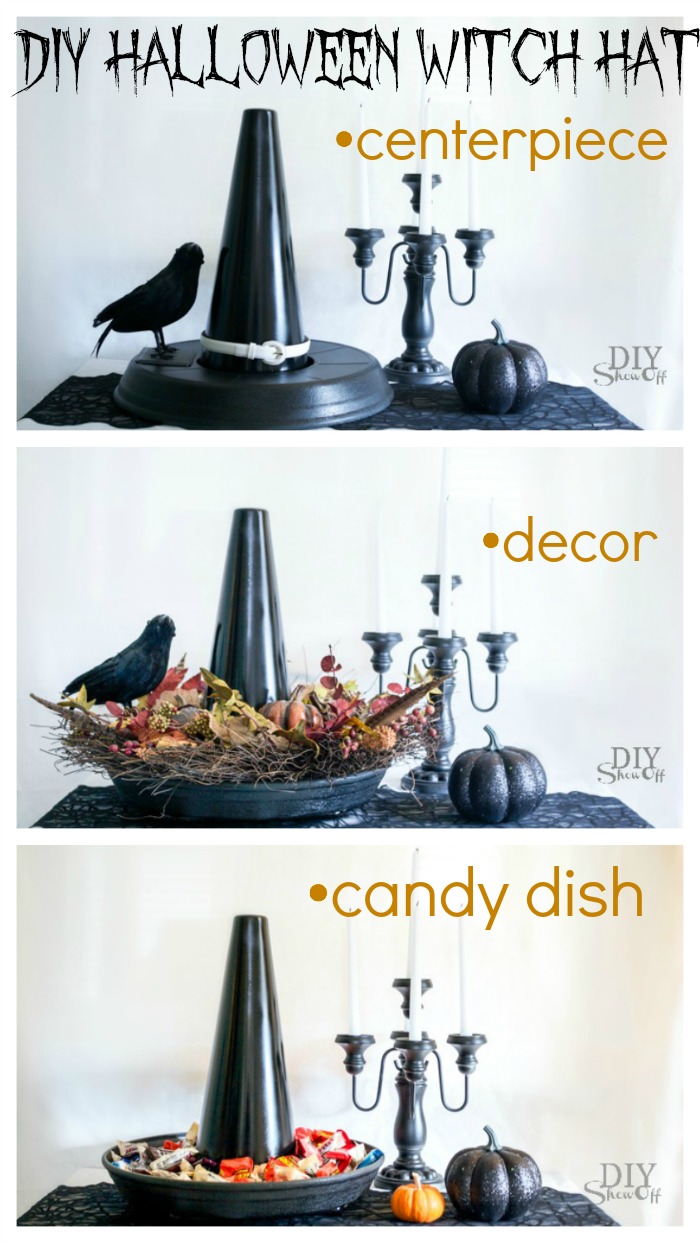
This easy DIY Halloween project for the Lowe’s Creative Ideas October challenge has a few uses so I wasn’t sure what to call it. It’s … versatile.
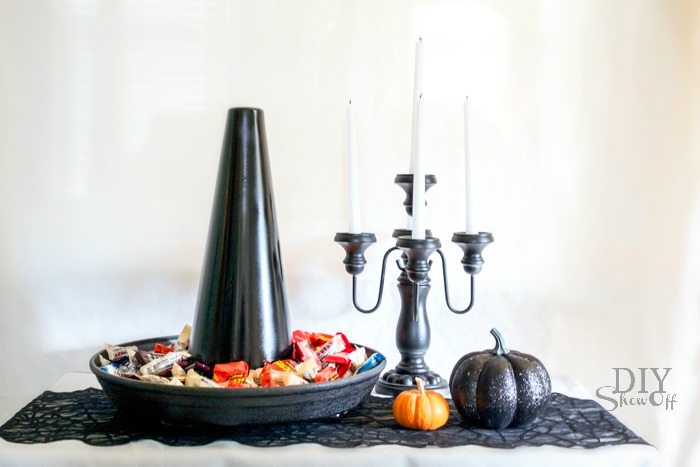
Witch Hat Halloween Candy Dish…
or add chips/pretzels to use as a Halloween serving tray.
or add festive cupcakes for Halloween party display.
or add succulents, small fall flowers/plants to create a Halloween planter.
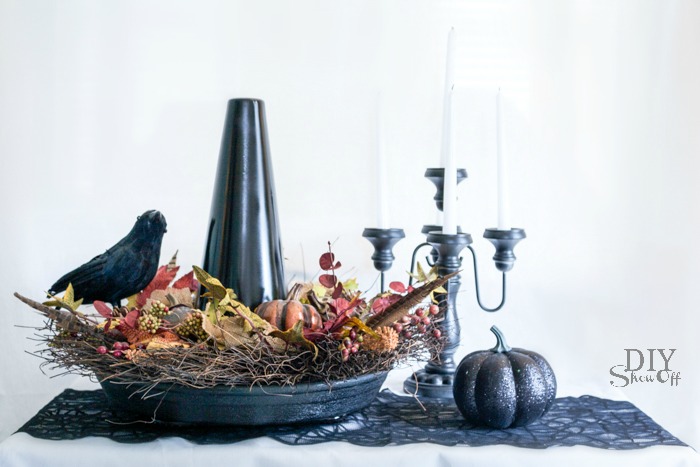
or a floral arrangement (just pop on a fall wreath) for Halloween decor.
or simply flip the bottom to use as a Halloween Centerpiece…
Materials:
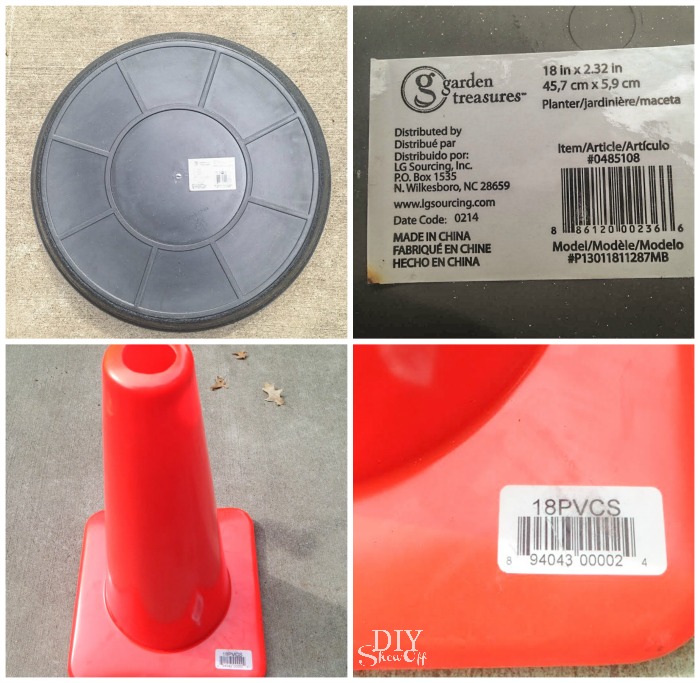
EASY tutorial:
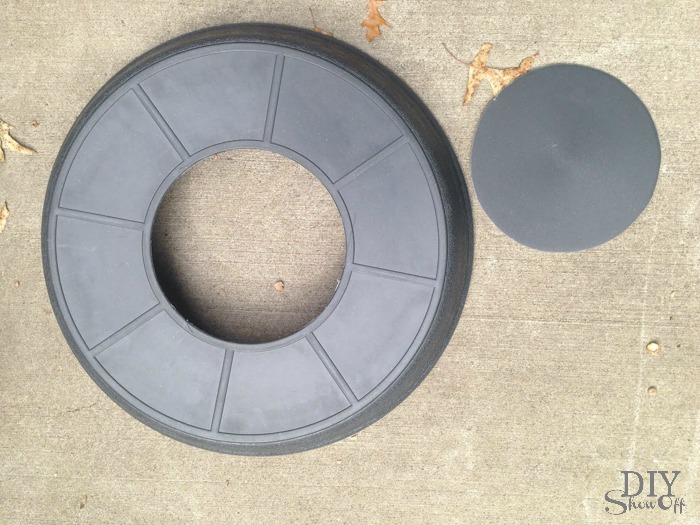
1. Using a kitchen knife, we cut out a hole using the inner circle shown on the bottom of the large plastic plant saucer as guide.
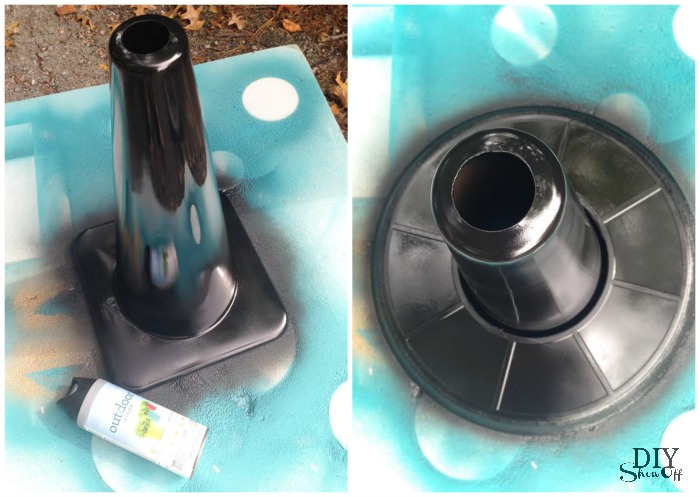
2. Spray paint cone and saucer black. I did two coats on the cone, one coat on the already black plant saucer. Let dry.
That’s it!
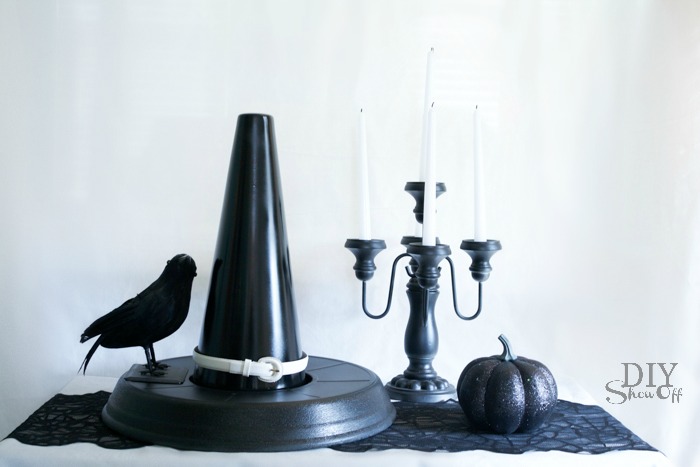
Carefully slide onto the cone. Right side up creates a ‘dish’.
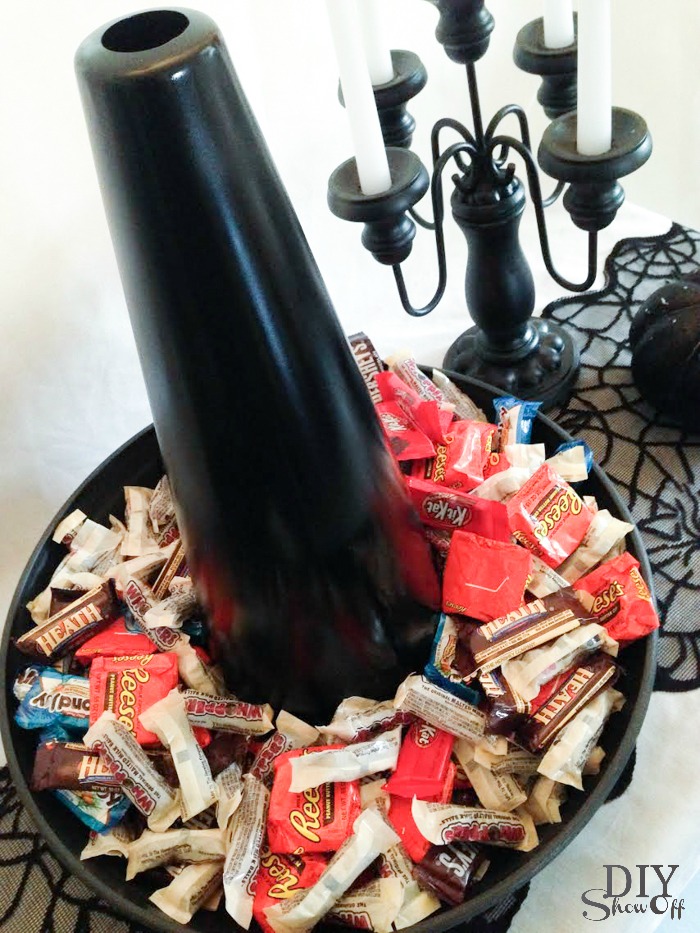
Upside down creates a ‘ledge’. Add an old belt for a decorative touch.
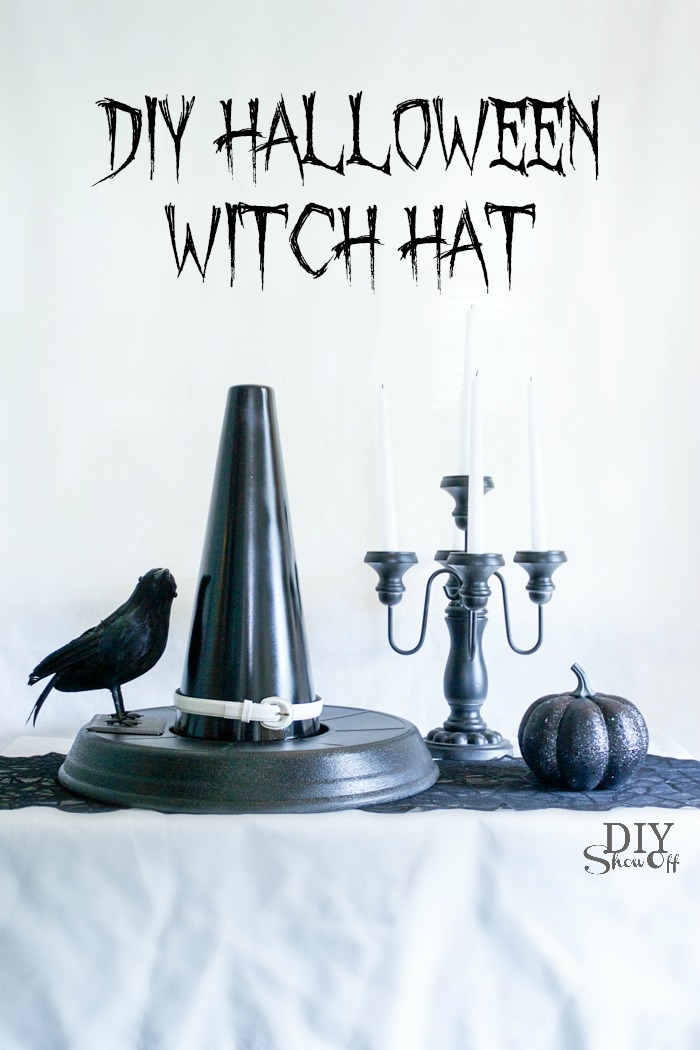
More ideas: attach faux fall flowers, leaves, spiders, etc. to create a Halloween centerpiece. Hide a vase filled with water under the cone and fill with tall flowers. Add succulents and display outside. Get creative!

I received a Lowe’s gift card to put towards this challenge. Opinion and above idea is 100% my own. More DIY ideas at Lowe’s Creative Ideas or follow Lowe’s on Instagram, Pinterest and sign up for the Creative Ideas magazine and app.