Project Diary Entry #6: Bathroom Flooring

Featured

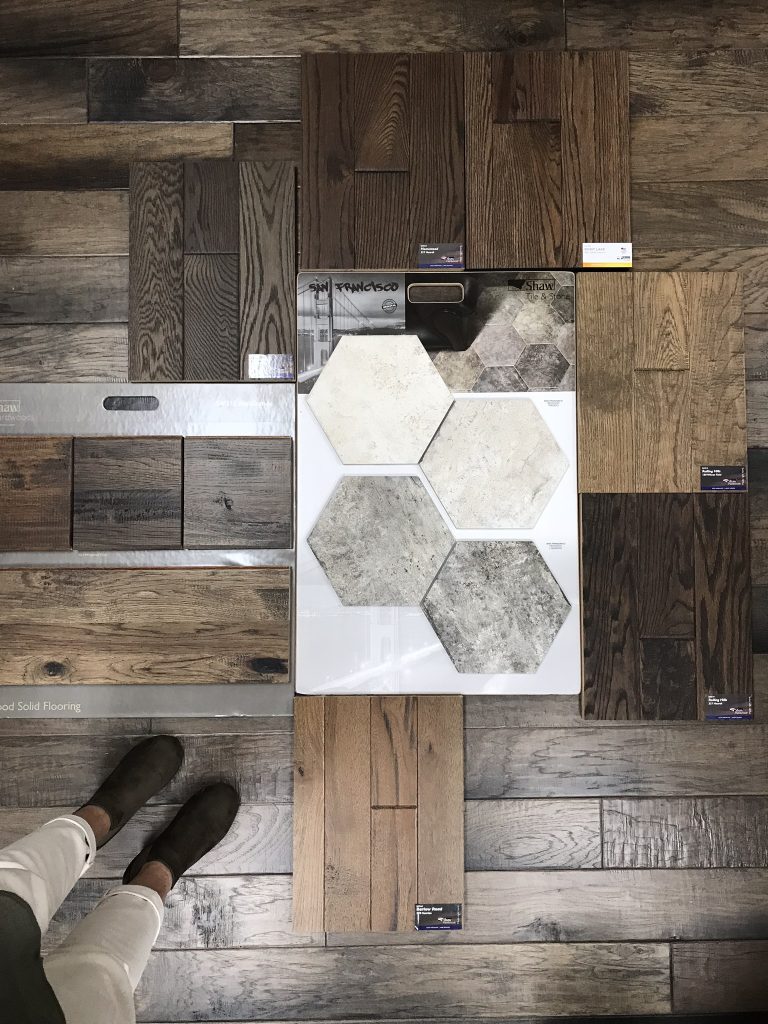
It feels as if it’s been a while since I shared an update on the studio renovation. Most recent progress is the beautiful tile floors have been installed in the upstairs bathroom. As a member of the Shaw StyleBoard, I had the opportunity to choose some flooring for the studio.

My Choice: 

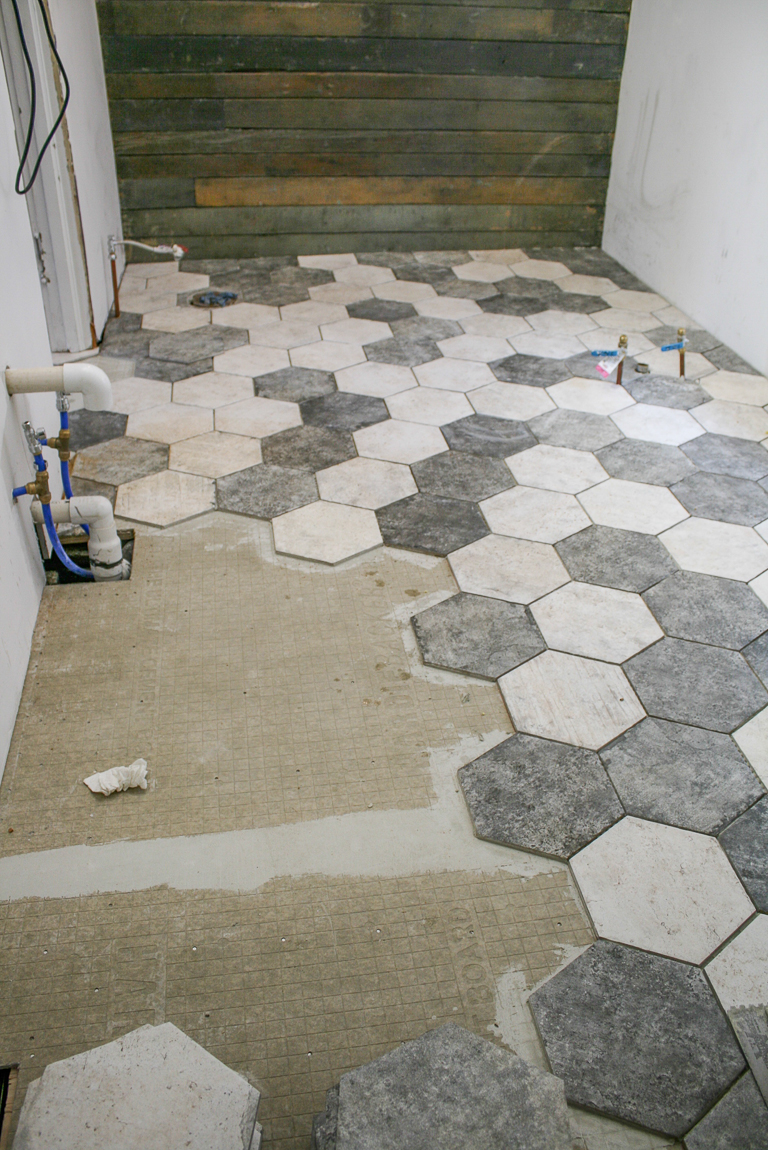
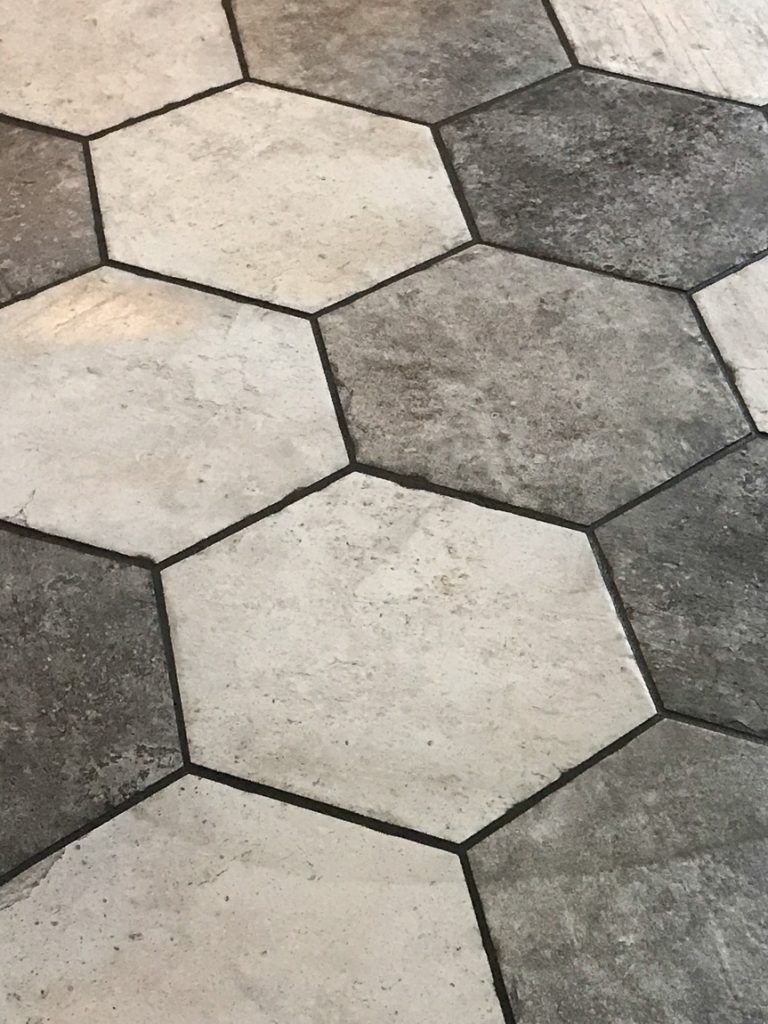
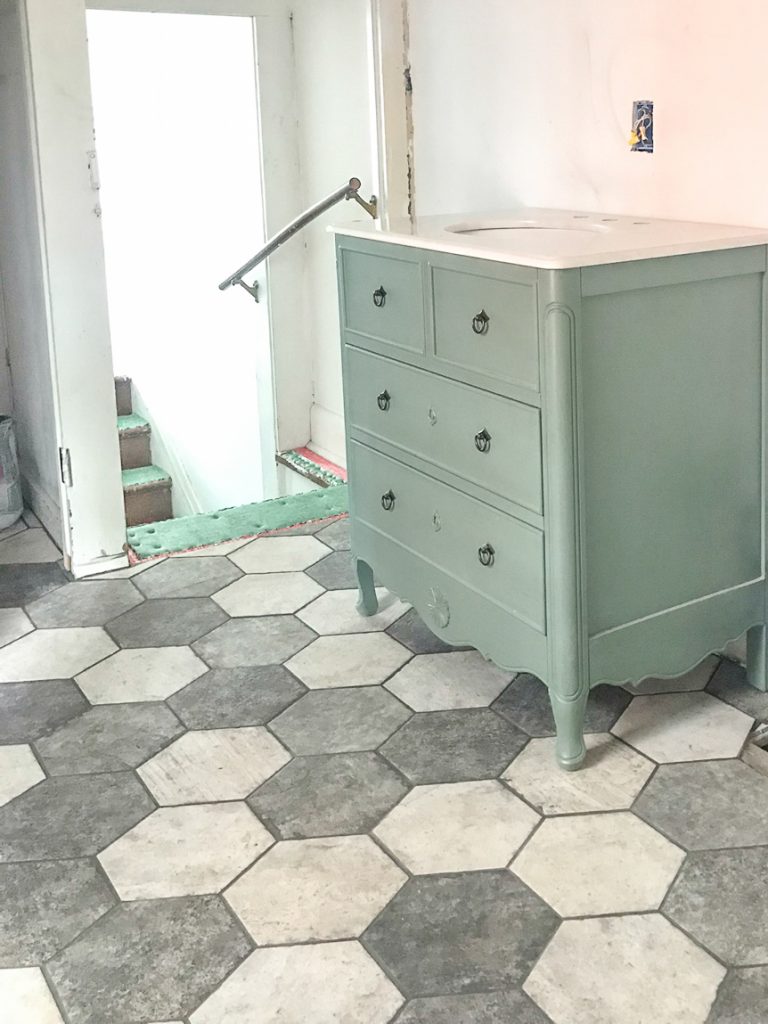
For the upstairs bathroom, I chose Presidio (whites) and Lombard (grays) from the same San Francisco design style. It’s a rustic and beautiful hexagon glazed porcelain tile from Shaw Floors with a reclaimed brick texture. And it’s absolutely gorgeous! My most favorite flooring to date!

Bathroom Makeover - Shaw Floors hexagon porcelain tile SanFrancisco @diyshowoff #helloredreno

You guys, it was love at first sight! The kind where you see it then continue to shop but always go back to it. Nothing compares. Nothing else will work. It’s this or nothing. I love when that happens! The alternative is so many choices and a hard time narrowing it down to one but this time around, I knew “THIS IS IT”! And for the record, this tile is versaTILE and can be used on floors, showers, patios, backslashes…just about anywhere. Since this is that the studio, it may show up somewhere in my house as well. 

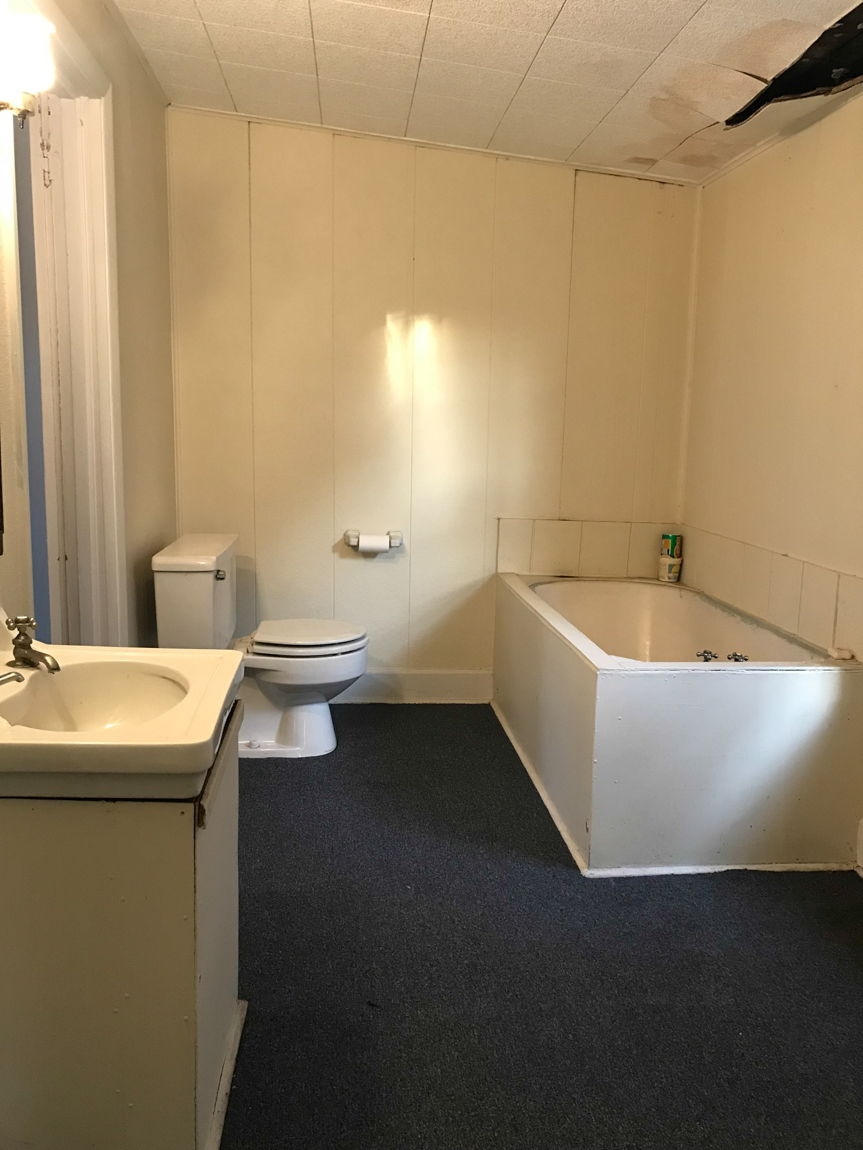
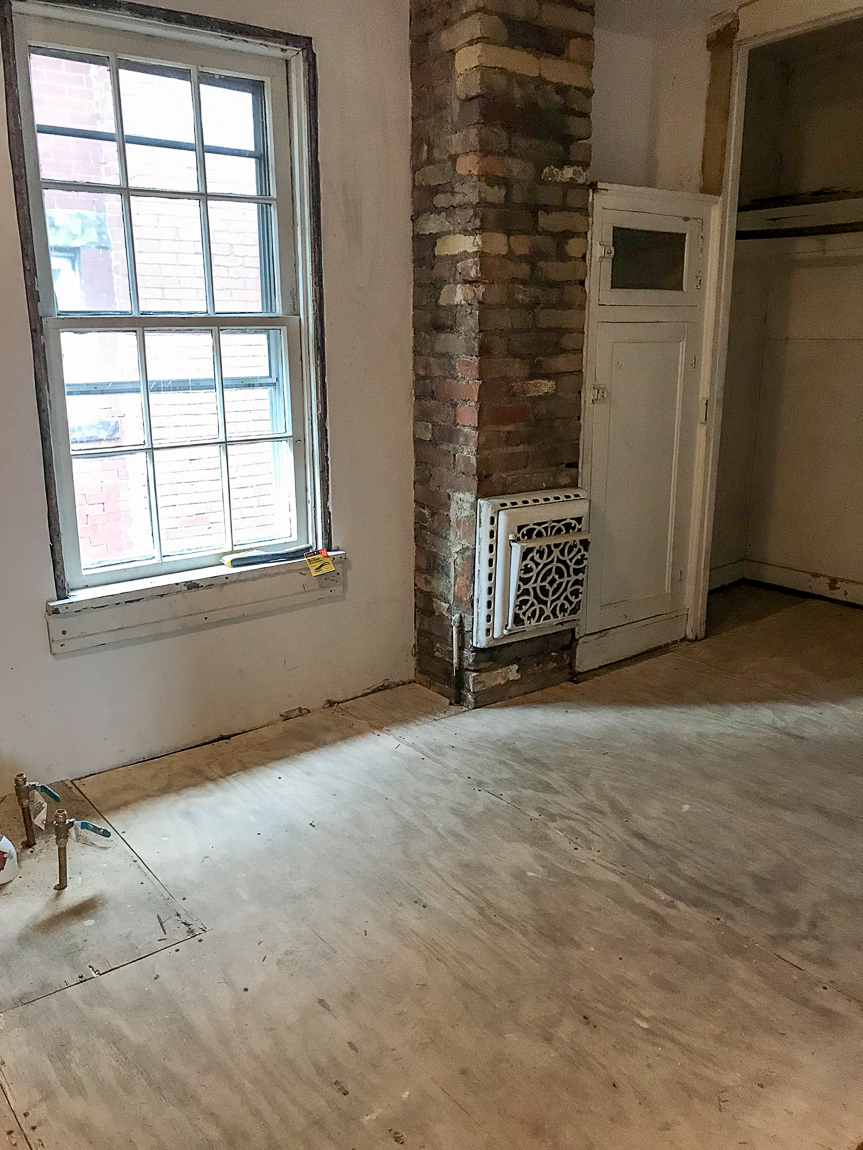
Let’s revisit the scary “before” picture. It’s a good thing I can see potential past the nasty, right? 

Before:

DIY craft studio // workshop - before room makeover @diyshowoff 

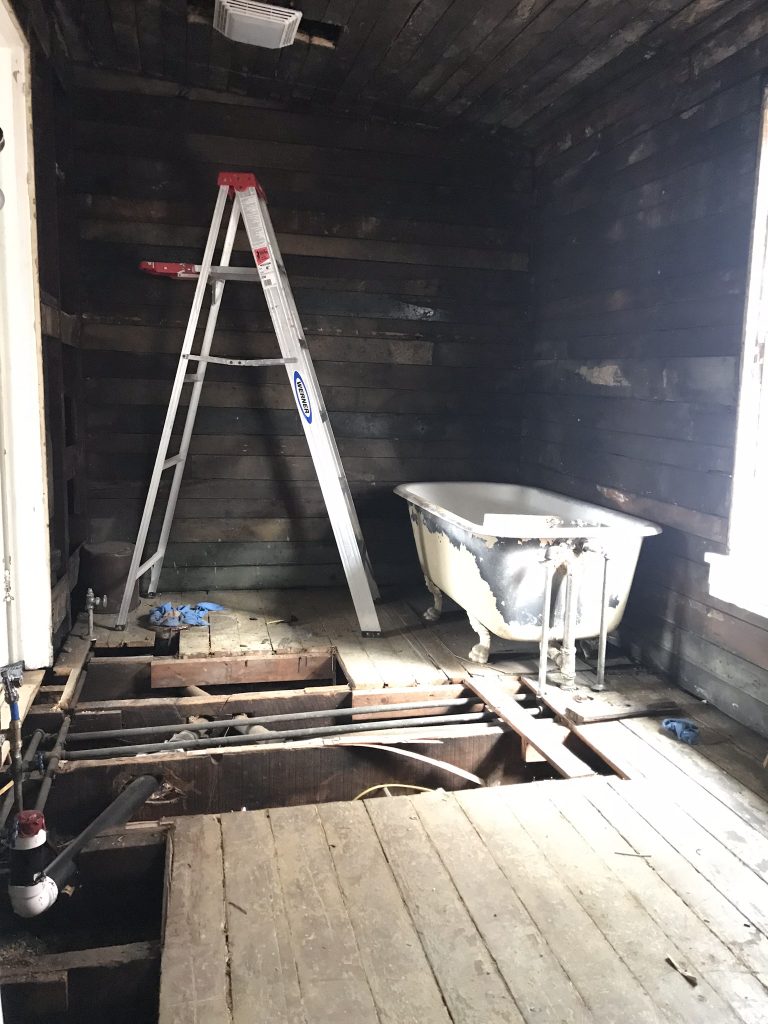
The original old hardwood floors had to be removed. 

bathroom makeoverbathroom makeoverBathroom Makeover - Shaw Floors hexagon porcelain tile SanFrancisco @diyshowoff #helloredreno

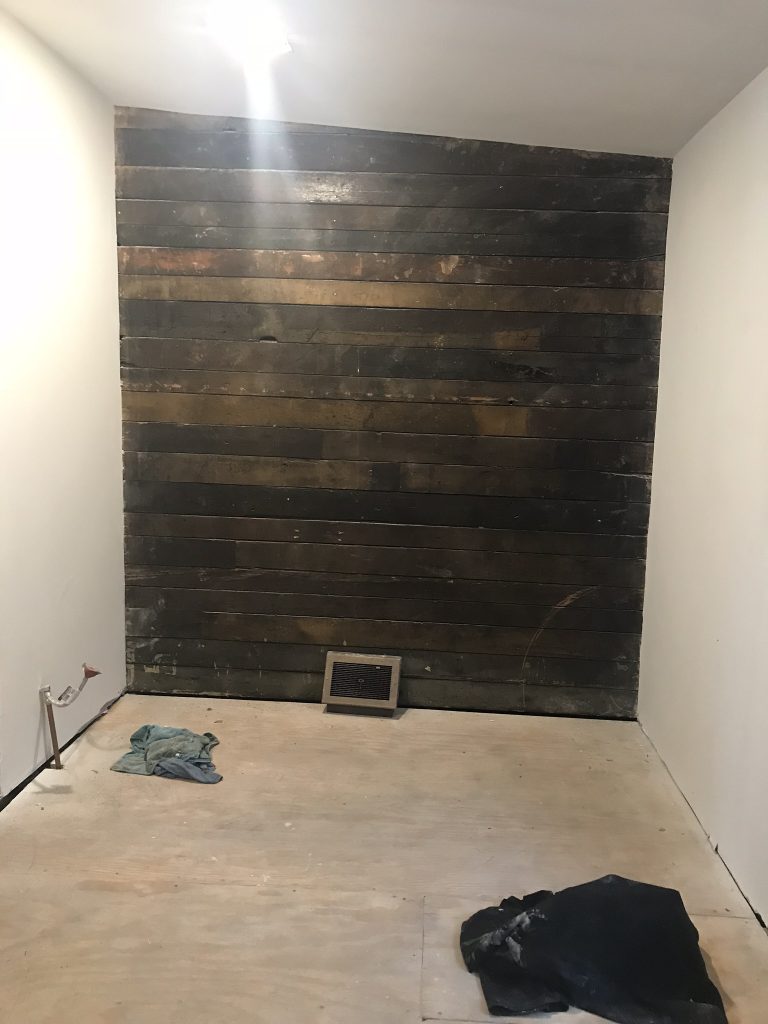
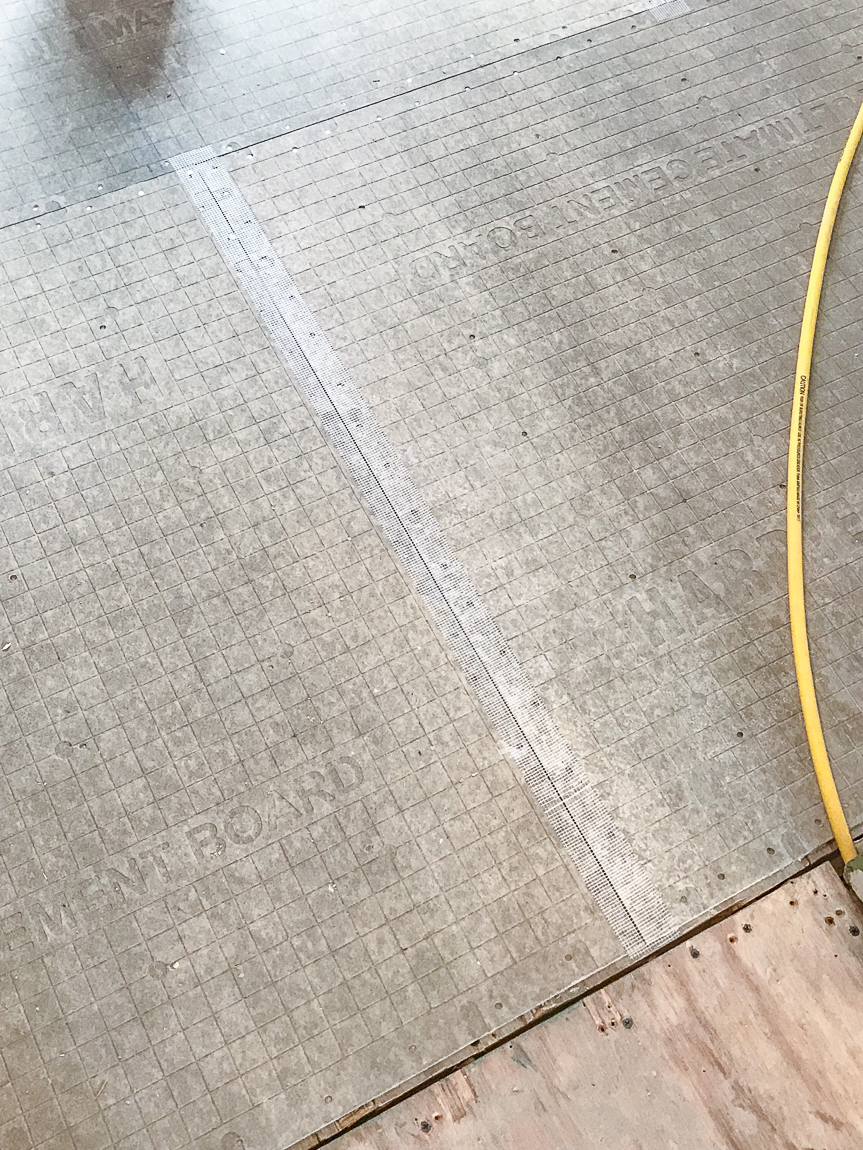
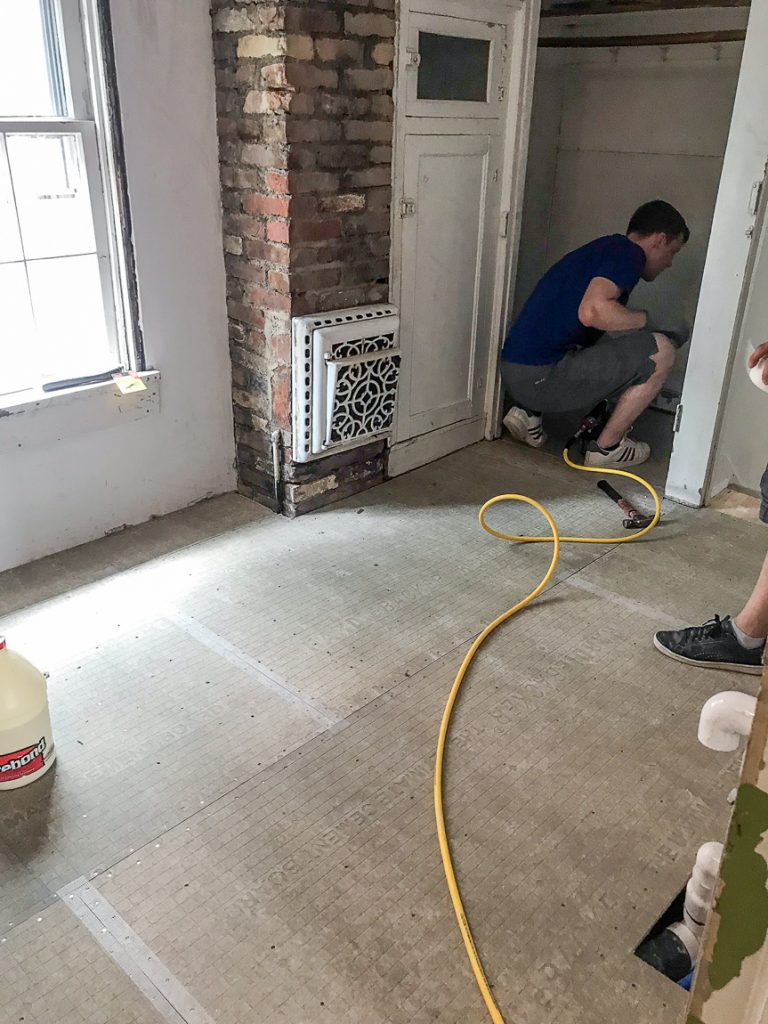
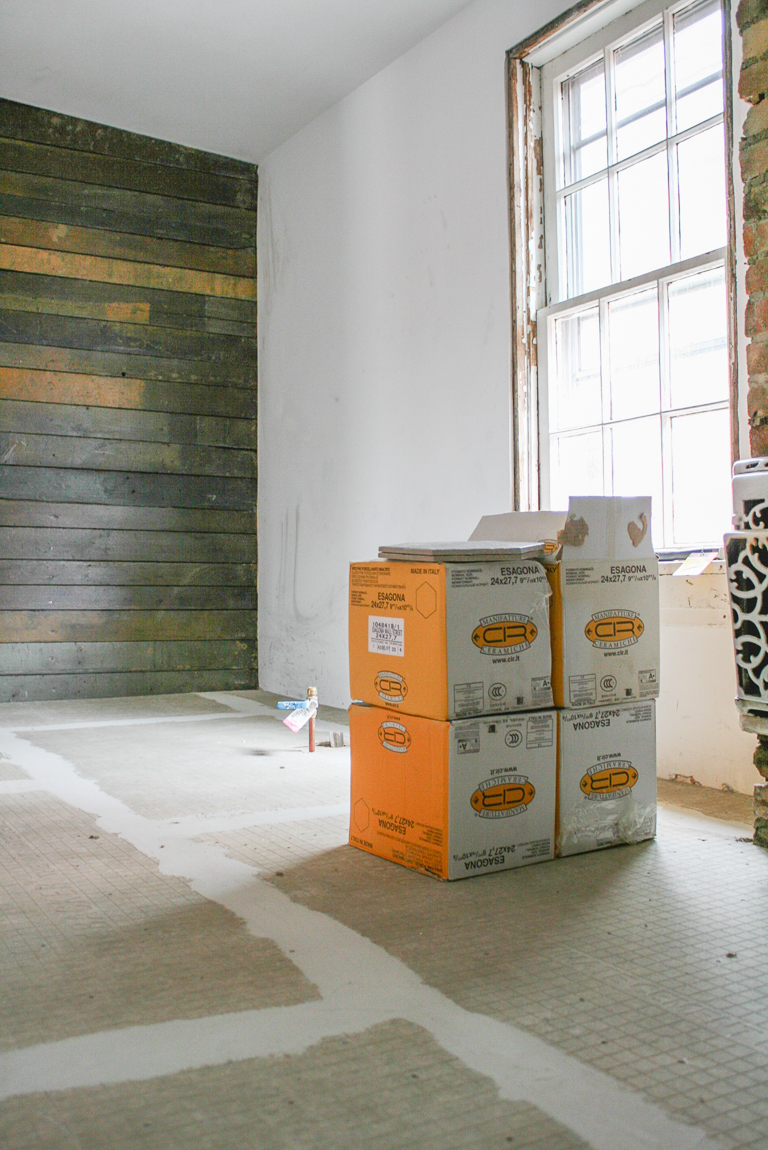
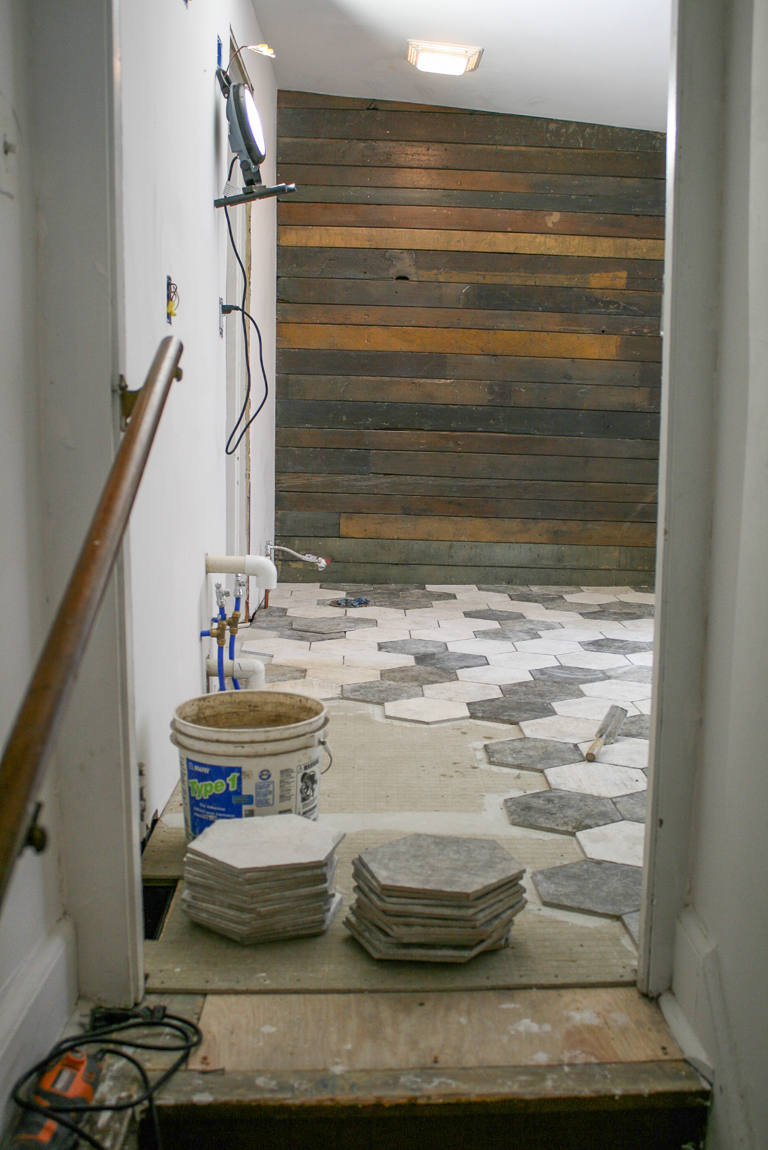
A plywood subfloor was installed and leveled to prepare a base for the cement board which then is the base for the actual mortar and tile. 

Bathroom Makeover - Shaw Floors hexagon porcelain tile SanFrancisco @diyshowoff #helloredreno Bathroom Makeover - Shaw Floors hexagon porcelain tile SanFrancisco @diyshowoff #helloredreno

The seems were taped and sealed.

Bathroom Makeover - Shaw Floors hexagon porcelain tile SanFrancisco @diyshowoff #helloredreno

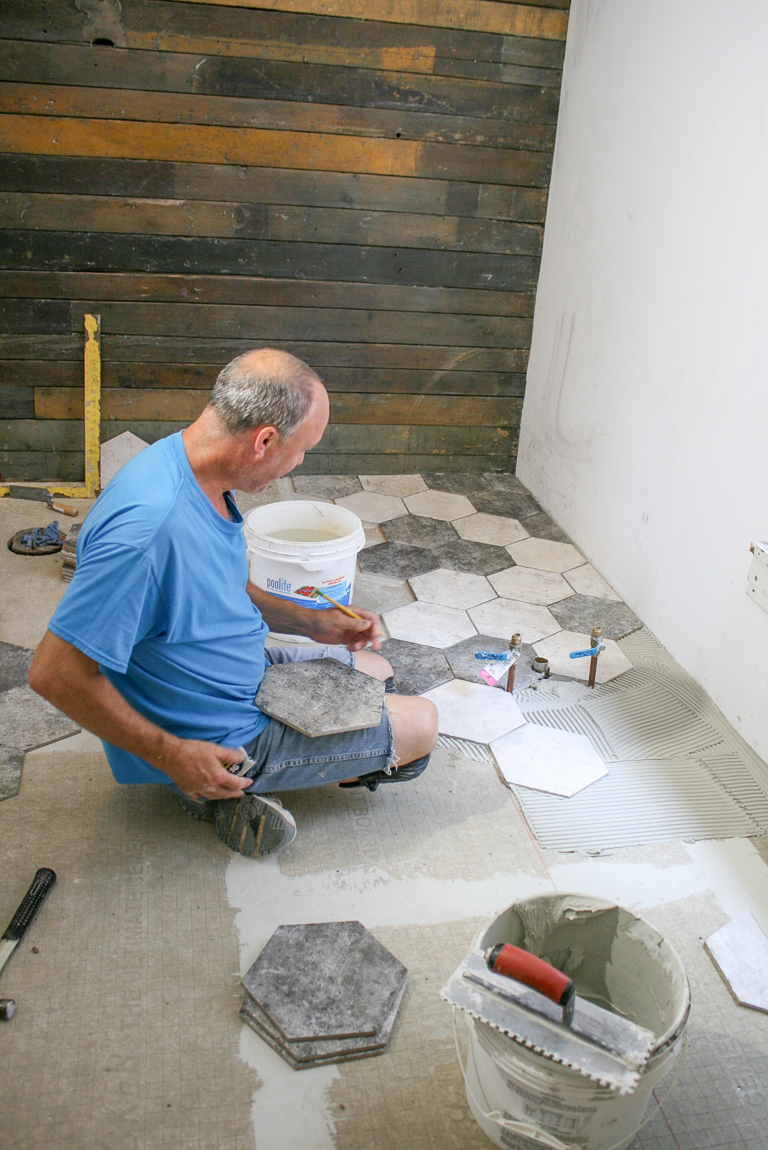
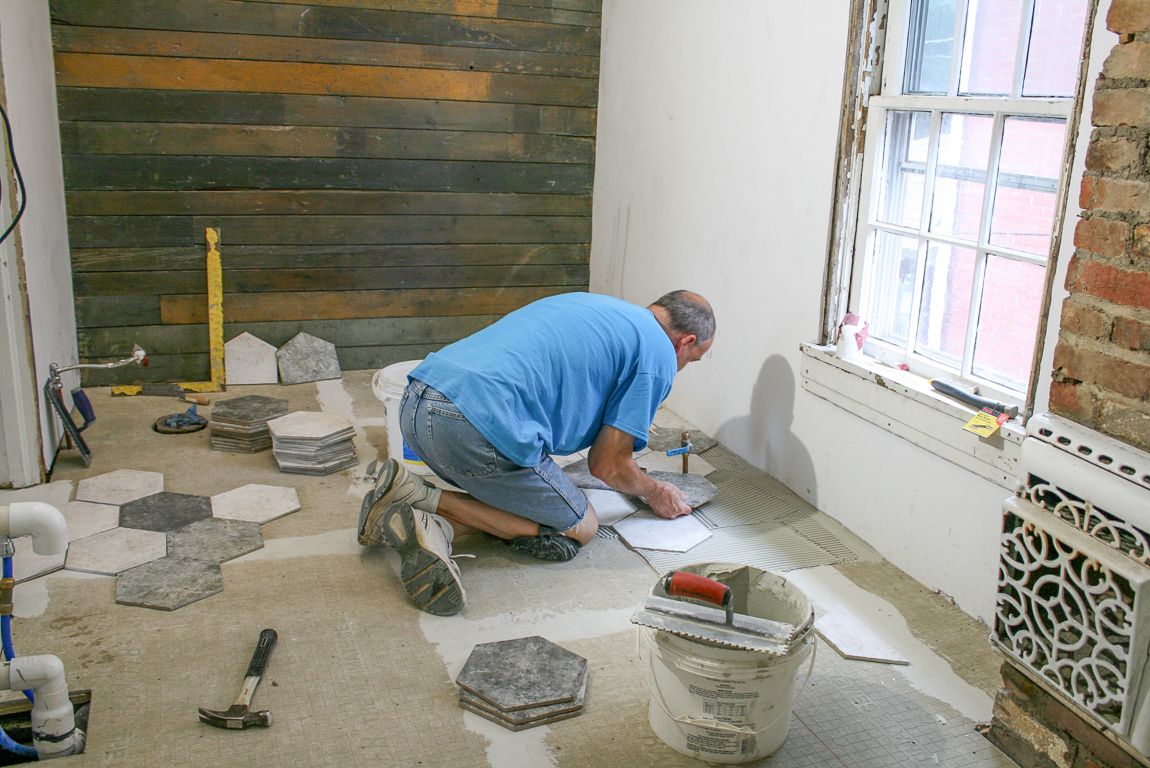
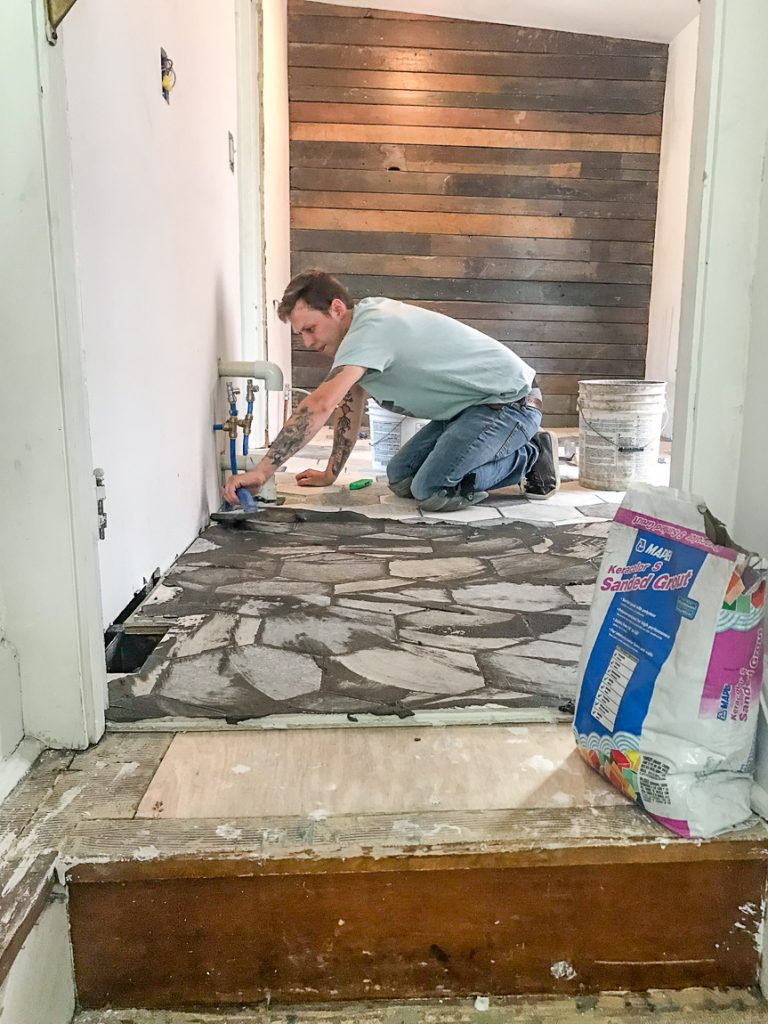
Flooring was installed by Rege, Mike and Tyler, subcontractors from A&S Carpet in Allison Park, PA. They did a beautiful job! 

Installation:

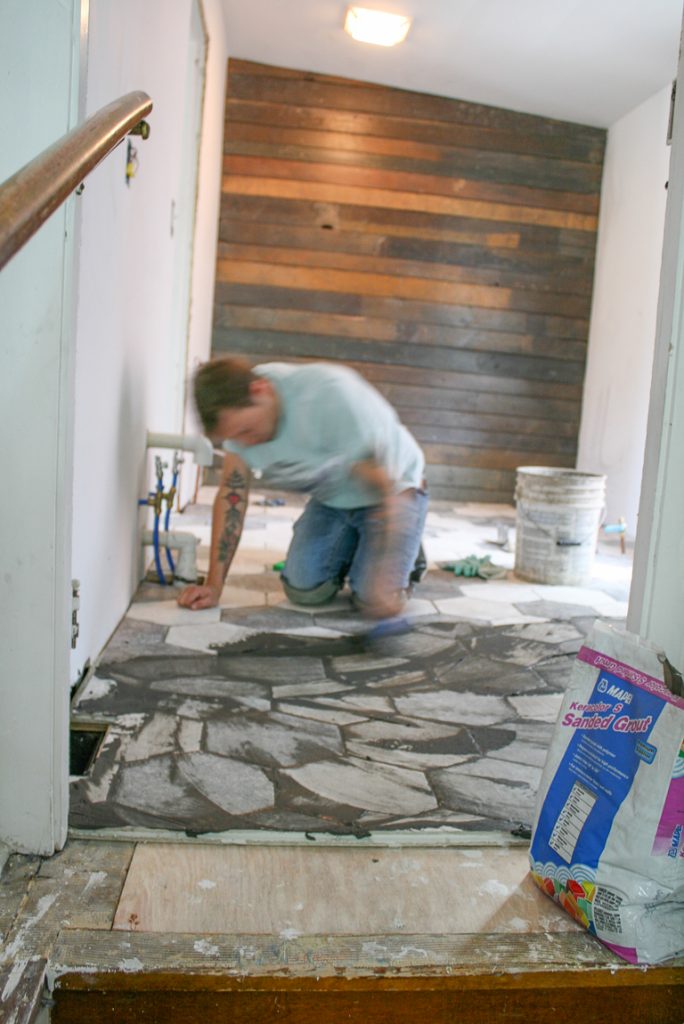
Bathroom Makeover - Shaw Floors hexagon porcelain tile SanFrancisco @diyshowoff #helloredreno Bathroom Makeover - Shaw Floors hexagon porcelain tile SanFrancisco @diyshowoff #helloredreno Bathroom Makeover - Shaw Floors hexagon porcelain tile SanFrancisco @diyshowoff #helloredreno

Bathroom Makeover - Shaw Floors hexagon porcelain tile SanFrancisco @diyshowoff #helloredreno

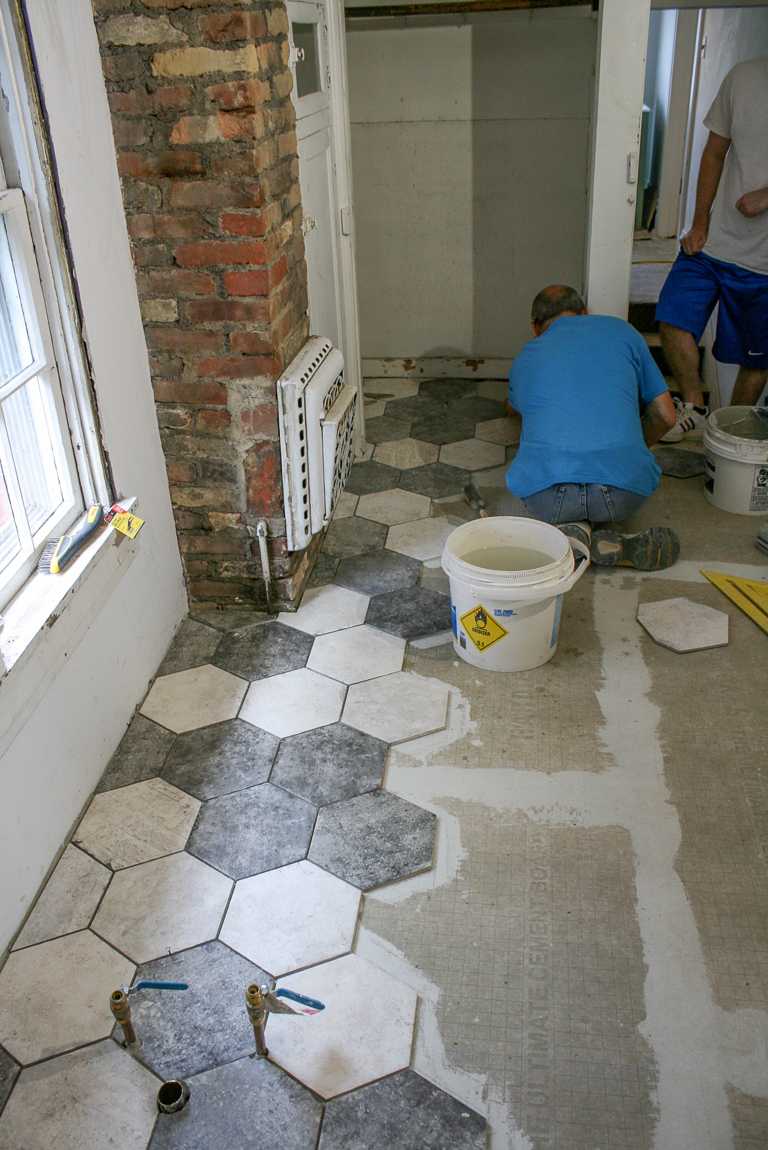
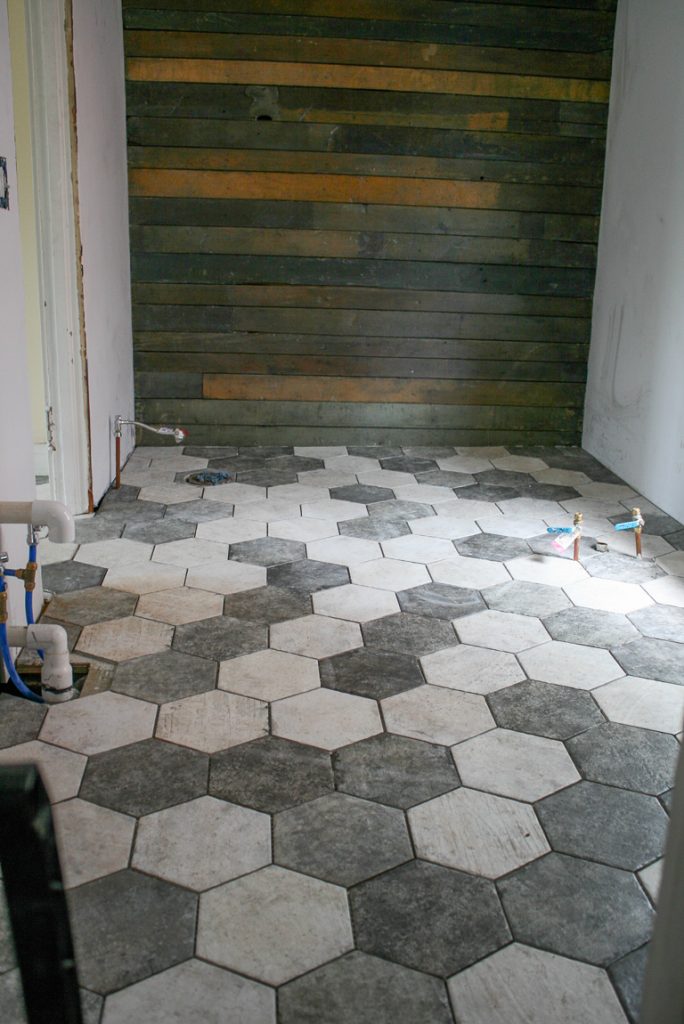
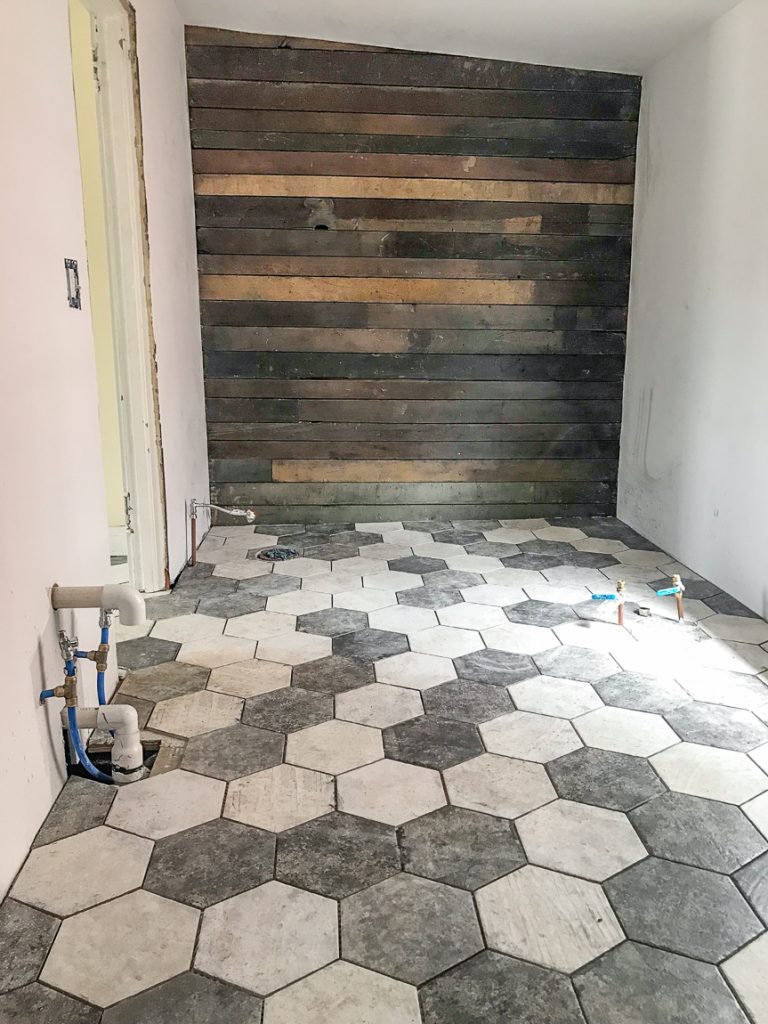
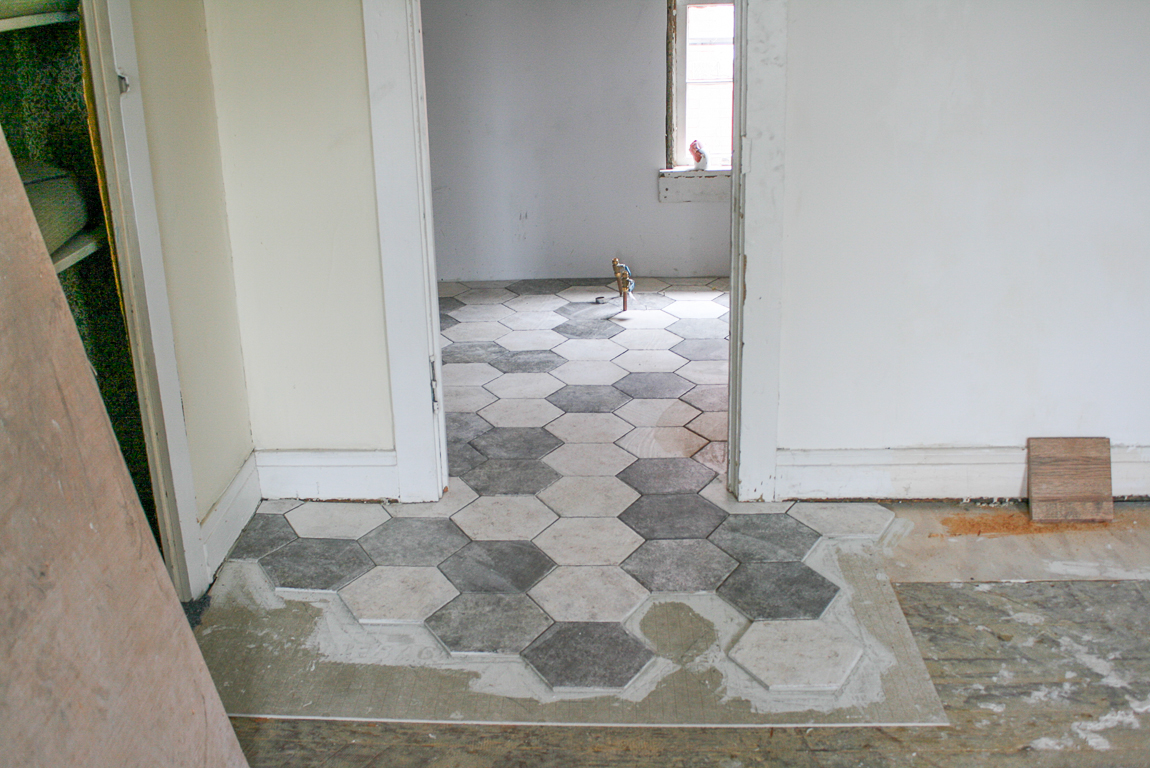
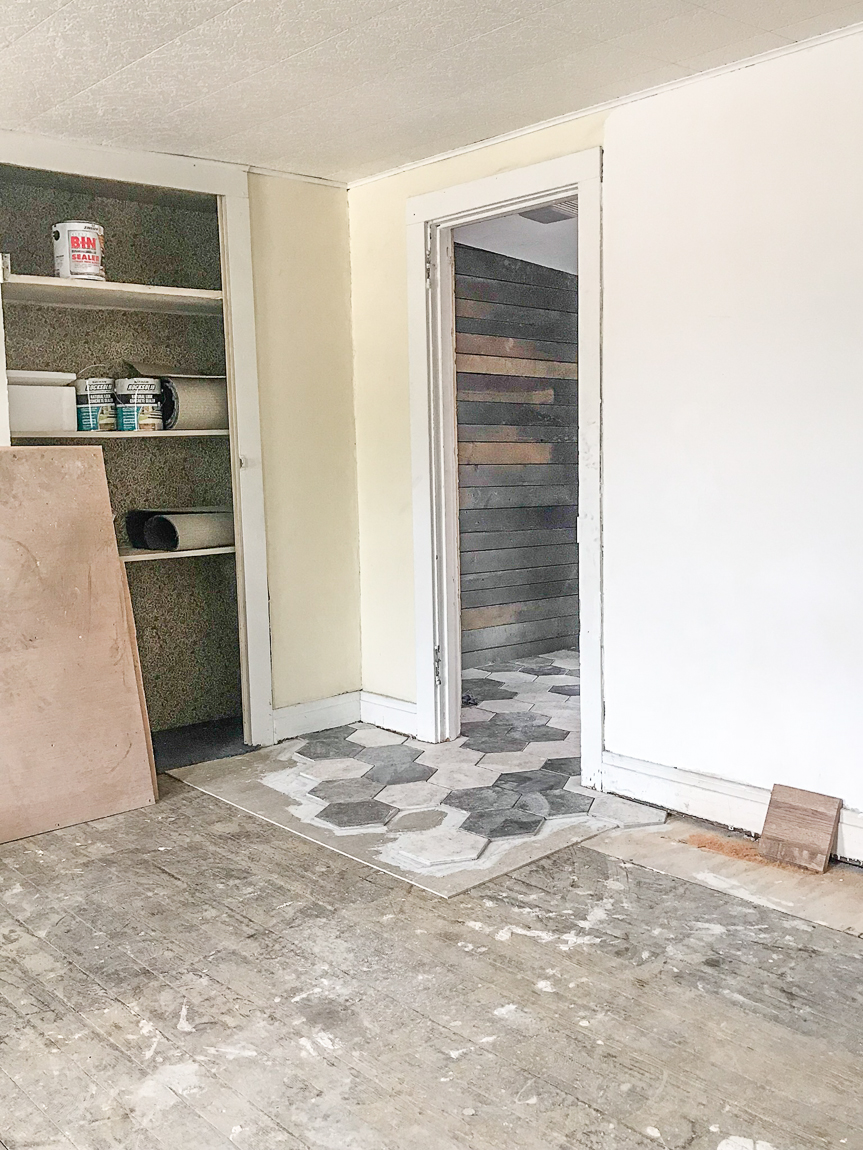
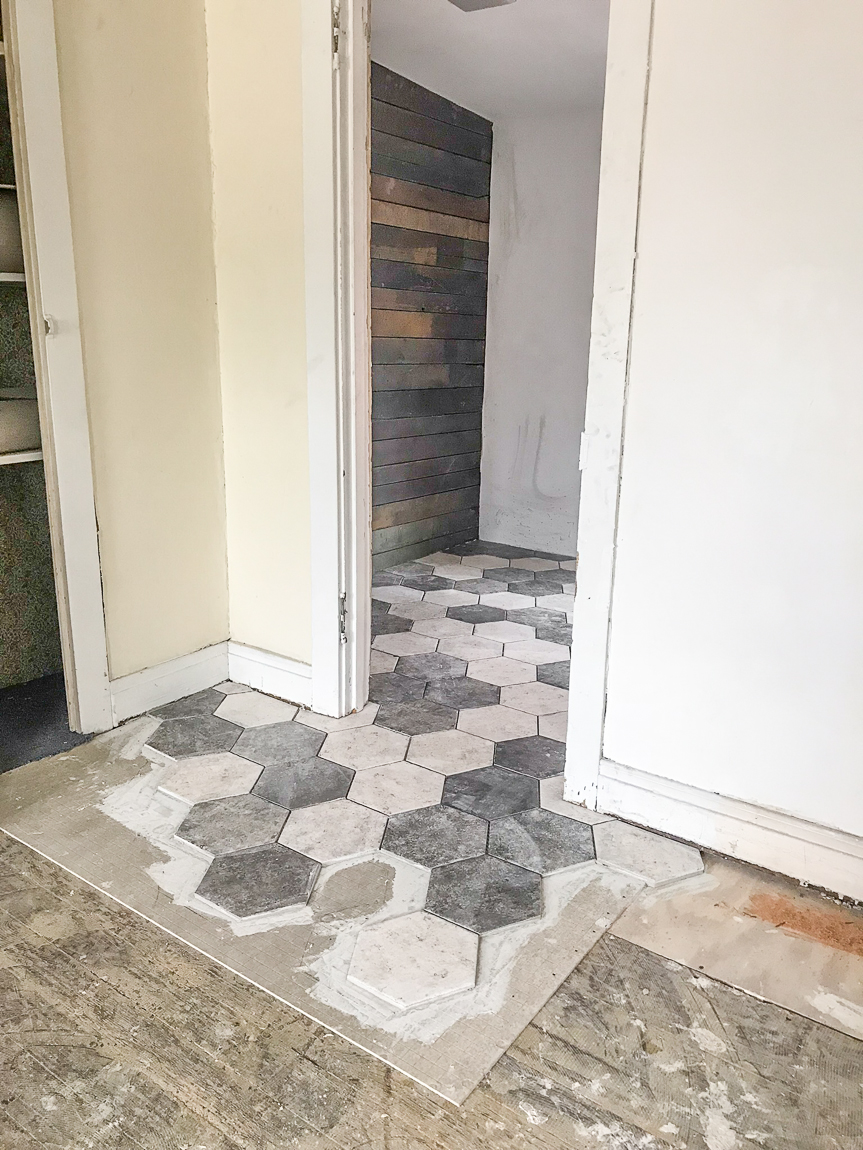
The white and gray hexagon tiles were placed randomly. I usually do prefer the symmetry of a planned and arranged design – stripes or checkerboard and even considered a flower-type design but this time because of the transition of flowing over into the hardwood, I really liked the random placement. 

Bathroom Makeover - Shaw Floors hexagon porcelain tile SanFrancisco @diyshowoff #helloredreno

Rather than the traditional ‘hump’ or straight cut line in the threshold where tile meets hardwood, we continued the tile across the threshold and into the next room. It reminds me of a glacier…moving/reaching into the bedroom. It’s SO cool and so different and it’s amazing! You can see the links to inspiration for this idea on my studio Pinterest board

Transition: 

Bathroom Makeover - Shaw Floors hexagon porcelain tile SanFrancisco @diyshowoff #helloredreno Bathroom Makeover - Shaw Floors hexagon porcelain tile SanFrancisco @diyshowoff #helloredreno

Just wait until you see the hardwood next to it! You’ll drool! 
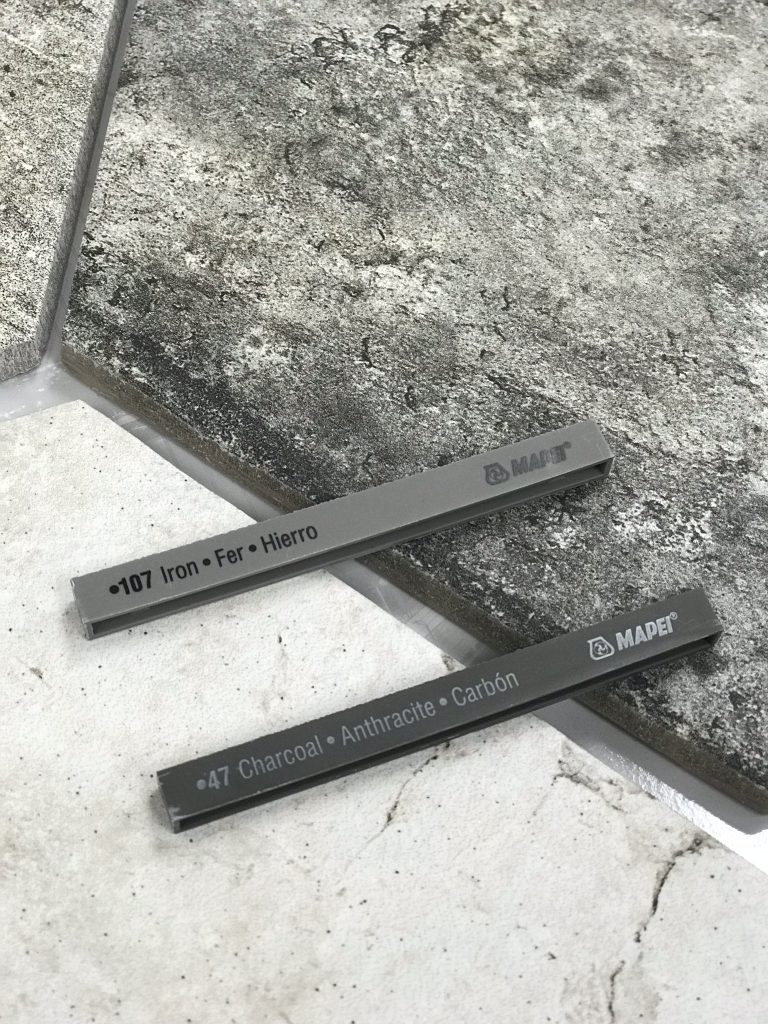
Bathroom Makeover - Shaw Floors hexagon porcelain tile SanFrancisco @diyshowoff #helloredrenoYou may remember me asking about grout colors. I originally chose “Iron” at the store but after some thought changed my mind to “Charcoal”. Frank at A&S was very accommodating with my request! No problem!

Grout: 

Bathroom Makeover - Shaw Floors hexagon porcelain tile SanFrancisco @diyshowoff #helloredreno

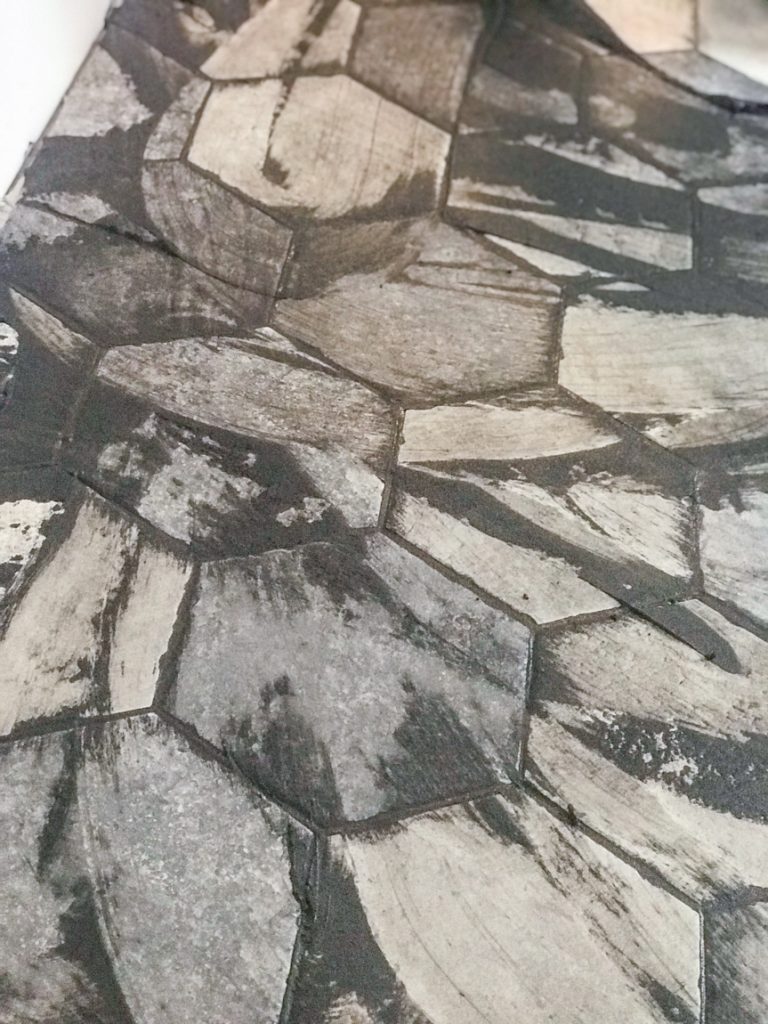
Bathroom Makeover - Shaw Floors hexagon porcelain tile SanFrancisco @diyshowoff #helloredreno Bathroom Makeover - Shaw Floors hexagon porcelain tile SanFrancisco @diyshowoff #helloredreno Bathroom Makeover - Shaw Floors hexagon porcelain tile SanFrancisco @diyshowoff #helloredreno

Perfection!

Reveal:

Bathroom Makeover - Shaw Floors hexagon porcelain tile SanFrancisco @diyshowoff #helloredreno

What do you think? Do you prefer the standard transition piece dividing tile and hardwood in the doorway or would you consider a smooth transition and design feature? 

Bathroom Makeover - Shaw Floors hexagon porcelain tile SanFrancisco @diyshowoff #helloredreno Bathroom Makeover - Shaw Floors hexagon porcelain tile SanFrancisco @diyshowoff #helloredreno

A BIG thanks to A&S for the installation. I’m THRILLED with the end result! 

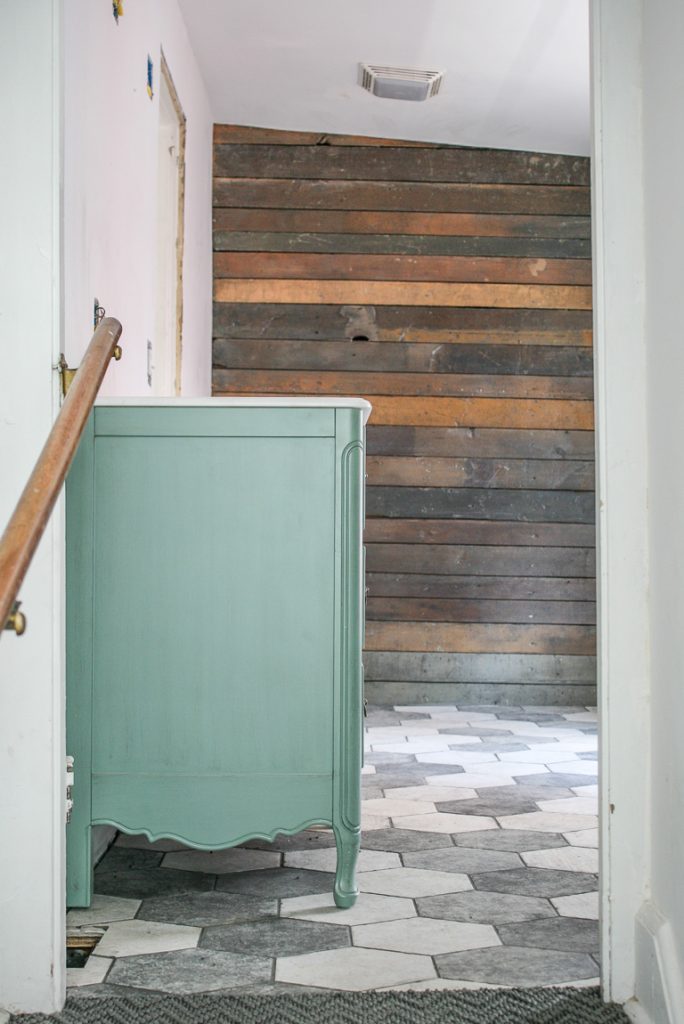
Here’s a sneak peek of the vanity with the floor…I can’t wait for the finishing touches!

Bathroom Makeover - Shaw Floors hexagon porcelain tile SanFrancisco @diyshowoff #helloredreno

So pretty! And all three features: that gorgeous floor, the beautiful vanity against that original wood plank wall…

Bathroom Makeover - Shaw Floors hexagon porcelain tile SanFrancisco @diyshowoff #helloredreno

Next up on the bathroom remodel:

Paint, baseboards, {possible} vintage cast iron tub re-finishing, installing the toilet, vanity, sconce lights and my favorite part…decorating and the reveal! Oh. And probably cutting down 6 doors since re-doing the floors raised them. Not looking forward to that part but things are moving along. Stay tuned!

The building has so much historical charm. It’s about one block from our town’s Main Street. The bus stop is literally steps away. There are breweries, the YMCA, shops, restaurants, salons, florists, candy/coffee shop, holiday parades and festivals within walking distance. So fun! If renovation from blah to ahhhhh is your thing, stay tuned!

So subscribe and be reminded of updates as the renovations progress! I’ll share before and after photos, projects underway and updates, plans and design boards, sources and links as they relate as well as fun events going on in and around the downtown area. I’ll be using a specific hashtag on social media to keep things all neat and tidy and organized.

#helloredreno

I welcome your thoughts and ideas! And as always, thanks for your encouragement and support and for sharing in my joy and vision! Watch for #helloredreno!

Mancave – basement Flooring (Part 2)

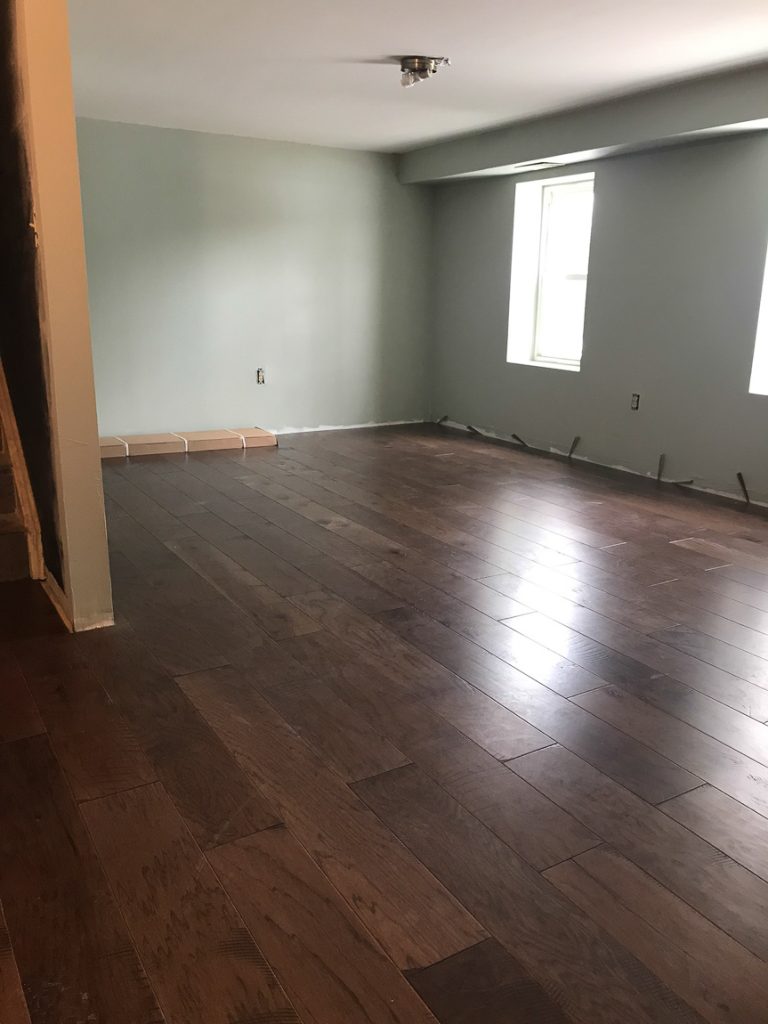
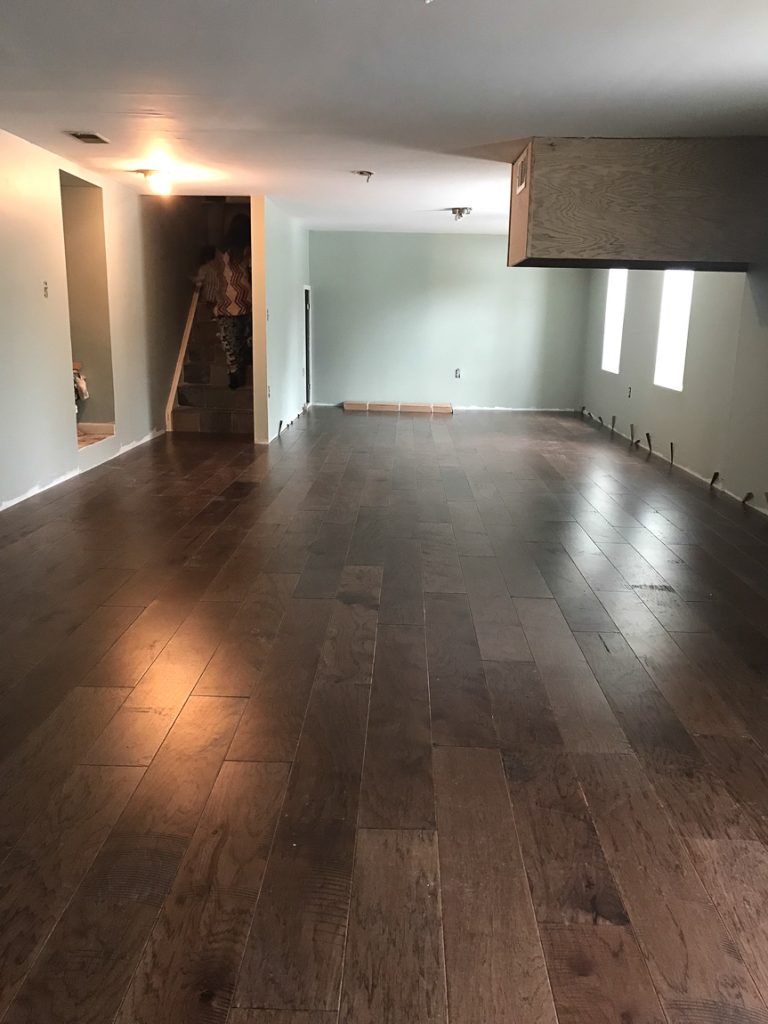
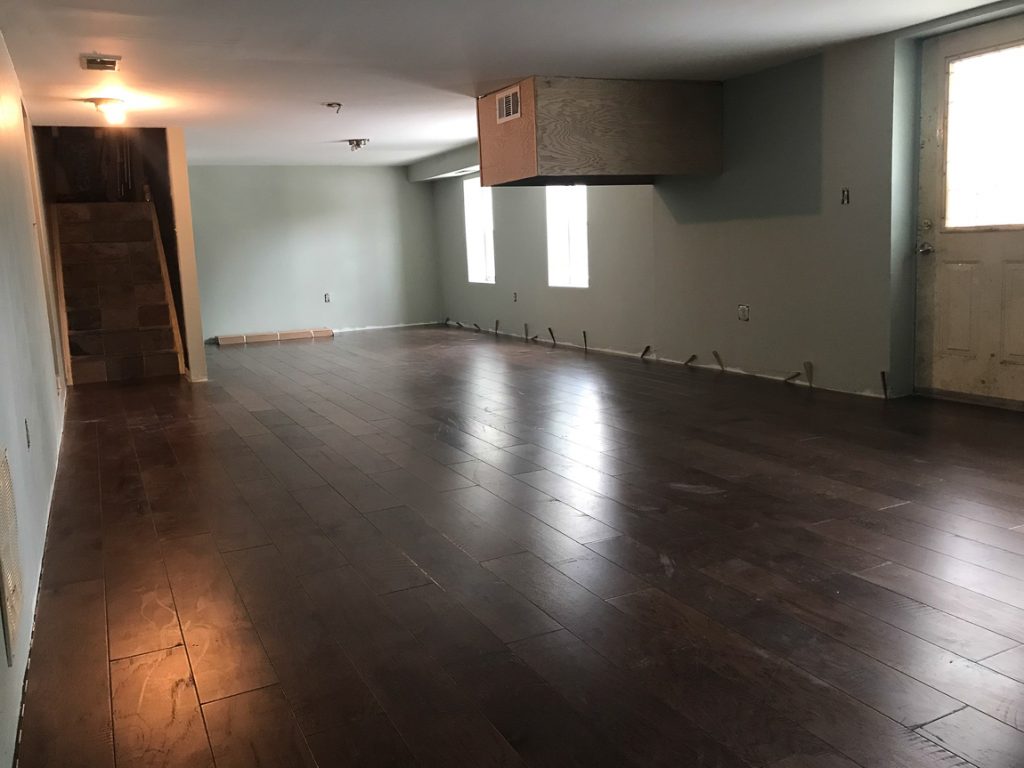
Last week I shared the beginnings of a basement makeover with major clean up, a wall removed, fresh new paint (Mancave in Progress – Part 1) and today…you guys! I’m so excited to show you the floor! Hurray! One step closer to completion!

basement // mancave makeover #shawstyleboard

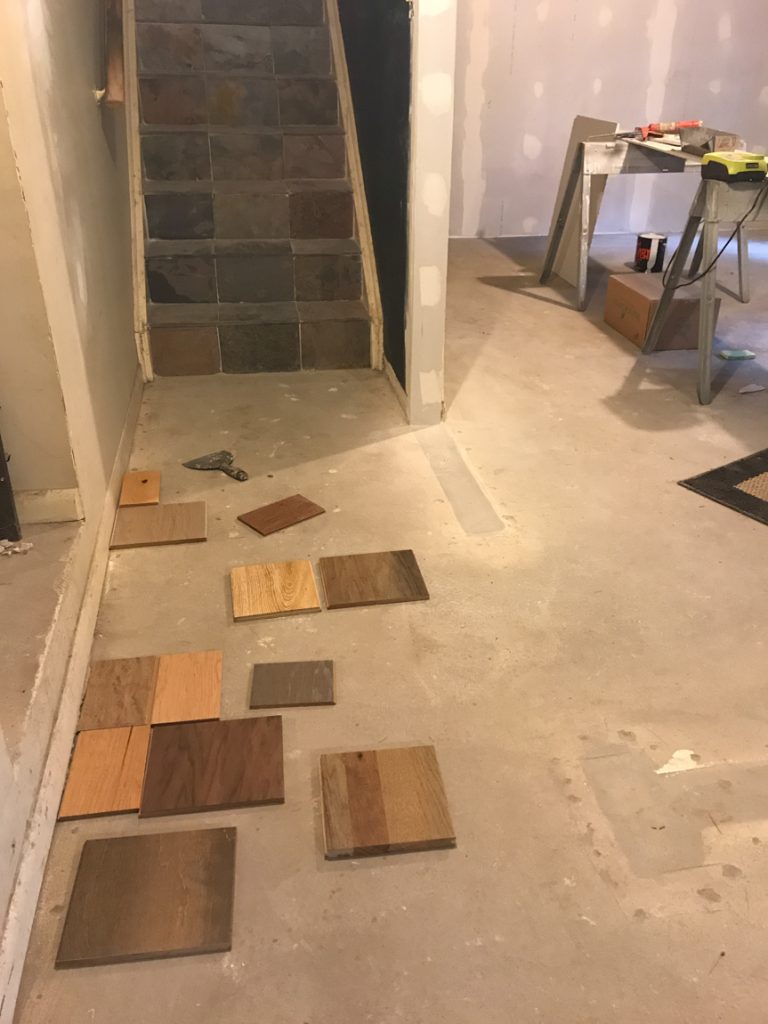
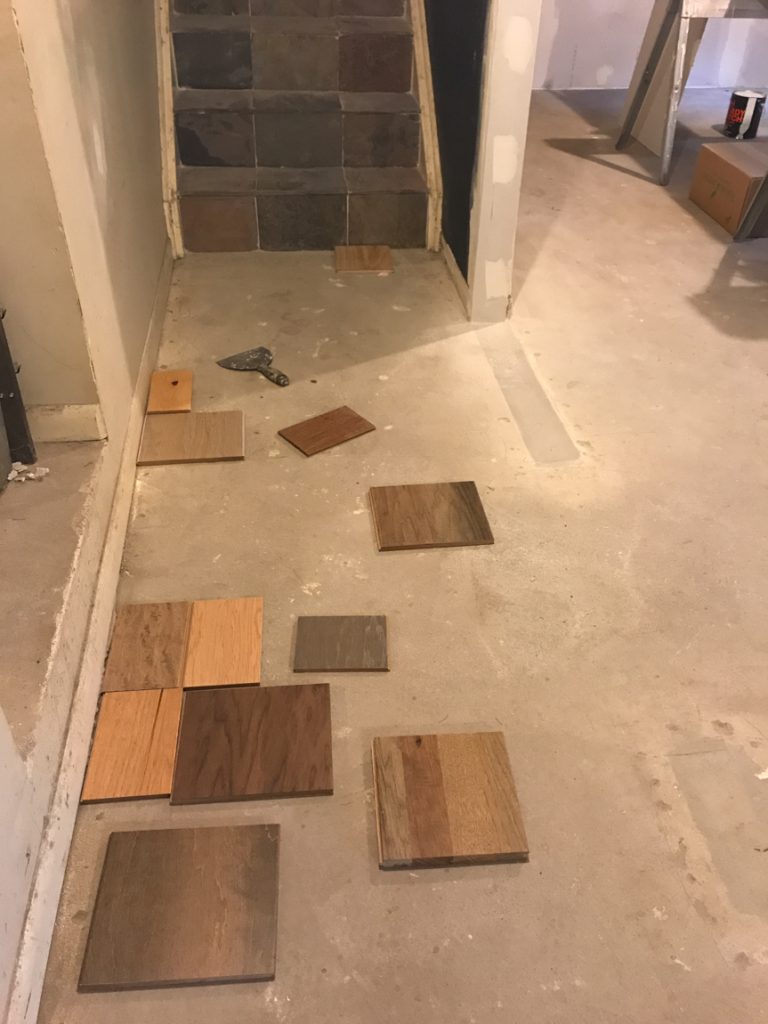
My contacts from A&S Carpet are Jeff and Frank and Frank stopped by to check out the area and do some measurements and since it’s a basement space, gave us some product recommendations. 

basement // mancave makeover

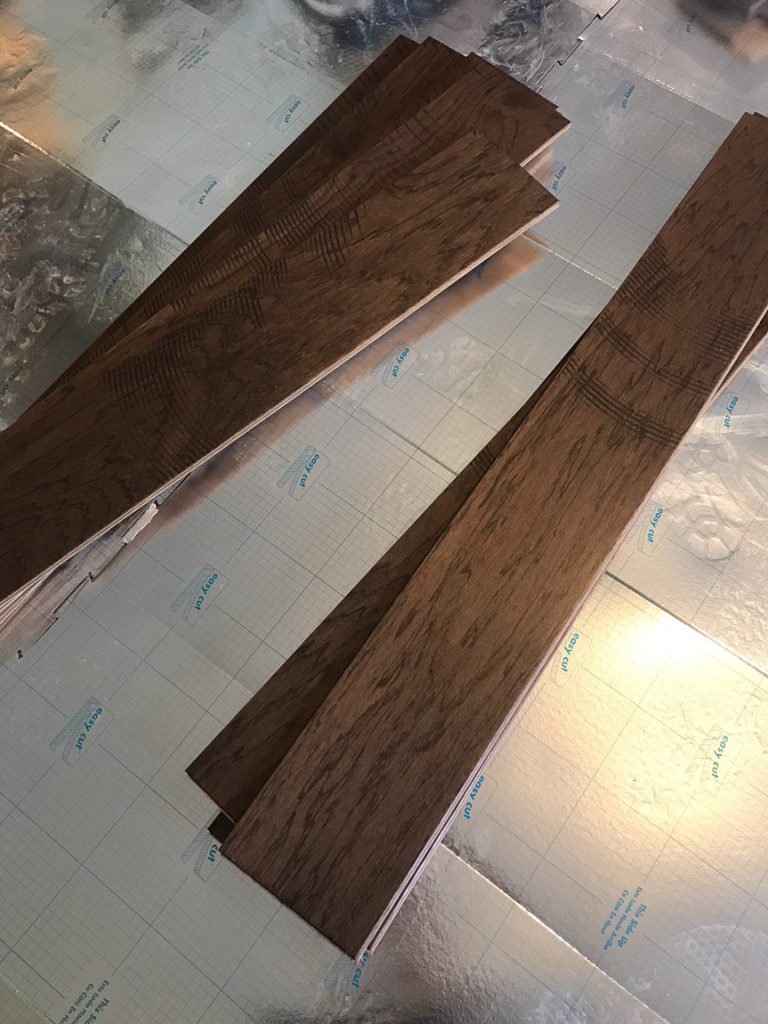
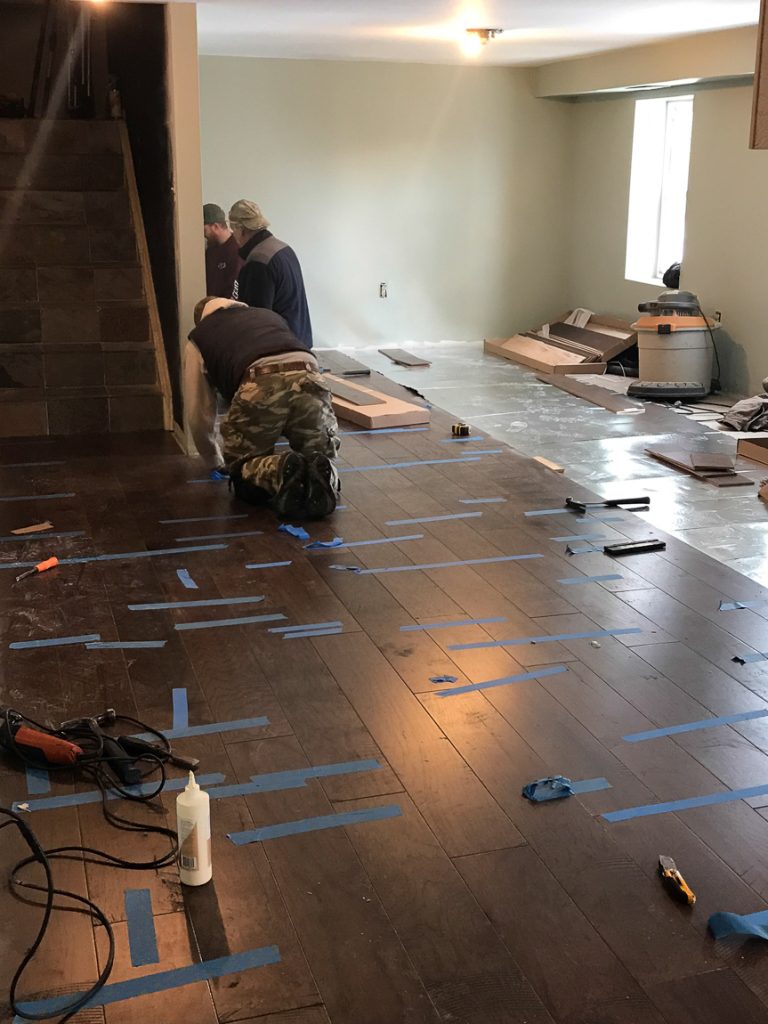
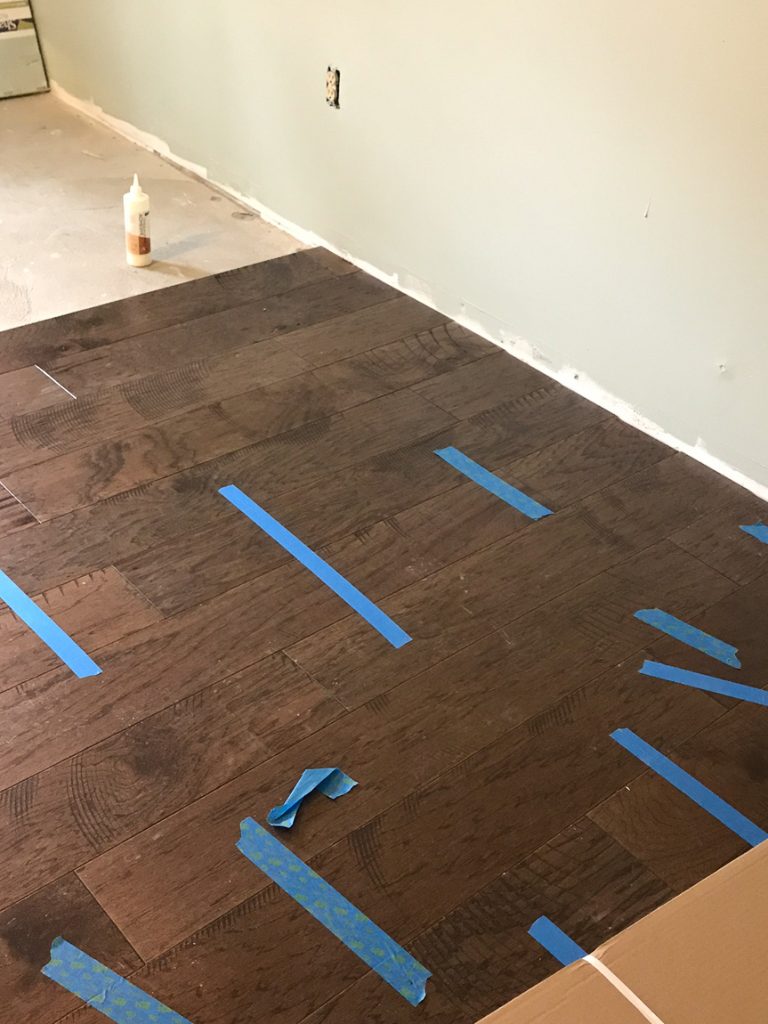
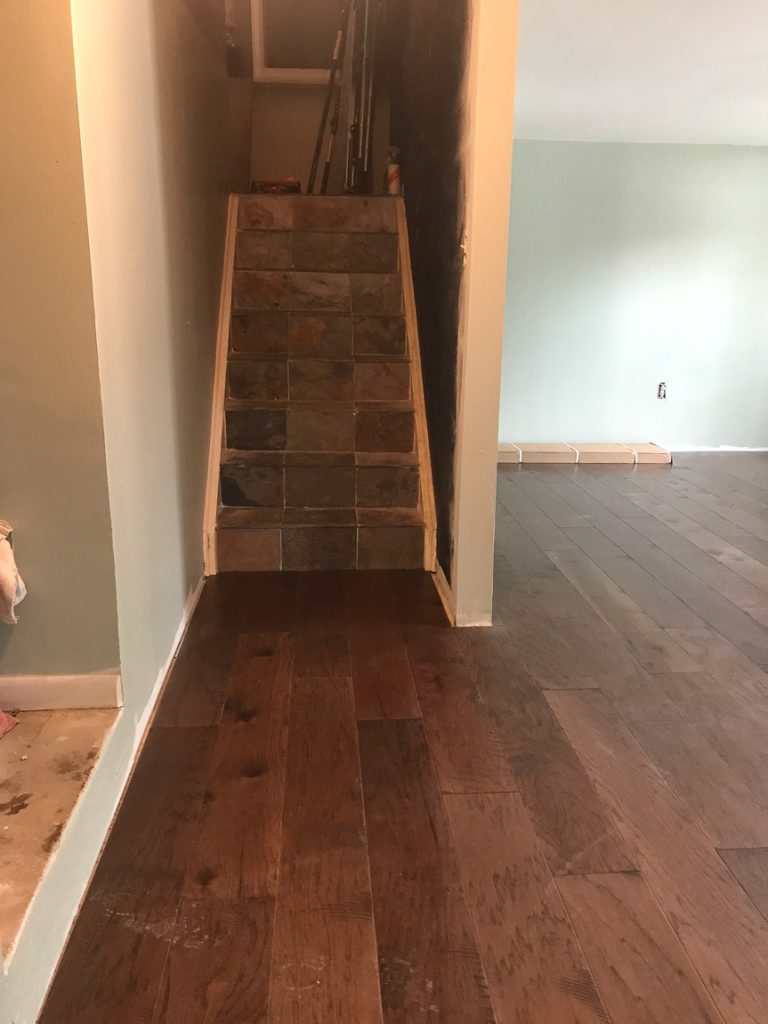
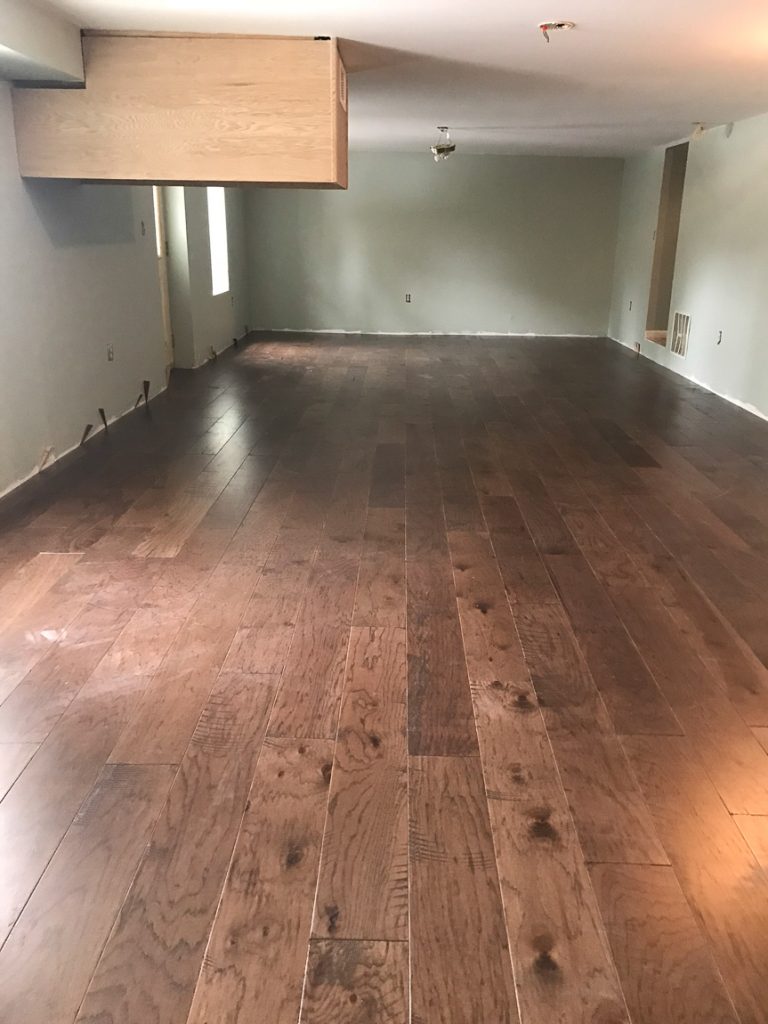
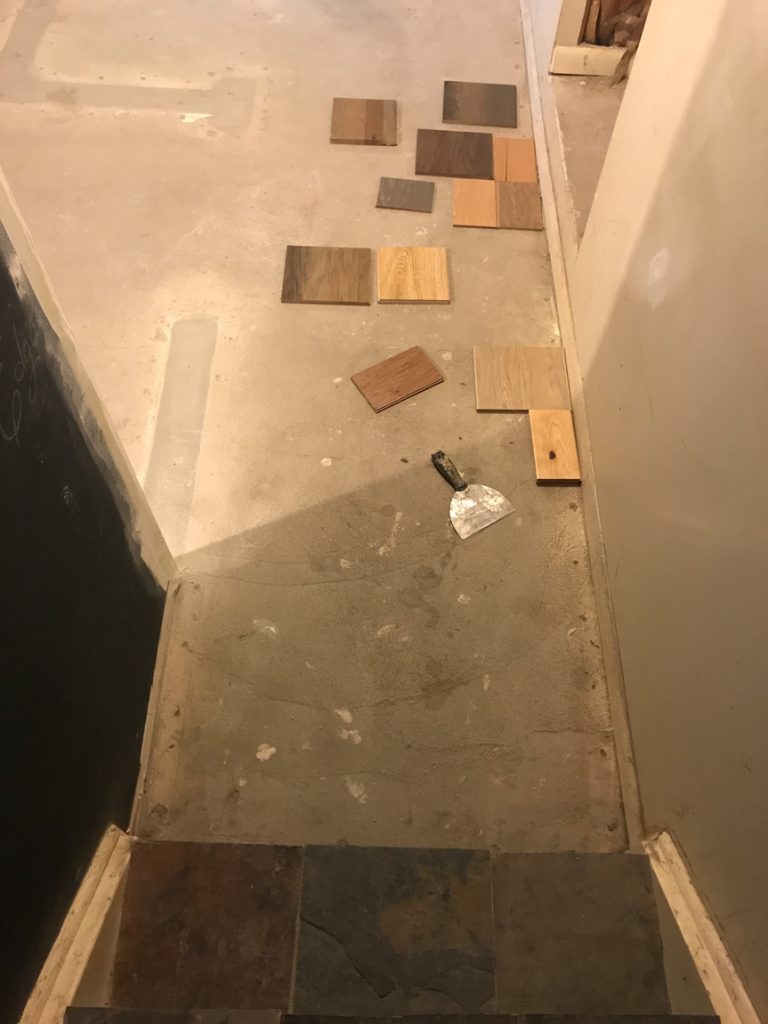
After looking at TONS of samples, we fell in love with a hardwood called Maverick from Shaw Floors. We love the color, the rustic design, how it looked next to the slate tile on the stairs, the durability and the distressing. It would have been love at first sight for you too. Not too dark, not too light. Lots of character! 

basement // mancave makeover #shawstyleboard

Pretty detail!!!basement // mancave makeover #shawstyleboard

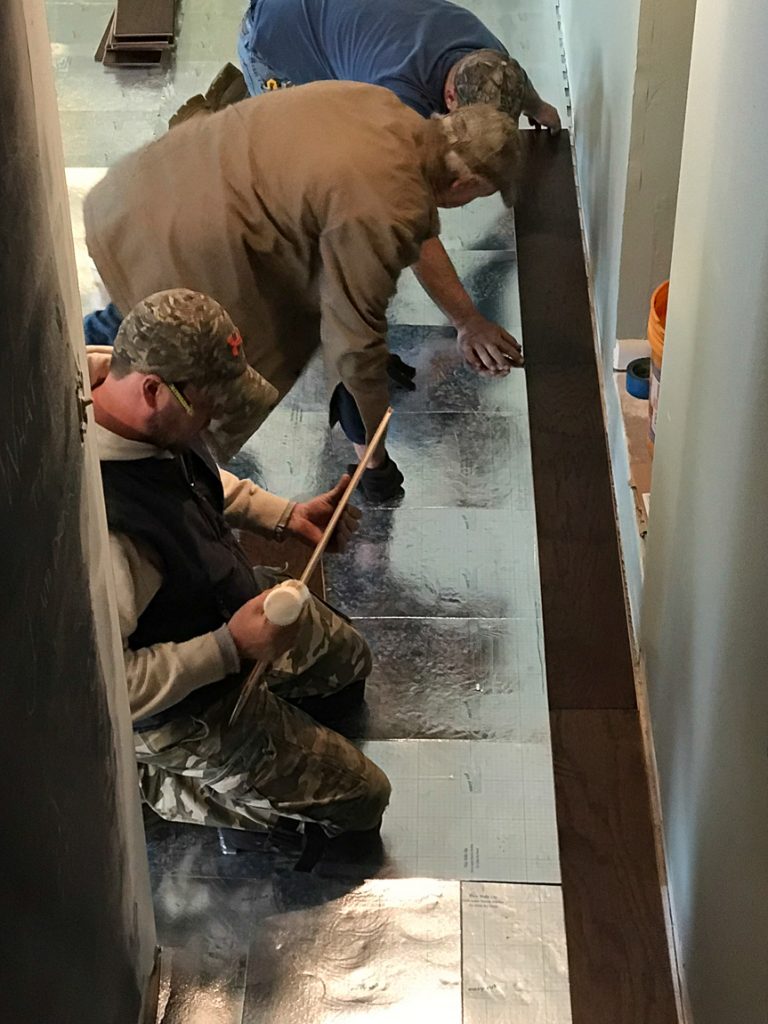
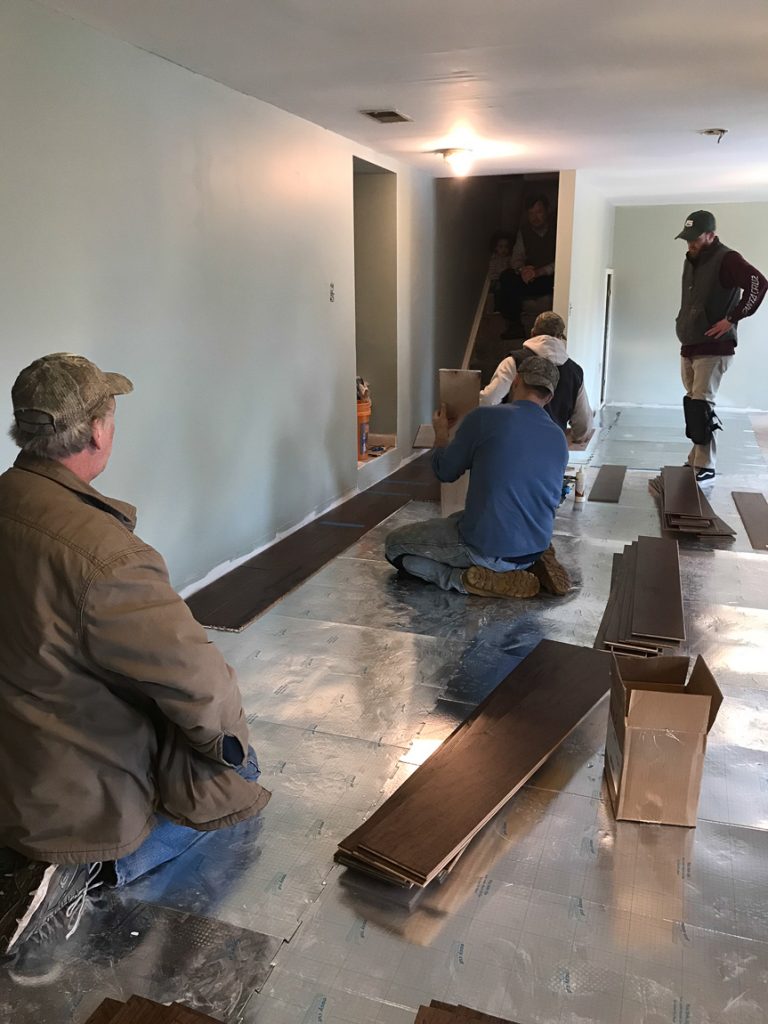
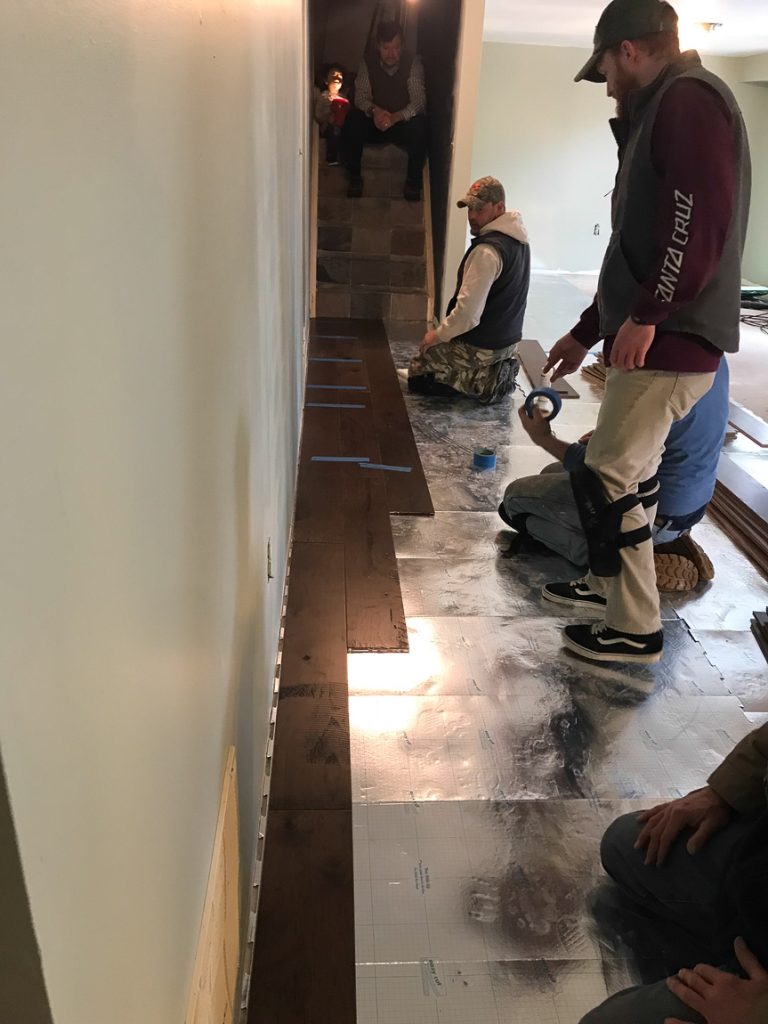
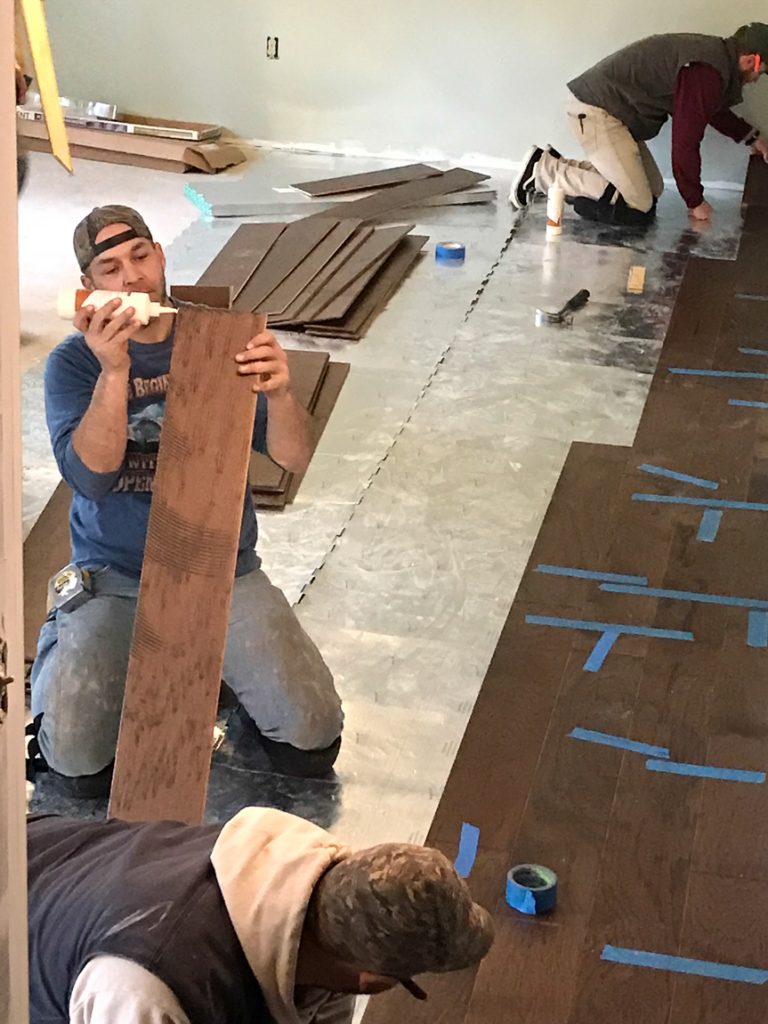
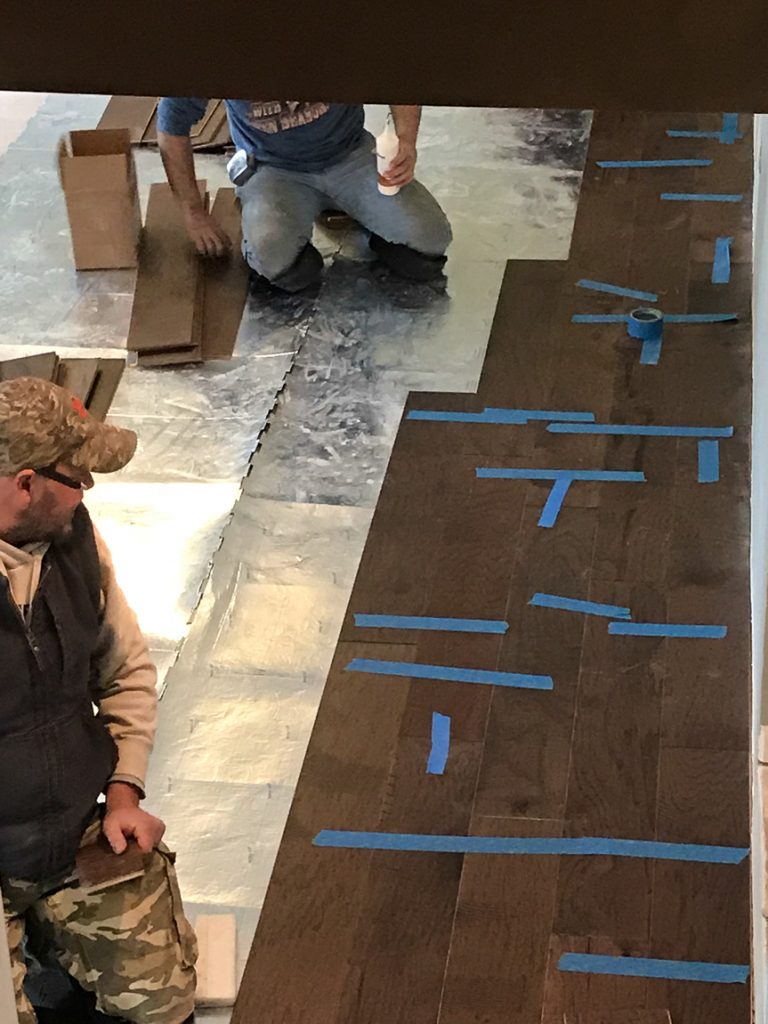
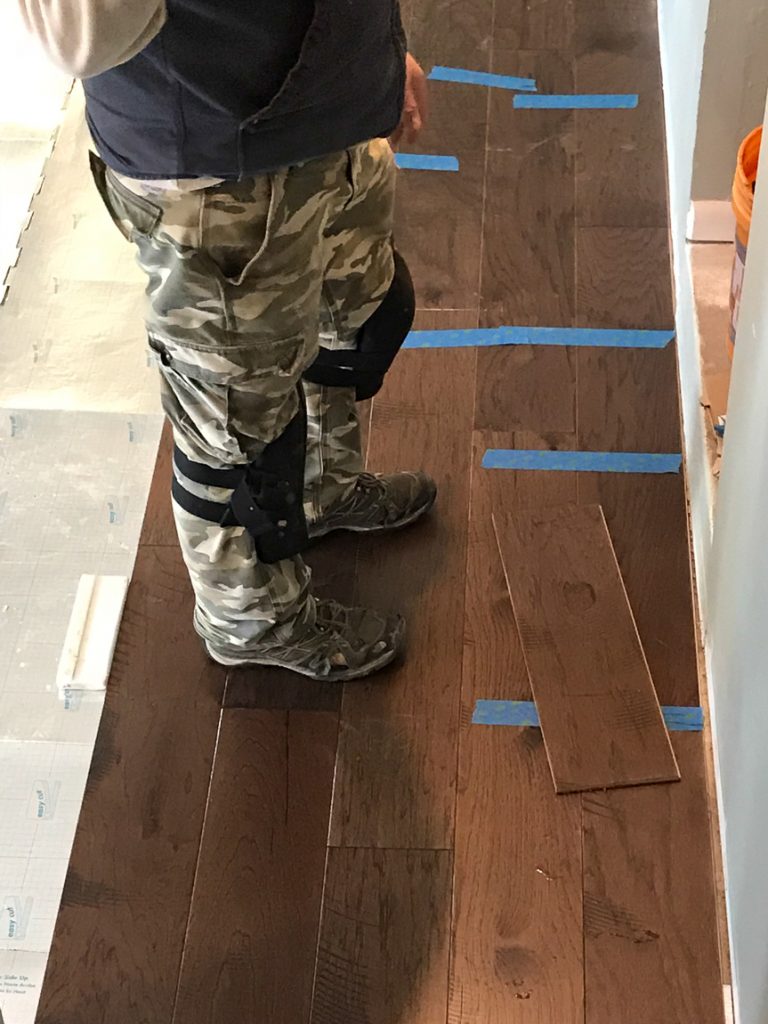
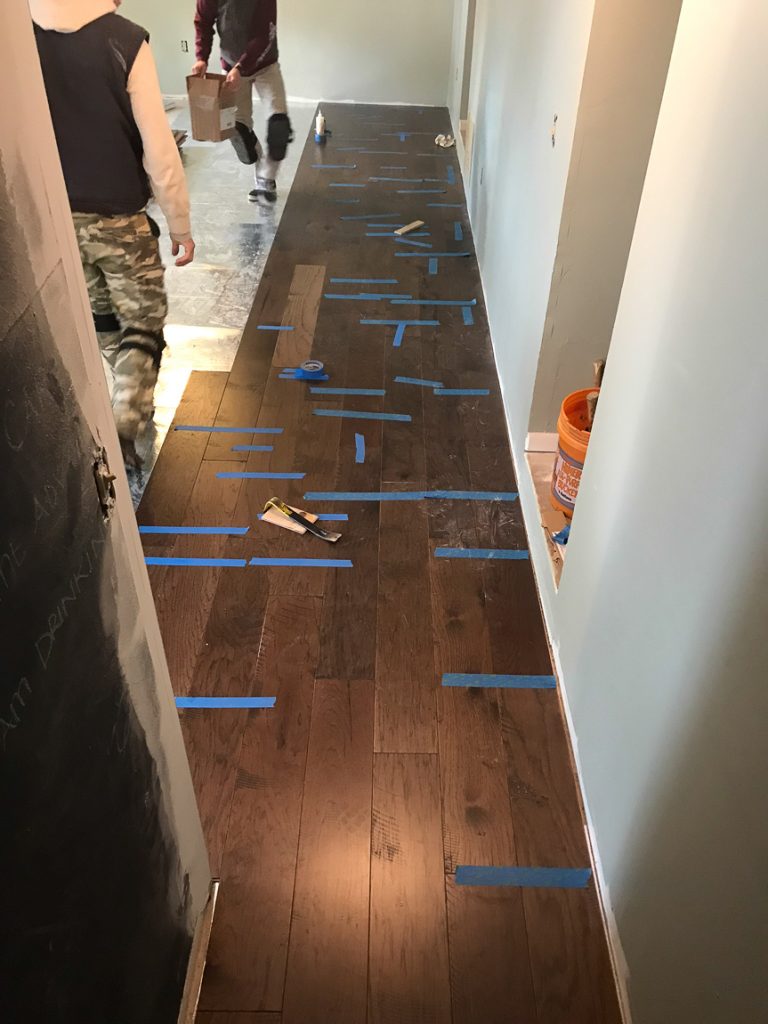
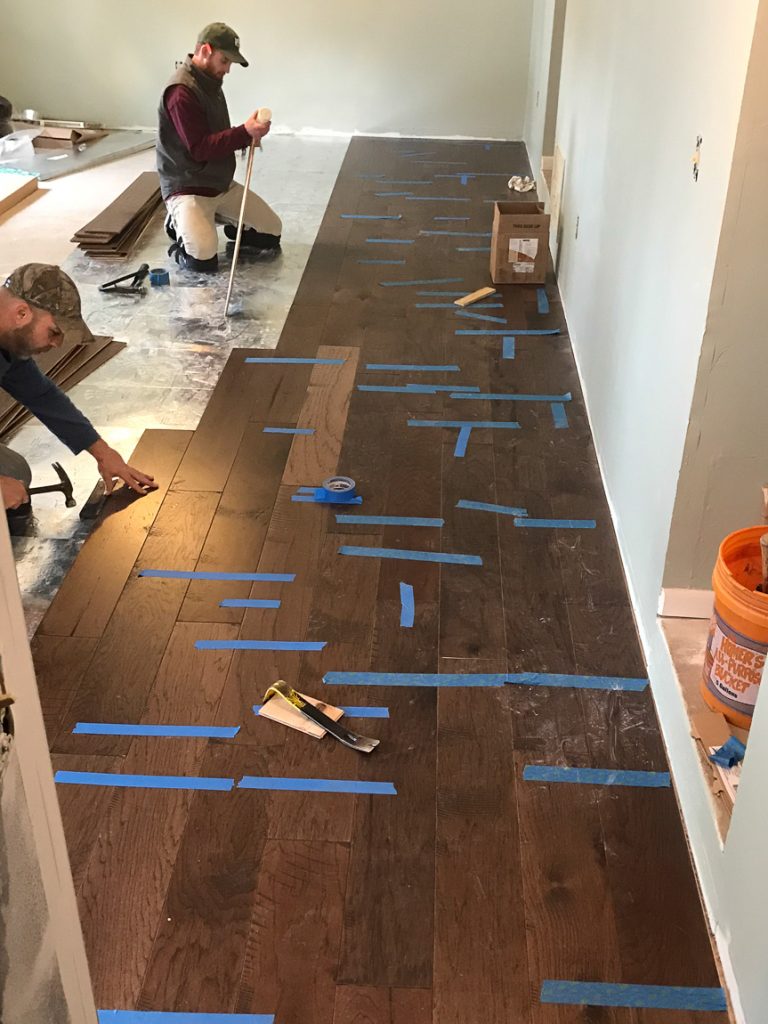
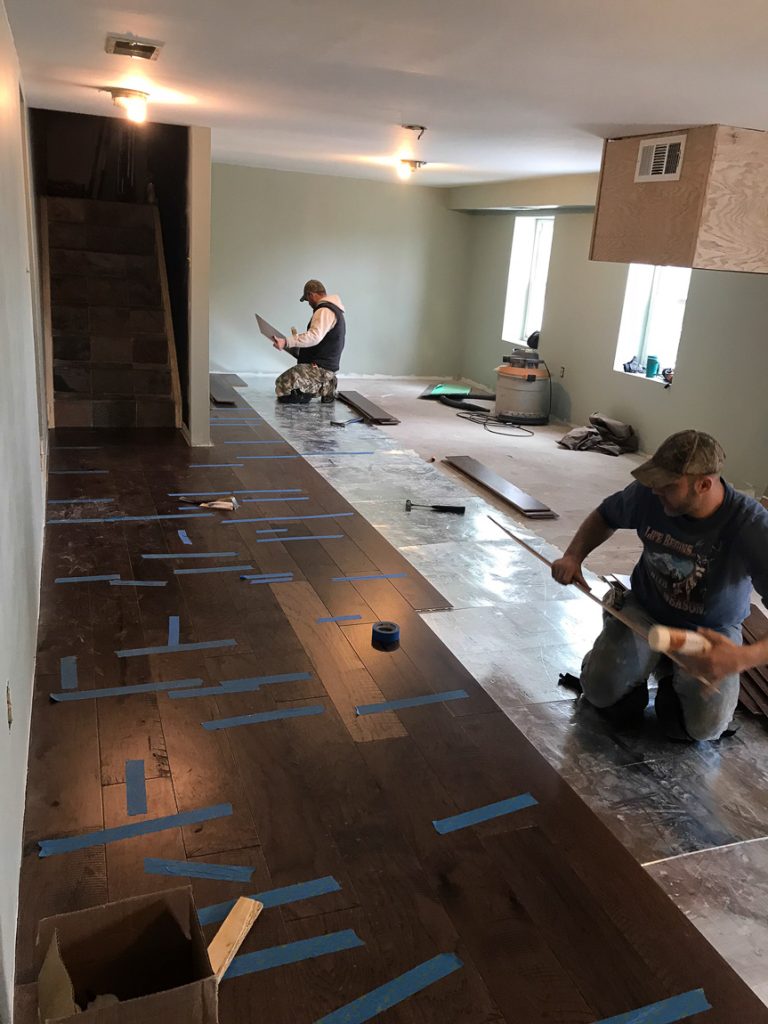
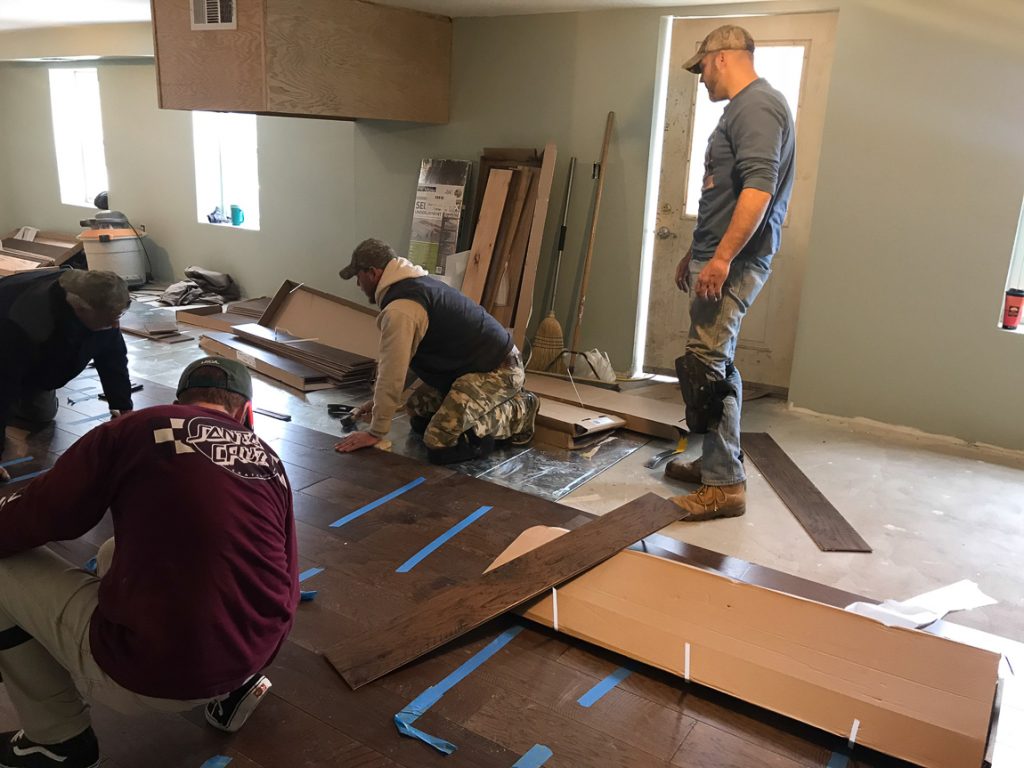
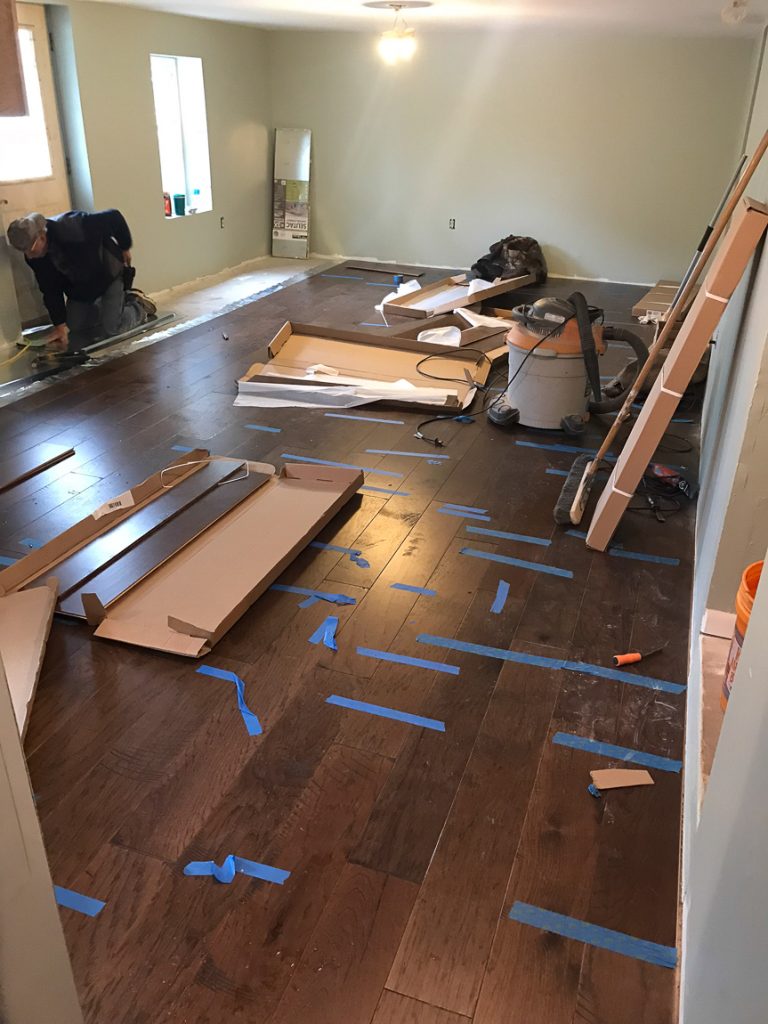
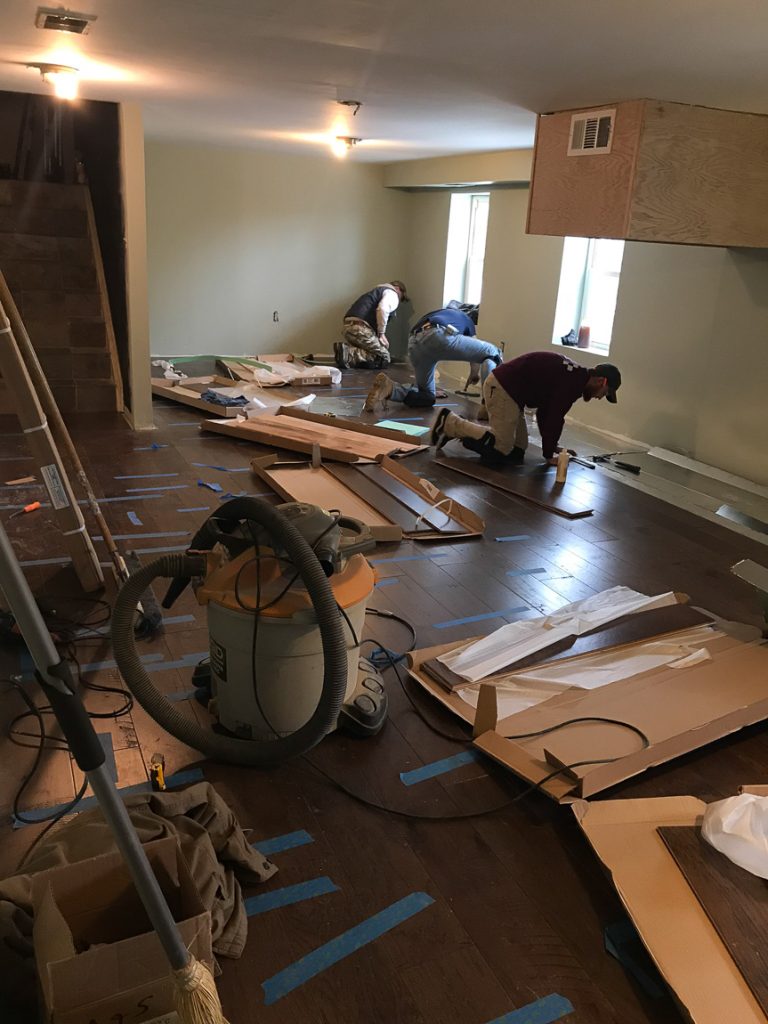
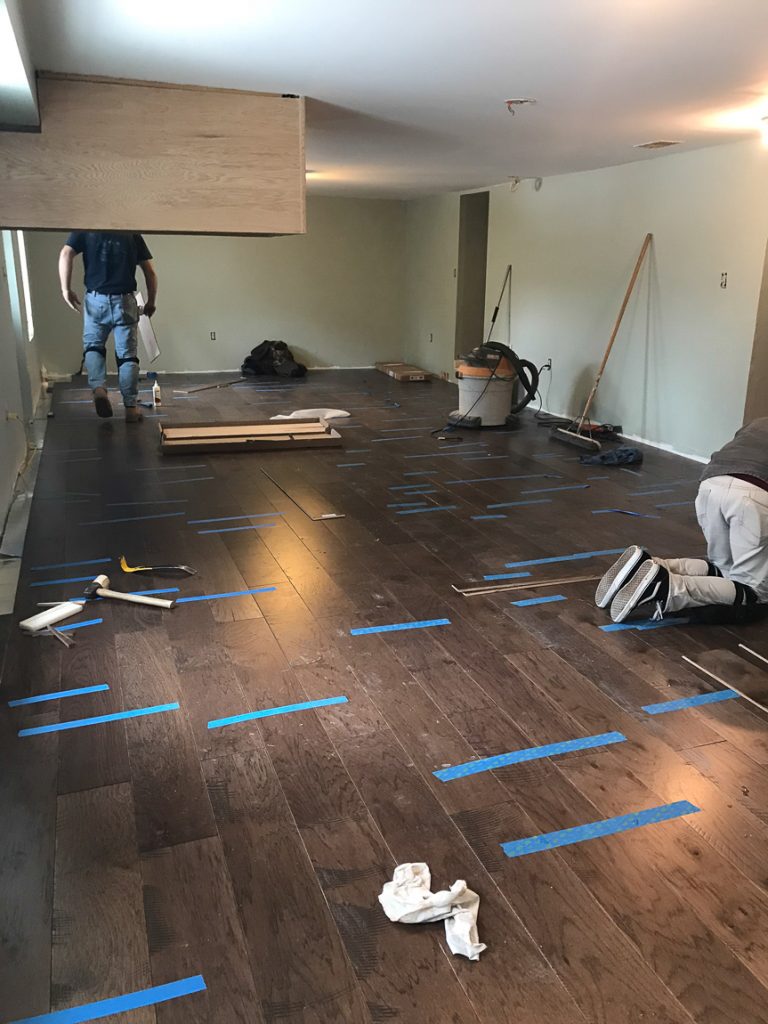
And the professional hardwood floor team A&S sent over had it installed in just a few short hours! There’s something about watching professionals … they make it look so easy. basement // mancave makeover #shawstyleboard basement // mancave makeover #shawstyleboard basement // mancave makeover #shawstyleboard

Tim has installed over a million square feet of flooring! basement // mancave makeover #shawstyleboard

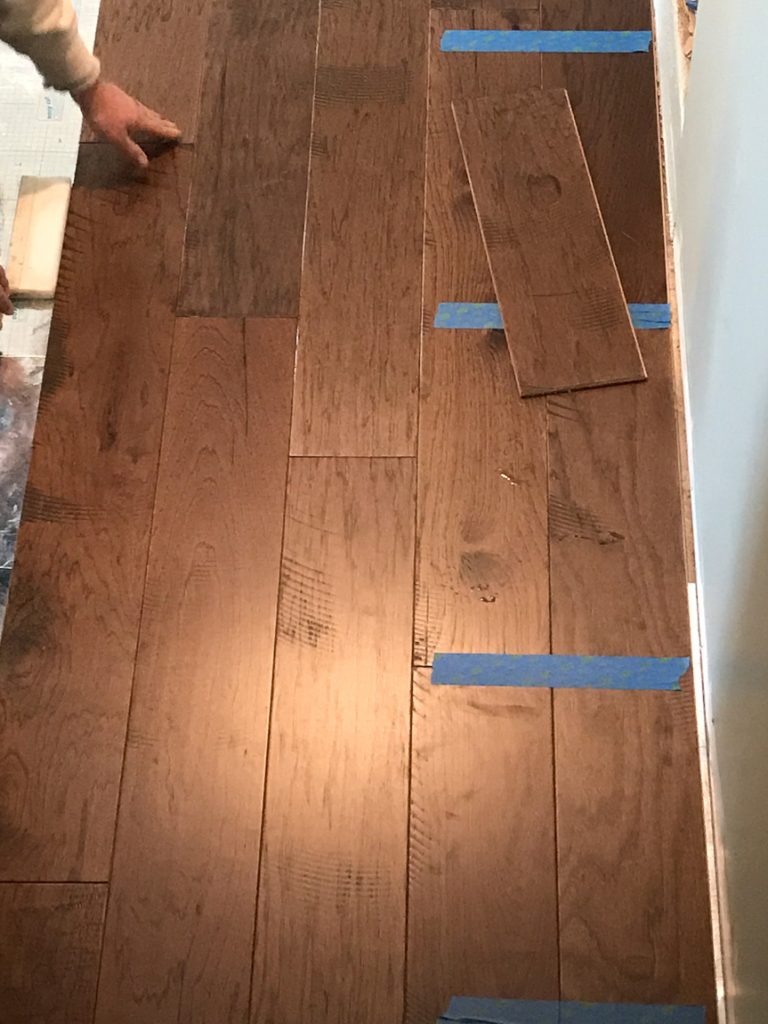
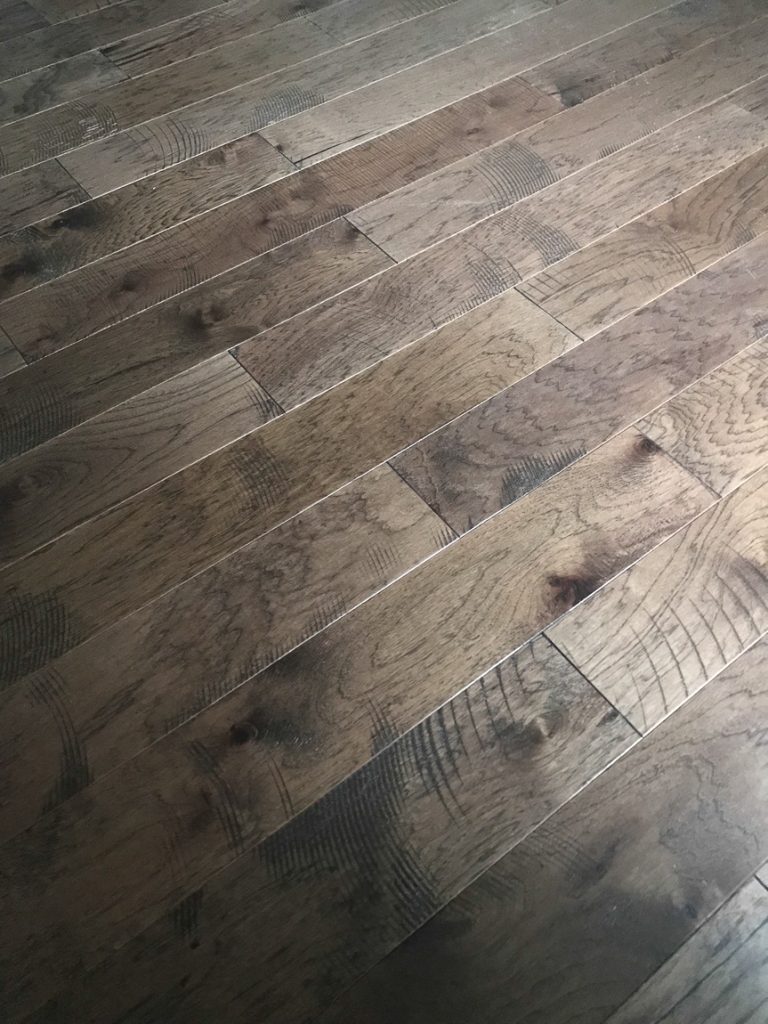
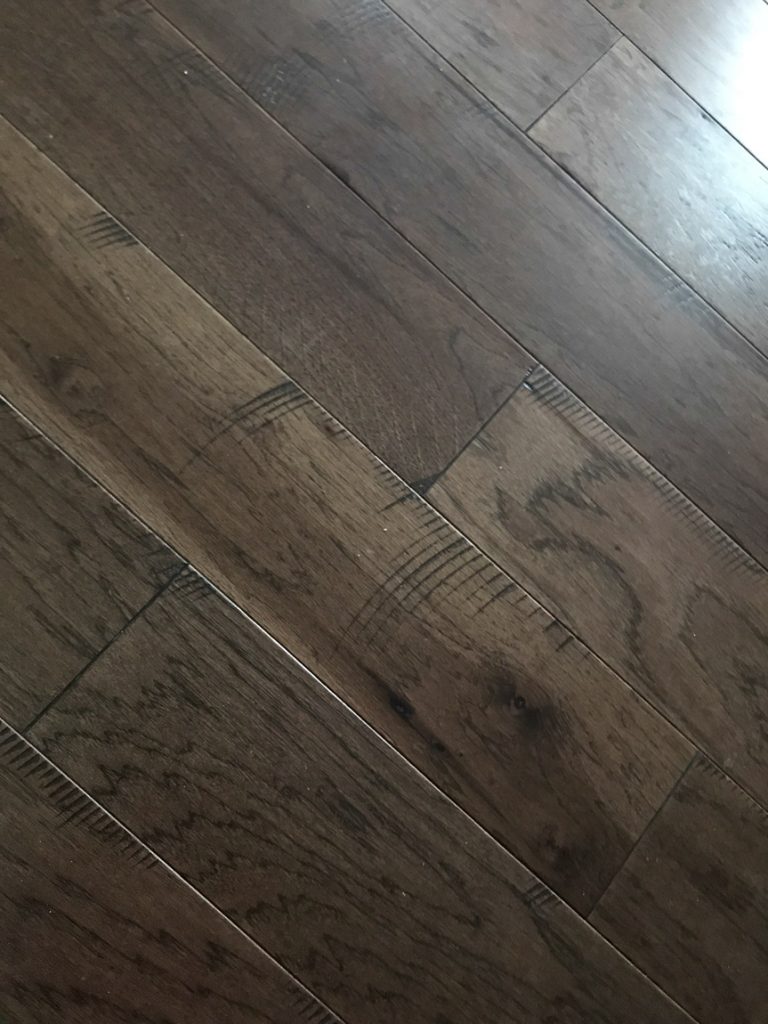
Maverick is a 7″ ply-core engineered Hickory with a pretty texture unlike any other product in the Shaw Hardwood Collection. It showcases a timeworn rustic distressed look with circular saw marks randomly peppered throughout the design. It gives the appearance of reclaimed old flooring in a wider width. 

basement // mancave makeover #shawstyleboard Shaw Maverick Leather basement // mancave makeover #shawstyleboard Shaw Maverick Leather basement // mancave makeover #shawstyleboard Shaw Maverick Leather basement // mancave makeover #shawstyleboard Shaw Maverick Leather

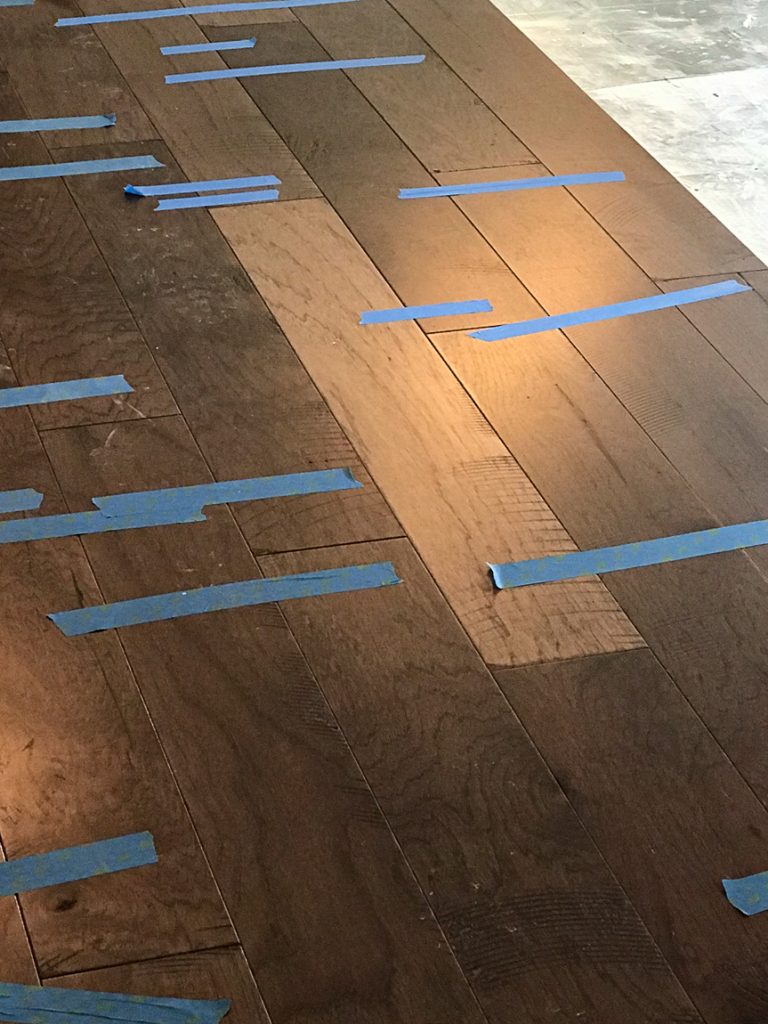
See that random light piece in the middle?basement // mancave makeover #shawstyleboard Shaw Maverick Leather

I loved that light piece and anticipated random light pieces throughout the design. However, when that didn’t seem to be the case, I requested it be removed. Thankfully the glue hadn’t completely dried and the guys got it swapped out. basement // mancave makeover #shawstyleboard Shaw Maverick Leather basement // mancave makeover #shawstyleboard Shaw Maverick Leather basement // mancave makeover #shawstyleboard Shaw Maverick Leather basement // mancave makeover #shawstyleboard Shaw Maverick Leather basement // mancave makeover #shawstyleboard Shaw Maverick Leather basement // mancave makeover #shawstyleboard Shaw Maverick Leather basement // mancave makeover #shawstyleboard Shaw Maverick Leather

We went with the color “leather”.

basement // mancave makeover #shawstyleboard Shaw Maverick Leather basement // mancave makeover #shawstyleboard Shaw Maverick Leather

Isn’t it pretty? Isn’t the distressing awesome?

basement // mancave makeover #shawstyleboard Shaw Maverick Leather basement // mancave makeover #shawstyleboard Shaw Maverick Leather basement // mancave makeover #shawstyleboard Shaw Maverick Leather basement // mancave makeover #shawstyleboard Shaw Maverick Leather basement // mancave makeover #shawstyleboard Shaw Maverick Leather

Since this will be a space for entertaining and play, it’s a great durable option!  What do you think? 

Do you have a finished basement? Is it a mancave type space? What type of flooring did you choose?


Mancave in Progress (Part 1)

We have a mancave makeover in progress! Hurray!!! 

basement // mancave makeover #shawstyleboard

Well, to be precise…we’ve never had a mancave in our home so we’re doing a basement makeover and creating a mancave for Russ. When it comes to our home, my husband has pretty much given me free reign to DIY, design and decorate as I please. We call it my life sized doll house. As you know, it’s kind of my thing, what I love to do and it’s still a work in progress with lots to be done but last summer, we started cleaning out the basement and it was time to start planning a space just for him. 500+ square feet all dedicated to him, his hobbies and his likes. He’s a home brewer so the mancave will include a bar for entertaining and because he enjoys football season, a living room area with enormous television…I’d call that a mancave, right?

I want him to make the decisions on this space but I appreciate that he includes me in his decision making and asks my opinion. See my Pinterest Board of Mancave Inspiration here


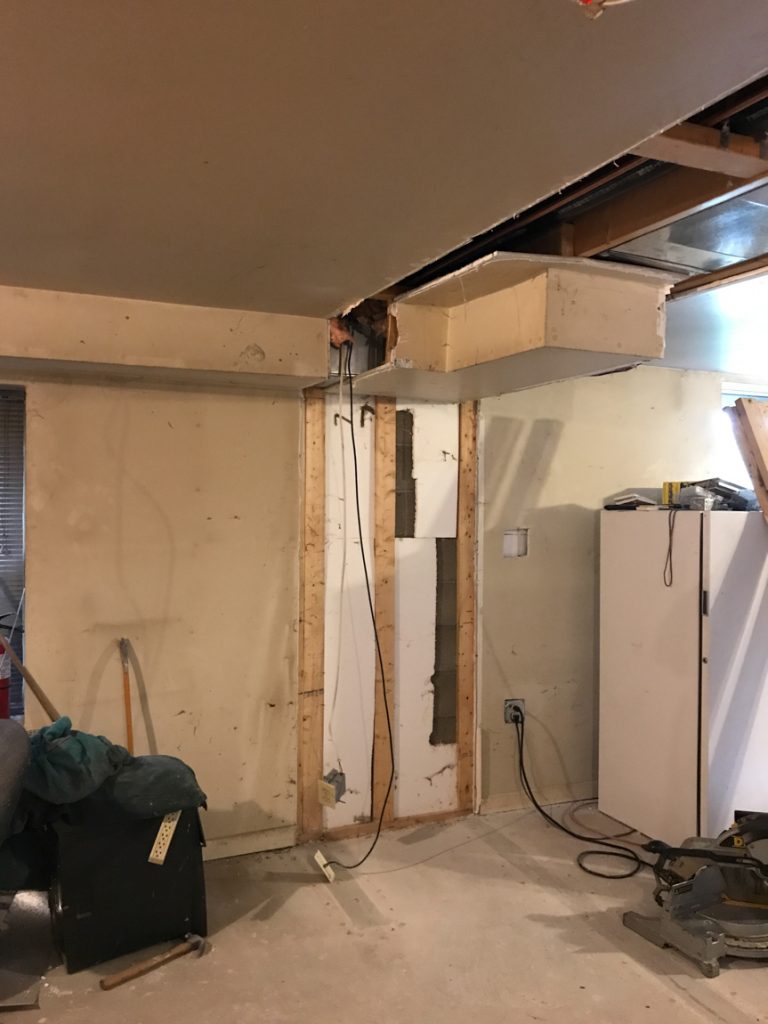
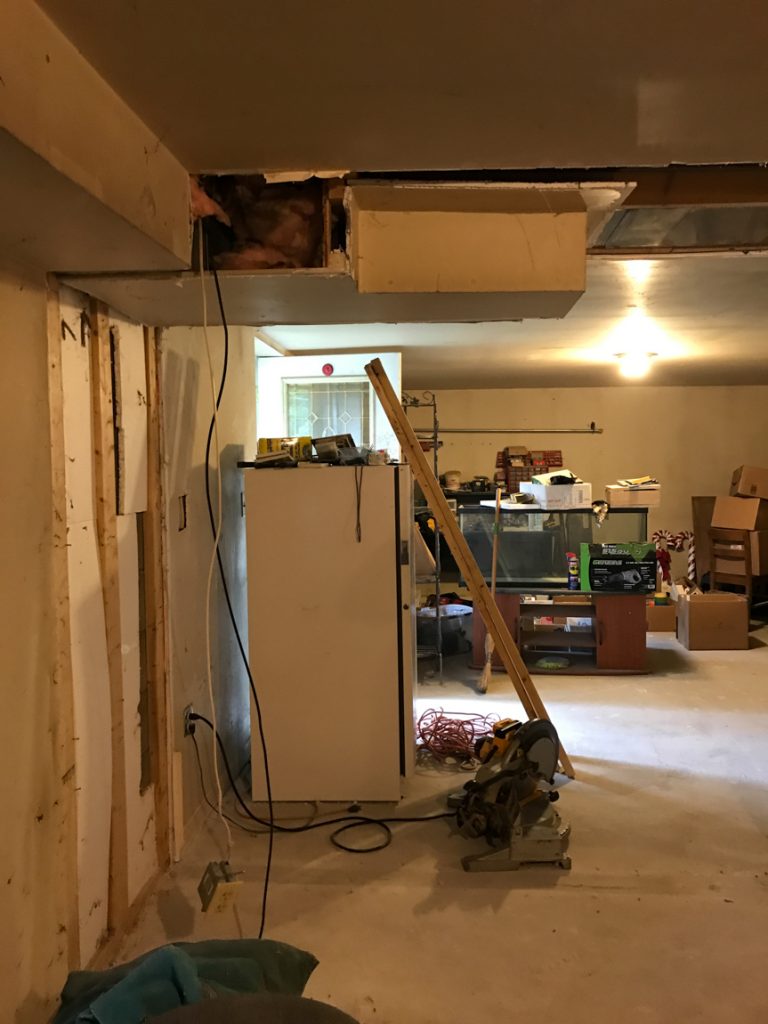
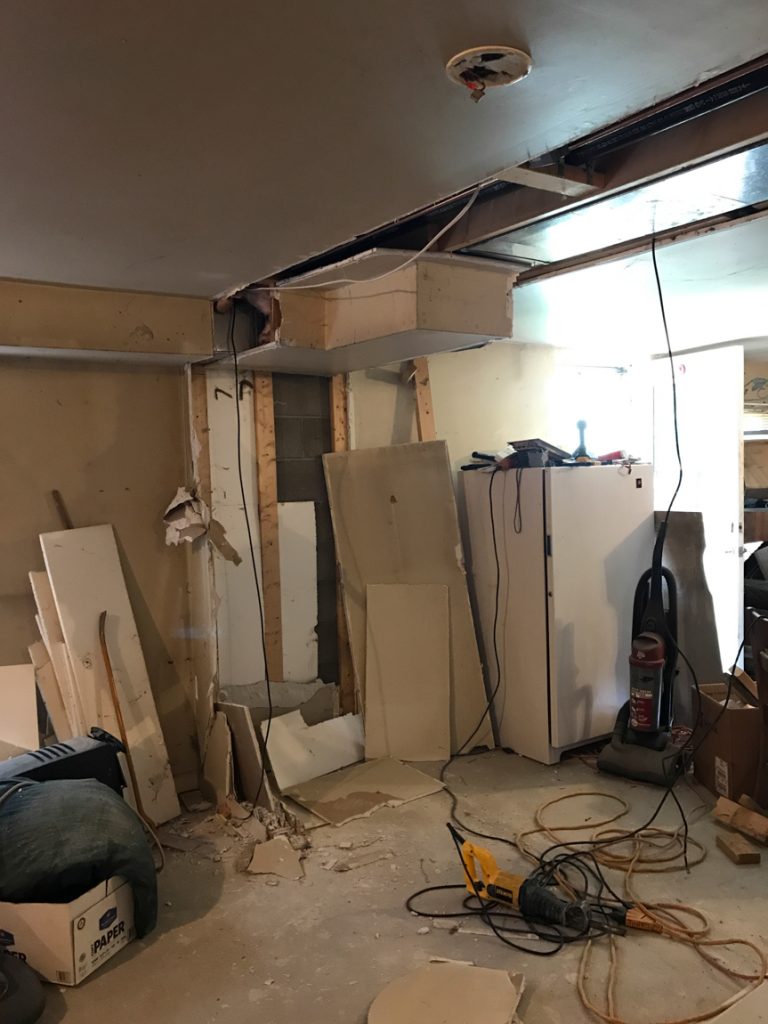
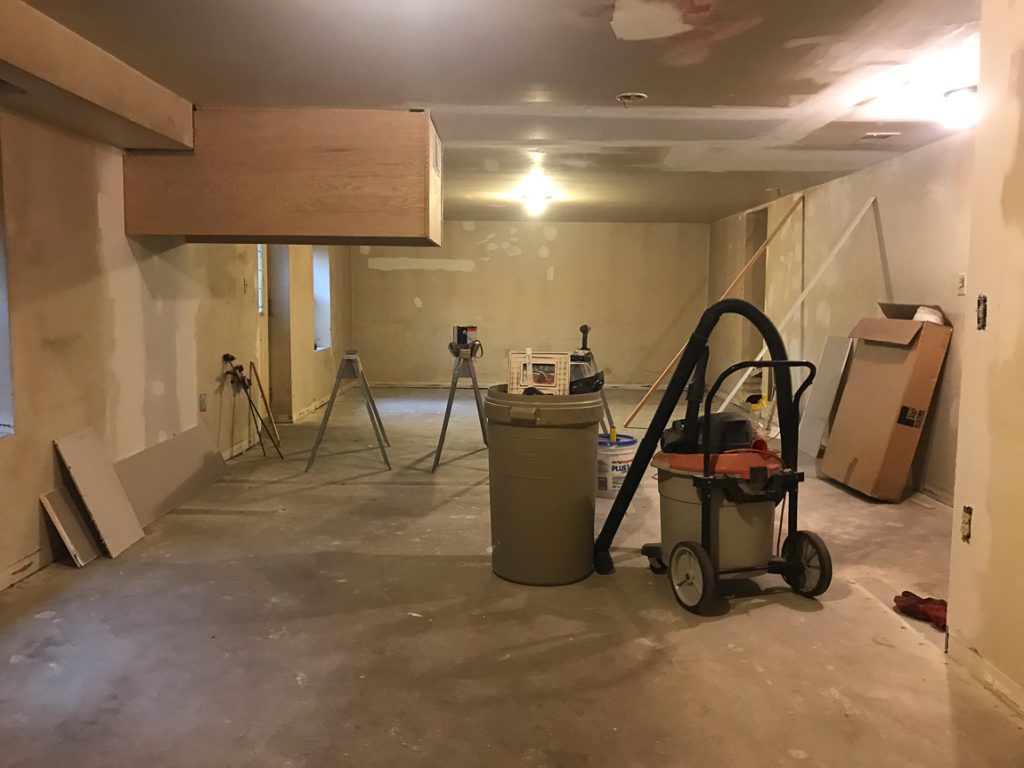
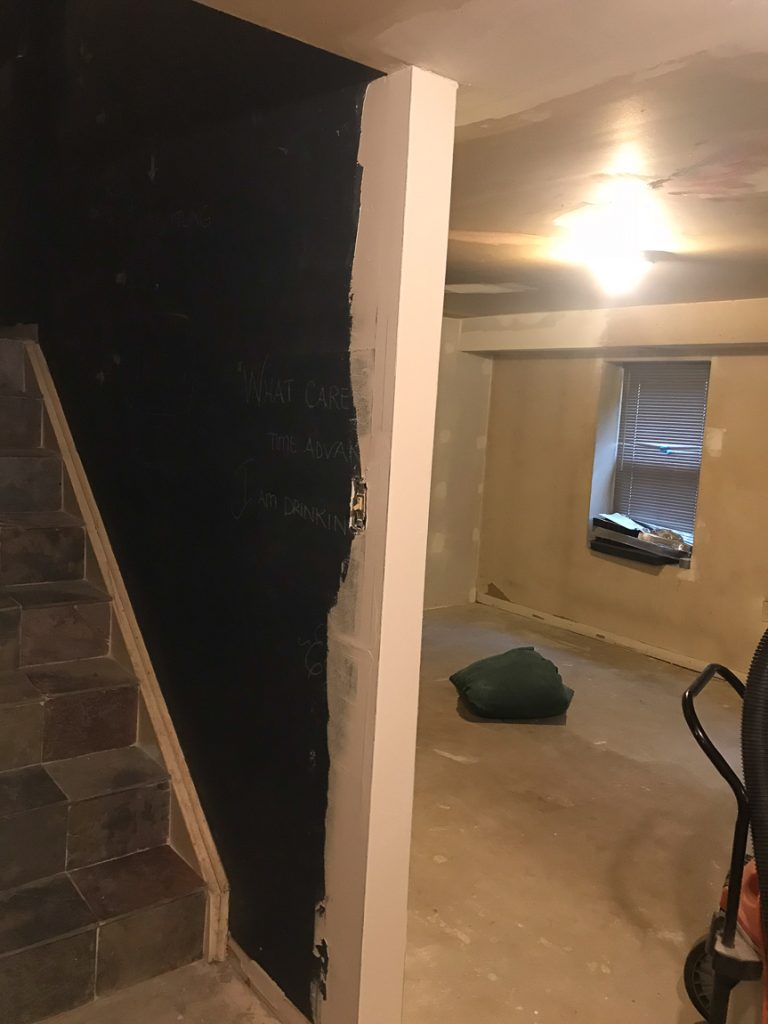
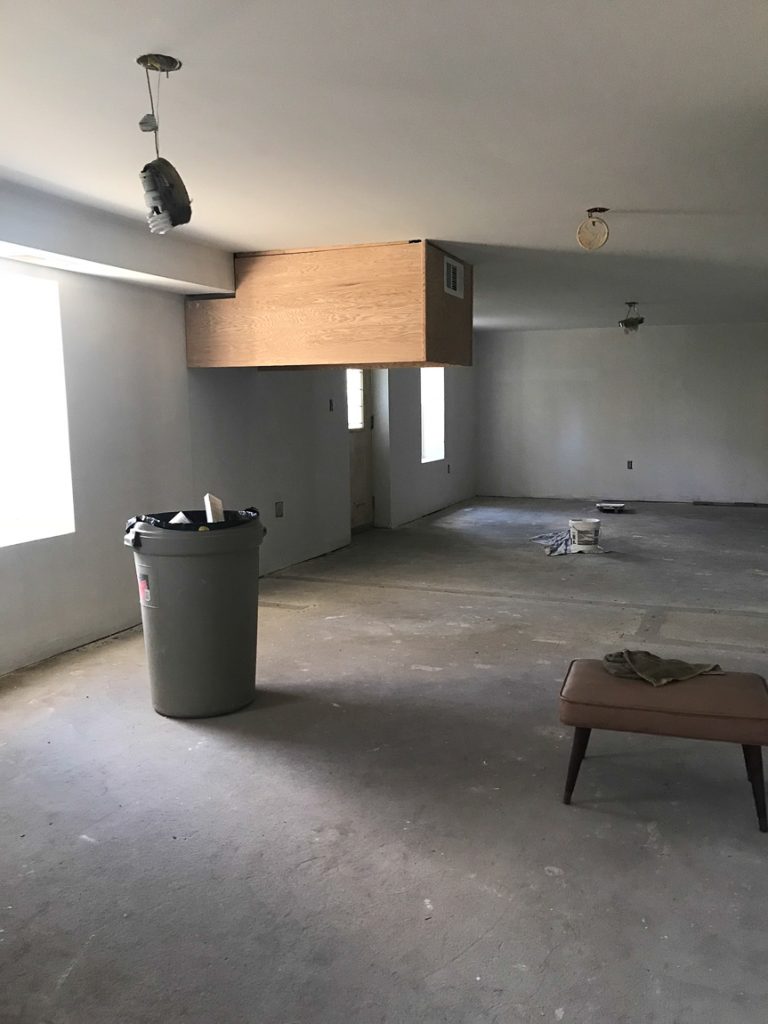
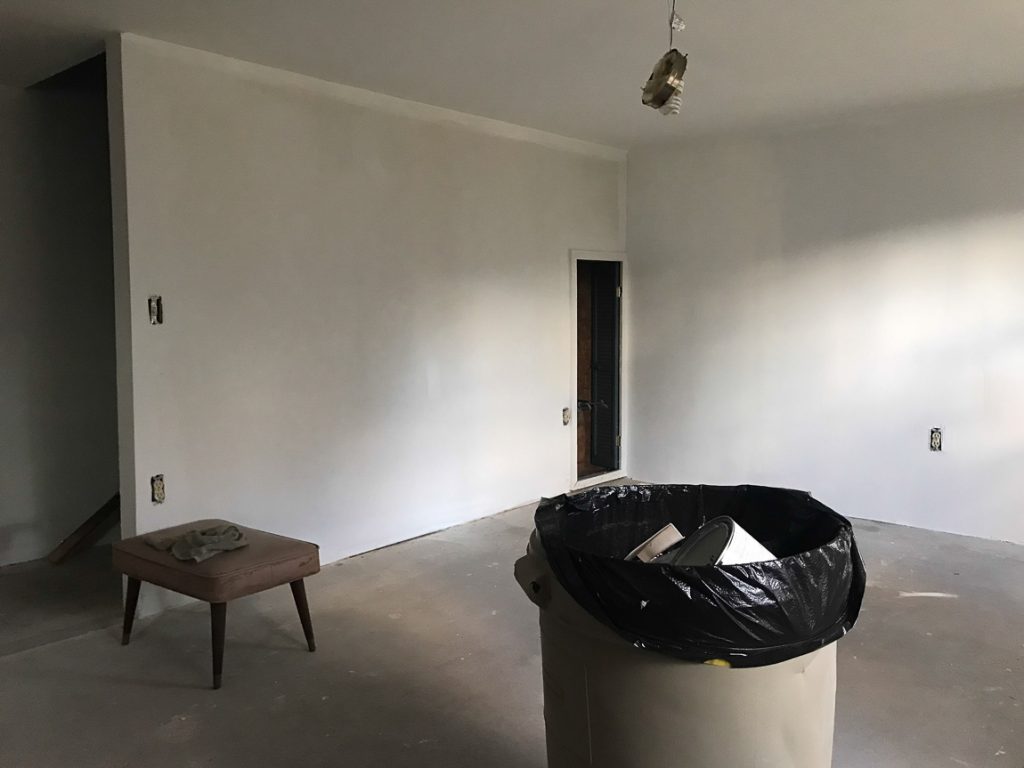
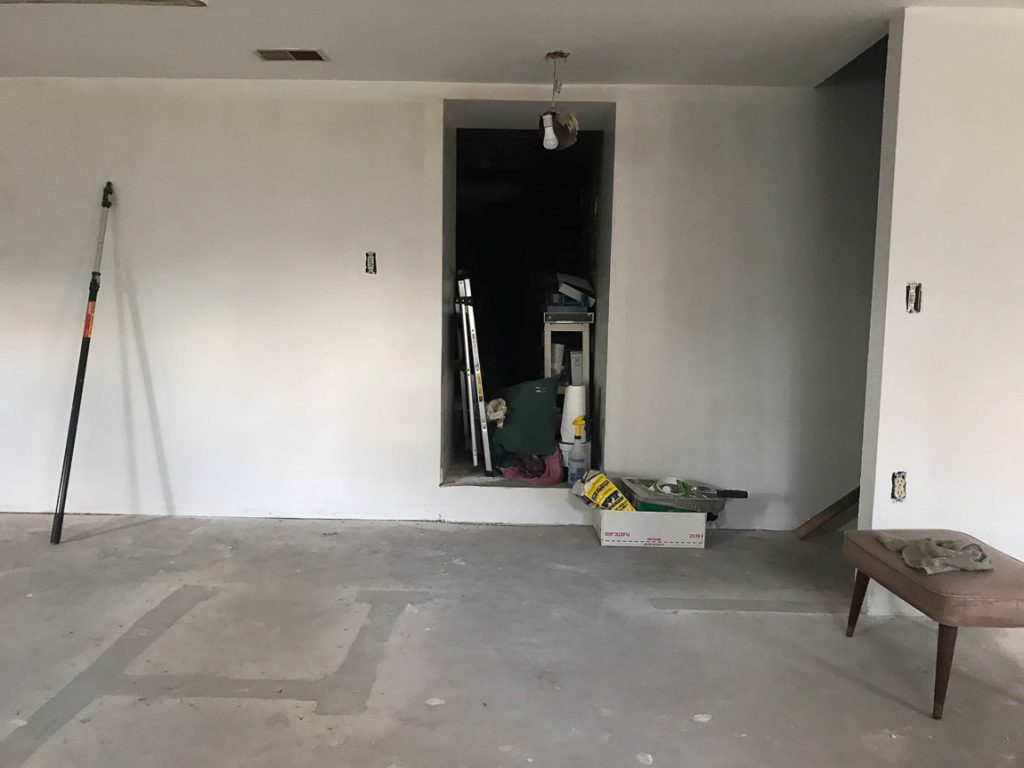
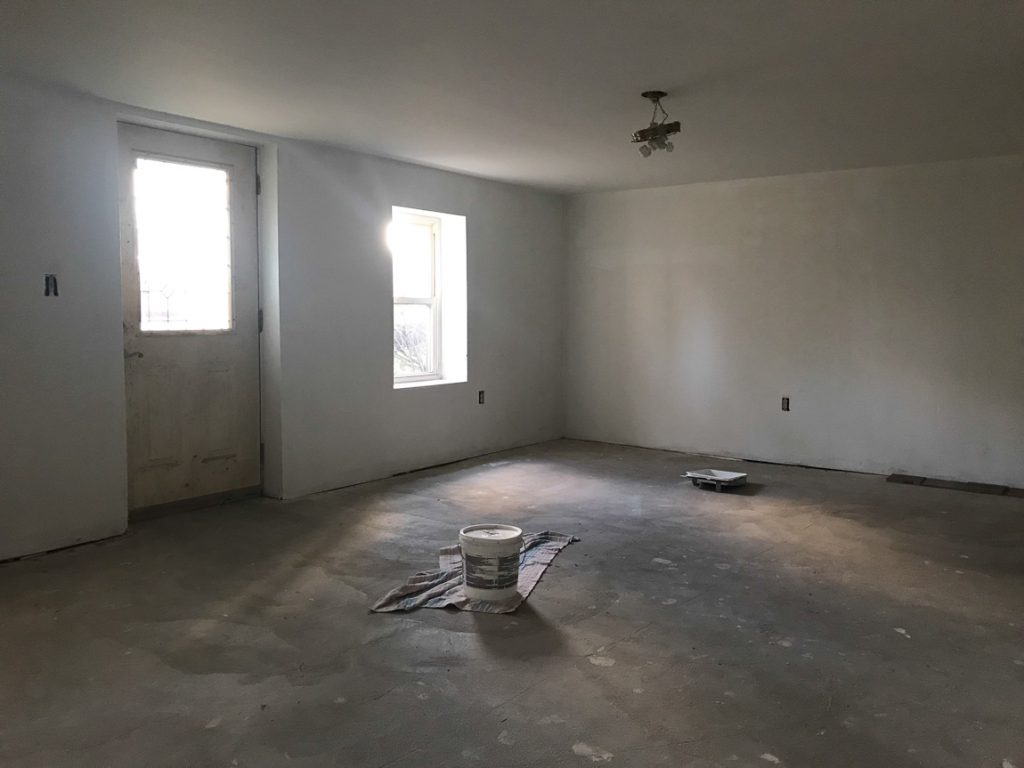
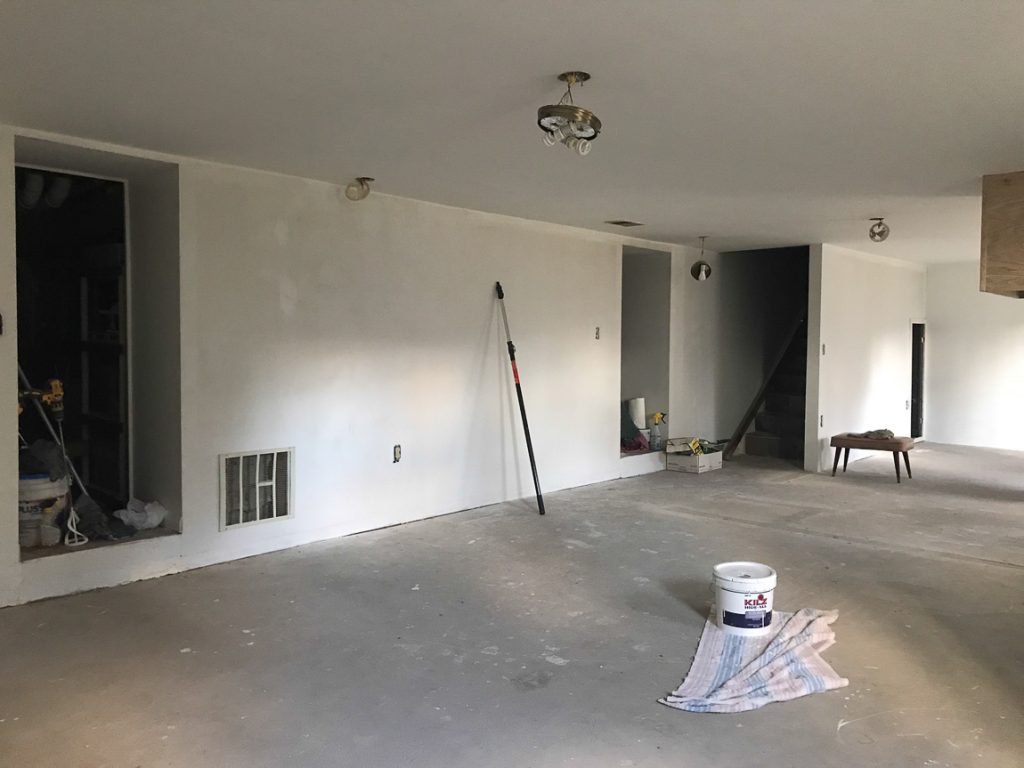
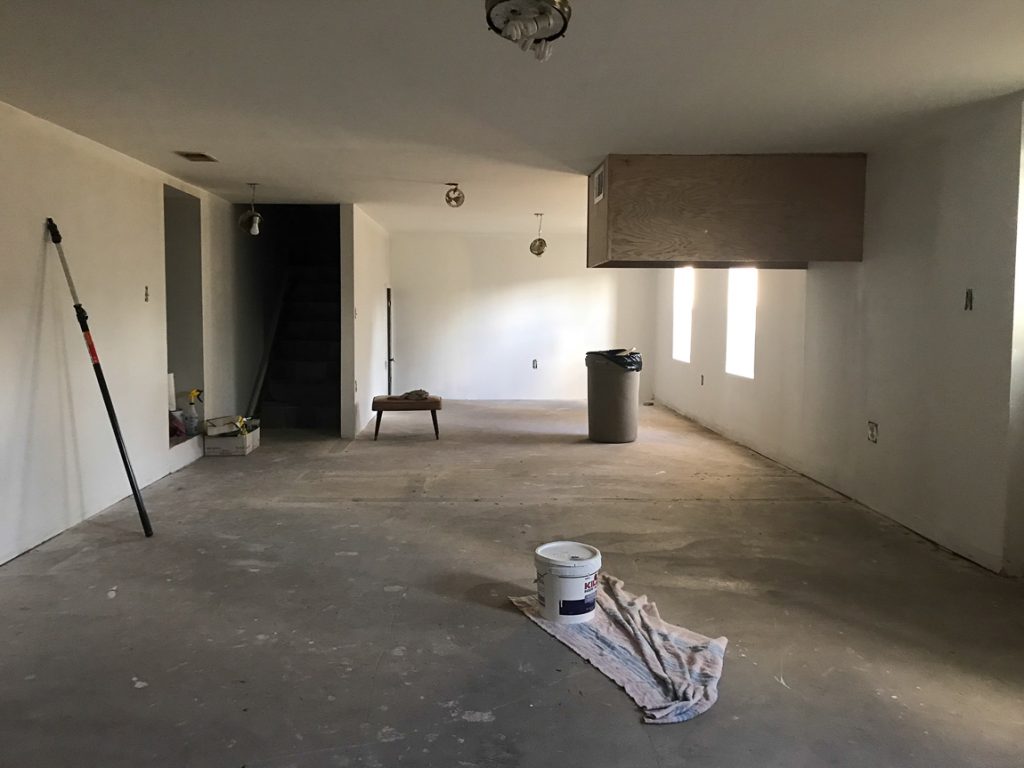
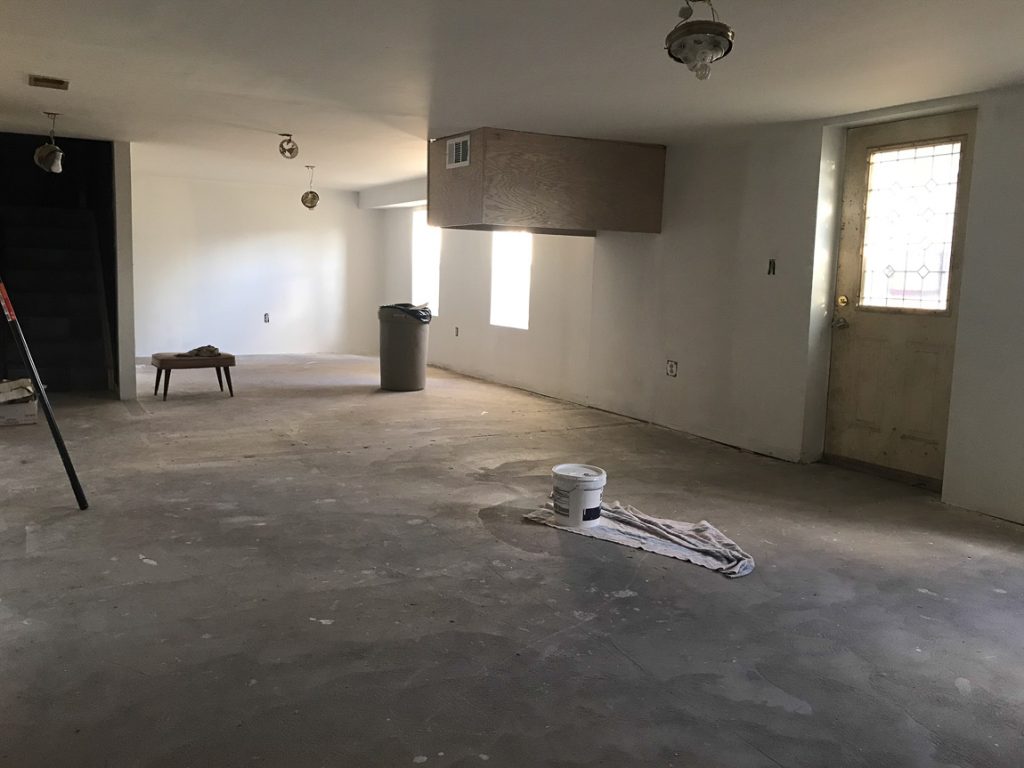
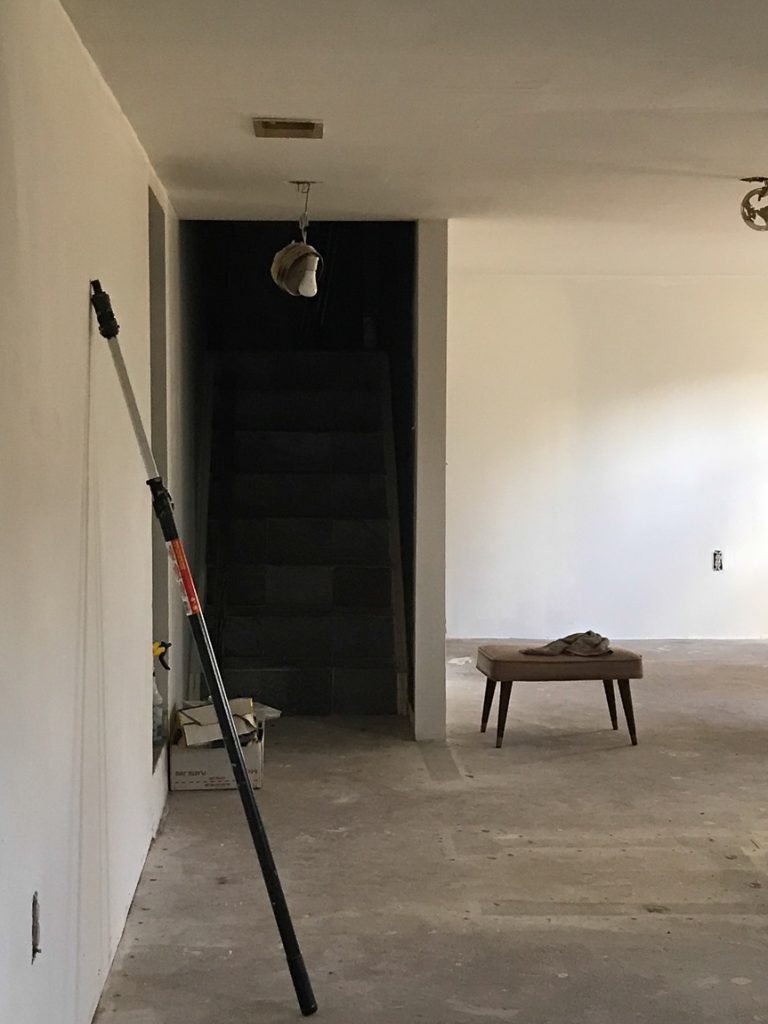
Our basement is two parts. 1 part old 1927 below the original house with ceilings so low he has to duck his head and 1 part newer addition – we’re guessing sometime in the early 1990s. The overflowing storage of junk had reached our puke point. We had a yard sale last summer. He tore down a wall that separated the space. Here are some before photos when the wall was removed and the junk was heading out the door…

basement // mancave makeover basement // mancave makeover basement // mancave makeover #shawstyleboard Shaw Maverick Leather

We’ve been here going on 12 years and never really did anything with the space other than he ripped up some nasty carpet when we moved in and we did have a wood burner for a while before insulating our home and new windows. But mostly, it just sat collecting junk, dirt and dust. It often also served as a workshop for DIY projects upstairs so lots of sawdust too! 
basement // mancave makeover #shawstyleboard basement // mancave makeover #shawstyleboard basement // mancave makeover #shawstyleboard

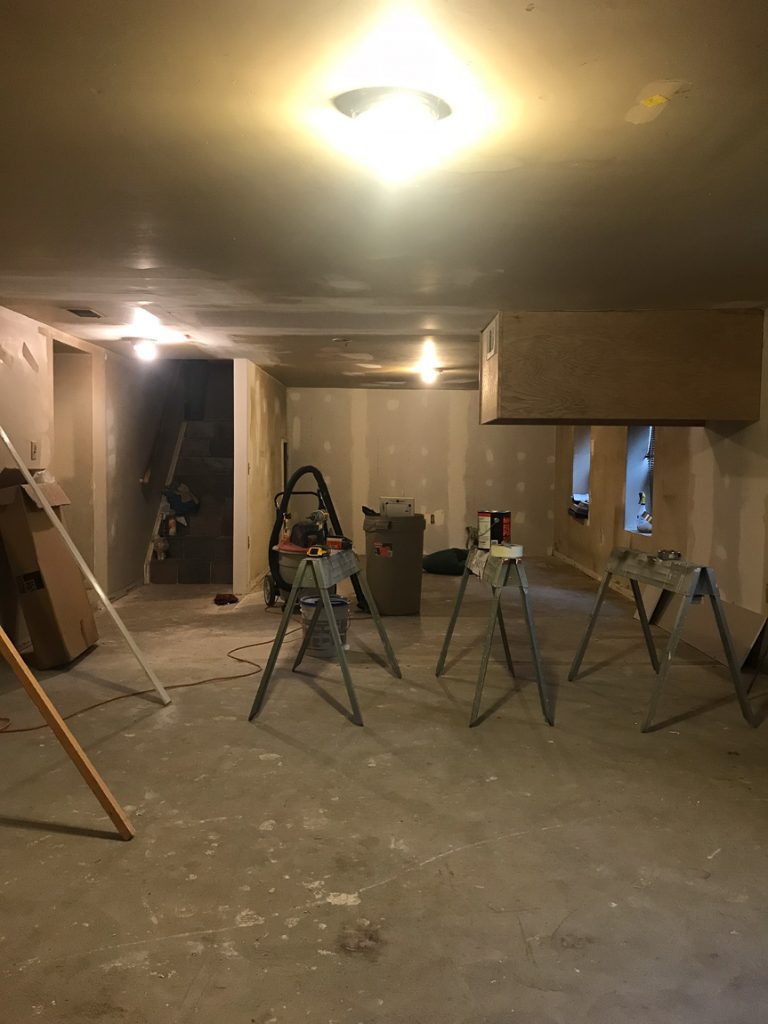
The duct work that sits head-hitting low for his 6’3″ height will be encased in cabinetry. More details on why coming up later!
basement // mancave makeover #shawstyleboardbasement // mancave makeover #shawstyleboard basement // mancave makeover #shawstyleboard

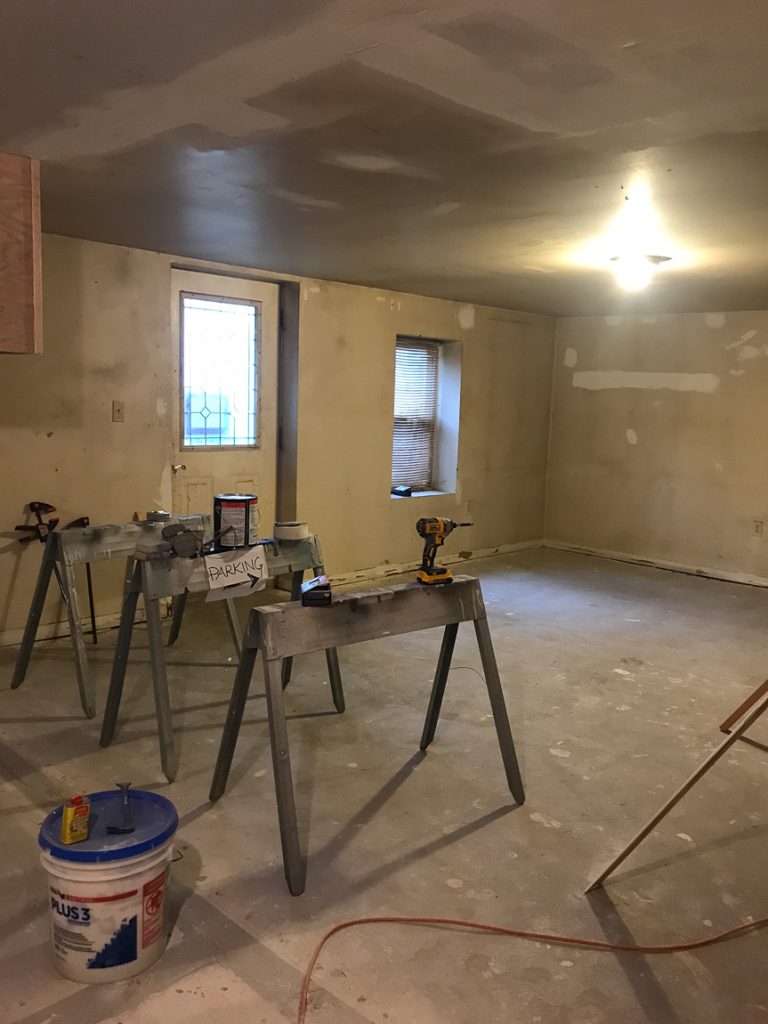
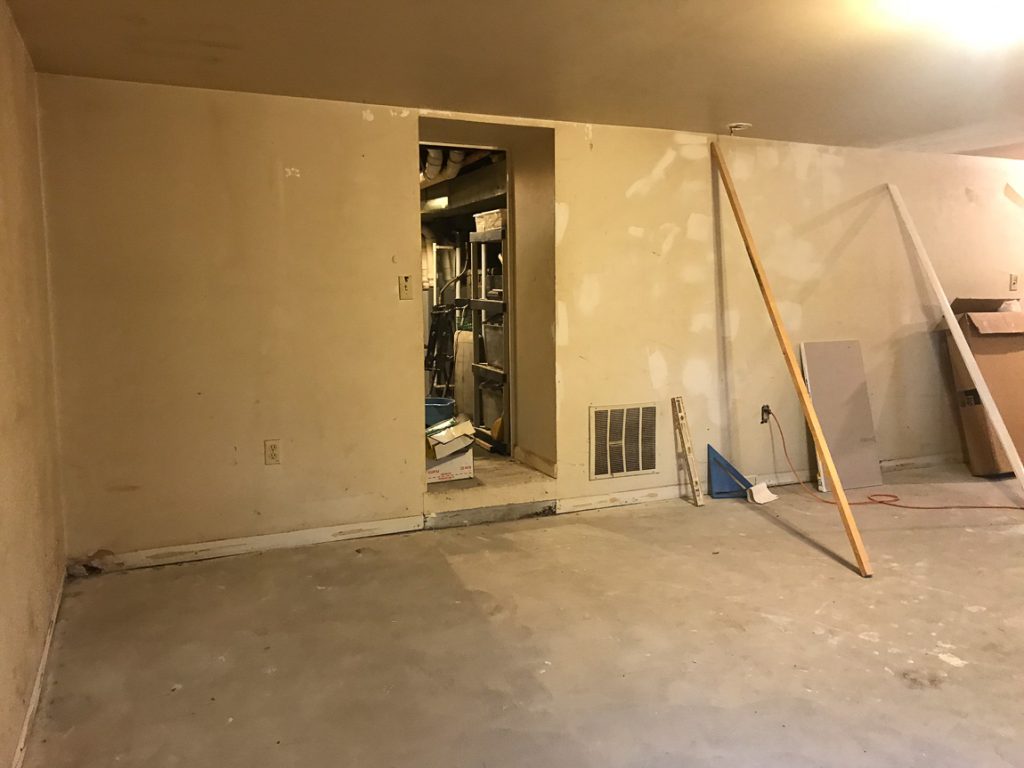
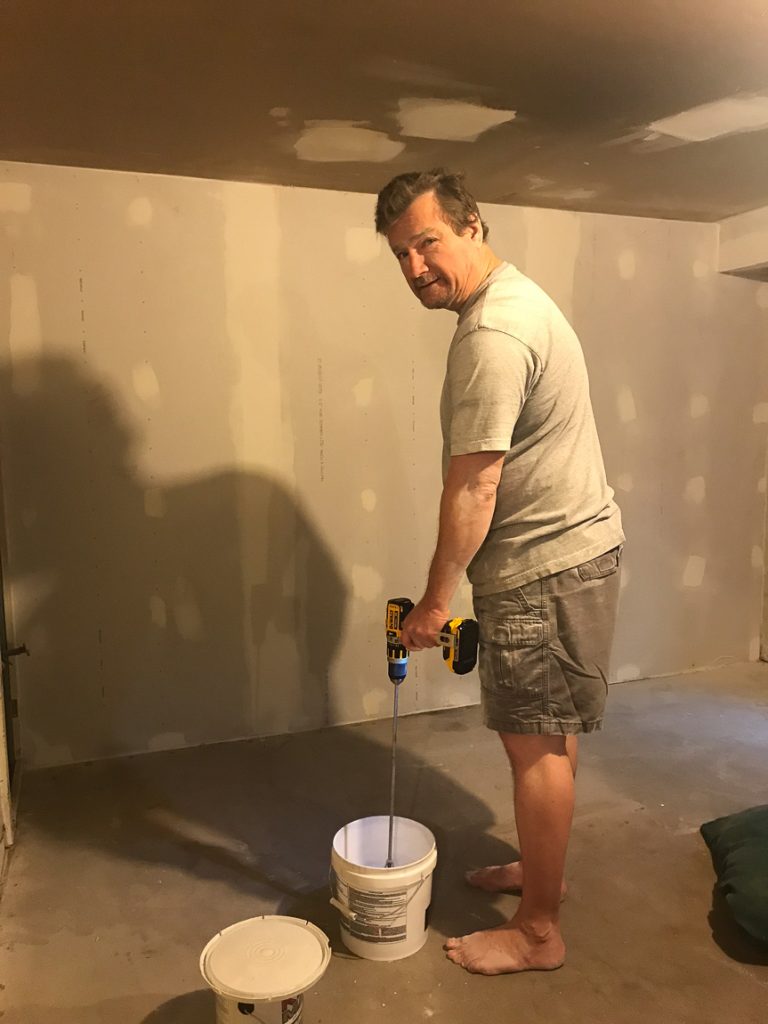
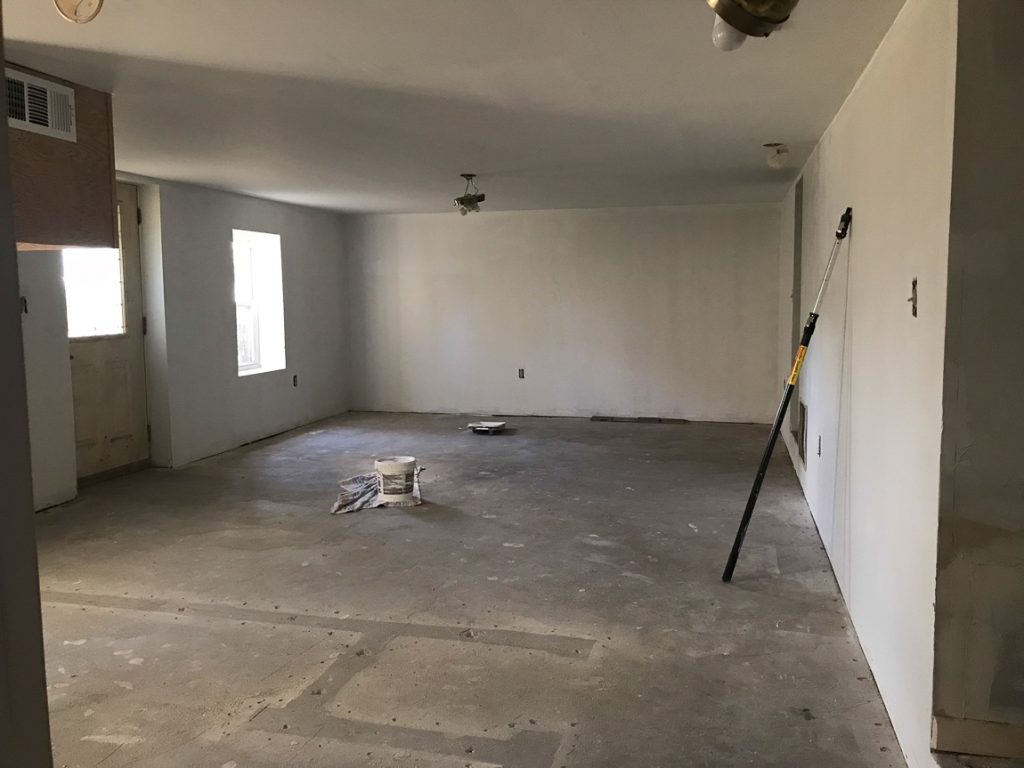
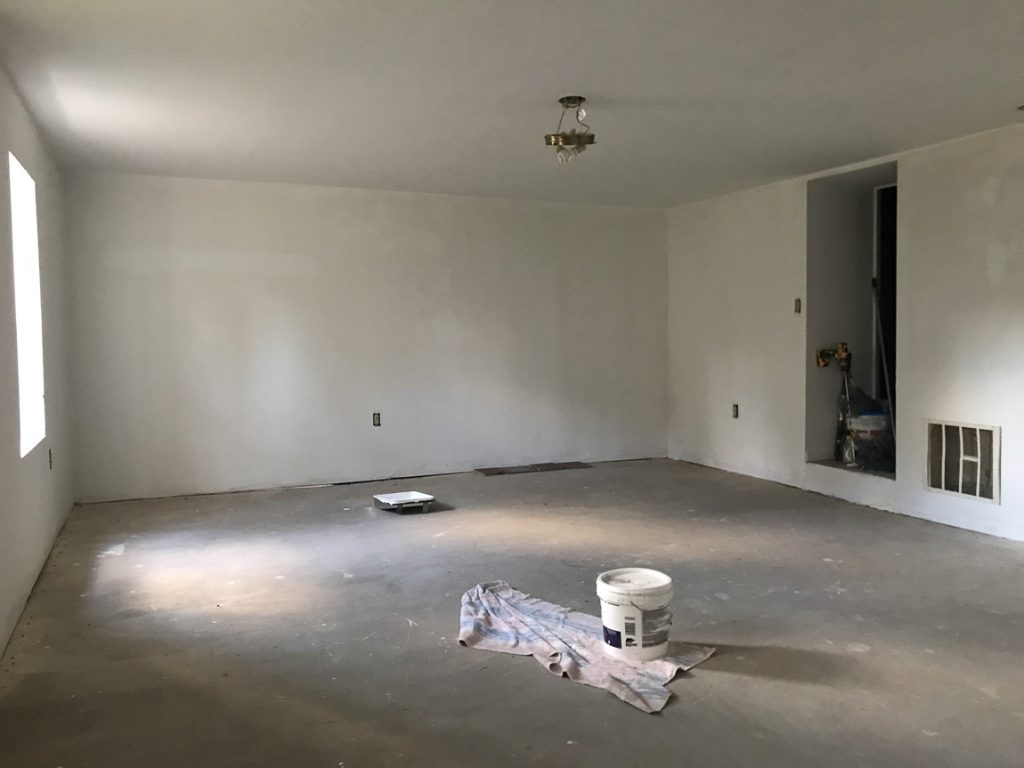
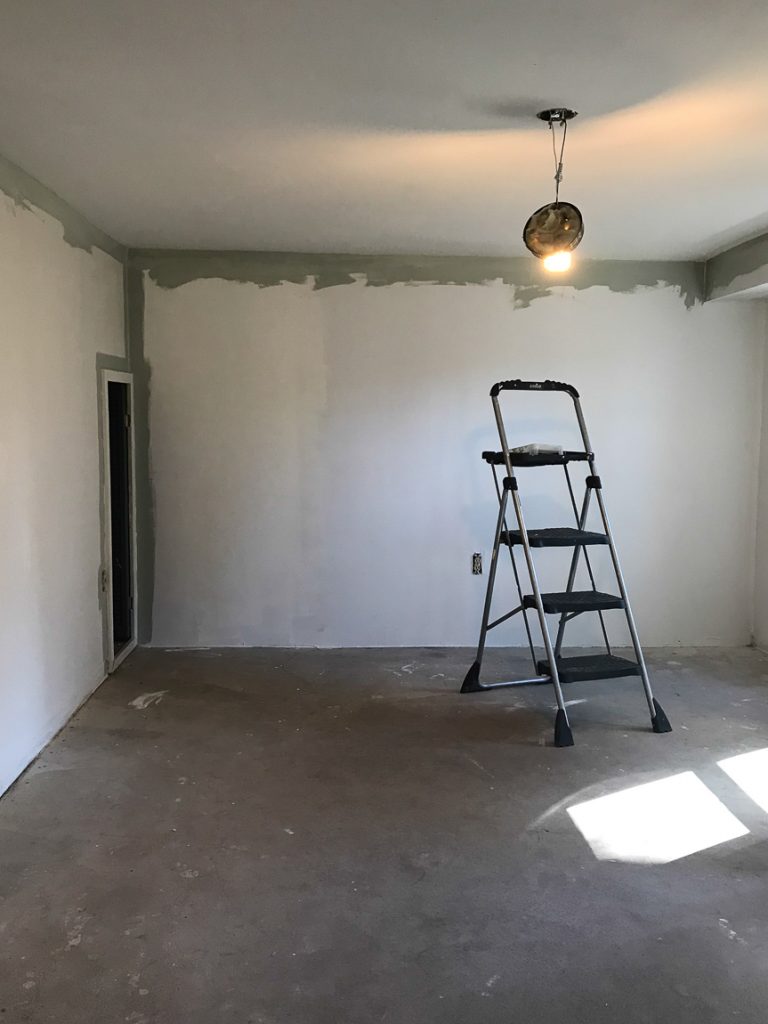
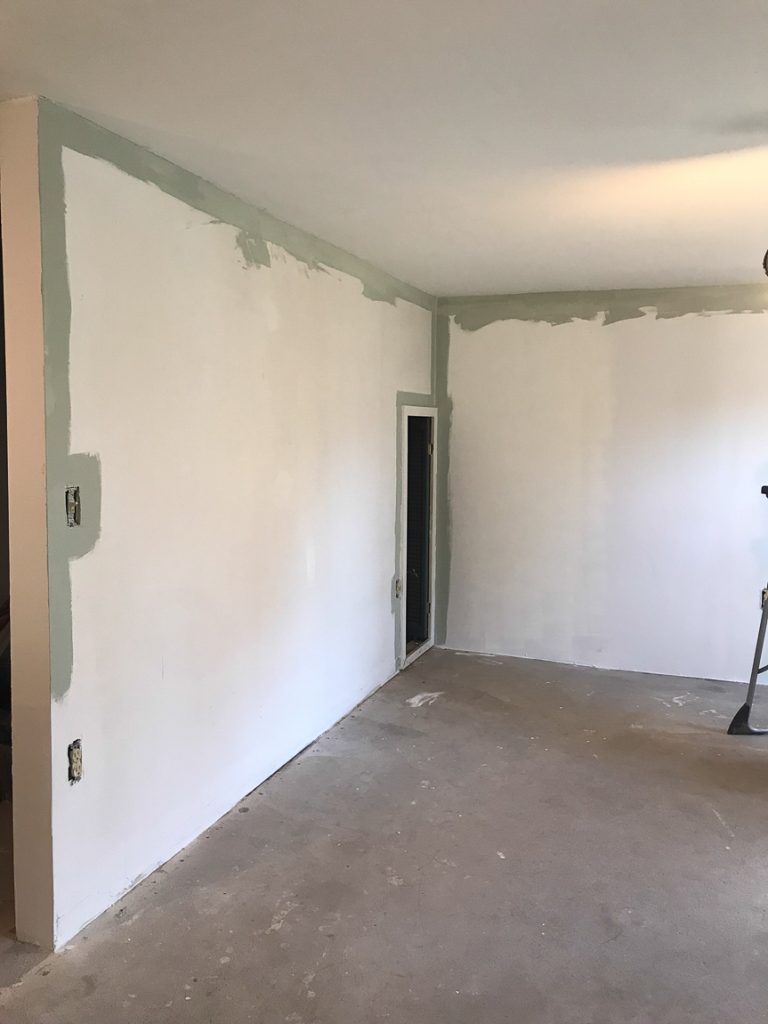
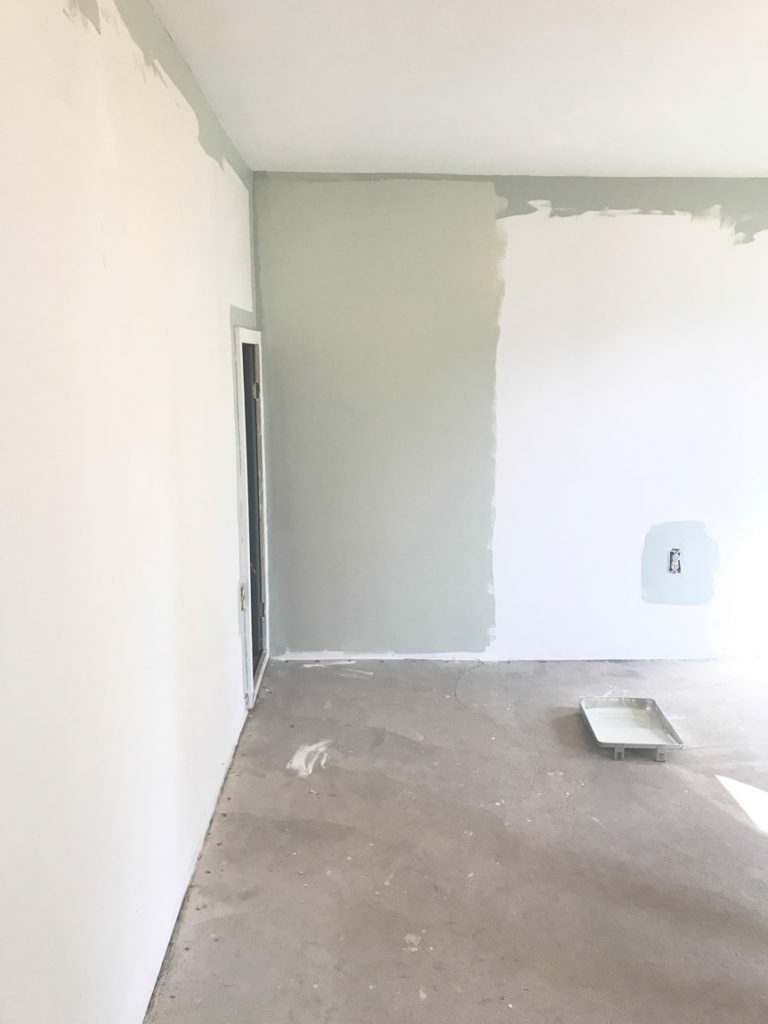
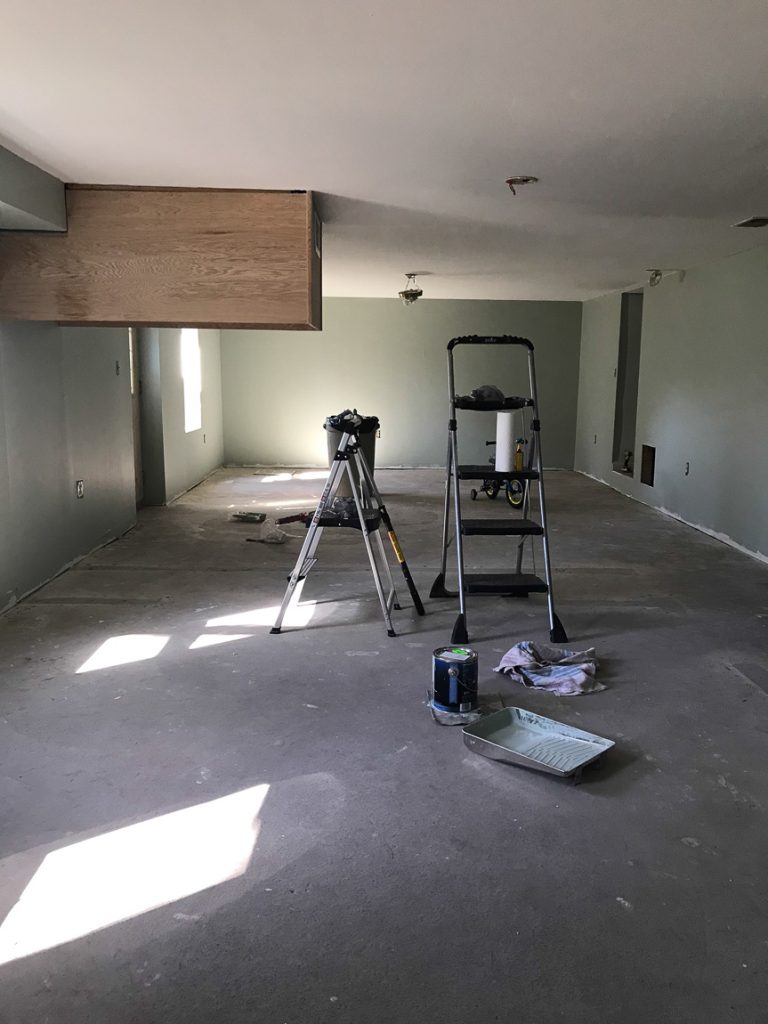
Once we got it empty, he patched, primed and painted walls.

basement // mancave makeover #shawstyleboard basement // mancave makeover #shawstyleboard basement // mancave makeover #shawstyleboard basement // mancave makeover #shawstyleboard basement // mancave makeover #shawstyleboard basement // mancave makeover #shawstyleboard basement // mancave makeover #shawstyleboard basement // mancave makeover #shawstyleboard basement // mancave makeover #shawstyleboard basement // mancave makeover #shawstyleboard

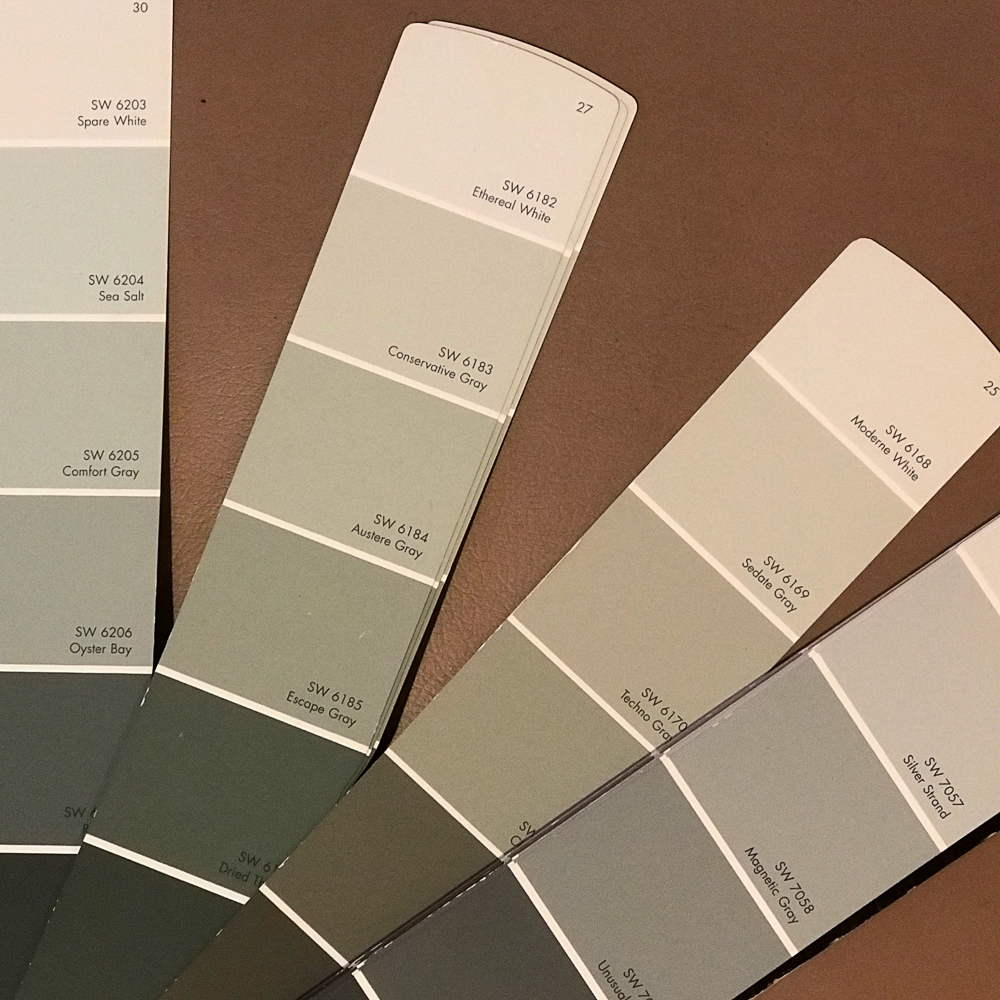
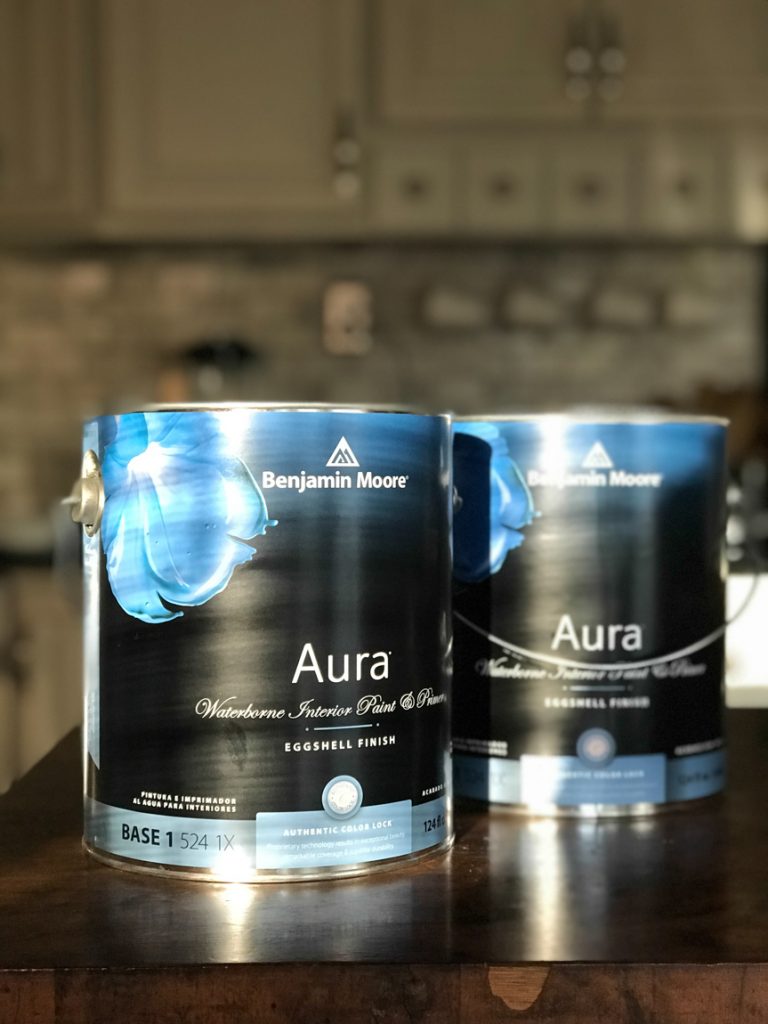
He really liked the sage green walls we used to have in our kitchen and I really like gray so we decided on a gray-green. He used Benjamin Moore Aura paint color matched  – Sherwin Williams Comfort Gray.

basement // mancave makeover #shawstyleboard basement // mancave makeover #shawstyleboard basement // mancave makeover #shawstyleboard basement // mancave makeover #shawstyleboard basement // mancave makeover #shawstyleboard basement // mancave makeover #shawstyleboard

Then we started the search for flooring. We had our local Shaw Floors dealer stop by to determine which floor covering suited our space best. Frank from our local Shaw dealer, A&S Carpet recommended engineered hardwood for our basement. 

basement // mancave makeover #shawstyleboard basement // mancave makeover #shawstyleboard

Stay tuned for Part 2 for what we chose and installation!