Mancave in Progress (Part 1)

We have a mancave makeover in progress! Hurray!!! 

basement // mancave makeover #shawstyleboard

Well, to be precise…we’ve never had a mancave in our home so we’re doing a basement makeover and creating a mancave for Russ. When it comes to our home, my husband has pretty much given me free reign to DIY, design and decorate as I please. We call it my life sized doll house. As you know, it’s kind of my thing, what I love to do and it’s still a work in progress with lots to be done but last summer, we started cleaning out the basement and it was time to start planning a space just for him. 500+ square feet all dedicated to him, his hobbies and his likes. He’s a home brewer so the mancave will include a bar for entertaining and because he enjoys football season, a living room area with enormous television…I’d call that a mancave, right?

I want him to make the decisions on this space but I appreciate that he includes me in his decision making and asks my opinion. See my Pinterest Board of Mancave Inspiration here


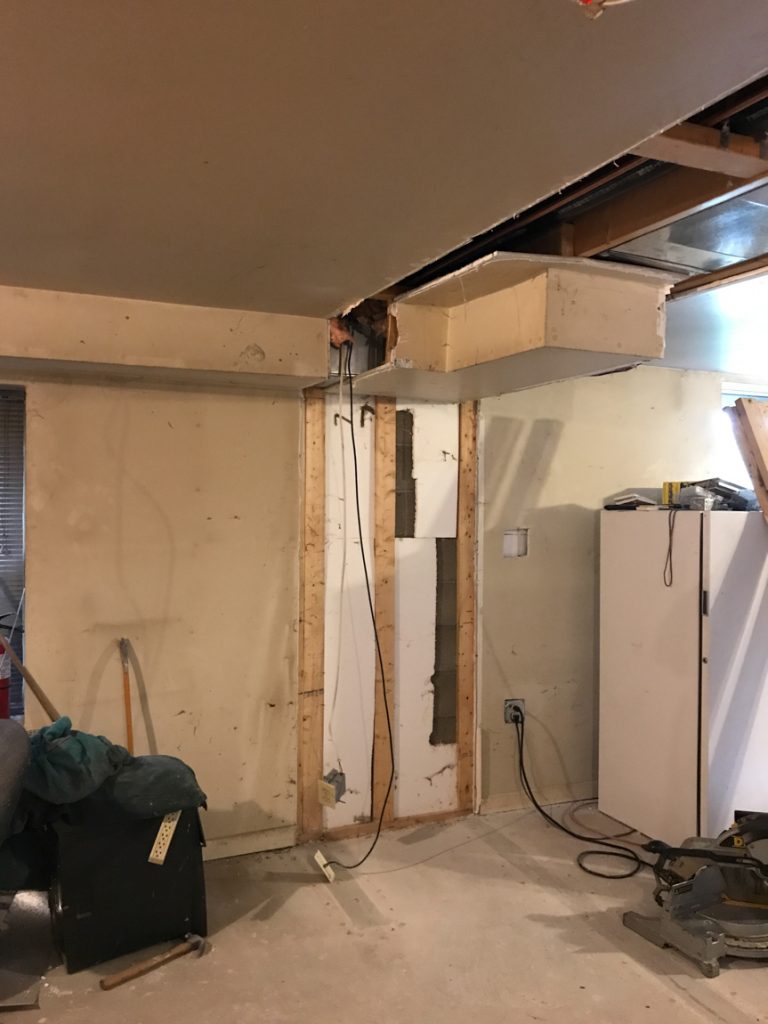
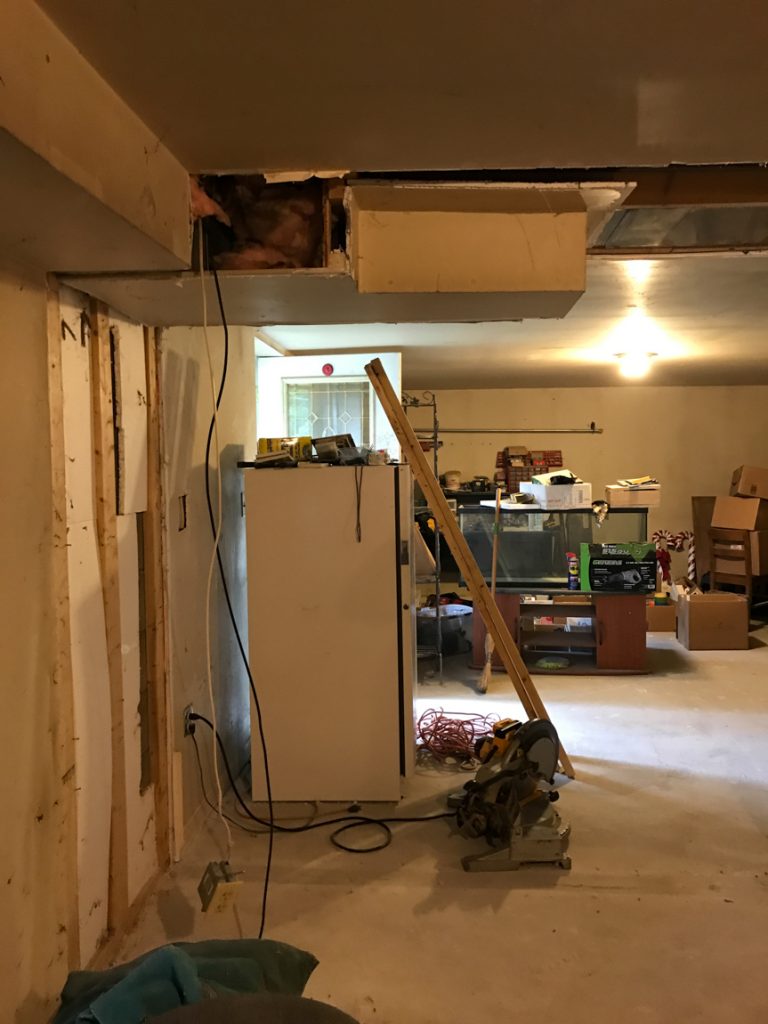
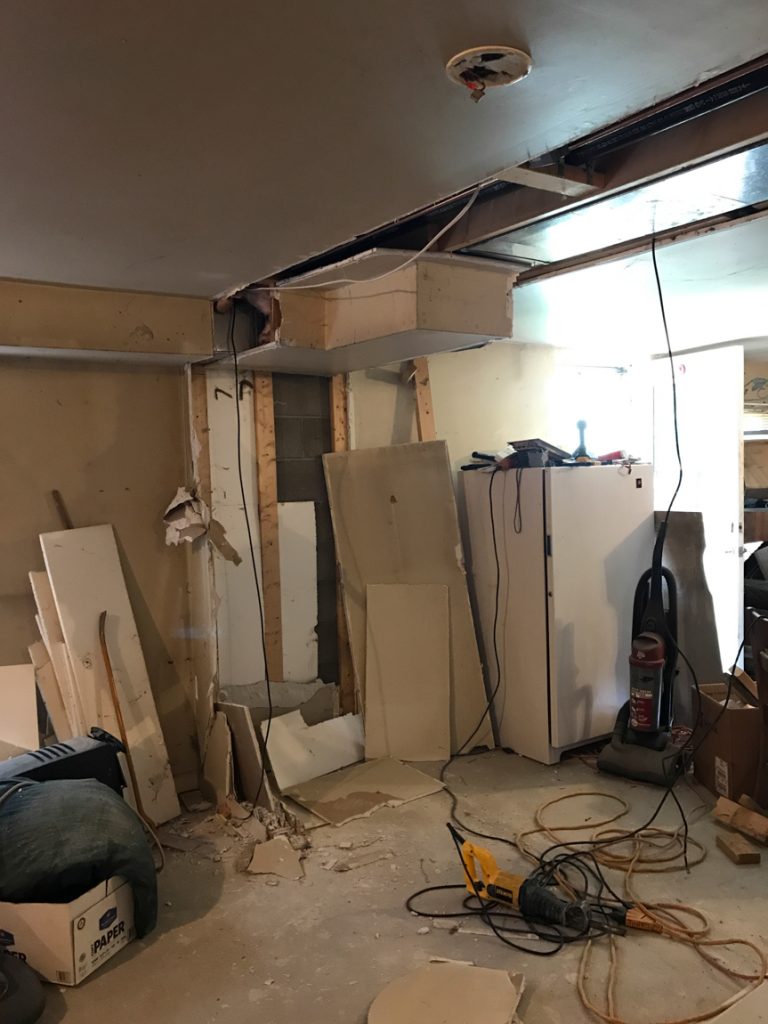
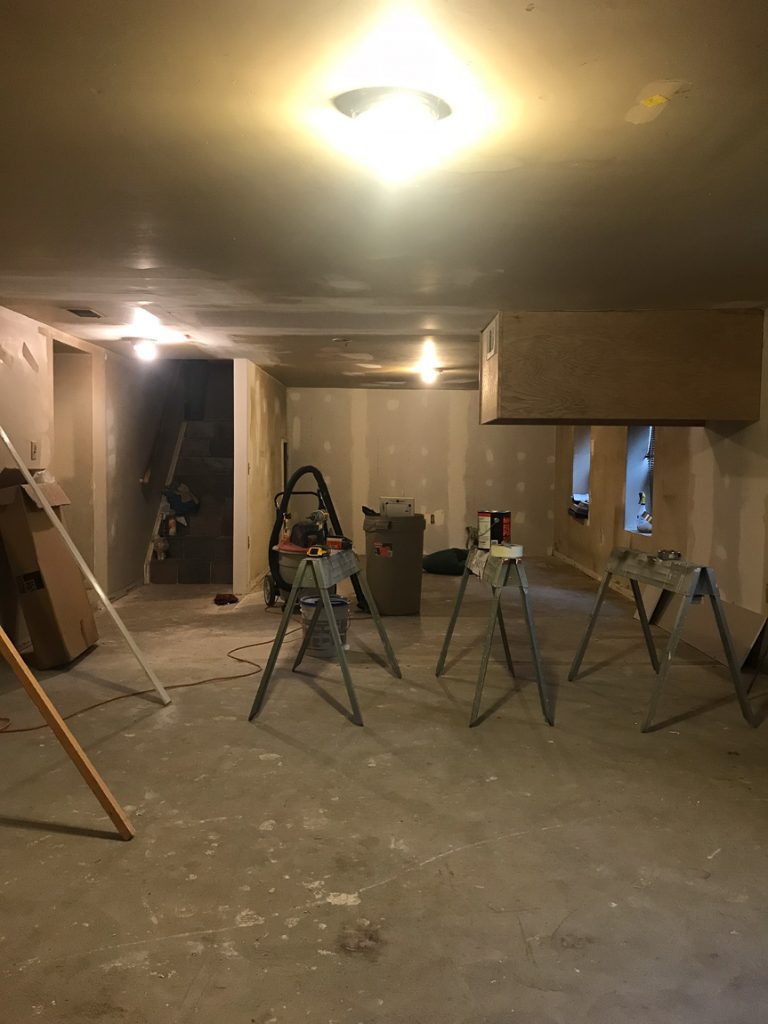
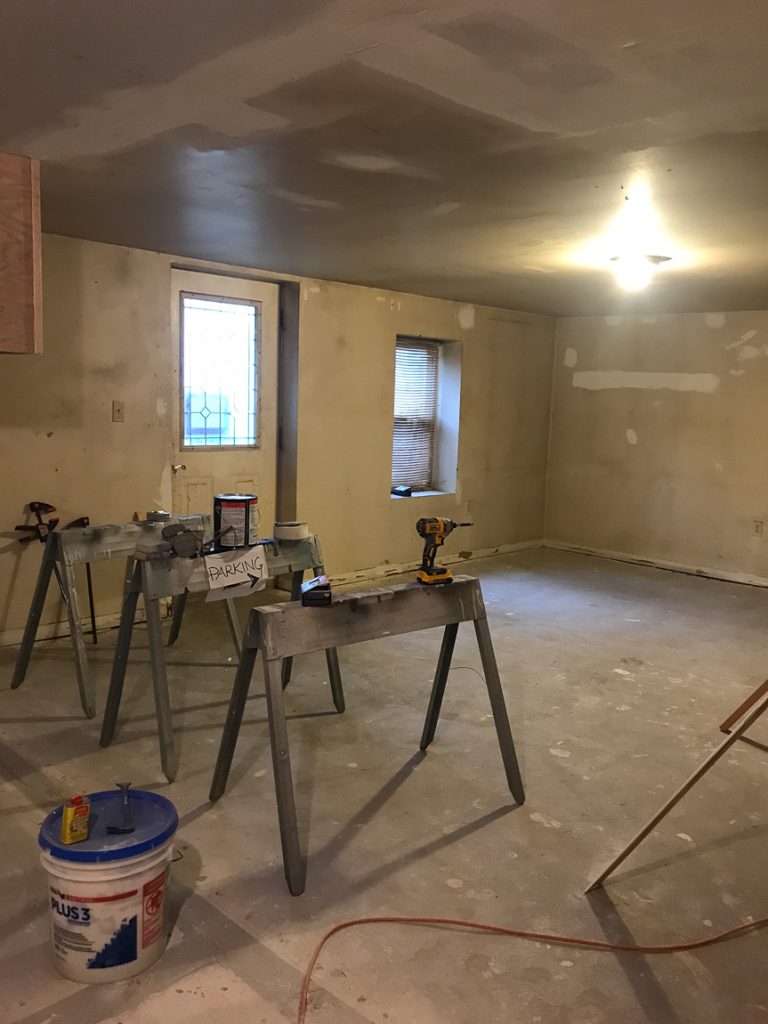
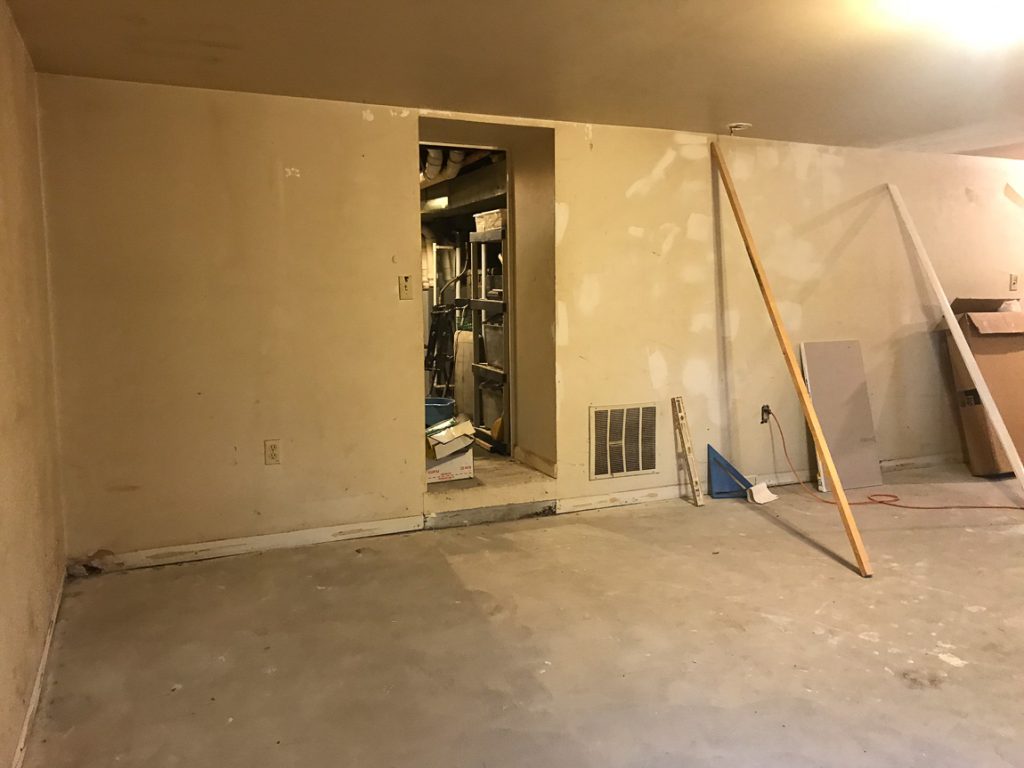
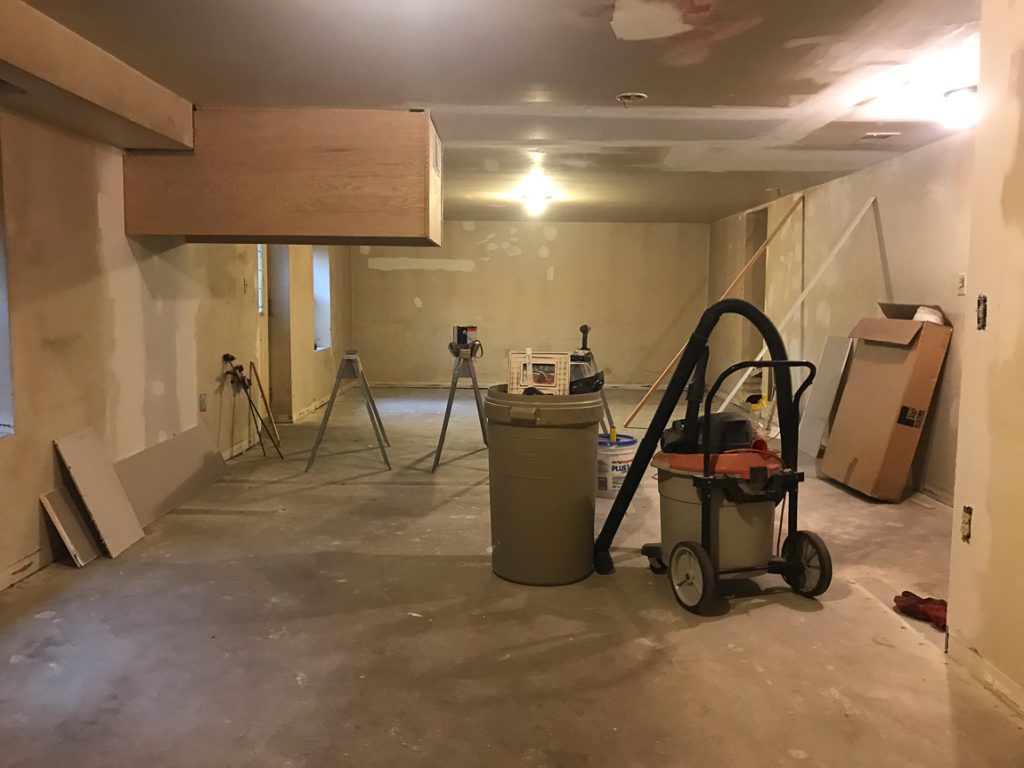
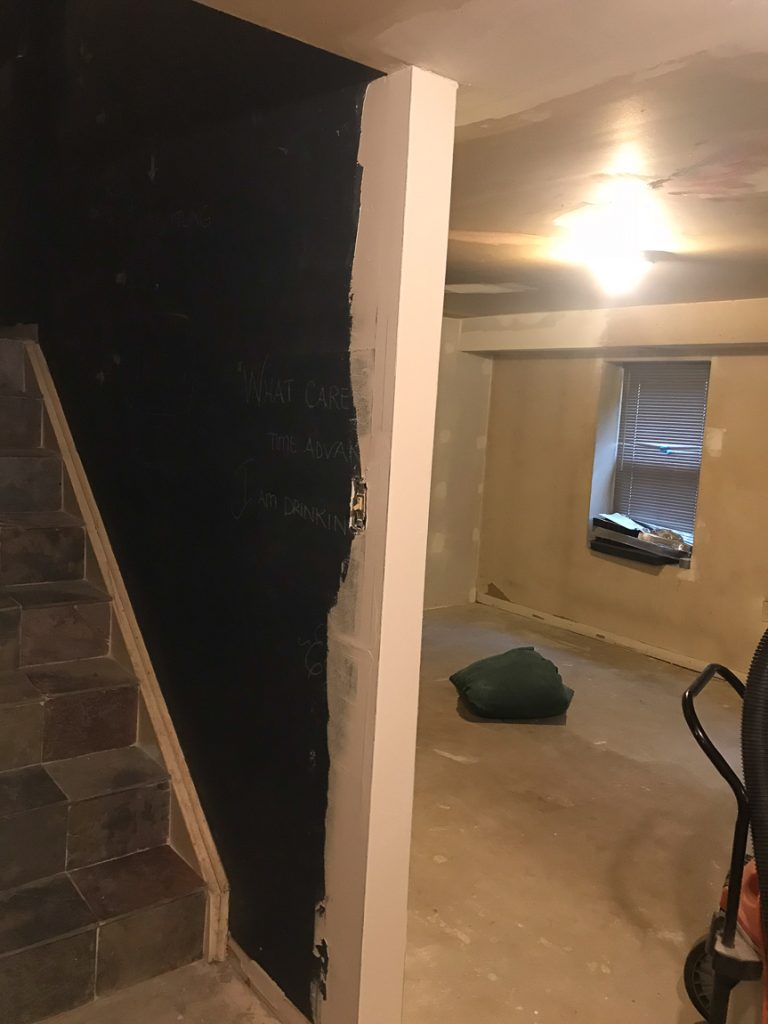
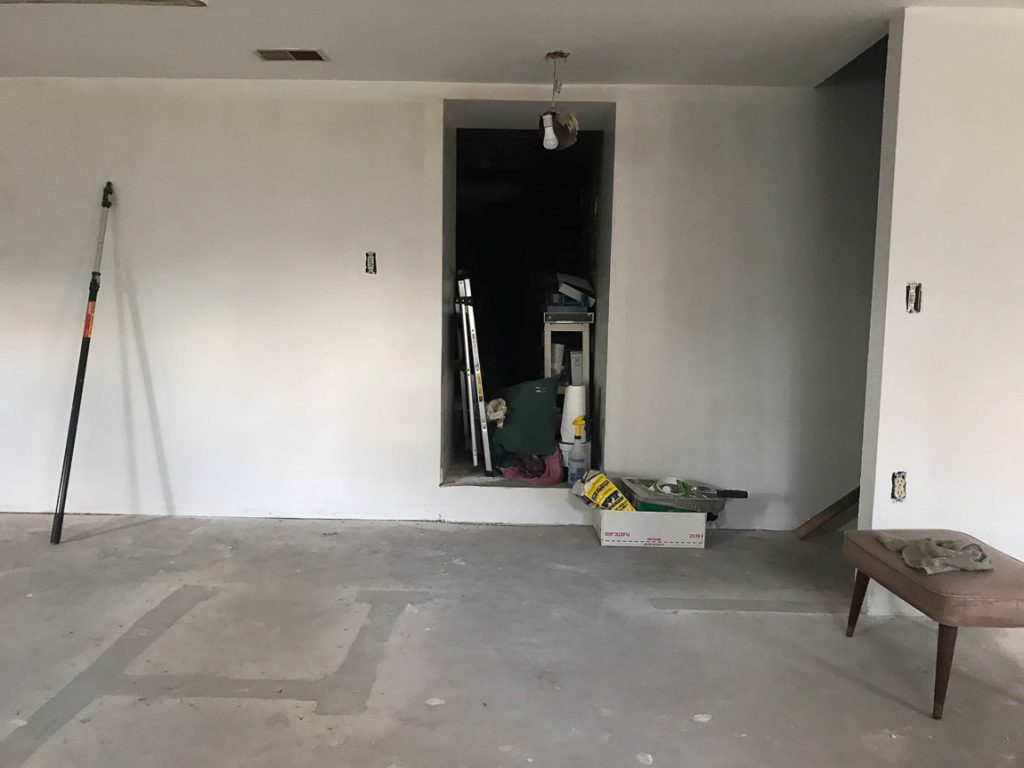
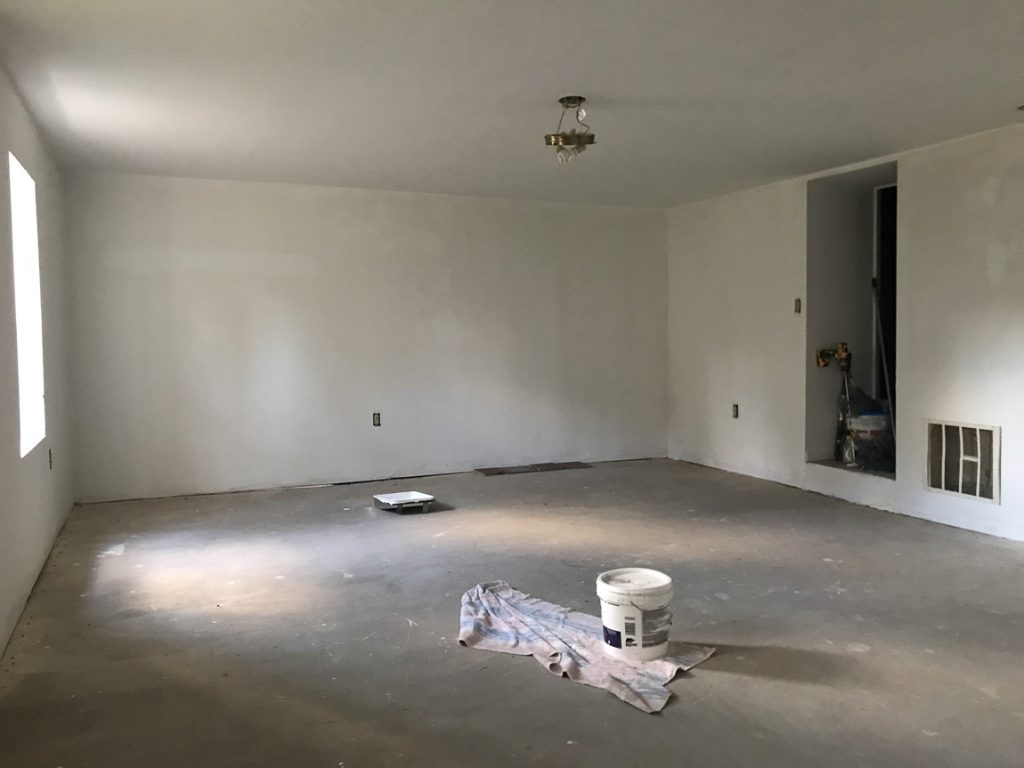
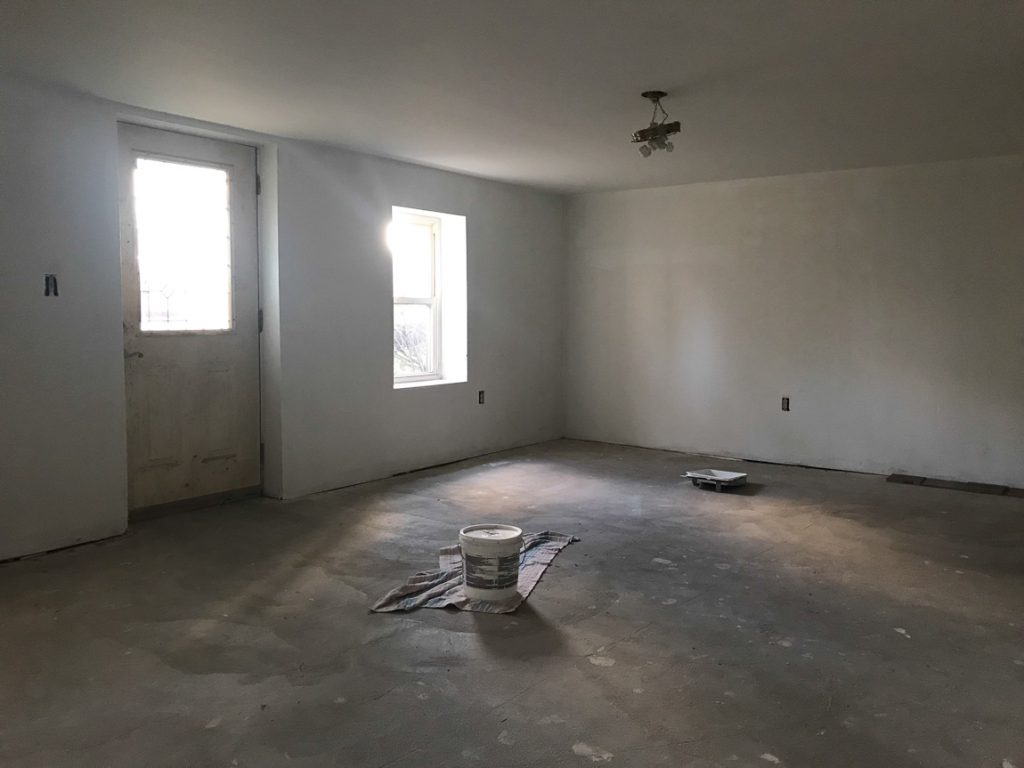
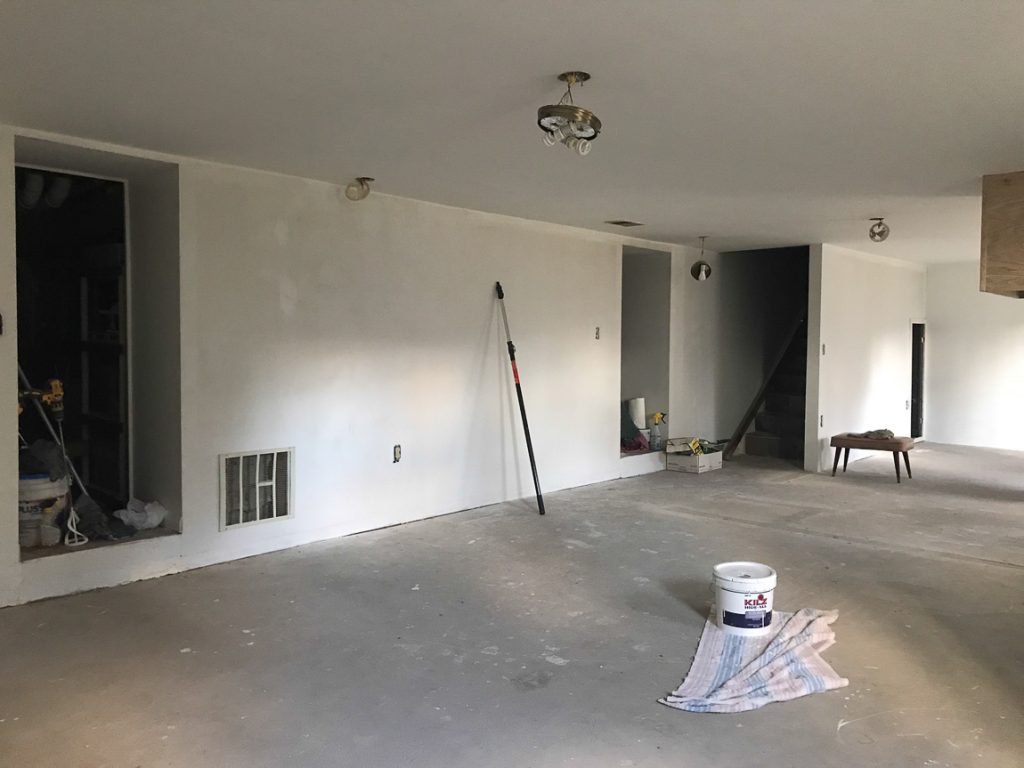
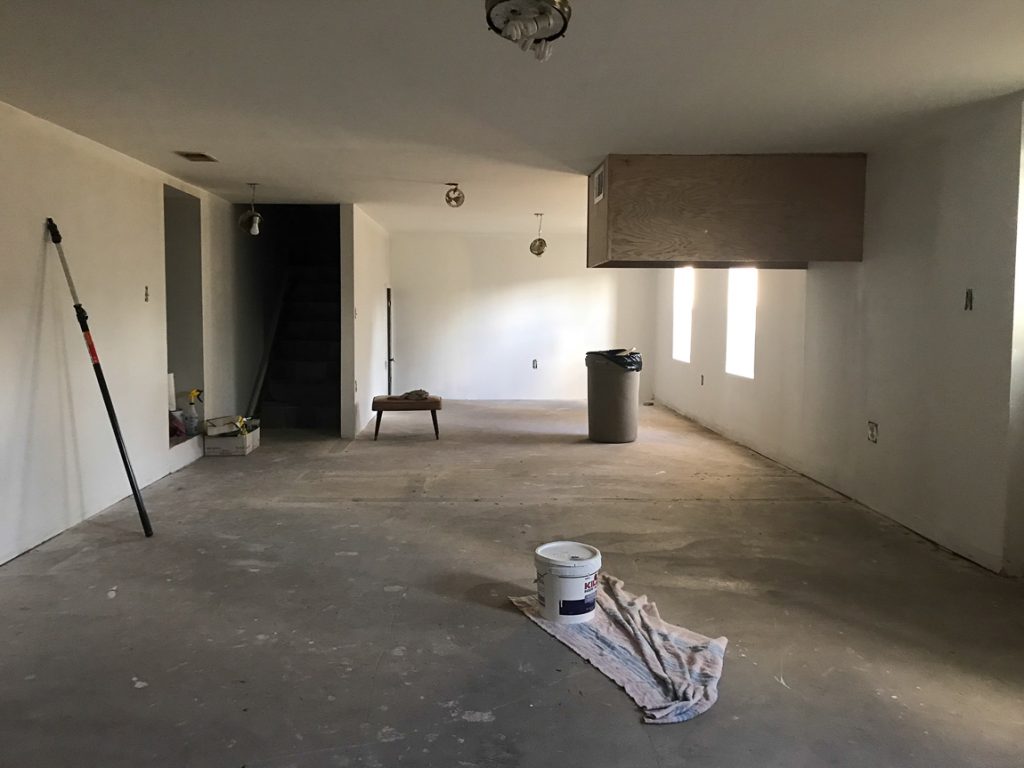
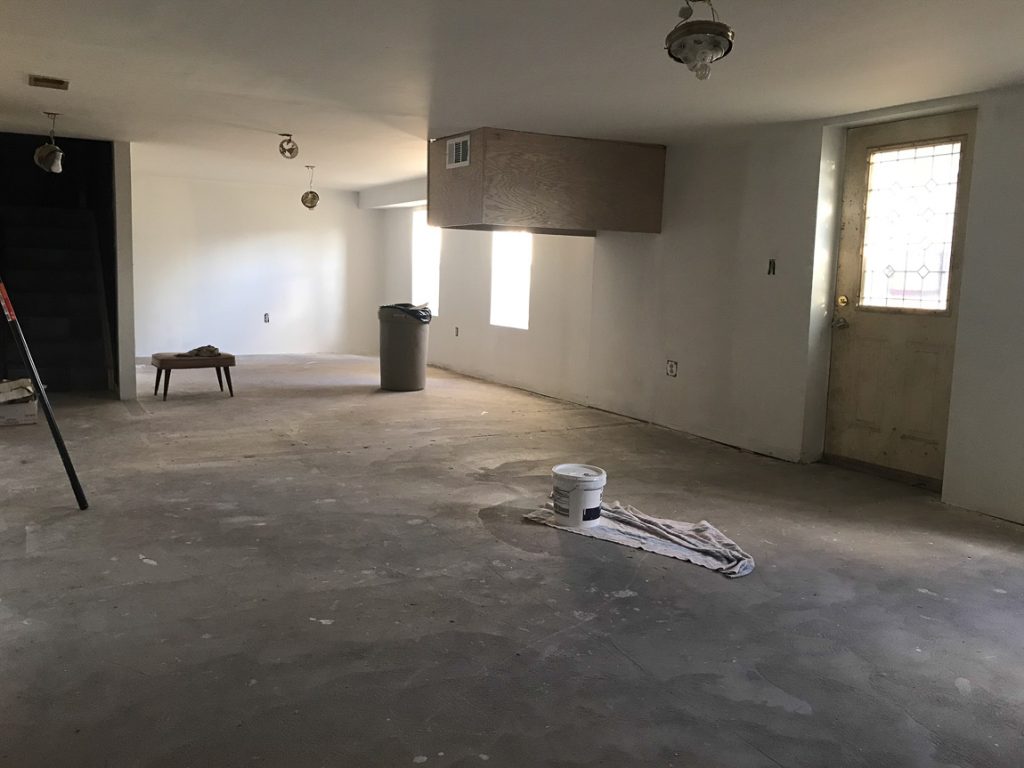
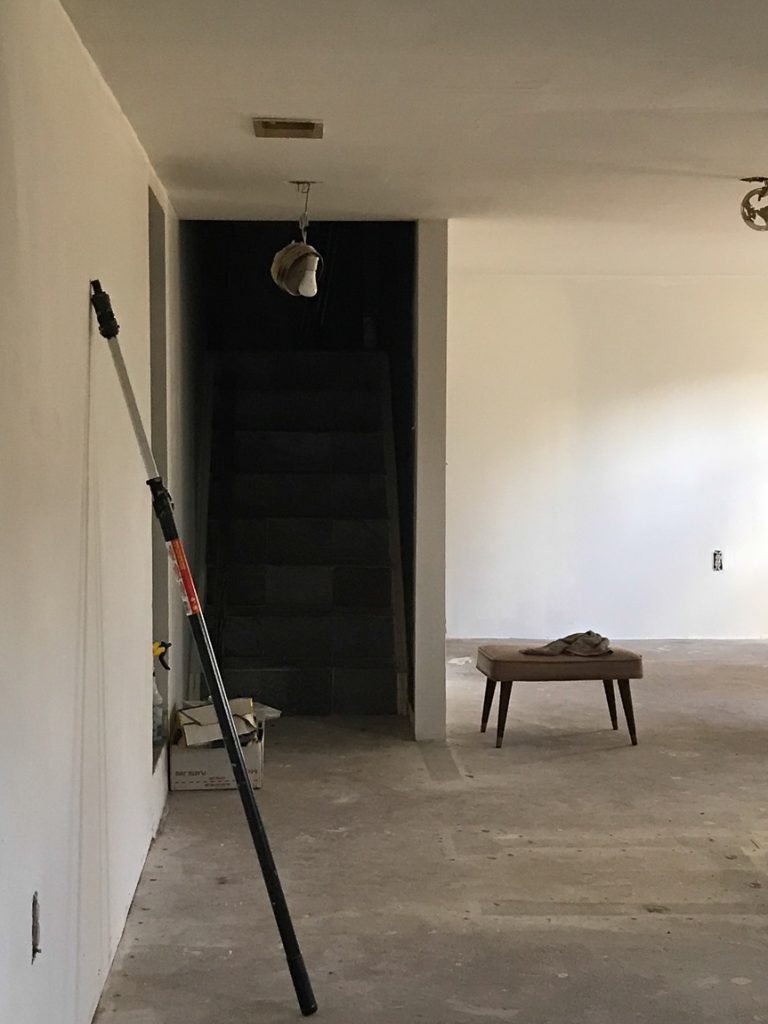
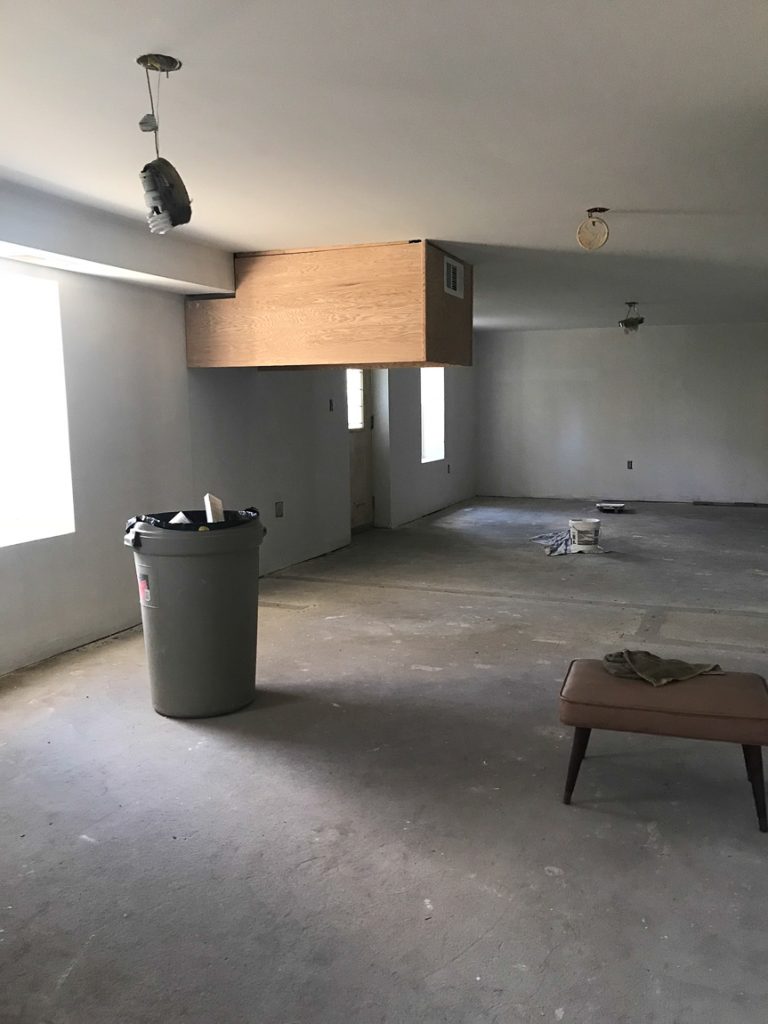
Our basement is two parts. 1 part old 1927 below the original house with ceilings so low he has to duck his head and 1 part newer addition – we’re guessing sometime in the early 1990s. The overflowing storage of junk had reached our puke point. We had a yard sale last summer. He tore down a wall that separated the space. Here are some before photos when the wall was removed and the junk was heading out the door…

basement // mancave makeover basement // mancave makeover basement // mancave makeover #shawstyleboard Shaw Maverick Leather

We’ve been here going on 12 years and never really did anything with the space other than he ripped up some nasty carpet when we moved in and we did have a wood burner for a while before insulating our home and new windows. But mostly, it just sat collecting junk, dirt and dust. It often also served as a workshop for DIY projects upstairs so lots of sawdust too! 

basement // mancave makeover #shawstyleboard basement // mancave makeover #shawstyleboard basement // mancave makeover #shawstyleboard

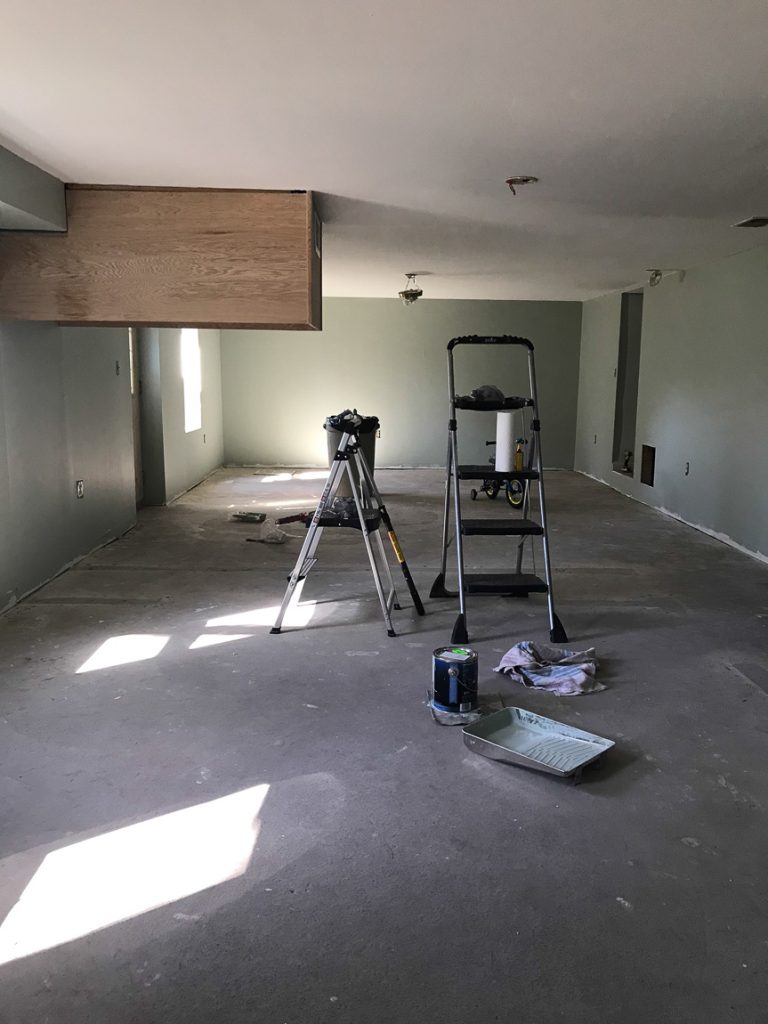
The duct work that sits head-hitting low for his 6’3″ height will be encased in cabinetry. More details on why coming up later!

basement // mancave makeover #shawstyleboardbasement // mancave makeover #shawstyleboard basement // mancave makeover #shawstyleboard

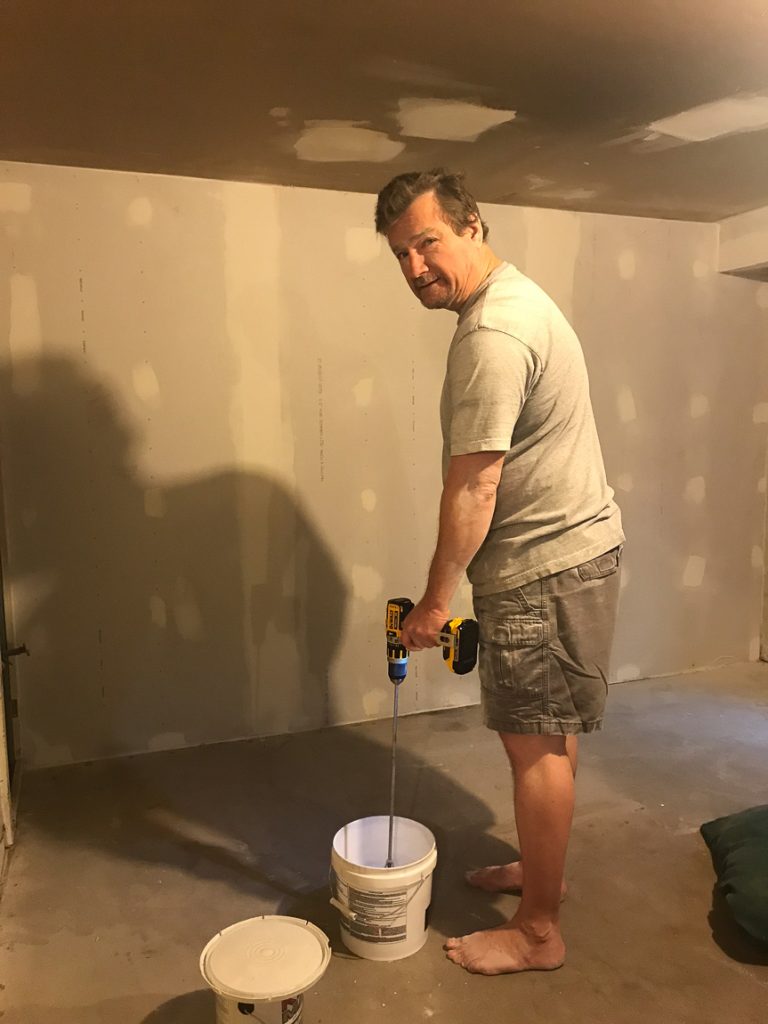
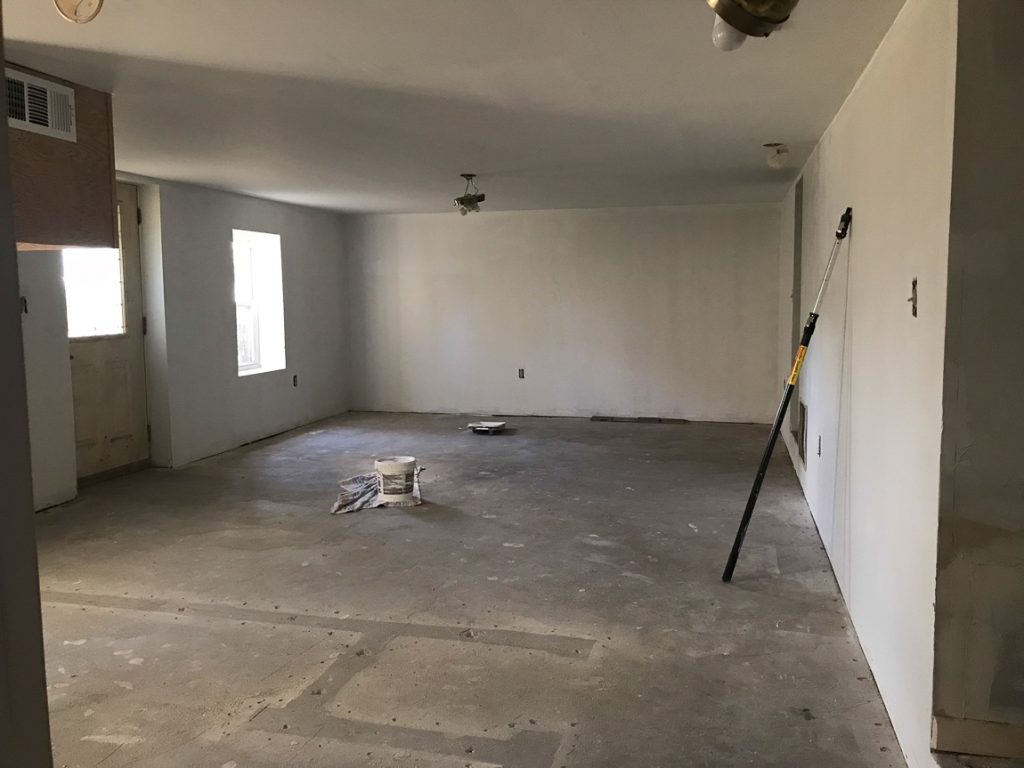
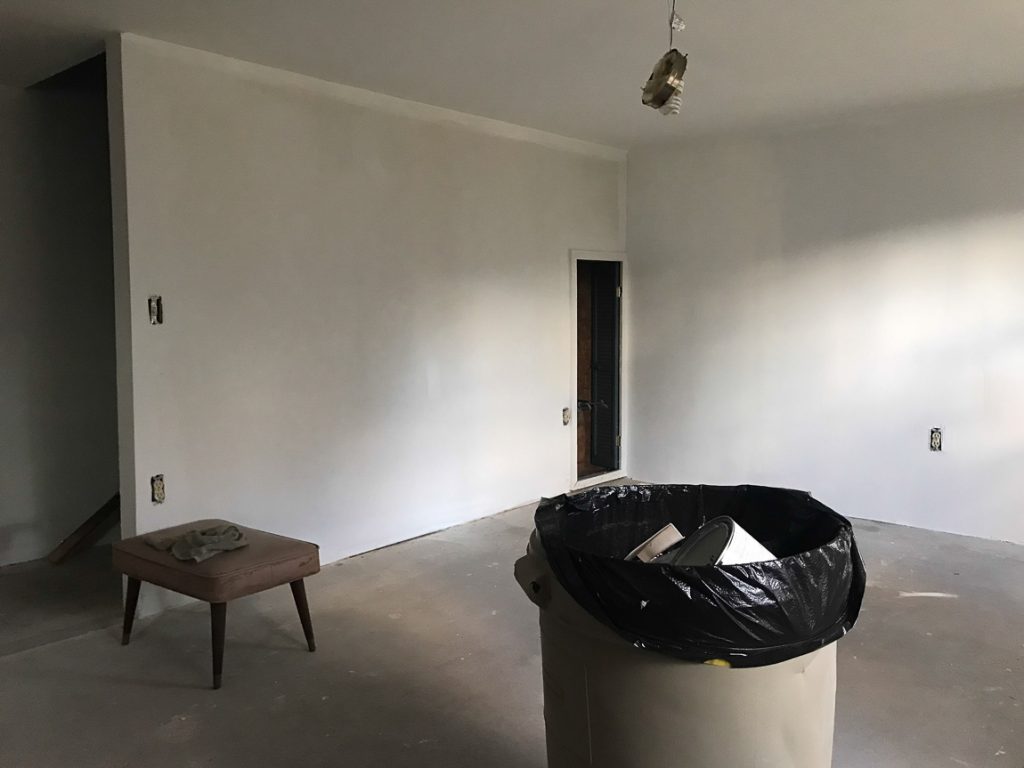
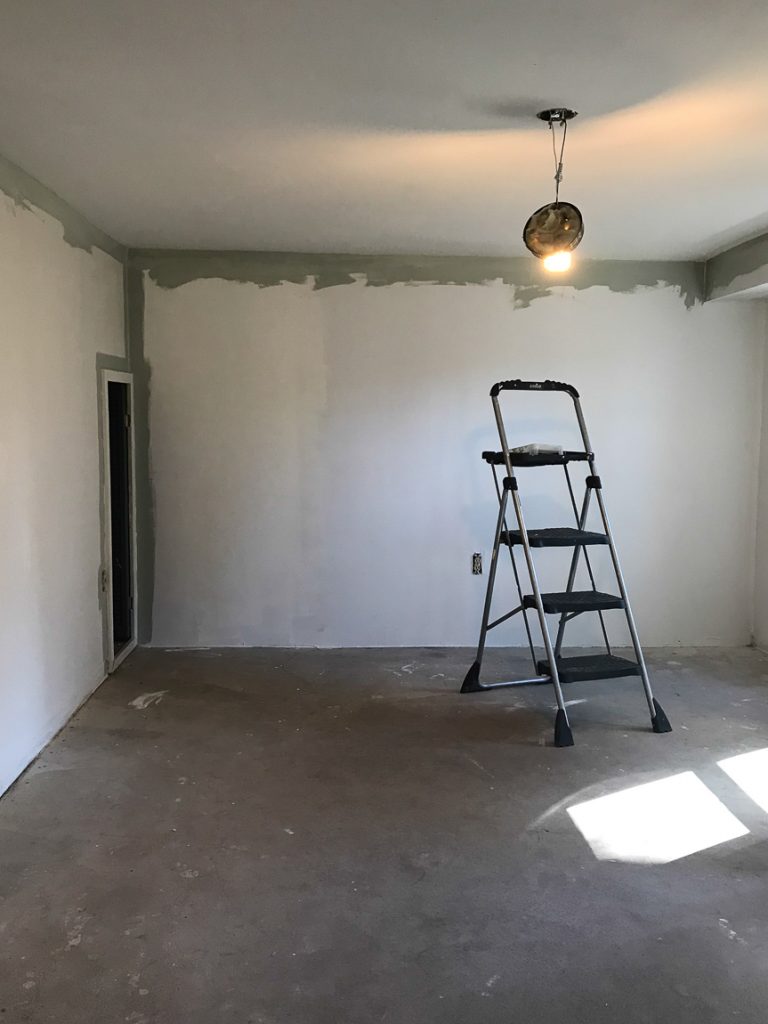
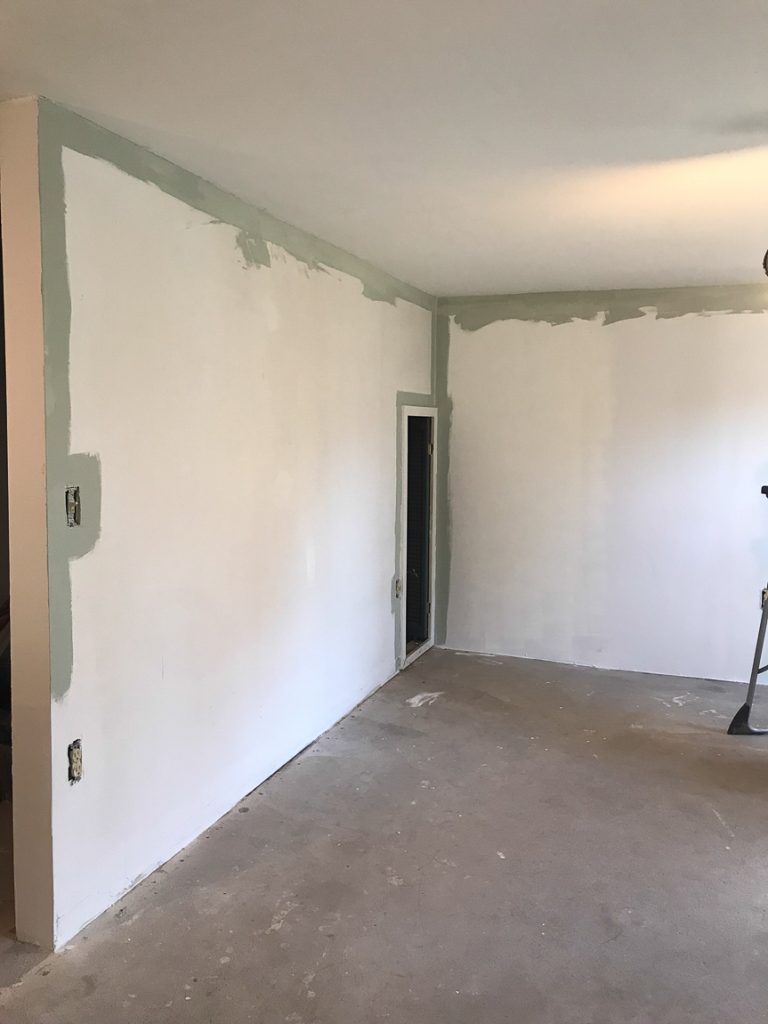
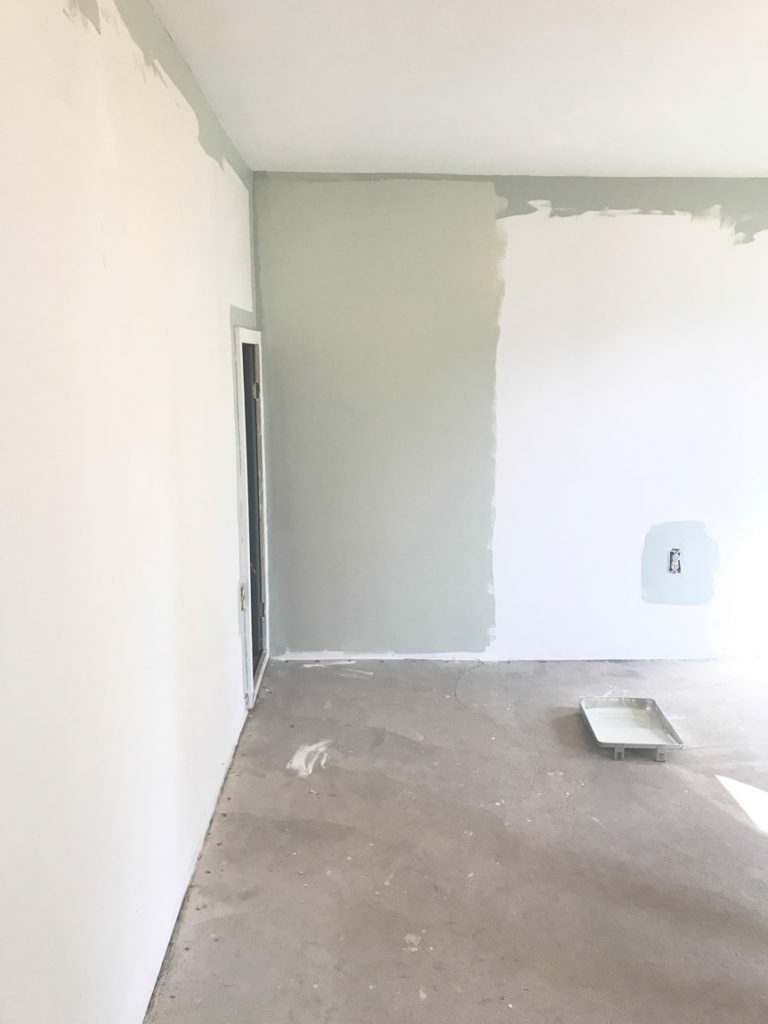
Once we got it empty, he patched, primed and painted walls.

basement // mancave makeover #shawstyleboard basement // mancave makeover #shawstyleboard basement // mancave makeover #shawstyleboard basement // mancave makeover #shawstyleboard basement // mancave makeover #shawstyleboard basement // mancave makeover #shawstyleboard basement // mancave makeover #shawstyleboard basement // mancave makeover #shawstyleboard basement // mancave makeover #shawstyleboard basement // mancave makeover #shawstyleboard

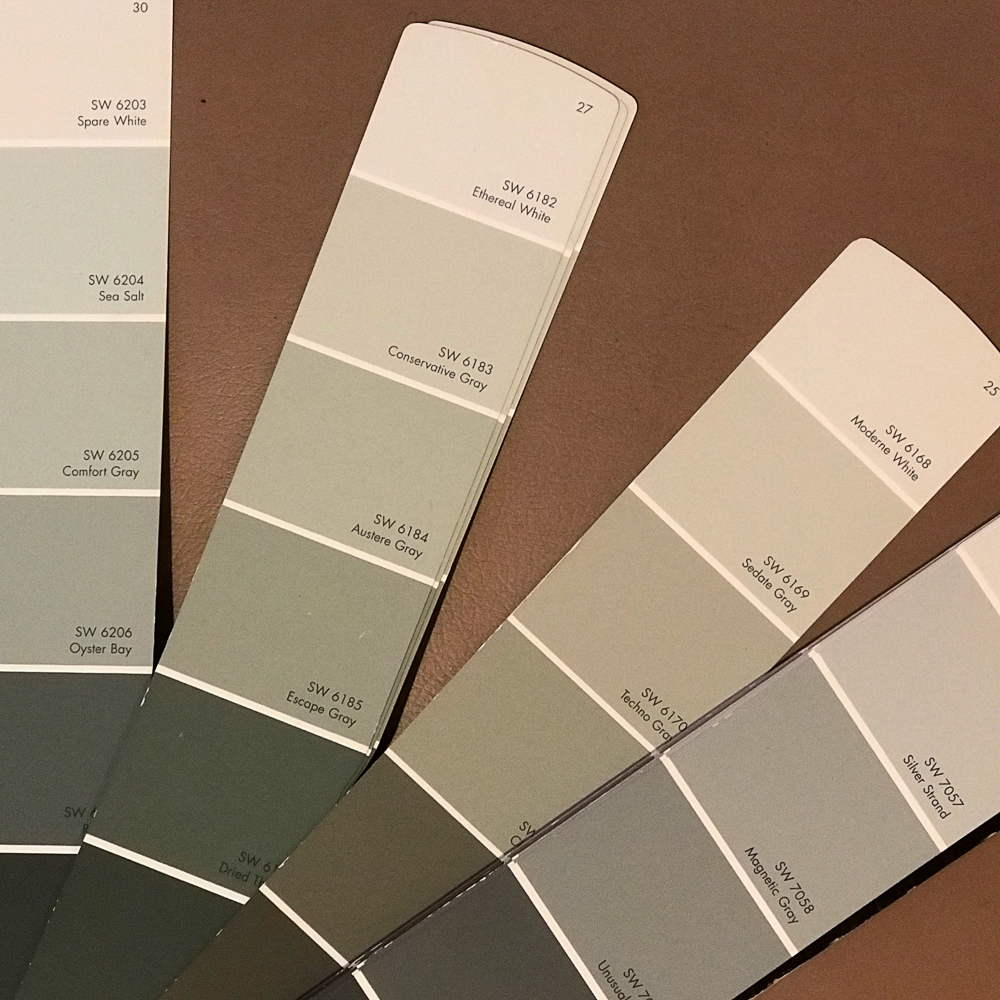
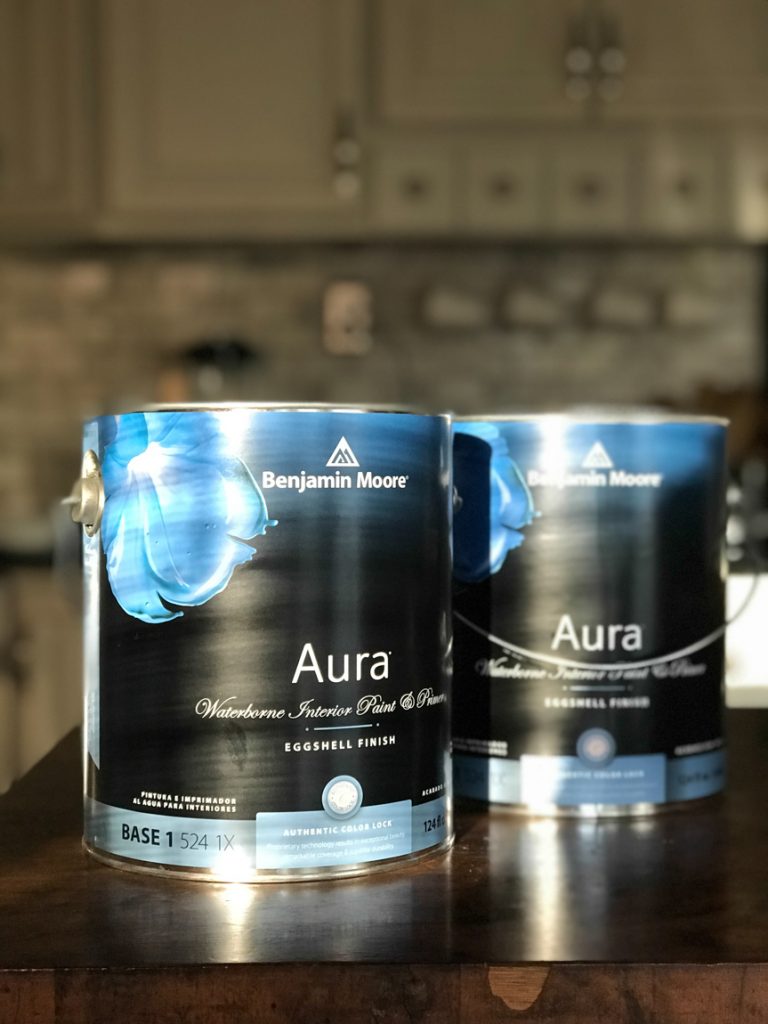
He really liked the sage green walls we used to have in our kitchen and I really like gray so we decided on a gray-green. He used Benjamin Moore Aura paint color matched  – Sherwin Williams Comfort Gray.

basement // mancave makeover #shawstyleboard basement // mancave makeover #shawstyleboard basement // mancave makeover #shawstyleboard basement // mancave makeover #shawstyleboard basement // mancave makeover #shawstyleboard basement // mancave makeover #shawstyleboard

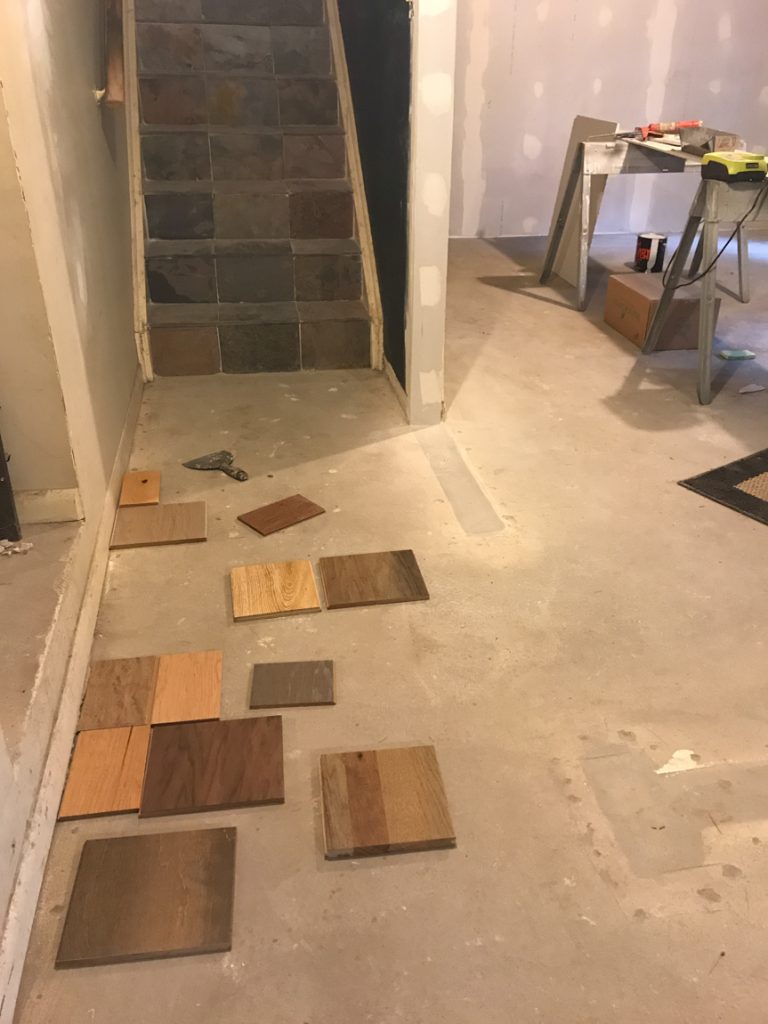
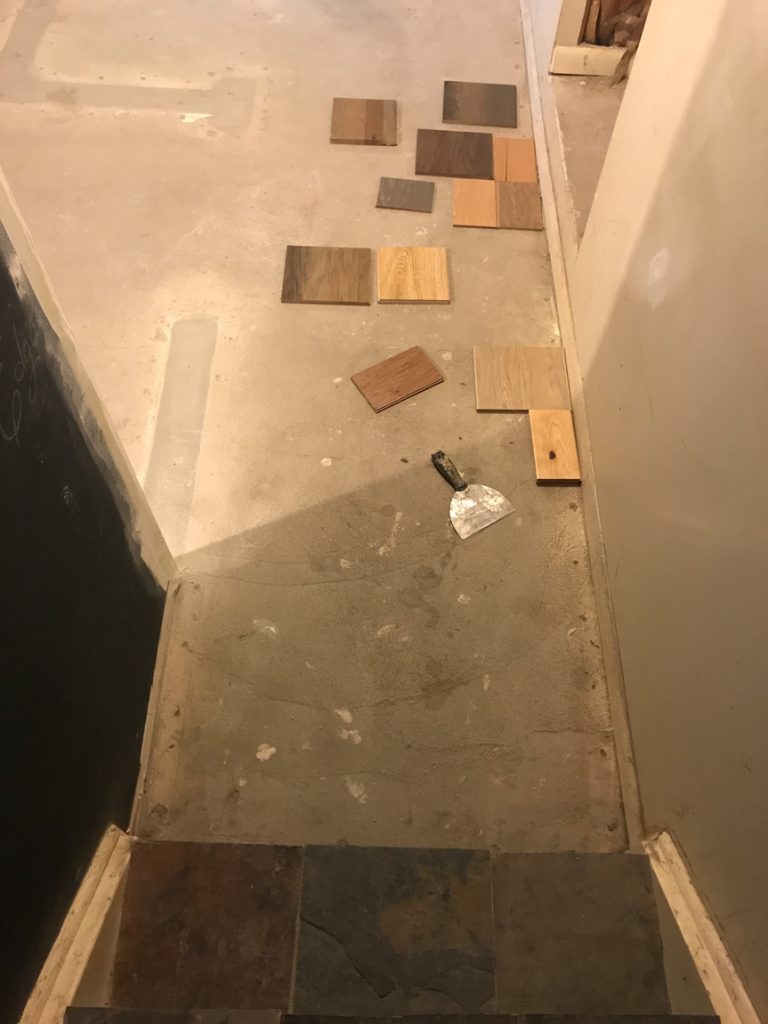
Then we started the search for flooring. We had our local Shaw Floors dealer stop by to determine which floor covering suited our space best. Frank from our local Shaw dealer, A&S Carpet recommended engineered hardwood for our basement. 

basement // mancave makeover #shawstyleboard basement // mancave makeover #shawstyleboard

Stay tuned for Part 2 for what we chose and installation! 


Project Diary Entry #3 Color Passive Paint

There’s more progress on the studio and the #helloredreno series. I need to get you caught up. I am a big lover of the power of paint. It’s such a game changer and a budget friendly one at that! There are so many possibilities. Dark and moody, fun and colorful, light and airy, neutral and soothing. Do you gravitate towards specific colors?

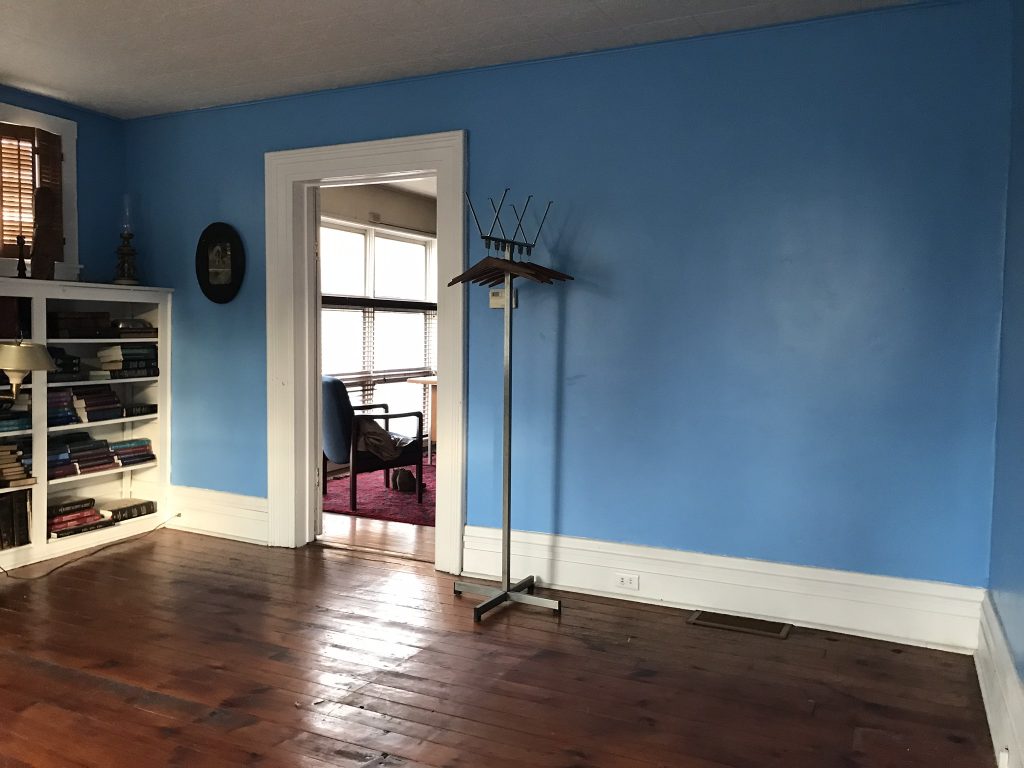
library/meeting room before…

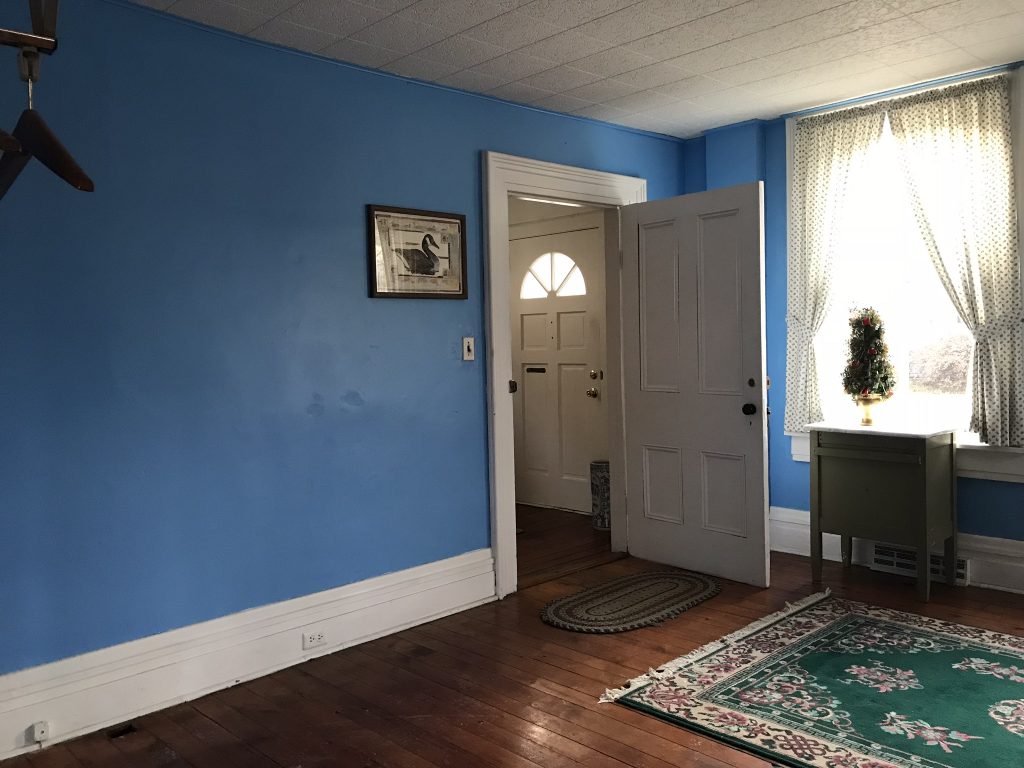
library before

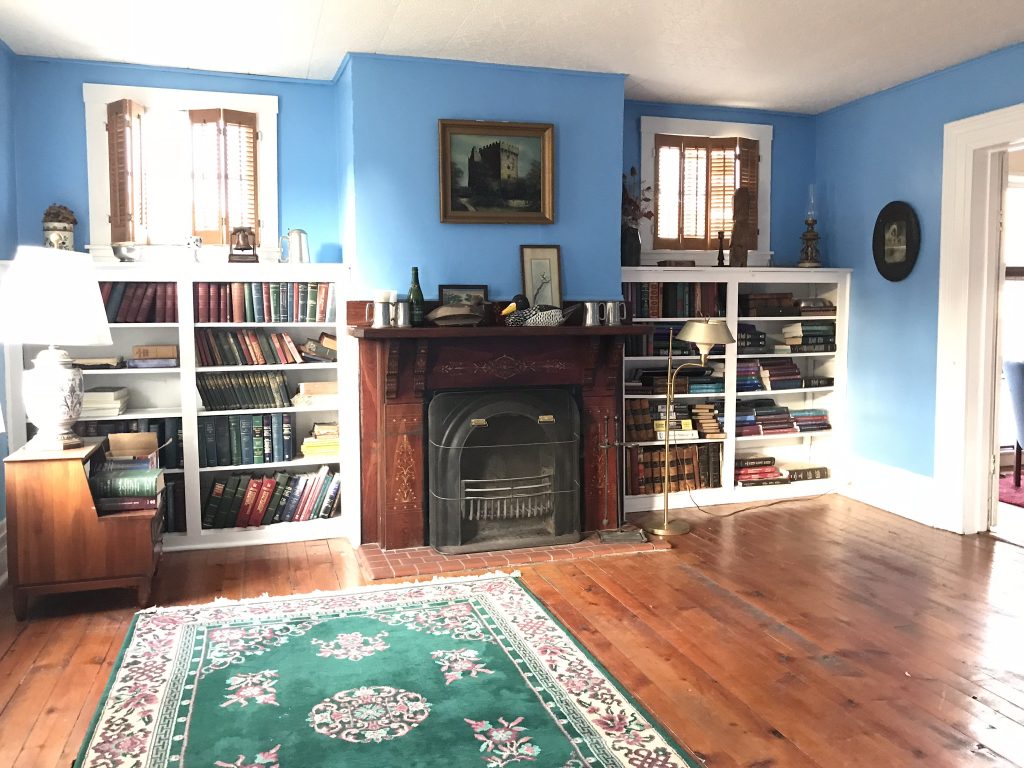
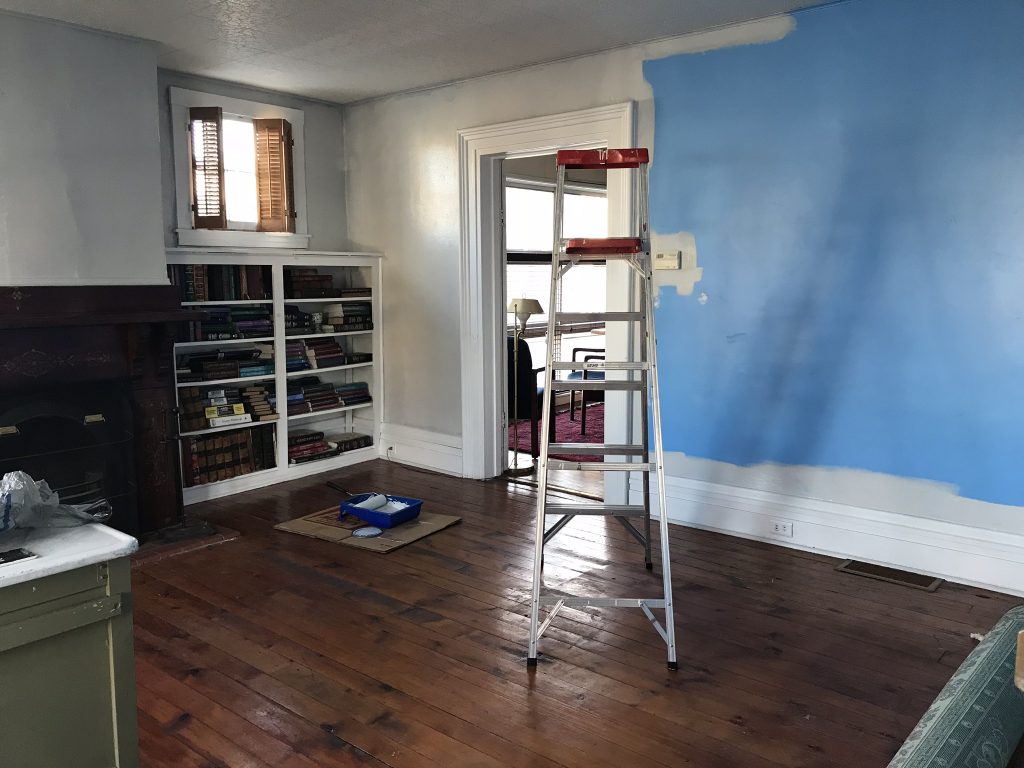
So this room. Oy. The color. Yikes. A bit on the aggressive side if you ask me. lol 

blue room

Blue is one of my favorite colors but this shade is just so very…smurf-y. It’s just not my style. blue wall

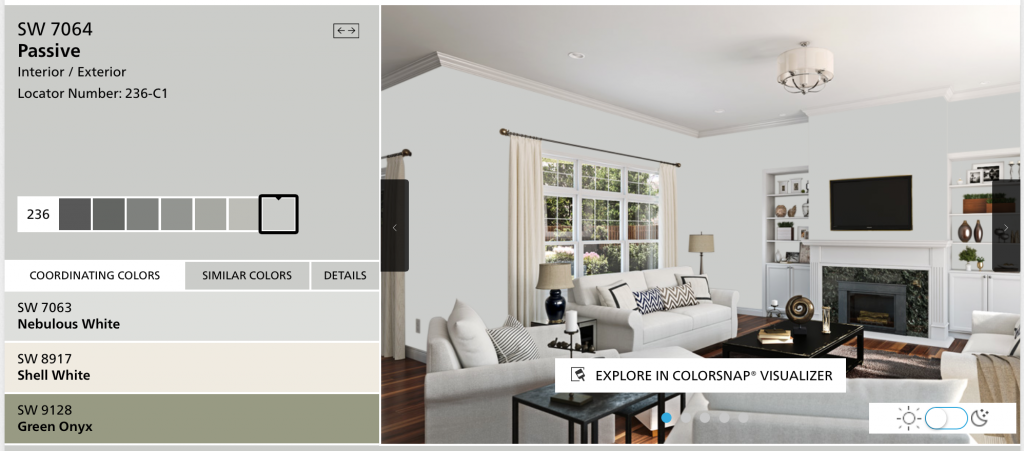
Perhaps that’s why this color called “Passive”, a pretty and neutral shade of gray from {HGTV} Sherwin Williams jumped out at me. I have painted walls in bright shades in the past and I’m a fan of accent walls, but for the most part, I prefer a neutral wall shade. 

Sherwin Williams Passive Paint Color

Because I like to decorate and redecorate so often. I’ve learned that I prefer a neutral back drop so that as my style changes or evolves, I can easily swap out decor and color schemes to fit my fickle choices.HGTV Home Sherwin Williams Passive

It’s gonna take two coats to cover all of the blue but I’m already feeling soothed! 

paint in progress wall paint

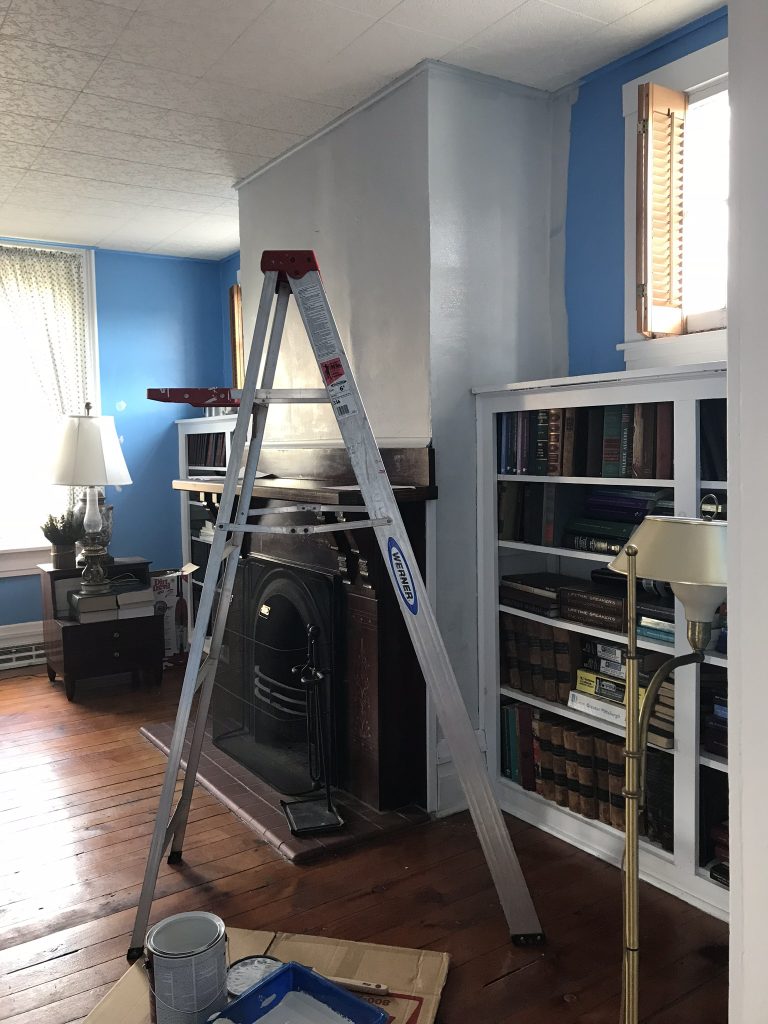
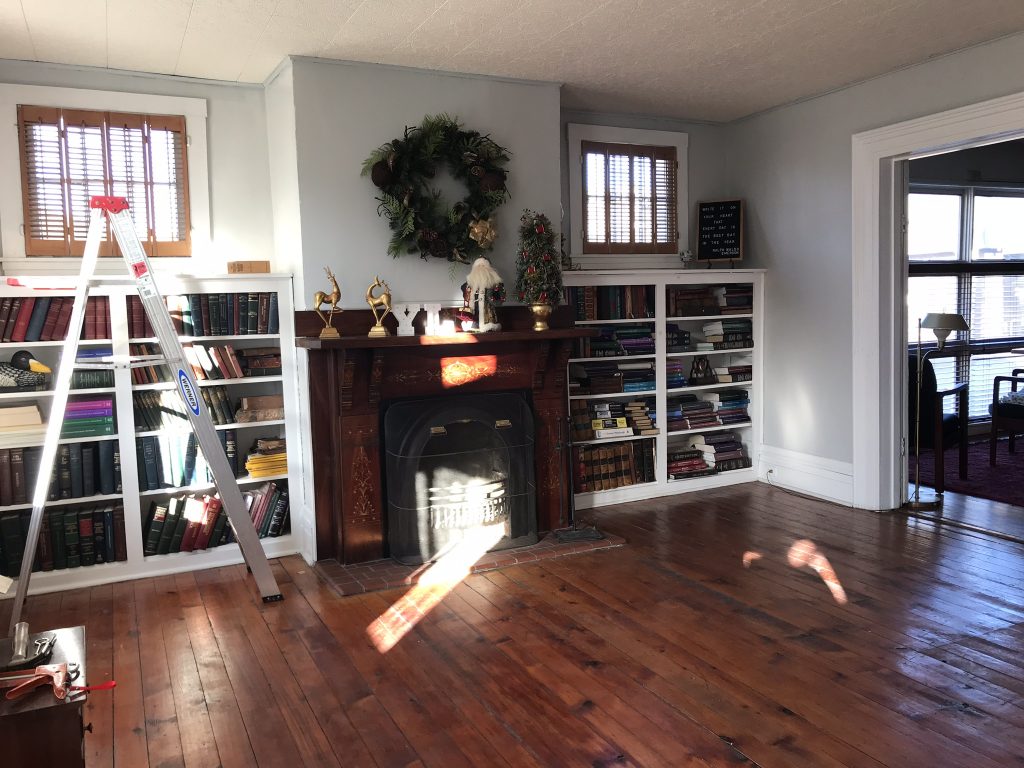
I even put up a few accessories previous owners left behind and what was in my car to help get an idea. Final thoughts? It’s definitely the right color for me. What a difference, right? 

paint after

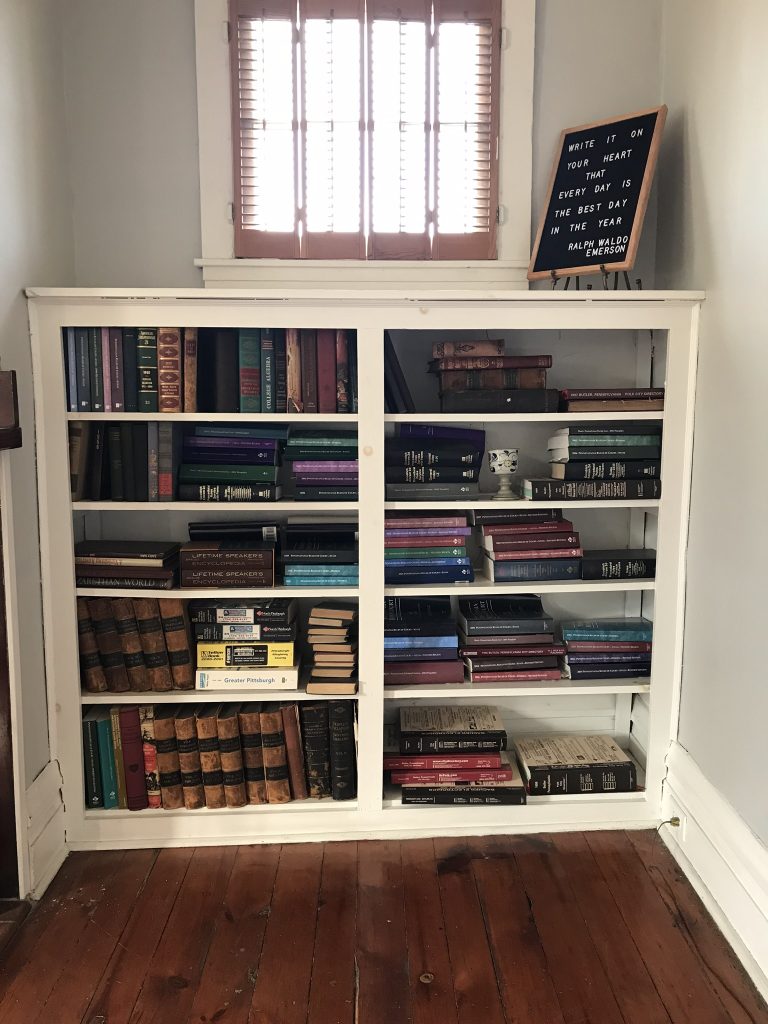
So pretty! Ugh, this last photo shows just how much work there is to do! I spy a lot of caulking in my near future. And book donating! Stay tuned for a design board and more progress. Follow #helloredreno

helloredreno

Project Diary Entry #2 – Efficiency Apartment

Hello DIY friends! Happy hump day! Half way through the week! Remember last week when I shared the main floor of the #helloredreno series? Today, I’m sharing the rest of the building. It’s the staircase and upstairs area which now consists of a landing, two bedrooms and a full bathroom. 

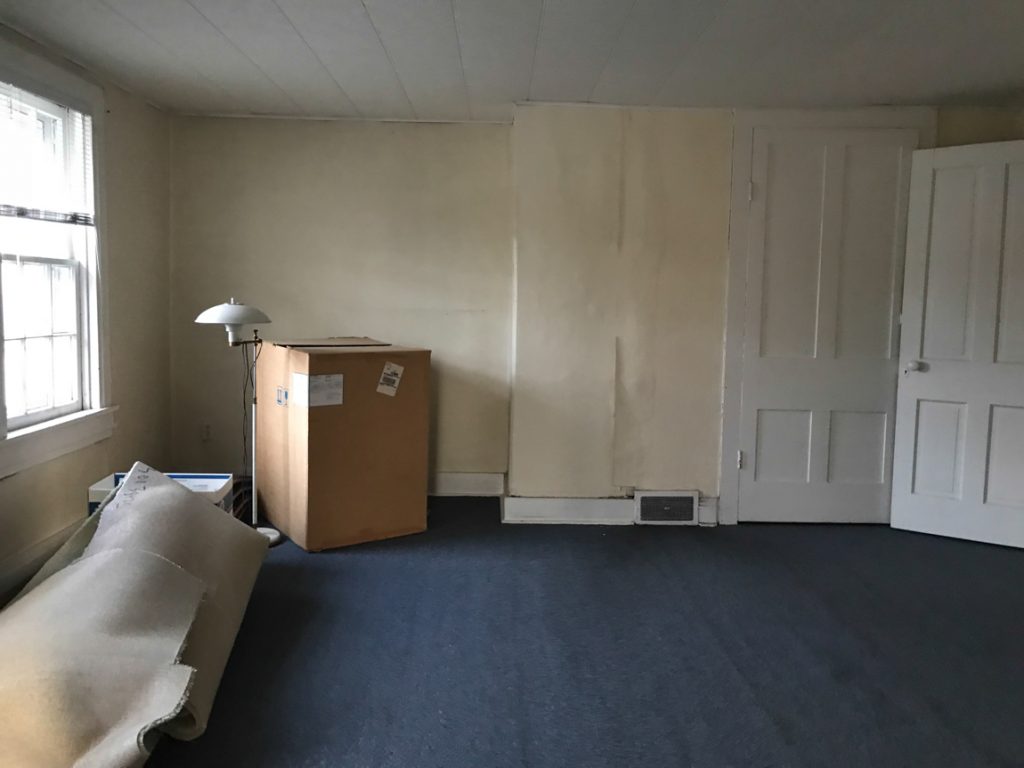
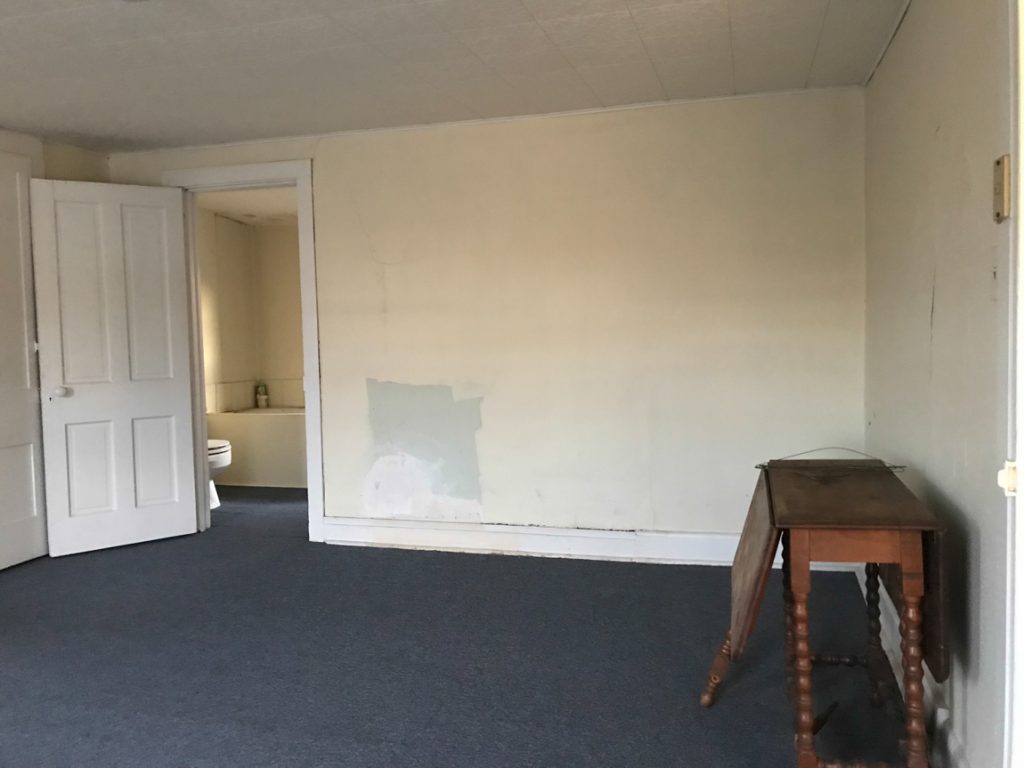
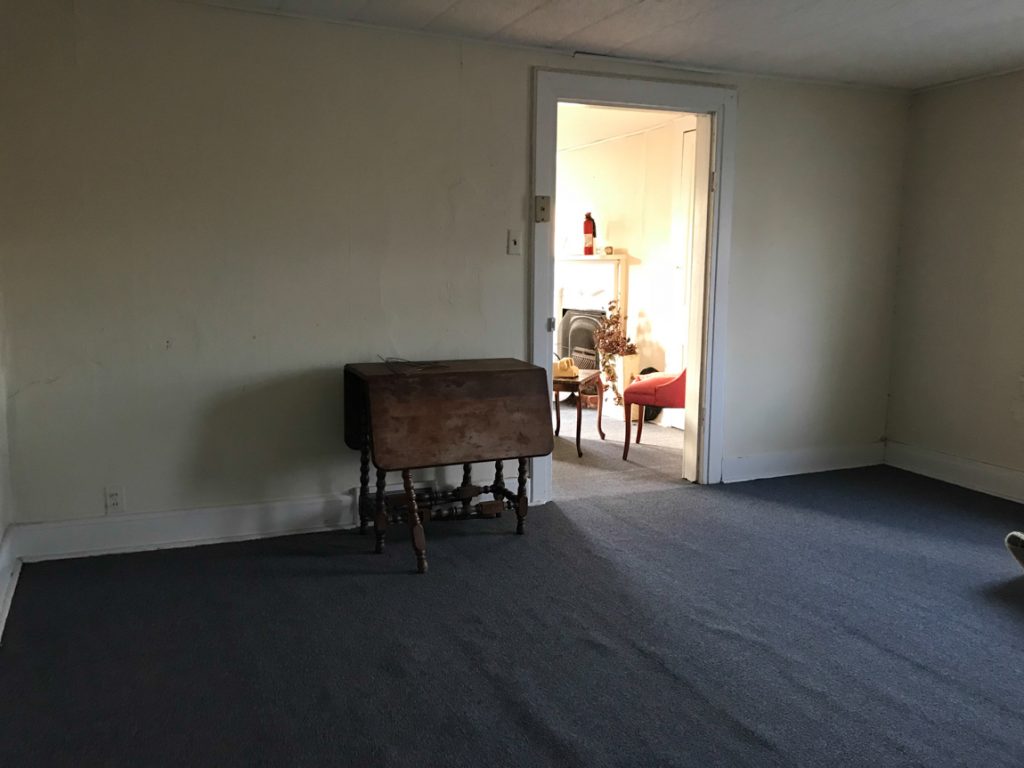
DIY craft studio // workshop - before room makeover @diyshowoffI’m not really interested in having a full time tenant and landlord responsibilities so my plan is to turn the two bedrooms upstairs into a one bedroom airbnb type rental or efficiency apartment space with a living space and kitchenette.

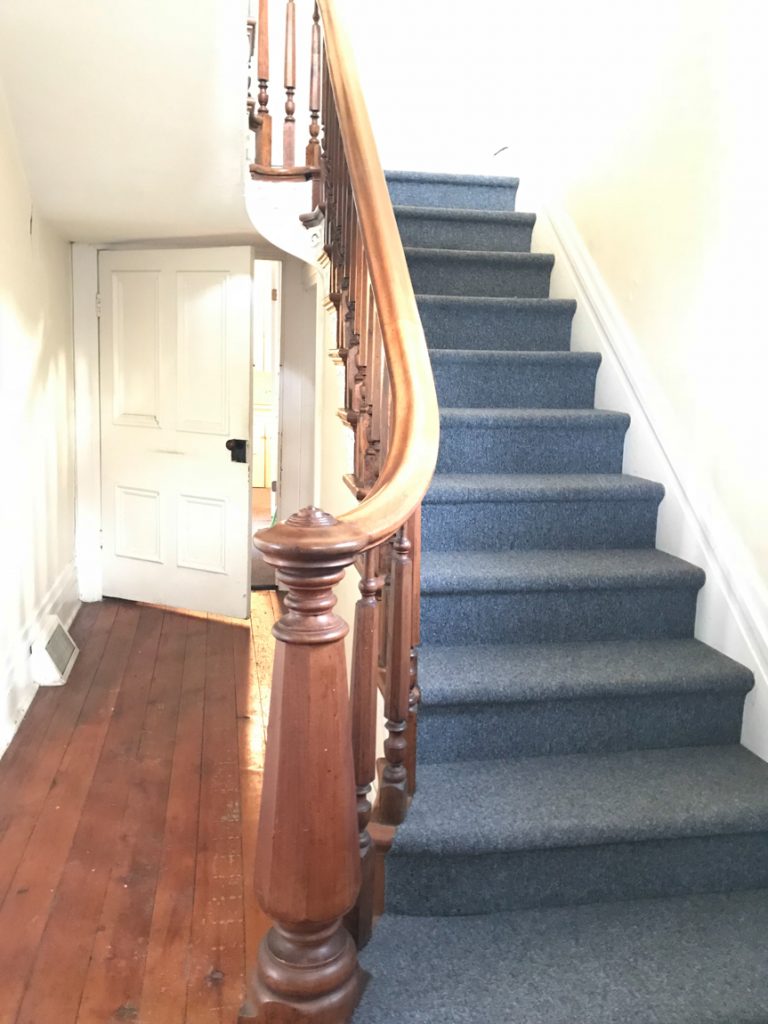
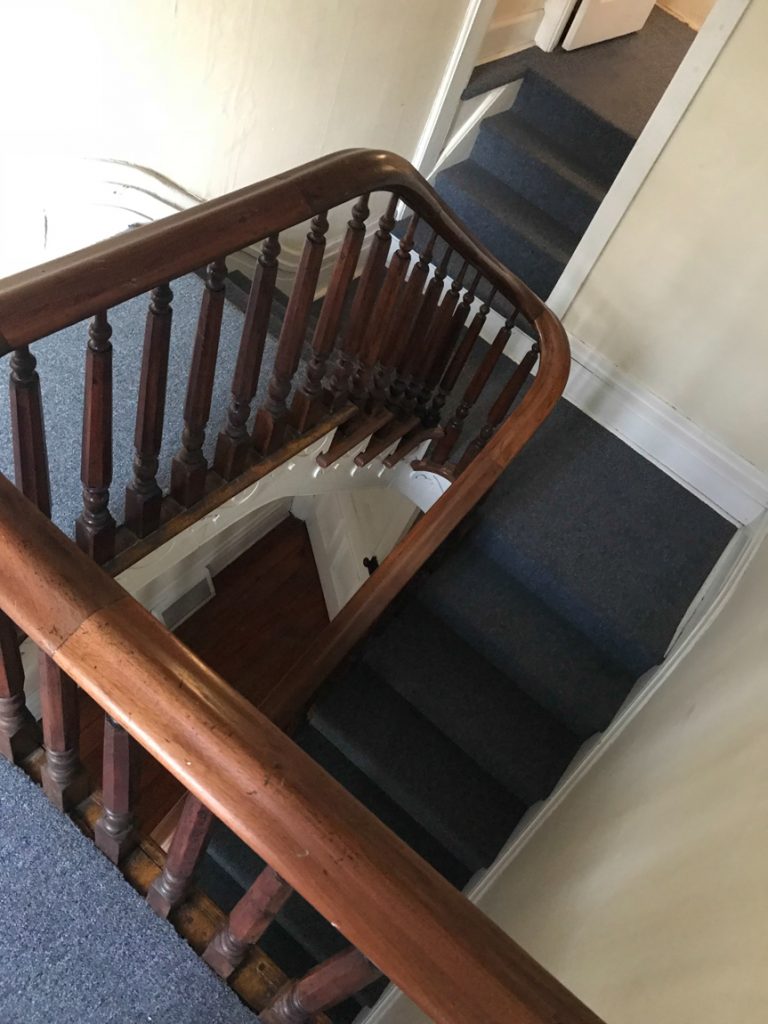
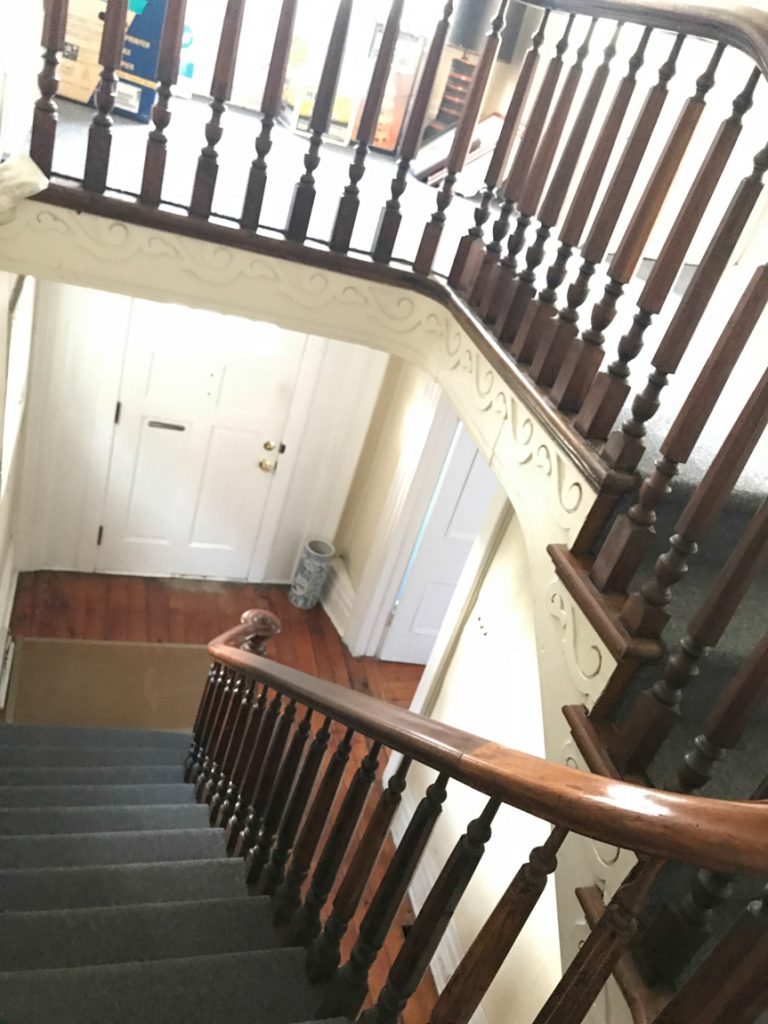
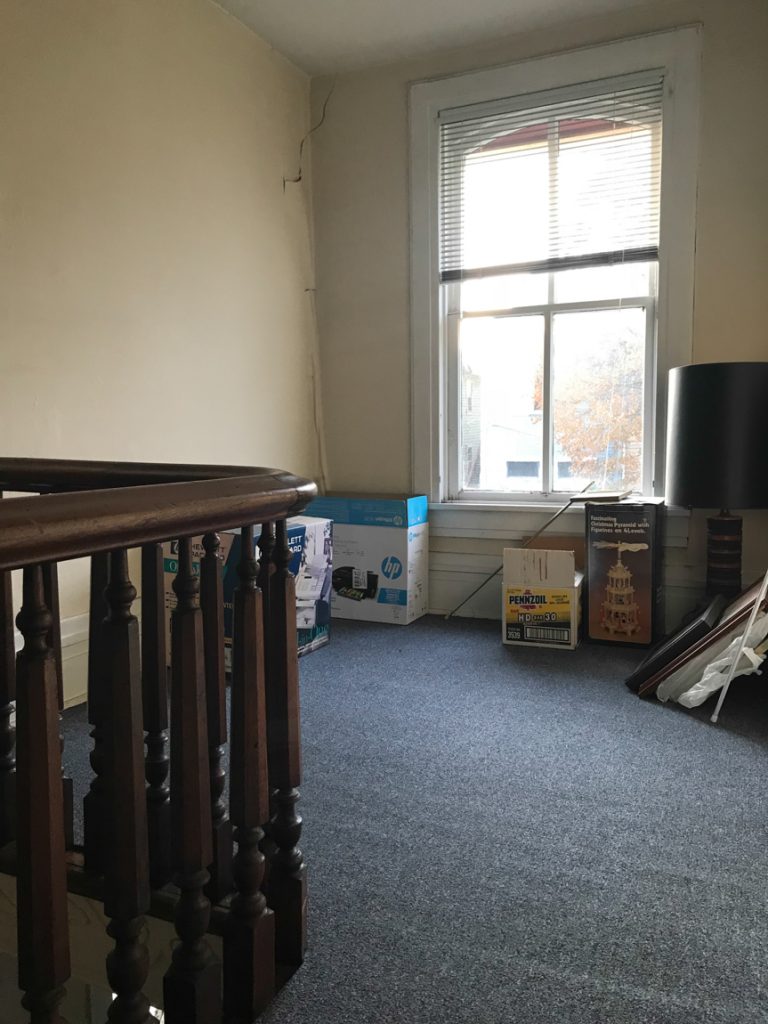
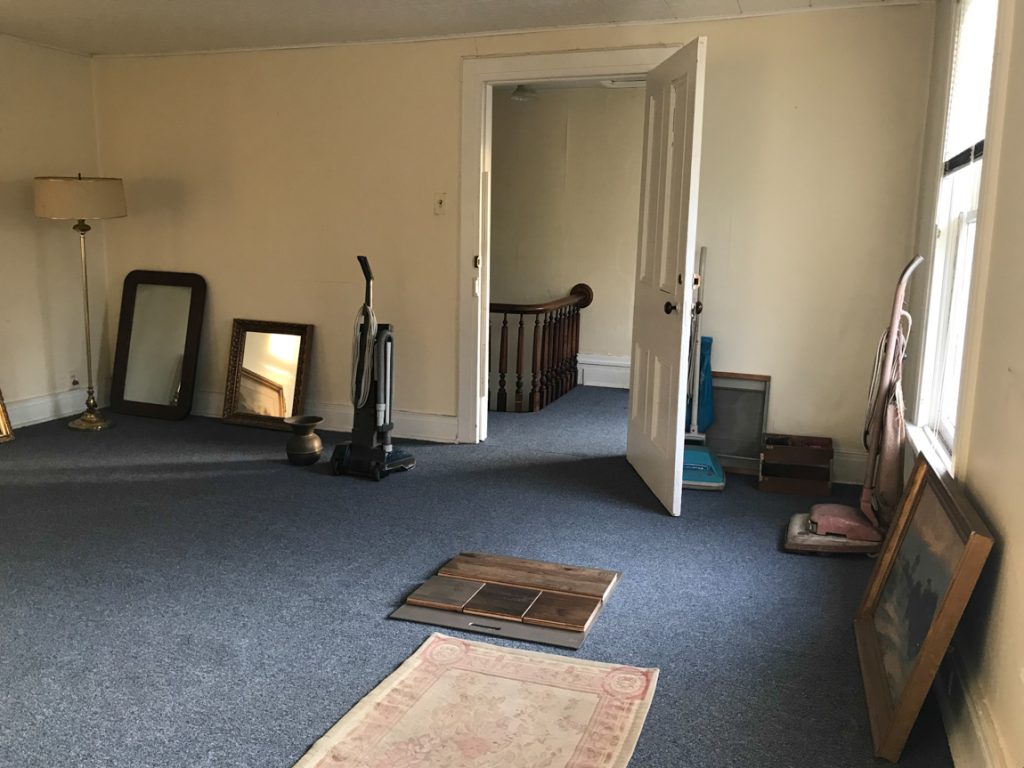
The stair case…go ahead, drool over it’s beautiful walnut railing, spindles and banister. I do! I love the split staircase, the curves and original charm, don’t you?

DIY craft studio // workshop - before room makeover @diyshowoff DIY craft studio // workshop - before room makeover @diyshowoff DIY craft studio // workshop - before room makeover @diyshowoff DIY craft studio // workshop - before room makeover @diyshowoff

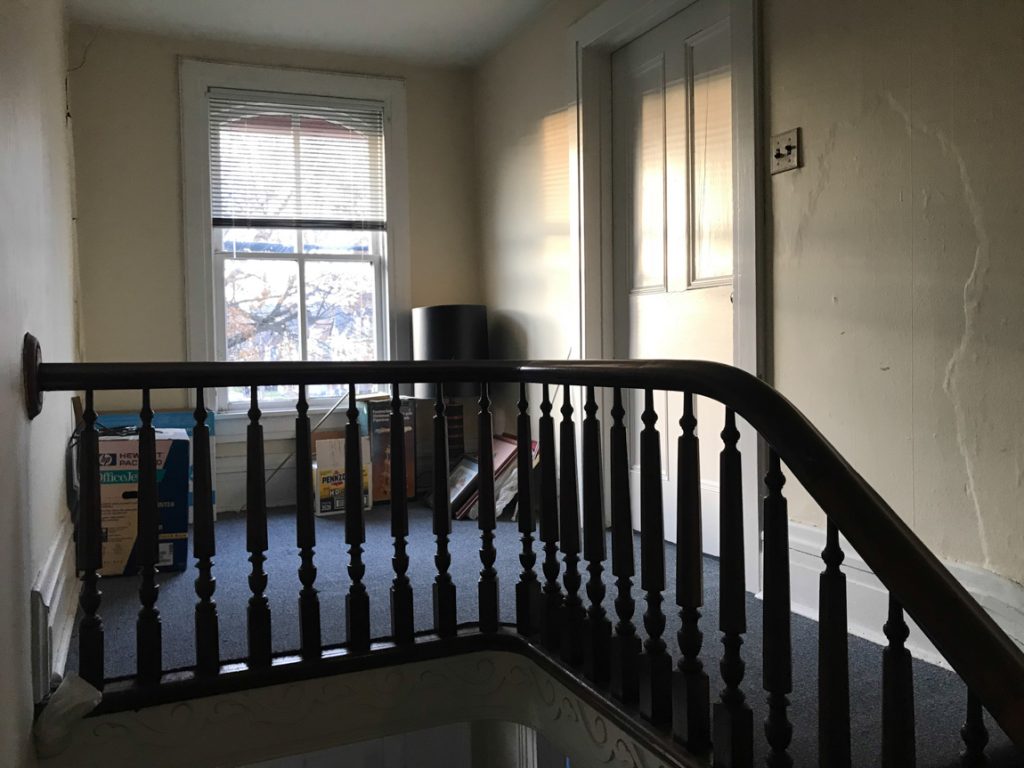
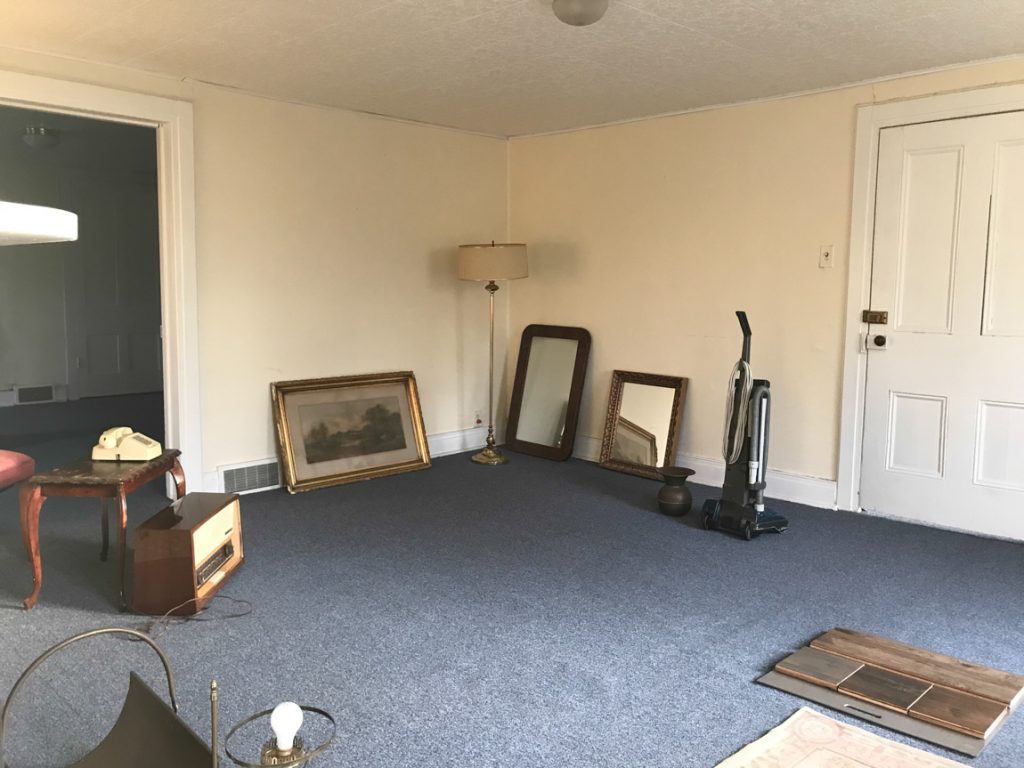
The landing…this will be the entry way into what will be an efficiency apartment. All of the stuff was left by previous owner. One man’s trash is another man’s treasure. Sometimes. I’m the proud new owner of like four vacuum cleaners. lol 

DIY craft studio // workshop - before room makeover @diyshowoff

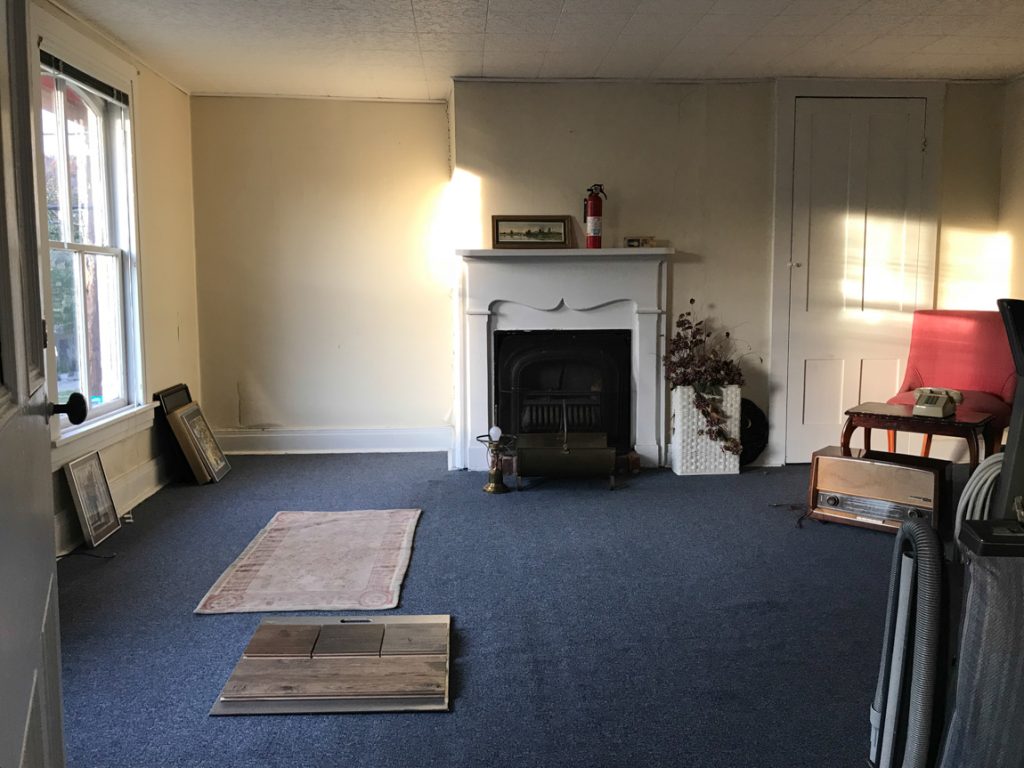
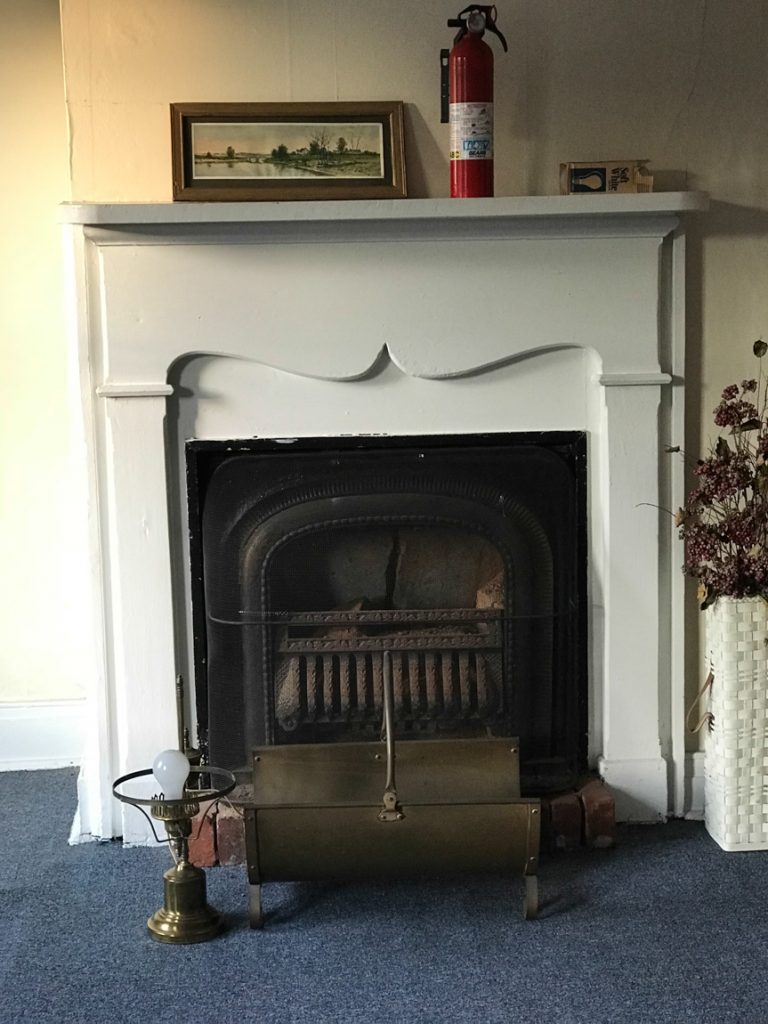
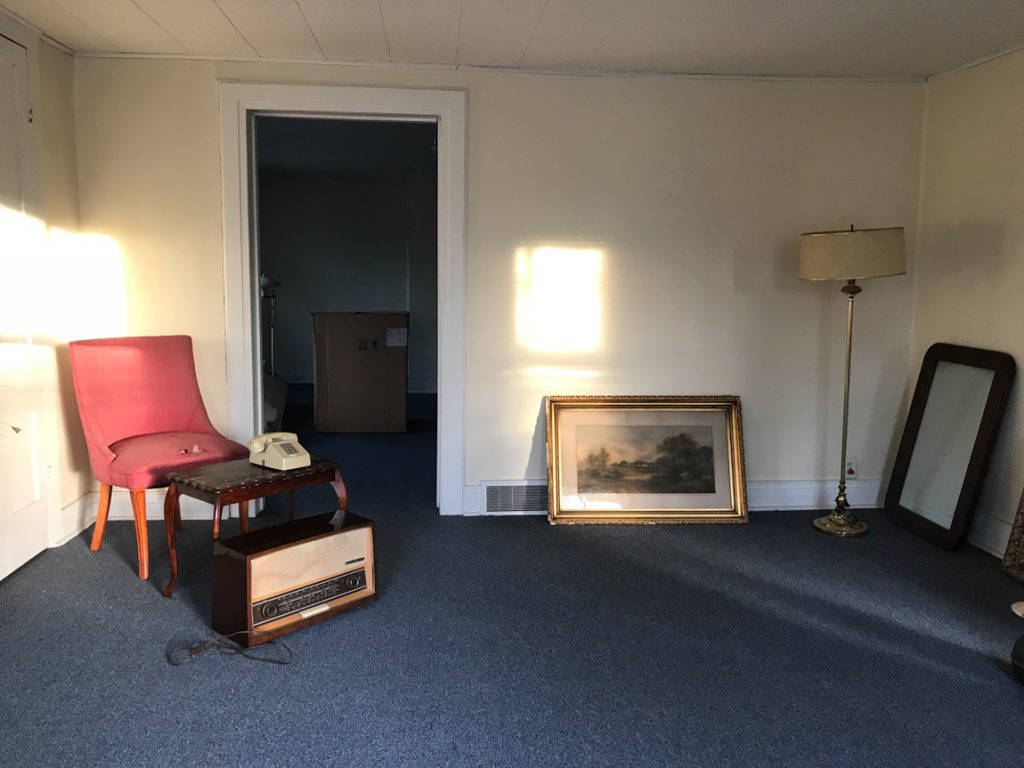
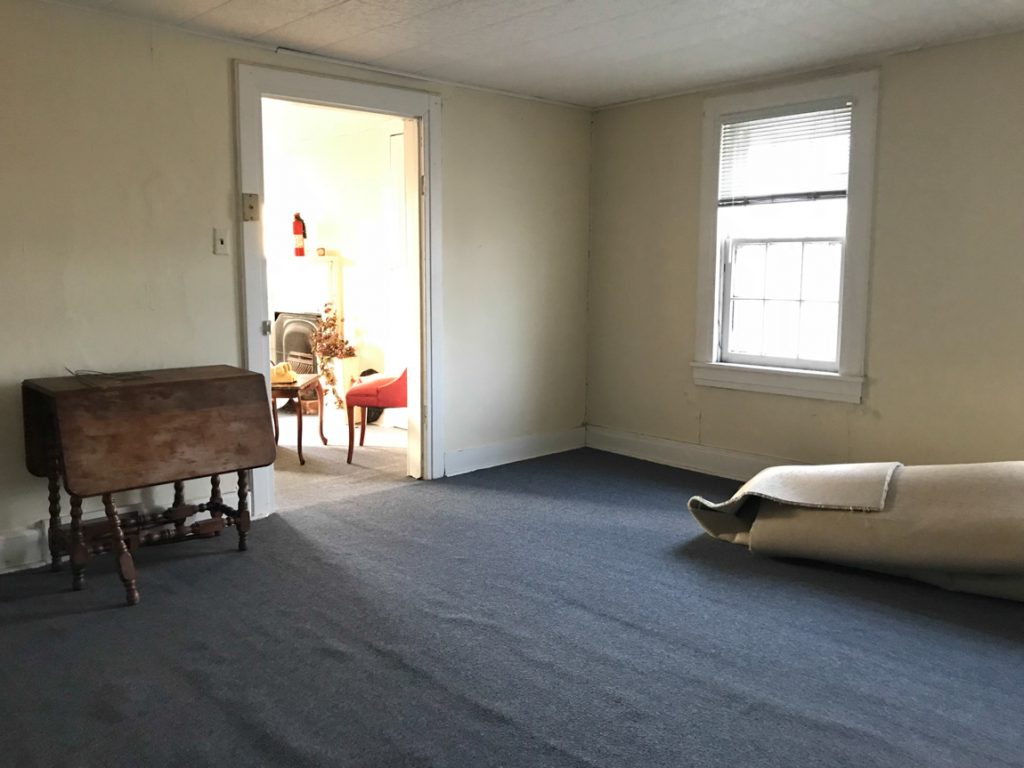
Bedroom 1 will become the living room area / kitchenette…

DIY craft studio // workshop - before room makeover @diyshowoff DIY craft studio // workshop - before room makeover @diyshowoffDIY craft studio // workshop - before room makeover @diyshowoff DIY craft studio // workshop - before room makeover @diyshowoff DIY craft studio // workshop - before room makeover @diyshowoff

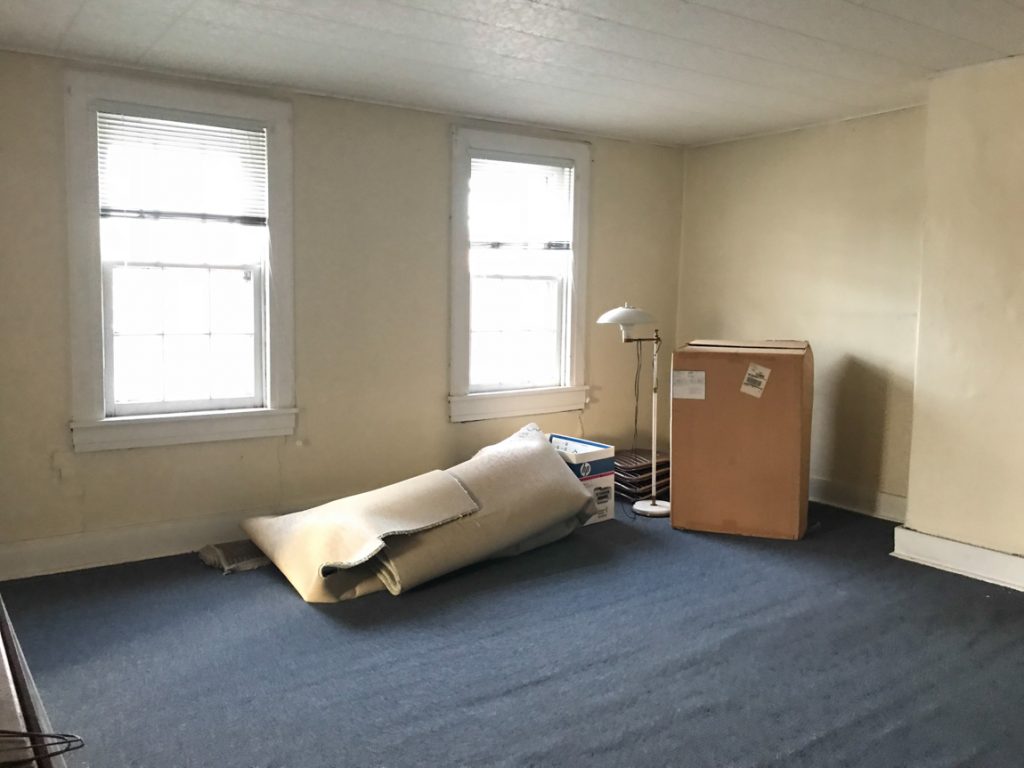
Bedroom 2 will remain a bedroom…

DIY craft studio // workshop - before room makeover @diyshowoff DIY craft studio // workshop - before room makeover @diyshowoff DIY craft studio // workshop - before room makeover @diyshowoff DIY craft studio // workshop - before room makeover @diyshowoff DIY craft studio // workshop - before room makeover @diyshowoff

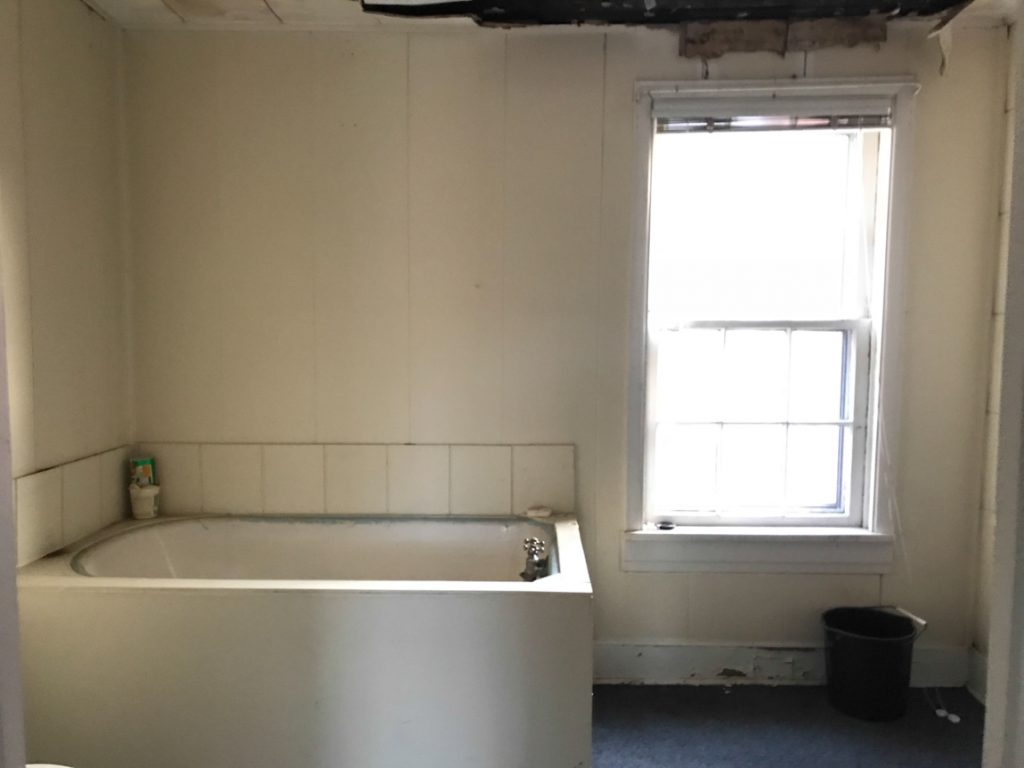
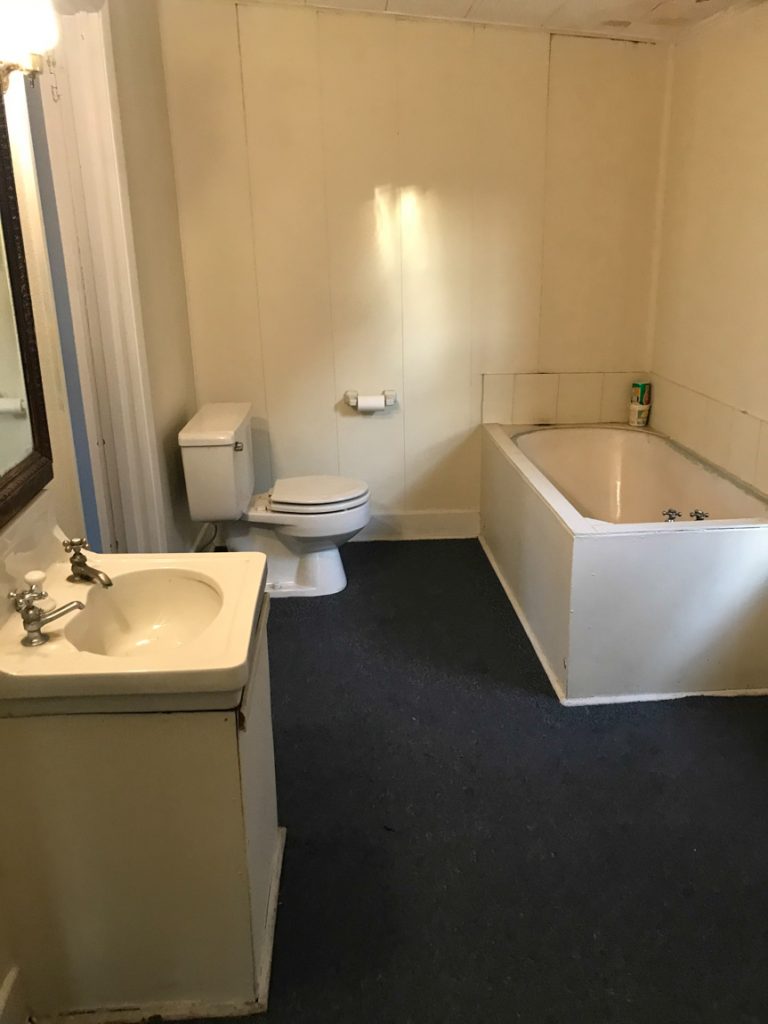
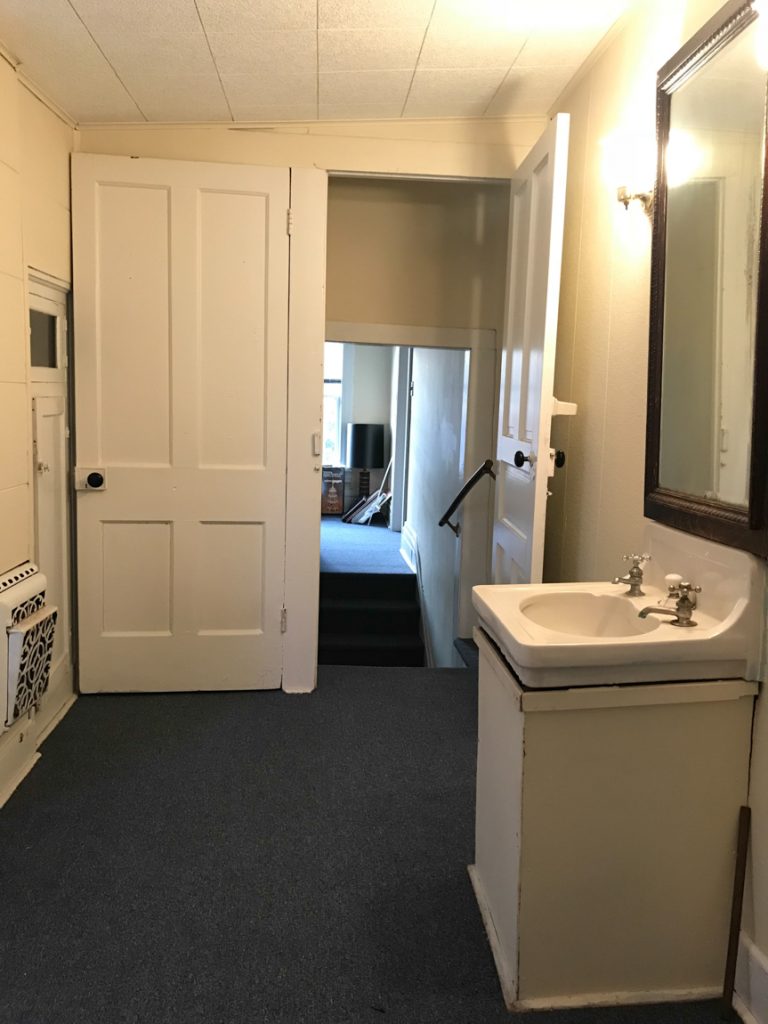
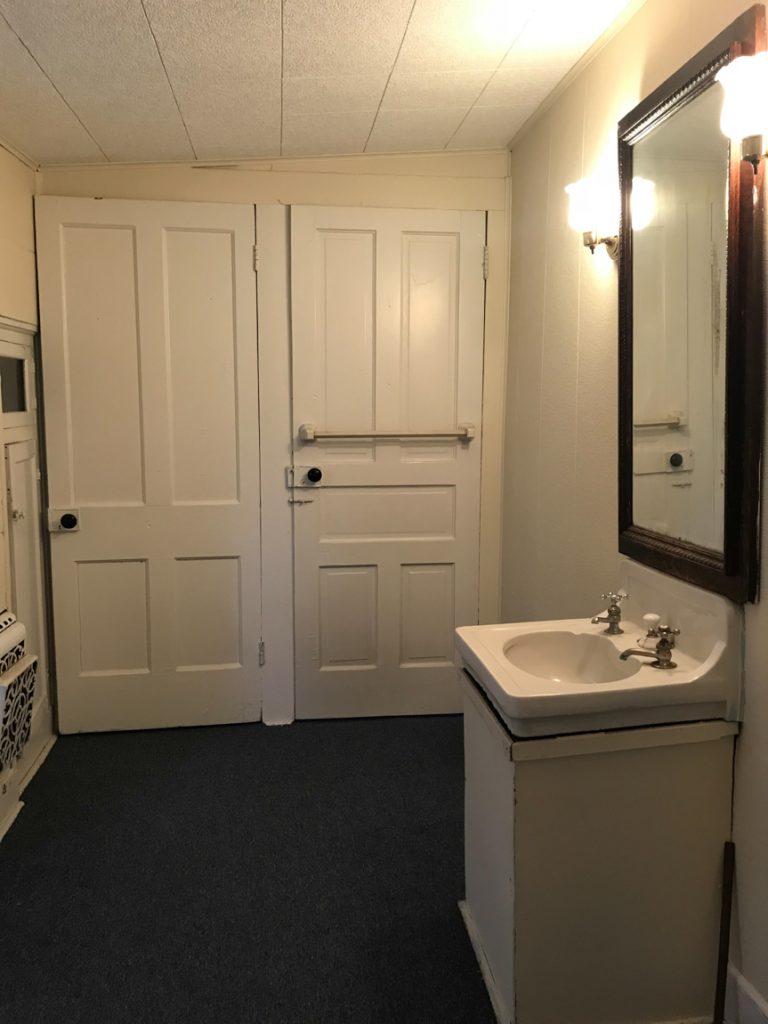
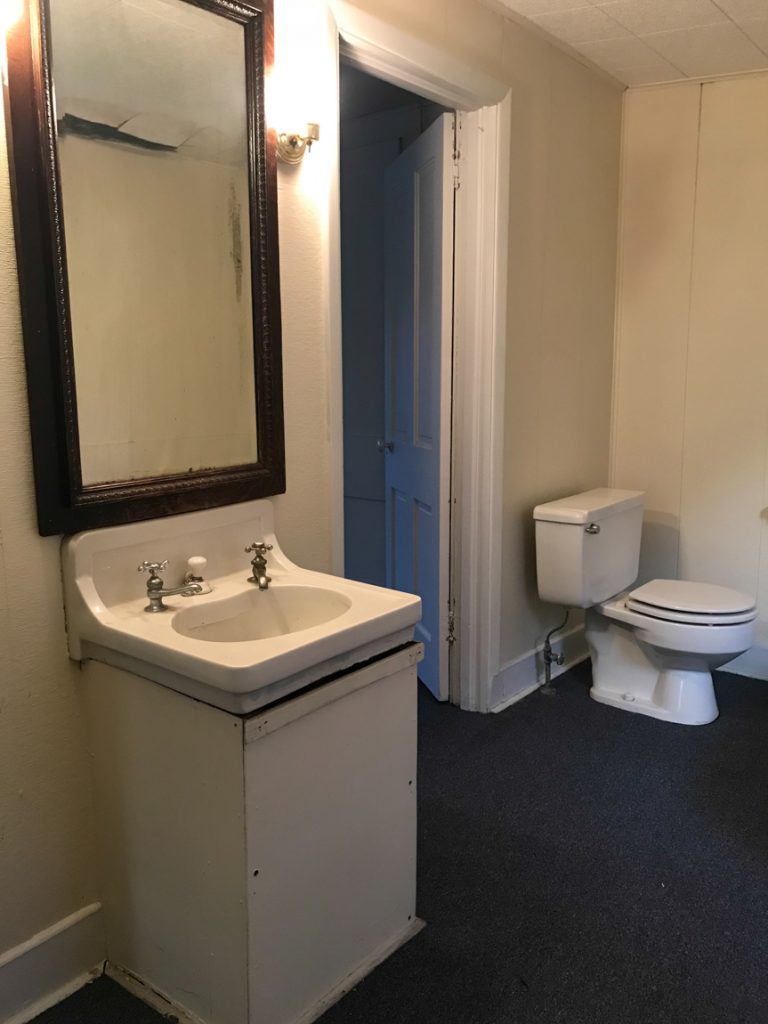
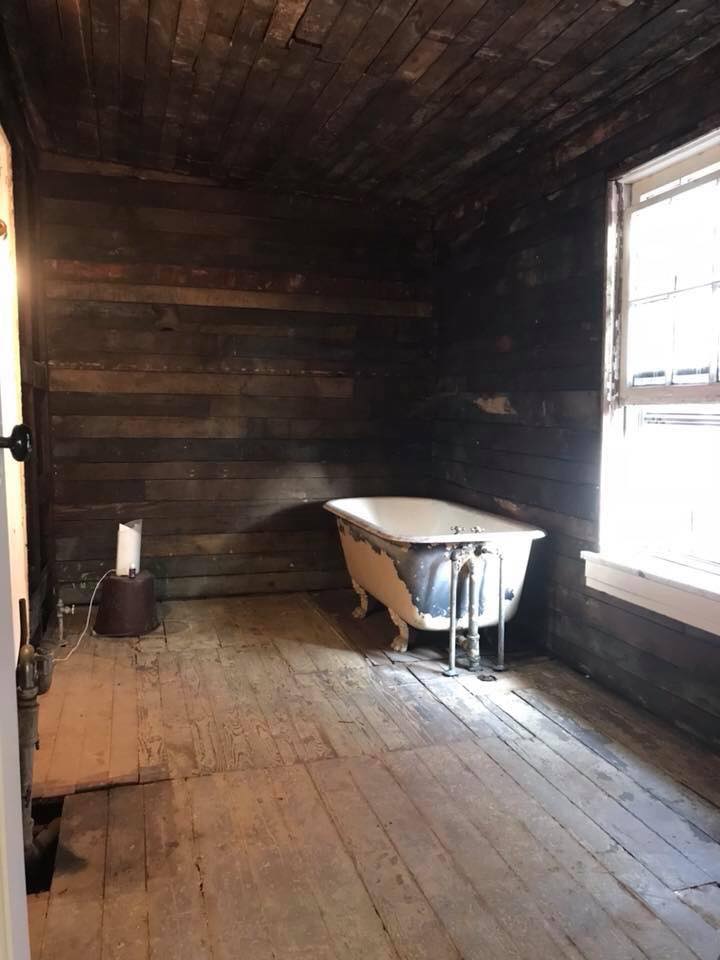
And the bathroom before was quite odd. They framed in the pedestal sink and claw foot tub. What the……? And as you can see, first up is some roof repair. 

DIY craft studio // workshop - before room makeover @diyshowoff DIY craft studio // workshop - before room makeover @diyshowoff DIY craft studio // workshop - before room makeover @diyshowoff DIY craft studio // workshop - before room makeover @diyshowoff DIY craft studio // workshop - before room makeover @diyshowoff

Peek after some bathroom demo…more on that next week. 

rustic bathroom makeover

…so lots of renovation to be completed upstairs to turn the 2 bedrooms and bathroom into a 1 bedroom efficiency. 

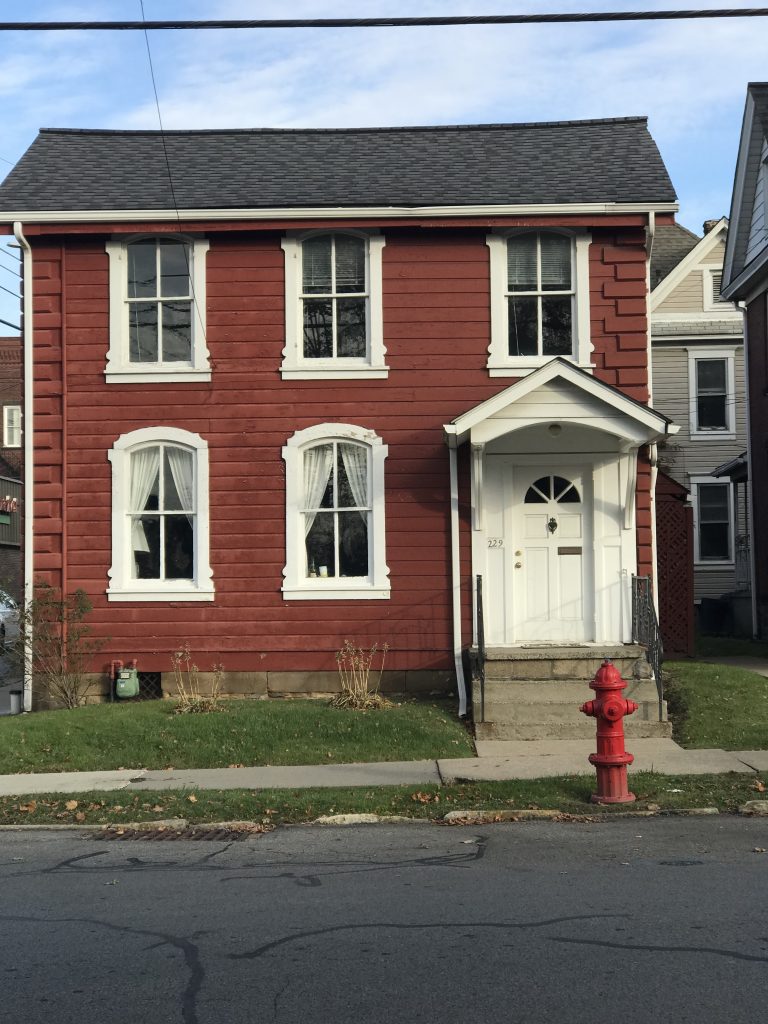
As I mentioned, the building has so much historical charm! It’s just so adorable. AND It’s about one block from our town’s Main Street. The bus stop is literally steps away. There are breweries, the YMCA, shops, restaurants, salons, florists, candy/coffee shop, holiday parades and festivals within walking distance. So fun!

If renovation from blah to ahhhhh is your thing, subscribe and be reminded of updates as the renovations progress! I’ll share before and after photos, projects underway and updates, plans and design boards, sources and links as they relate as well as fun events going on in and around the downtown area. I’ll be using a specific hashtag on social media to keep things all neat and tidy and organized. 

I welcome your thoughts and ideas! And as always, thanks for your encouragement and support and for sharing in my joy and vision! 
Follow the #helloredreno series:

Project Diary Entry #1 

Project Diary Entry #2