Project Diary Entry #1 – Hello Red Reno!

Project Diary Entry #1 – Hello Red Reno! 

A couple of months ago I shared that I’m the proud new owner of this charming property…

DIY craft studio // workshop - before room makeover @diyshowoff

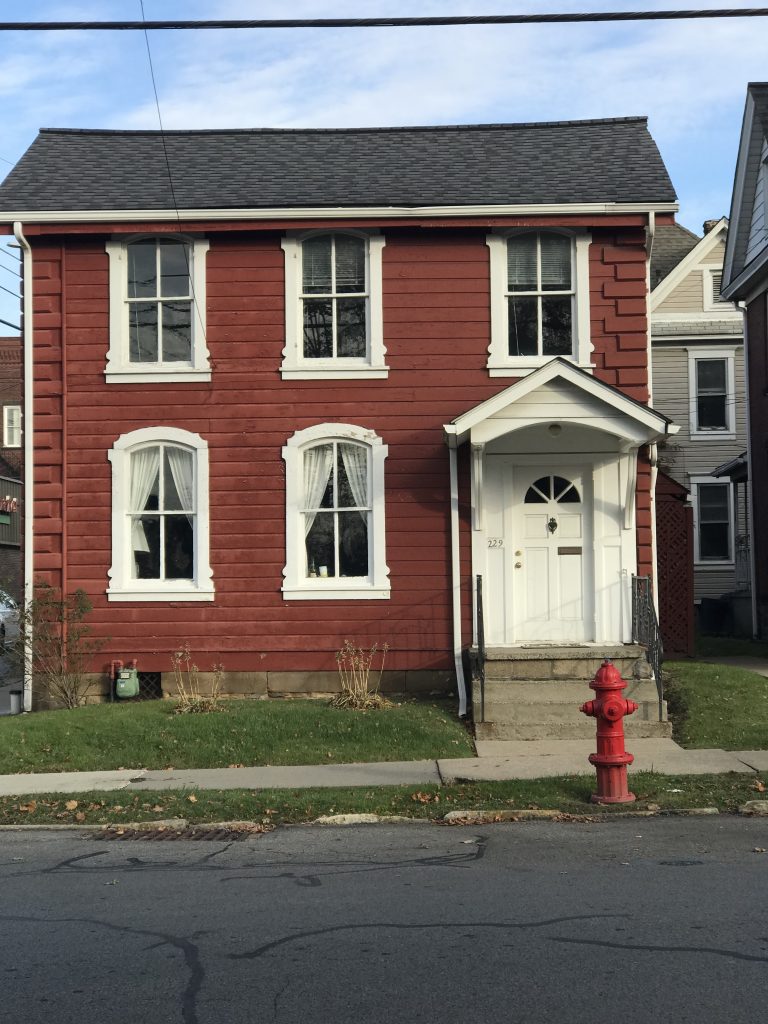
I love it. Just looking at that cute exterior makes my heart beat faster. I still can’t believe it’s all mine! 

I decided that rather than post JUST before pictures and hold off for the after until all projects were complete, that I’d begin posting more here at DIYShowOff more often –  sharing a series of updates in real time, as projects are started or in progress, ideas and plans and thoughts. This post serves as the introduction to the series. #1 – the before as I walked in the door the first time as the new owner. 

So join me on this tour of the first floor. The before photos:
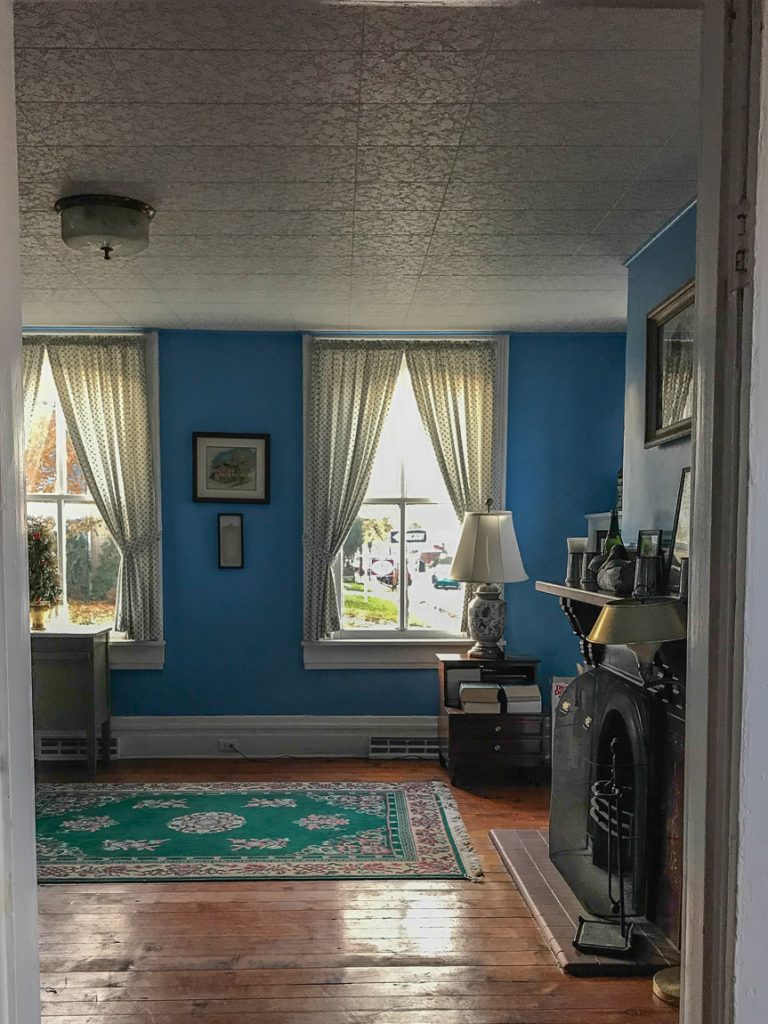
The entry way…

DIY craft studio // workshop - before room makeover @diyshowoff

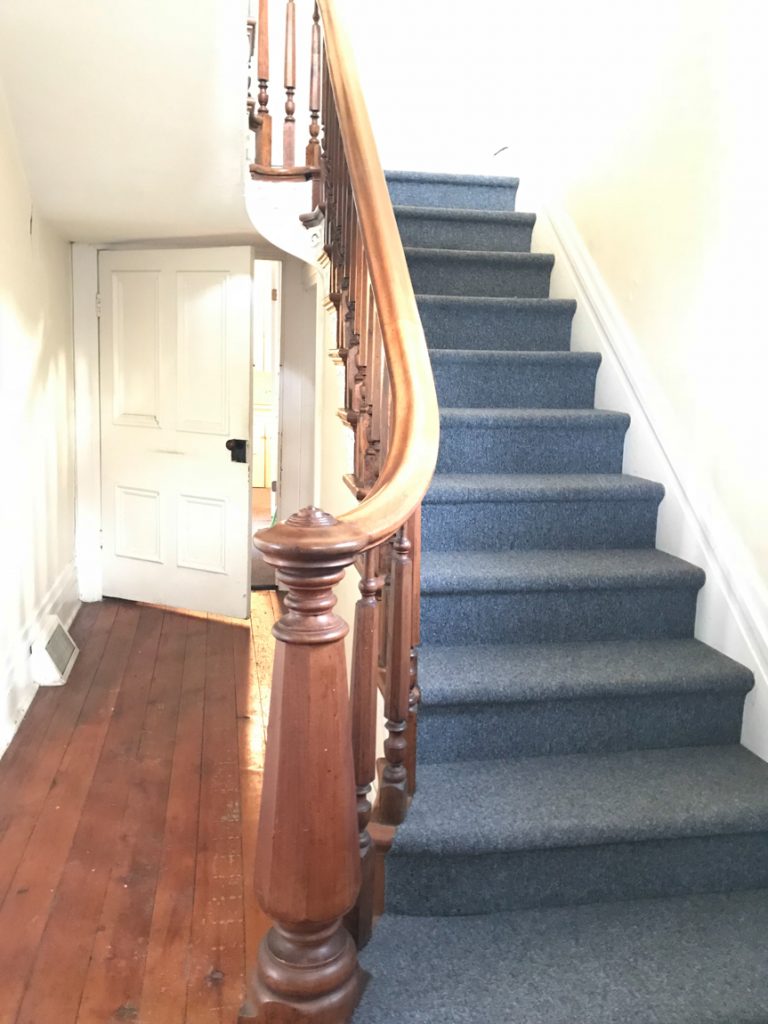
It’s going to get a little cleaning up. The original pine hardwood floors stay. Isn’t that walnut banister and railing gorgeous? Oh! And lucky me, that’s wallpaper. Several layers. Topped with paint. Lovely. lol I’ll share more about the plan for each individual space in the near future. But can you see the potential?  DIY craft studio // workshop - before room makeover @diyshowoff

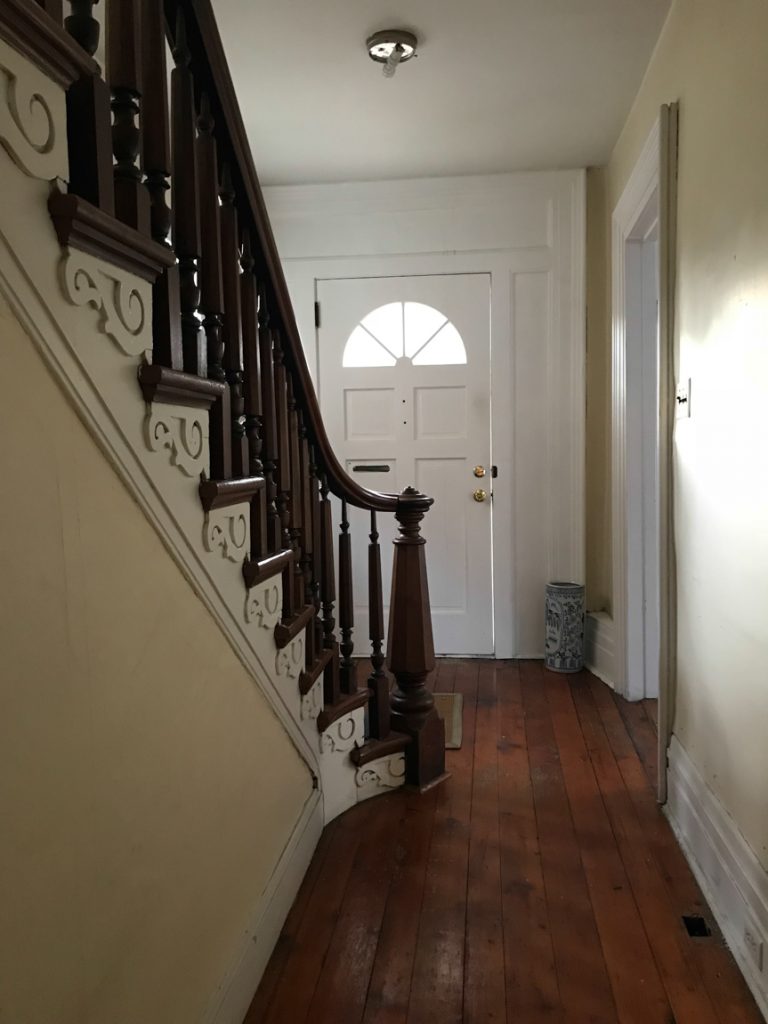
The building is functional but outdated. From what I can tell, the building was built sometime in the late 1890s. For the past 45 years, it served as an attorney’s office. And when I met him? We had so much in common. I could sense HIS sense of pride in the place and his love for it’s character and we just seemed to be on the same frequency right from the start. Ever experience that? I believe that even played a part in his accepting my offer. 

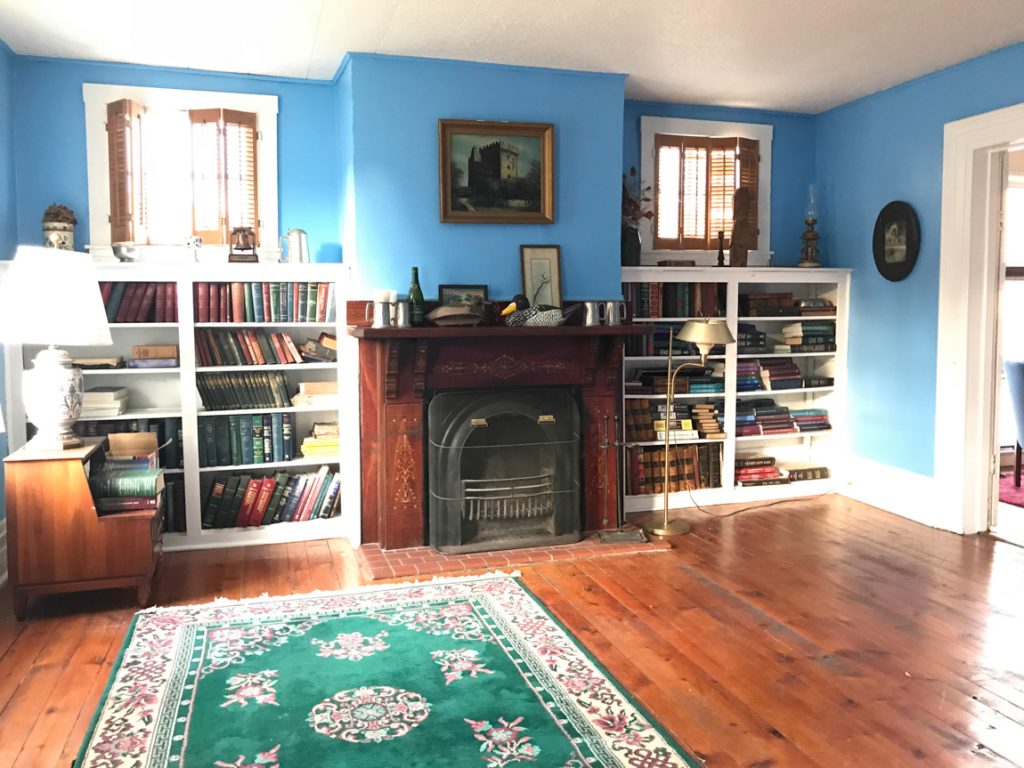
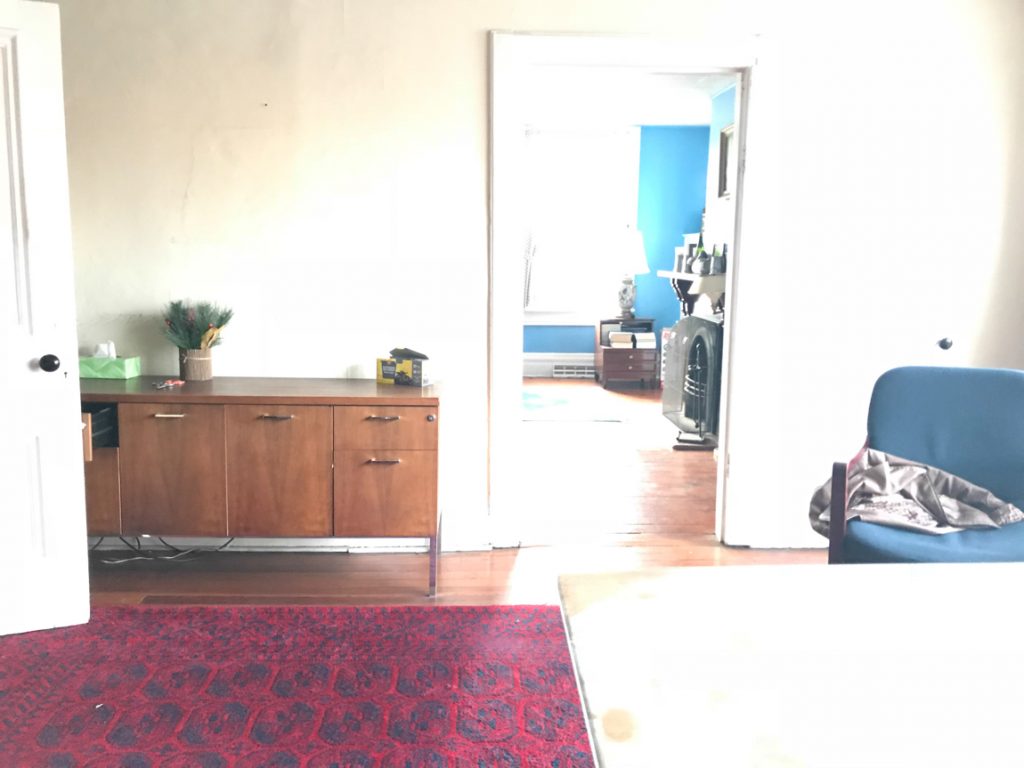
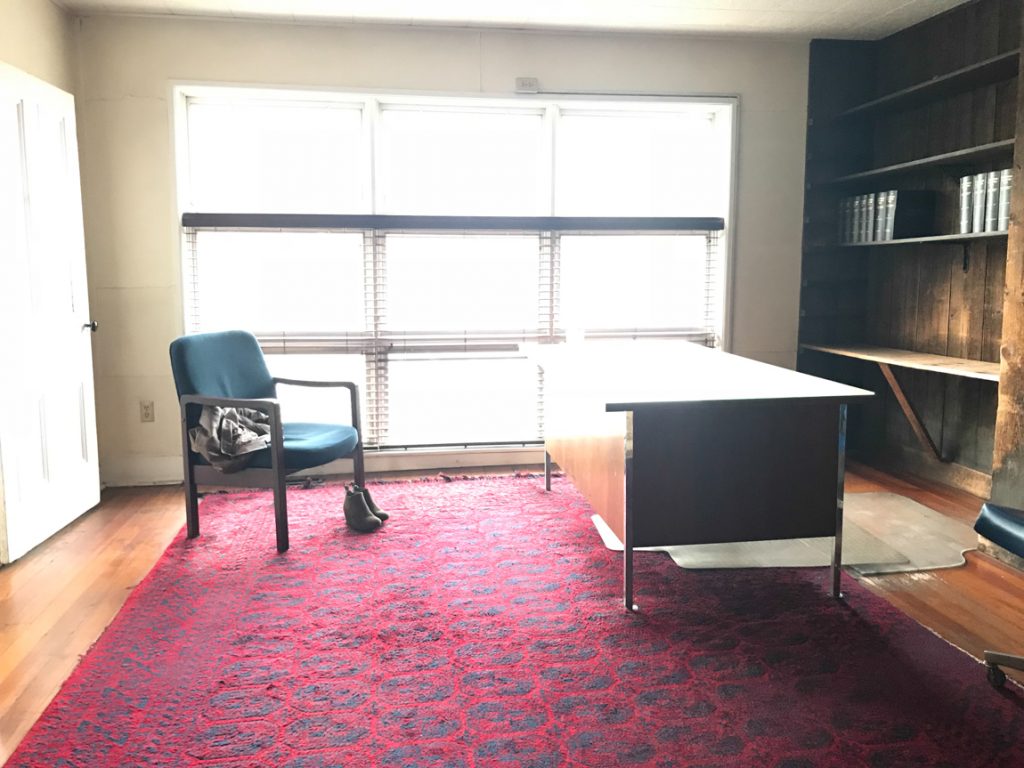
This first room was his law library/waiting area…

DIY craft studio // workshop - before room makeover @diyshowoff DIY craft studio // workshop - before room makeover @diyshowoff DIY craft studio // workshop - before room makeover @diyshowoff DIY craft studio // workshop - before room makeover @diyshowoff

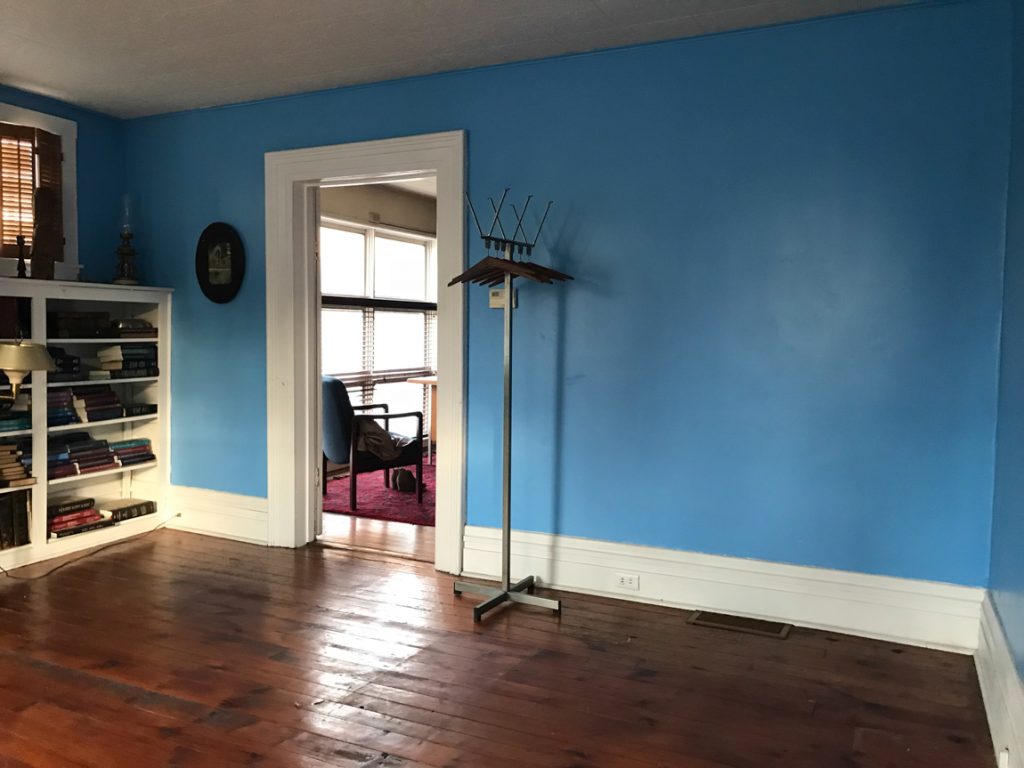
This next room, his office:

DIY craft studio // workshop - before room makeover @diyshowoff

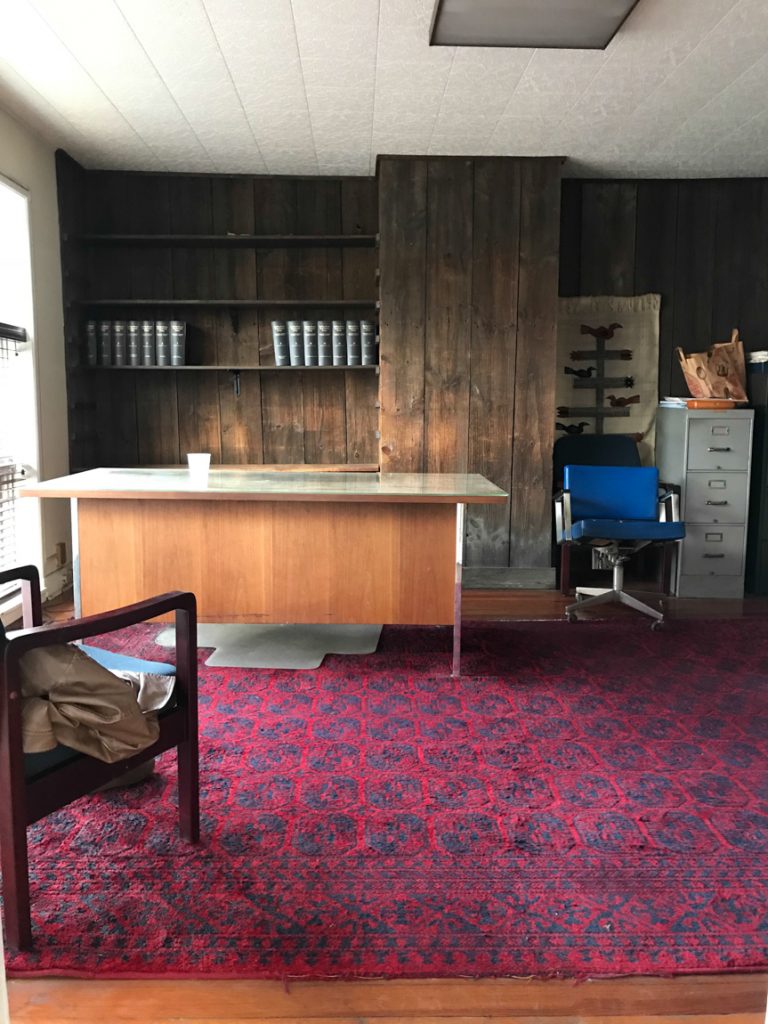
You know that barn wood on the walls is going to stay. I LOVE it!DIY craft studio // workshop - before room makeover @diyshowoff DIY craft studio // workshop - before room makeover @diyshowoff DIY craft studio // workshop - before room makeover @diyshowoff DIY craft studio // workshop - before room makeover @diyshowoff

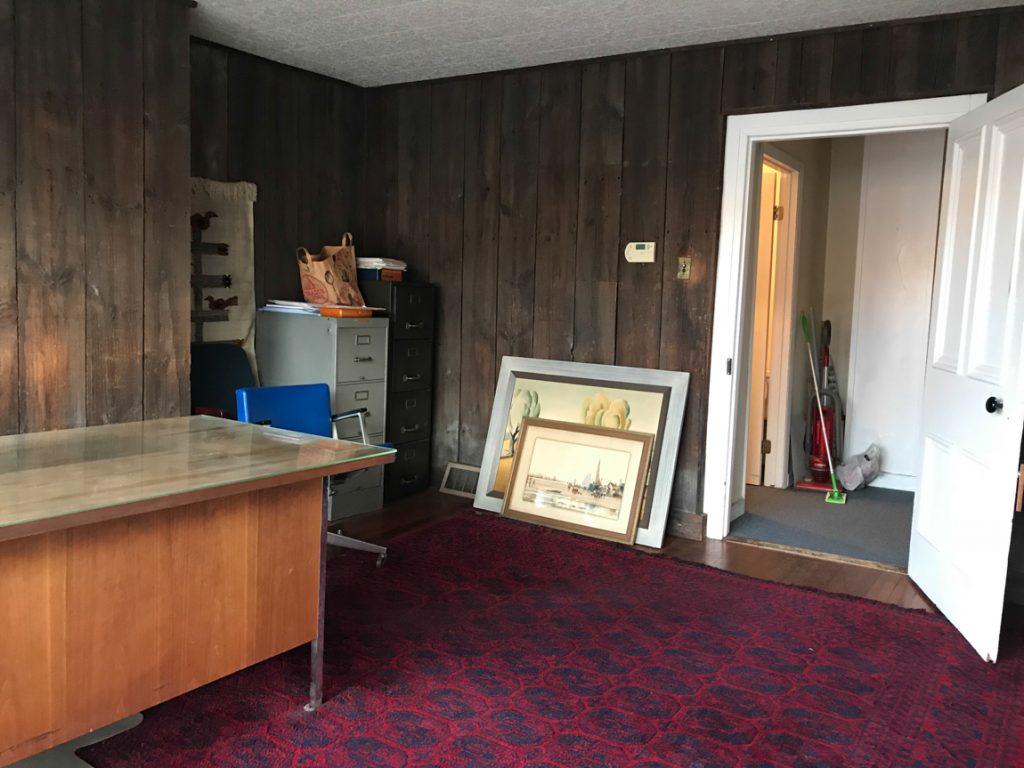
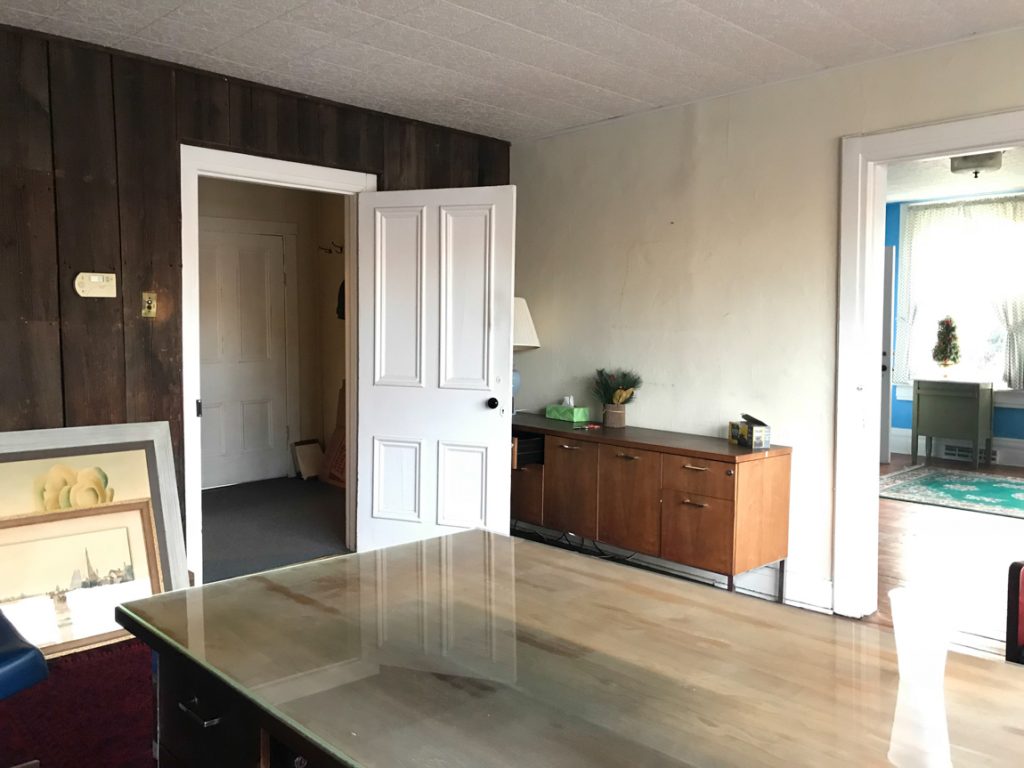
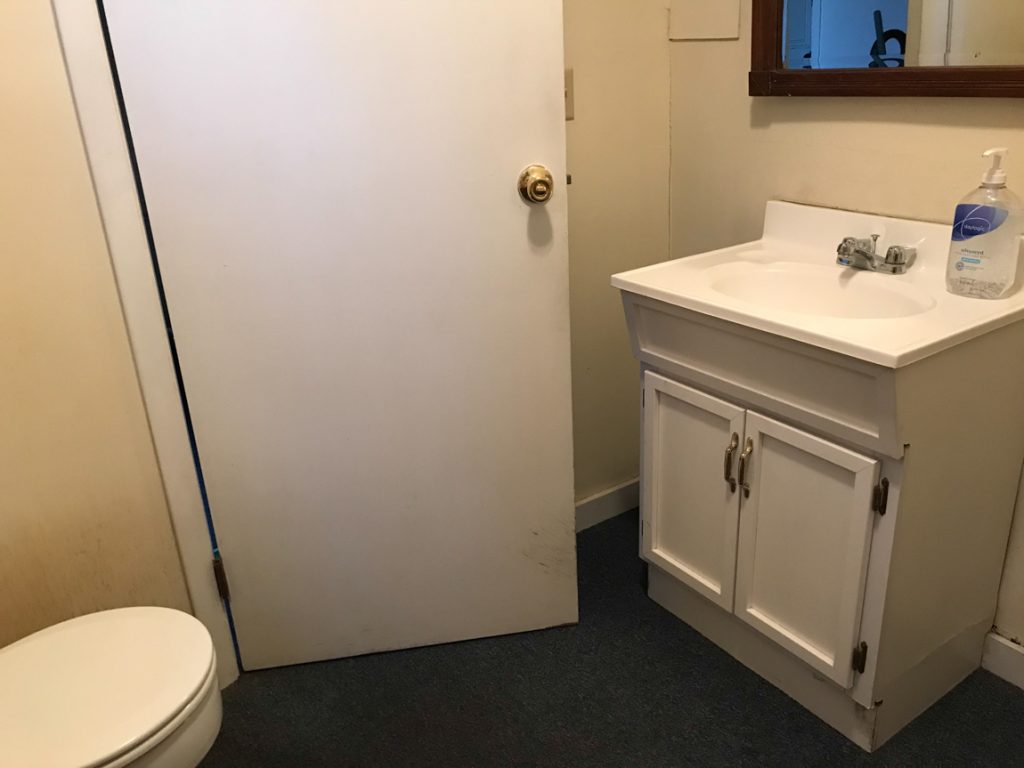
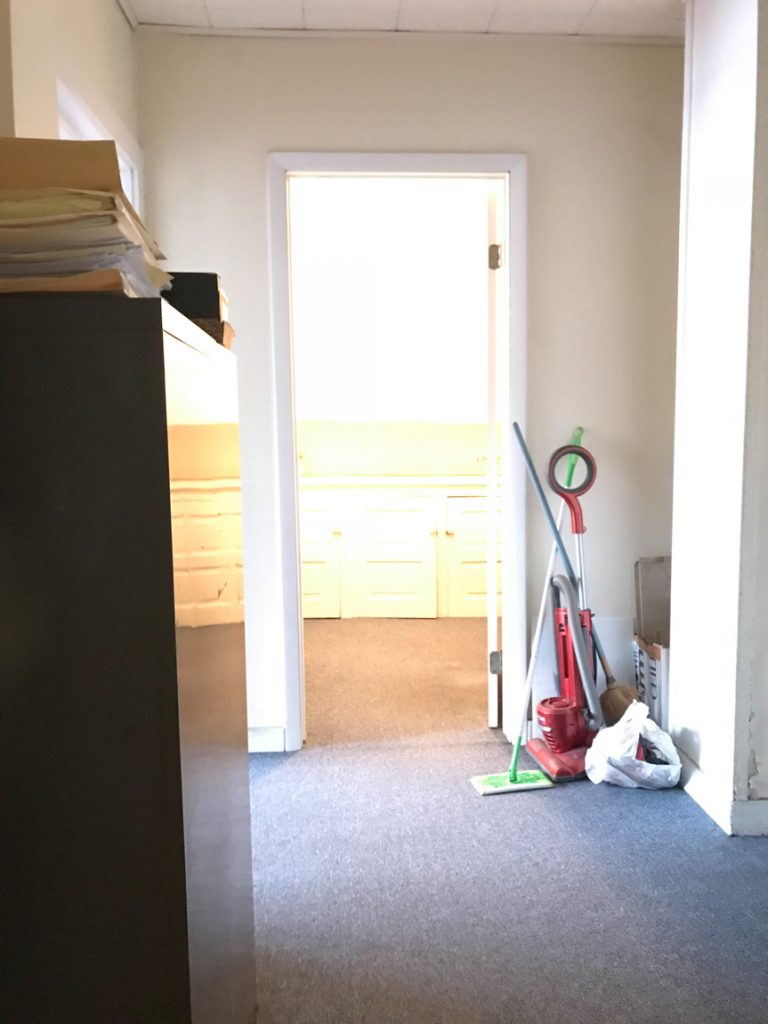
A restroom…(original 1890s kitchen area) 

DIY craft studio // workshop - before room makeover @diyshowoff DIY craft studio // workshop - before room makeover @diyshowoff DIY craft studio // workshop - before room makeover @diyshowoff

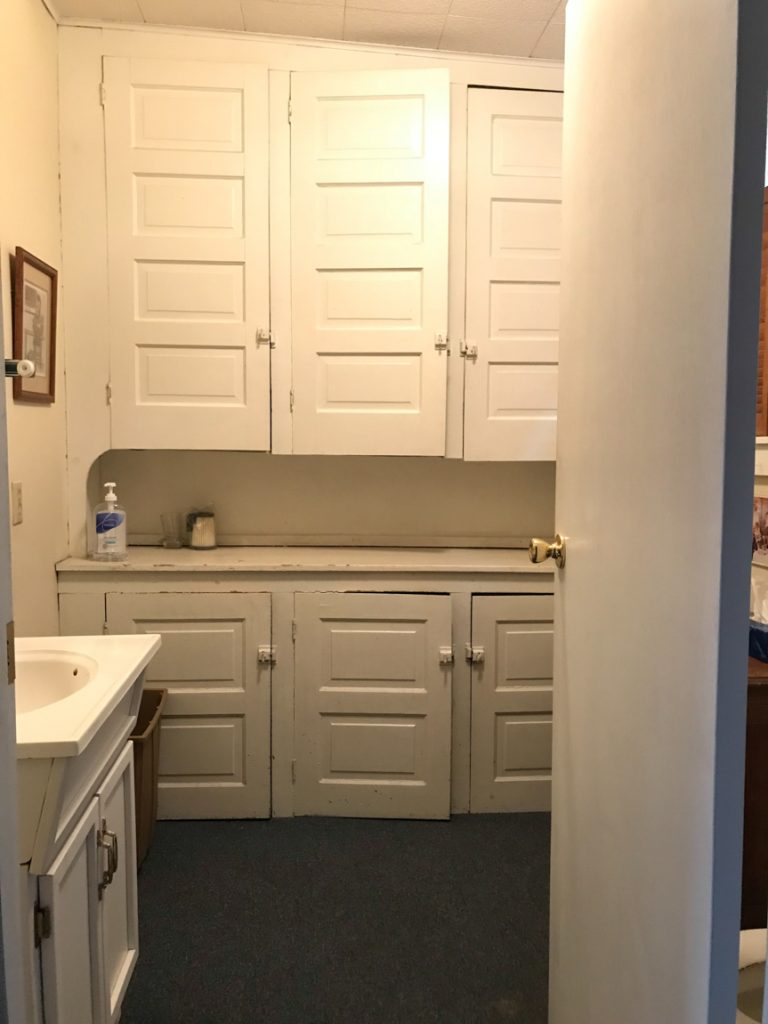
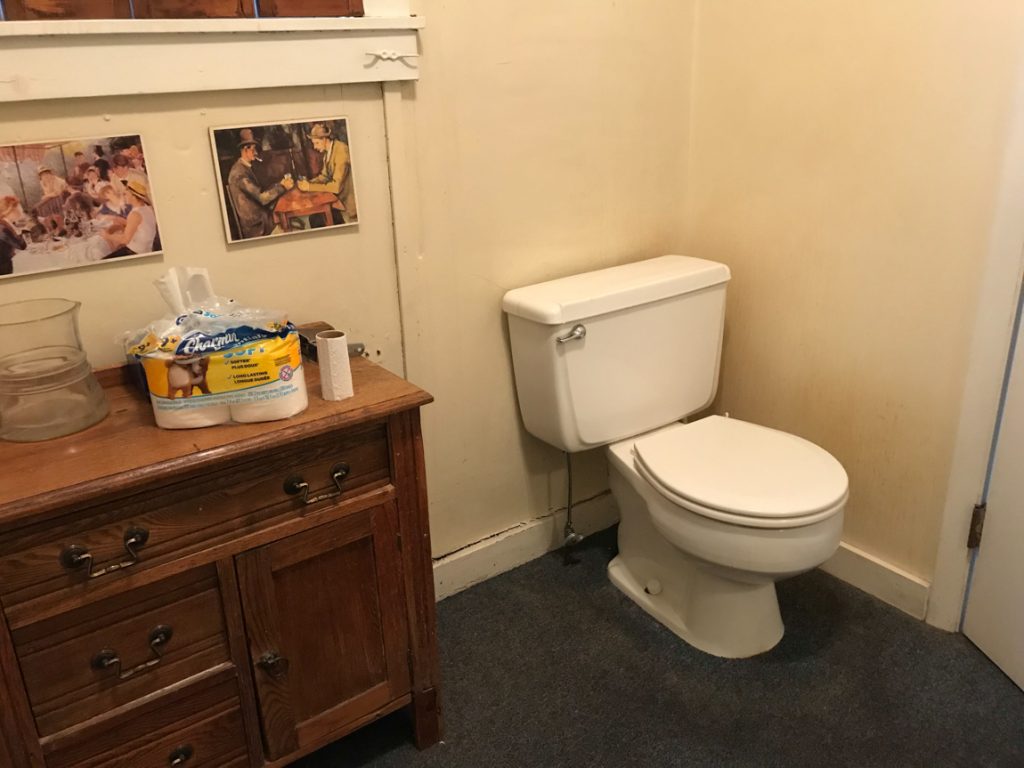
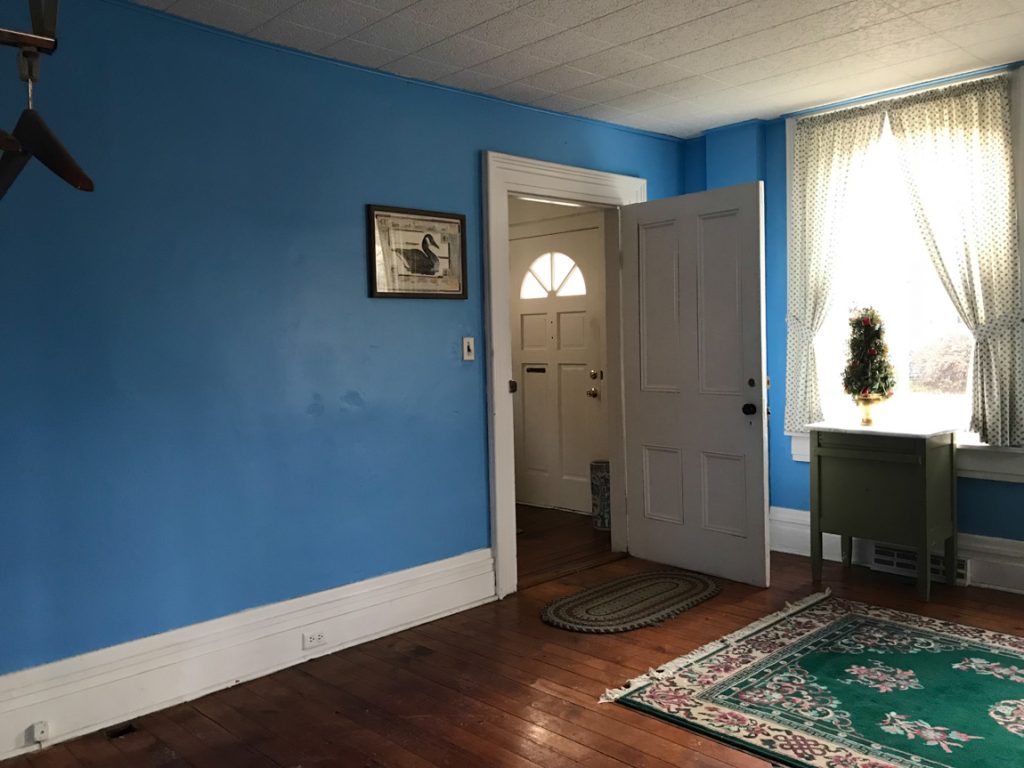
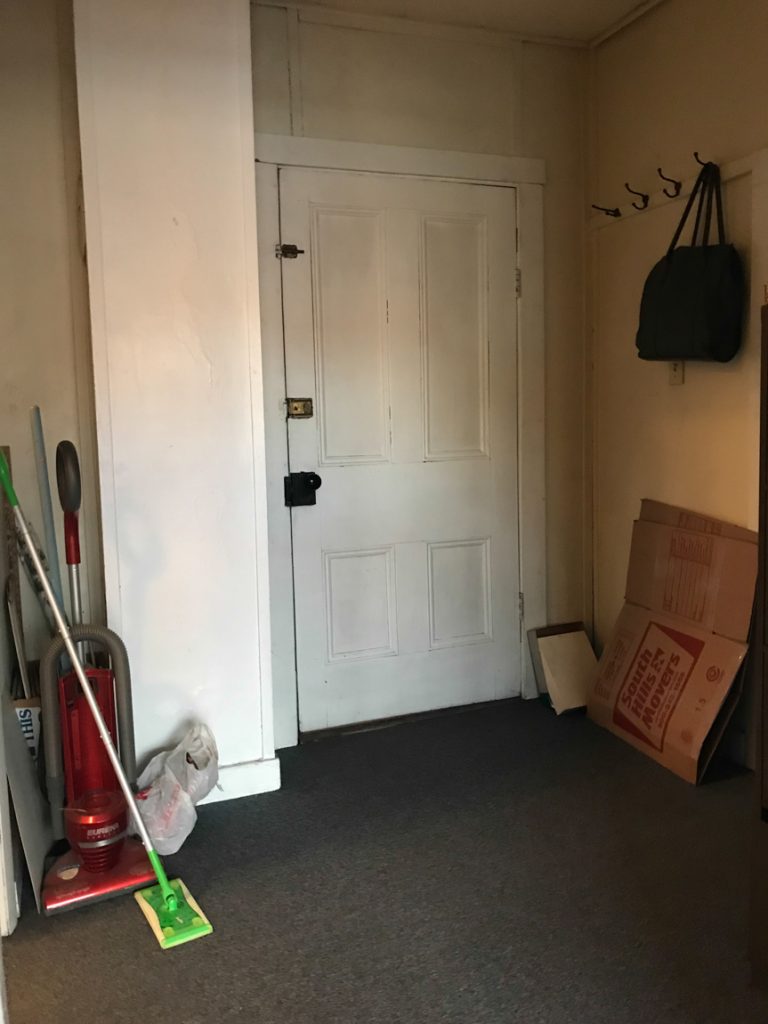
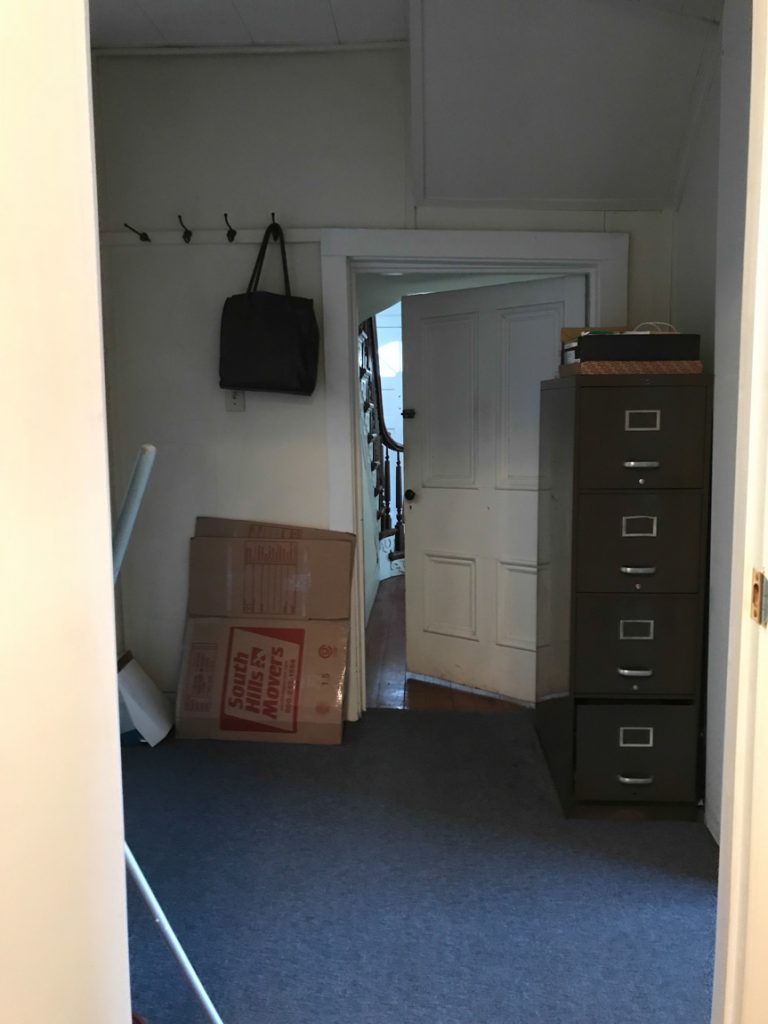
and a back entryway (other half of the original 1890s kitchen area/back door/hobbit door to the front entry/staircase)…

DIY craft studio // workshop - before room makeover @diyshowoff DIY craft studio // workshop - before room makeover @diyshowoff DIY craft studio // workshop - before room makeover @diyshowoff

Now the first floor will be a Connect & Create, Makery + Meeting Space … I’m still pondering the official name. For now I refer to it as “the studio”. It’s small but zoned to accommodate 49 but I feel like that’d be way too sardine-packed tight. For real. That must include the upstairs as well be cause I’ve had nearly 20 people on the first floor and it was jam-packed. For the future, I will limit gatherings to intimate meetings and parties of up to 15-20 people. 

The building has so much historical charm. It’s about one block from our town’s Main Street. The bus stop is literally steps away. There are breweries, the YMCA, shops, restaurants, salons, florists, candy/coffee shop, holiday parades and festivals within walking distance. So fun! If renovation from blah to ahhhhh is your thing, stay tuned!

So subscribe and be reminded of updates as the renovations progress! I’ll share before and after photos, projects underway and updates, plans and design boards, sources and links as they relate as well as fun events going on in and around the downtown area. I’ll be using a specific hashtag on social media to keep things all neat and tidy and organized. 

#helloredreno

I welcome your thoughts and ideas! And as always, thanks for your encouragement and support and for sharing in my joy and vision! Watch for #helloredreno !

DIY Feature: Kitchen Before & After Makeover

Erin from A Wannabe Decorator’s Life blog is sharing her kitchen transformation with us today.

its-a-wannabe-decorators-life

The kitchen before was functional and pretty enough…but very brown and dark.

its-a-wannabe-decorators-life-kitchen-before

and sometimes the details get lost in all of that wood tone, so she freshened up the cabinets with paint…

its-a-wannabe-decorators-life-kitchen-after

the white really brightens things up and gives it an overall more spacious feeling and that subway tile! Dreamy! …

before

it's a wannabe-decorators-life-kitchen-before

after

its-a-wannabe-decorators-life-kitchen-after

Love the green cabinets too…an impression of a separate piece of built in storage.

before

its-a-wannabe-decorators-life-kitchen-before

after

its-a-wannabe-decorators-life-kitchen-after

See MORE before/after pictures, get the full details and more information on her kitchen reveal! Check out her gorgeous previous home while your’e there, follow along for her project updates in her newer home too!

Thank you for sharing your beautiful kitchen makeover, Erin! Gorgeous transformation and fun decorative details!

DIY Ceiling Mount Drum Shade Light Fixture Cover

In the apartment: Staying within a very tight budget inspires creativity. The main floor of the rental had a boring light fixture and we wanted to do something a little more fun. A thrift store drum shade was a great solution and worked with existing ceiling mounted light fixture base. {peek of the thrifty gallery wall}

DIY Drum Shade Ceiling Mount Light Fixture Tutorial

I originally purchased a steel nipple {are you giggling?! who decided that was a good name for hardware?} for a lamp kit, but it was too big in diameter to fit through the hole in the existing light fixture base. Lucky for us, True Value Hardware is within walking distance of the rental. So convenient. Great for finding last minute things and a huge selection of everything plumbing (and lamp kits too). I found that a ‘toilet’ plumbing piece {a rod threaded on both ends} was a perfect fit. We simply unscrewed the existing base, added a nut near the hole in the center of the existing base and screwed in the threaded rod and re-attached the base of the light fixture.

Next, Just center of the drum shade over the threaded rod and the finial holds it all into place.

threaded rod in DIY drum shade light

 But the ugliness is visible from underneath…

DIY drum shade light fixture

Solution: Measuring the diameter of the interior of the drum shade, I made a pattern/stencil from cardboard (tracing the interior of the shade).

cardboard template

We used the cardboard circle as a template for cutting plexiglass (2 circles). We found cutting plexiglass to be a challenge and cut a larger circle, wrapped the edges in FrogTape to help minimize cracking and chipping then used our Dremel Trio to cut the circle border on the FrogTape. Note: this project is NOT for perfectionists. Amateurs (like us) achieved a jagged circle but we’re okay with that. 

plexiglass with FrogTape

Remove FrogTape and transparent protective cover from plexiglass. We didn’t get a smooth cut, but it’s not extra noticeable when placed into the drum shade and hot glue and ribbon or beads can cover the jagged edge.

We also drilled a hole in the center of each piece of plexiglass for the threaded rod.

I ironed my doily and cut out the center circle…

ironing doily

and put the plexiglass into the drum shade {plexiglass, doily, plexiglass}, resting it on the lamp shade supports (drum shade will be installed ‘upside down’). Note: You may want to use a spray adhesive on one side of the doily to keep it from sliding as you’re layering plexiglass, doily, plexiglass. I also used hot glue to attach a string of beads to hide our jagged cuts.

plexiglass doily drum shade

So pretty DIY ceiling mount light {a little off center, hence the suggestion for spray adhesive as noted above}:

doily drum shade light

Then just put the drum shade into place, secured by the finial…

DIY drum shade light lit

We love how it turned out – but note: plexiglass is more expensive than we anticipated. So while it still worked out to be a less expensive option than a pretty drum shade ceiling fixture and prettier than a boob light, it wasn’t super cheap like I had planned. Approximate cost breakdown: plexiglass $25, drum shade $5, doily $10 + finial and threaded rod.

Facebook
DIY Show Off - FacebookDIY Show Off - TwitterDIY Show Off - PinterestDIY Show Off - FeedDIY Show Off - HomeTalkDIY Show Off - G+

We were chosen by True Value to be one of the members of the 2012 DIY Squad. I have been compensated for the materials needed for my DIY projects. However, the thoughts and opinions expressed are completely honest and my own. I have not been paid to publish positive comments and no one has twisted my arm to participate.  

This is a sponsored post brought to you by FrogTape. The opinions are completely my own based on my own experience and project results may vary.

 FrogTape Blog Squad