





Project Diary Entry #6: Bathroom Flooring

It feels as if it’s been a while since I shared an update on the studio renovation. Most recent progress is the beautiful tile floors have been installed in the upstairs bathroom. As a member of the Shaw StyleBoard, I had the opportunity to choose some flooring for the studio.

My Choice: 

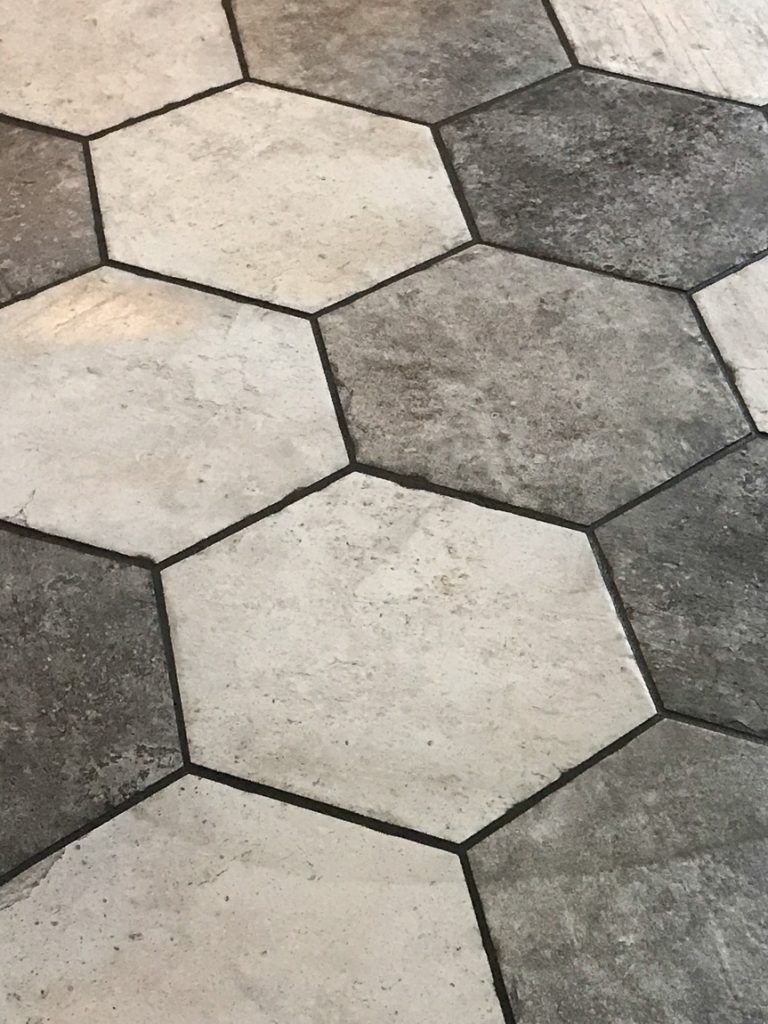
For the upstairs bathroom, I chose Presidio (whites) and Lombard (grays) from the same San Francisco design style. It’s a rustic and beautiful hexagon glazed porcelain tile from Shaw Floors with a reclaimed brick texture. And it’s absolutely gorgeous! My most favorite flooring to date!
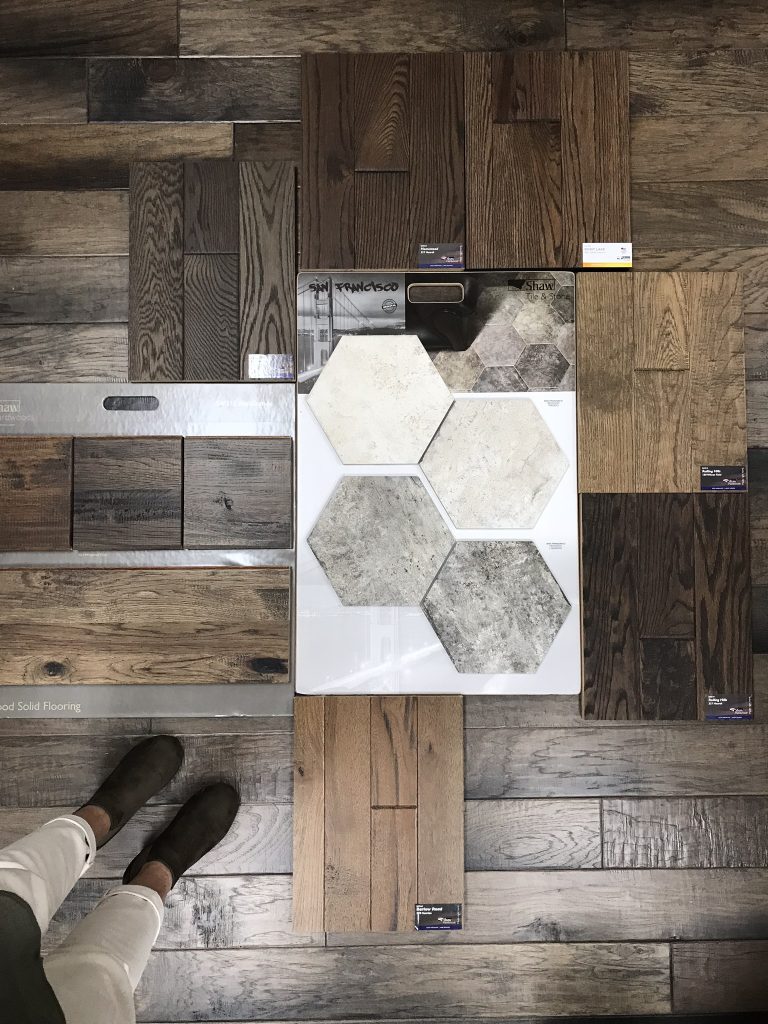
Bathroom Makeover - Shaw Floors hexagon porcelain tile SanFrancisco @diyshowoff #helloredreno

You guys, it was love at first sight! The kind where you see it then continue to shop but always go back to it. Nothing compares. Nothing else will work. It’s this or nothing. I love when that happens! The alternative is so many choices and a hard time narrowing it down to one but this time around, I knew “THIS IS IT”! And for the record, this tile is versaTILE and can be used on floors, showers, patios, backslashes…just about anywhere. Since this is that the studio, it may show up somewhere in my house as well. 

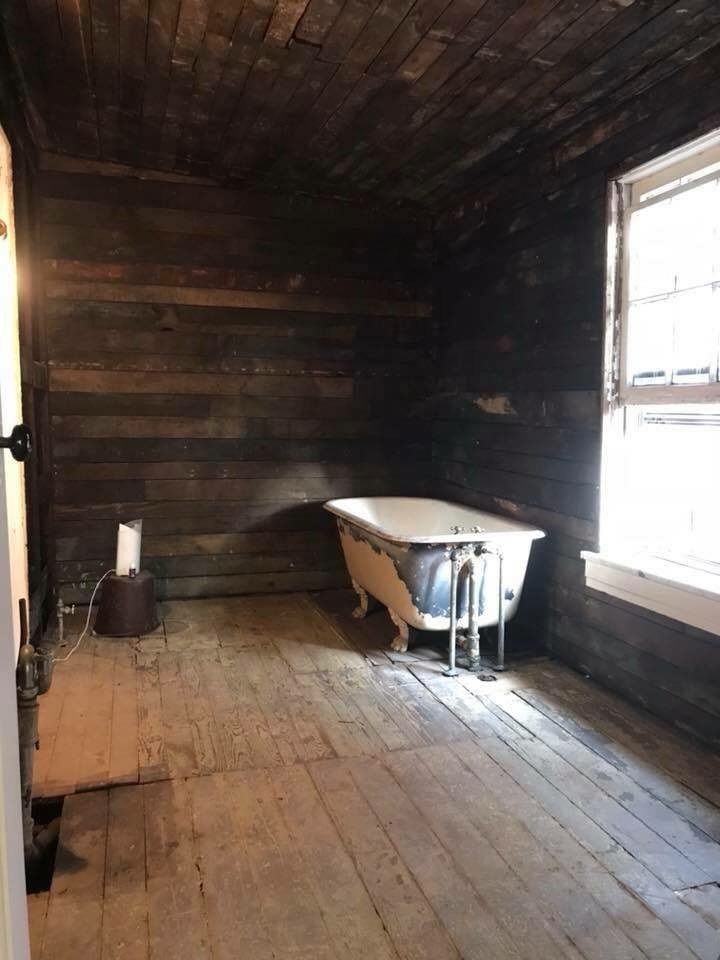
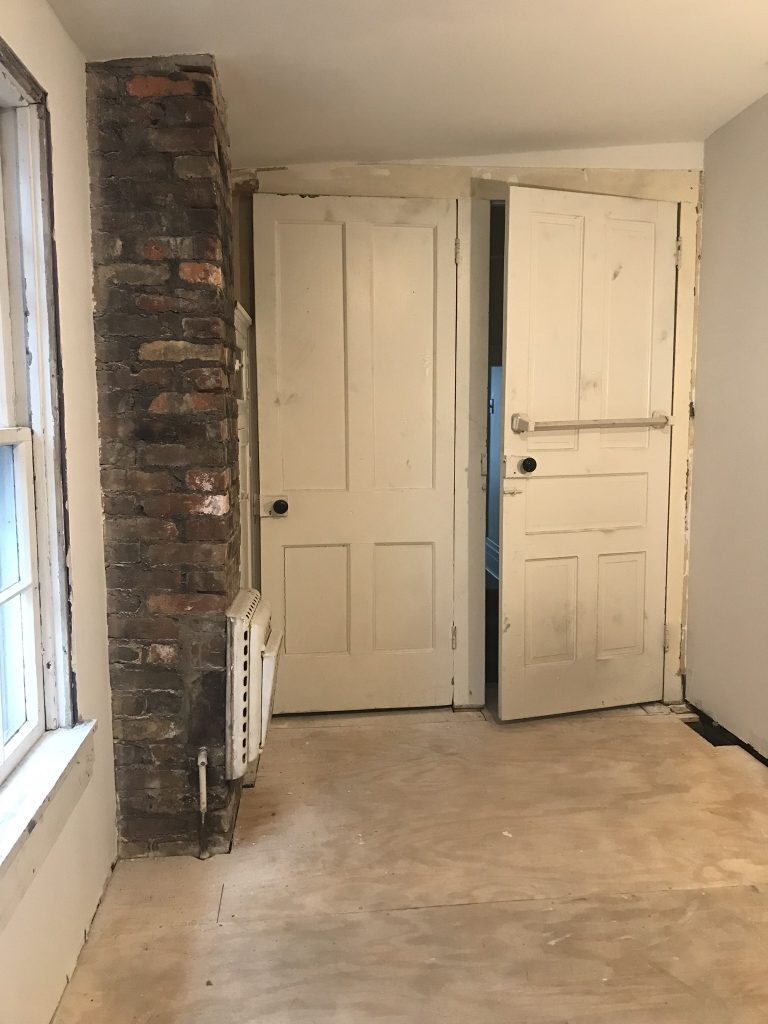
Let’s revisit the scary “before” picture. It’s a good thing I can see potential past the nasty, right? 

Before:
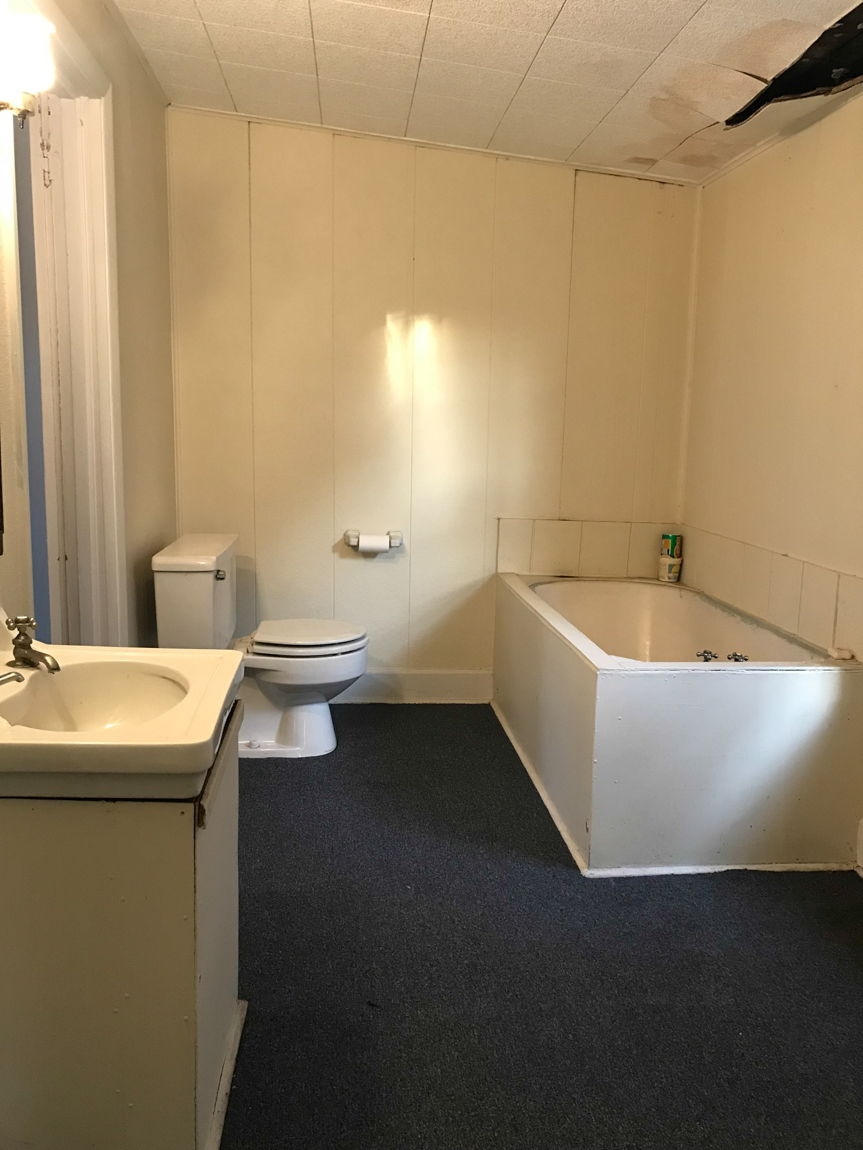
DIY craft studio // workshop - before room makeover @diyshowoff 

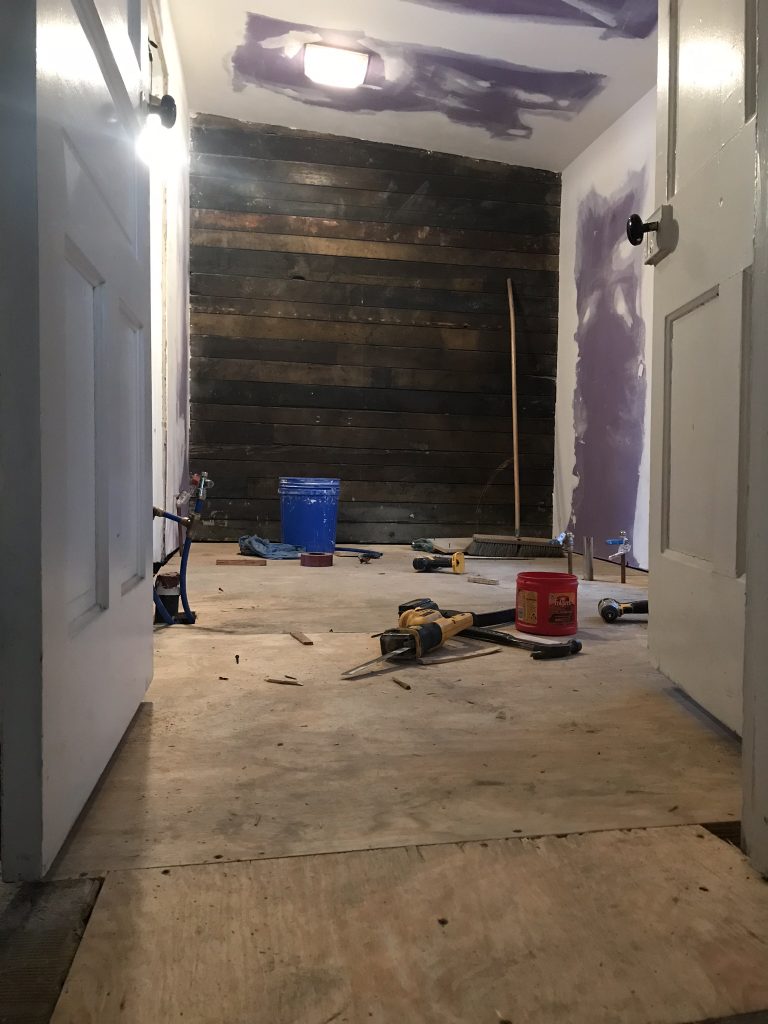
The original old hardwood floors had to be removed. 
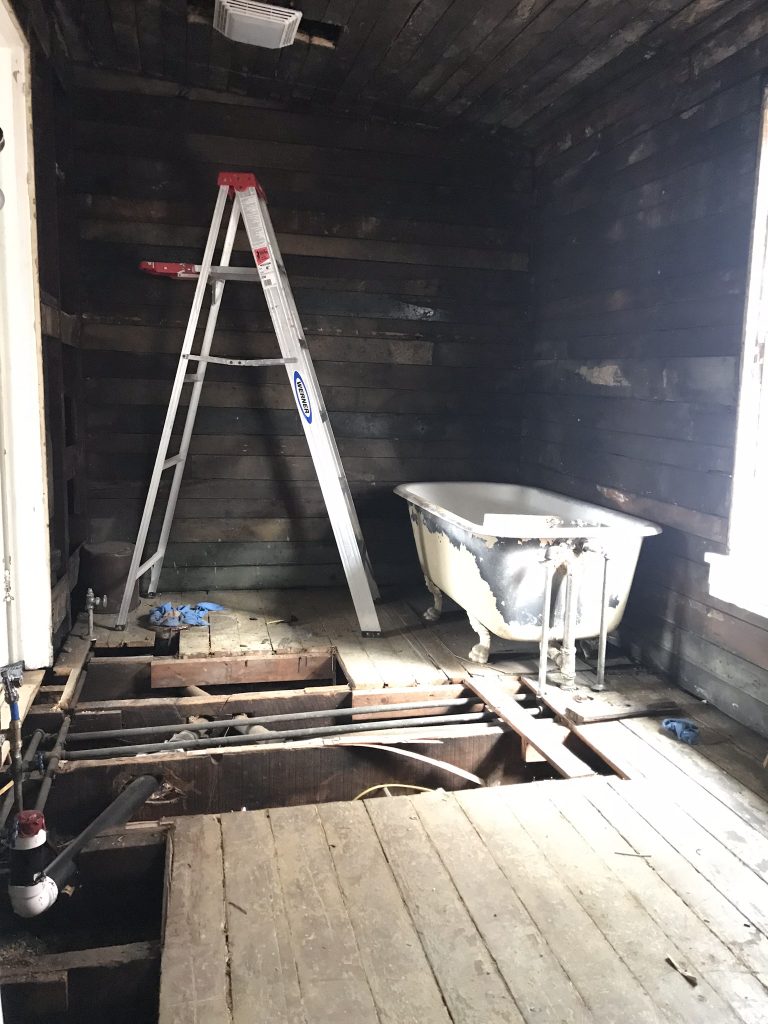
bathroom makeoverbathroom makeoverBathroom Makeover - Shaw Floors hexagon porcelain tile SanFrancisco @diyshowoff #helloredreno

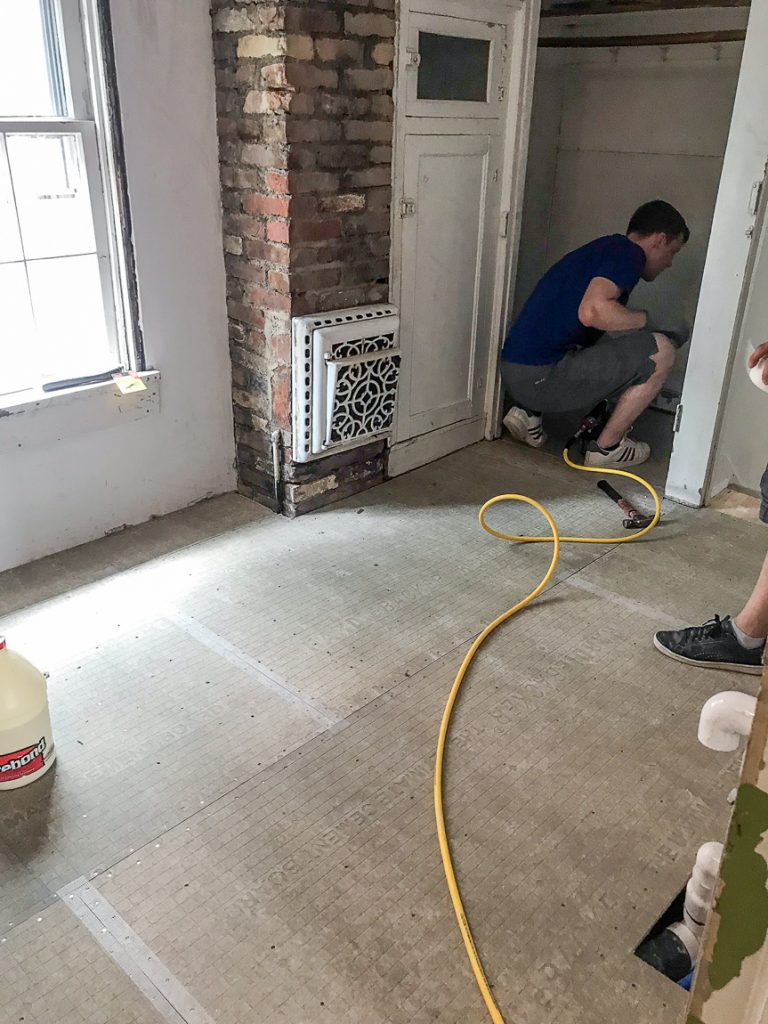
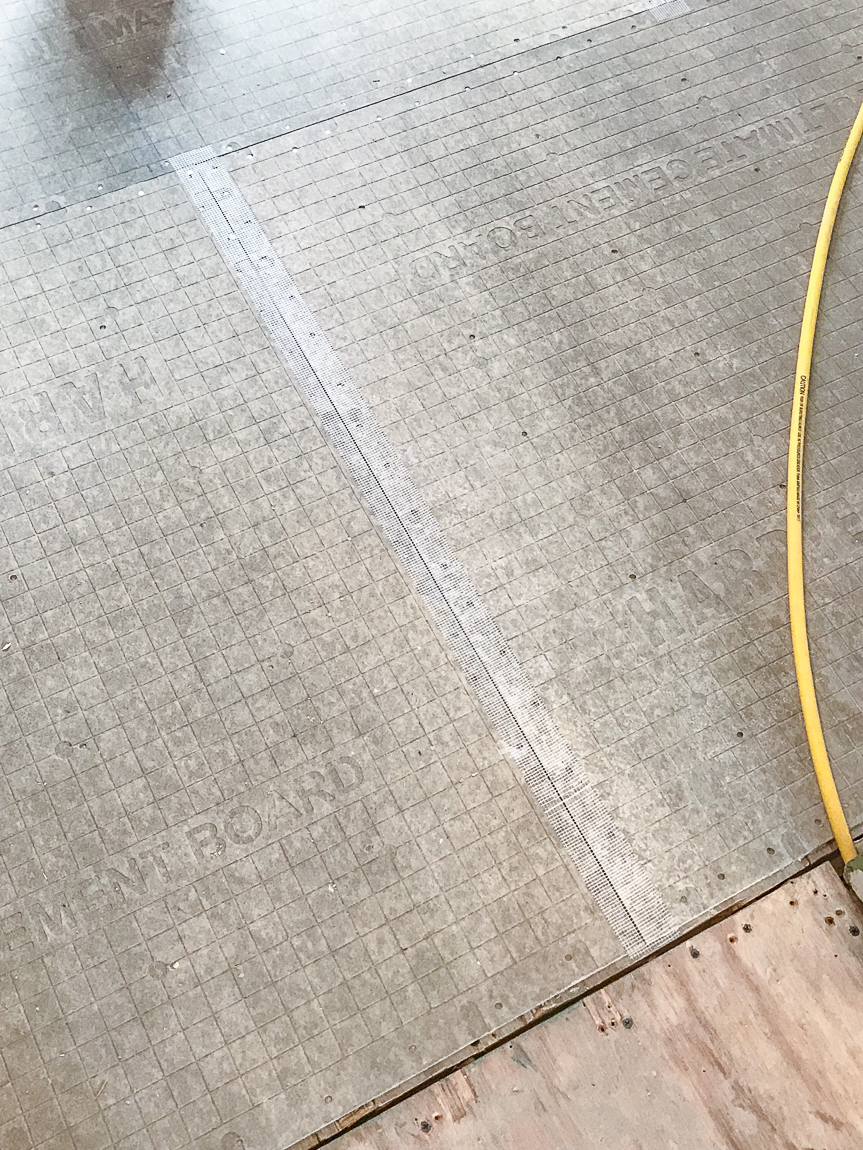
A plywood subfloor was installed and leveled to prepare a base for the cement board which then is the base for the actual mortar and tile. 
Bathroom Makeover - Shaw Floors hexagon porcelain tile SanFrancisco @diyshowoff #helloredreno Bathroom Makeover - Shaw Floors hexagon porcelain tile SanFrancisco @diyshowoff #helloredreno

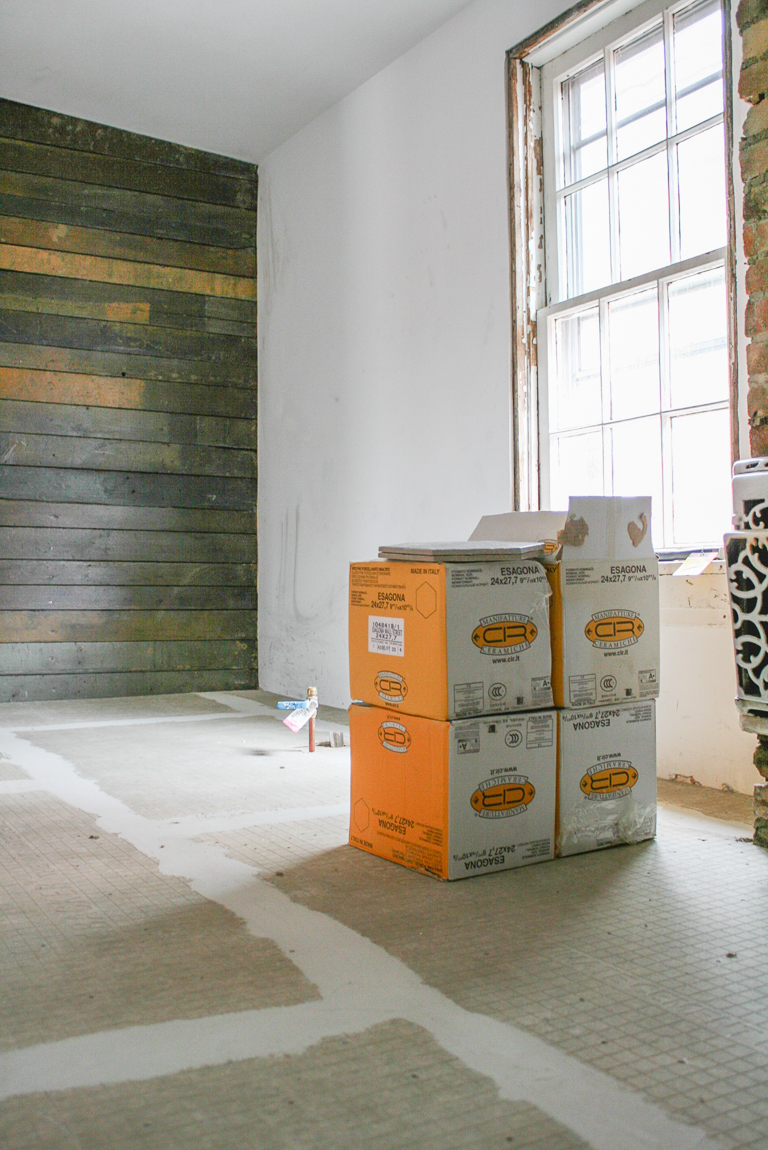
The seems were taped and sealed.

Bathroom Makeover - Shaw Floors hexagon porcelain tile SanFrancisco @diyshowoff #helloredreno

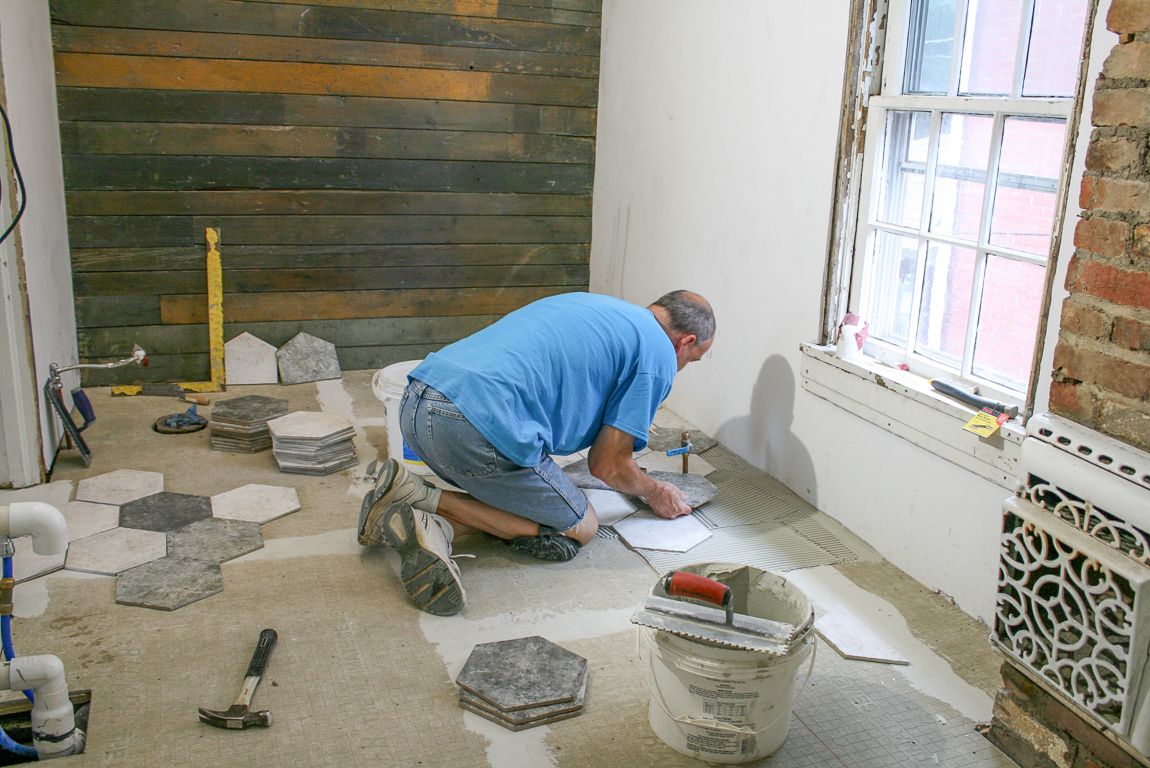
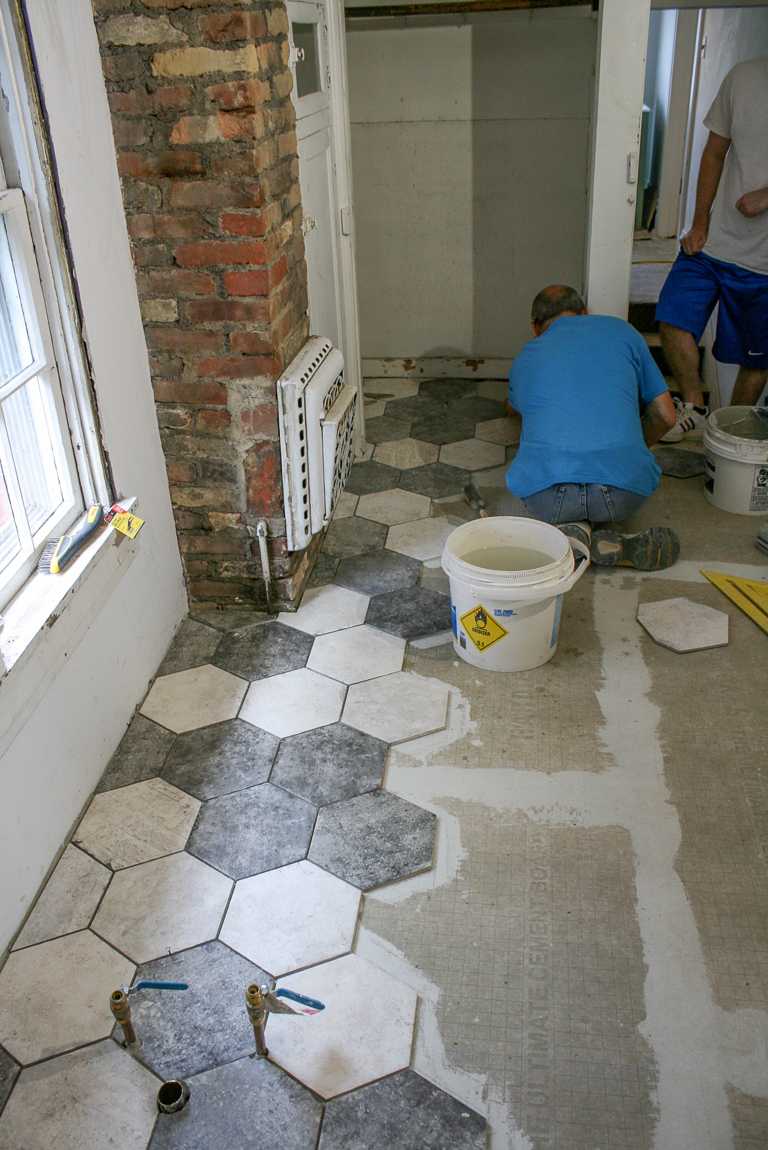
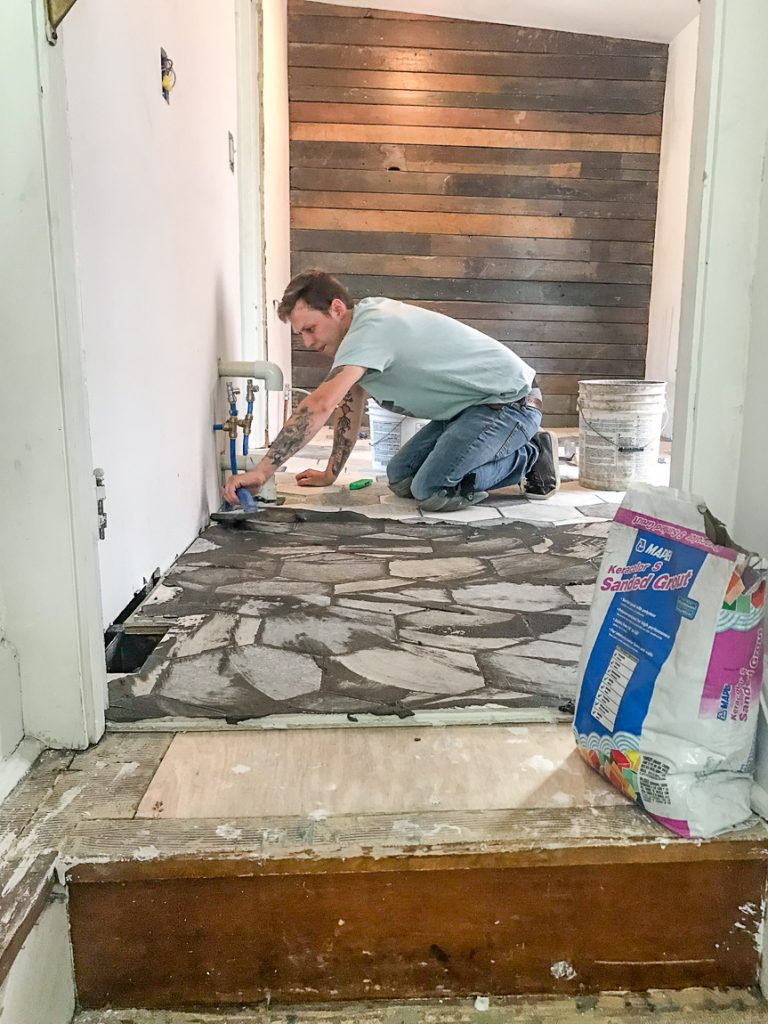
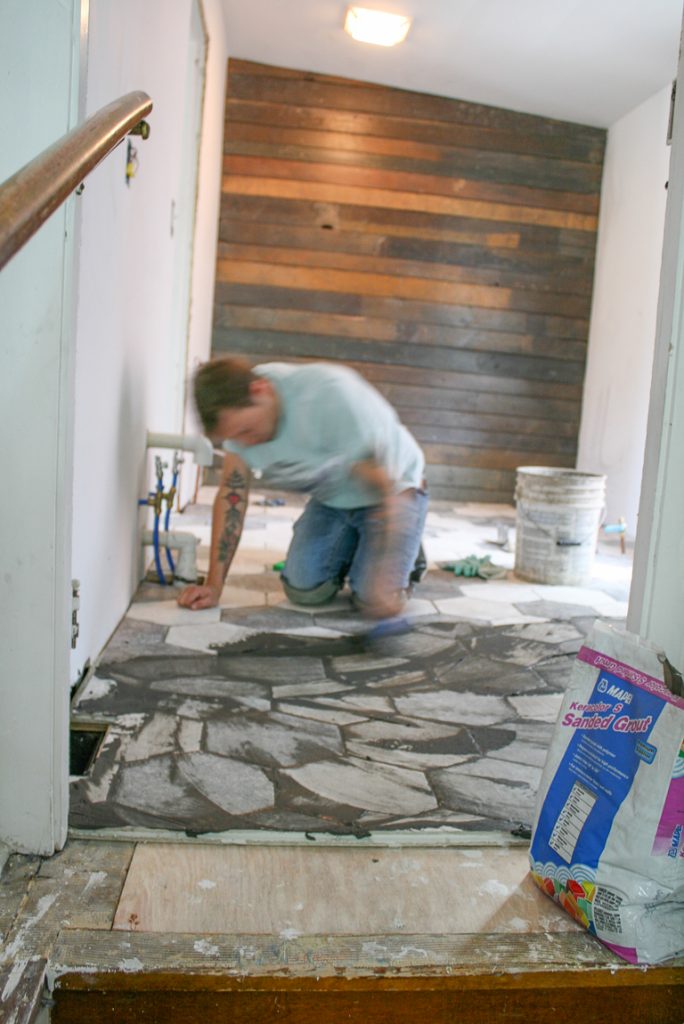
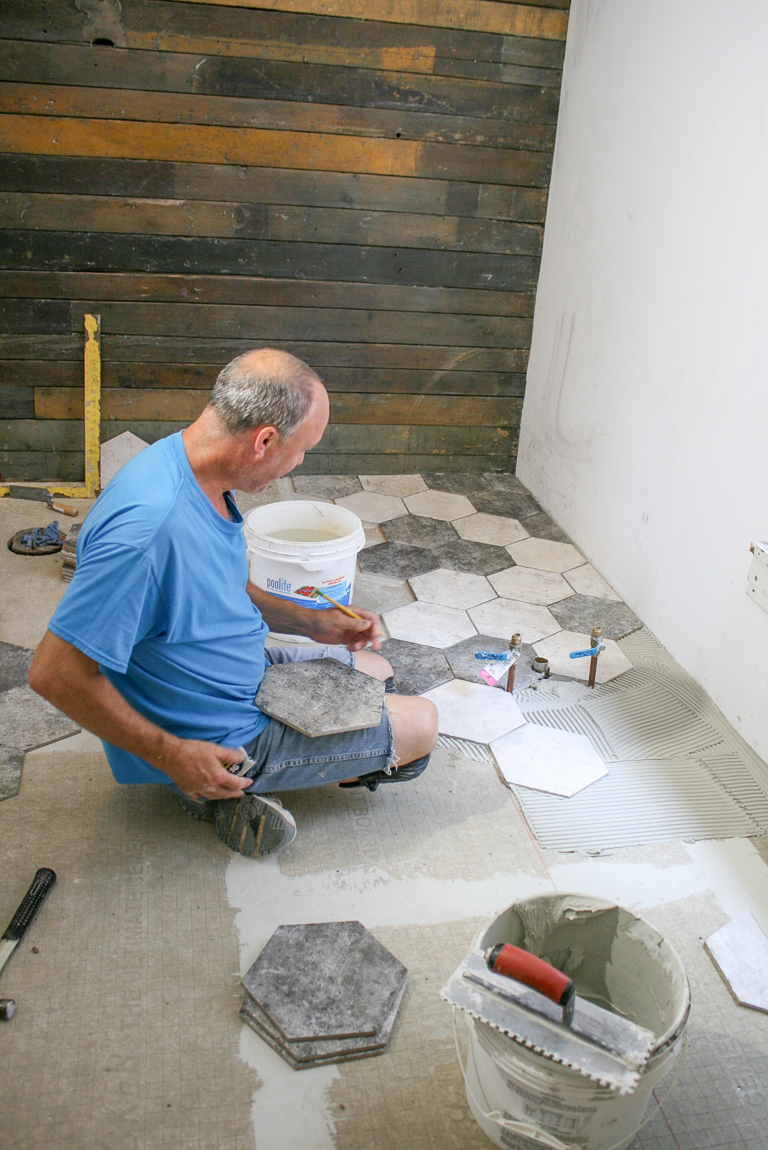
Flooring was installed by Rege, Mike and Tyler, subcontractors from A&S Carpet in Allison Park, PA. They did a beautiful job! 

Installation:
Bathroom Makeover - Shaw Floors hexagon porcelain tile SanFrancisco @diyshowoff #helloredreno Bathroom Makeover - Shaw Floors hexagon porcelain tile SanFrancisco @diyshowoff #helloredreno Bathroom Makeover - Shaw Floors hexagon porcelain tile SanFrancisco @diyshowoff #helloredreno

Bathroom Makeover - Shaw Floors hexagon porcelain tile SanFrancisco @diyshowoff #helloredreno

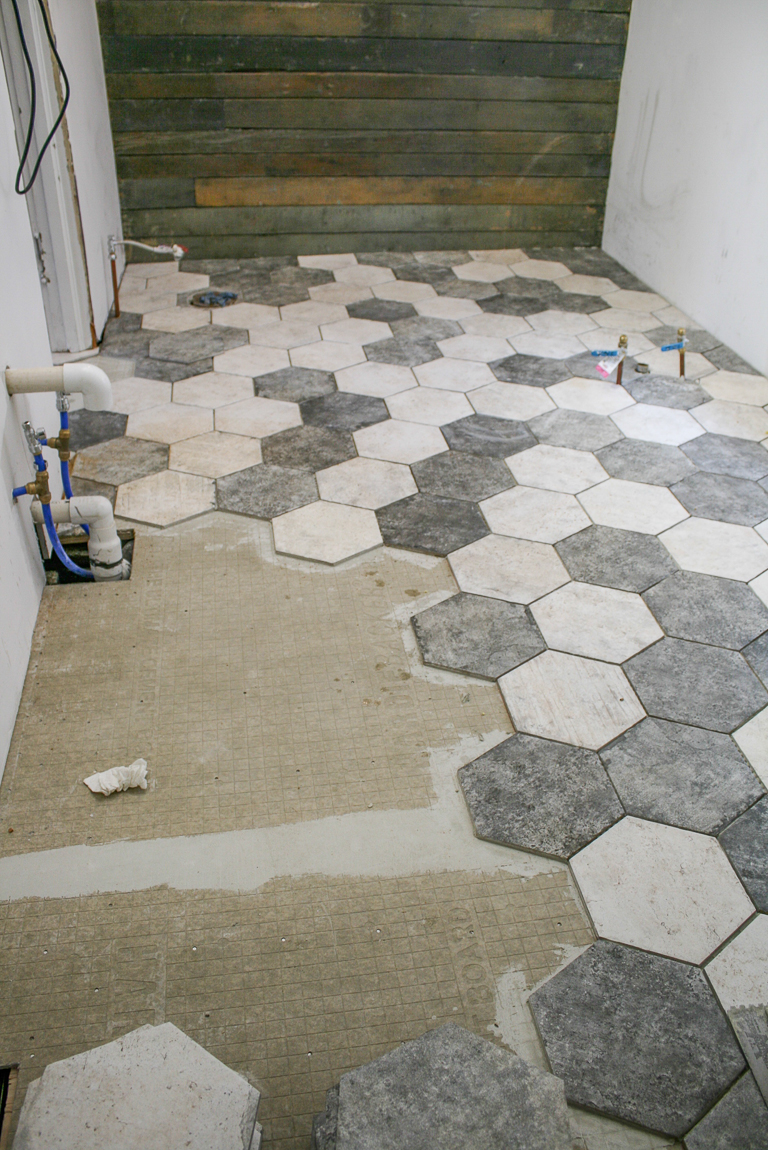
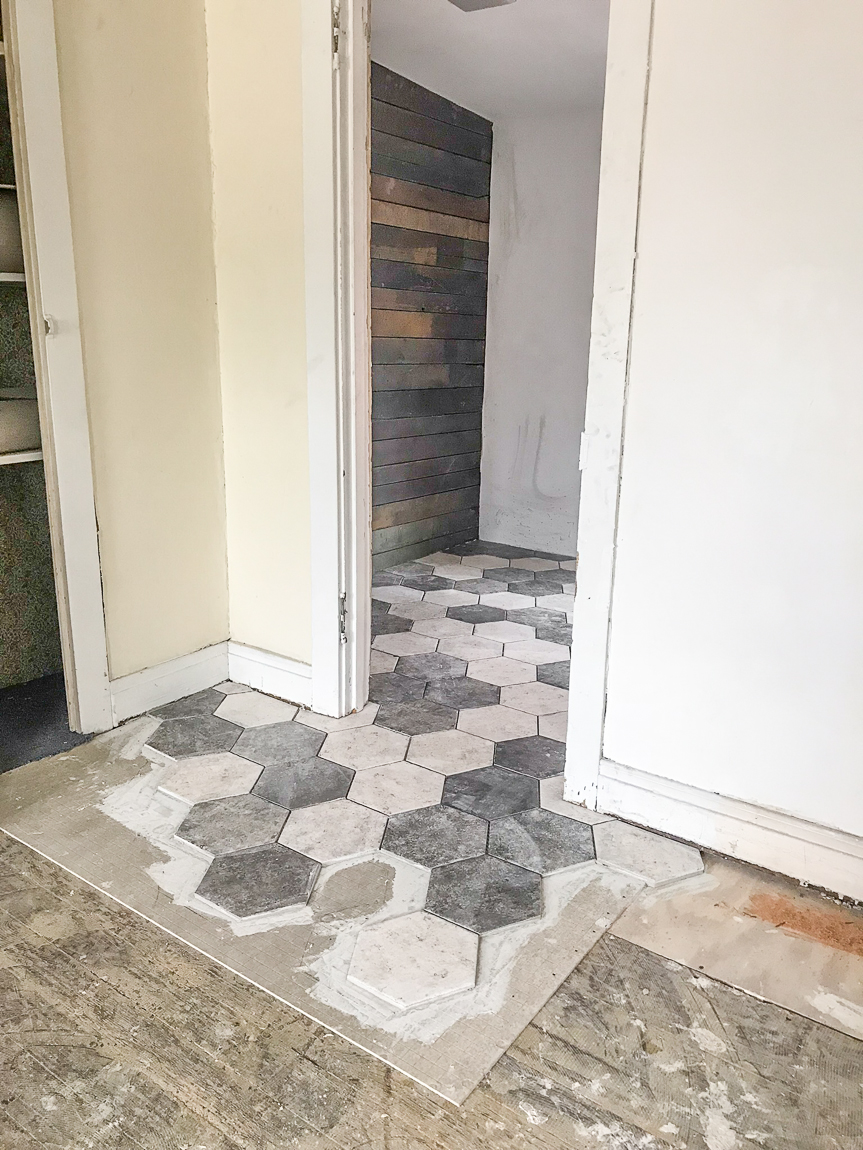
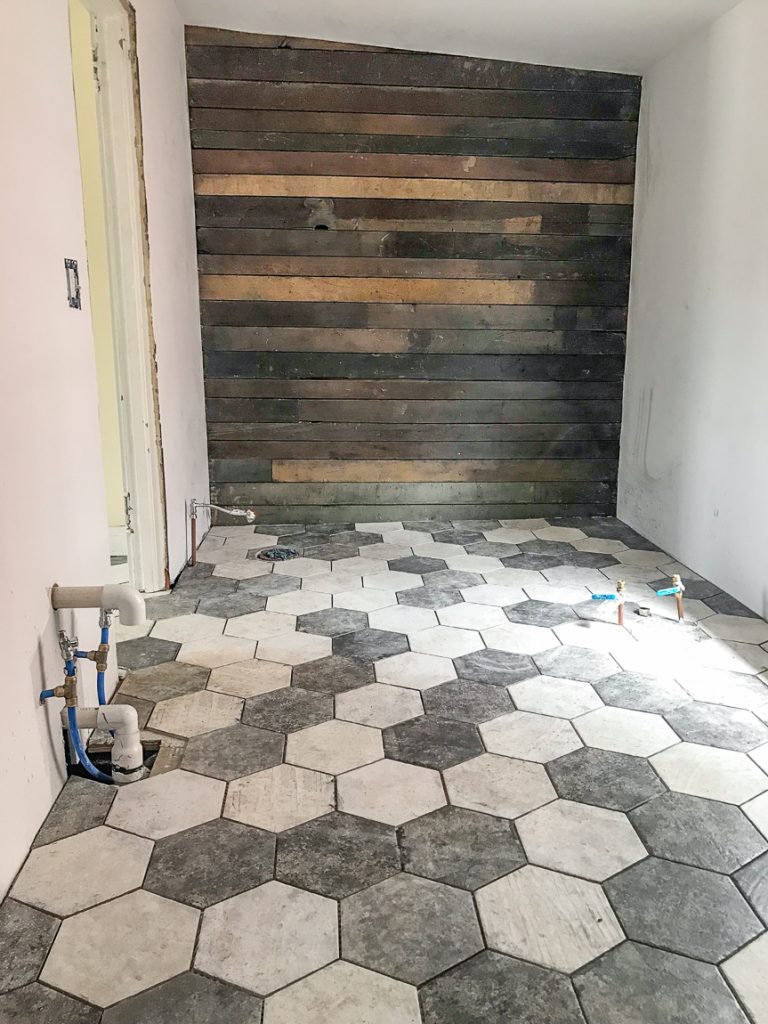
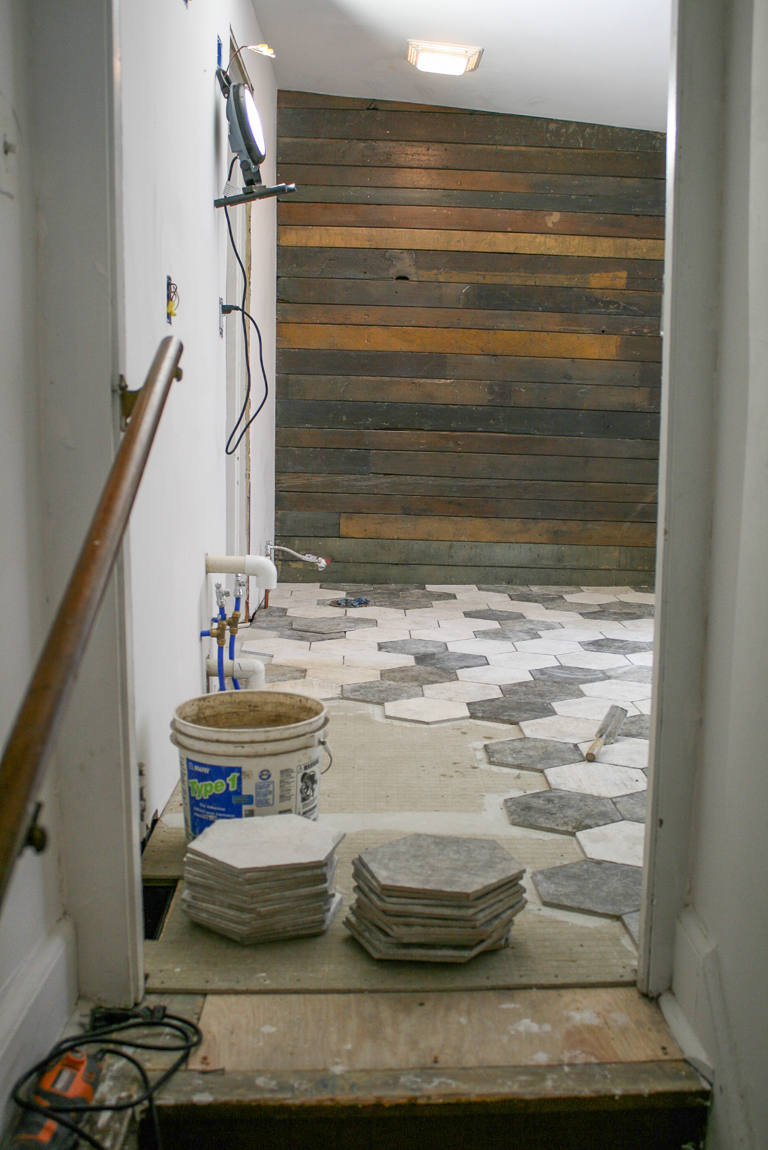
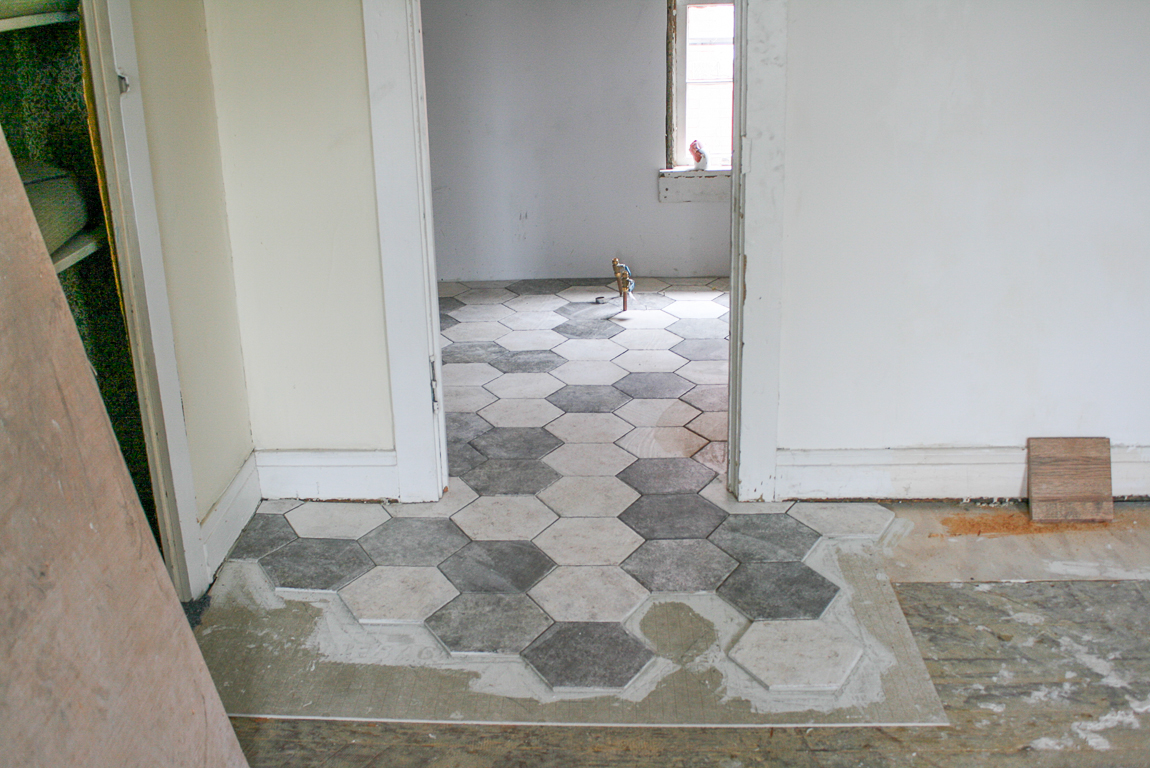
The white and gray hexagon tiles were placed randomly. I usually do prefer the symmetry of a planned and arranged design – stripes or checkerboard and even considered a flower-type design but this time because of the transition of flowing over into the hardwood, I really liked the random placement. 
Bathroom Makeover - Shaw Floors hexagon porcelain tile SanFrancisco @diyshowoff #helloredreno

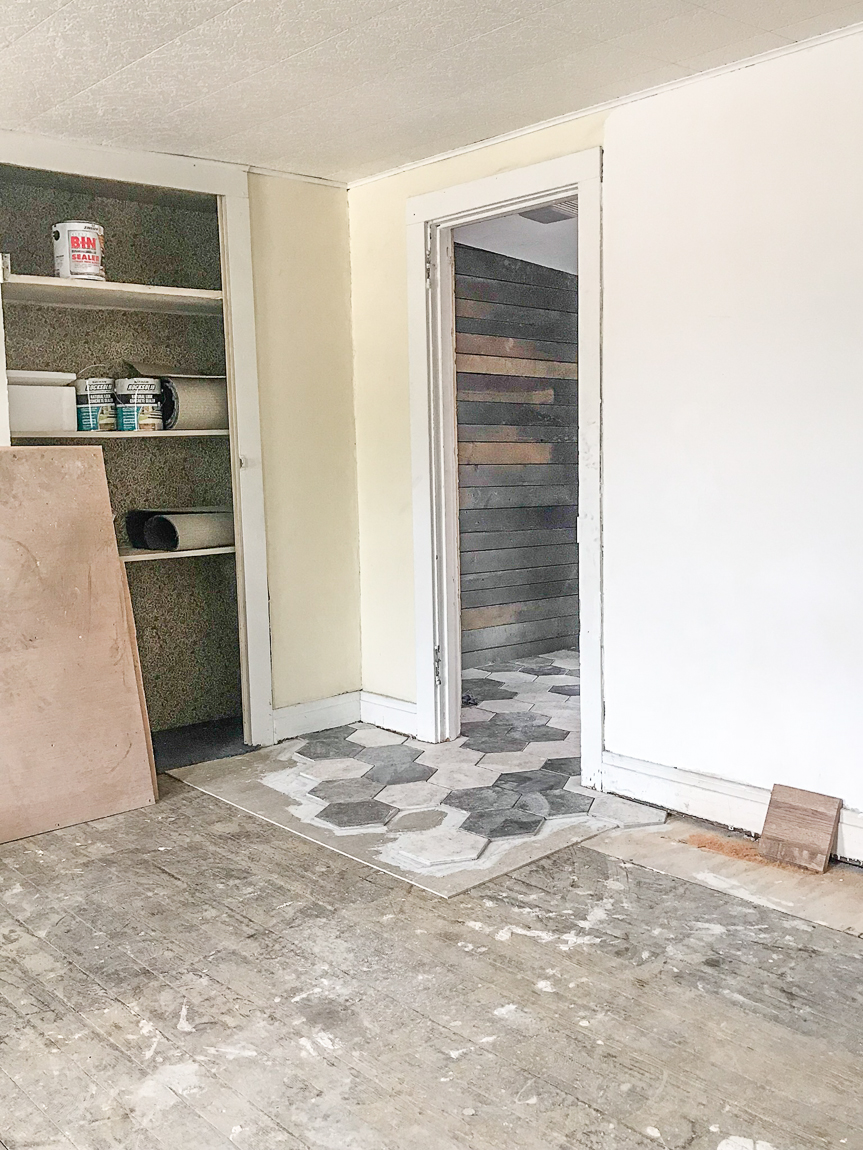
Rather than the traditional ‘hump’ or straight cut line in the threshold where tile meets hardwood, we continued the tile across the threshold and into the next room. It reminds me of a glacier…moving/reaching into the bedroom. It’s SO cool and so different and it’s amazing! You can see the links to inspiration for this idea on my studio Pinterest board

Transition: 

Bathroom Makeover - Shaw Floors hexagon porcelain tile SanFrancisco @diyshowoff #helloredreno Bathroom Makeover - Shaw Floors hexagon porcelain tile SanFrancisco @diyshowoff #helloredreno

Just wait until you see the hardwood next to it! You’ll drool! 
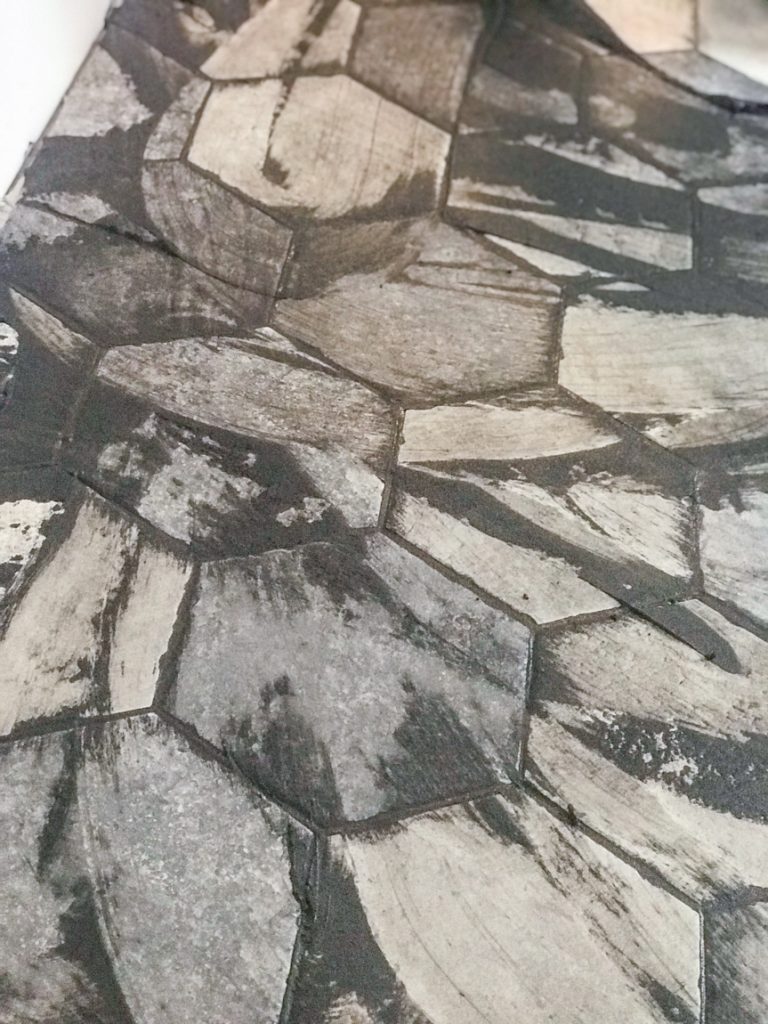
Bathroom Makeover - Shaw Floors hexagon porcelain tile SanFrancisco @diyshowoff #helloredrenoYou may remember me asking about grout colors. I originally chose “Iron” at the store but after some thought changed my mind to “Charcoal”. Frank at A&S was very accommodating with my request! No problem!

Grout: 
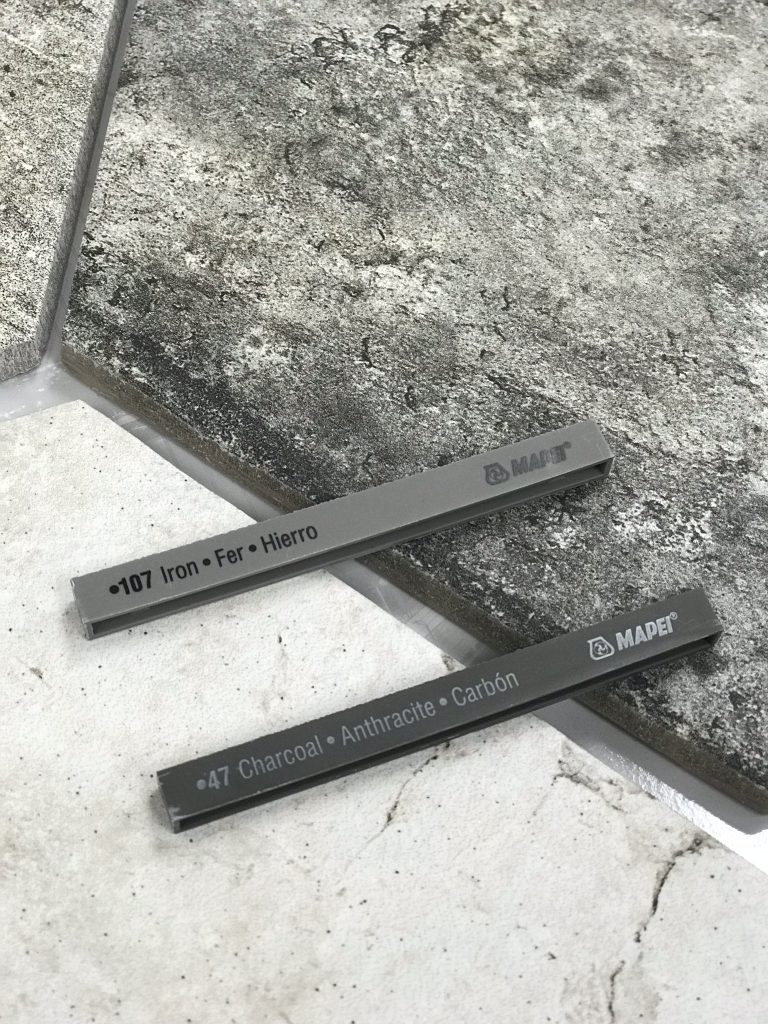
Bathroom Makeover - Shaw Floors hexagon porcelain tile SanFrancisco @diyshowoff #helloredreno

Bathroom Makeover - Shaw Floors hexagon porcelain tile SanFrancisco @diyshowoff #helloredreno Bathroom Makeover - Shaw Floors hexagon porcelain tile SanFrancisco @diyshowoff #helloredreno Bathroom Makeover - Shaw Floors hexagon porcelain tile SanFrancisco @diyshowoff #helloredreno

Perfection!

Reveal:

Bathroom Makeover - Shaw Floors hexagon porcelain tile SanFrancisco @diyshowoff #helloredreno

What do you think? Do you prefer the standard transition piece dividing tile and hardwood in the doorway or would you consider a smooth transition and design feature? 
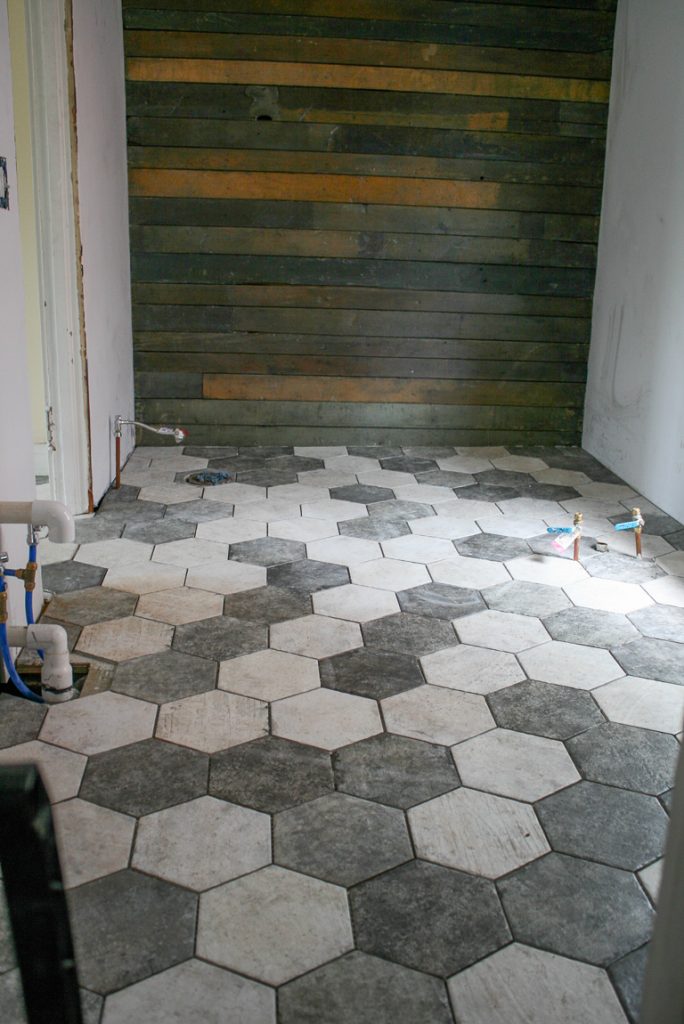
Bathroom Makeover - Shaw Floors hexagon porcelain tile SanFrancisco @diyshowoff #helloredreno Bathroom Makeover - Shaw Floors hexagon porcelain tile SanFrancisco @diyshowoff #helloredreno

A BIG thanks to A&S for the installation. I’m THRILLED with the end result! 

Here’s a sneak peek of the vanity with the floor…I can’t wait for the finishing touches!
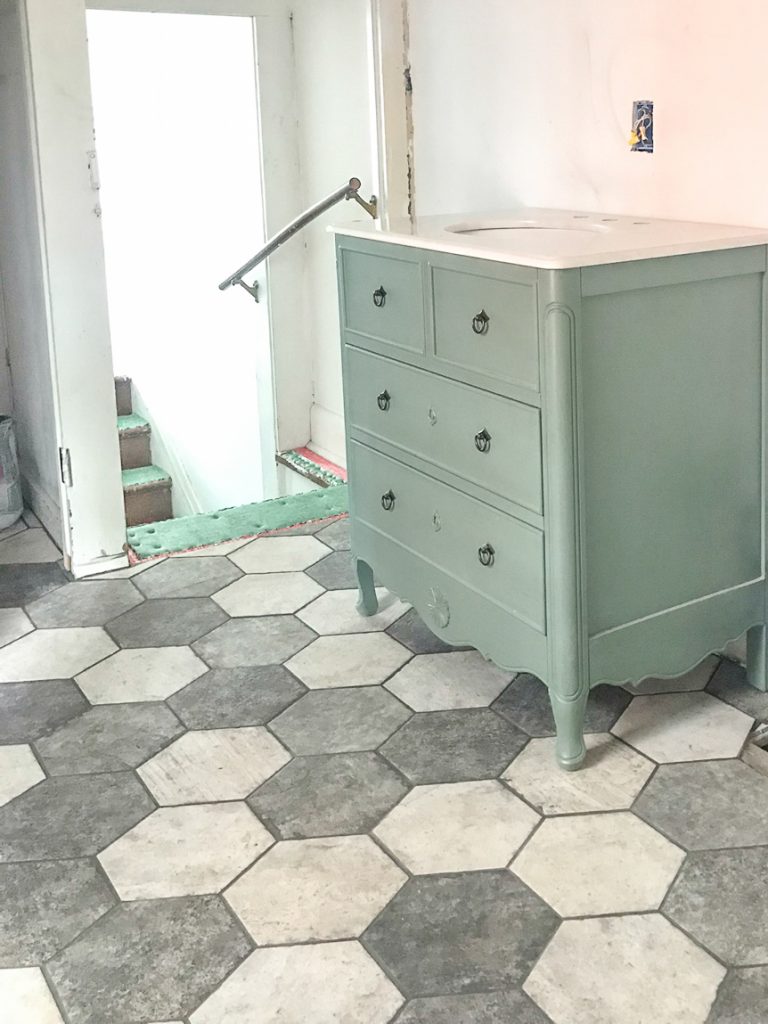
Bathroom Makeover - Shaw Floors hexagon porcelain tile SanFrancisco @diyshowoff #helloredreno

So pretty! And all three features: that gorgeous floor, the beautiful vanity against that original wood plank wall…
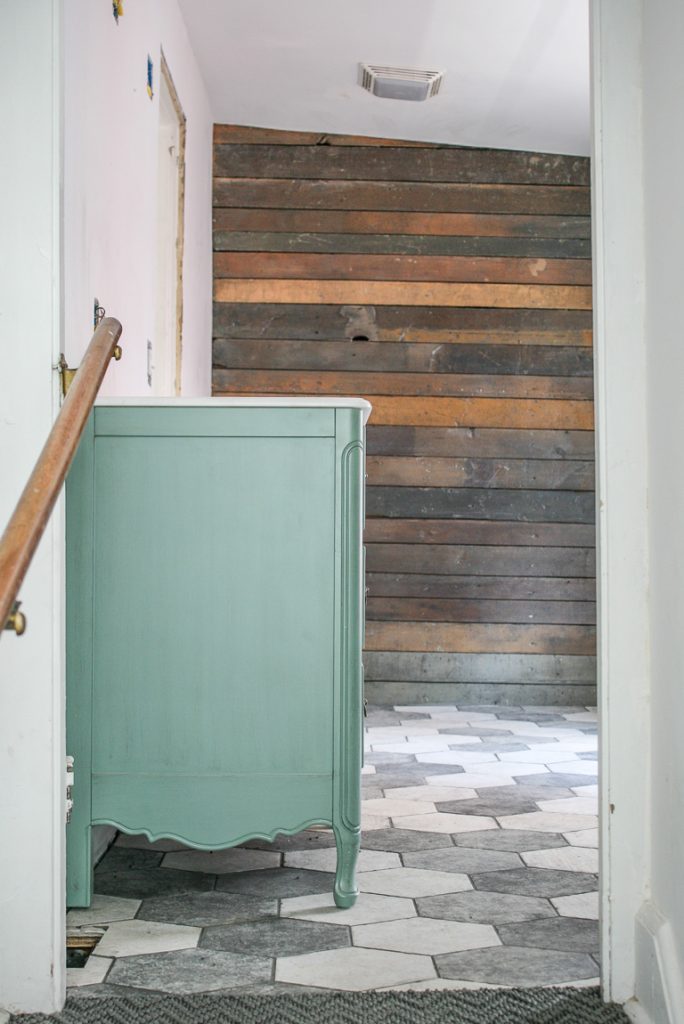
Bathroom Makeover - Shaw Floors hexagon porcelain tile SanFrancisco @diyshowoff #helloredreno

Next up on the bathroom remodel:

Paint, baseboards, {possible} vintage cast iron tub re-finishing, installing the toilet, vanity, sconce lights and my favorite part…decorating and the reveal! Oh. And probably cutting down 6 doors since re-doing the floors raised them. Not looking forward to that part but things are moving along. Stay tuned!

The building has so much historical charm. It’s about one block from our town’s Main Street. The bus stop is literally steps away. There are breweries, the YMCA, shops, restaurants, salons, florists, candy/coffee shop, holiday parades and festivals within walking distance. So fun! If renovation from blah to ahhhhh is your thing, stay tuned!

So subscribe and be reminded of updates as the renovations progress! I’ll share before and after photos, projects underway and updates, plans and design boards, sources and links as they relate as well as fun events going on in and around the downtown area. I’ll be using a specific hashtag on social media to keep things all neat and tidy and organized.

#helloredreno

I welcome your thoughts and ideas! And as always, thanks for your encouragement and support and for sharing in my joy and vision! Watch for #helloredreno!
Project Diary Entry #5 – Sealing a Wood Plank / Shiplap Wall

::Snooze:: Okay, not much to report as work and progress on the studio renovation has been slow the past month. The renovation has sort of been on hold for a few weeks while we await our turn on a possible tile installation schedule after we leveled the floor (as you can kind of see in the progress photos below). In the meantime, I sealed the wood plank shiplap wall. 

Bathroom before:

DIY craft studio // workshop - before room makeover @diyshowoff

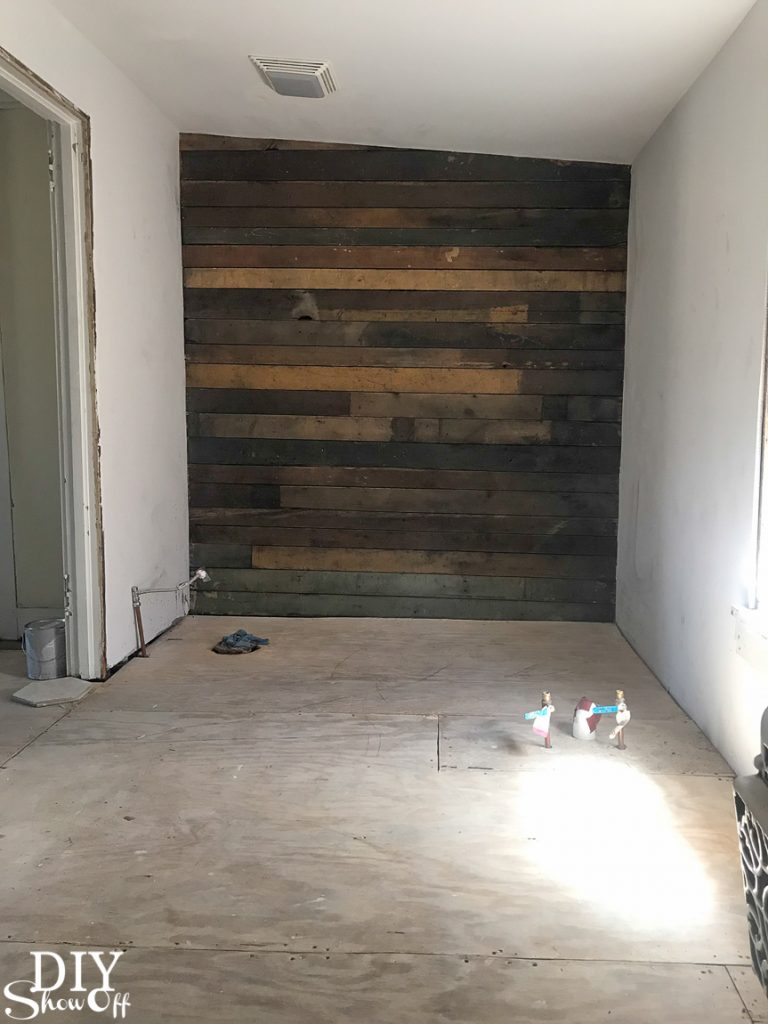
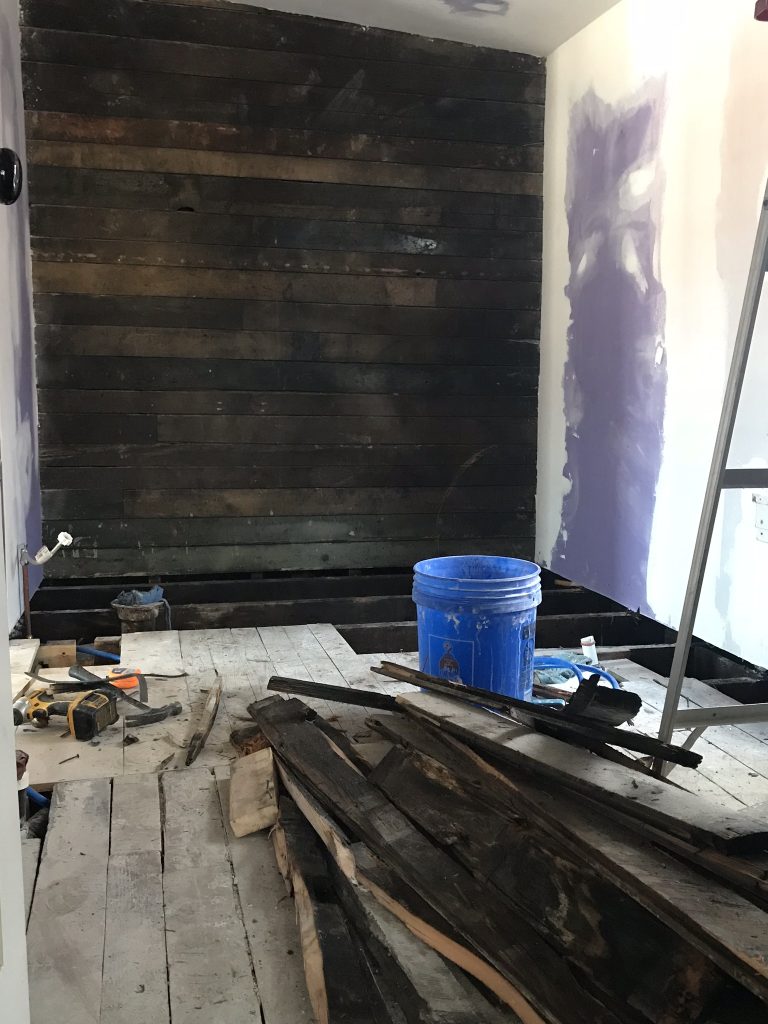
Once we removed all of the wall panels (something that was kind of like paneling without the fake wood look), we revealed the original shiplap.

bathroom demobathroom makeover in progress

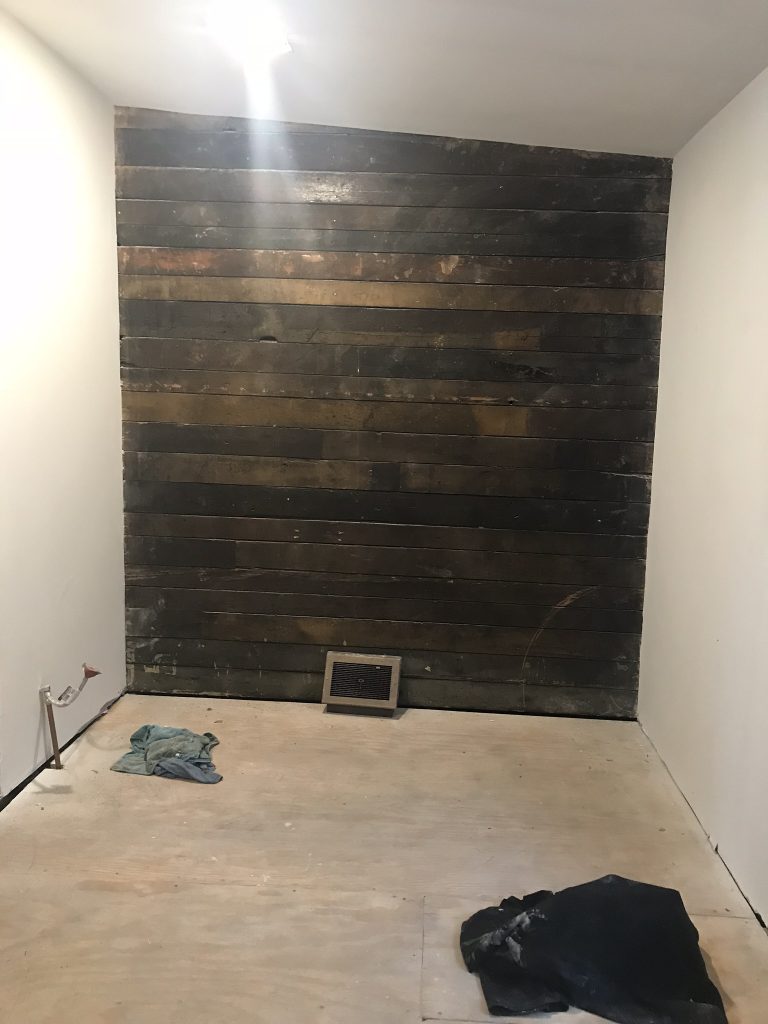
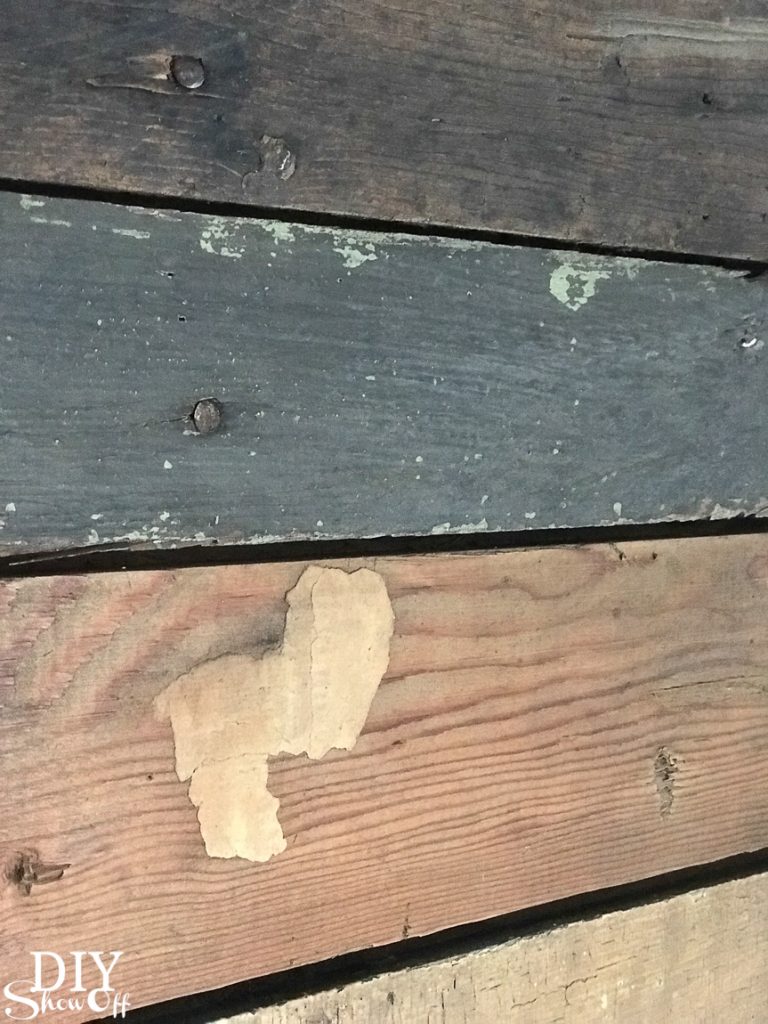
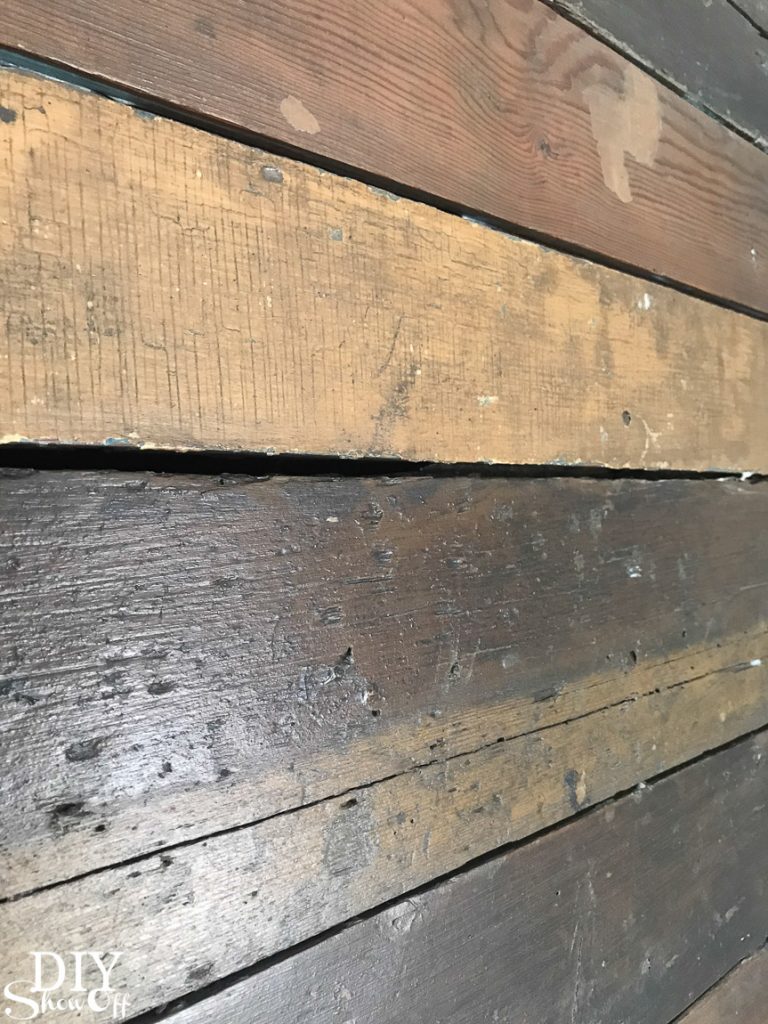
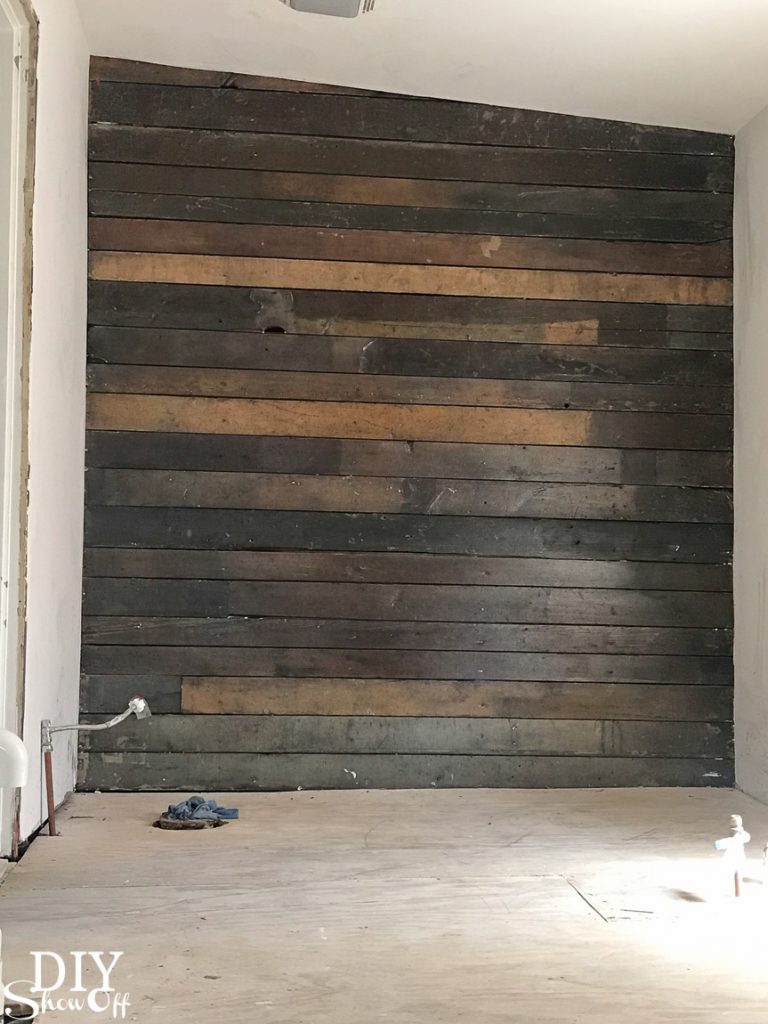
Most of which was recovered with drywall but you guys! I couldn’t bear to cover up the original beauty of the back wall. Look at that beautiful wood and all of it’s pretty shades.

bathroom makeover in progress

And it’s filthy! It got a REALLY good scrubbing with SEVERAL buckets of water!bathroom makeover

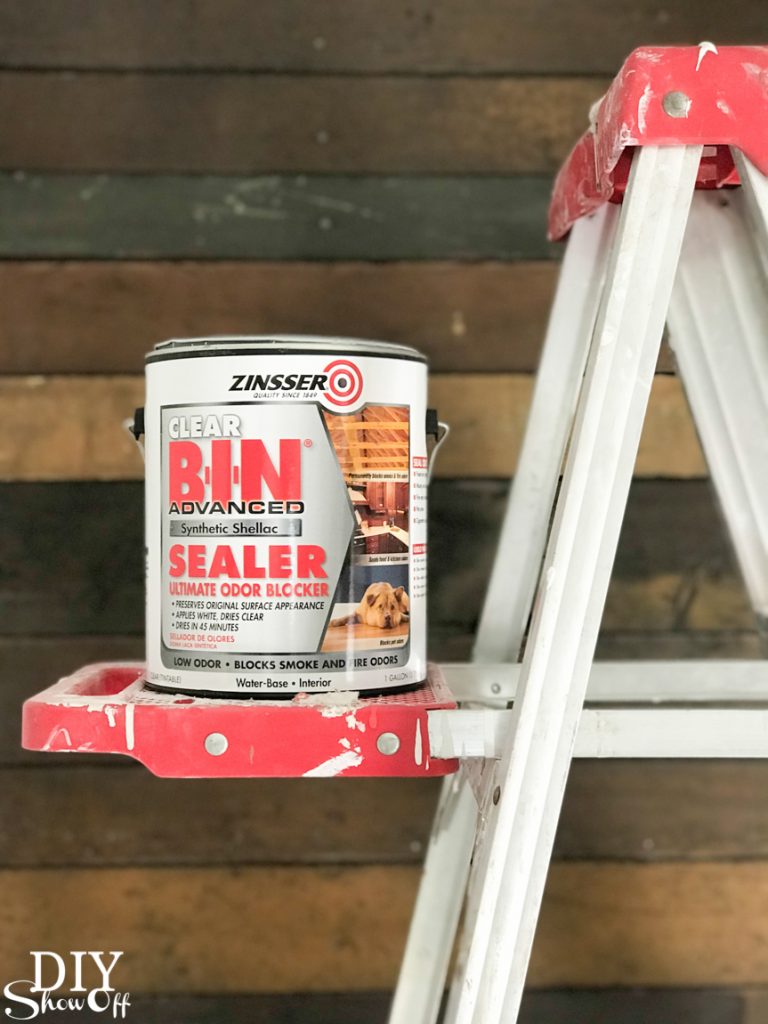
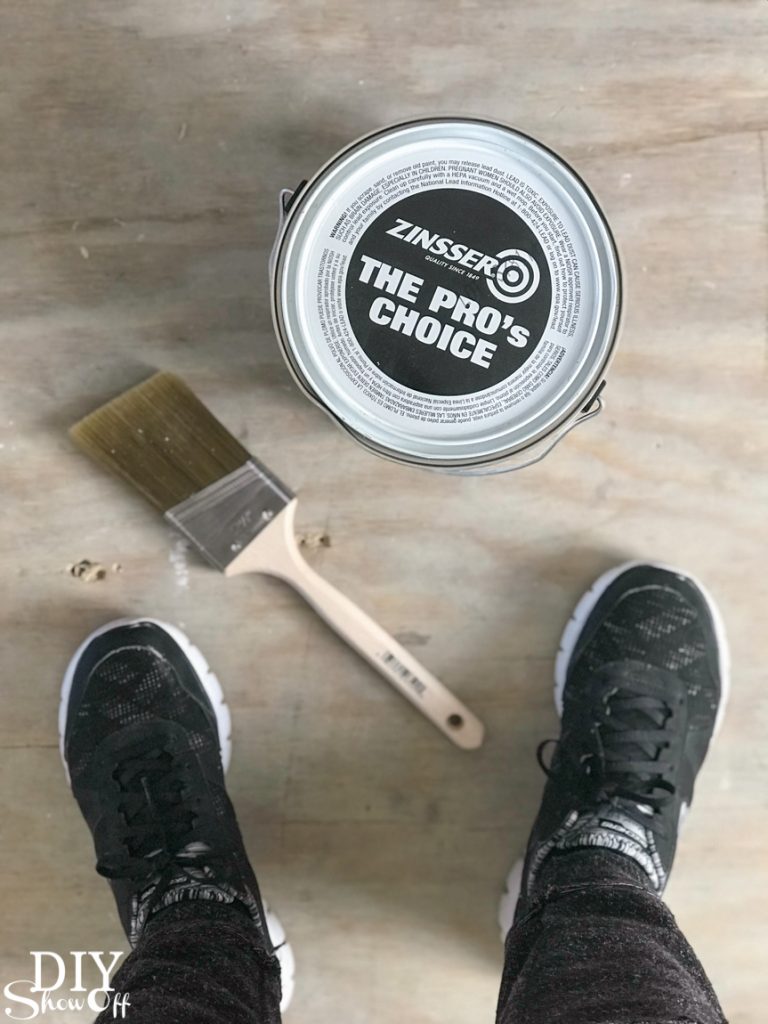
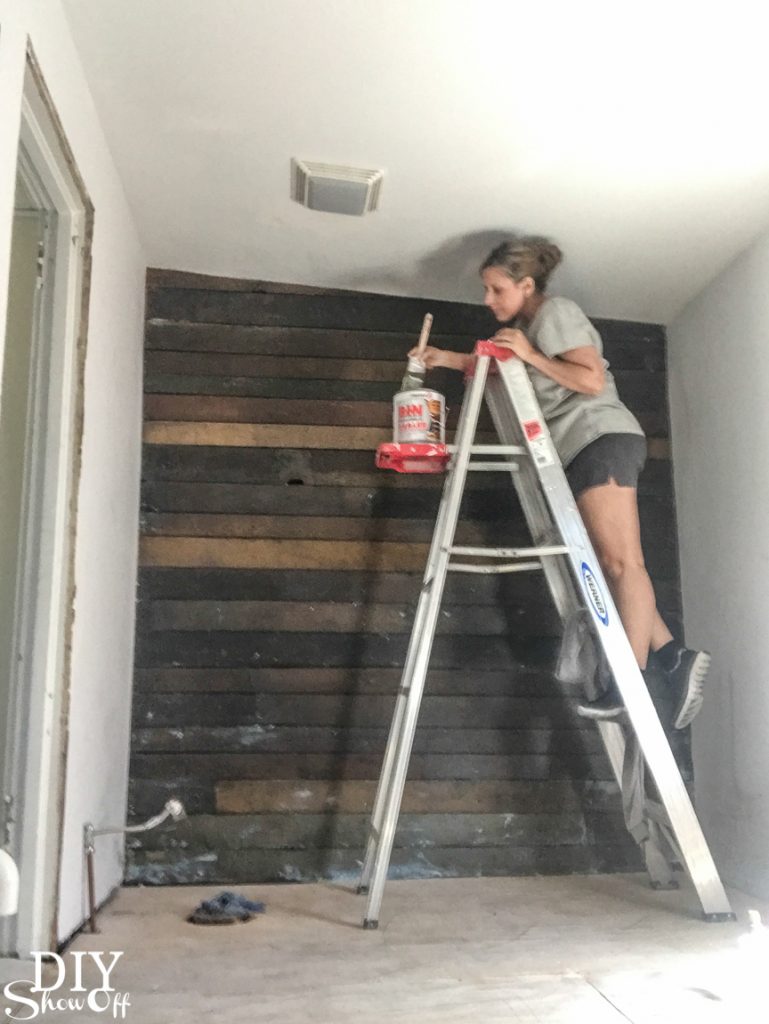
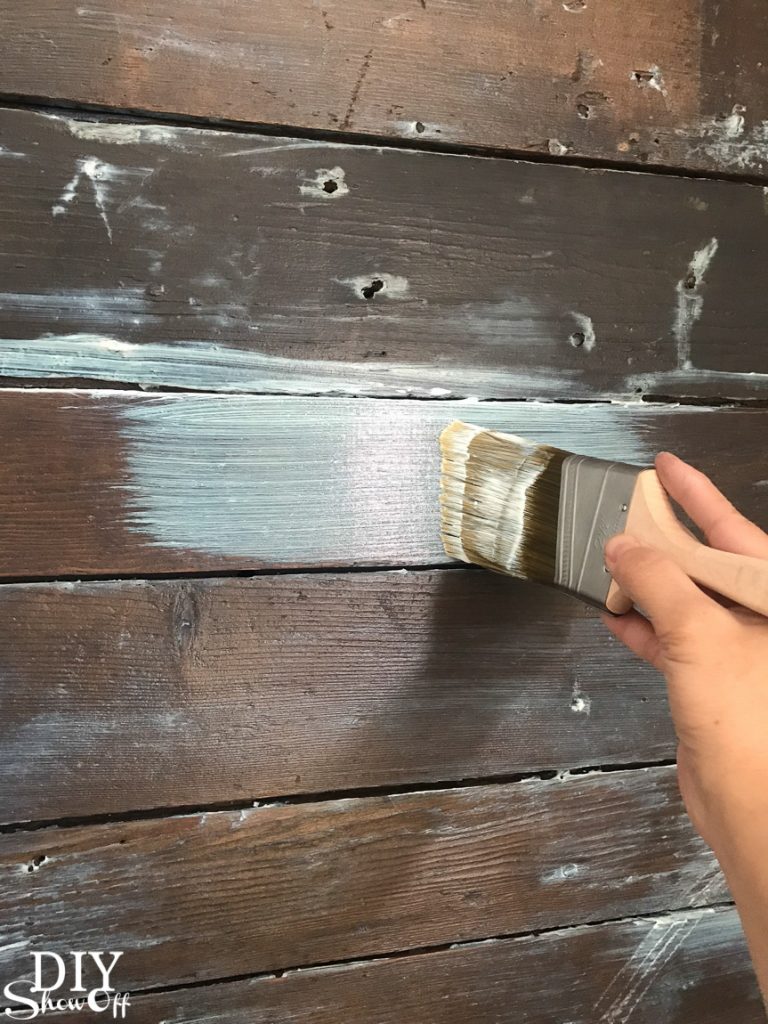
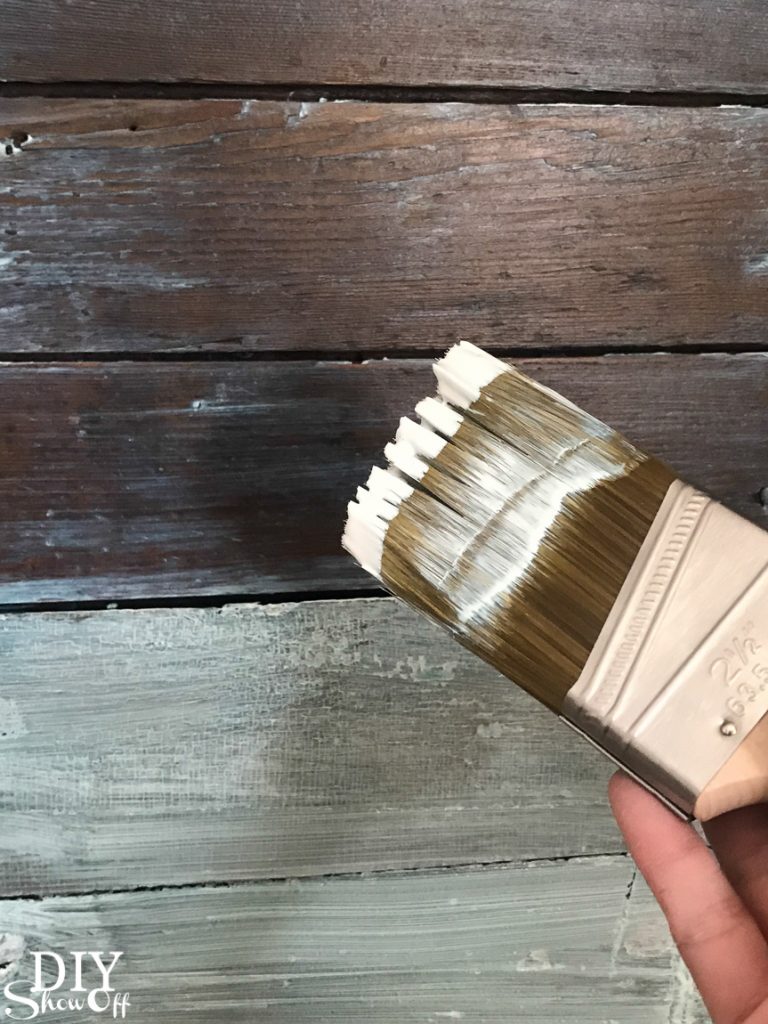
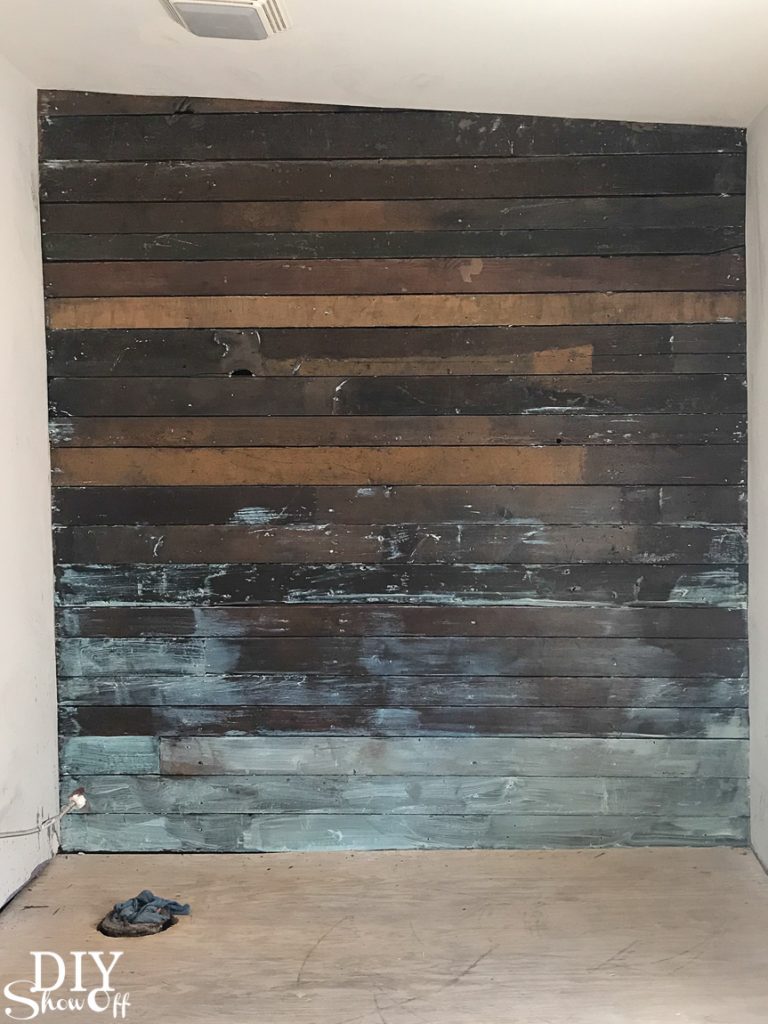
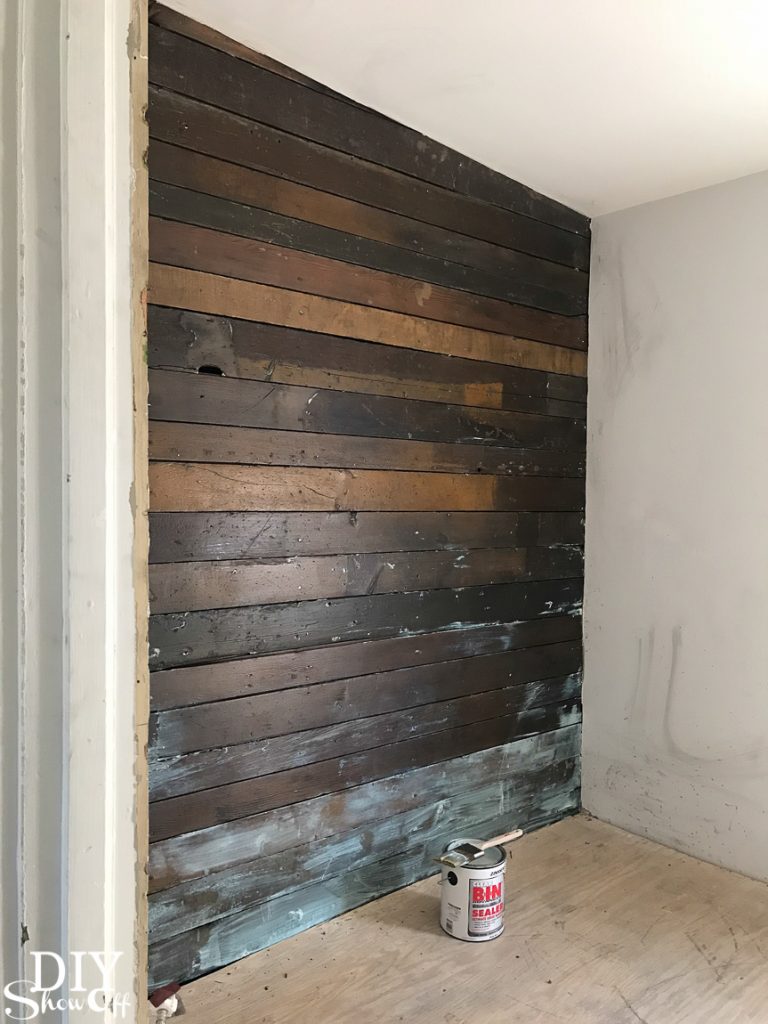
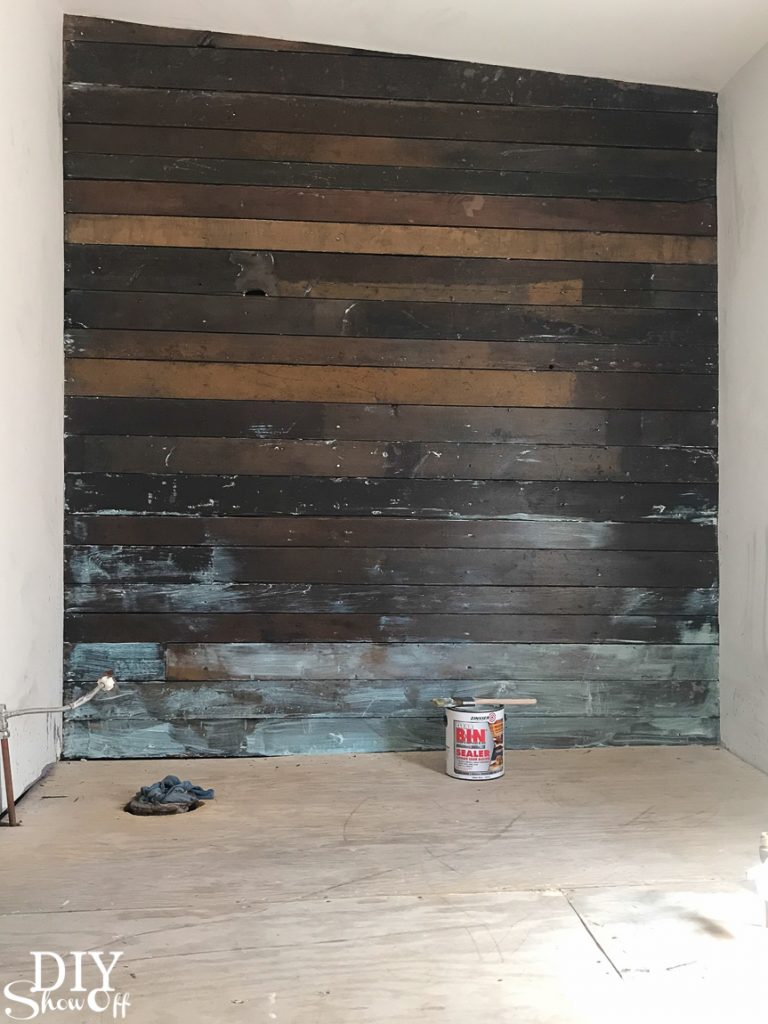
I consulted my friends at Rust-Oleum who recommended sealing with Zinsser BIN Clear Coat Shellac and sent me a can to give it a go. So it after drying from the thorough scrubbing, I simply applied the shellac with a brush.

Sealing a wood plank shiplap wall with shellac #helloredreno @diyshowoff #ad Sealing a wood plank shiplap wall with shellac #helloredreno @diyshowoff #ad Sealing a wood plank shiplap wall with shellac #helloredreno @diyshowoff #adSealing a wood plank shiplap wall with shellac #helloredreno @diyshowoff #ad Sealing a wood plank shiplap wall with shellac #helloredreno @diyshowoff #ad

Time lapse just for fun! 

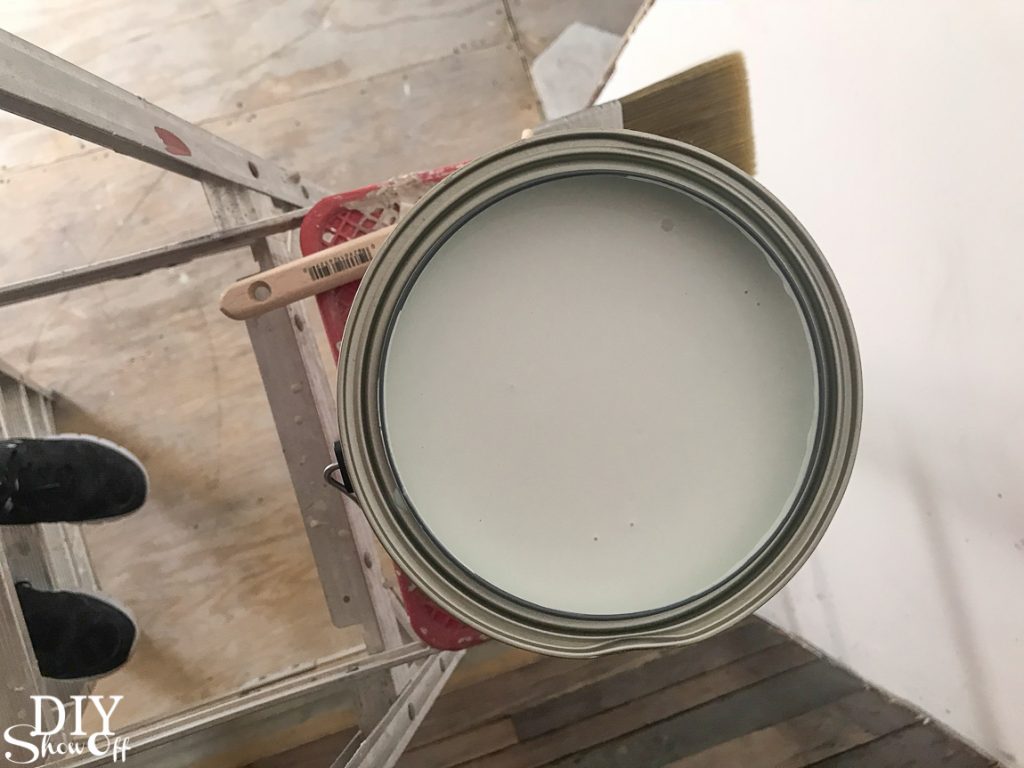
It goes on with a blue/white color but dries to a pretty clear coat. 

Sealing a wood plank shiplap wall with shellac #helloredreno @diyshowoff #ad Sealing a wood plank shiplap wall with shellac #helloredreno @diyshowoff #ad Sealing a wood plank shiplap wall with shellac #helloredreno @diyshowoff #ad

I always thought shellac had a high gloss look which I didn’t want. This finish has a very subtle sheen with very little shine, enough to seal the wood wall for the bathroom and to make it easy to clean.   

Before:Sealing a wood plank shiplap wall with shellac #helloredreno @diyshowoff #ad

After:

Sealing a wood plank shiplap wall with shellac #helloredreno @diyshowoff #ad

Beautiful! 

Sealing a wood plank shiplap wall with shellac #helloredreno @diyshowoff #ad

Progress!

Before:

Sealing a wood plank shiplap wall with shellac #helloredreno @diyshowoff #ad

After:

Sealing a wood plank shiplap wall with shellac #helloredreno @diyshowoff #ad

Next up – ceiling and wall paint! And hopefully tile soon! Stay tuned! 

The building has so much historical charm. It’s about one block from our town’s Main Street. The bus stop is literally steps away. There are breweries, the YMCA, shops, restaurants, salons, florists, candy/coffee shop, holiday parades and festivals within walking distance. So fun! If renovation from blah to ahhhhh is your thing, stay tuned!

So subscribe and be reminded of updates as the renovations progress! I’ll share before and after photos, projects underway and updates, plans and design boards, sources and links as they relate as well as fun events going on in and around the downtown area. I’ll be using a specific hashtag on social media to keep things all neat and tidy and organized.

#helloredreno

I welcome your thoughts and ideas! And as always, thanks for your encouragement and support and for sharing in my joy and vision! Watch for #helloredreno !

Project Diary Entry #4 – Full Bathroom Demo Day

Bathroom DIY Demo

The rooms at the new studio are coming along – soooooo slowly – but getting there. It’s never as fast as I plan or as smooth! Right? Hiccups and unforeseen projects and unplanned expenses. But let’s take a look at the upstairs full bath and how things are coming along! It’s the room with the biggest expense and progress to date. 

awesome vintage bathroom makeover @diyshowoff #helloredreno #shawstyleboard

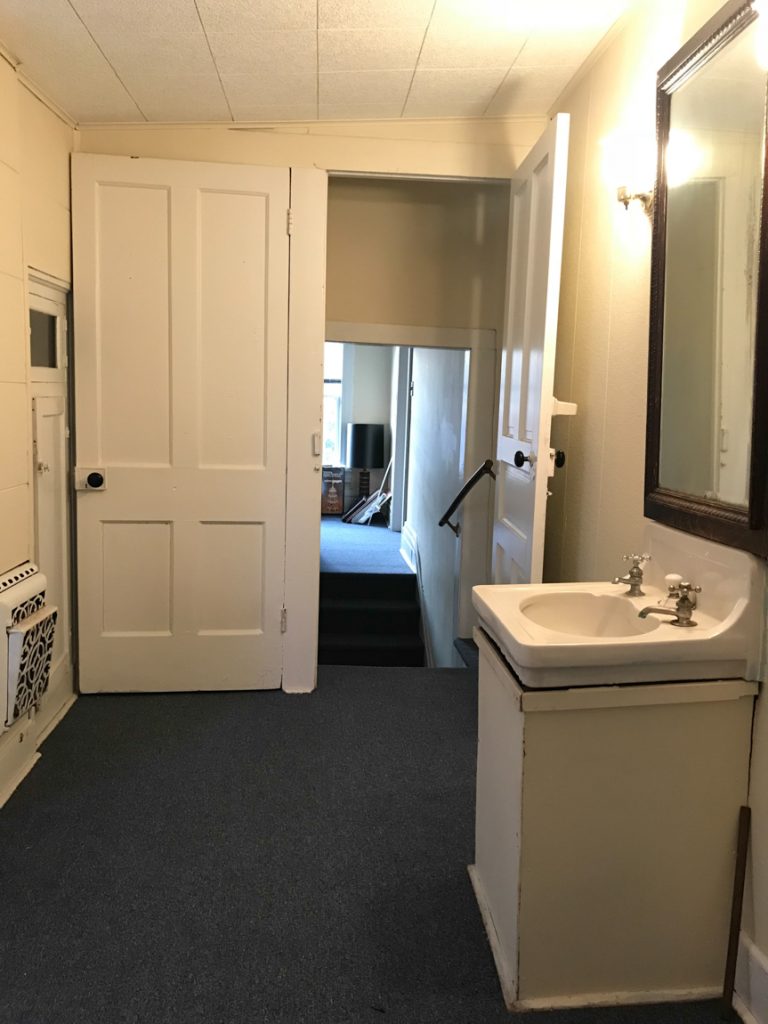
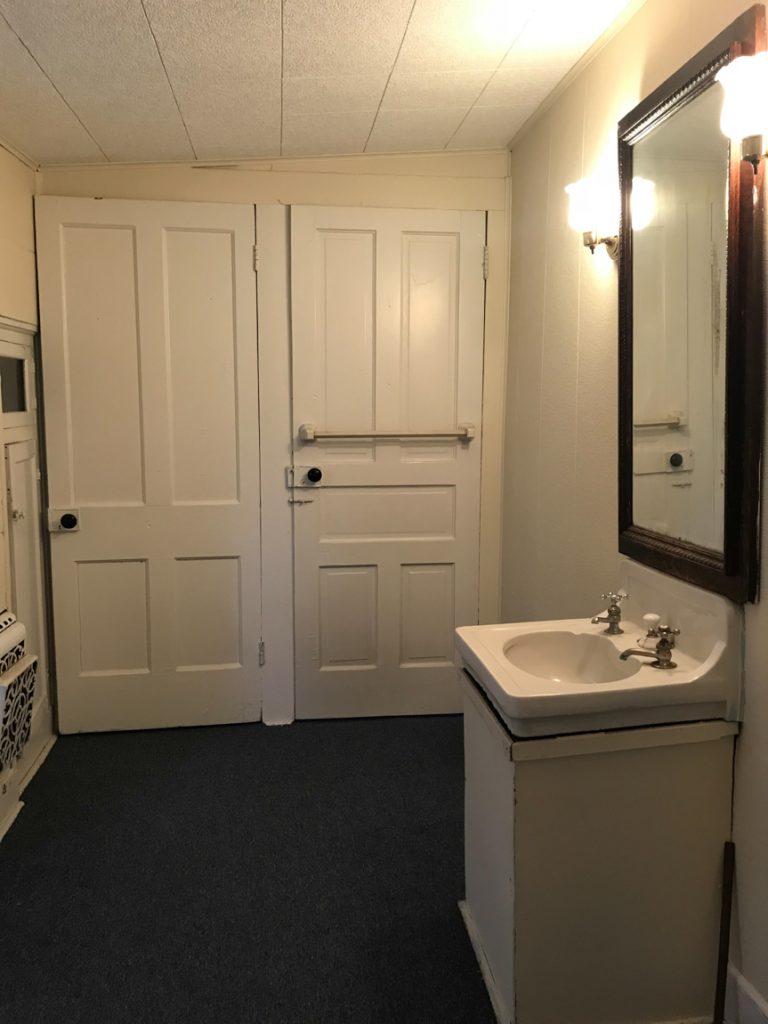
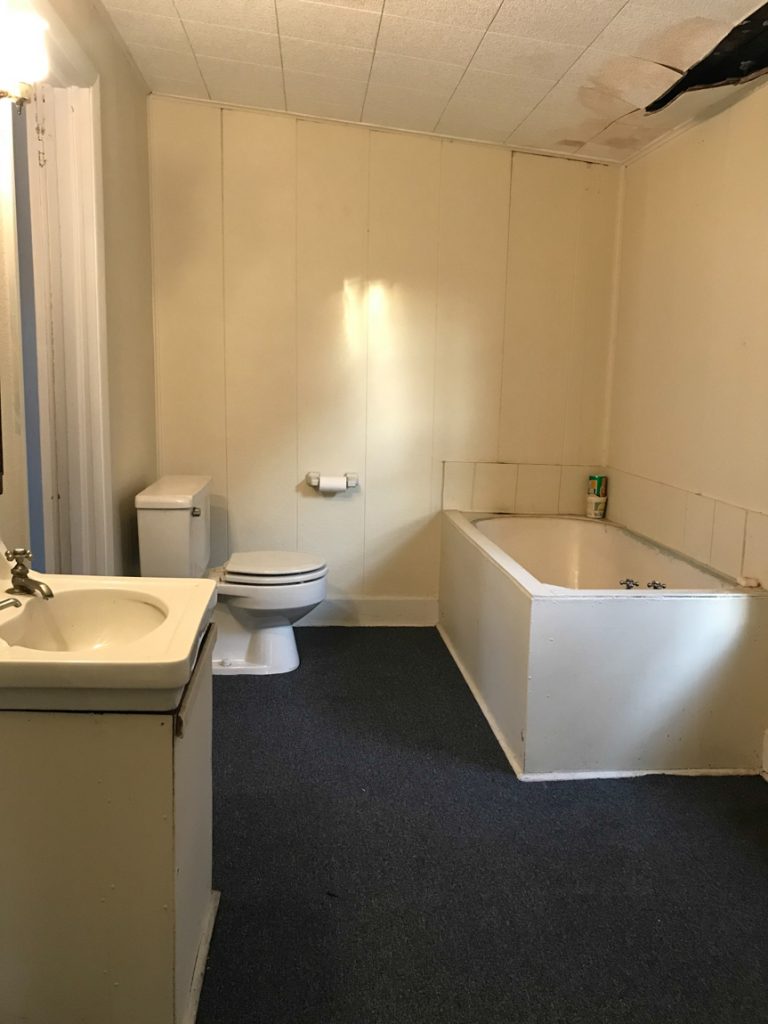
Here are some before pictures. YIKES! What a mess, what a lot of work. Yea, I under-estimated the work needed in here. Okay, let’s get started. 

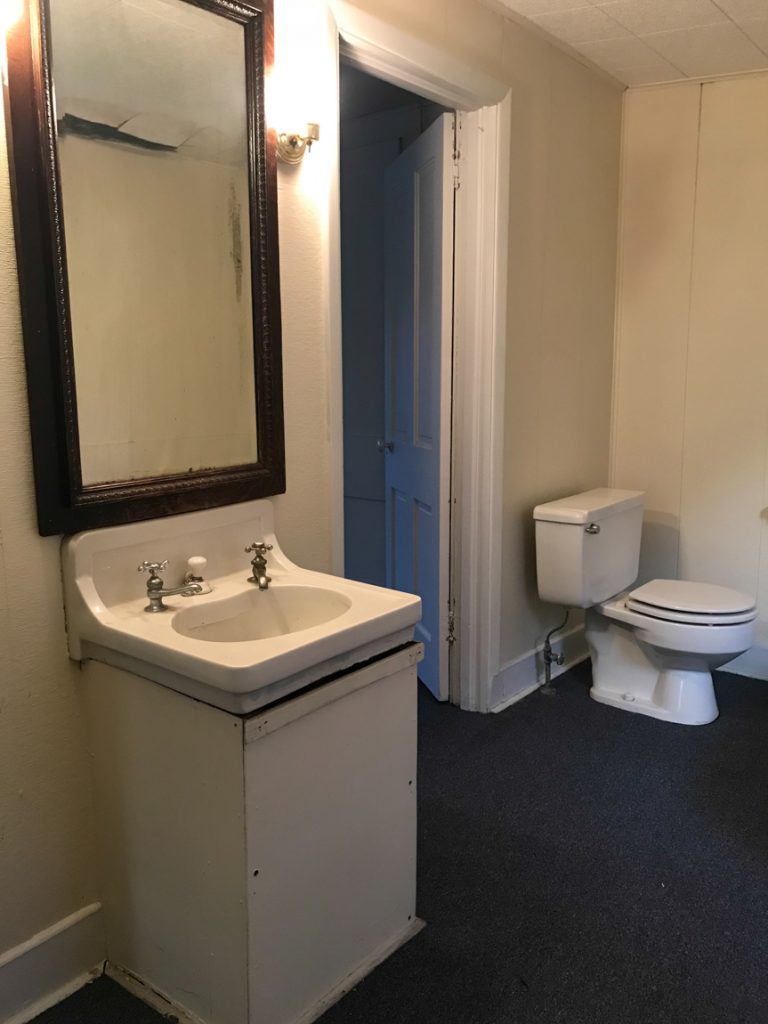
What would ever lead someone to box in a pedestal sink? That’s one way to hide exposed plumbing. ??? I do love that mirror though. Gotta re-use that somewhere. It’s got the vintage wear and tear that I love!

DIY craft studio // workshop - before room makeover @diyshowoff

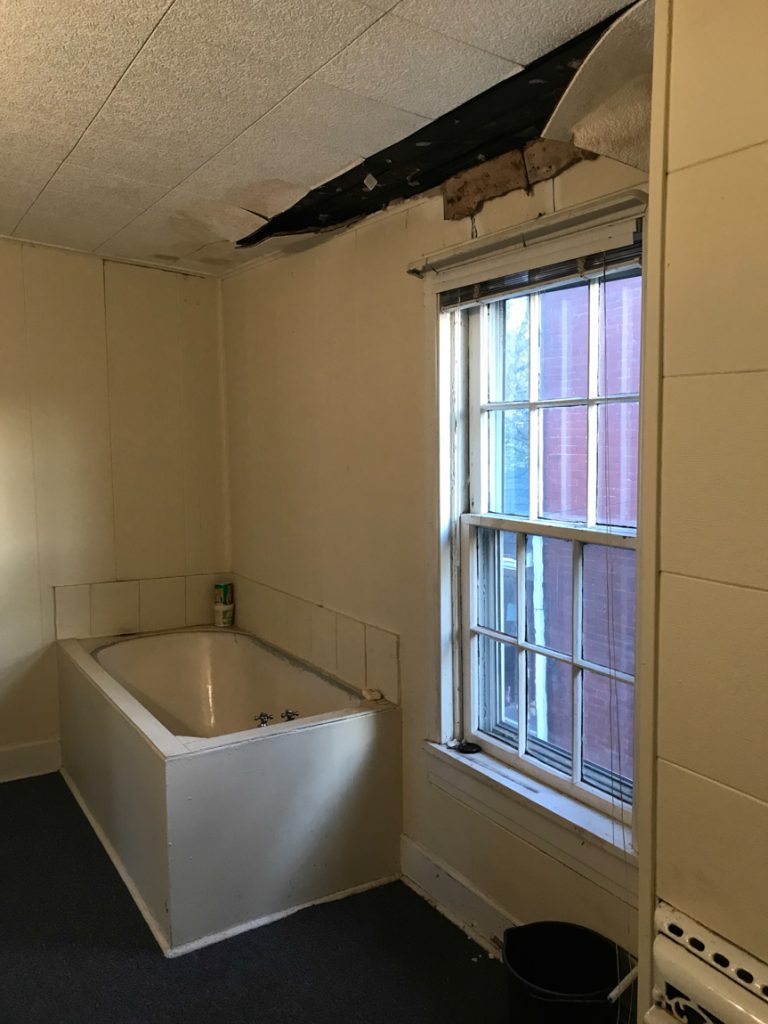
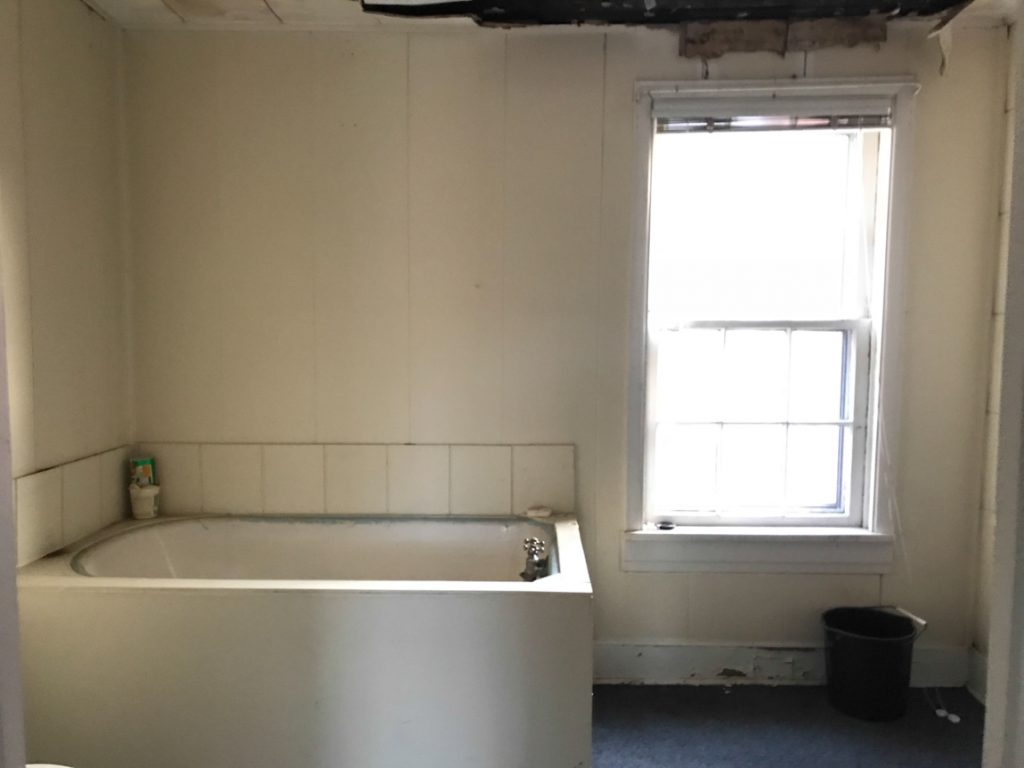
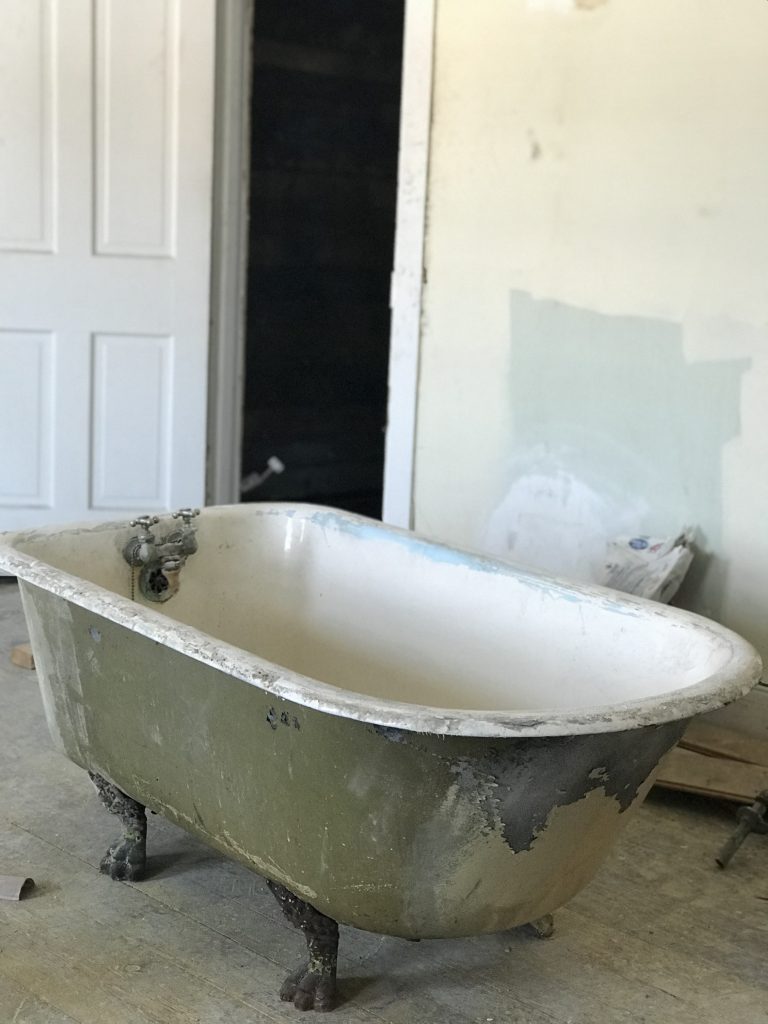
Oops. The roof had a leak and that’s been fixed. And it’s a great reason to tear down those ceiling tiles. And why yes, they’ve boxed in the claw foot tub too! What the…? Why?!  DIY craft studio // workshop - before room makeover @diyshowoff
There’s even a back door out of the bathroom. One into a bedroom and this one out to the staircase. And carpet. In the bathroom. ::gag:: DIY craft studio // workshop - before room makeover @diyshowoff DIY craft studio // workshop - before room makeover @diyshowoff

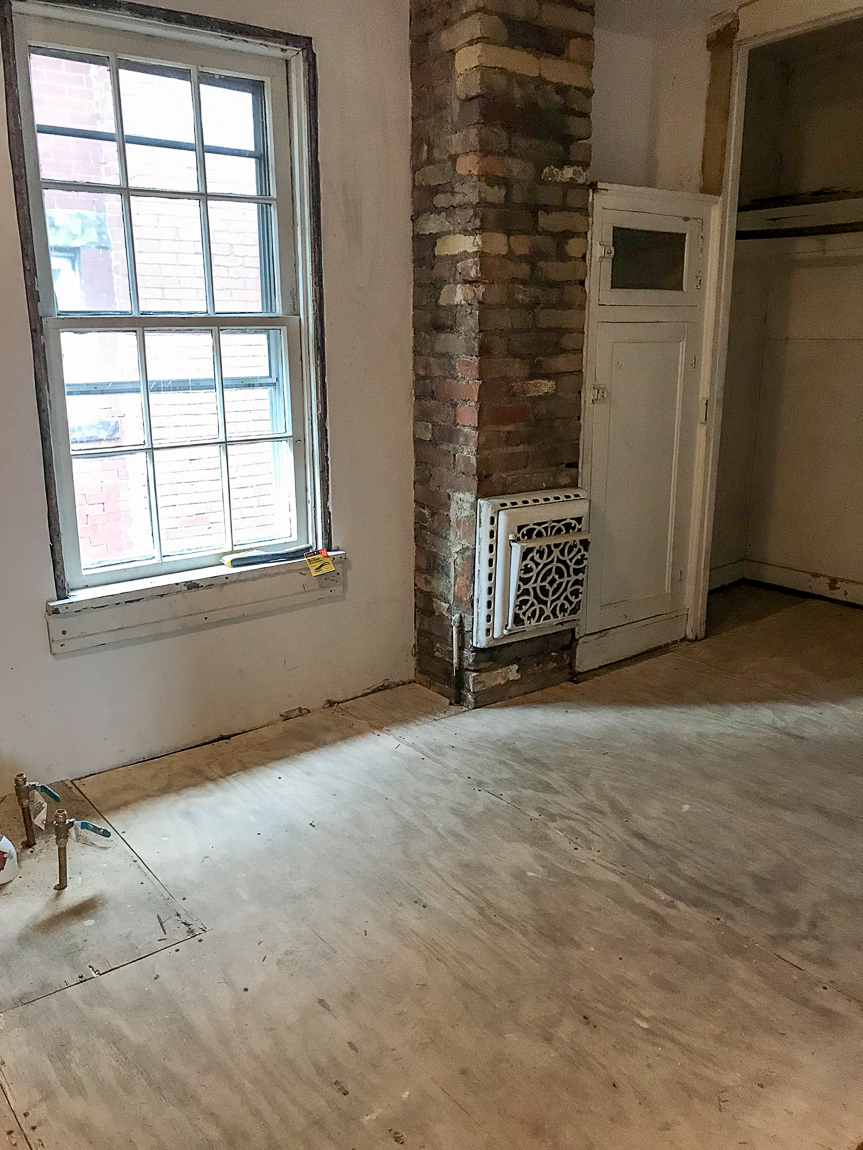
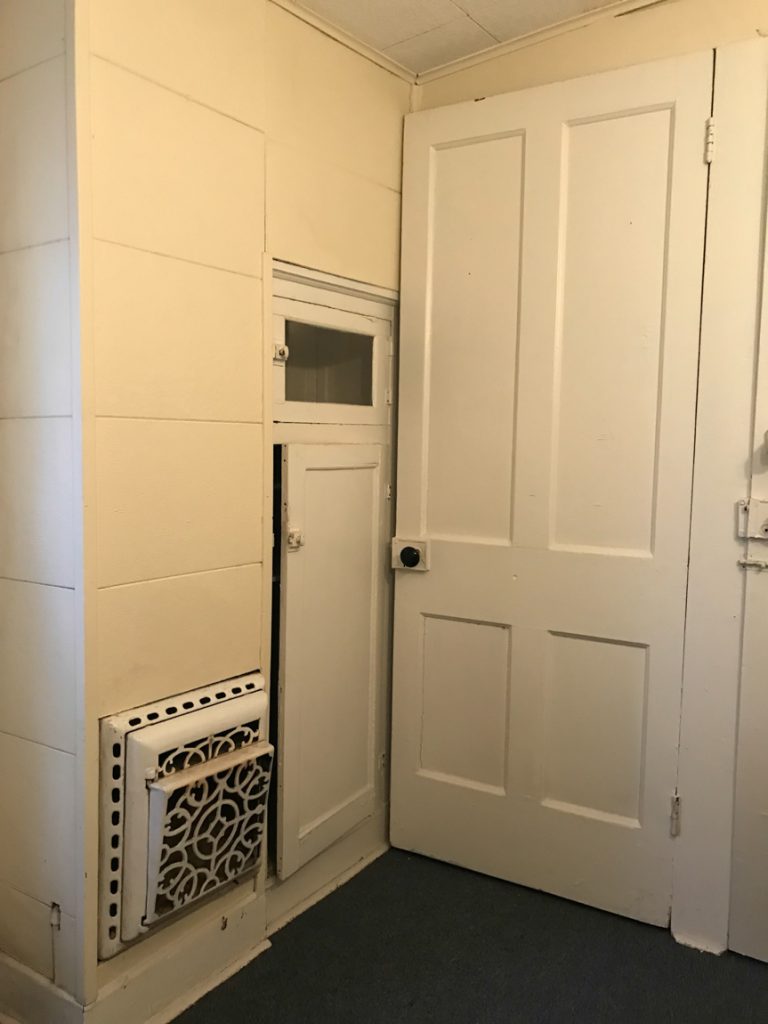
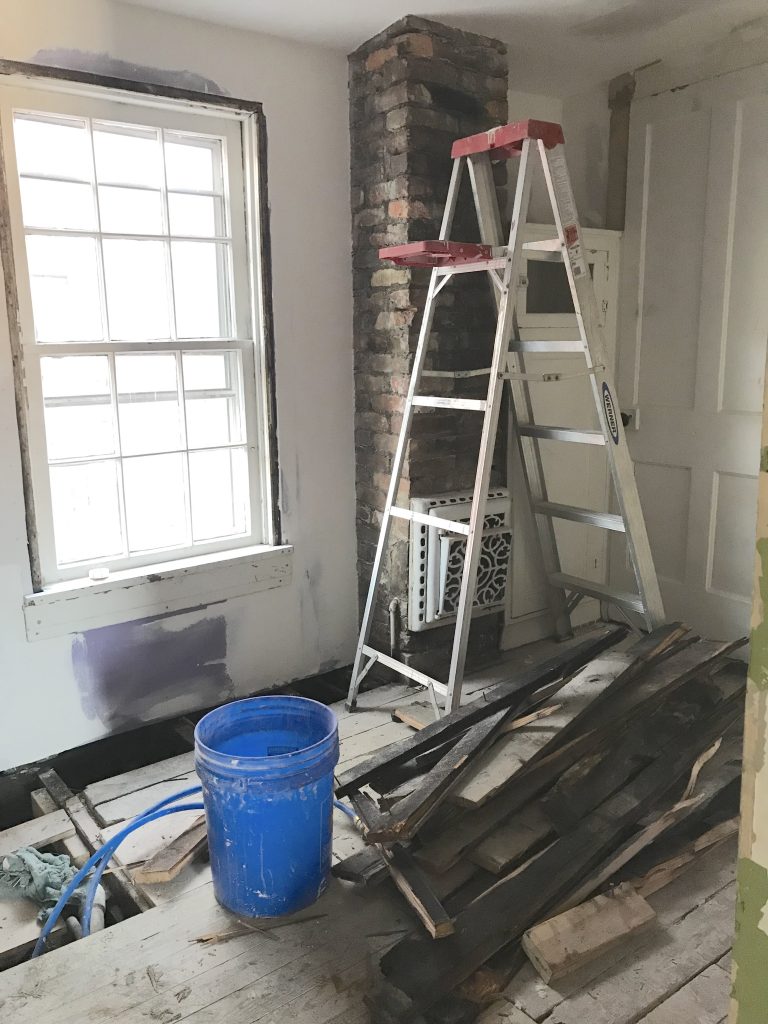
I love all the little built-ins. Aren’t they charming? That little glass door, the hardware! ::swoon:: So cute! That grate too! I have no idea…is it gas? There’s an old capped gas pipe right there to the left of it. But it’s right in the chimney where maybe the original stove from the main floor below stood. There’s a decent sized closet behind the door there too. So nice!DIY craft studio // workshop - before room makeover @diyshowoff

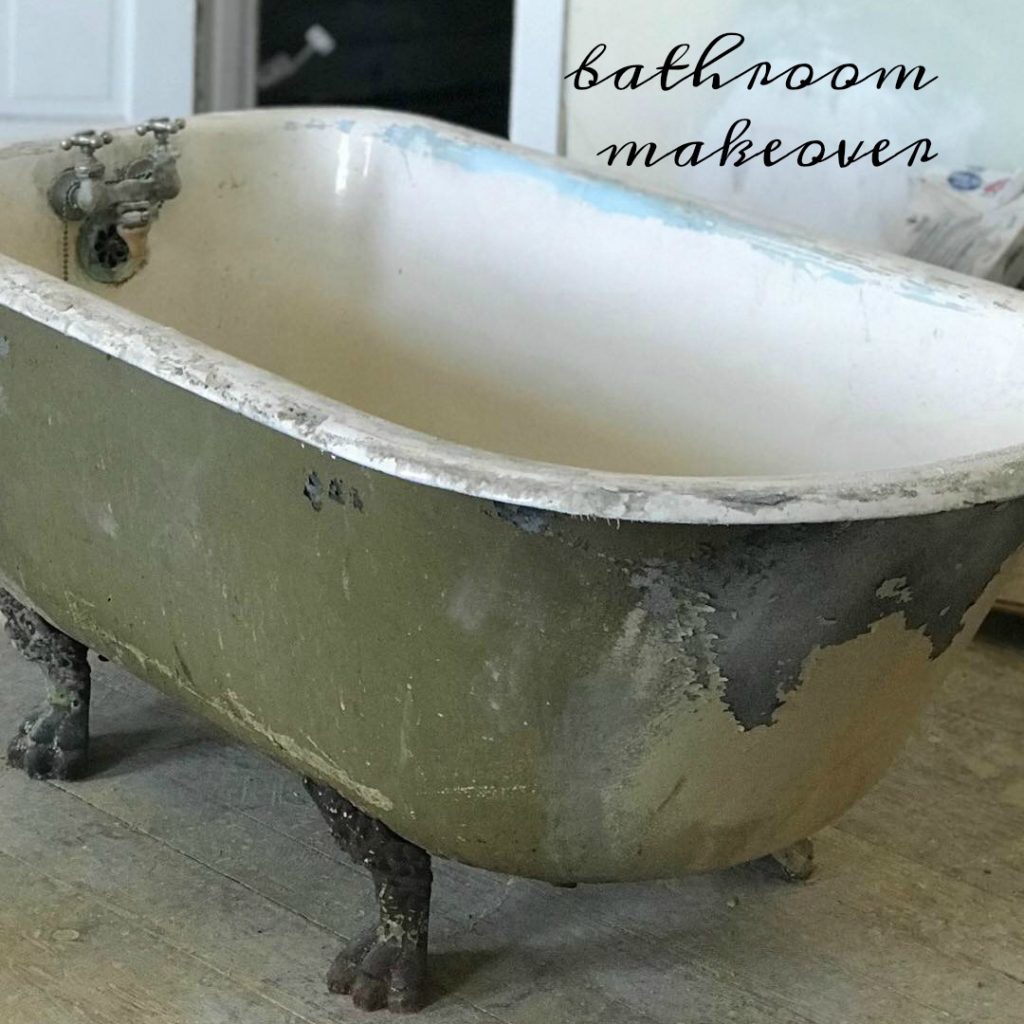
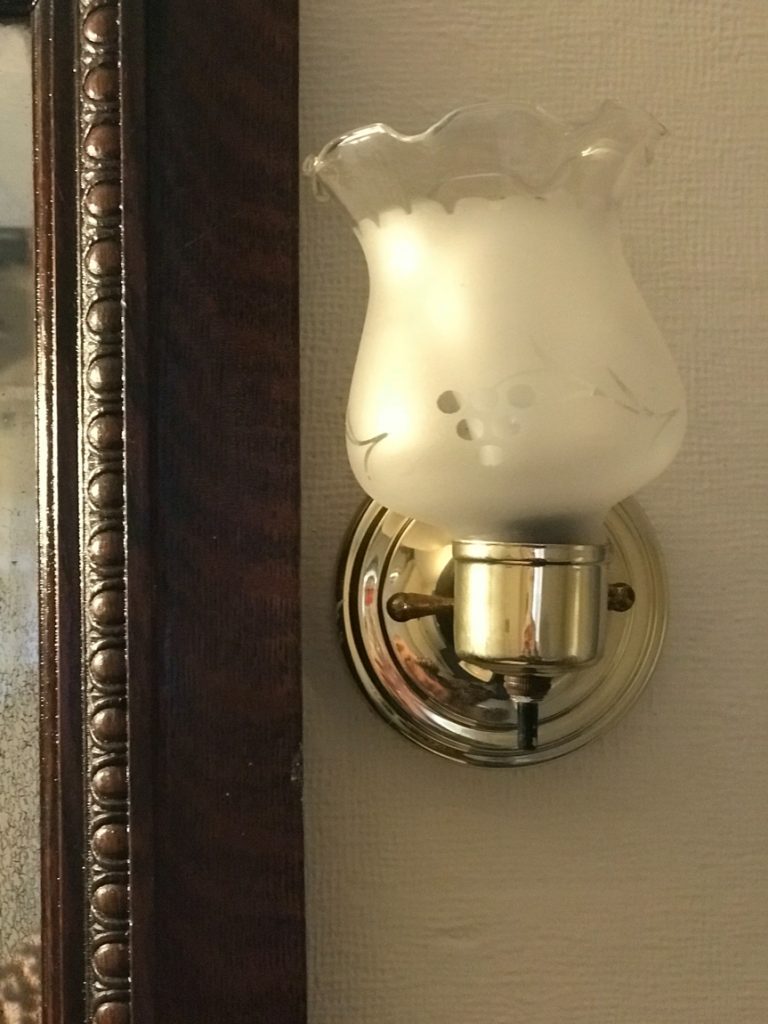
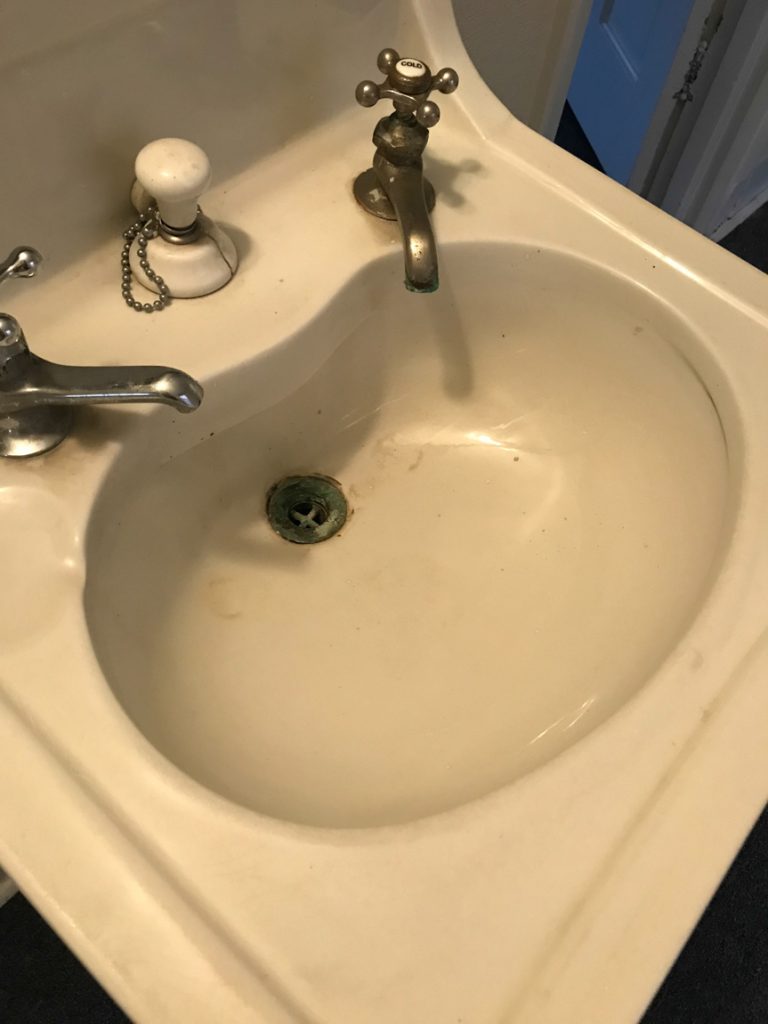
Can’t wait to reveal the cast iron claw foot tub!DIY craft studio // workshop - before room makeover @diyshowoff I love sconce lighting in the bathroom but will repurpose these cuties somewhere else some day. DIY craft studio // workshop - before room makeover @diyshowoff  These old faucets! You either get hot or you get cold. There is no “warm” unless you fill the sink. lol DIY craft studio // workshop - before room makeover @diyshowoff

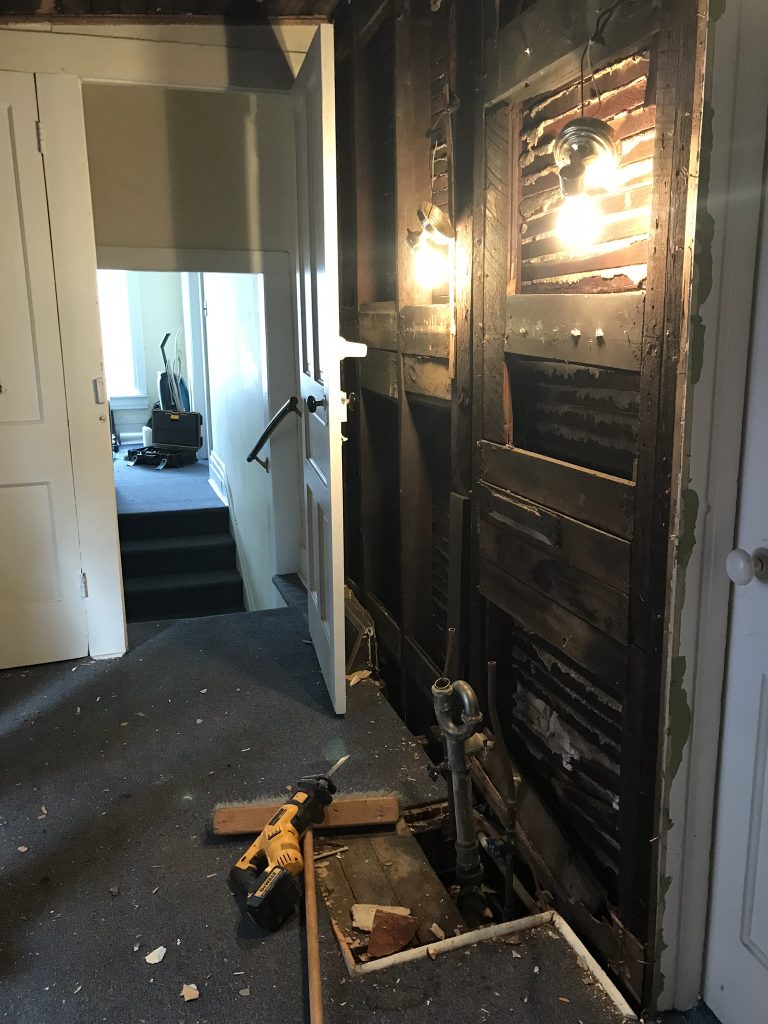
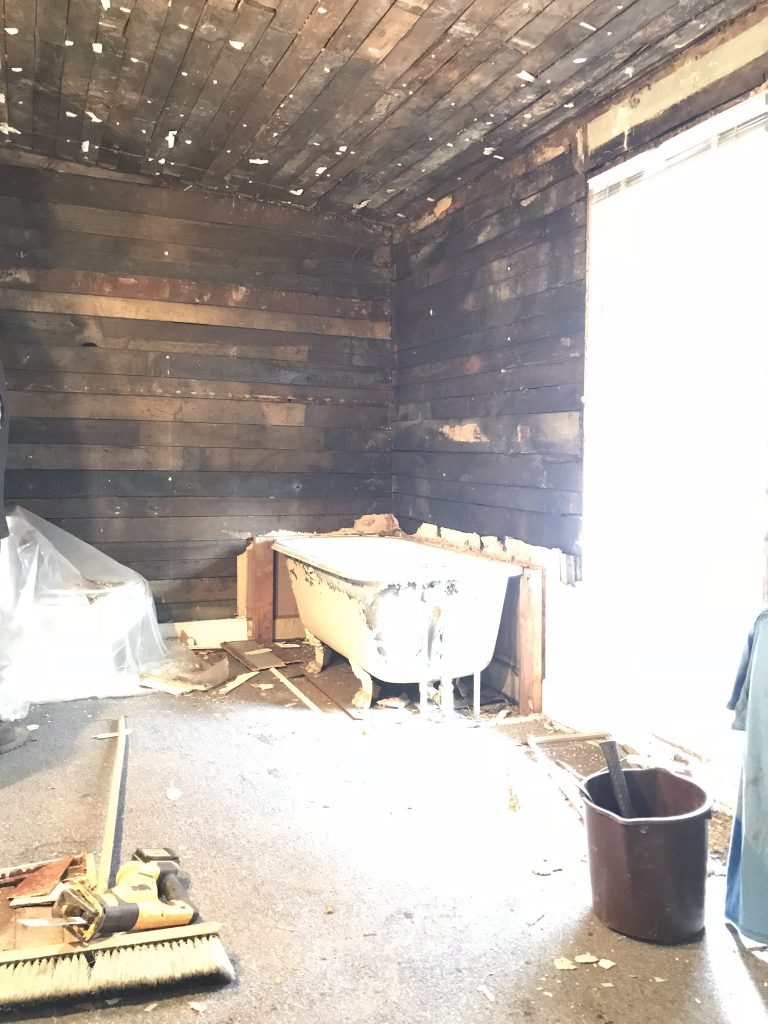
Demo day! Oh man! Here we go! Hold my hand! bathroom demo bathroom makeover bathroom makeover

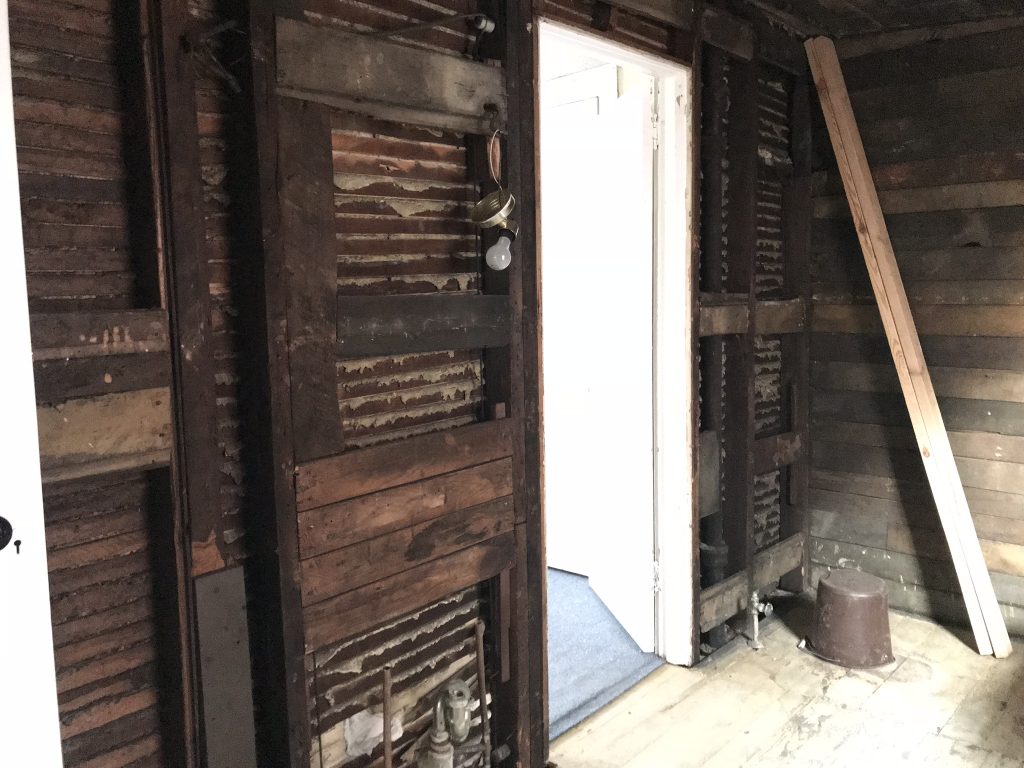
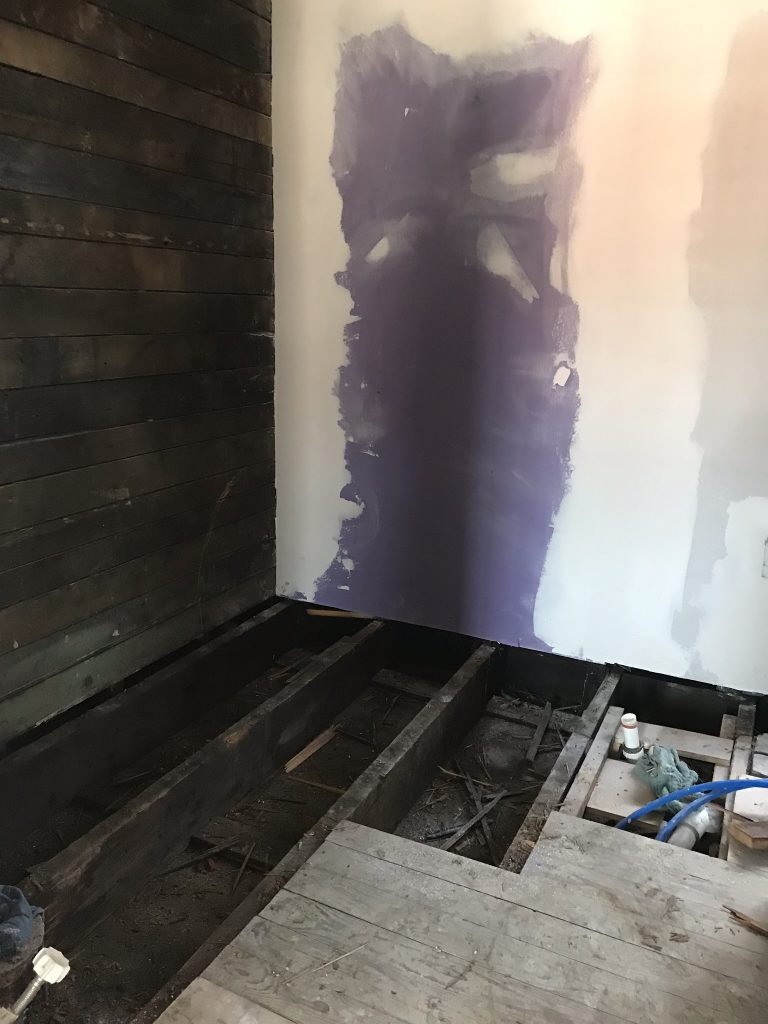
Out with the old, that’s for sure! Out with that nasty carpet that’s been glued down to the original hardwood floors. What a mess! Because I want Shaw tile floors in the new bathroom, our installer at A&S Carpet has recommended we remove the old squeaky hardwood and screw down plywood to prepare the base for ceramic tiles. You can see the bathroom vent that was installed too. bathroom makeover And there was quite a bit of work to be updated. Ugh. Not what I wanted to hear! It’s so hard when money goes into things we can’t see. But more importantly, it’s lifelong peace of mind.  Isn’t it looking so much better all ripped out and ready for reno?bathroom makeover in progress I’m hoping to be able to re-use this gorgeous tub! I think it may have already been re-glazed once so we’ll see. Budgets have a way of making decisions for us sometimes, especially when un-foreseen expenses arise. bathroom makeover

We’ve got some new drywall and sub flooring…

bathroom renovation And look how light and airy it’s looking! So happy! bathroom makeover bathroom reno bathroom makeover in progress Did I mention that I just can’t cover up all of that old original ship lap? I just can’t! So this wall and all of her rustic charm and pretty colors is staying. It’ll get a good scrub down and be sealed. More on that coming up!bathroom makeover The floor is all prepped for NEW flooring! I’ll share my choice and some other ideas I have in a design board later this week. I’m also going to clean and seal the exposed brick. I just can’t bring myself to cover up all of the rustic beauty! bathroom renovation

The building has so much historical charm. It’s about one block from our town’s Main Street. The bus stop is literally steps away. There are breweries, the YMCA, shops, restaurants, salons, florists, candy/coffee shop, holiday parades and festivals within walking distance. So fun! If renovation from blah to ahhhhh is your thing, stay tuned!

So subscribe and be reminded of updates as the renovations progress! I’ll share before and after photos, projects underway and updates, plans and design boards, sources and links as they relate as well as fun events going on in and around the downtown area. I’ll be using a specific hashtag on social media to keep things all neat and tidy and organized. 

#helloredreno

I welcome your thoughts and ideas! And as always, thanks for your encouragement and support and for sharing in my joy and vision! Watch for #helloredreno !

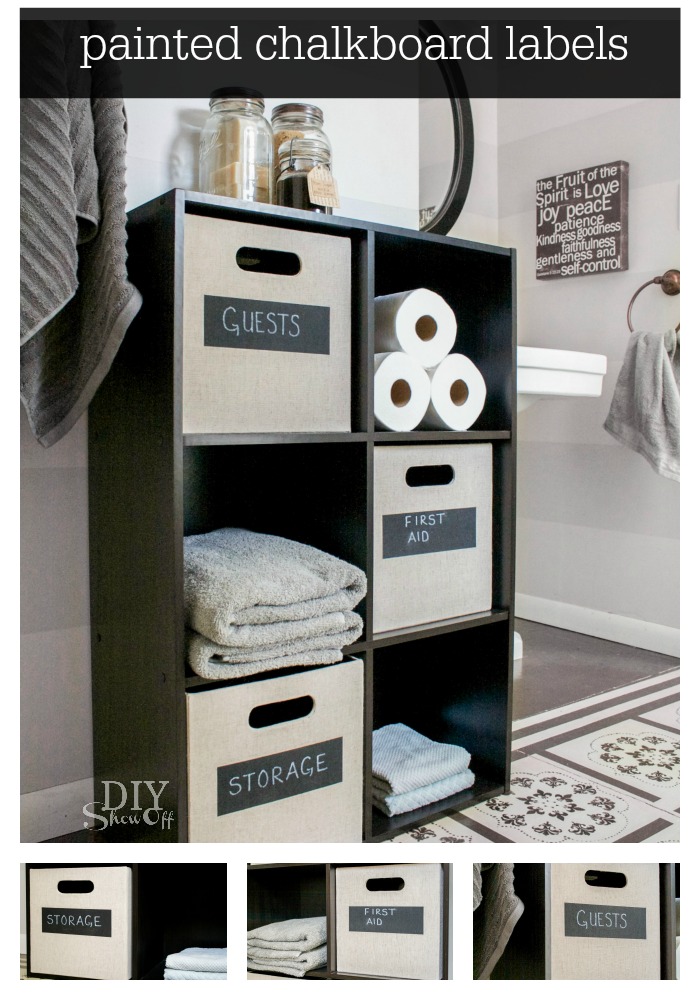
Painted Chalkboard Labels

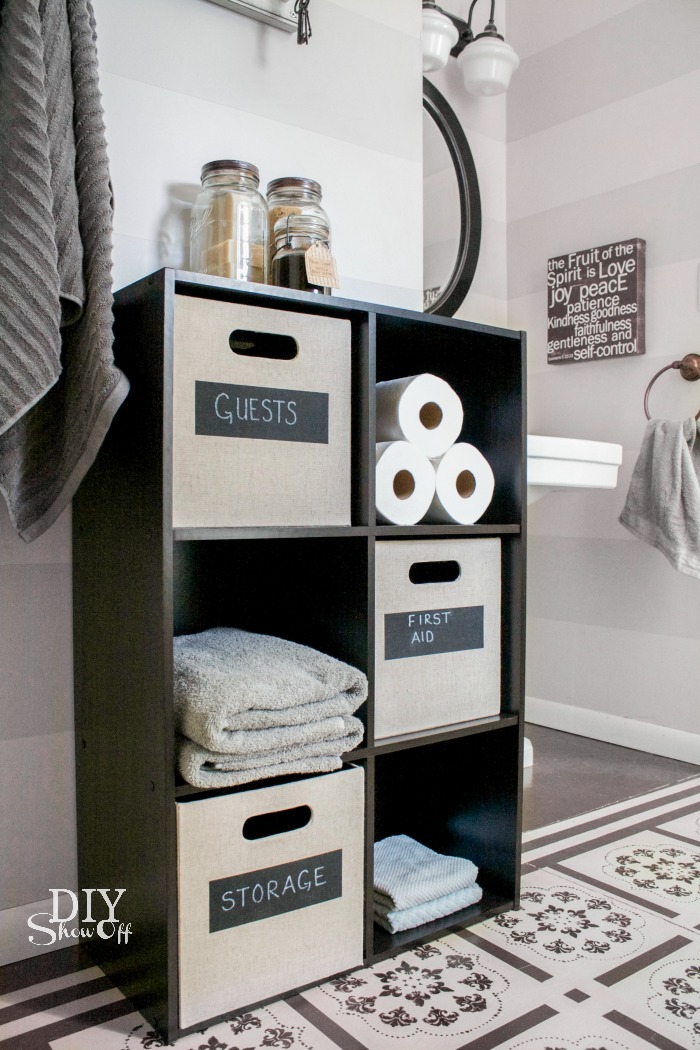
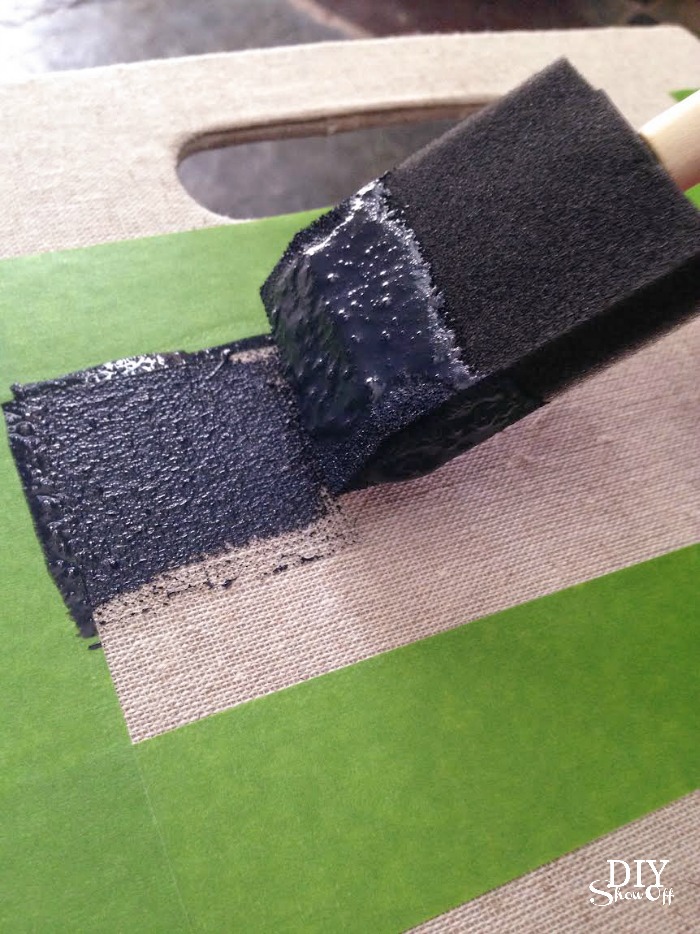
DIY painted chalkboard labels on storage cubes @diyshowoff

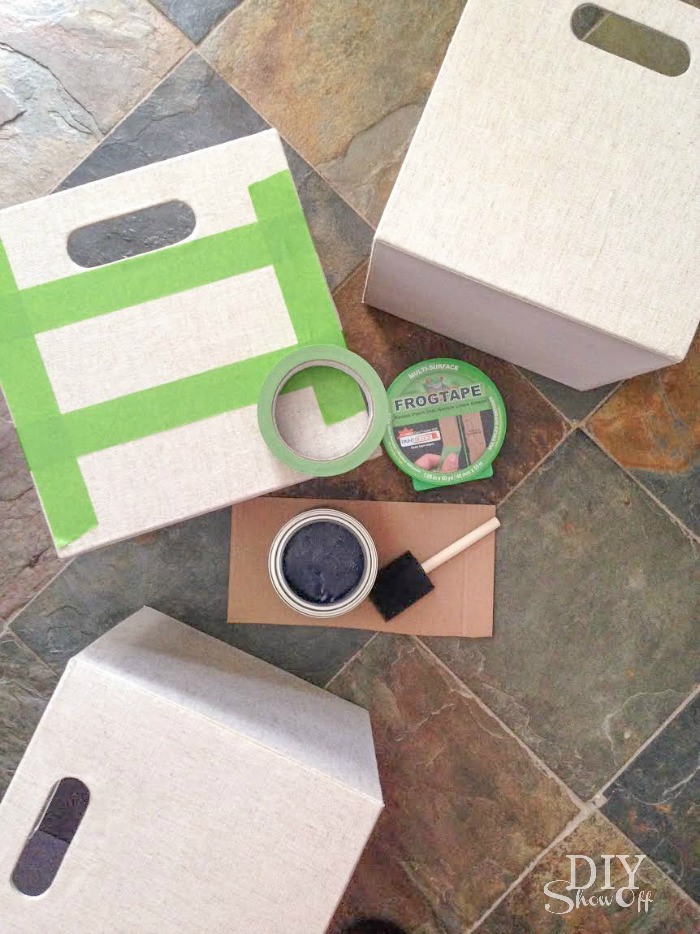
Our guest bathroom has some bins for keeping things stocked and organized. I know what’s in them, however guests have no idea. So I grabbed:

  • the bins from the shelf in the guest bathroom
  • FrogTape® Multi-Surface
  • chalkboard paint
  • foam paint brush

Here’s what I did:

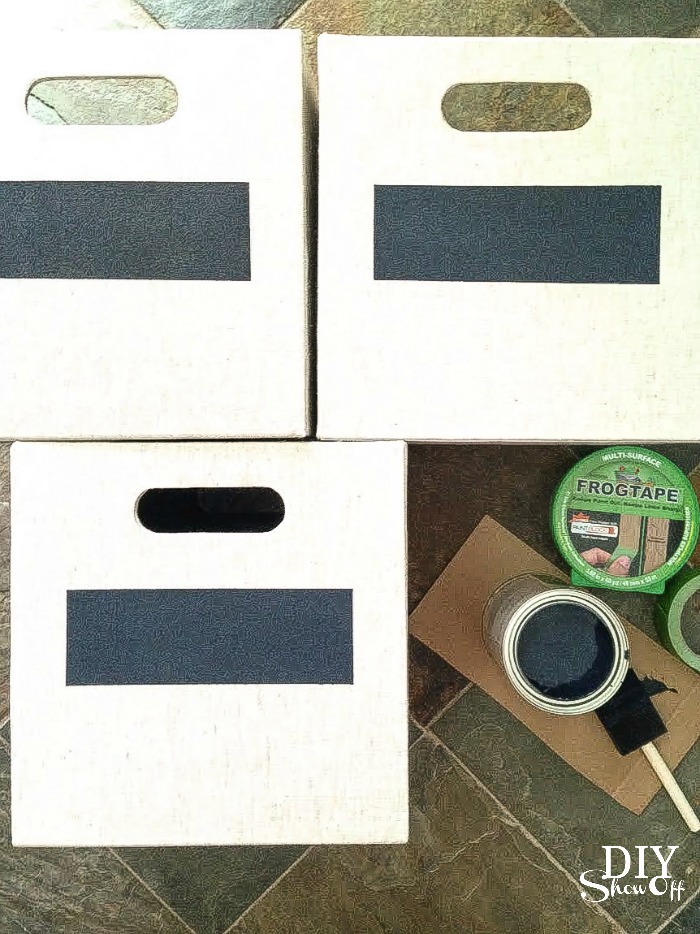
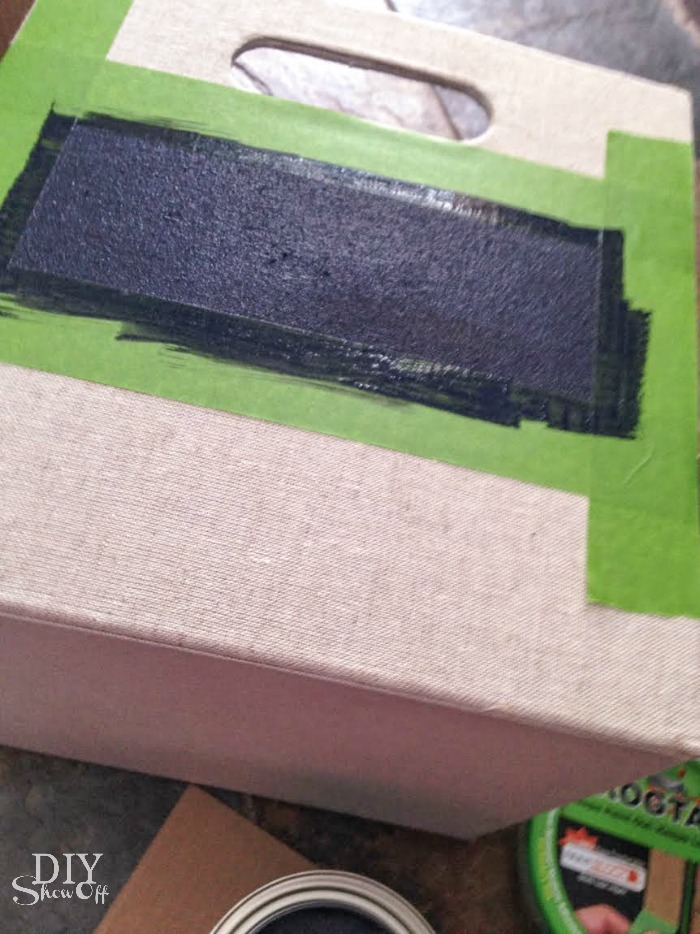
Using my FrogTape, I taped off rectangles onto the front of the bins…. 

DIY painted chalkboard labels on storage cubes @diyshowoff

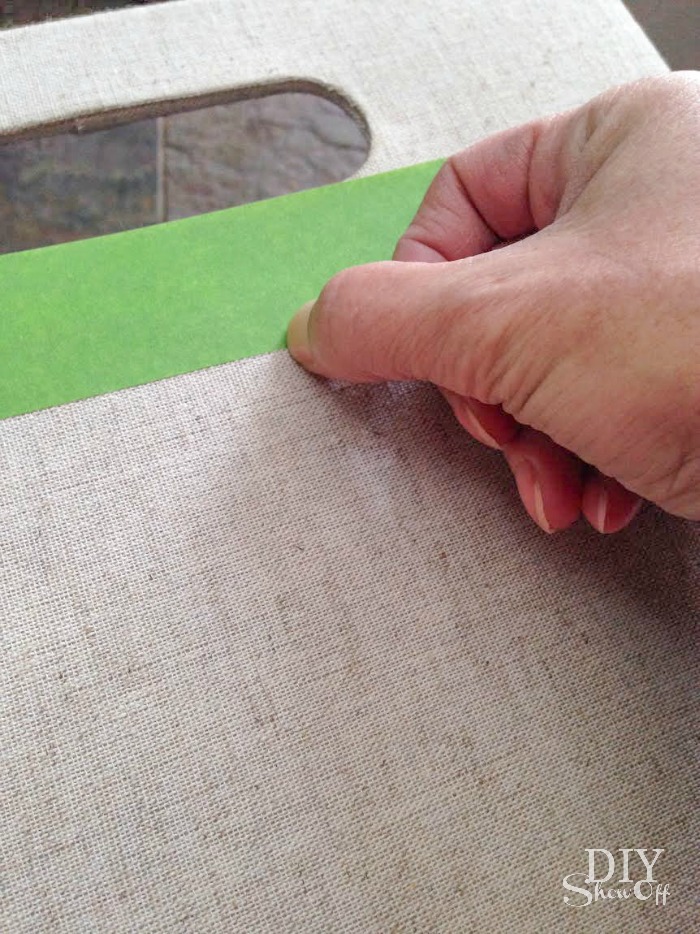
I burnished the edges of the tape with my thumbnail…

DIY painted chalkboard labels on storage cubes @diyshowoff

and gave each rectangle label area two coats of chalkboard paint.

DIY painted chalkboard labels on storage cubes @diyshowoff DIY painted chalkboard labels on storage cubes @diyshowoff

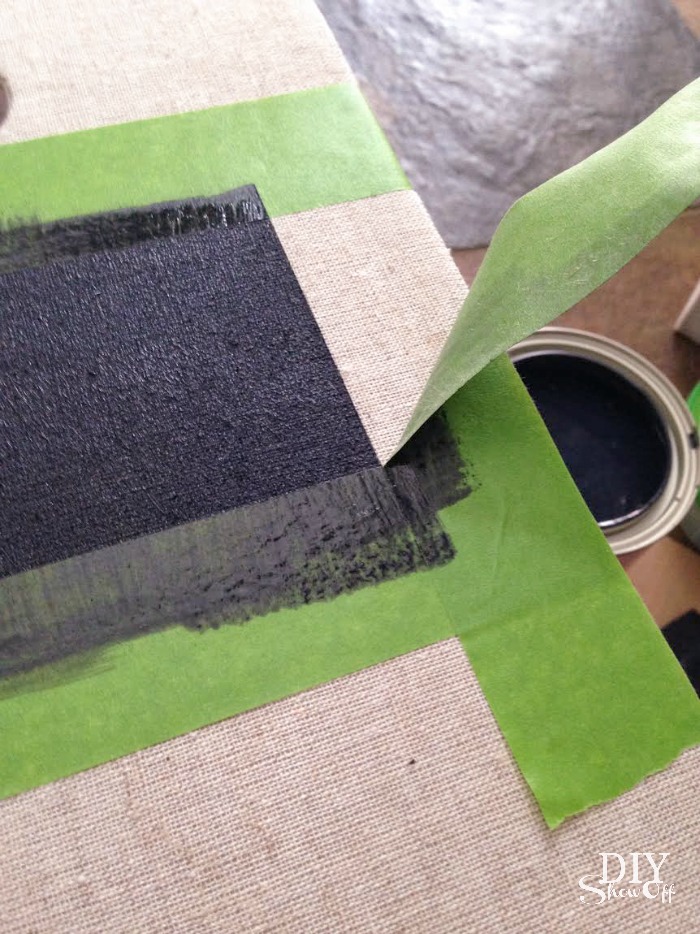
While the paint was still wet, I carefully removed the FrogTape to reveal crisp clean paint lines! I let the paint dry. 

DIY painted chalkboard labels on storage cubes @diyshowoffDIY painted chalkboard labels on storage cubes @diyshowoff

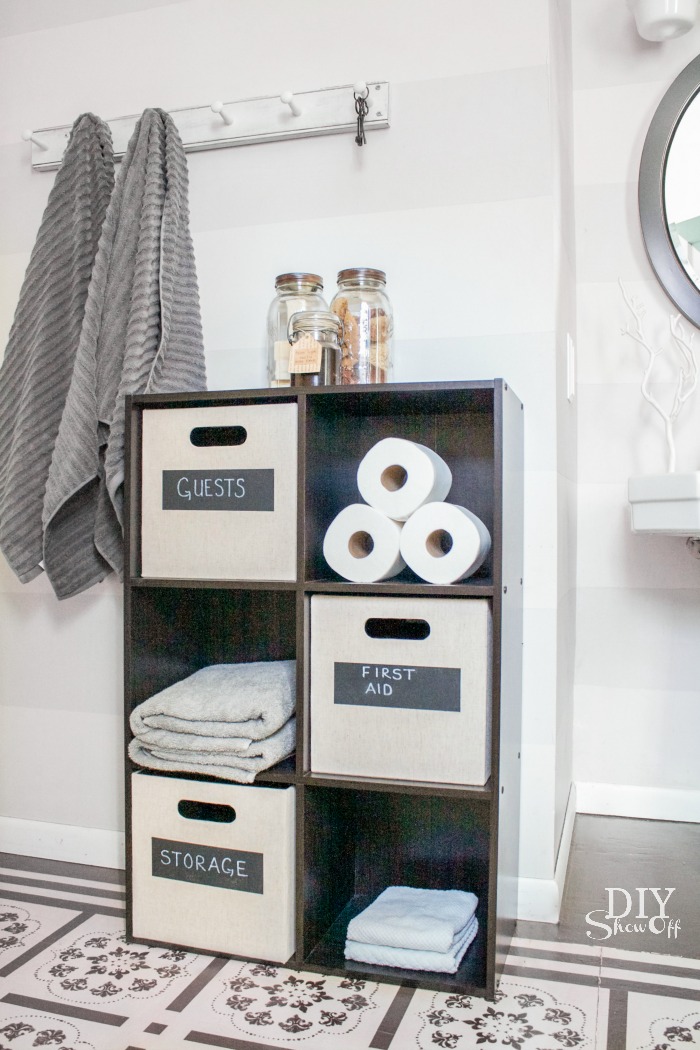
I labeled the bins using a chalkboard marker.

DIY painted chalkboard labels on storage cubes @diyshowoff DIY painted chalkboard labels on storage cubes @diyshowoff

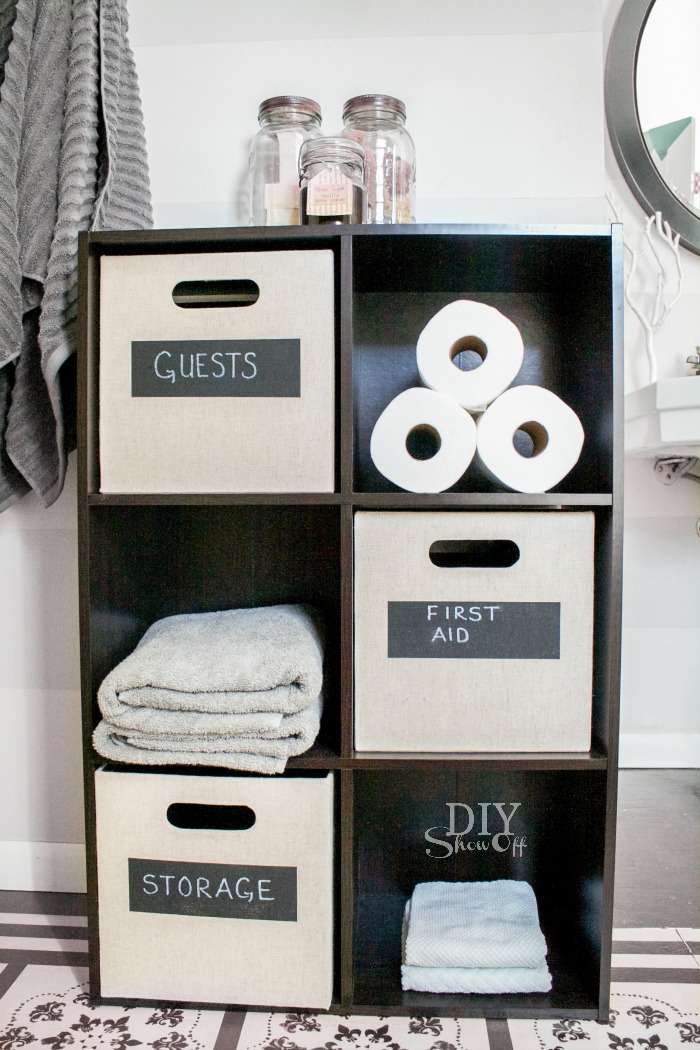
Now toiletries, first aid supplies and extras can be easily spotted. 

DIY painted chalkboard labels on storage cubes @diyshowoff #FrogTape

FrogTape Blog Squad

Disclaimer: I received compensation to complete this project for using FrogTape® products. All opinions, projects and ideas are based on my own experience.

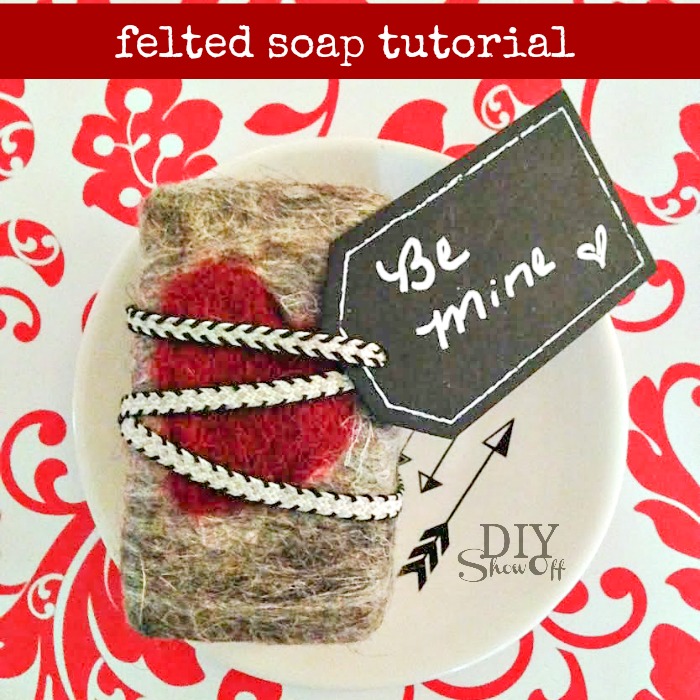
Felted Soap Tutorial

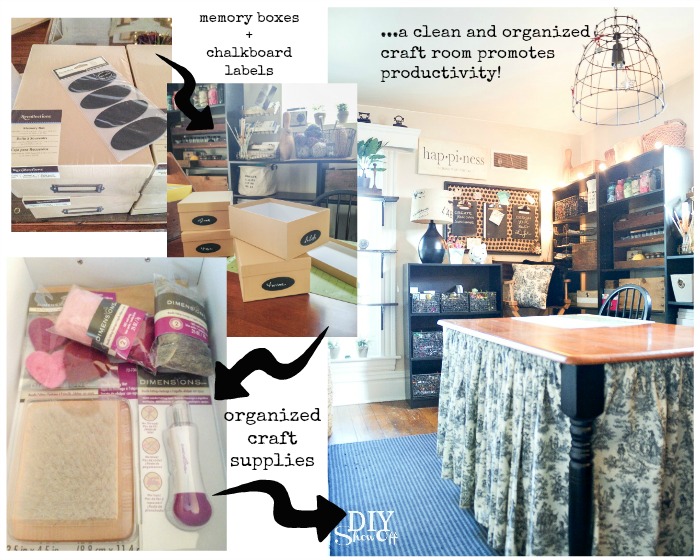
It’s time for the monthly Michael’s Makers challenge! I’ve been wanting to/meaning to make felted soap for years and I can finally check it off my craft bucket list. But first, January is a great time of year for getting organized. I love these Recollections Memory Boxes with chalkboard labels for keeping crafting supplies organized in my craft room…

organized craft room @diyshowoff 

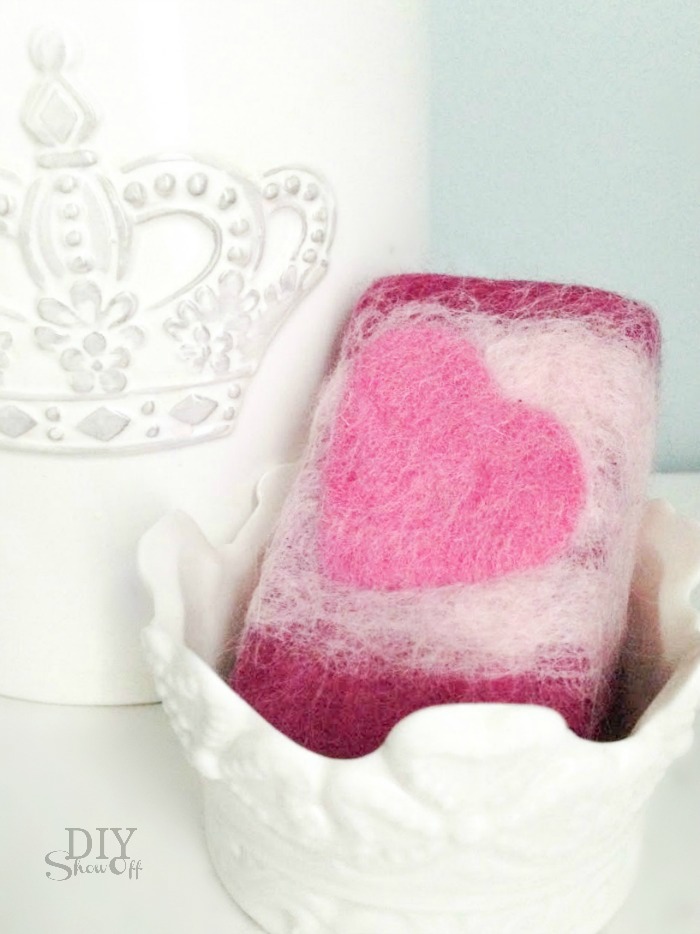
My craft project this month is felted soap. It’s something I usually purchase, handmade from boutiques…always for gifts but never for myself. I’ve always wanted to attempt to make my own but just never made the time to give it a try. Just one of those crafts that seemed time consuming or difficult. Boy, was I ever wrong! It’s so easy! No craft-talent required, although I bet it’s something we can acquire a skill at doing, to create some beautiful works of art maybe even too pretty to use. A fun craft to do with the kids as well.

DIY felted soap tutorial @diyshowoff #michaelsmakers

What is felted soap? It’s like having your bar of soap wrapped in a felt washcloth. It lengthens the number of uses of a bar of soap and there’s lots of lather! It’s also pretty…you decide on colors or designs to coordinate with your bathroom decor, seasons or holidays, etc. You choose the soap brand or scent or even make your own.  

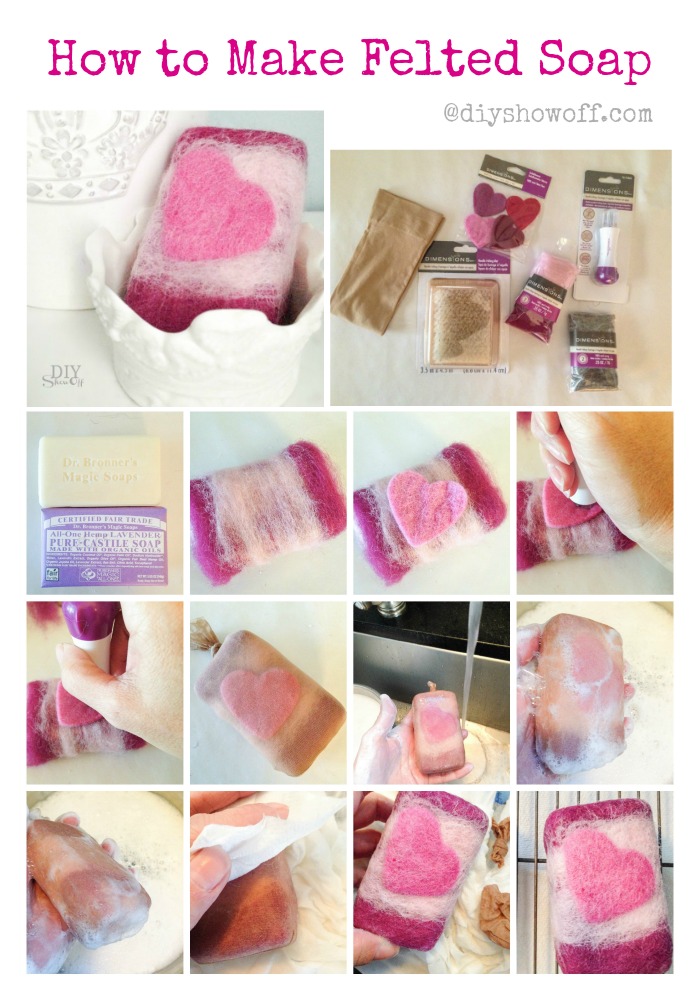
Materials I used: Shop Michaels Online

  • bar of soap (I made 3 this time around: lavender, peppermint and even an activated charcoal soap.)
  • wool roving
  • nylon stocking (cut to fit over soap with room to tie opening)
  • water, paper towels, drying rack
  • optional: felt appliqué and felting needle tool

50% Off Any One Regular Price Item

This Week's Coupon at Michaels.com

Do a search for felted soap tutorials. There are a lot of different ways to go about this. This is what I did:

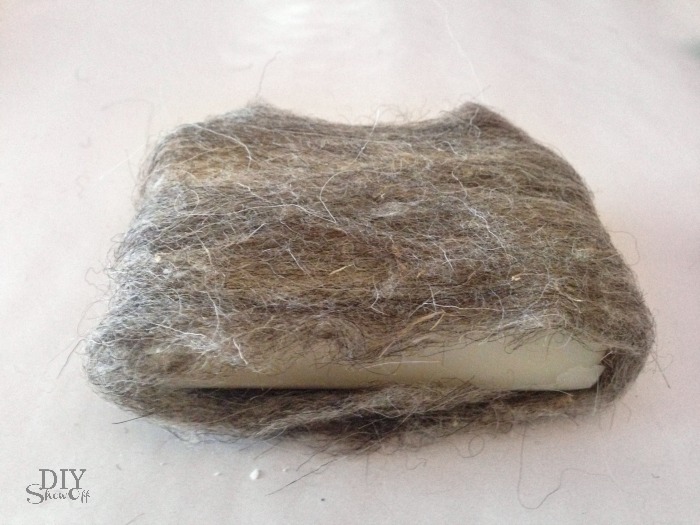
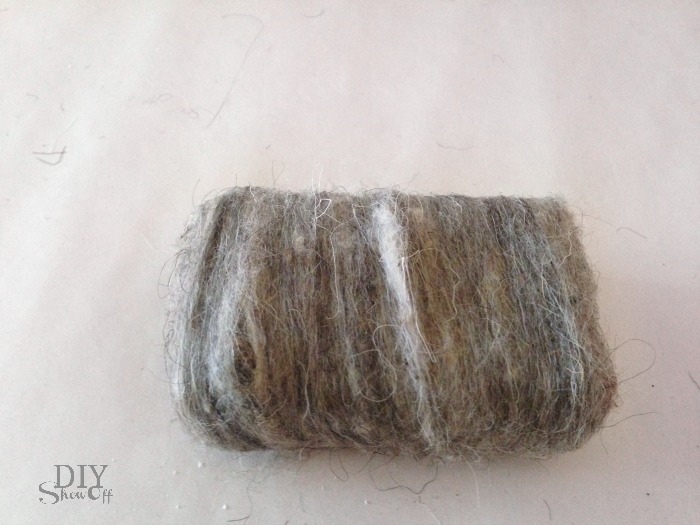
1. I wrapped the bar of soap with a piece of wool roving in the long direction around a bar of soap, as tight as I could get it to stay. I left a little overlap on the edges/corners. I used a thin sheet of roving and kept the overlapping the pieces on the back to a minimum.

DIY felted soap tutorial @diyshowoff #michaelsmakers

2. I then wrapped wool roving the other direction. I tucked in the overlap on the corners from the first piece of wool roving placed. 

DIY felted soap tutorial @diyshowoff #michaelsmakers

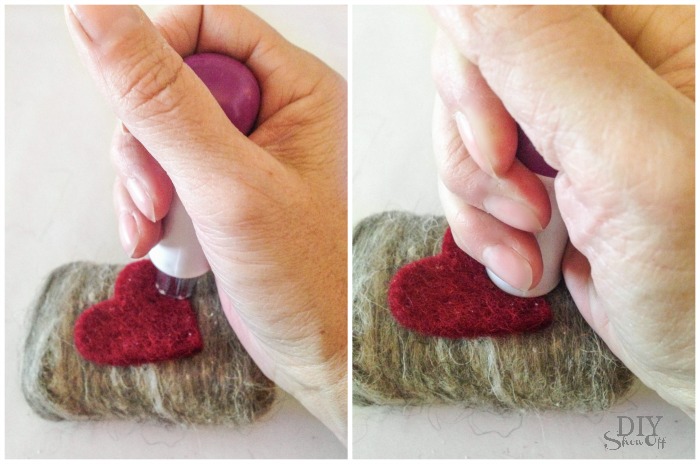
3. Optional: add thin strands of different colors. Add an appliqué using a felting needle tool. Just place and punch. I didn’t really notice that it ‘stuck’ well (I could easily pull it back off) but it did seem to grab a few fibers and that seemed to be all that was needed to keep it sort of secure and in place. Maybe I did it wrong, I’m not a felting expert. lol! 

DIY felted soap tutorial @diyshowoff #michaelsmakers

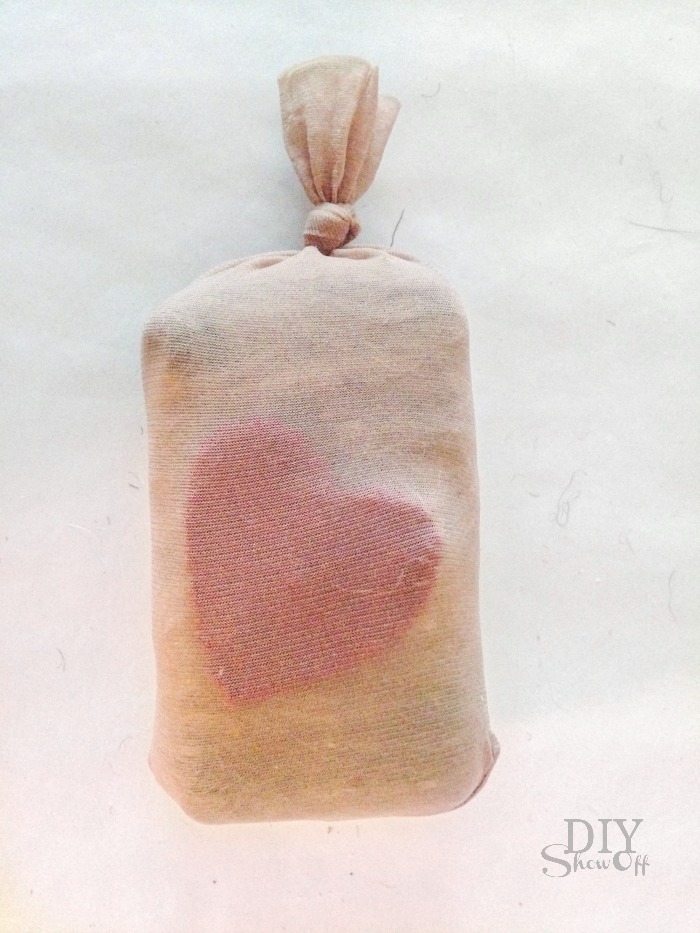
4. I carefully placed the wrapped bar of soap into a piece of nylon stocking. If it was the toe piece, I tied a knot in one end. When I ran out of toe/foot stocking pieces, I used the leg parts of stocking and tied both ends. This just holds everything all together and in place.

DIY felted soap tutorial @diyshowoff #michaelsmakers

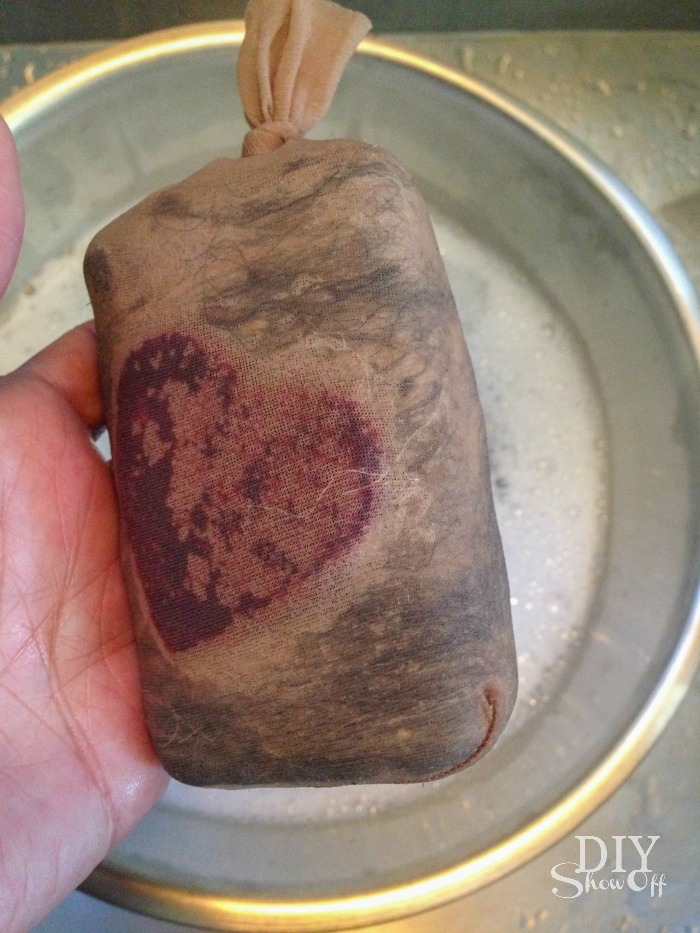
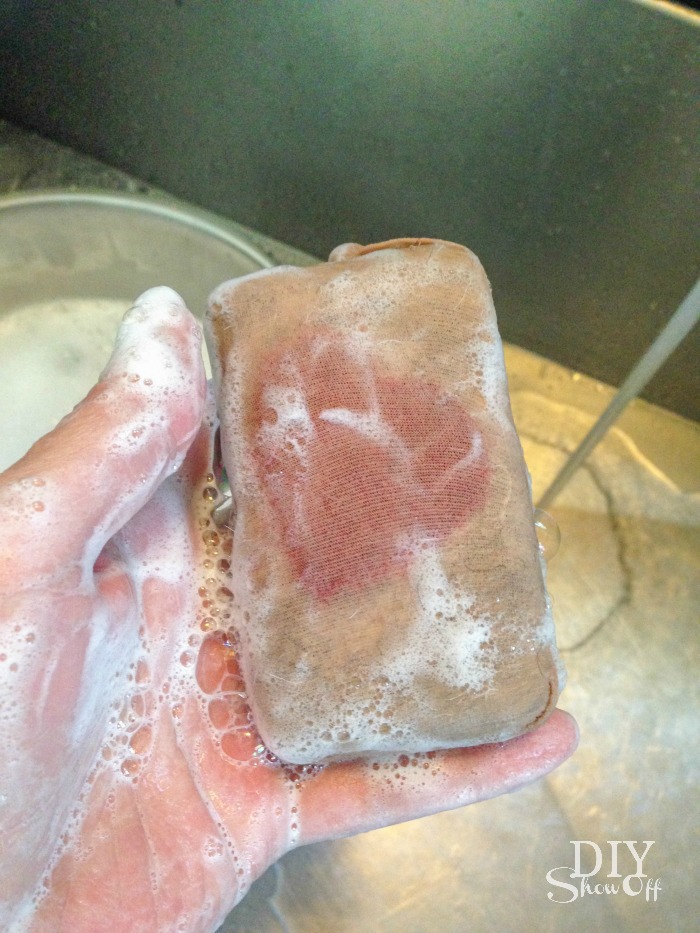
5. In the kitchen sink, I prepared a bowl of hot water. I dipped the nylon covered soap into the hot water and started “washing my hands” with the soap. Rubbing each side of the soap, lathering. Repeating for 15 minutes. Yes, it feels like a long time standing there, but it’s not really a long time for a DIY craft project. It’s worth it. Pull up a stool or chair! Be aware of the appliqué so that it doesn’t slide around or change shape. And don’t forget to give attention to the corners and edges of the bar of soap.

DIY felted soap tutorial @diyshowoff #michaelsmakers

6. Next I did a rinse in cold water, lathered one more time for a minute or so then a cold rinse and squeezed to remove some of the water.

DIY felted soap tutorial @diyshowoff #michaelsmakers

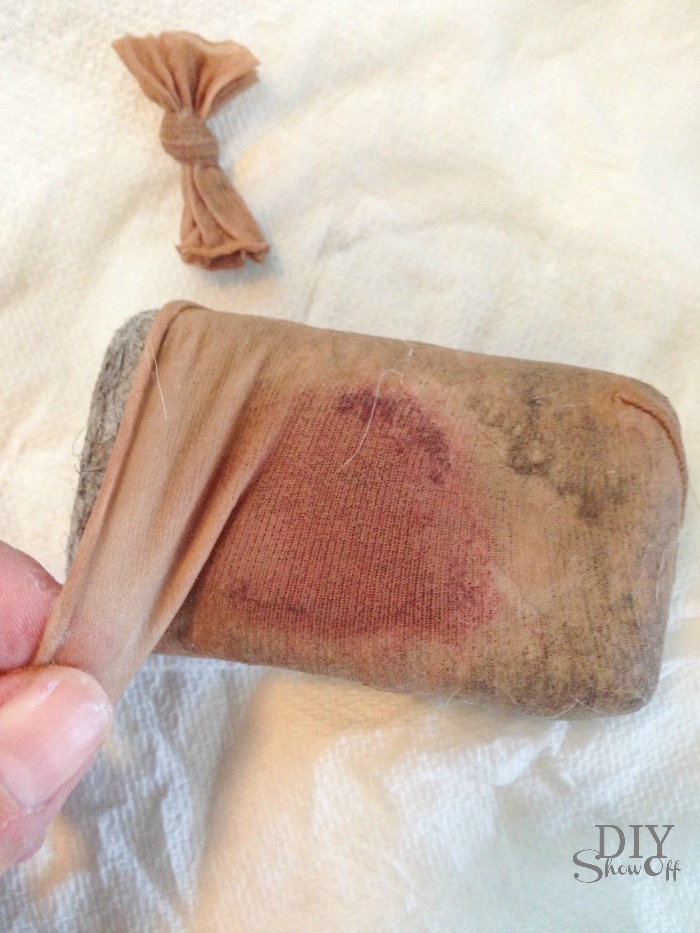
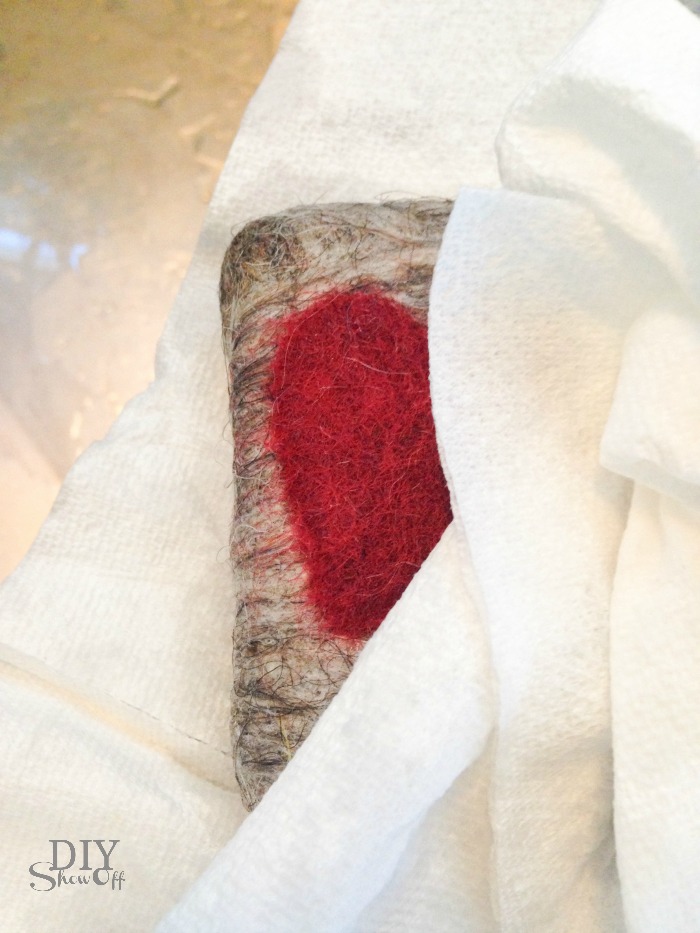
7. I then cut away/removed the nylon stocking and patted with a dry paper towel. If it does look as if the felt is not adhered well, repeat steps 5 and 6…without the nylon. 

DIY felted soap tutorial @diyshowoff #michaelsmakersDIY felted soap tutorial @diyshowoff #michaelsmakers

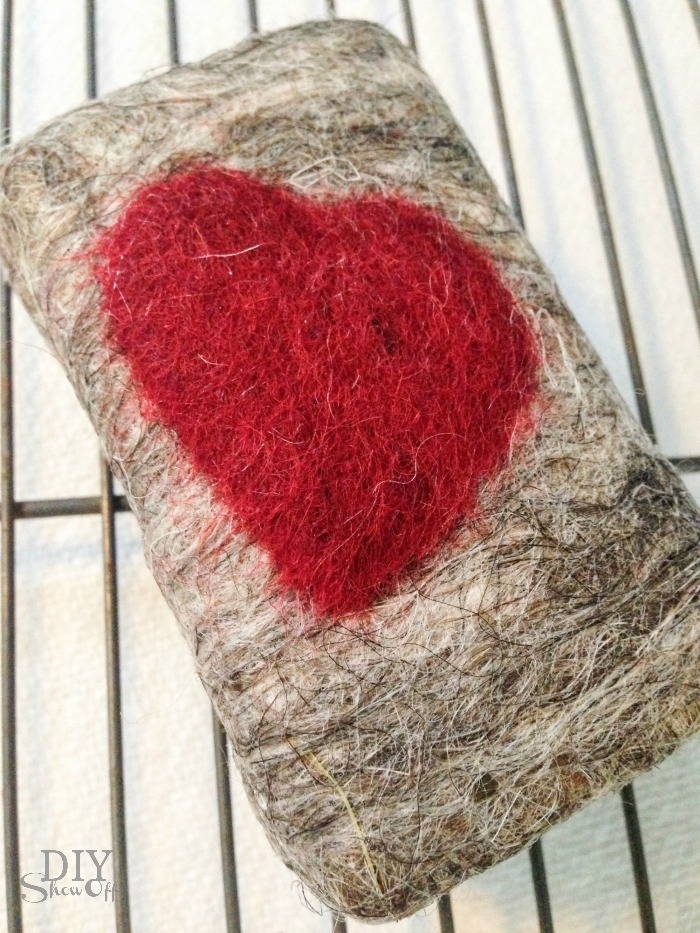
8. Set aside to dry overnight (I put mine on a rack with paper towels underneath). 

DIY felted soap tutorial @diyshowoff #michaelsmakers

It’s addicting…

How to Make Felted Soap @diyshowoff.com #michaelsmakersHow to Make Felted Soap @diyshowoff.com #michaelsmakers

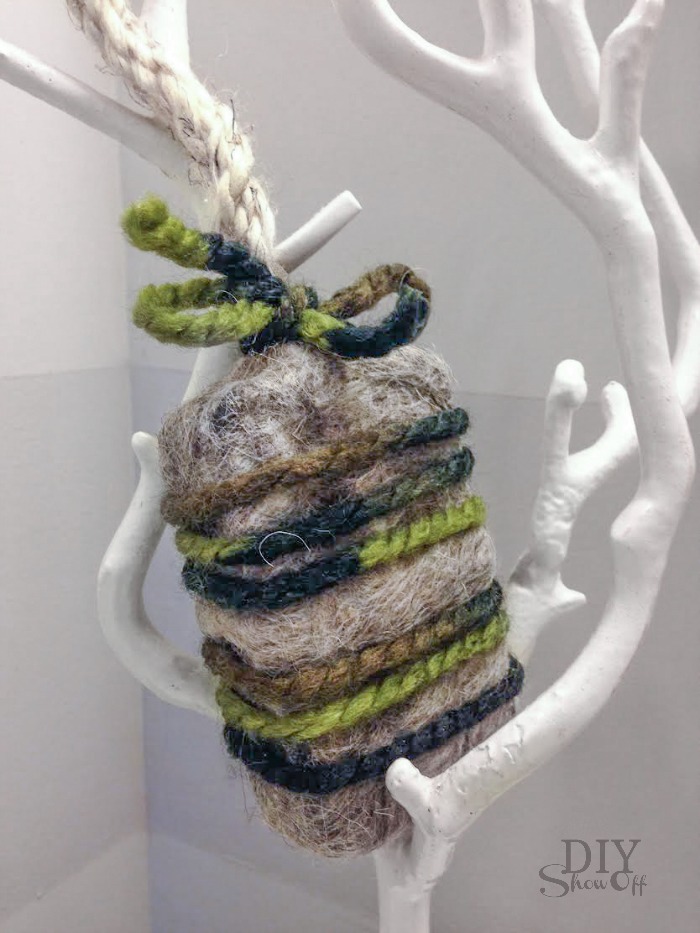
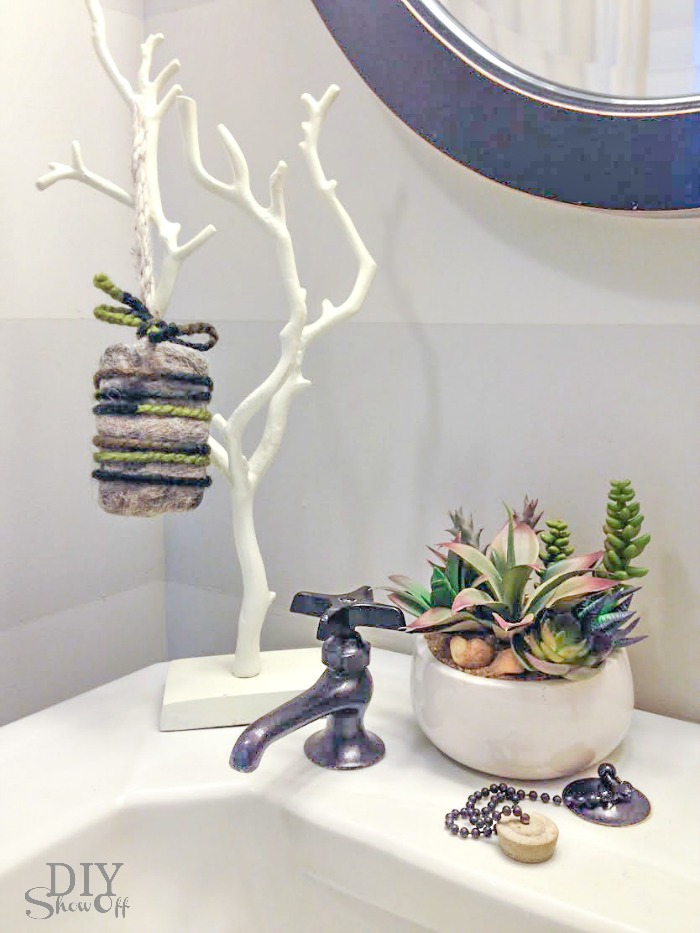
I want to make more, try more detailed designs! Maybe add a few drops of essential oil. Open my own shop! Okay, I wouldn’t go quite that far. But, I even made up a felted soap-on-a-rope by tying on wool yarn before felting (then simply decorated it by adding some wool yarn stripes). 

DIY felted soap tutorial @diyshowoff #michaelsmakersDIY felted soap tutorial @diyshowoff #michaelsmakers

What do you think? Something you want to try? Looking for more fun craft ideas? Check out these January projects from the Michael’s Makers team:
[inlinkz_linkup id=485244 noentry=1 mode=1]


#michaelsmakers

Haven’t decided what project you’re going to kick off 2015 with? Stop by Michaels’ blog  The Glue String  for inspiration from all 30 of the Michaels Makers.

If one of your New Year’s resolutions is to clean out your closet, your office or even your bedroom, but you’re sick of the typical containers and boxes – here are some cool and creative DIY storage ideas that might help!

For those of us that just need a place to store our craft materials and organize our scrapbook paper, paint, markers and yarn, you must check out these nifty craft storage systems.