Project Diary Entry #6: Bathroom Flooring

Featured

It feels as if it’s been a while since I shared an update on the studio renovation. Most recent progress is the beautiful tile floors have been installed in the upstairs bathroom. As a member of the Shaw StyleBoard, I had the opportunity to choose some flooring for the studio.

My Choice: 

For the upstairs bathroom, I chose Presidio (whites) and Lombard (grays) from the same San Francisco design style. It’s a rustic and beautiful hexagon glazed porcelain tile from Shaw Floors with a reclaimed brick texture. And it’s absolutely gorgeous! My most favorite flooring to date!

Bathroom Makeover - Shaw Floors hexagon porcelain tile SanFrancisco @diyshowoff #helloredreno

You guys, it was love at first sight! The kind where you see it then continue to shop but always go back to it. Nothing compares. Nothing else will work. It’s this or nothing. I love when that happens! The alternative is so many choices and a hard time narrowing it down to one but this time around, I knew “THIS IS IT”! And for the record, this tile is versaTILE and can be used on floors, showers, patios, backslashes…just about anywhere. Since this is that the studio, it may show up somewhere in my house as well. 

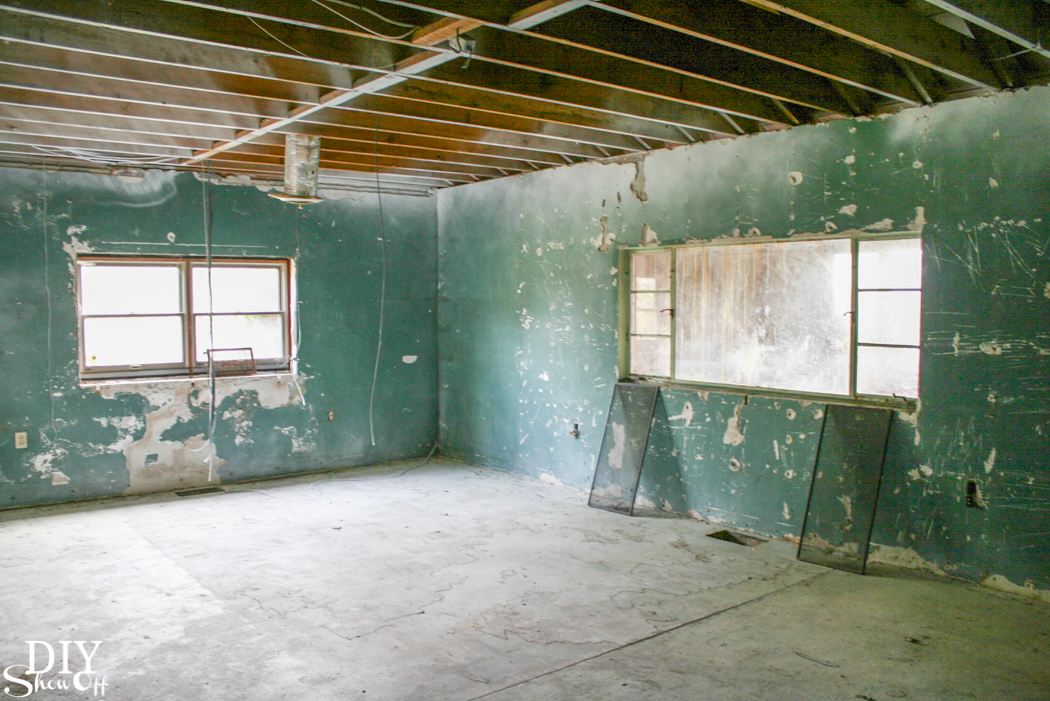
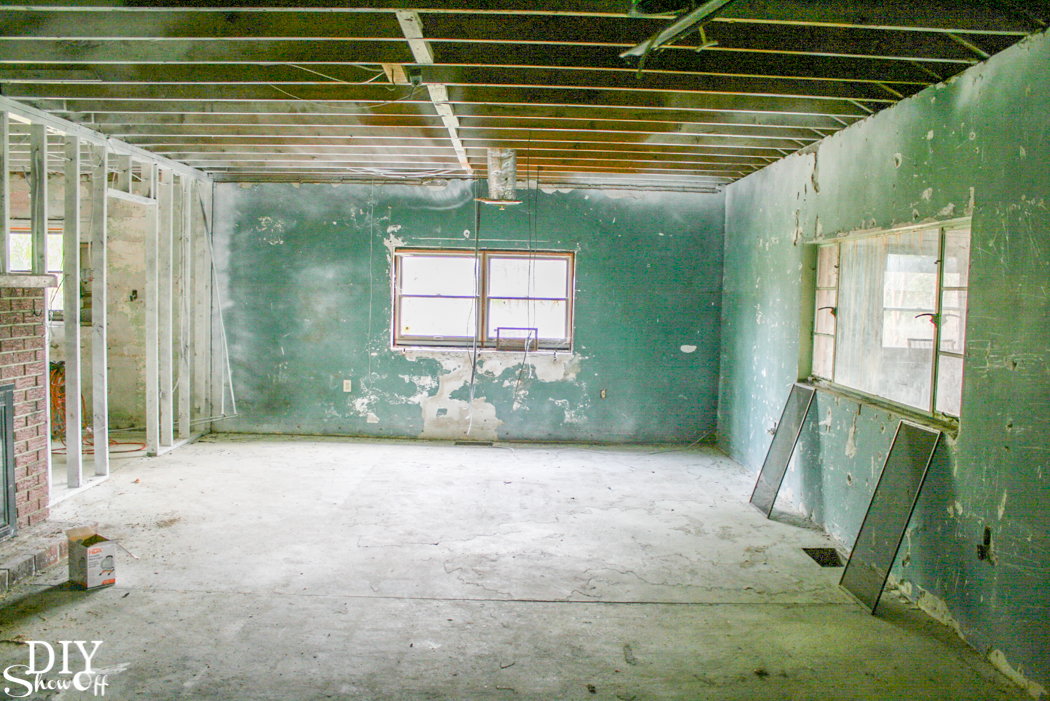
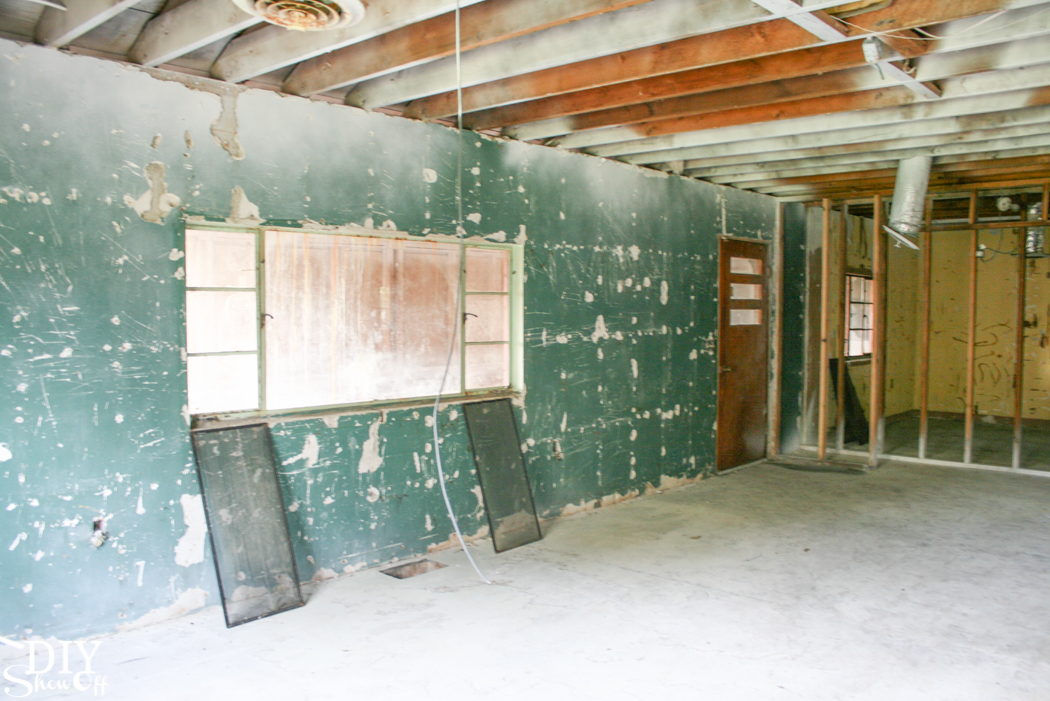
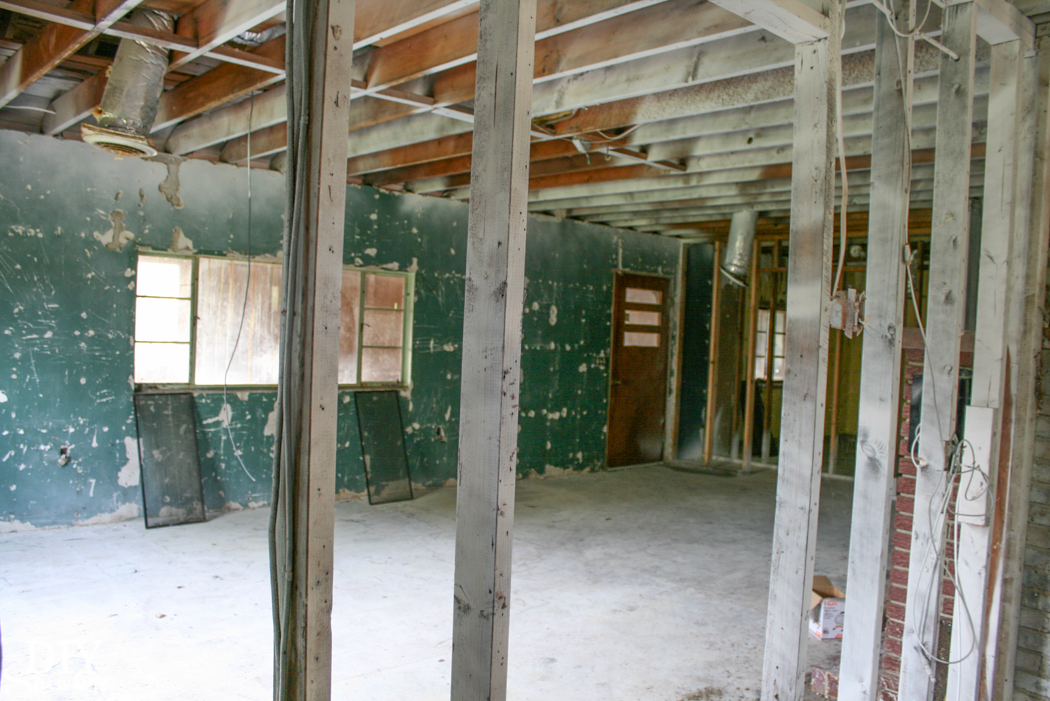
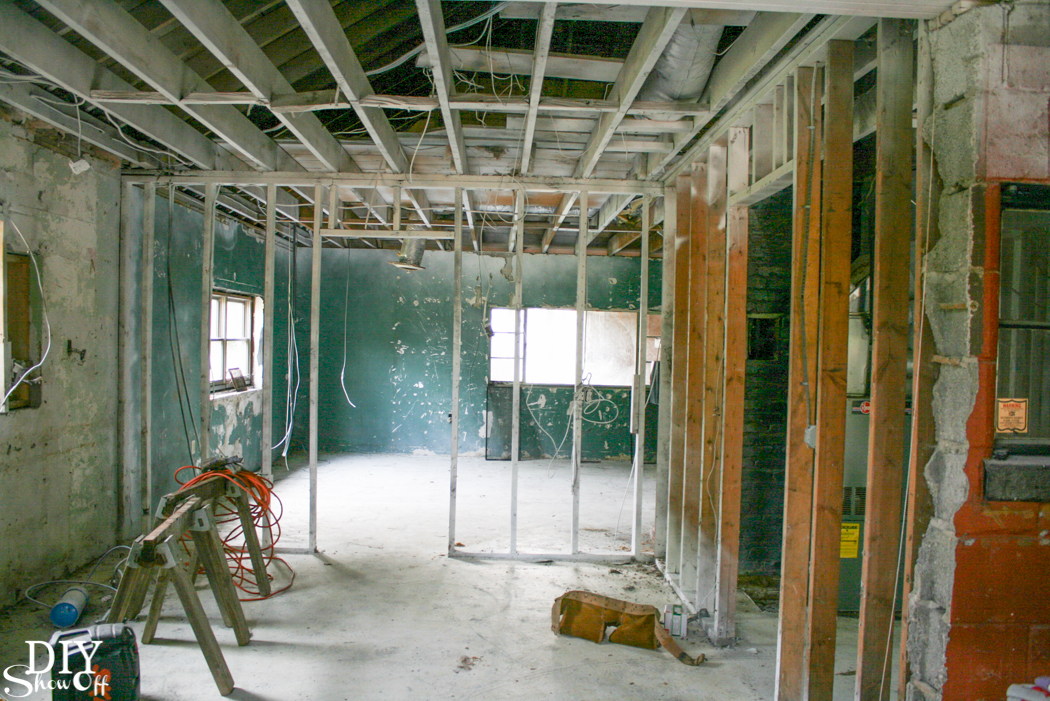
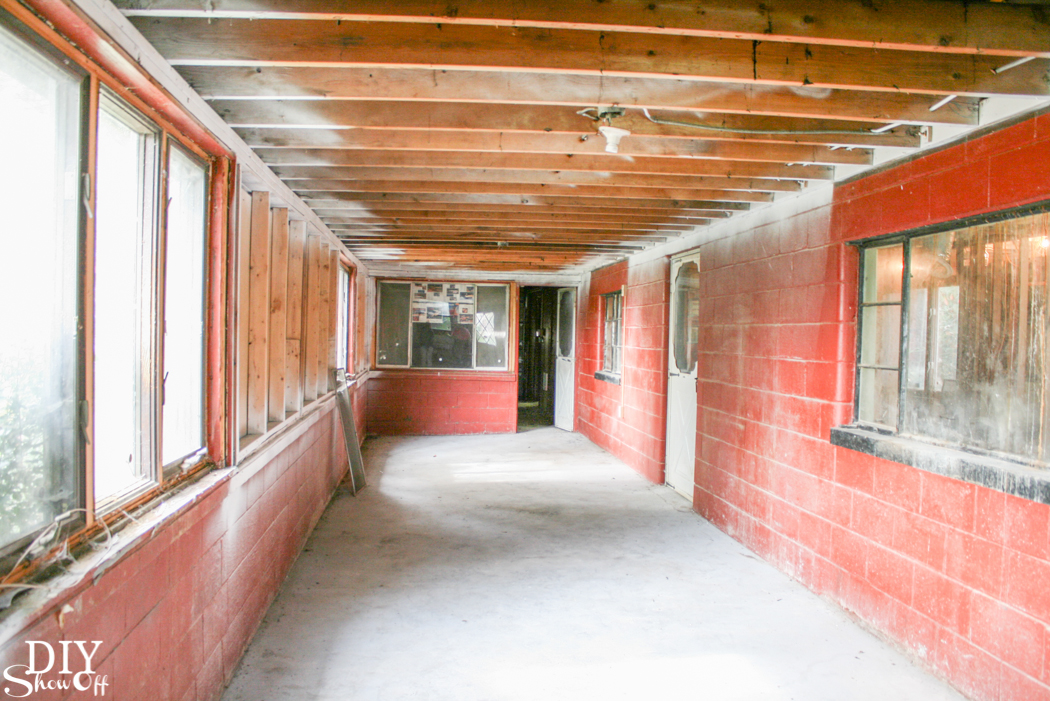
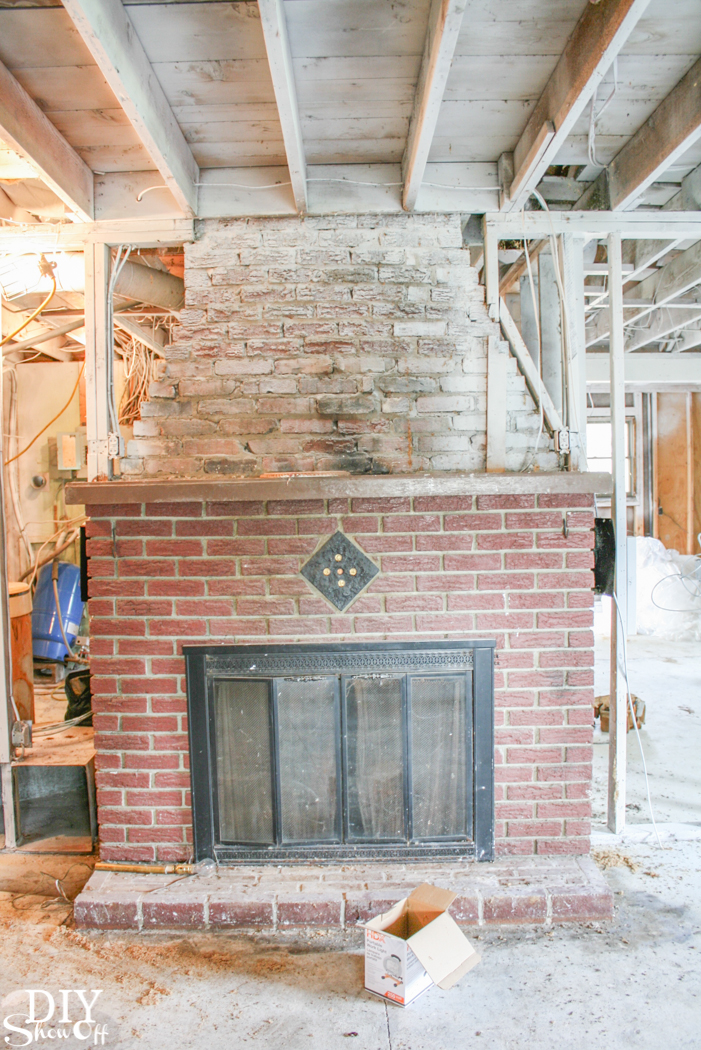
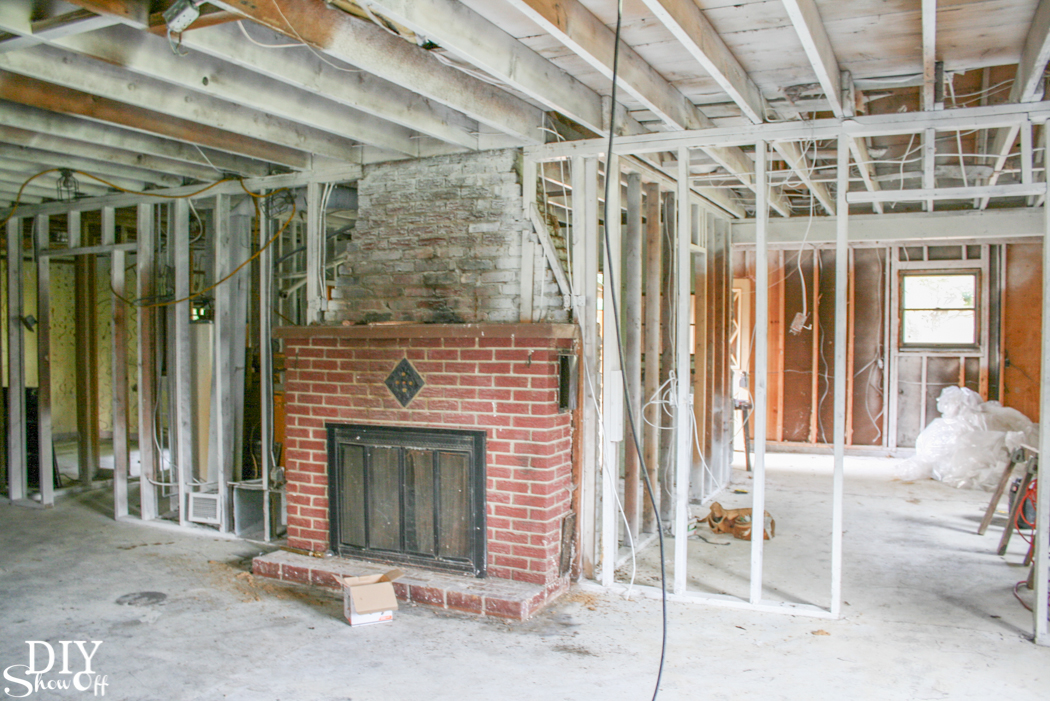
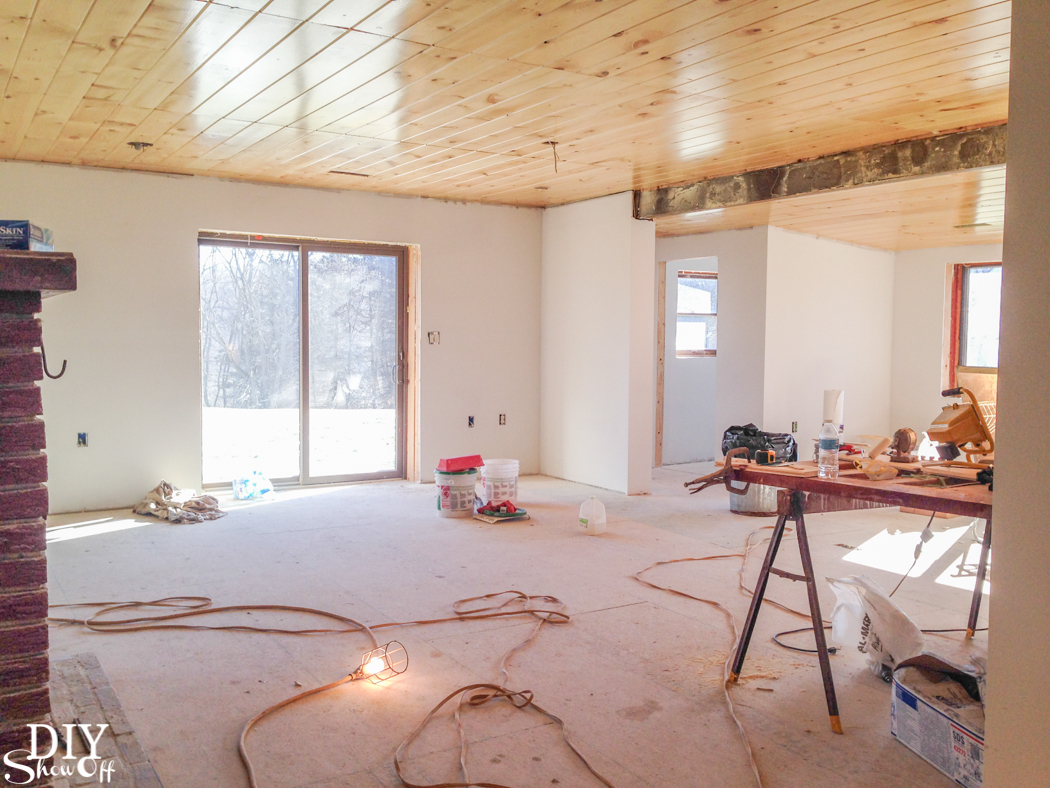
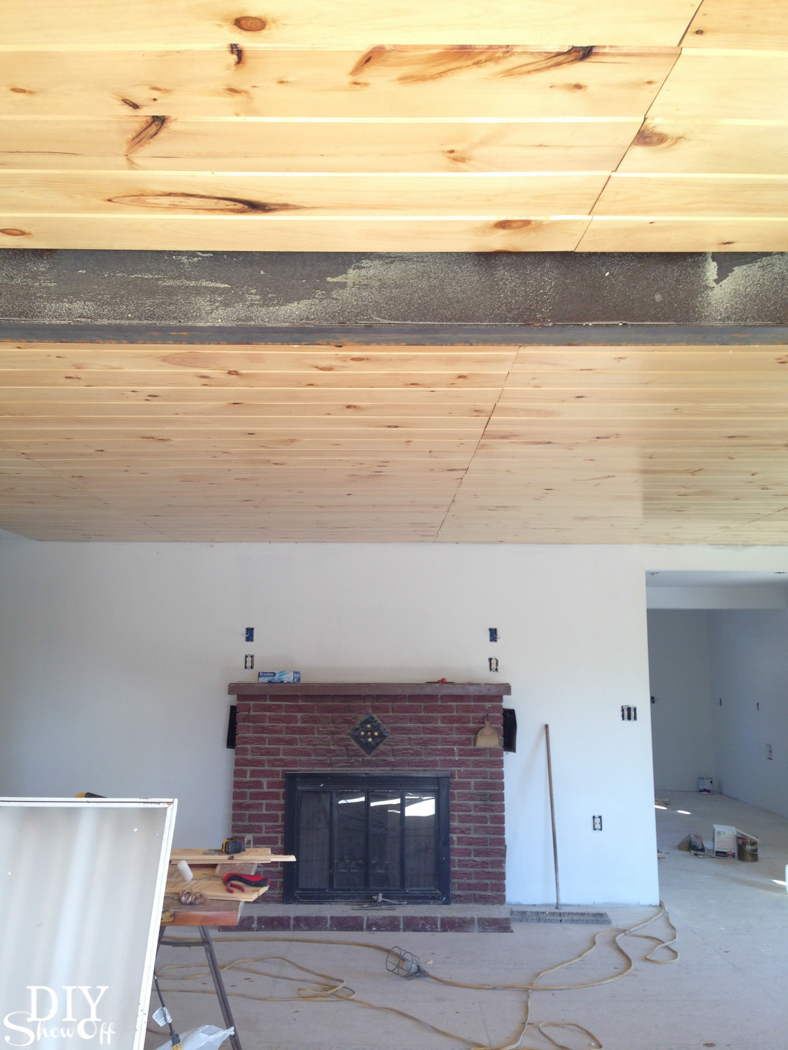
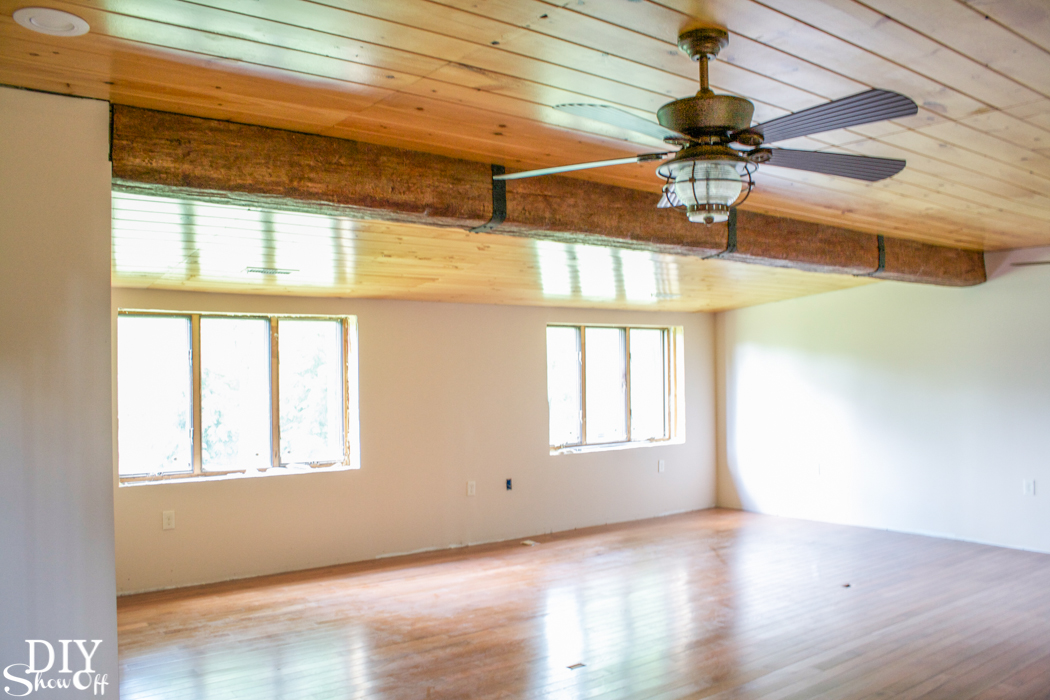
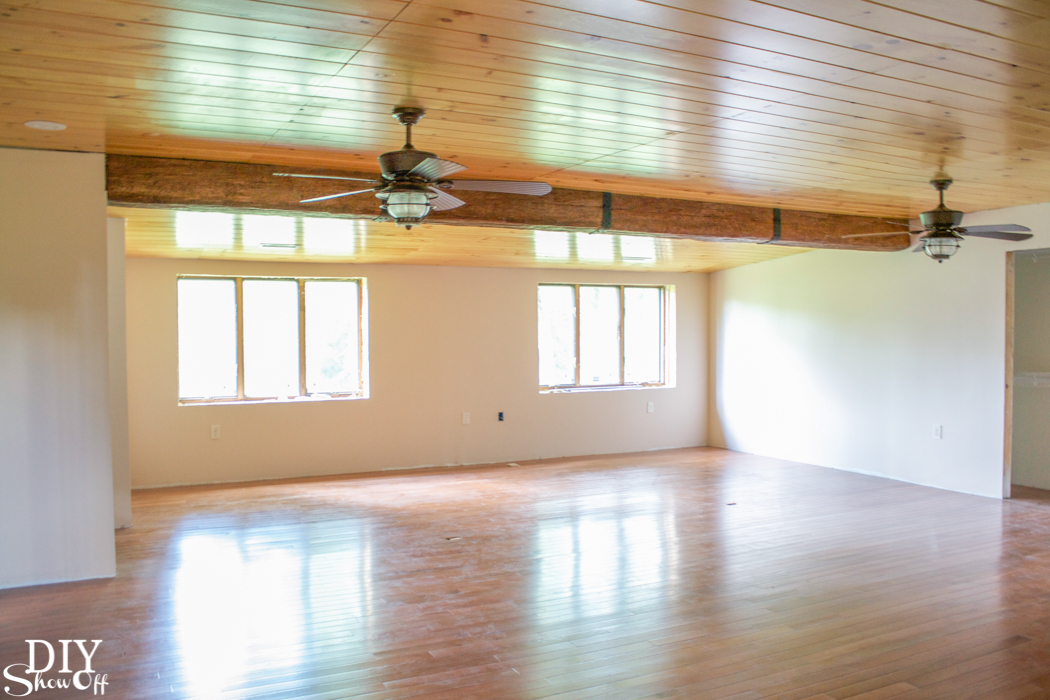
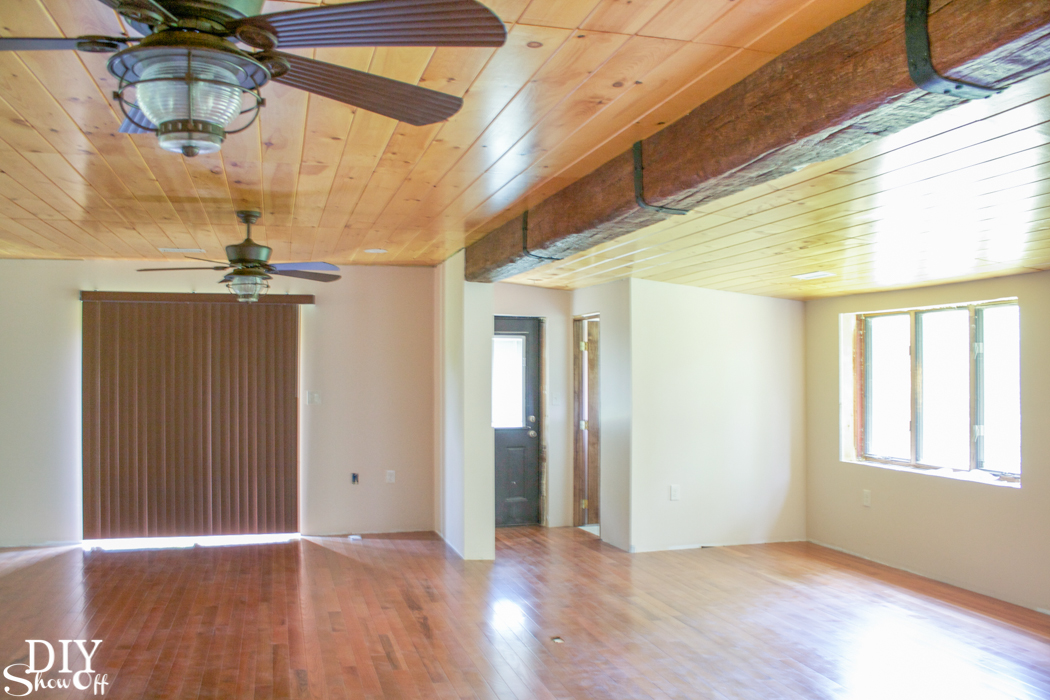
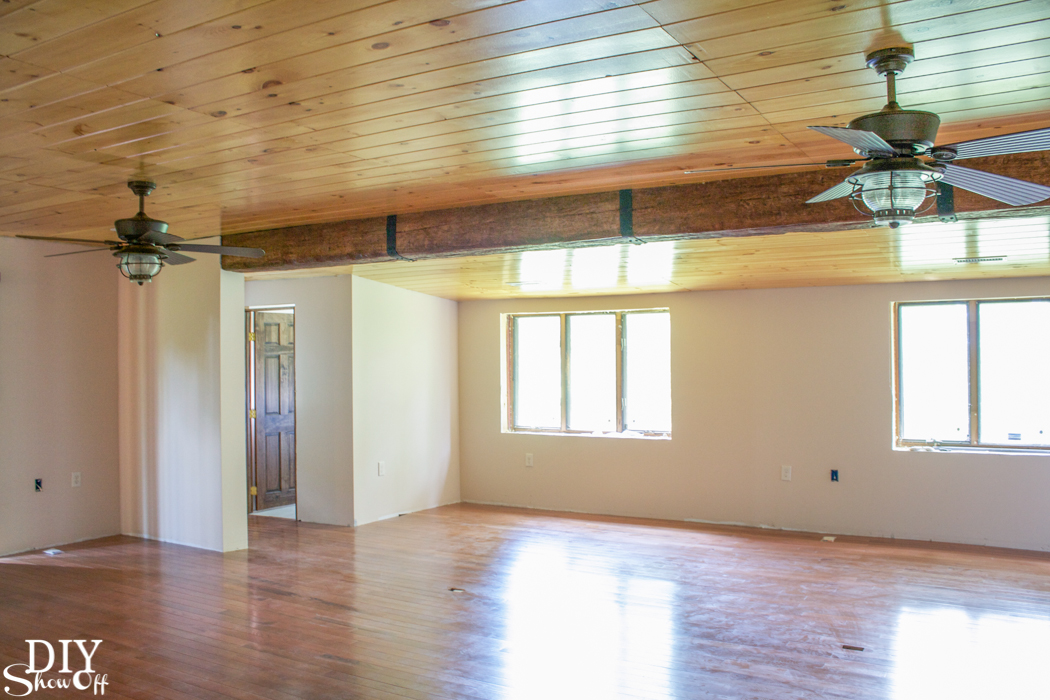
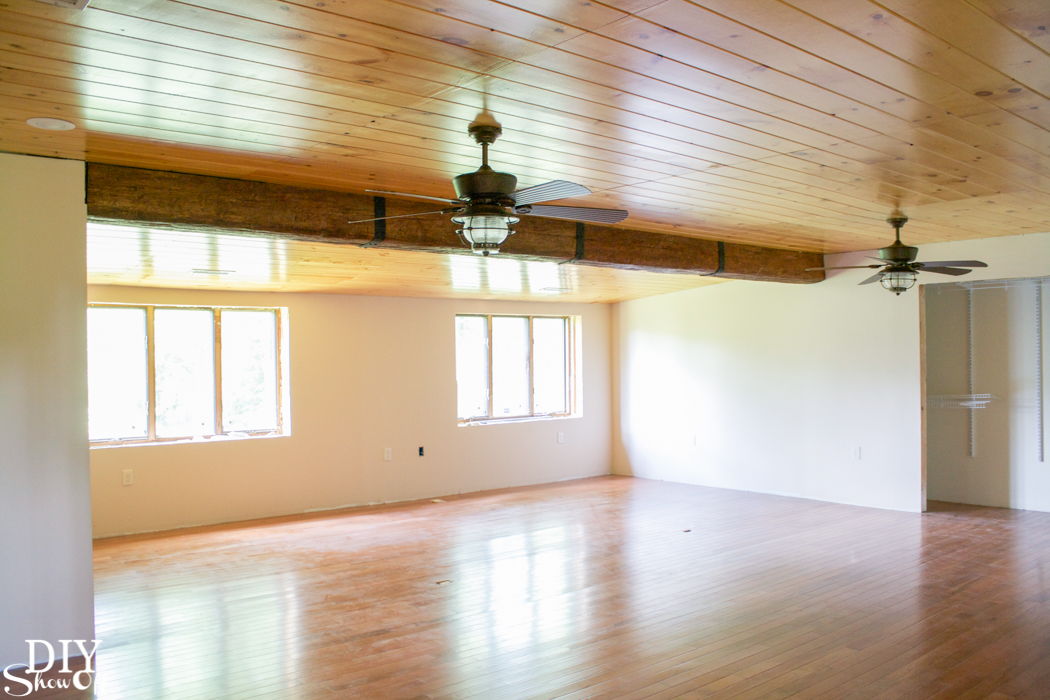
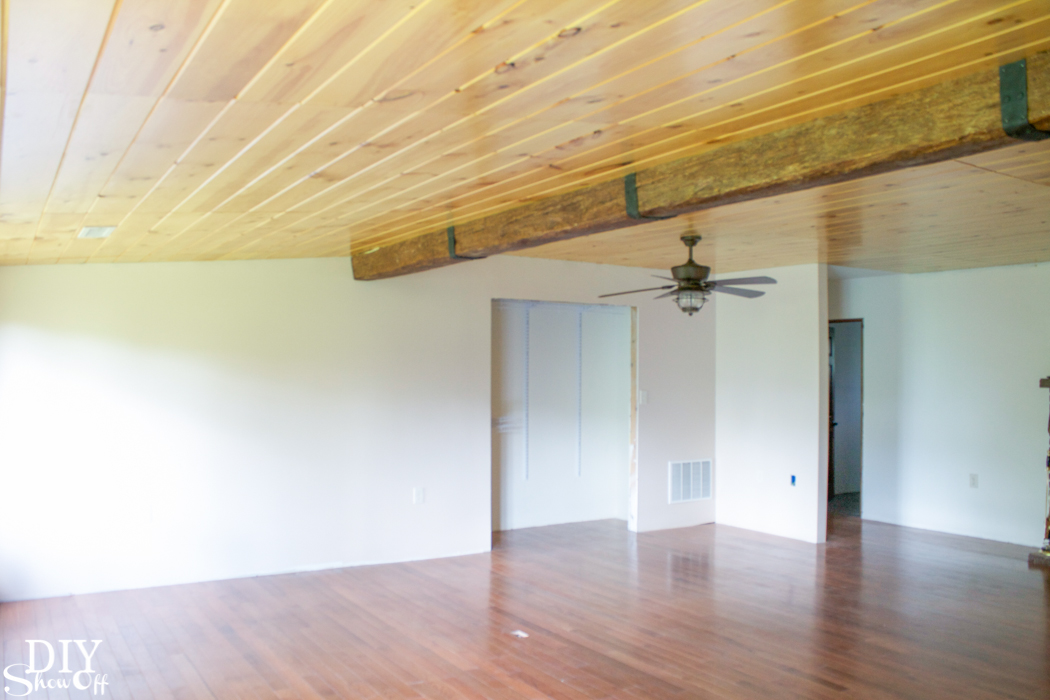
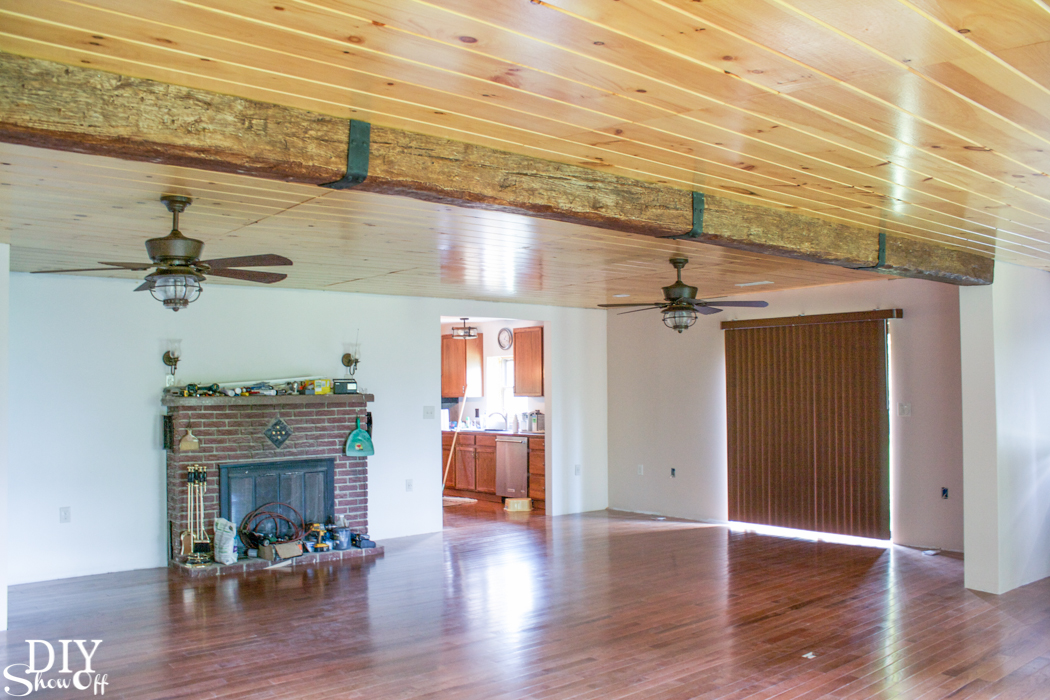
Let’s revisit the scary “before” picture. It’s a good thing I can see potential past the nasty, right? 

Before:

DIY craft studio // workshop - before room makeover @diyshowoff 

The original old hardwood floors had to be removed. 

bathroom makeoverbathroom makeoverBathroom Makeover - Shaw Floors hexagon porcelain tile SanFrancisco @diyshowoff #helloredreno

A plywood subfloor was installed and leveled to prepare a base for the cement board which then is the base for the actual mortar and tile. 

Bathroom Makeover - Shaw Floors hexagon porcelain tile SanFrancisco @diyshowoff #helloredreno Bathroom Makeover - Shaw Floors hexagon porcelain tile SanFrancisco @diyshowoff #helloredreno

The seems were taped and sealed.

Bathroom Makeover - Shaw Floors hexagon porcelain tile SanFrancisco @diyshowoff #helloredreno

Flooring was installed by Rege, Mike and Tyler, subcontractors from A&S Carpet in Allison Park, PA. They did a beautiful job! 

Installation:

Bathroom Makeover - Shaw Floors hexagon porcelain tile SanFrancisco @diyshowoff #helloredreno Bathroom Makeover - Shaw Floors hexagon porcelain tile SanFrancisco @diyshowoff #helloredreno Bathroom Makeover - Shaw Floors hexagon porcelain tile SanFrancisco @diyshowoff #helloredreno

Bathroom Makeover - Shaw Floors hexagon porcelain tile SanFrancisco @diyshowoff #helloredreno

The white and gray hexagon tiles were placed randomly. I usually do prefer the symmetry of a planned and arranged design – stripes or checkerboard and even considered a flower-type design but this time because of the transition of flowing over into the hardwood, I really liked the random placement. 

Bathroom Makeover - Shaw Floors hexagon porcelain tile SanFrancisco @diyshowoff #helloredreno

Rather than the traditional ‘hump’ or straight cut line in the threshold where tile meets hardwood, we continued the tile across the threshold and into the next room. It reminds me of a glacier…moving/reaching into the bedroom. It’s SO cool and so different and it’s amazing! You can see the links to inspiration for this idea on my studio Pinterest board

Transition: 

Bathroom Makeover - Shaw Floors hexagon porcelain tile SanFrancisco @diyshowoff #helloredreno Bathroom Makeover - Shaw Floors hexagon porcelain tile SanFrancisco @diyshowoff #helloredreno

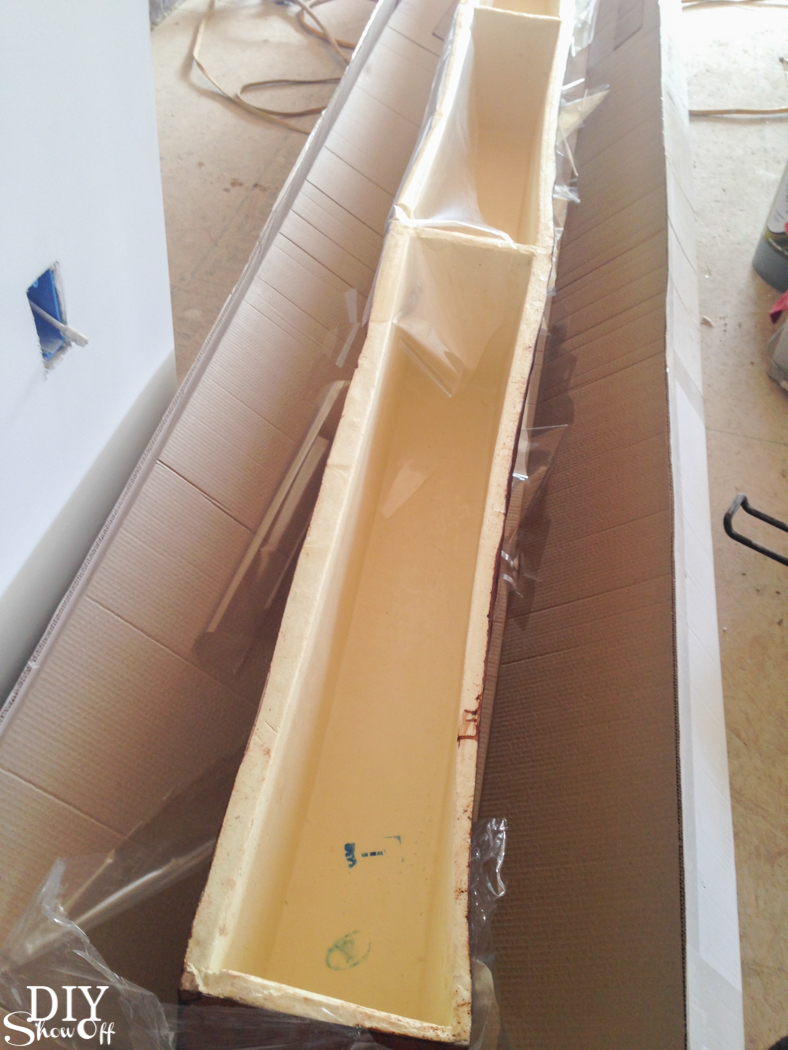
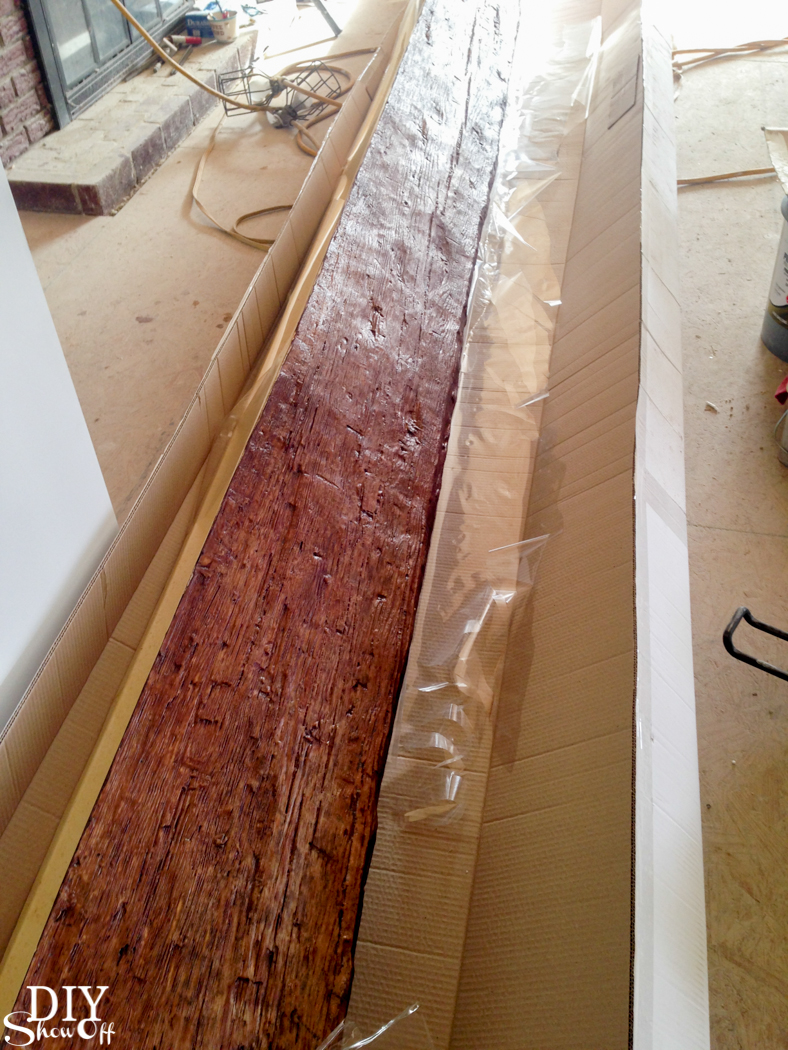
Just wait until you see the hardwood next to it! You’ll drool! 

Bathroom Makeover - Shaw Floors hexagon porcelain tile SanFrancisco @diyshowoff #helloredrenoYou may remember me asking about grout colors. I originally chose “Iron” at the store but after some thought changed my mind to “Charcoal”. Frank at A&S was very accommodating with my request! No problem!

Grout: 

Bathroom Makeover - Shaw Floors hexagon porcelain tile SanFrancisco @diyshowoff #helloredreno

Bathroom Makeover - Shaw Floors hexagon porcelain tile SanFrancisco @diyshowoff #helloredreno Bathroom Makeover - Shaw Floors hexagon porcelain tile SanFrancisco @diyshowoff #helloredreno Bathroom Makeover - Shaw Floors hexagon porcelain tile SanFrancisco @diyshowoff #helloredreno

Perfection!

Reveal:

Bathroom Makeover - Shaw Floors hexagon porcelain tile SanFrancisco @diyshowoff #helloredreno

What do you think? Do you prefer the standard transition piece dividing tile and hardwood in the doorway or would you consider a smooth transition and design feature? 

Bathroom Makeover - Shaw Floors hexagon porcelain tile SanFrancisco @diyshowoff #helloredreno Bathroom Makeover - Shaw Floors hexagon porcelain tile SanFrancisco @diyshowoff #helloredreno

A BIG thanks to A&S for the installation. I’m THRILLED with the end result! 

Here’s a sneak peek of the vanity with the floor…I can’t wait for the finishing touches!

Bathroom Makeover - Shaw Floors hexagon porcelain tile SanFrancisco @diyshowoff #helloredreno

So pretty! And all three features: that gorgeous floor, the beautiful vanity against that original wood plank wall…

Bathroom Makeover - Shaw Floors hexagon porcelain tile SanFrancisco @diyshowoff #helloredreno

Next up on the bathroom remodel:

Paint, baseboards, {possible} vintage cast iron tub re-finishing, installing the toilet, vanity, sconce lights and my favorite part…decorating and the reveal! Oh. And probably cutting down 6 doors since re-doing the floors raised them. Not looking forward to that part but things are moving along. Stay tuned!

The building has so much historical charm. It’s about one block from our town’s Main Street. The bus stop is literally steps away. There are breweries, the YMCA, shops, restaurants, salons, florists, candy/coffee shop, holiday parades and festivals within walking distance. So fun! If renovation from blah to ahhhhh is your thing, stay tuned!

So subscribe and be reminded of updates as the renovations progress! I’ll share before and after photos, projects underway and updates, plans and design boards, sources and links as they relate as well as fun events going on in and around the downtown area. I’ll be using a specific hashtag on social media to keep things all neat and tidy and organized.

#helloredreno

I welcome your thoughts and ideas! And as always, thanks for your encouragement and support and for sharing in my joy and vision! Watch for #helloredreno!

Fall Decor

The Michaels’ Makers August challenge is all things Fall decor. Why yes, it IS a bit early but  it’s also a great time to collect inspiration for decorating your home for fall in another month or so. It’s going to be here before we know it. Time flies!

fall decor @diyshowoff #michaelsmakers  #sponsfall decor @diyshowoff #michaelsmakers #spons

What’s your favorite color palette for Fall? Warm Fall colors – oranges, reds, golds are so pretty, aren’t they? I also love an autumn color scheme consisting of plum, dusty rose, burgundy and dark turquoise. ALL THE FALL THINGS available at Michaels!  I’ve done some of both in the past but this year, I’m embracing warms whites (creams) and metallics, specifically gold with an easy monogram pumpkin silhouette and coordinating decorative accents.

fall decor @diyshowoff #michaelsmakers  #spons

How to make a decorative fall lighted craft pumpkin monogram silhouette lamp…
Materials I used:

fall decor @diyshowoff #michaelsmakers  #spons

  • cream craft pumpkin with cutout front (Remember my diorama pumpkin where I cut out my own? This year, Michaels’ saves you that step!) pumpkin diorama @diyshowoff
  • BoHo Modern (round/chicken wire) hanging memo/photo display
  • letter “B” (gold)
  • mason jar
  • LED fairy lights 

fall decor @diyshowoff #michaelsmakers  #spons

What I did: create a beautiful light up display in minutes!

  1. Add batteries to lights then place battery pack inside craft pumpkin, fill mason jar with lights. Turn lights on. 
  2. Hang round BoHo Modern chicken wire photo display from craft pumpkin stem.
  3. Attach monogram letter using photo display clips. 
  4. Display with coordinating Fall decor from Michaels! 

fall decor @diyshowoff #michaelsmakers  #spons

A ready-made bouquet, gold basket and cute owl floral pick add texture to my Fall vignette. Are you ready? Where do you start? What’s your favorite part of the Fall season?

fall decor @diyshowoff #michaelsmakers  #sponsfall decor @diyshowoff #michaelsmakers  #spons

Be sure to check out all of the other Michaels Makers fall decor ideas on the Michaels blog.

fall decor @diyshowoff #michaelsmakers #spons

 Loading InLinkz ...

From fall wreaths and porch décor to seasonal tablescapes and pumpkins, Michaels has everything you need for the latest Fall Décor trends


Faux Beam: home makeover progress!

It’s been a while since I shared an update of the progress going on at mom’s house. It’s still a work in progress but wait until you see how far along things are coming, especially since their current home sold in less than 24 hours of being on the market. TIME TO HUSTLE! Disclosure: We received product in exchange for this review. Take a look! 

Before: Before and after home improvement project - ceiling with a gorgeous faux beam @diyshowoff Before and after home improvement project - ceiling with a gorgeous faux beam @diyshowoff Before and after home improvement project - ceiling with a gorgeous faux beam @diyshowoff Before and after home improvement project - ceiling with a gorgeous faux beam @diyshowoff Before and after home improvement project - ceiling with a gorgeous faux beam @diyshowoff

The living room before was narrow with a outside concrete wall separating what may have been a sun porch. See the green wall above? That’s the living room area and where it ends. See the red room below? That’s the sun porch(?) on the other side…

Before and after home improvement project - ceiling with a gorgeous faux beam @diyshowoff Before and after home improvement project - ceiling with a gorgeous faux beam @diyshowoff Before and after home improvement project - ceiling with a gorgeous faux beam @diyshowoff

and the fireplace wall before…

Before and after home improvement project - ceiling with a gorgeous faux beam @diyshowoff Before and after home improvement project - ceiling with a gorgeous faux beam @diyshowoff

After…To make the living room space larger to accommodate our family gatherings, the concrete wall was removed. I love how the space is now flooded with light with the concrete wall gone, new drywall in place, a wood-planked ceiling in progress and the installation of sliding glass doors. 

Before and after home improvement project - ceiling with a gorgeous faux beam @diyshowoff Before and after home improvement project - ceiling with a gorgeous faux beam @diyshowoff Before and after home improvement project - ceiling with a gorgeous faux beam @diyshowoff Before and after home improvement project - ceiling with a gorgeous faux beam @diyshowoff

But now there’s an eye sore on the ceiling. There’s no missing that big steel beam in the photos above.

And now there’s not…WOW!

Before and after home improvement project - ceiling with a gorgeous faux beam @diyshowoff Before and after home improvement project - ceiling with a gorgeous faux beam @diyshowoff Before and after home improvement project - ceiling with a gorgeous faux beam @diyshowoff Before and after home improvement project - ceiling with a gorgeous faux beam @diyshowoff

…it’s a gorgeous rustic wood beam with iron accents. Right? 

Before and after home improvement project - ceiling with a gorgeous faux beam @diyshowoff Before and after home improvement project - ceiling with a gorgeous faux beam @diyshowoff Before and after home improvement project - ceiling with a gorgeous faux beam @diyshowoff Before and after home improvement project - ceiling with a gorgeous faux beam @diyshowoff Before and after home improvement project - ceiling with a gorgeous faux beam @diyshowoff Before and after home improvement project - ceiling with a gorgeous faux beam @diyshowoff Before and after home improvement project - ceiling with a gorgeous faux beam @diyshowoff Before and after home improvement project - ceiling with a gorgeous faux beam @diyshowoff Before and after home improvement project - ceiling with a gorgeous faux beam @diyshowoff

That’d be quite labor intensive not to mention expensive. Want to know a secret?

We received this amazing product from AZ Faux Beams. It’s a faux beam! “Old Timber” in ‘walnut’ to be exact. It’s lightweight and fake but looks SO real! And it’s stunning! 

Before and after home improvement project - ceiling with a gorgeous faux beam @diyshowoff

What it is: A hollow lightweight resin with a rustic wood look! What?! No way! Yes. It really is! 

Before and after home improvement project - ceiling with a gorgeous faux beam @diyshowoff Before and after home improvement project - ceiling with a gorgeous faux beam @diyshowoff

What we did. And by we, I mean my mom and I did the measurements, design/color selection and ordering. Butch and my brother Christopher did the manual labor involved with installation. Oh, we supervised too. 

  1. Measurements. 
  2. Order.
  3. Cut to size, shave inside down if needed.
  4. Install.
  5. Secure.
  6. Caulk and add decorative trim. 

Isn’t it gorgeous? It draws your eye to their pretty planked ceiling and compliments the beautiful rustic ceiling fans. Check out AZ Faux Beams to see all of the options! Let’s take a look at repeat before and after shots: 

“Before” (two spaces separated by a concrete wall)

Before and after home improvement project - ceiling with a gorgeous faux beam @diyshowoff Before and after home improvement project - ceiling with a gorgeous faux beam @diyshowoff

Same angle “After” (wall is gone and there is an addition of a half bathroom on the right…for guests and quick access once the swimming pool is installed outside those sliding glass doors).

Before and after home improvement project - ceiling with a gorgeous faux beam @diyshowoff

before…

Before and after home improvement project - ceiling with a gorgeous faux beam @diyshowoff

after (wall removed)

Before and after home improvement project - ceiling with a gorgeous faux beam @diyshowoff

 before…looking from the kitchen

Before and after home improvement project - ceiling with a gorgeous faux beam @diyshowoff

after, standing in that  widened doorway

Before and after home improvement project - ceiling with a gorgeous faux beam @diyshowoff

Crazy transformation, right? I promise it’s the same space! The story continues! 

Next up: Moving in is right around the corner. I can’t wait to show you the complete before and afters of the entire house from gut to renovation to reveal.