Hello friends! I am SUPER excited! Guess what? I’m in the HomeTalk Bloglight today! If you’re new to DIY Show Off, welcome! {I’m Roeshel, blog author of DIY Show Off. It’s nice to e-meet you!} You may want to visit the DIY Show Off home page to catch up on all of the awesome things going on this week. I don’t usually talk much about myself and in person, I’m usually at a loss for words but warning – writing comes A LOT easier for me so this is a long one {see * below}! You can usually find me wearing paint covered cloths, no make up and working on a DIY project…
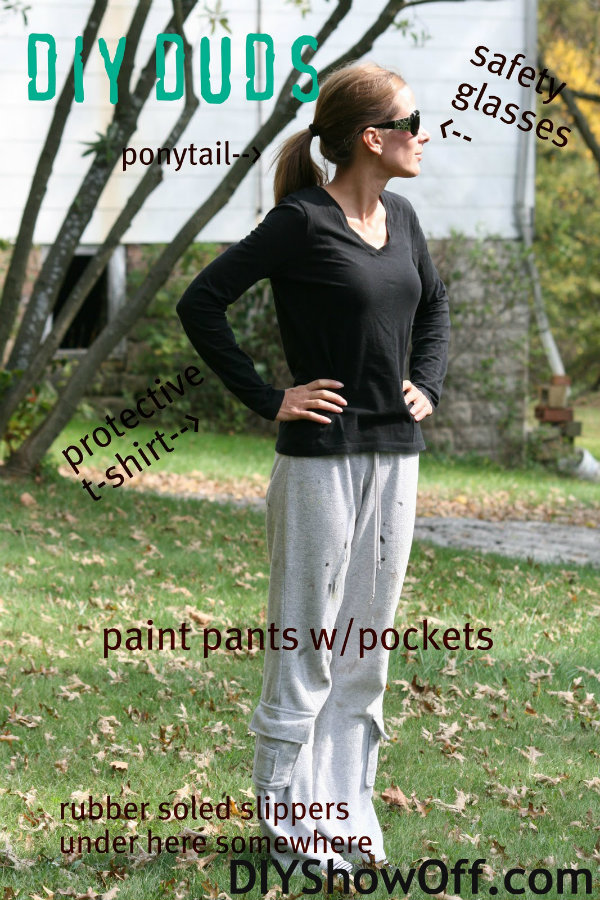
and if we’re already friends…thanks for sharing my excitement today {and all week}! You’ve already seen me at my worst and you’re still here! Blogging = true friendships, I tell ya.
I’ve actually been a long time member at HomeTalk (since May 2011) and love the community that supports everything “home” related. If you’re not familiar, HomeTalk is a site dedicated to DIY, home improvement, home repair, home maintenance, gardening, decorating – with so many ideas, inspiration and a place to ask for advice, collect inspiration and pretty much just talk about home {“Home+Talk”}! Oh and a place to share and ‘show off’ – my kind of hangout! You can find DIY Show Off on HomeTalk.

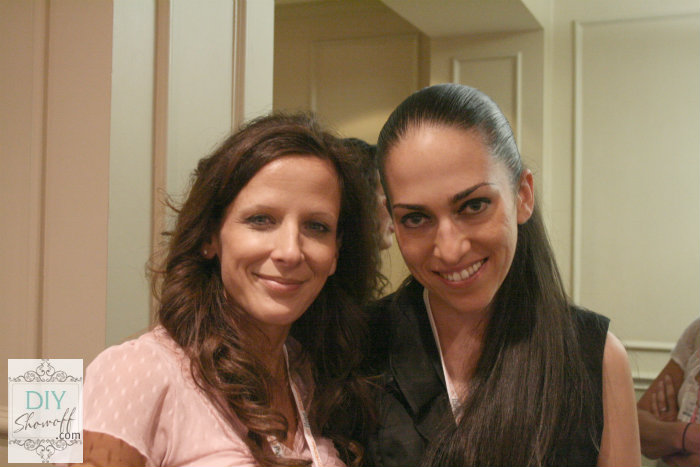
I had the pleasure of meeting this super sweet woman from HomeTalk at the Haven Conference this past summer. Miriam is such a supportive and encouraging friend to many HomeTalk members and DIY/home bloggers. {Thanks, Miriam!}
Being in the Bloglight means I get a virtual trophy, cash prize and tiara, I think. Just kidding! It means I get to share a few things about my blogging experience. I always feel shy about doing so. I’m not an expert, but here’s my story:
About me…
How did you first get into blogging? While I still feel like a new blogger a lot of the time, I wrote my first blog post in 2007. Yep, five years ago. I’m still loving every minute of it. {Well, minus crashed blog pages, html coding or those types of things…enough to drive a technically challenged blogger mad!}. My blog was actually a diary, a journal of what was going on in our lives. No introduction, no “hello world”, no grand launch – I didn’t really think anyone would actually read it. Back before the days of social media, it took NEARLY 1 YEAR before I had a real comment that wasn’t spam. And yes, I read and commented on other blogs too. It just took a while for things to warm up. Can you imagine waiting that long? I didn’t really think much about it at the time because I didn’t expect that anyone was reading. Things have changed since then. It’s been a long journey of ups and downs. Don’t give up! In 2007, we purchased this old neglected farmhouse and as you can guess, a lot of my blog posts discussed our projects, our before and after transformation, our DIY.
After a couple of years of writing my personal blog, I found that others online shared my passion for DIY, home improvement and decorating and DIY Show Off was born. I’ve been writing about DIY for over five years. I’m often asked what I will write about when our home is complete. Um, I think we have projects to last us 20 years and during that time frame and to infinity and beyond I’ll be starting over, changing my mind, rearranging my home. It’s something I’ve always loved to do.
How did you decide on the name for your blog? There are books filled with baby names and dog names and cat names. I think I’m going to write a book filled with blog names. It’s HARD to choose a blog name! After blogging for a couple of years and discovering that the topic I enjoyed writing about most was DIY, I decided to create a new blog dedicated to do-it-yourself. I started focusing on sharing our home projects and giving others (bloggers and non bloggers) a place to share {SHOW OFF} their DIY home improvements and decorating, with links back to their blogs. I love recognizing a DIY job well done and helping other blogs grow too!
It’s a place to Show Off DIY. So…”DIY Show Off” it became after a sleepless night when I couldn’t stop thinking about a name. Some of you might remember my first look and my tag line…

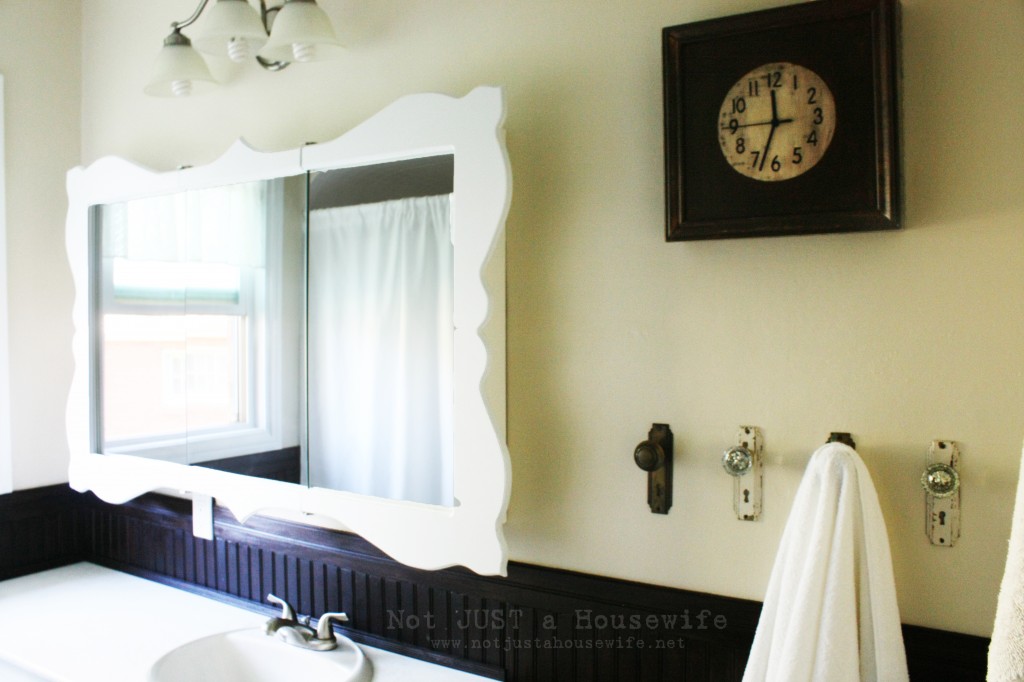
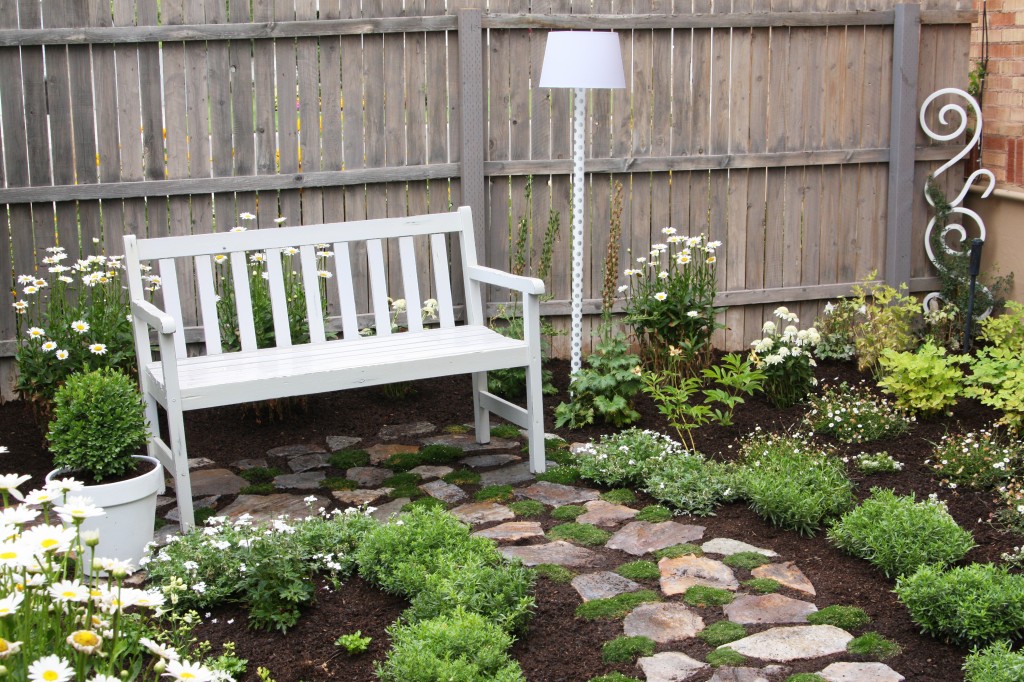
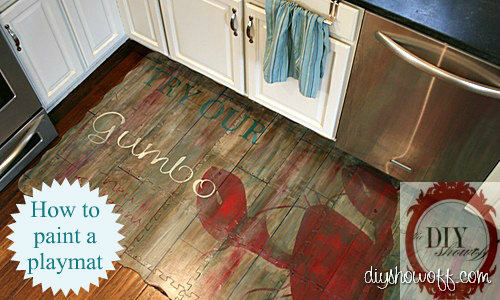
Which project has brought you the most traffic to date? It’s a toss up between my painted foam playmat (which I now use as outdoor wall art because it turned out too cute to step all over)…
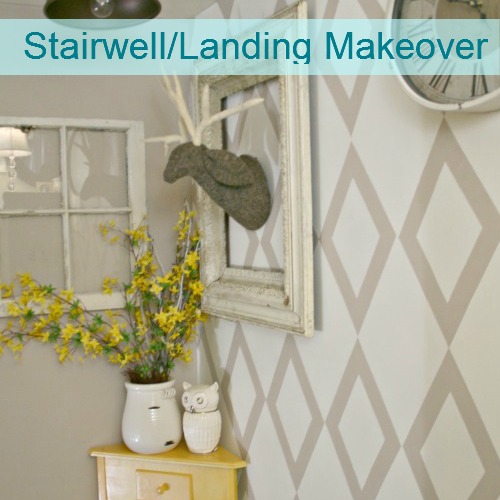
and my last minute idea to for a “using what we have” stair landing makeover with FrogTape…
By far, our home tour has been the most popular page and is my favorite post to update. Because if I’m editing that home tour page, it means we have progress, baby!

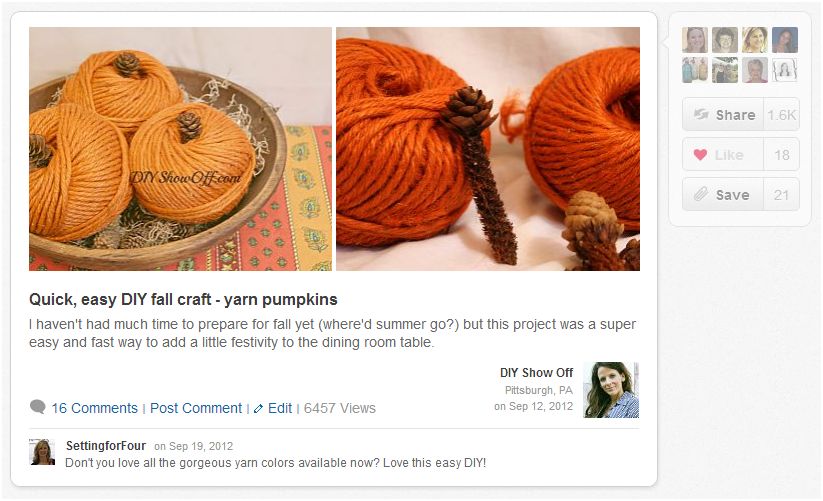
Since I’ve been a member of HomeTalk for quite a while, most of my posts are before the HUGE growth HomeTalk experienced this year. I invite you to check out my HomeTalk post. To date, my most popular HomeTalk post was my super easy DIY yarn pumpkins {yarn+pinecones}. Shared 1.6k times! Woo hoo! And yes, that traffic trickles down. Blogging can sometimes feel lonely. HomeTalk is a place where you can meet new friends who share your DIY and decorating interests, a great tool to help grow your blog too. If you’re not a member of HomeTalk, it’s free to sign up!
Do your friends and family read your blog? Yes! My daughters read my blog. Bri reads it regularly and Ali has been reading more, especially since her apartment reveal is coming up! And Mr. DIY? He catches up on posts regularly. He loves reading comments. His favorite DIY blogger comment was that our marble subway tiled backsplash is “to die for”.
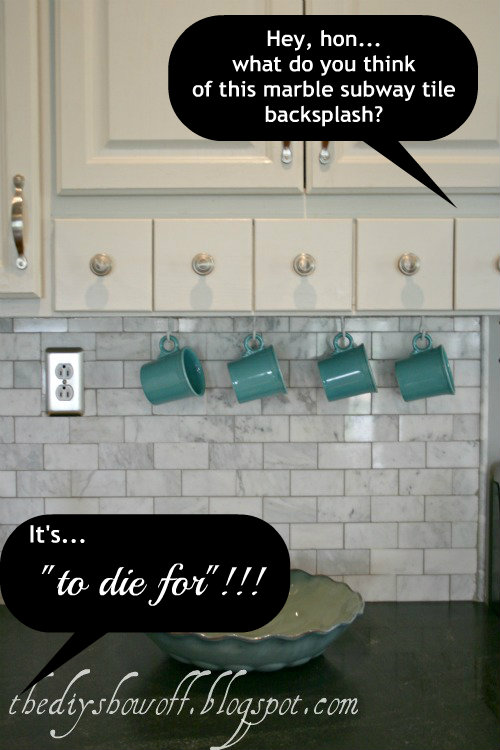
Hearing words of praise and approval are so encouraging! We’re like blog dogs. The more “good job” comments we get, the more we want to do it again!
I know my mom and sisters check in on occasion and I have at least one friend who tries to read every day. And if I get excited about something and share on my personal Facebook page, all of my family and friends are very supportive. Outside of that, I’m lucky if someone knows what a blog is which is so hard to believe. Stuns me every time I’m asked. I probably say the word “blog” 100 x a day and some people don’t know what it is?! It’s an everyday part of my life.
How has keeping a blog changed you? The changes I’ve experienced through blogging have all been positive. Home projects are more fun when I can share. I’m still amazed that what I do inspires and helps readers. Knowing I’m helping and encouraging others to create a home they love encourages me. It’s also a huge help at keeping me focused and seeing projects through to completion. It’s helped me stay focused. Blogging sometimes makes me more confident, then turns around and makes me more humble too. Discouraging days happen and hanging in there during those takes makes me stronger. And the best part by far has been the friendships and relationships I’m making. Connecting with other DIY lovers has changed my social life!
How I blog…
*Do you stick to a strict posting schedule? How do you keep track of when and how often to post? I prefer to keep things low pressure. My blog linky parties are the only strict scheduled posts at DIY Show Off. The DIY Project Parade is creeping up on it’s 150th post!

Other than that, I post when I have something to share and when a feature by another blogger or reader is submitted that is a good fit with the topic of DIY. DIY Show Off is 99% DIY related but I’m trying to incorporate a little more personal and lifestyle posts. I enjoy blogging. My posts aren’t always planned, my schedule isn’t super strict. * I find that if I put too much planning and scheduling into my blogging, I change the post 20 times and add enough details to compete with the longest novels {ahem…this blog post is the perfect example of a planned in advance blog post. I rest my case!}. The most I’ve worked ahead is by one week and although it does feel good and like I’m all organized, I then get lazy and start back over with writing the day before I post or the same day. Besides, when I finish a project, I want to share ASAP, not store it in draft for weeks.
What are your favorite types of posts to read/write? Well, let’s see. I think you know the answer to this one! I love posts related to DIY, decorating, thrifting, repurposing. But I also enjoy posts about fashion, crafting, blogging, photography and lifestyle.
DIY!
What advice would you give to other bloggers that you wish you had known when you started blogging? I wish someone had told me that even though I would approach blogging with a casual attitude, that there is the potential for it to become a HUGE important part of my life. {It’s contagious and addictive!} That even though I love blogging, even though I’m passionate about my topic and excited and all motivated, there will be times of doubt, lack of confidence and discouragement. There are highs and lows. There are smiles and tears. It happens to everyone. Blogging looks easy and positive enough and it is! But it also portrays an organized, beautiful, mostly always happy life where everything is perfect, going well and positive. Most times, Blog life isn’t true reality, it’s an edited airbrushed version of reality. We never know what’s going on behind the scenes. We see what others want us to see. If you’re a new blogger or just a blog reader, I’m grabbing your hand, looking you in the eye and stressing…

Blogging is time consuming and a lot of work and in most cases, something else {less important} is being put on hold or neglected. If you find you love blogging but feel discouraged or overwhelmed, don’t give up. Step away from the computer. You’re a blogger! You make your own schedule! Real life and good feelings are the priority. The worldwideweb won’t explode if you don’t post or take time off. Find a balance that works for your real life and realize that growing a blog takes a lot of nurturing, hard work, learning and dedication…but real life comes first.
I’m doing something I’m completely in love with…making our house a home. If I allow it, weeks can go by tied up in projects, taking and editing pictures, writing tutorials, proofreading, hitting “publish” and starting again. A lot of hours go into just one project for one blog post. Add blog maintenance, fun opportunities {some even paid}, blog friendships {there are so many inspiring friends/blogs that keep me on the computer for hours before realizing I missed lunch!} and social media to the mix and you have time to eat and sleep. 😉 It’s important to set time aside for real life. When blogging becomes a full time career, it means the potential to work double time. And while it’s a lot of work, I love it and it’s a good fit for my life. Growing a blog takes time, patience and work but your content is out there. Someone, somewhere, sometime is going to be reading what you’ve written and be inspired.
dream.create.share.inspire
Making new friends is so much fun! Thanks to HomeTalk for the awesome feature and letting me share a little about myself today! Thanks for stopping by! I’d love for you to stay in touch by following DIY Show Off…


Thanks for enduring 4 blogs posts within a 48 hour time frame! There’s just been so much good to share this week with the 3 HUGE giveaways, DIY Fall Festival linky party, today’s fun HomeTalk Bloglight feature and my Joss & Main Curated Collection later today! And I promise that after today, you won’t hear a peep from me until Sunday…where I’ll be hosting the regularly scheduled DIY Project Parade from a warm and sunny vacation US destination. I.cannot.wait!


