Springtime in Paris vignette {Enter to win a trip to Paris!}

#springtimeinparis #michaelsmakers @diyshowoff

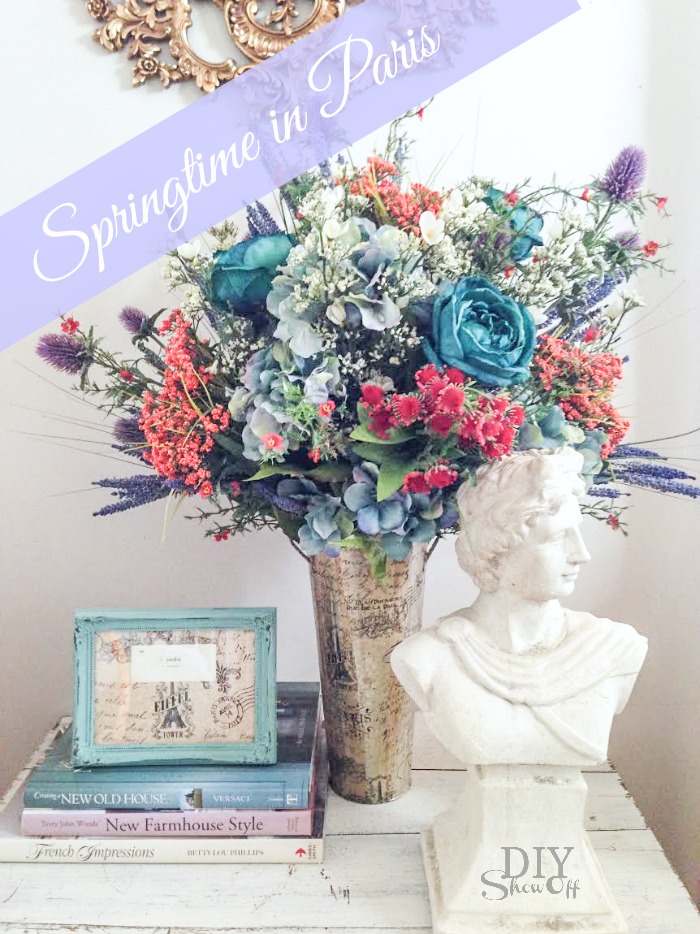
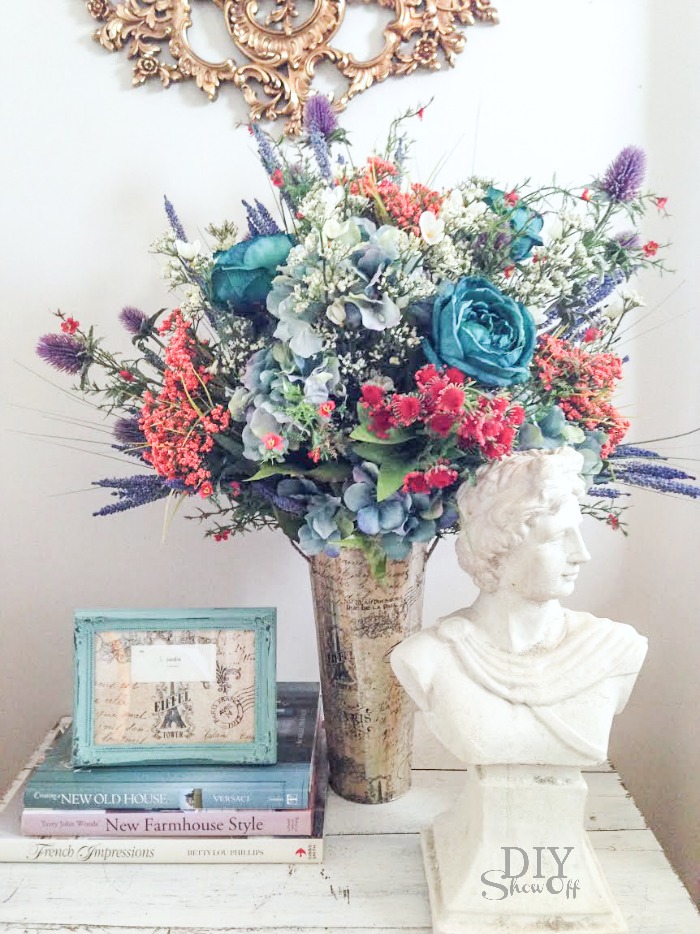
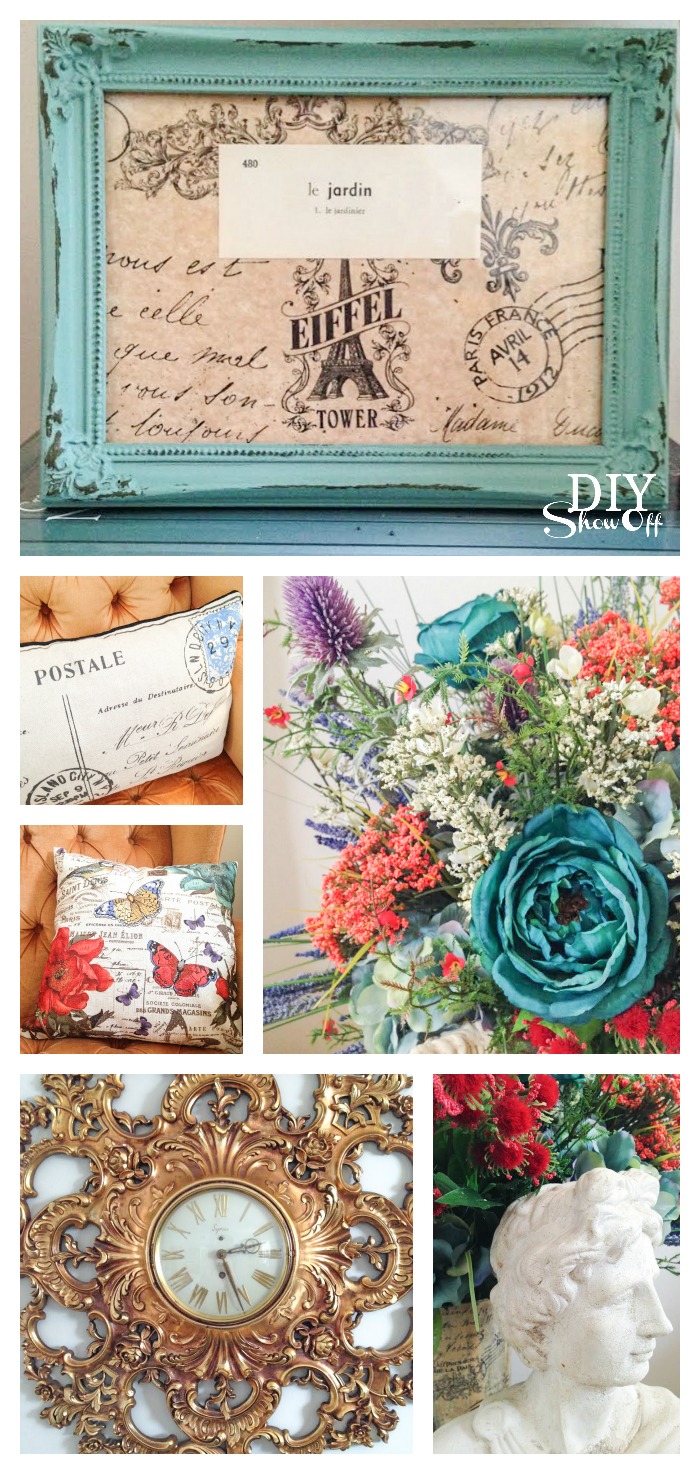
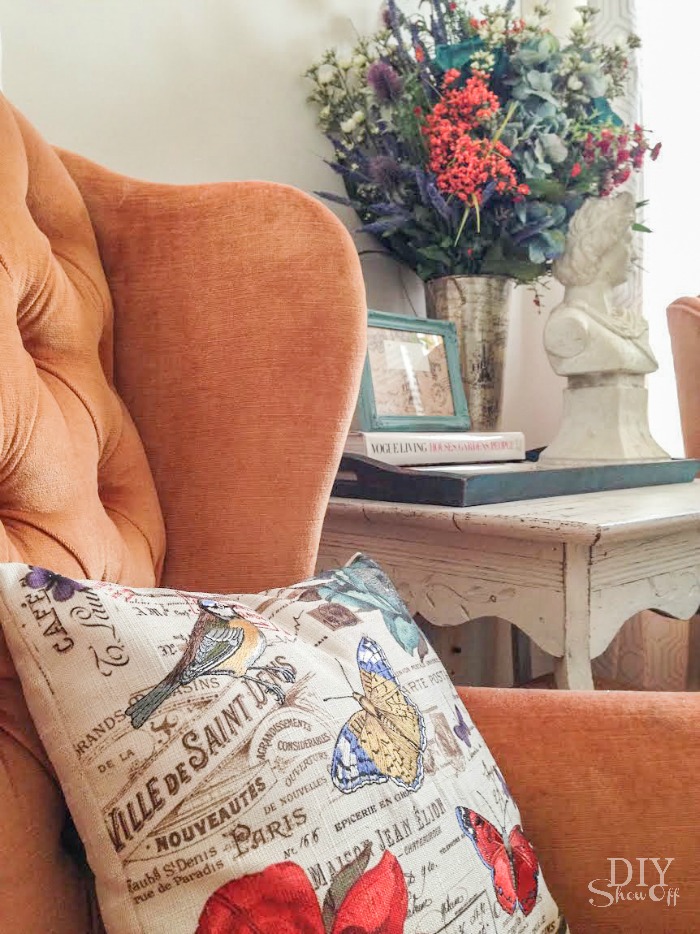
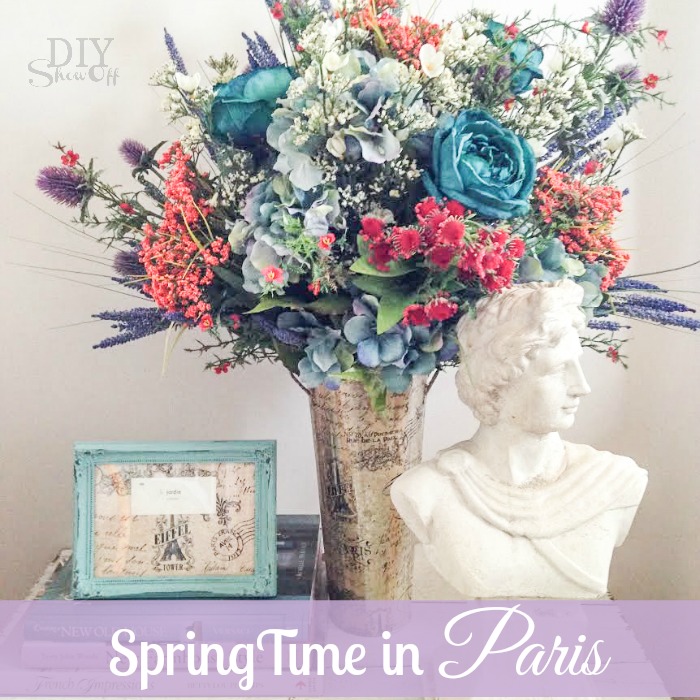
I sure wish it was springtime in western PA but until that day arrives (hopefully sometime in the very near future), I’m enjoying the Michael’s Makers March challenge: “Springtime in Paris”. I paired pretty French script pillows with a pretty DIY springtime arrangement in a decoupaged French script vase with matching frame to bring a little “Springtime in Paris” to our home. 

decoupage vase @diyshowoff #SpringTimeinParis #michaelsmakers

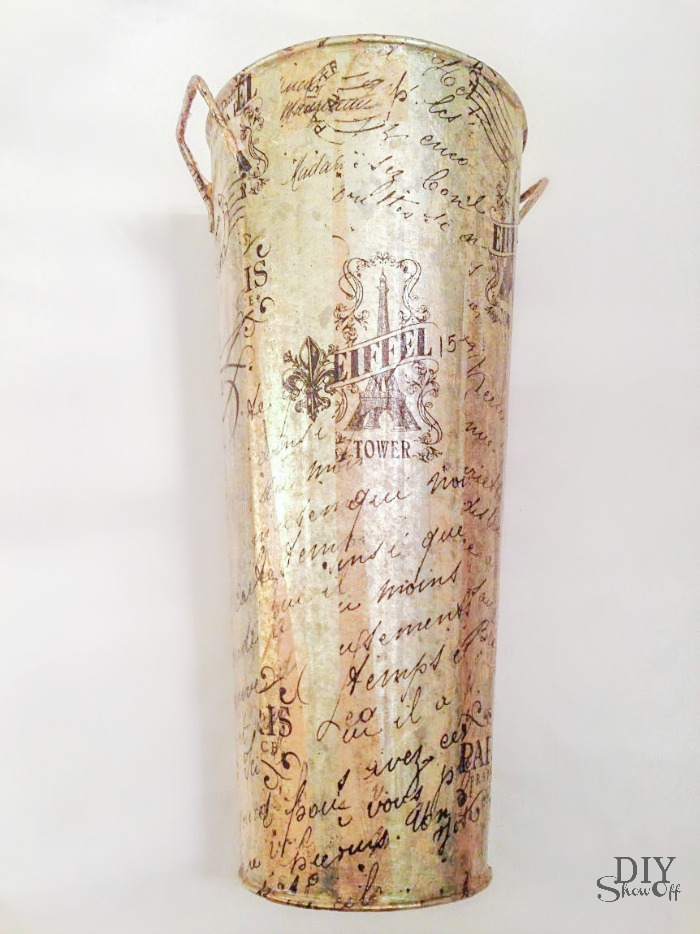
decoupaged tin vase and floral arrangement

Supplies:

Shop Home Decor and Floral at Michaels

  • tin vase
  • decoupage
  • French printed tissue paper
  • foam paint brush

40% Off Any One Regular Price Item

This Week's Coupon at Michaels.com

How to:

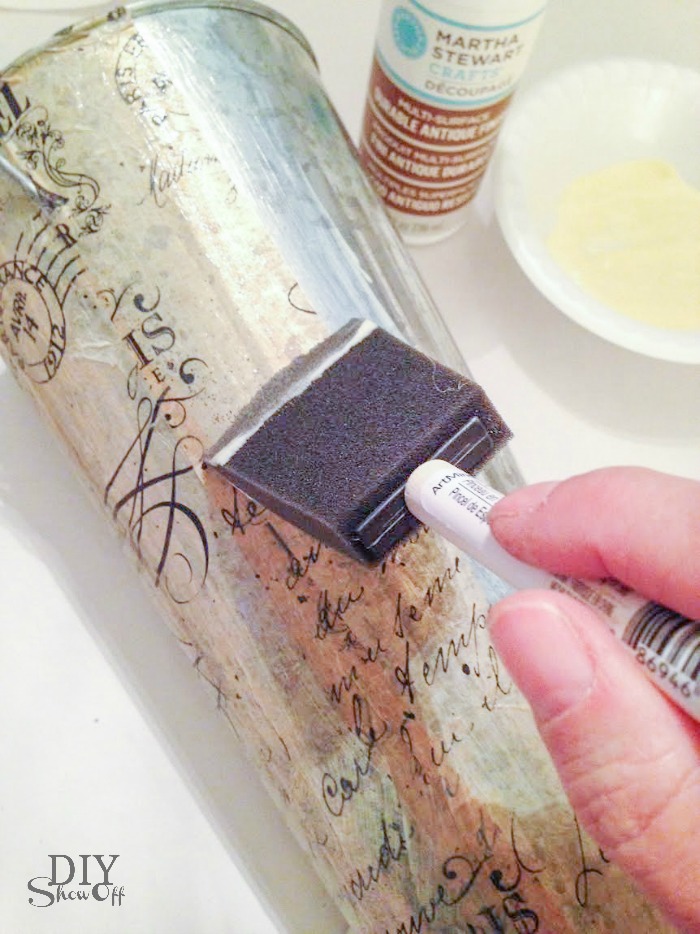
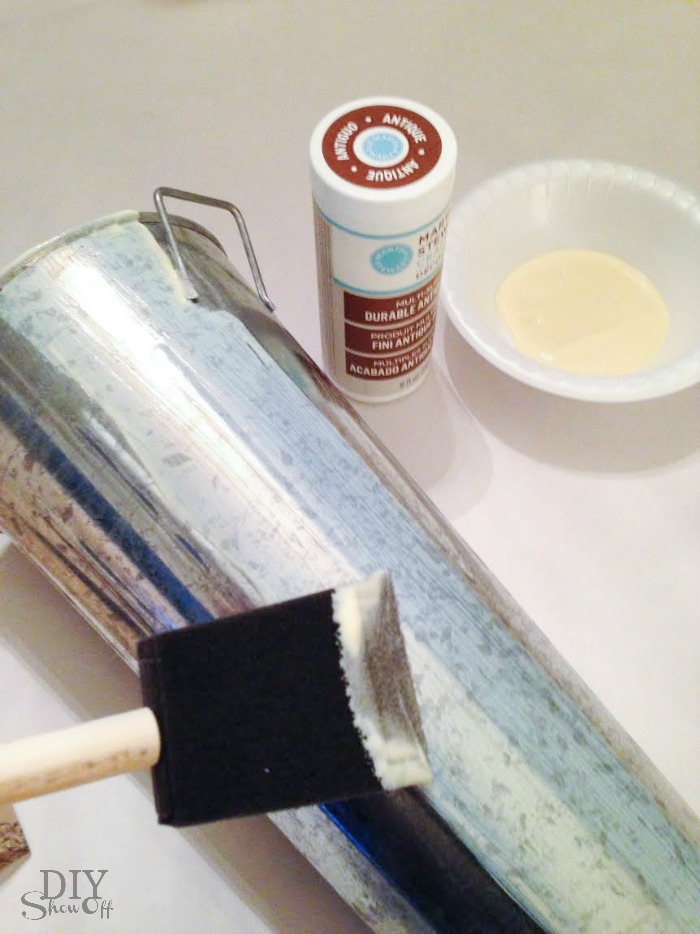
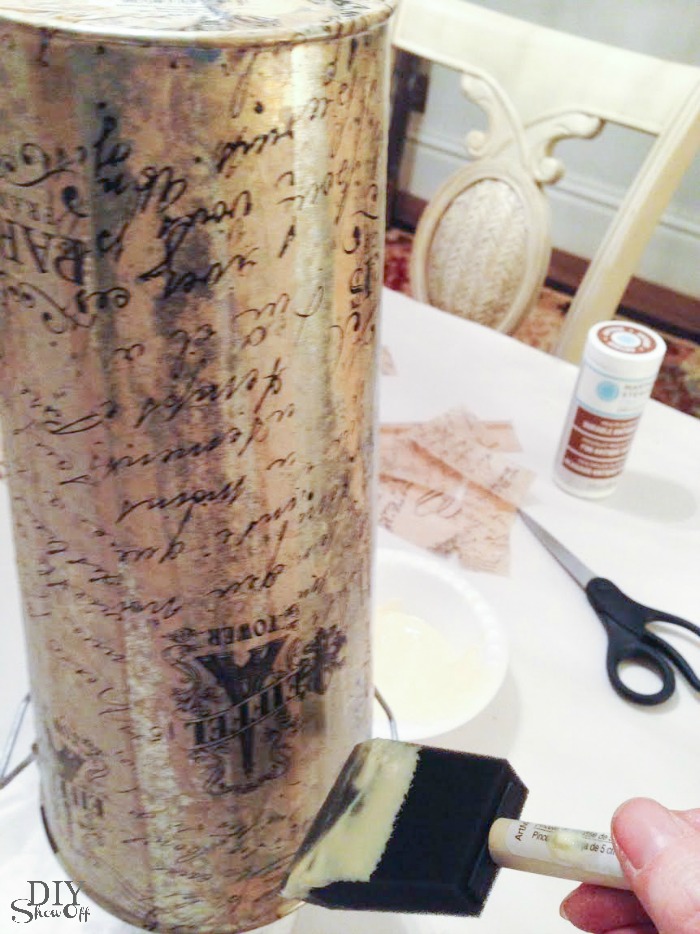
Working in sections. Brush on a coat of decoupage.

decoupage vase @diyshowoff #SpringTimeinParis #michaelsmakers

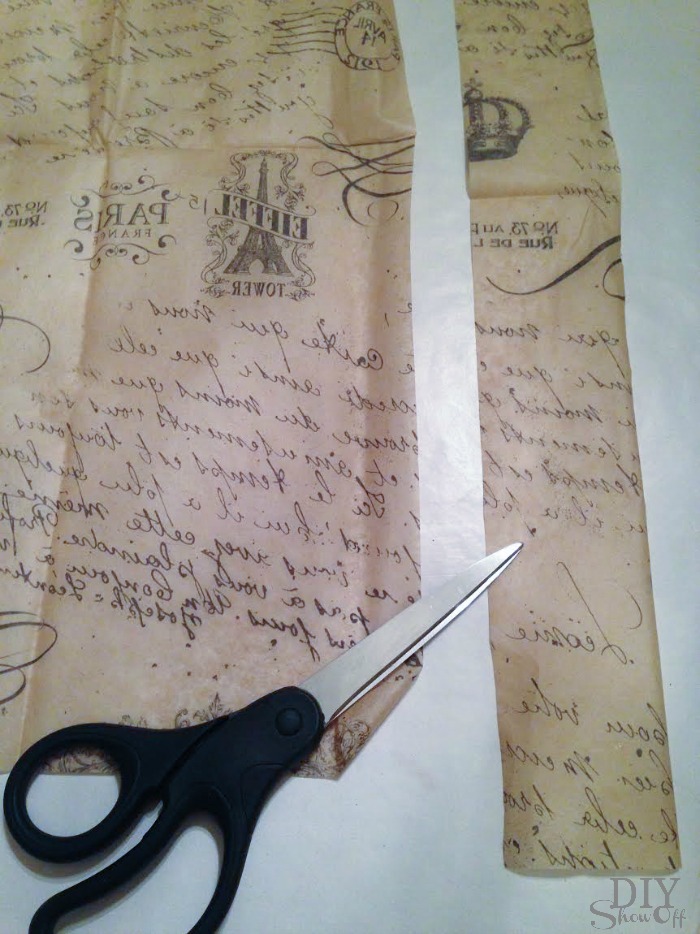
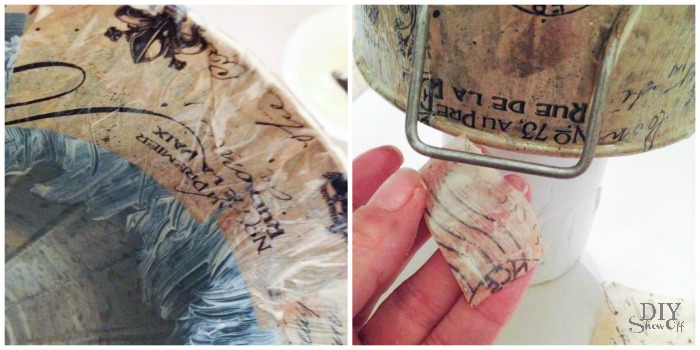
Due to the shape of my tin vase, I applied strips of tissue paper in layers.

decoupage vase @diyshowoff #SpringTimeinParis #michaelsmakers


Apply one strip to the wet decoupage, smoothing out the wrinkles (carefully to avoid tearing the tissue paper) then move on to the next section and repeat.  decoupage vase @diyshowoff #SpringTimeinParis #michaelsmakersdecoupage vase @diyshowoff #SpringTimeinParis #michaelsmakers
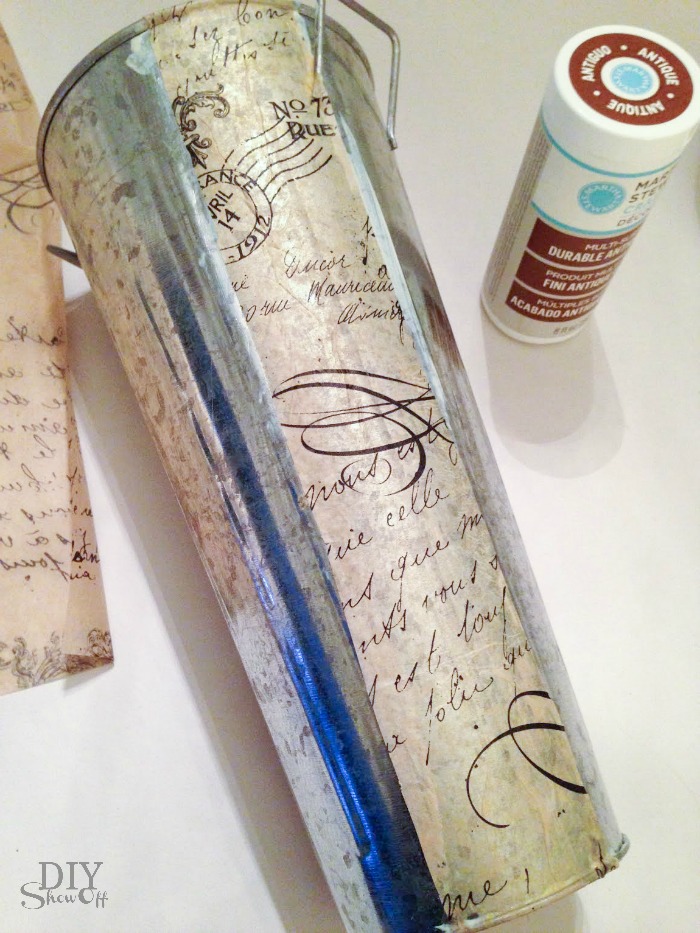
Once the entire vase is covered, brush on another coat of decoupage. You can repeat and add more decoupage layers if you want. The more layers, the better protection. 

decoupage vase @diyshowoff #SpringTimeinParis #michaelsmakersdecoupage vase @diyshowoff #SpringTimeinParis #michaelsmakers

Let dry. The metallic sheen shines through. Love that happy surprise!

decoupage vase @diyshowoff #SpringTimeinParis #michaelsmakers

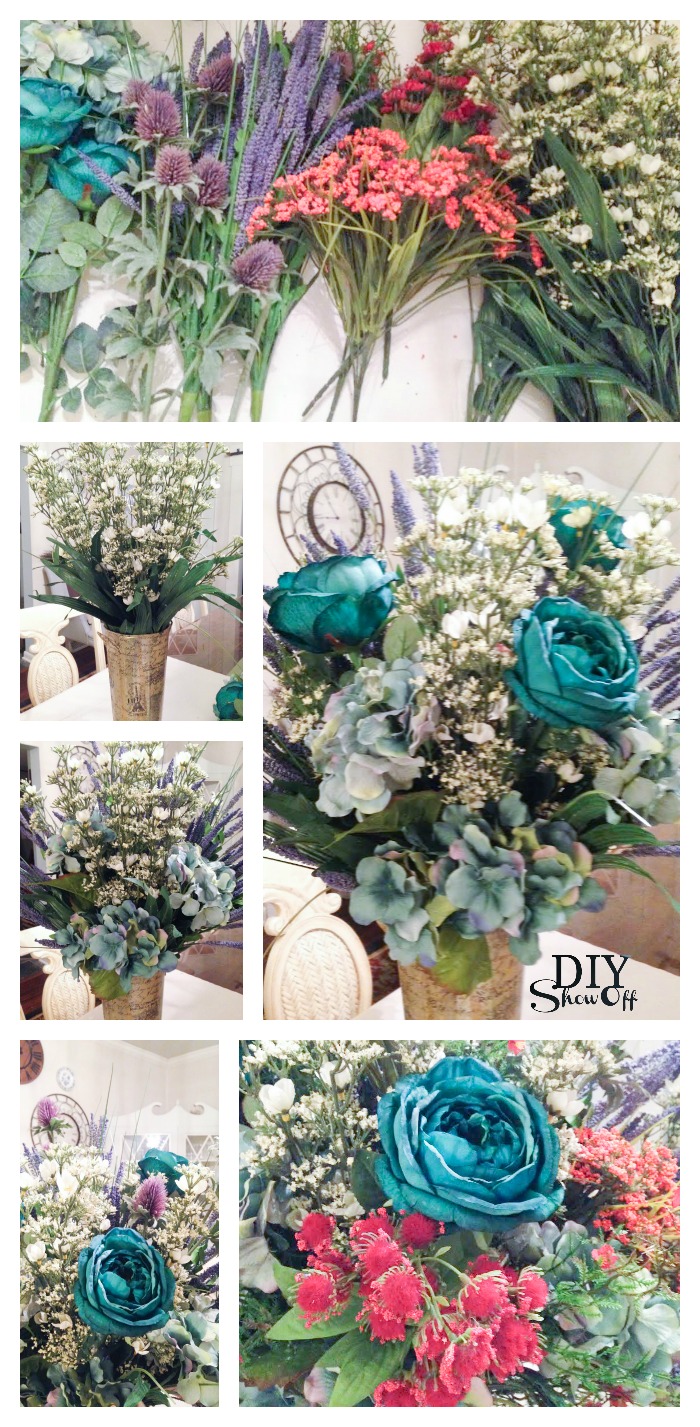
Now arrange your favorite spring time florals. I love this collection of faux teals, oranges and purples with greenery.

decoupage vase @diyshowoff #SpringTimeinParis #michaelsmakers

Gorgeous! Spring is right around the corner!

decoupage vase @diyshowoff #SpringTimeinParis #michaelsmakers

I added a bit of tissue paper and French language flash card to a frame {le jardin = garden}, some things from around the house and pillows (also available at Michael’s) to complete my Springtime in Paris vignette. 

decoupage vase @diyshowoff #SpringTimeinParis #michaelsmakersdecoupage vase @diyshowoff #SpringTimeinParis #michaelsmakersdecoupage vase @diyshowoff #SpringTimeinParis #michaelsmakers

See more Springtime in Paris inspiration from these sweet blog friends:


#springtimeinparis #michaelsmakers @diyshowoff

·       Now it’s your turn!  That’s right, you can enter to win the trip of a lifetime to Paris too. How? By creating your own Parisian-inspired art, floral, baking or paper crafting project and uploading a photo to www.paris.michaels.com through March 31. You can also share your project on social using #SpringtimeInParis #Contest

·       What do you win? A four-night trip for two to Paris, 1,000 euros, a VIP tour of the Louvre, private classes including sketching, floral arranging, baking and more!

·       If you need a little Paris inspiration to get you started, take a look at some of the Springtime in Paris projects on Michaels.com.

Disclaimer: As a member of the Michael’s Makers blog team, I received a Michael’s gift card to complete this craft challenge. 

Striped DIY “Love You More” Sign

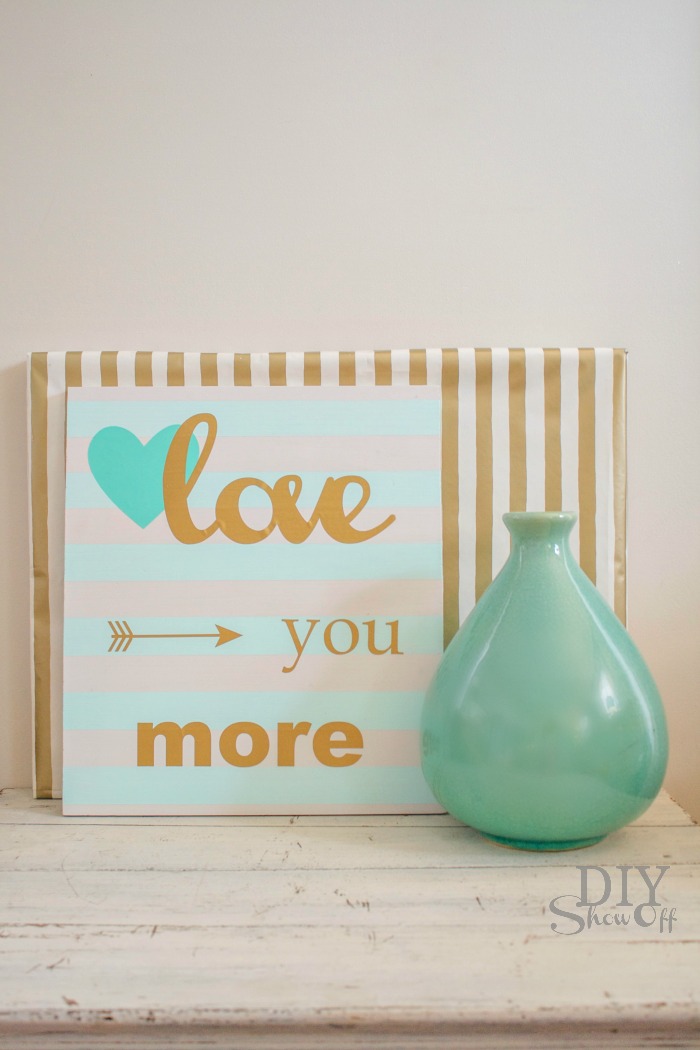
I like to incorporate a little Valentine’s vibe into my decor this time of year but I prefer to have decorative accents that can withstand longer time frame. Creating a “love” themed vignette works year round and this striped scrap wood sign is the perfect focal point. 
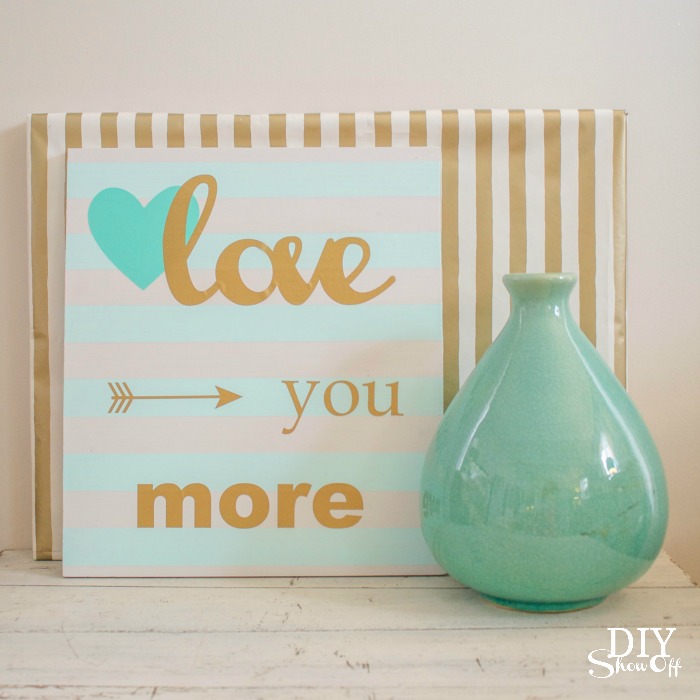
striped Valentine LOVE sign @diyshowoff.com 

Materials I used:

  • scrap wood for canvas
  • paint
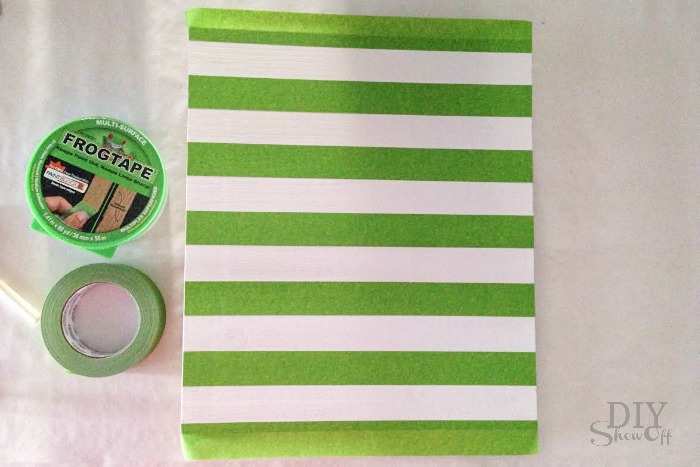
  • FrogTape® Multi-Surface
  • vinyl decals

What I did:

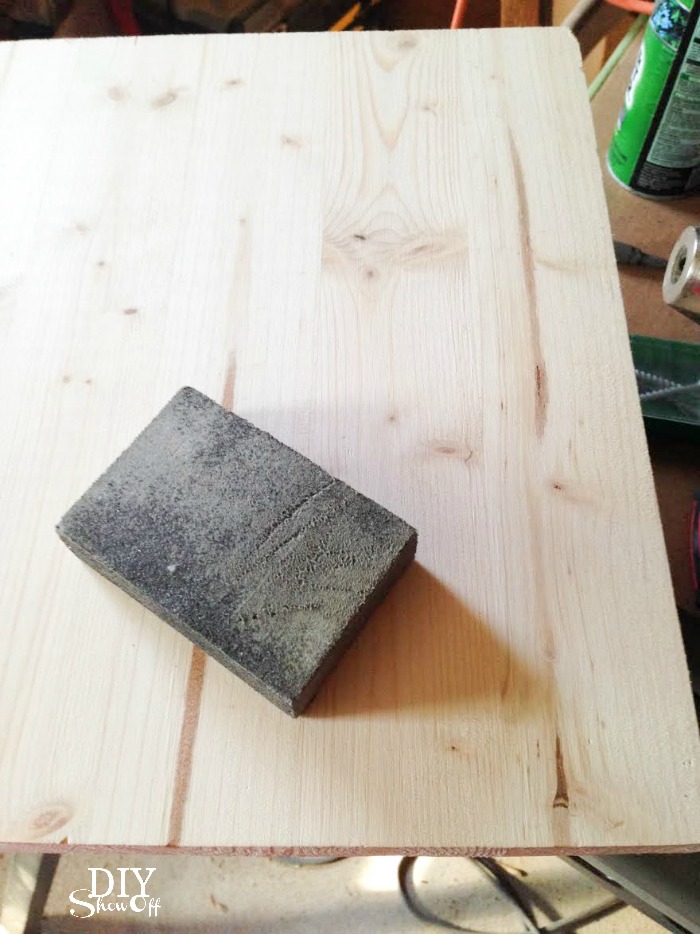
Sand edges and clean scrap wood canvas. 

striped Valentine LOVE sign @diyshowoff.com

Paint base color and let dry. I did two coats. 

striped Valentine LOVE sign @diyshowoff.com

Use FrogTape to create stripes. I started with a center stripe and worked my way out. Just eyeball it. Use a small piece of FrogTape for spacing. 

striped Valentine LOVE sign @diyshowoff.com

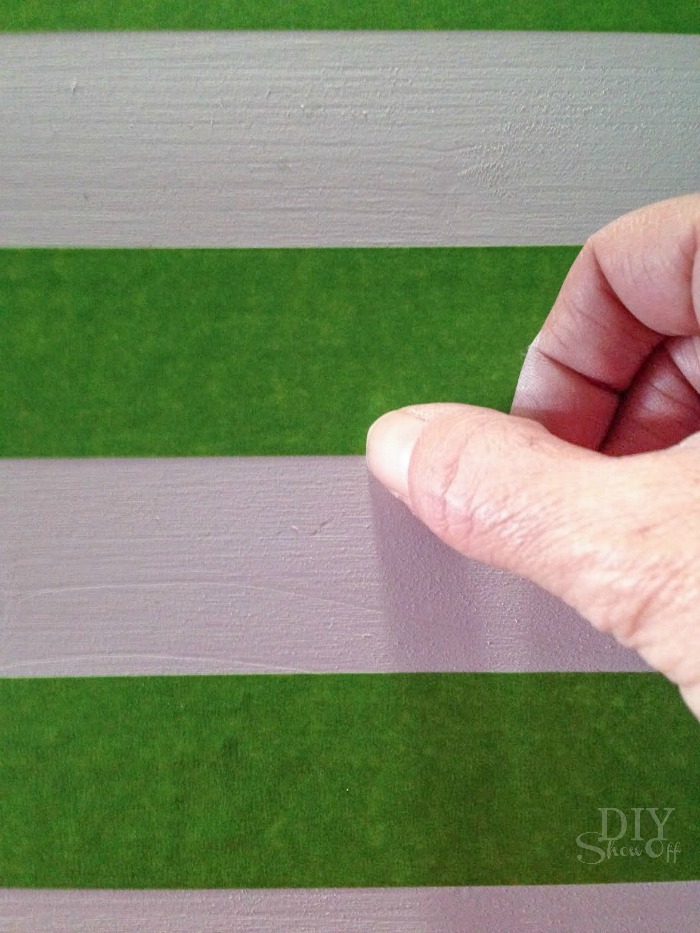
Burnish the edges of the FrogTape using a thumbnail or credit card. 

striped Valentine LOVE sign @diyshowoff.com

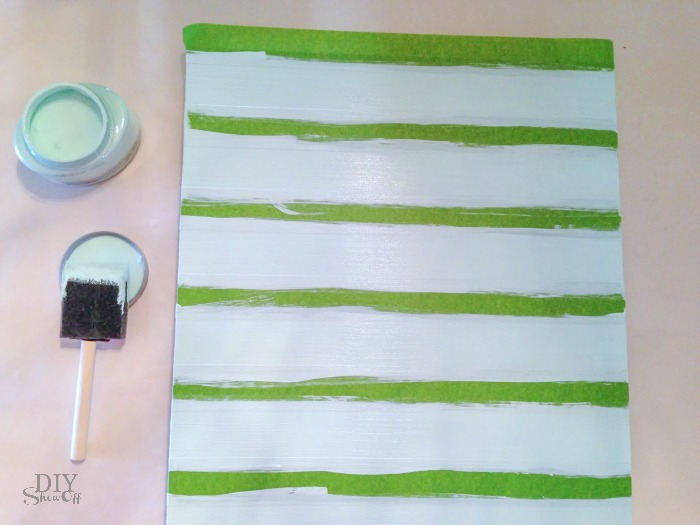
Paint stripes. I did two coats. 

striped Valentine LOVE sign @diyshowoff.com

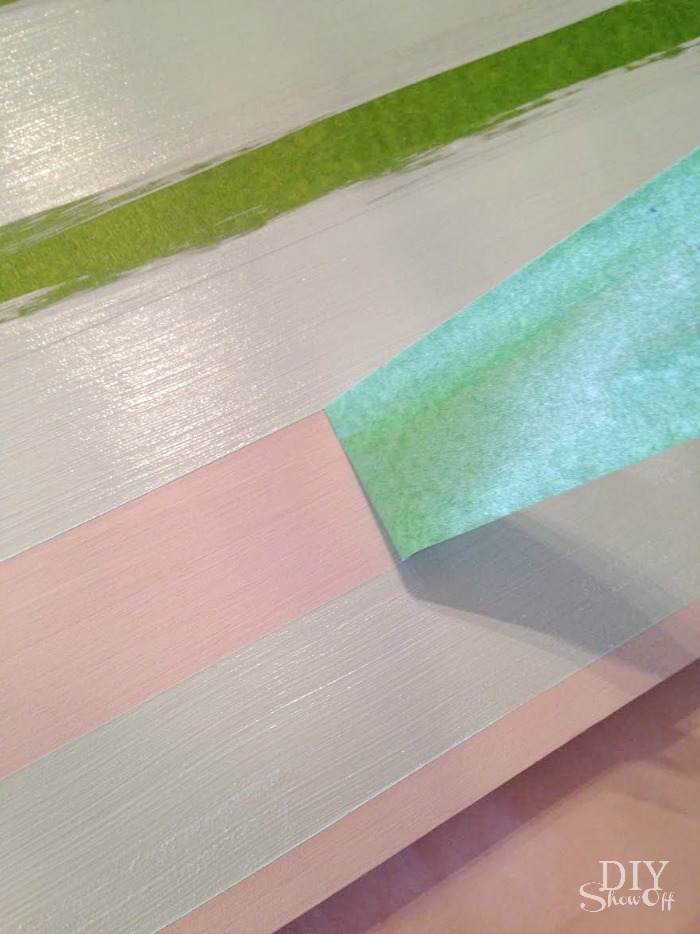
While second coat of paint is still wet, remove FrogTape. Let paint dry. 

striped Valentine LOVE sign @diyshowoff.com

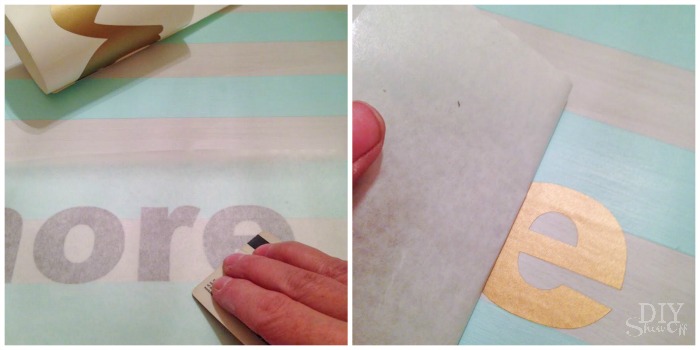
I added DIY vinyl decals. Other options include a print/rub technique (print out wording, rub pencil on the back of the paper then place paper on wood sign and trace lettering) and paint or marker or stickers…get creative!

striped Valentine LOVE sign @diyshowoff.com

Now I have a “love” themed vignette perfect for Valentine’s day and a wood canvas sign that I can display all year round (cute for the nursery too)!

striped Valentine LOVE sign @diyshowoff.com

FrogTape Blog Squad

Disclaimer: I received compensation to complete this project for using FrogTape® products. All opinions, projects and ideas are based on my own experience.

JOY vinyl covered wood blocks tutorial

JOY vinyl covered wood blocks

JOY vinyl covered blocks tutorial @diyshowoff #happycrafters

What you’ll need: a vinyl cutter (or cut vinyl out by hand using scissors)

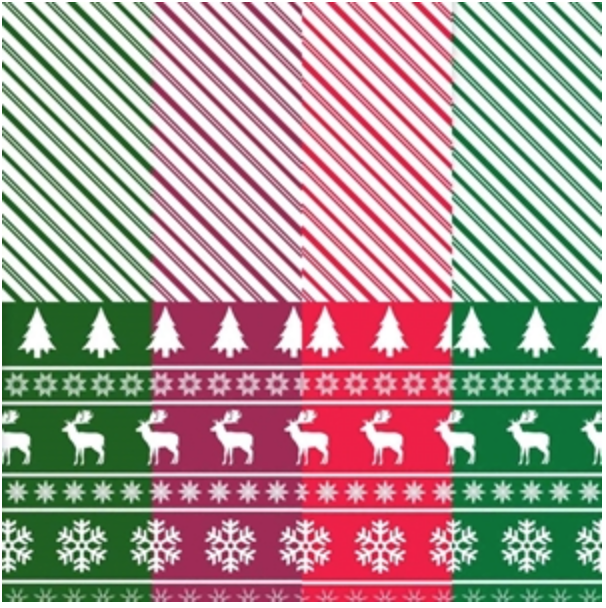
Happy Face Pattern Adhesive Vinyl - Holiday 8 Pack

Tutorial:

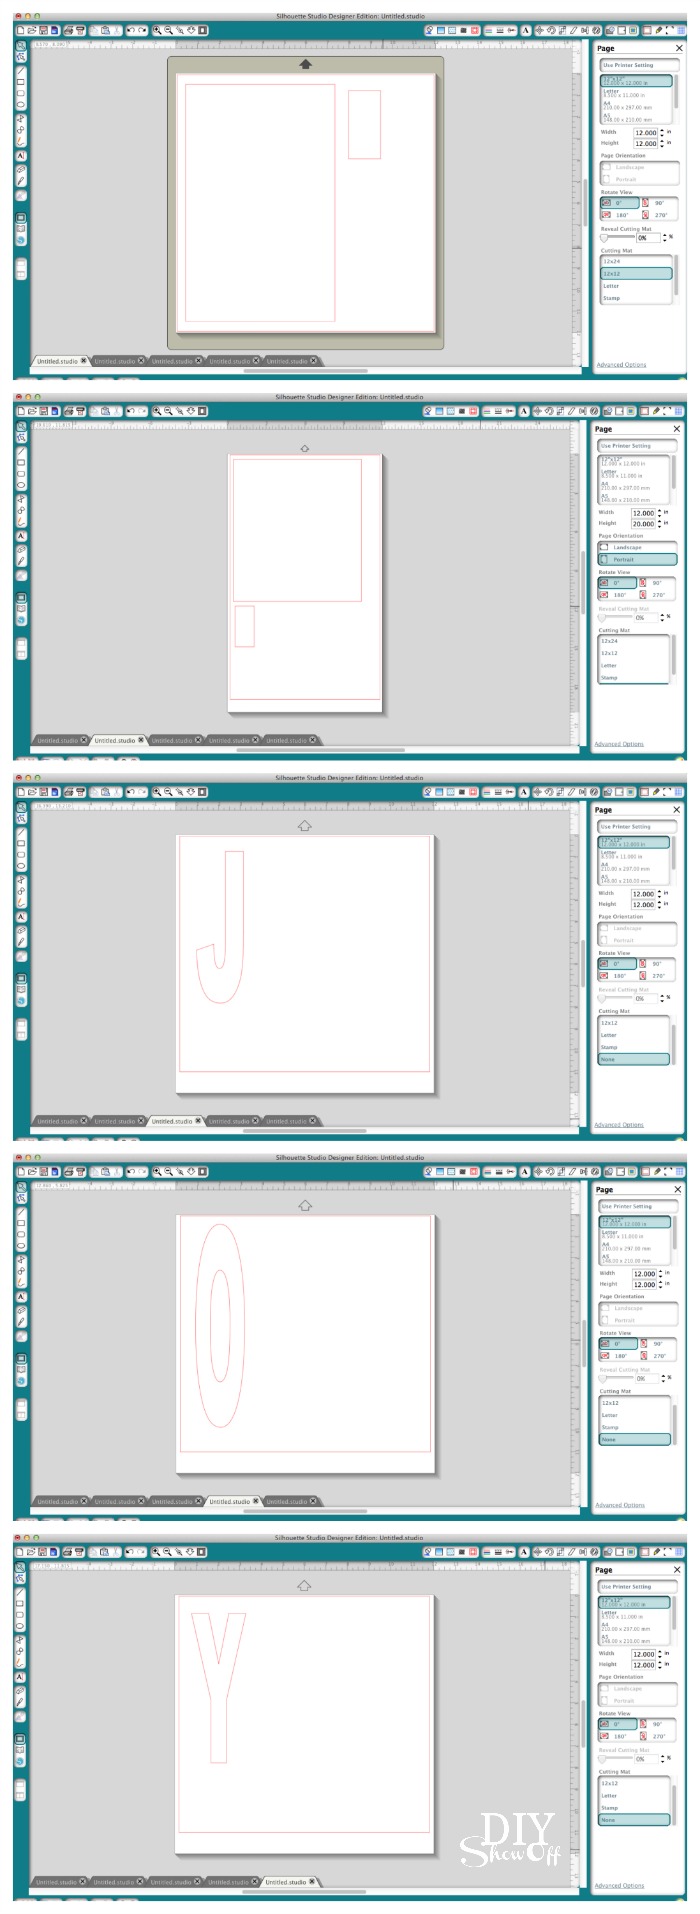
Using the Silhouette Studio Designer software, create individual designs…I created one for wrapping each block (measure and add up all side of each block for width and the height of block), three individual rectangles for the top of each block. Then the letters J – O – Y (be sure to create a size that will fit nicely on the front of each block). 

JOY vinyl design

For wrapping each block, I used the striped vinyl and the patterned vinyl for lettering. 

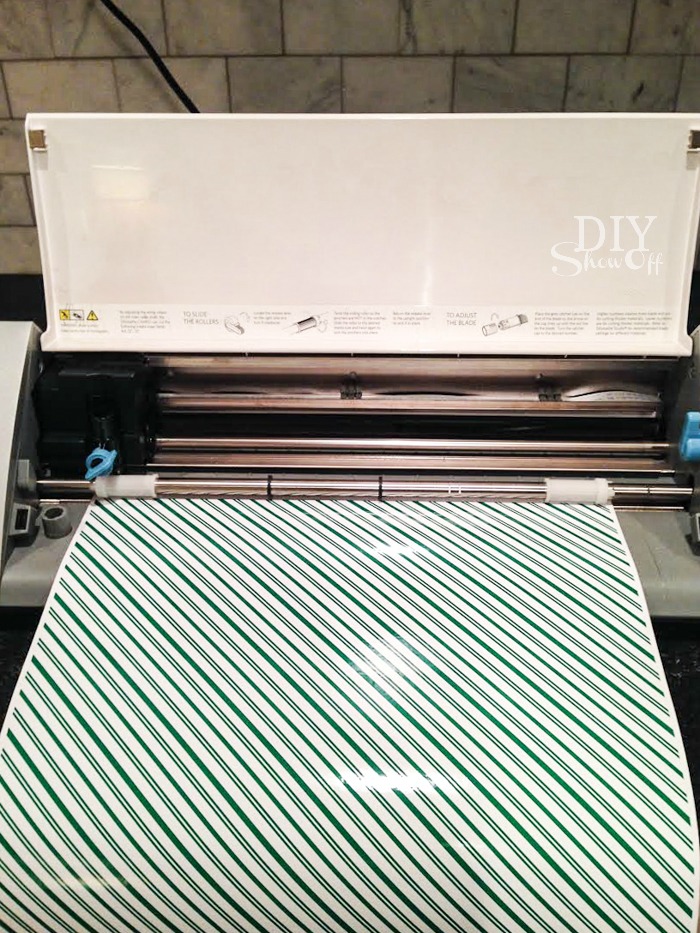
For each design, load vinyl into the machine pattern side facing up. 

JOY vinyl covered blocks tutorial @diyshowoff #happycrafters

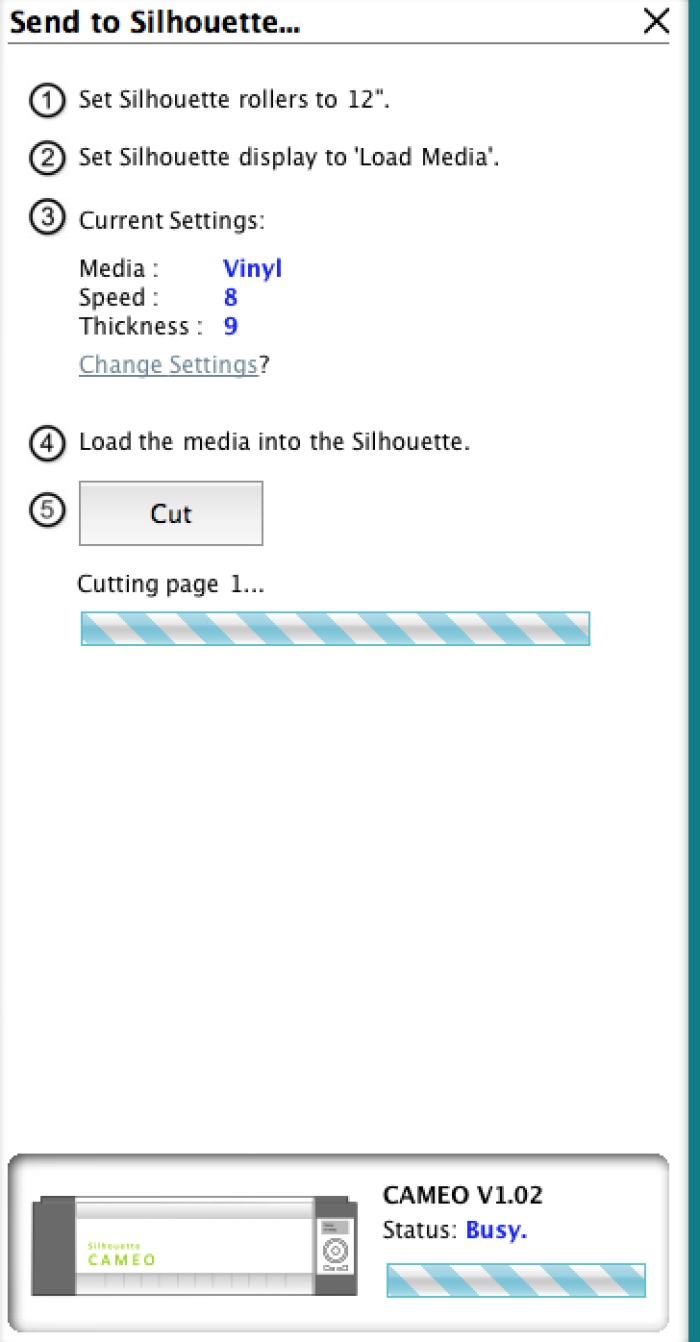
Send design to cut. Adjust settings for cutting vinyl. Cut. 

JOY vinyl covered blocks tutorial @diyshowoff #happycrafters

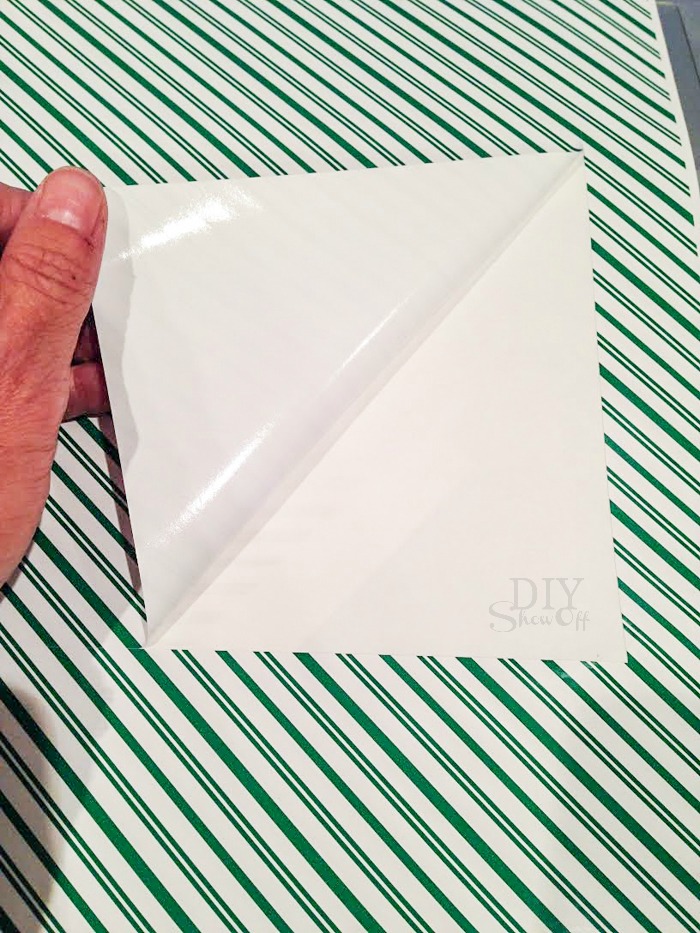
Unload vinyl.

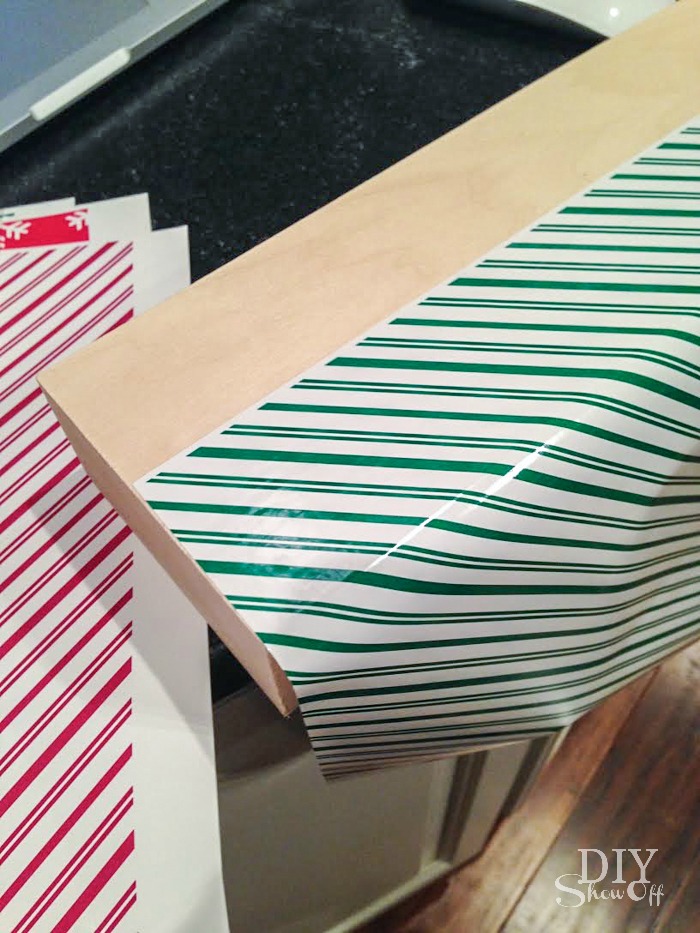
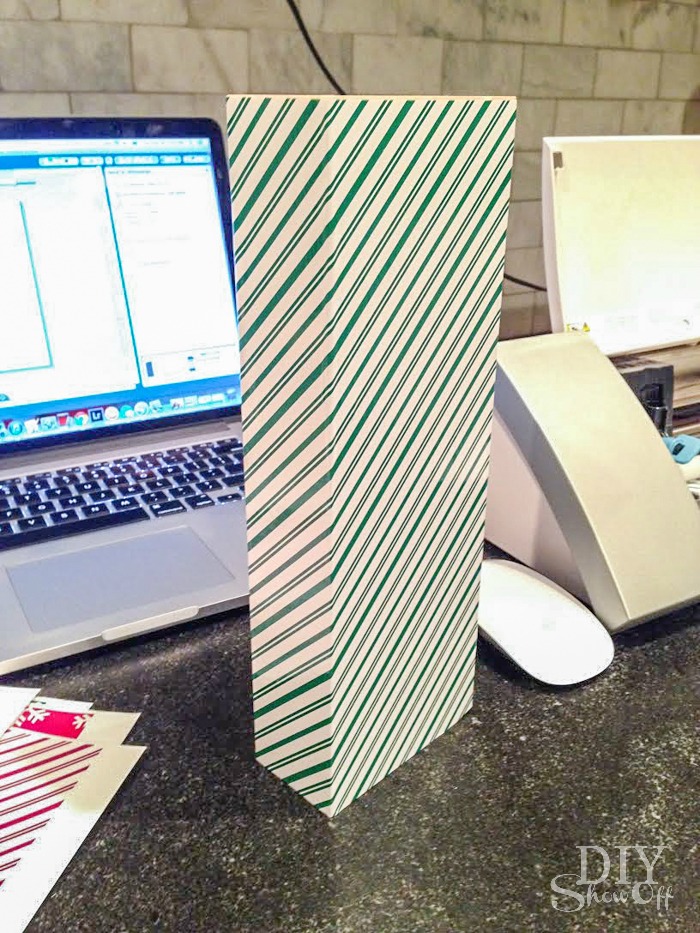
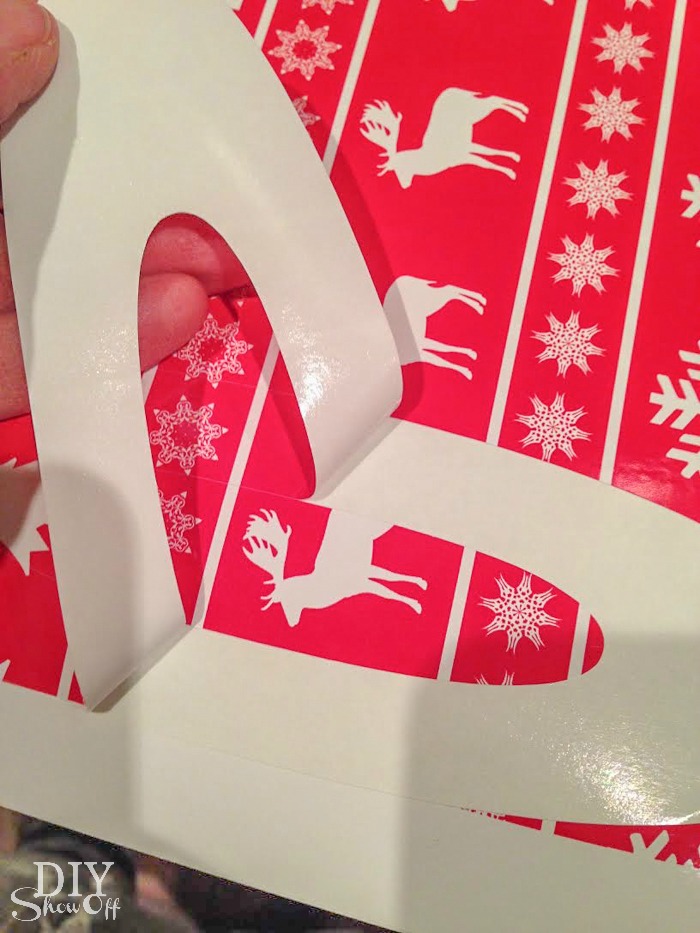
Peel away vinyl (like stickers) and apply vinyl to blocks, wrapping first

JOY vinyl covered blocks tutorial @diyshowoff #happycrafters  JOY vinyl covered blocks tutorial @diyshowoff #happycraftersJOY vinyl covered blocks tutorial @diyshowoff #happycrafters


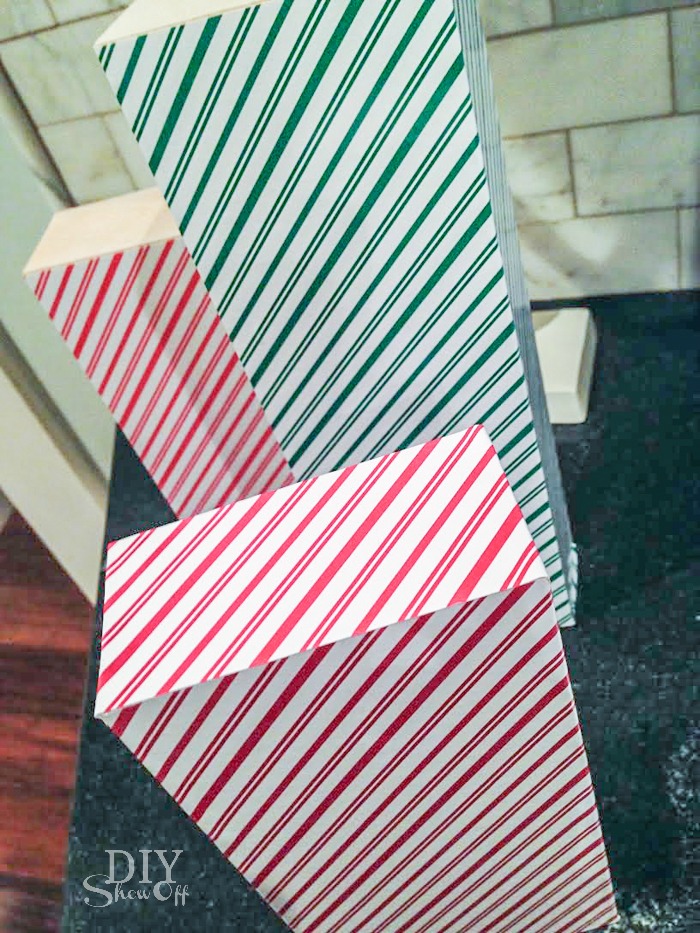
then the top rectangle…

JOY vinyl covered blocks tutorial @diyshowoff #happycraftersJOY vinyl covered blocks tutorial @diyshowoff #happycrafters

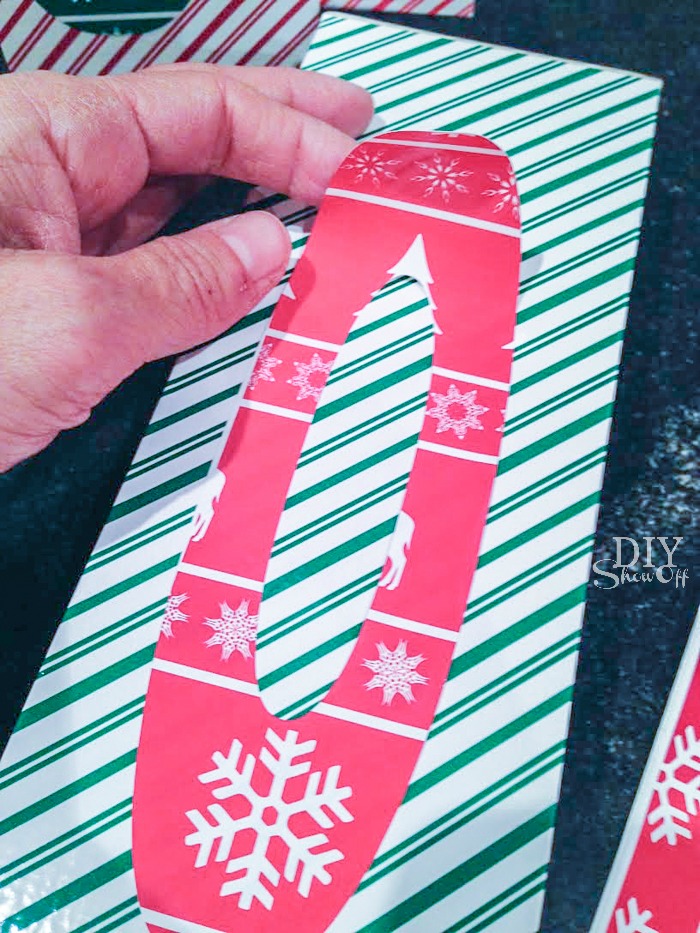
followed by a letter for each block. 

JOY vinyl covered blocks tutorial @diyshowoff #happycrafters JOY vinyl covered blocks tutorial @diyshowoff #happycrafters

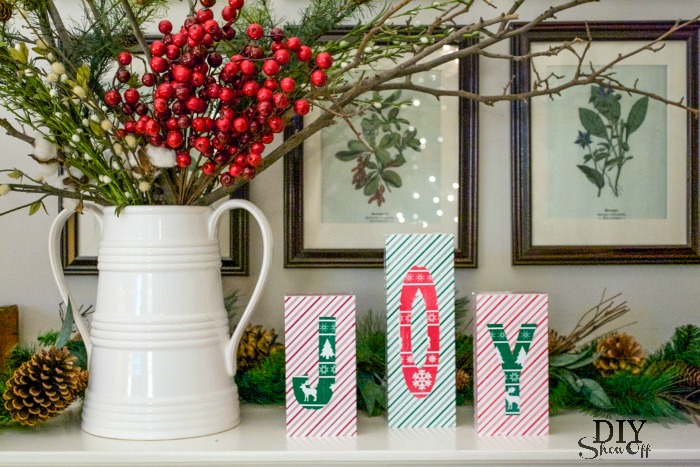
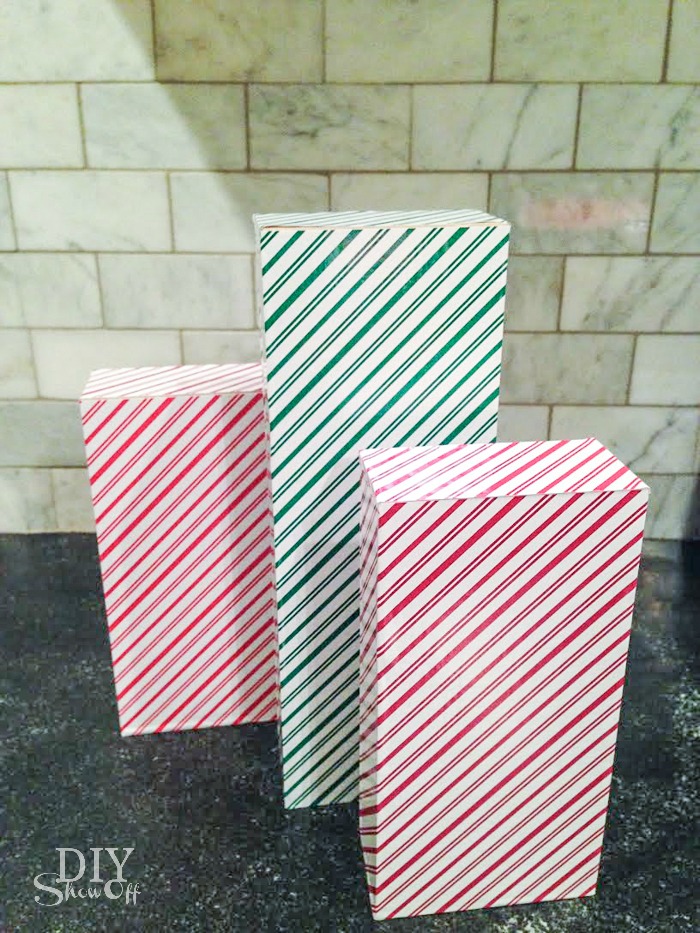
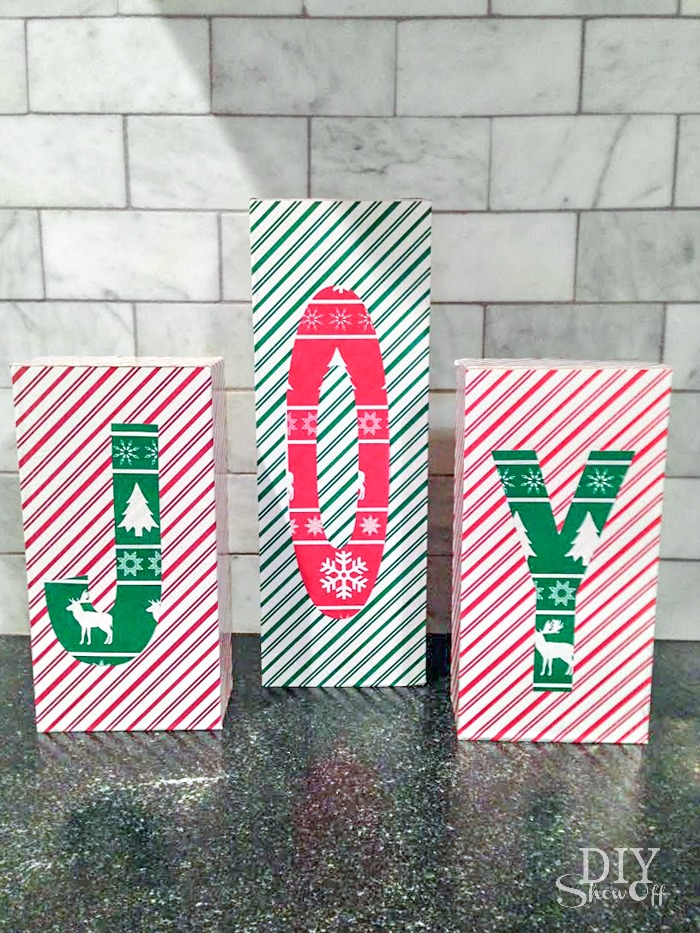
So cute. A great gift or holiday decor.

JOY vinyl covered blocks tutorial @diyshowoff #happycrafters


Decorate!

JOY vinyl covered blocks tutorial @diyshowoff #happycrafters

*This post is sponsored by Happy Crafters. Tutorial, experience and opinion is my own.  Check out all the supplies at Happy Crafters for inspiration for your next project. 

HClogopngsmall