Ombre Stenciled Flower Pots

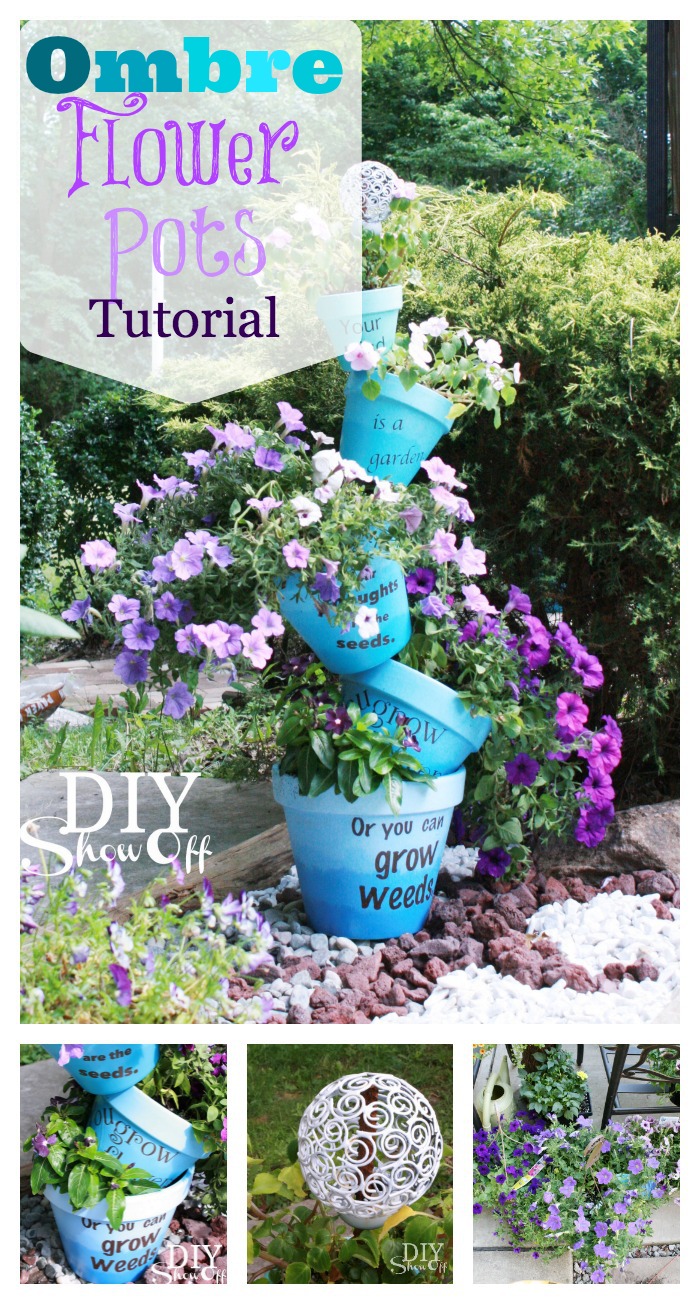
This is definitely the summer of DIY flower planters at DIYShowOff, isn’t it? We’ve always been so busy with projects INside the house, that decorating outside hasn’t been a priority but this year, I’ve been especially happy to celebrate summer. I wanted to spruce up the yard a little with some colorful flowers and flower pots and that’s exactly what I’ve accomplished. I do promise (I think) that this is the last DIY flower pot project of 2013.  

Stacked Stenciled Ombre Flower Pots Tutorial

Materials:

  • Terra cotta flower pots (5 different sizes from smaller to bigger)
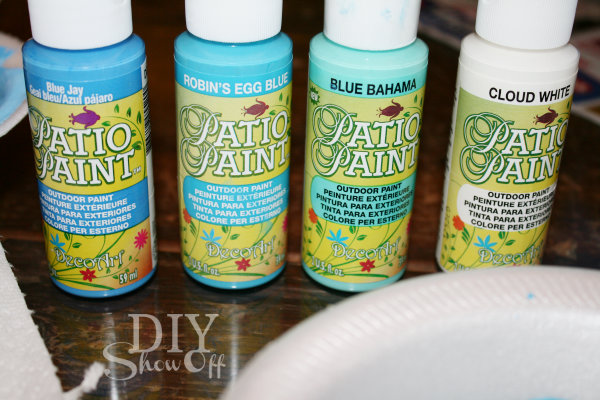
  • DecoArt Patio Paint (1 Blue Jay Blue, 1 Robin’s Egg Blue, 1 Blue Bahama, 2 Cloud White, 1 Woodland brown)
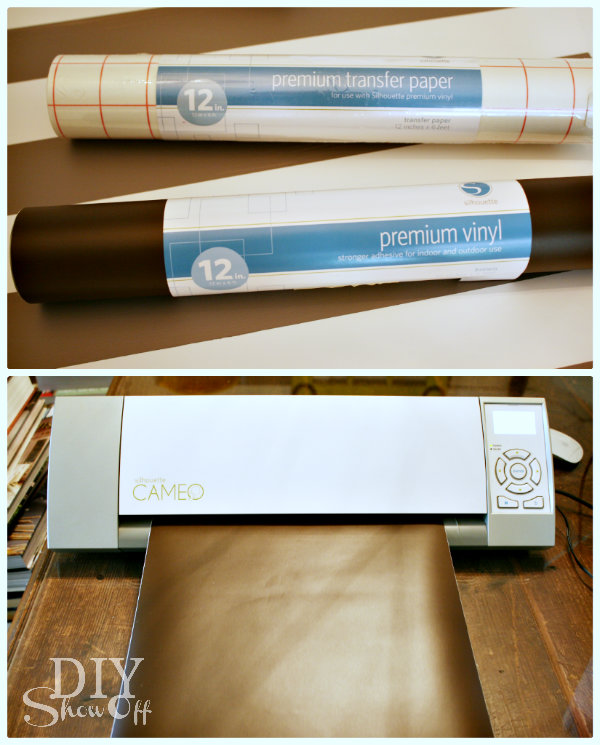
  • Vinyl stencils (I created mine with my Silhouette Cameo and vinyl from my sponsor, Happy Crafters). 
  • Krylon Clear Coat
  • Rebar (mine is 42″)
  • Potting soil and flowers
  • Optional: Curtain rod finial (I found mine at a thrift store and spray painted it white)

Ombre flower pots Tutorial:

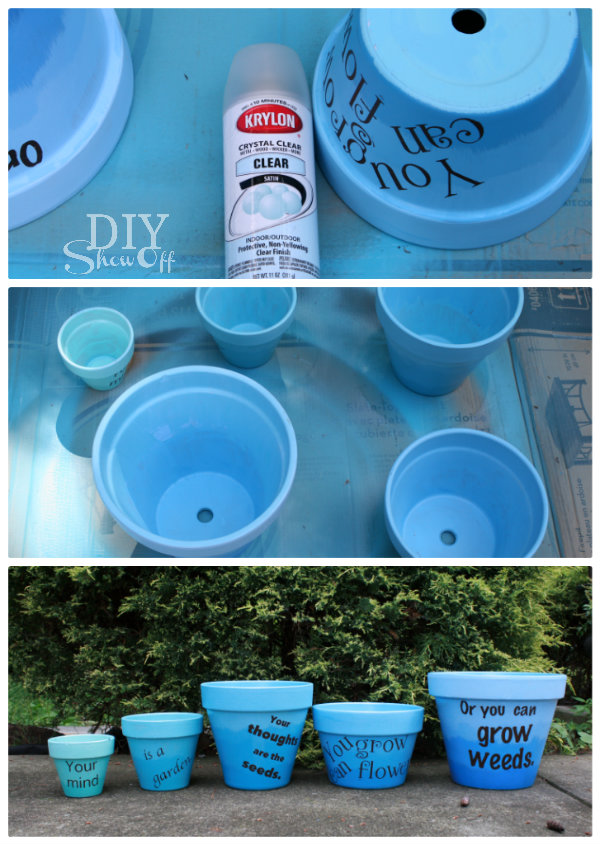
I purchased three colors blue and two bottles of white patio paint to create 5 colors in styrofoam bowls:

  • Blue Jay Blue
  • 50/50 Blue Jay Blue and Robin’s Egg Blue
  • Robin’s Egg Blue
  • 50/50 Robin’s Egg Blue and Blue Bahama
  • Blue Bahama

deco art patio paint

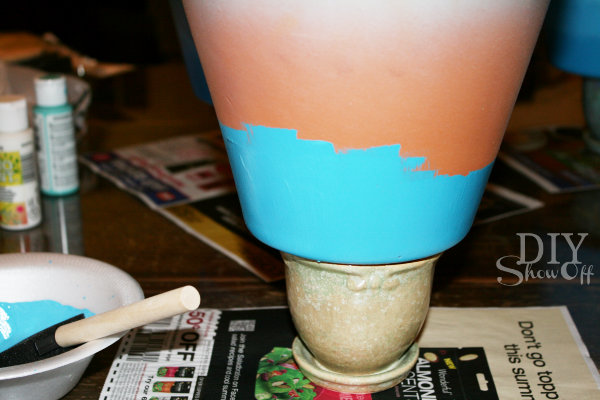
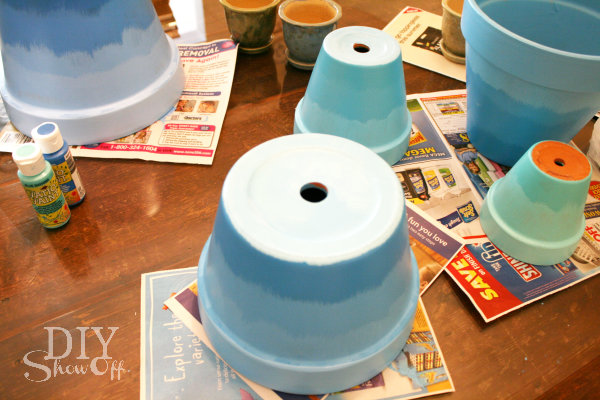
For each pot, I started with one of the base colors above. Using a foam brush, I started on the bottom, “feathering” the paint. I then elevated my pots to make painting/drying easier. 

painting terra cotta flower pots

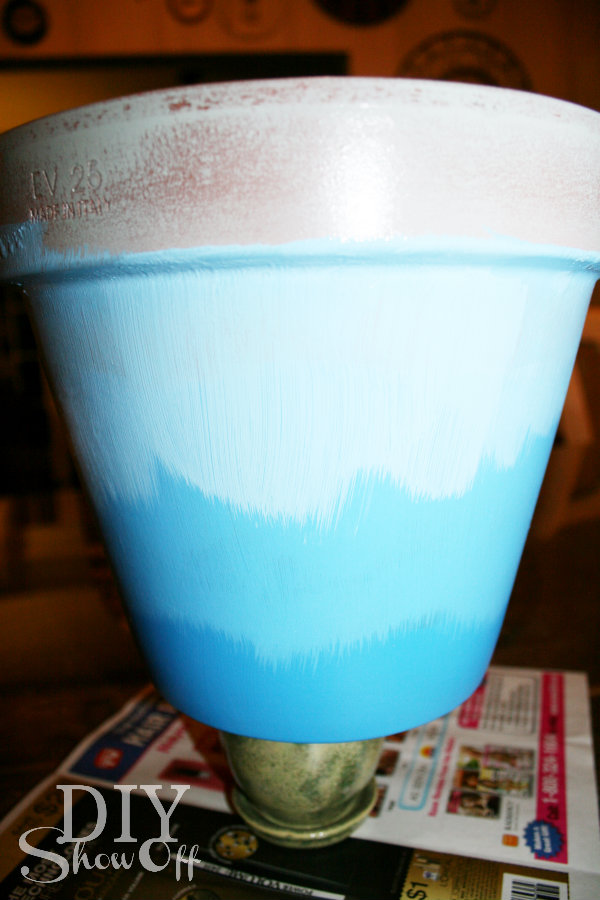
Then added white to the paint and feathered another row on the same pot, working my way around the pot.

And added more white and repeated.

ombre flower pot tutorial

When the bottom was dry, I flipped the terra cotta pot. Then added more white to my paint and finished all the way to the top and a little down into the inside. 

I did the above steps for each paint color for each terra cotta pot.

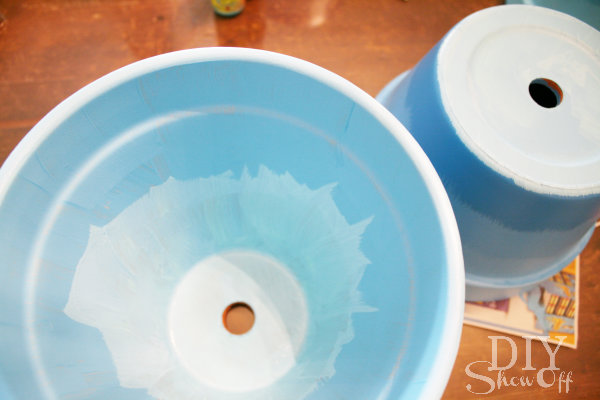
Then I mixed all of my left over paint together and painted the insides of my flower pots…

painting flower pots

then flipped and painted the bottoms and let them dry overnight. 

painting terracotta flower pots

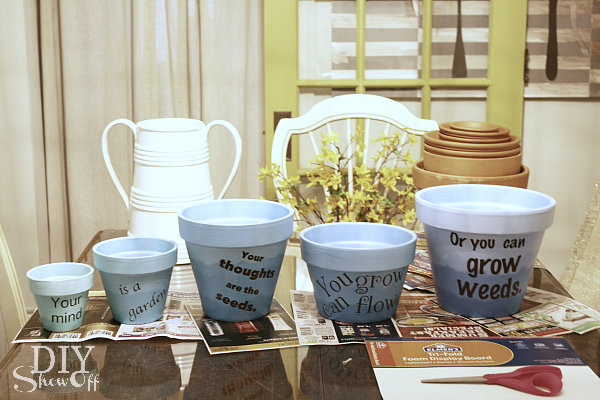
Next, using my Silhouette Cameo and vinyl from Happy Crafters, I created vinyl stencils with this little quote:

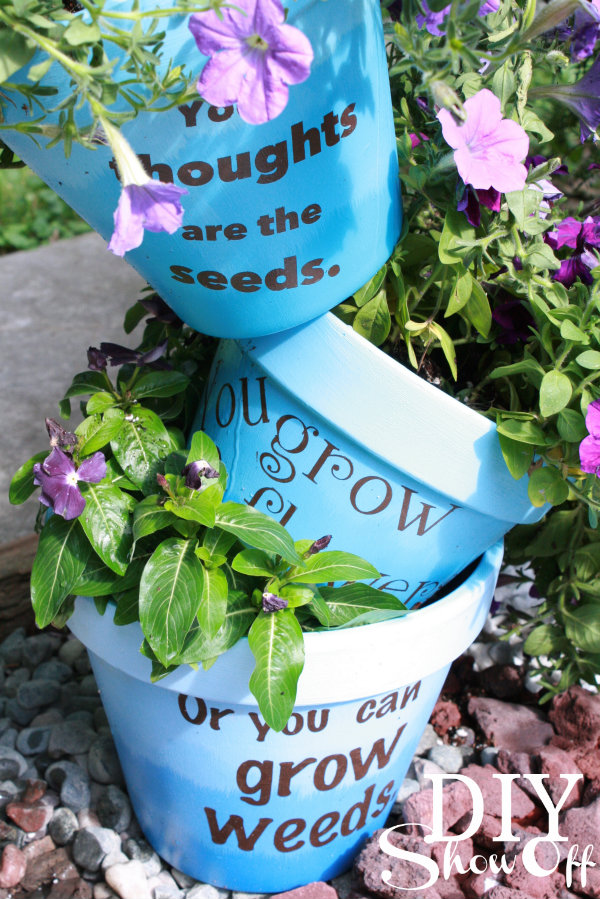
Your mind is a garden.

Your thoughts are the seeds.

You can grow flowers.

Or you can grow weeds.

making sure that the sizing was correct for each pot. I used my Silhouette Cameo to cut vinyl stencils.

Happy Crafters

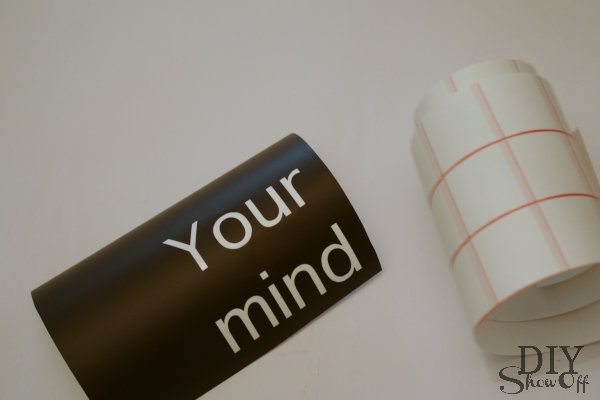
Since I’m using the vinyl as a stencil, I peeled away the lettering.

creating a vinyl stencil

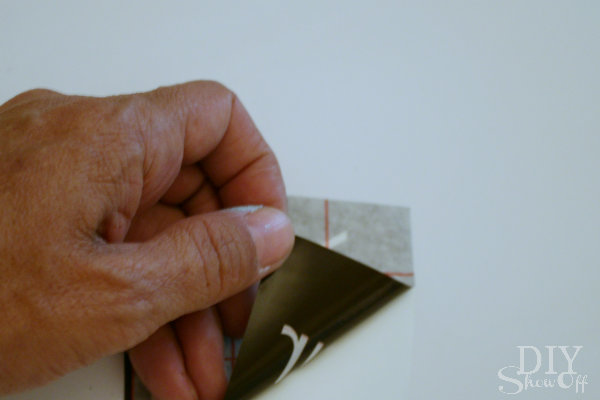
Applied the transfer paper and peeled away the wax paper like backing…

vinyl stencil

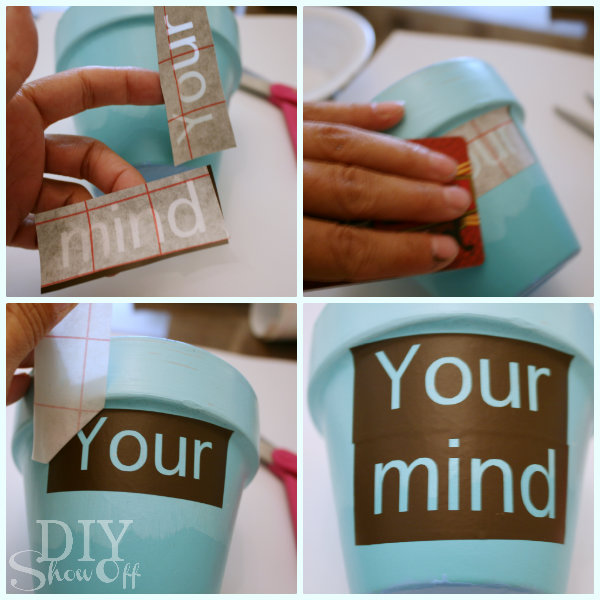
and applied the stencils to my terra cotta pots. Since the pots are curved, I found it easiest to apply each line of stencil text individually. Rub with a credit card then peel away transfer paper.

applying vinyl stencil to terra cotta

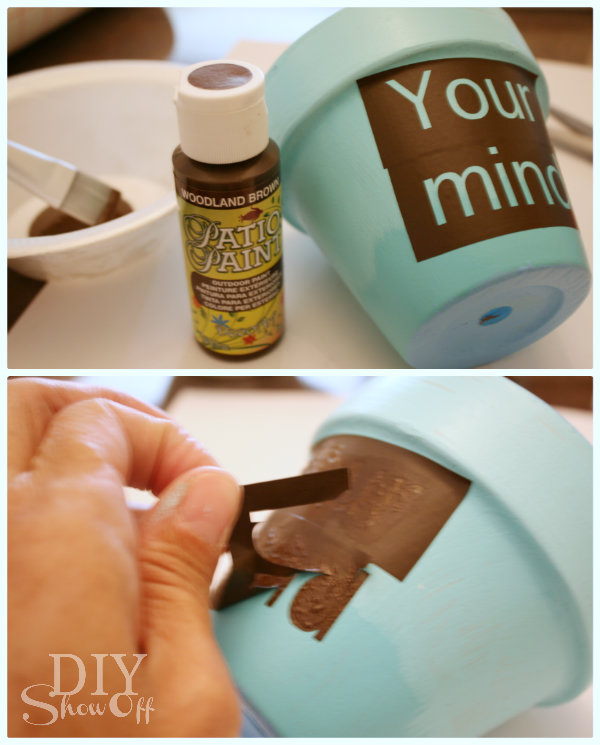
Next I filled in the lettering with brown patio paint.

stenciled terra cotta pots

I removed the vinyl stencils as soon as I was done painting and let everything dry for 72 hours according to the patio paint’s instructions.

painting and stenciling terra cotta pots

Then gave the insides and outsides a spray of protective clear coat. 

sealing painted terra cotta pots

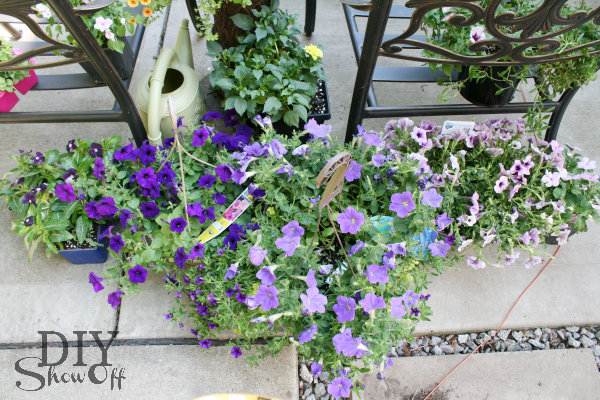
Once that was dry, it was time to plant! I even tried to find flowers in purples ranging from dark to light for more ombre effect… purple ombre flowers
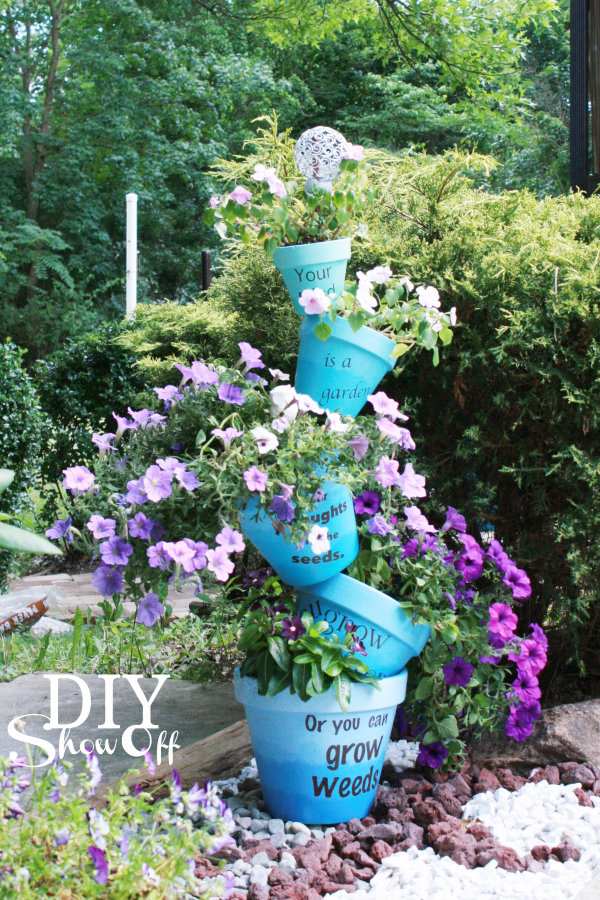
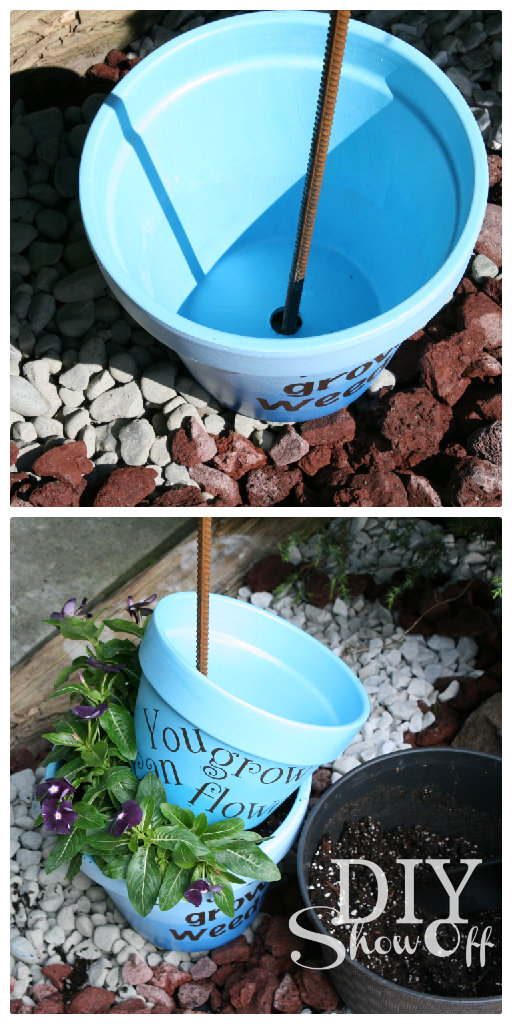
And followed Beth’s instructions for stacking my flower pots at Home Stories A to Z utilizing rebar.

stacking terra cotta pots


Watered them too. 

stacked ombre flower pots

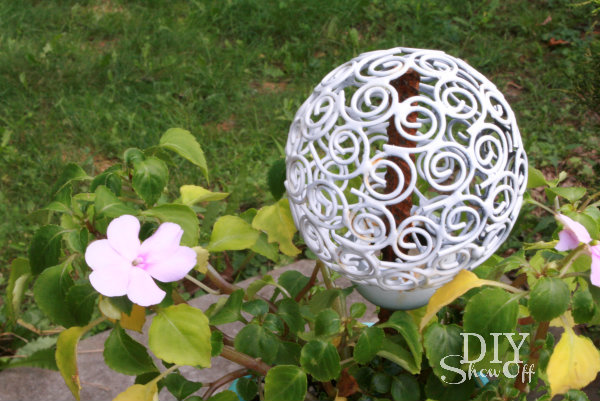
Then topped off the rebar with my finial…

finial

stacked ombre flower pots tutorial

Colorful and happy! More DIY planter tutorials:

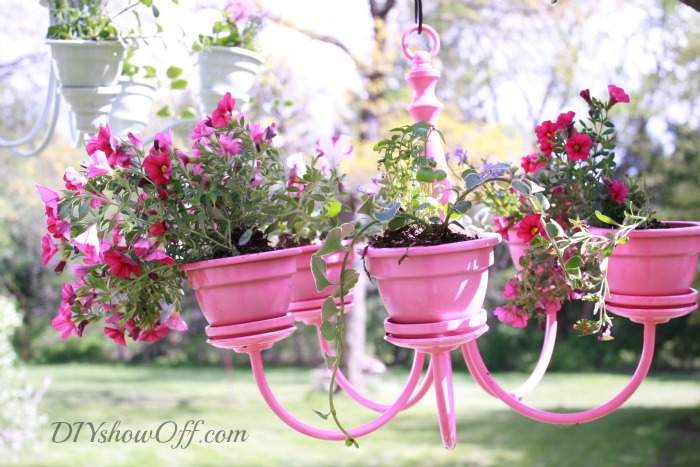
How to Make a Chandelier Flower Planter

pink-chandelier-planter


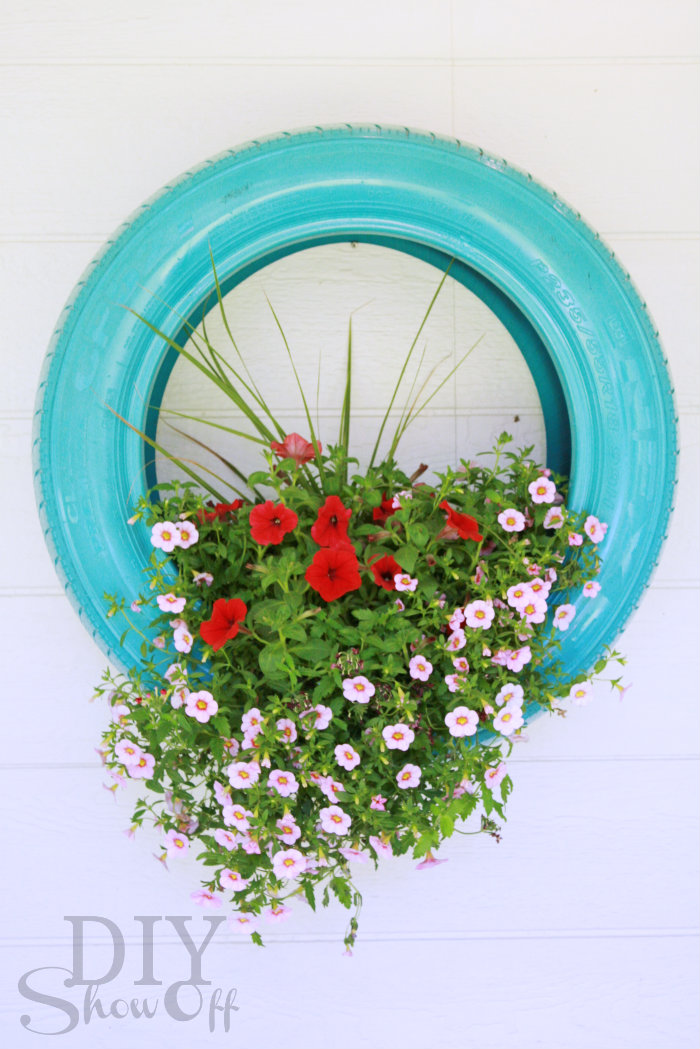
How to Make a Tire into a Planter

tire flower planter decor


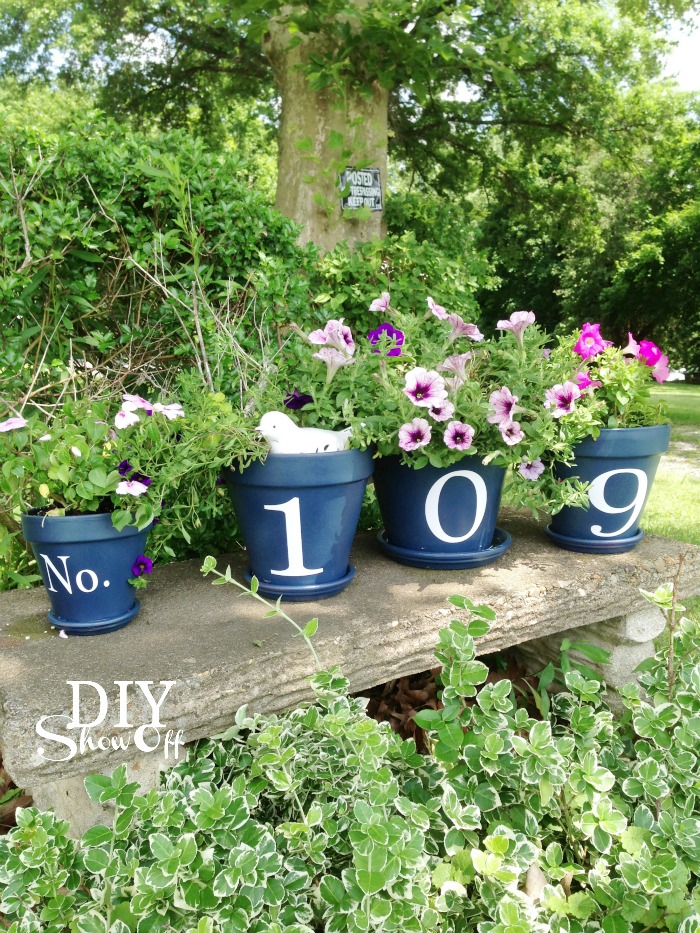
How to Make House Number Flower Pots

house number flower pots


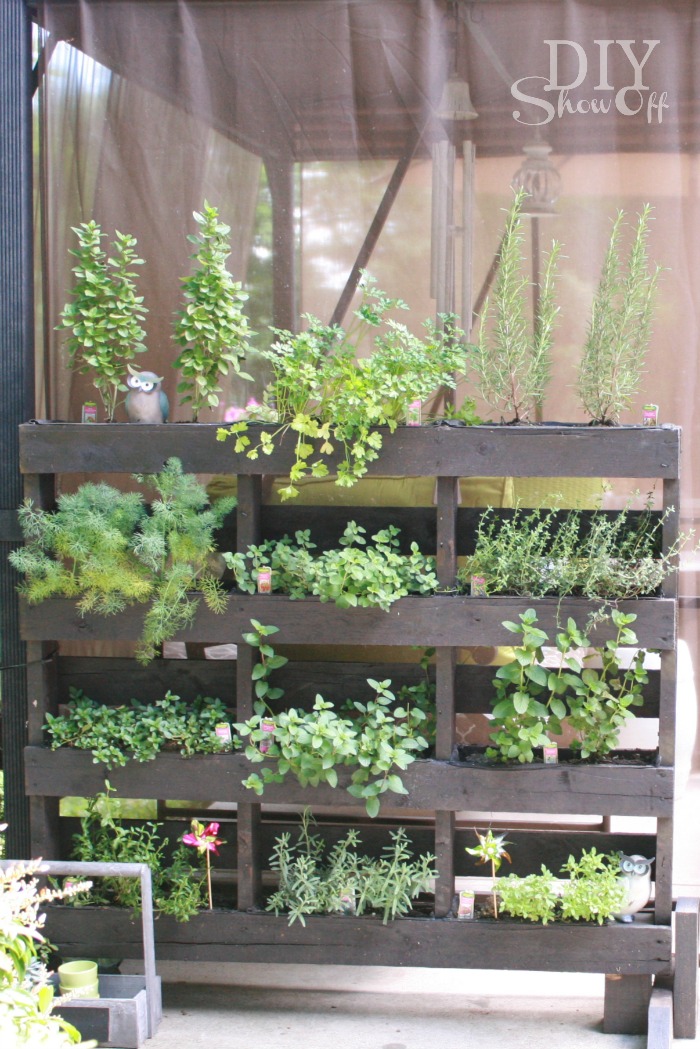
How to Make a Vertical Pallet Herb Garden

free standing pallet herb garden

This post is sponsored. Vinyl and transfer paper supped by Happy CraftersHClogopngsmall

Painted Stenciled Paneled Walls

Angel’s Room: When my sister planned her move from Florida to PA last summer, I can’t tell you how happy we all were! We love having her ‘home’!  The budget for decorating their rental home was super tight. I wanted to surprise my teenage niece, Angel, with some pretty and fun accents in her bedroom. I know it’s not easy for a 16-year-old to move away from friends, but we are so excited to have our family local again. I wanted her to have a welcoming, pretty space of her own.

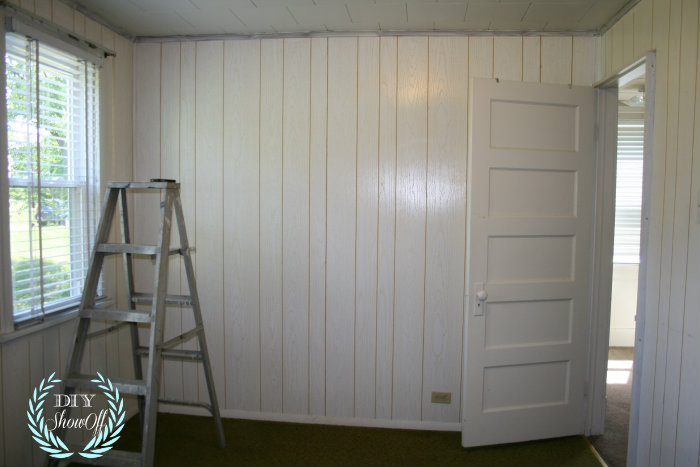
This blog post is sponsored by FrogTape. The walls are paneled (that old faux-paneling sheets) and since it’s a rental, we had no choice but to ignore the ugly green carpet.Thankfully it was clean, only in this one bedroom and in decent shape.

paneled walls before

Rental Tip: It never hurts to ask the landlord if cosmetic changes/home improvement materials can be reimbursed or if material receipts can count as cash towards the security deposit. I’m almost always given a green light. Free labor for the home owner and more personal choices for the renter.

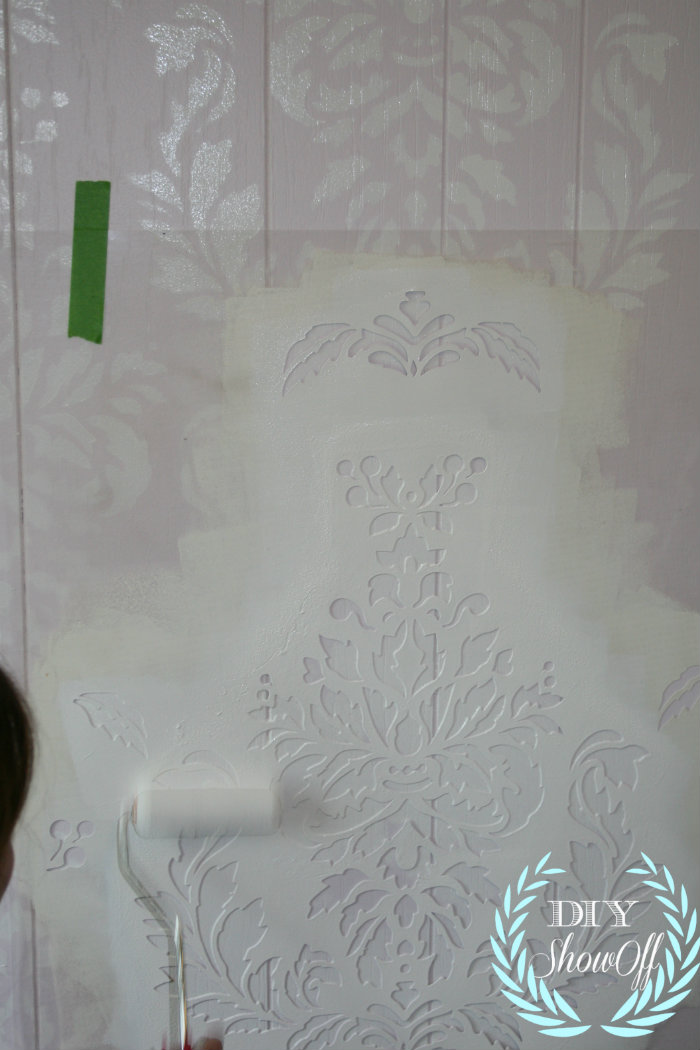
With permission from the landlord to paint the paneled walls, I chose a Valspar Signature Paint + Primer. Color is “Lilac Mist”. Painting paneling is NOT fun. All of those grooves. Hard work! But it is worth the effort. The next day, I then used my damask Cutting Edge Stencil (held in place with a piece of FrogTape) and simply rolled on the stenciled design using leftover white paint.
damask stencil

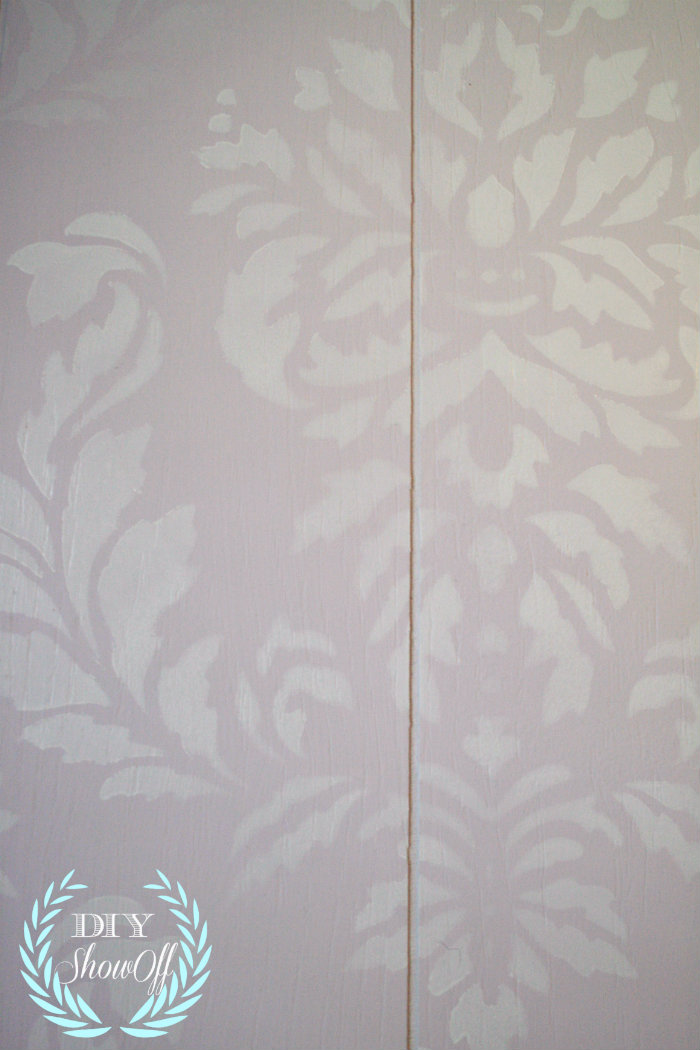
The result is very subtle and so pretty…

lilac and white damask

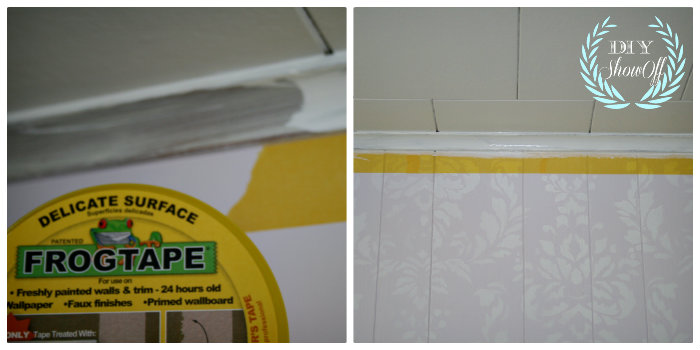
I let the paint dry for a day before using FrogTape Delicate on the walls so I could paint the moulding around the room…

FrogTape Delicate

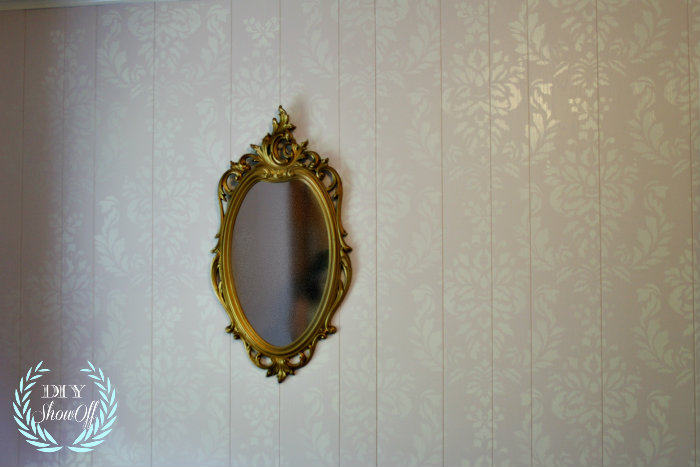
Pretty, isn’t it? Light, soft and subtle and much better! Even the landlord approved.

paneled damask walls

{reveal pictures will be better quality!}

Next up: some thrifty wall decor and room accents.

*This sponsored by FrogTape. FrogTape provided by Shurtech. The opinions are completely my own based on my own experience.

 FrogTape Blog Squad

Tips for painting a herringbone patterned accent wall

Apartment progress!

Herringbone Accent {on textured} Wall

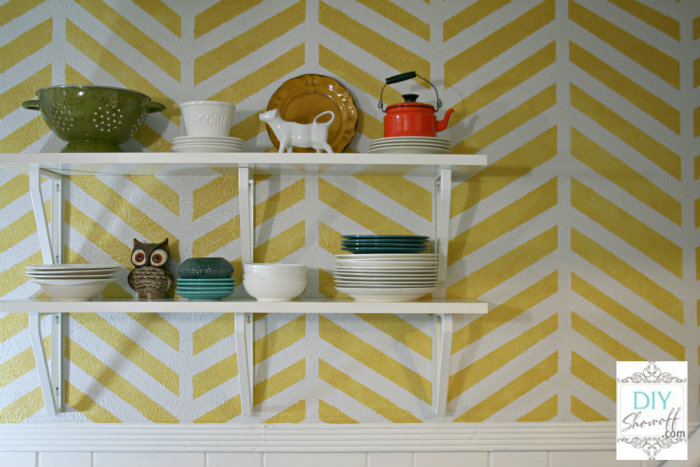
I’ve shown sneak peeks of the apartment renovation progress and you’ve likely seen the herringbone-like accent wall in the kitchen area…

painted accent wall

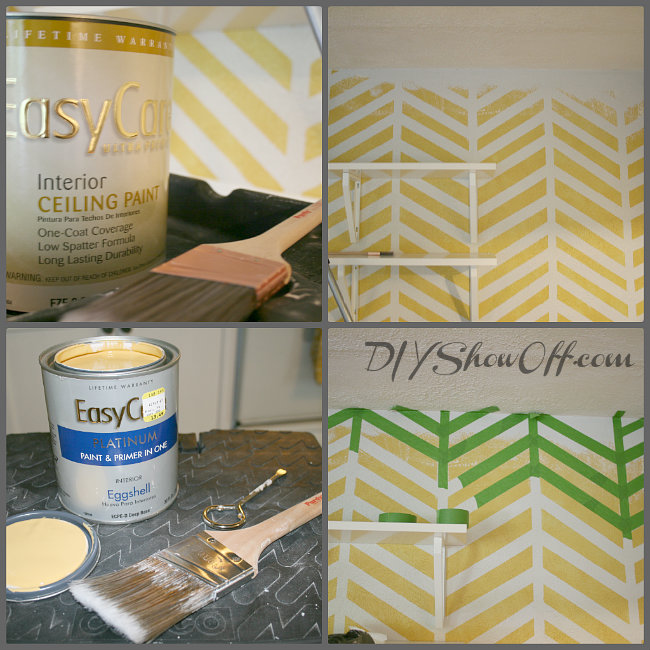
Base paint color: True Value Easy Care – Baby Elephant (soft neutral gray) & Accent color: True Value Easy Care – Sweet Honey

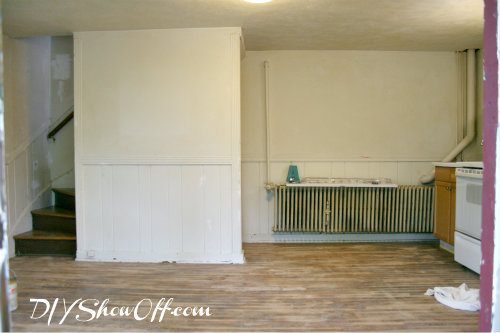
Since we own this rental space, I was able to get a little creative in adding a fun accent wall as a backdrop behind some open shelving. Before paint…

apartment walls before

Yes…I have ‘plans’ for a DIY radiator cover but I must confess that I feel it’s a LOT ambitious and I’m scared. Working up the courage to give it a try sometime this month. Anyway, after paint {including painting kitchen cabinets and Rustoleum Countertop Transformations}:

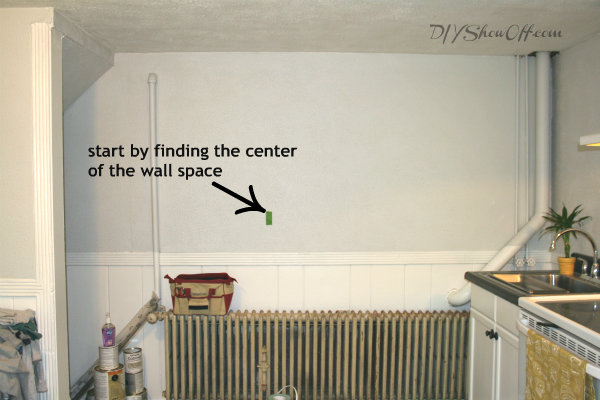
find center of wall

The open wall space above the wainscoting was the perfect spot to display open shelving as a solution for more storage/organization in this tiny apartment. True Value’s Easy Care Platinum and FrogTape were all I needed to add some interest to a flat textured wall. The pattern also helps disguise the un-hidden pipes. I put together a quick tutorial video using my iphone {pardon the portrait orientation, poor quality…amateur videographer but working hard on getting better!} explaining how I achieved the herringbone pattern:

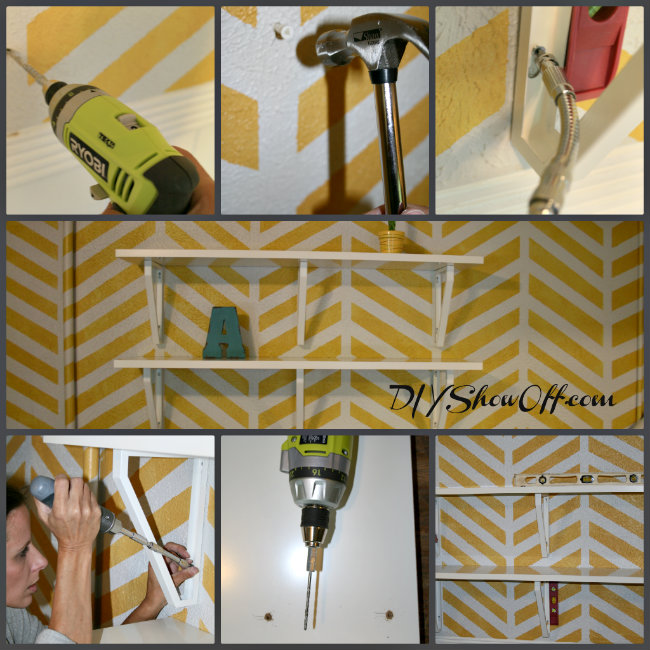
The wall was finished and I was so happy to be able to move forward on the renovation! Shelves are budget friendly Ekby shelving and brackets from IKEA… IKEA Ekby

{installation was super easy using the Master Mechanic Swift Driver!}

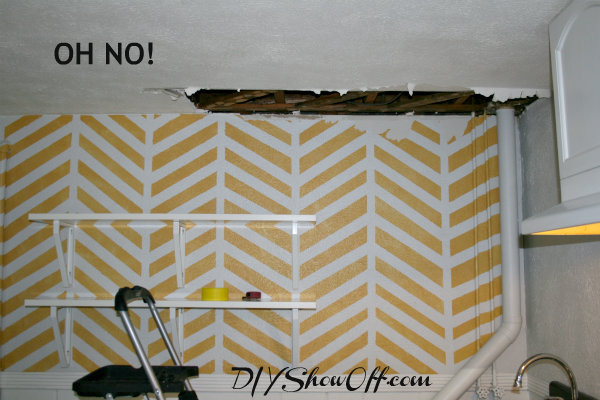
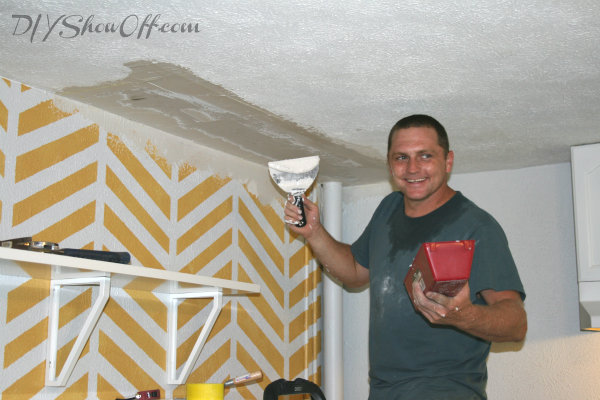
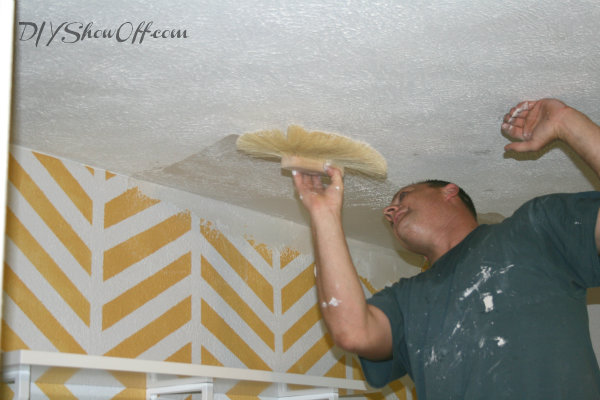
Woo hoo! painted accent wall And just when I felt super good about a little DIY success, something went wrong upstairs with the plumbing. The joys of DIY… upstairs plumbing leak I was just too exhausted and heartbroken to deal with it. My Mr. DIY fixed the plumbing issue in the bathroom above and Bri’s boyfriend, Steve, saved the day by patching the ceiling below. patching ceiling textured ceiling and I set about touching up the paint… touching up paint Now, all done for real… herringbone accent wall If you missed it yesterday, I shared the hardwood floors before/after refinishing:

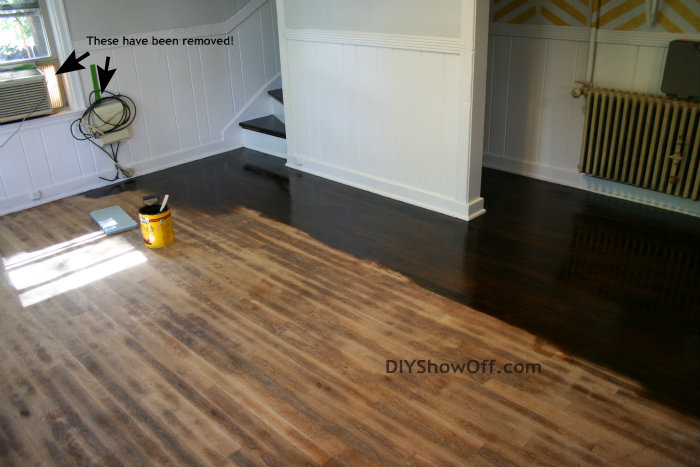
staining hardwood floors

More apartment renovation, decorating and furnishing coming soon!

TDC Before and Afterbest diy

We were chosen by True Value to be one of the members of the 2012 DIY Squad. I have been compensated for the materials needed for my DIY projects. However, the thoughts and opinions expressed are completely honest and my own. I have not been paid to publish positive comments and no one has twisted my arm to participate.  This is a sponsored post brought to you by FrogTape. The opinions are completely my own based on my own experience.  FrogTape Blog Squad