DIY Project Parade Highlights – showing off some awesome DIY friends.

Thanks for stopping by and joining the party on a weekly basis. I can’t tell you how much it means to me with all of the amazing parties going on. I hope that the DIY Project Parade is an event which introduces you to new friends and a place to find the latest DIY inspiration from some awesome DIY talent.

I welcome every single guest and I’m so glad you take the time to show up, link your projects or visit our friends sharing their creativity! Here are a few highlights you may have missed…

FAVORITE ROOM REVEALS

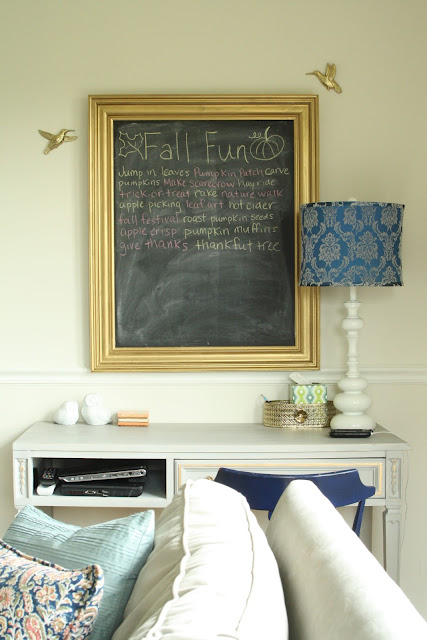
Cassie from Primitive & Proper shares a couple of sweet updates. One on a special little girl, Cora, who could use our continued thoughts and prayers and another on her beautiful living room updates.

living room updates - Primitive & Proper

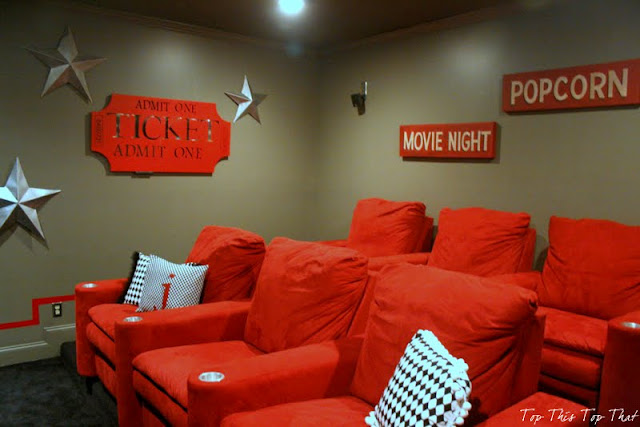
Laura from Top This Top That shares her super fun media room filled with so many sweet DIY accents! Imagine having a movie theater in your home?! (Maybe you do, but I don’t … yet and Laura’s is such great inspiration!)

DIY media room

Bridgette from Osie Moats shares a sneak peak of her beautiful cottage dining room. Dreamy!

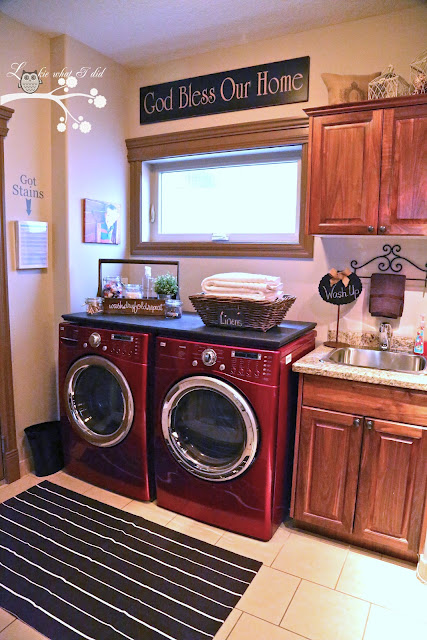
Missy from Lookie What I Did has one gorgeous laundry room reveal! I’d share every image but I think it’s best if you visit her for more pictures, storage ideas and links to several awesome DIY details. Wow!

laundry room reveal - Lookie What I Did

FAVORITE DIY HOME DECOR

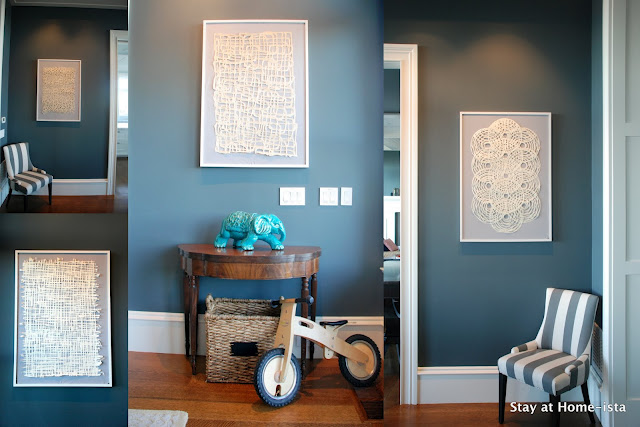
I love when creative, easy DIY makes a HUGE statement, especially when it turns out to look like something from a gallery. That’s what you’ll find this past week from Jessica at Stay at Home-ista: linen and paper DIY art! Wow!

DIY linen and paper wall art - Stay at Home-ista

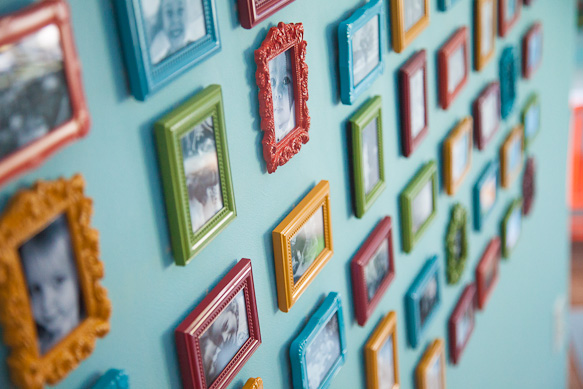
Have a box of photos NOT in an album? Or need a fun creative inexpensive way to create beautiful personalized wall art? Love wall galleries but don’t know where to start? Did you see this super cute snapshot wall gallery over at It’s Two A.M.? Loooove the fun colors and mix of pretty frames…

snapshot wall gallery

FAVORITE FAB DIY FURNITURE

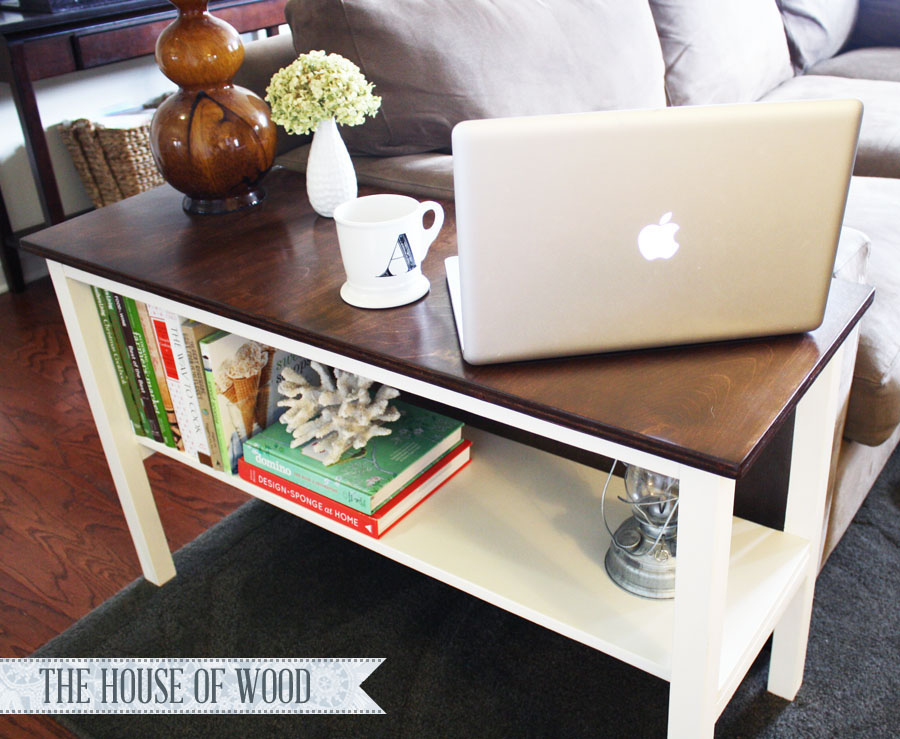
Jen from The House of Wood is soooo good at building furniture. I love her most recent: how to build the perfect end table. Love the shape!

DIY end table - House of Wood

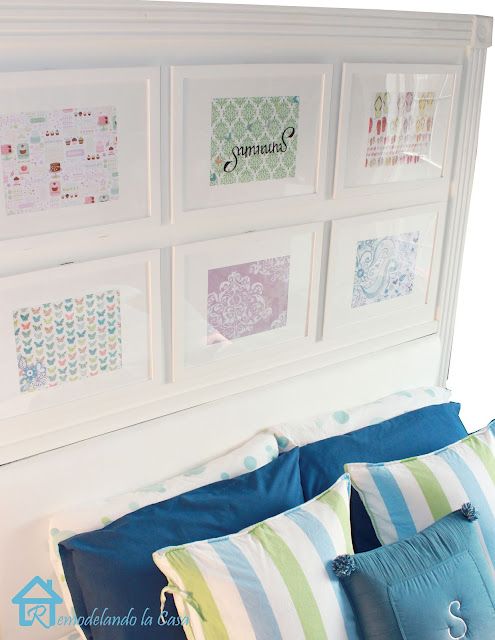
I’m including this under “furniture” because that’s what I consider a headboard, don’t you? How fabulous is this picture frame headboard from Remodelando la Casa? Cristina shares how to make a this unique picture frame headboard.

picture frame headboard at Remodelando la Casa

FAVORITE CRAFTS

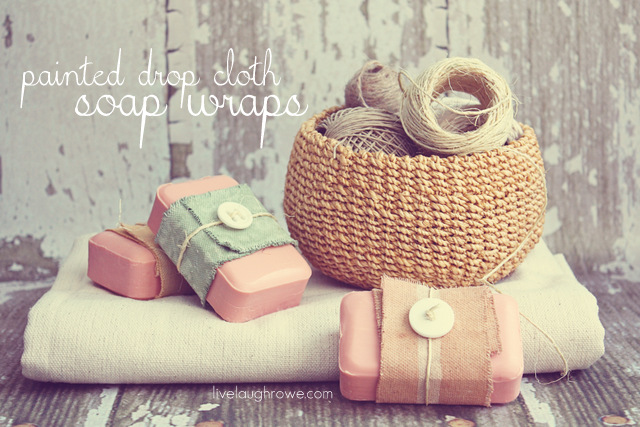
Kelly at Live.Laugh.Rowe always has the cutest projects and this past week was no exception when Kelly shared her painted drop cloth soap wraps. Counting down the days to filling stockings? This is a sweet idea!

DIY soap wraps - Live.Laugh.Rowe

So, big round of applause for these talented ladies! Better than applause, they’d love for you to stop by and leave a comment on original posts and pin from there! And I’d feature every link if I could but since that would be the longest blog post in history, visit last week’s DIY Project Parade to see so much more inspiring creative DIY. And if you were featured, don’t forget to grab your button. 🙂

DIY Show Off
<div align="center"><a href="https://diyshowoff.com" title="DIY Show Off"><img src="https://i899.photobucket.com/albums/ac195/Roeshel/DIYprojectparadeFEATUREDMEBUTTON.png" alt="DIY Show Off" style="border:none;" /></a></div>

Have I told you lately how much I love it when you stop by? With traveling to the apartment for renovating, I feel like I miss so much…not being able to sit in front of the computer. I can’t wait to be done and take a few days to get caught up. Thanks for showing up today and showing off your DIY. I hope to see you again at the DIY Project Parade!

DIY Show Off

DIY Signs and a girls’ DIY day…

Distressed Wood Sign Tutorial

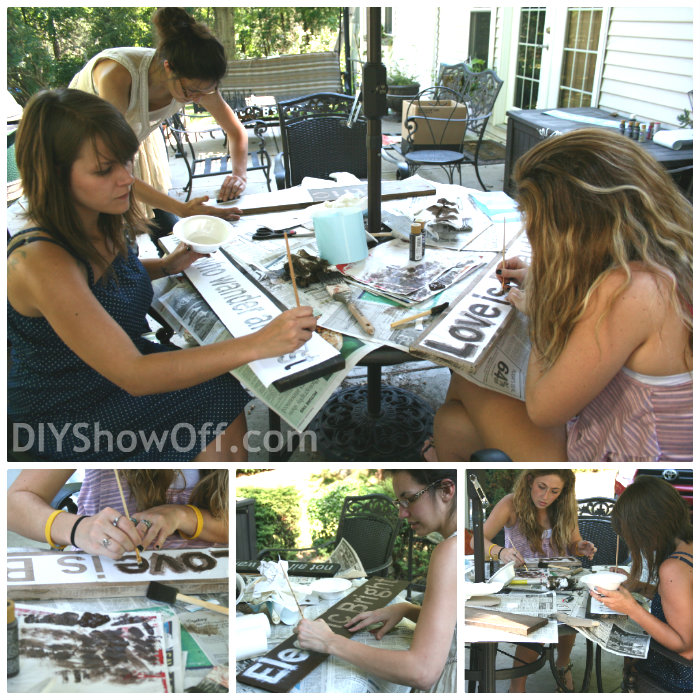
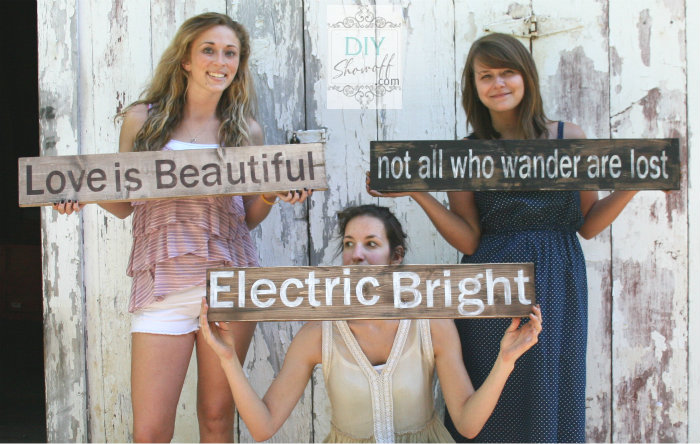
One busy day last week, when I wasn’t renovating an apartment, Bri and her friends {Amber and Megan} joined me for a morning of thrifting and in the afternoon while I was working on a wood plank DIY project {can’t wait to show you!}, they scooped up the wood scraps and created personalized signs. They did also give me a hand on a couple of projects I was working on so a barter of wood scraps for a little creativity was the perfect “thank you”. It was a super fun and productive day! Here is a tutorial for creating a DIY wood plank sign by Megan, Amber & Bri:

distress sign tutorial at DIY Show Off

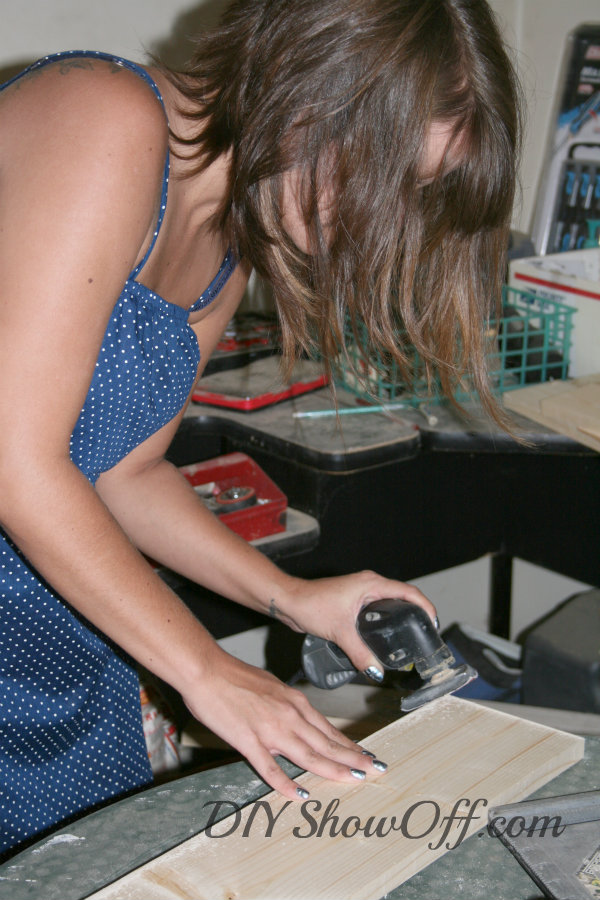
They each grabbed a board, my Dremel Multi-Max and sanded the edges. These girls are DIY divas! Affiliate link: Dremel 6300-05 120-Volt Multi-Max Oscillating Kit

DIY wood plank sign

Each girl chose a quote (or in Amber’s case the name of her upcoming Etsy shop – exciting and I’ll share more when she’s ready) and I used my Silhouette Cameo to create and cut out vinyl stencils. Affiliate link: Silhouette Cameo Starter Kit Bundle Cutter

They each went for a classic distressed/antiqued look.

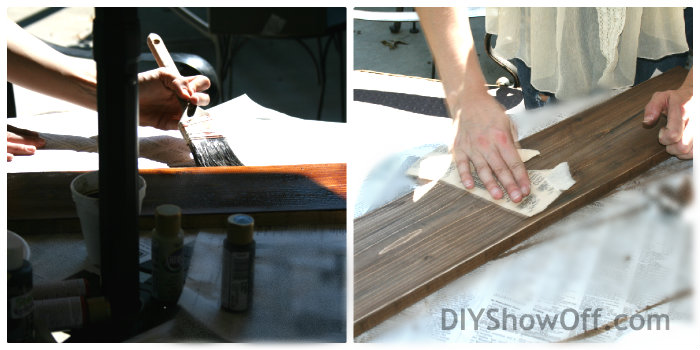
Bri chose a dry brush technique with black and a brown glaze.

how to make a distressed sign

Amber chose to distress with a stain.

how to make a distressed sign

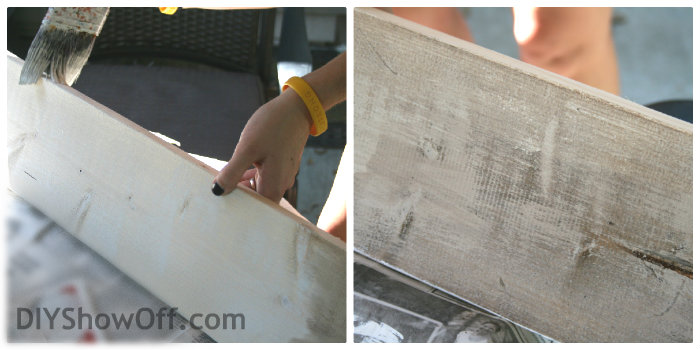
Megan did a white wash (dry brush technique) with a brown glaze.

how to make a distressed sign

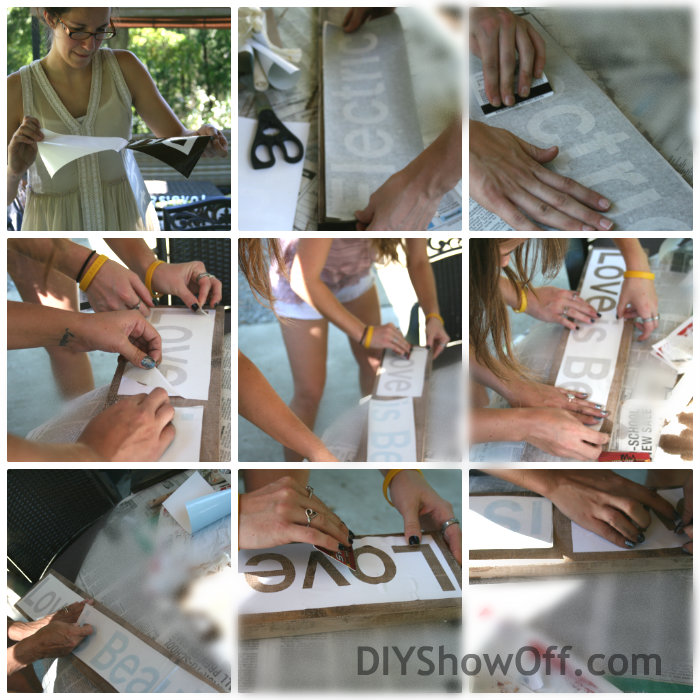
Silhouette vinyl was used as a stencil and applied to the painted/glazed boards once they were dry…

how to make a distressed sign

The vinyl was rubbed down with a plastic card to secure the vinyl to the board.

They each painted the letters for their quotes using craft paint…

how to make a distressed sign

and promptly removed the stencil.

how to make a distressed sign

It didn’t take long for their signs to dry. I love them all lined up. They look awesome!

how to make a distressed sign

And they each took home a sign to display in their homes…

how to make a distressed sign

So easy. So pretty! (the signs are cute too! lol!)

Have an amazing weekend! I’ve been working on details to help out with a family reunion for Saturday so I won’t be around but hope to see you Sunday at the DIY Project Parade!

More DIY sign tips:


Thrifty Treasure Transformation – colorful candlesticks

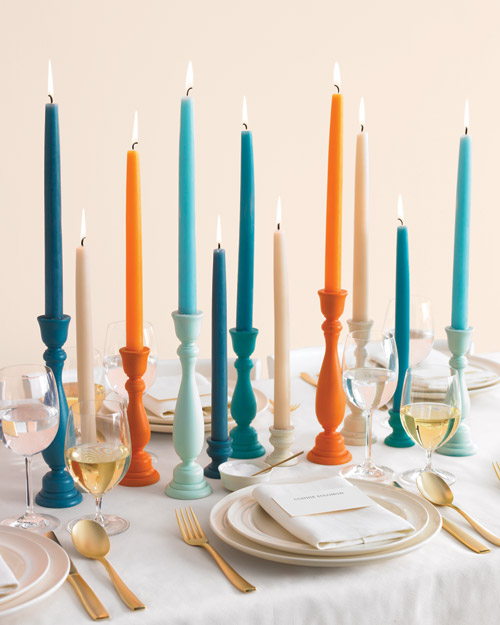
I shared this over at the DIY Club a few weeks ago but wanted to share here too. When I saw this Martha Stewart image…I loved the coordinating colorful candles and candlesticks.

colorful candlesticks

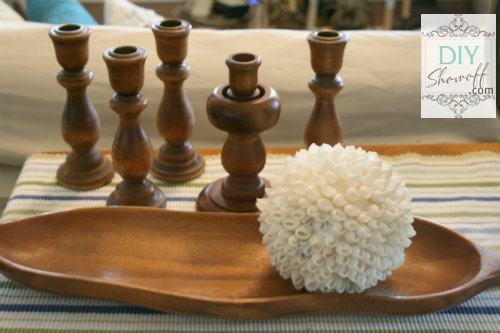
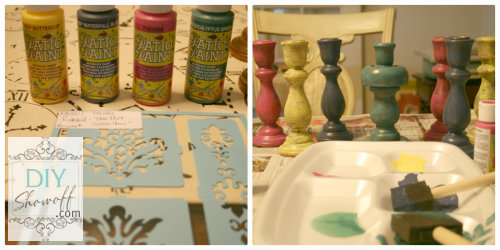
So, I started collecting wooden candlesticks from thrift stores and yard sales…

 wooden candlesticks

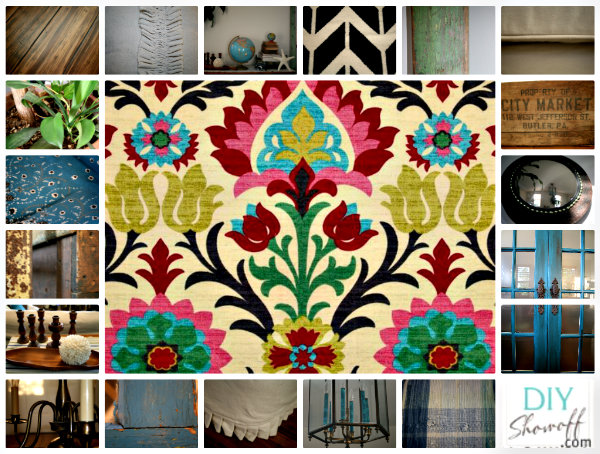
I wanted a fun colorful accent to go with our family room plans:family room design

What I used:

  • Wooden candle sticks
  • Candles (color matching my Patio Paints)
  • Deco Art Patio Paint (dark eucalyptus green, waterfall, fuchsia, buttercup)
  • Deco Art Patio Paint reusable Home & Garden stick on stencils
  • dark glaze (TransTint Dye by Rockler)

How I did it:

1. I gave my wooden candlesticks a few coats of Patio Paint each. Because I didn’t sand the wood, I used a dry brush technique. I preferred an antiqued look. I let the candlesticks dry between coats.

2. I brushed on and wiped off my glaze (TransTint dye) to give it an old finish.

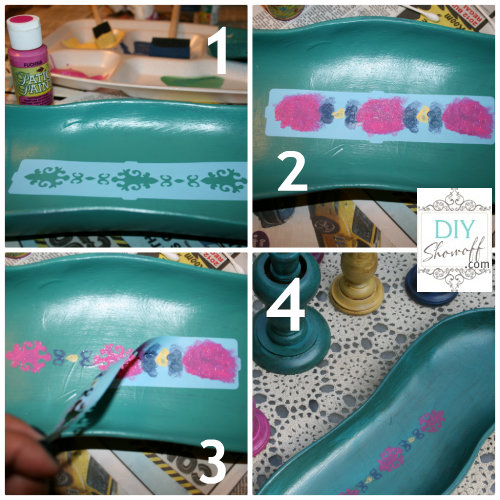
3. The Deco Art stencil was sticky (and reusable) making stenciling super easy:


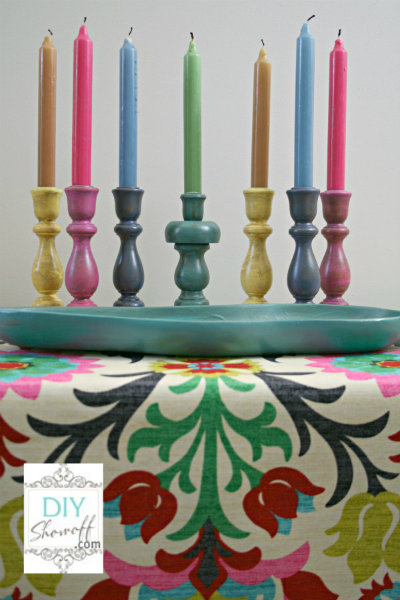
Ta-da!
painted candlesticks

{fabric is waverly santa maria desert flower – I’ll be using it for my drapes}

Love them – fun colorful accent to add to our family room…if I can ever get back to working on the makeover!

DIY Club
DIY Show Off - FacebookDIY Show Off - TwitterDIY Show Off - PinterestDIY Show Off - Feed