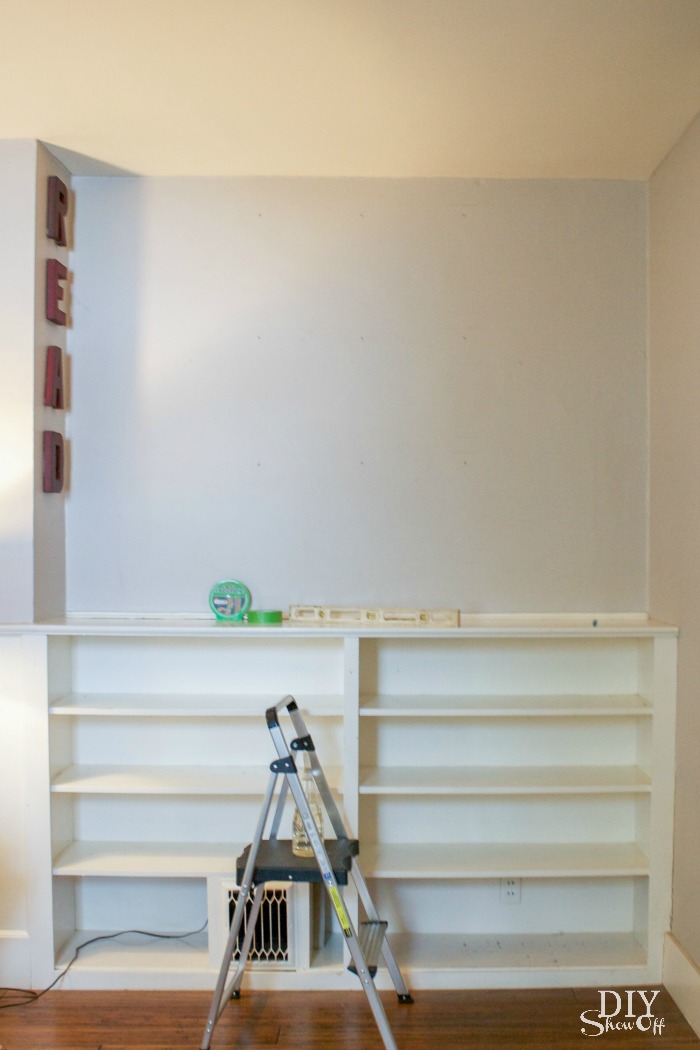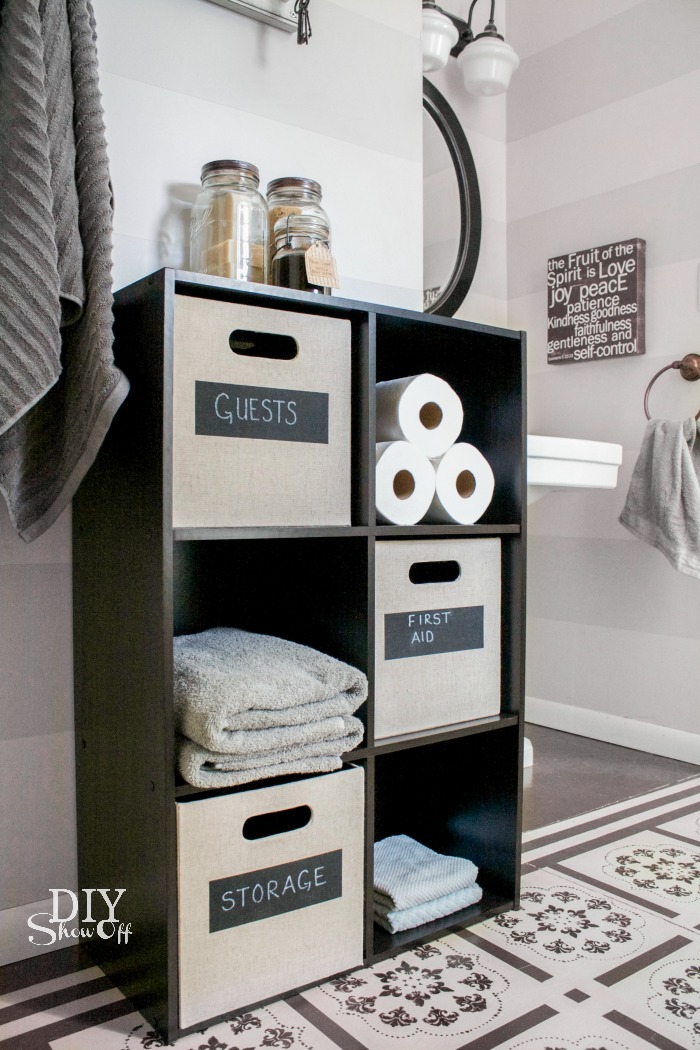
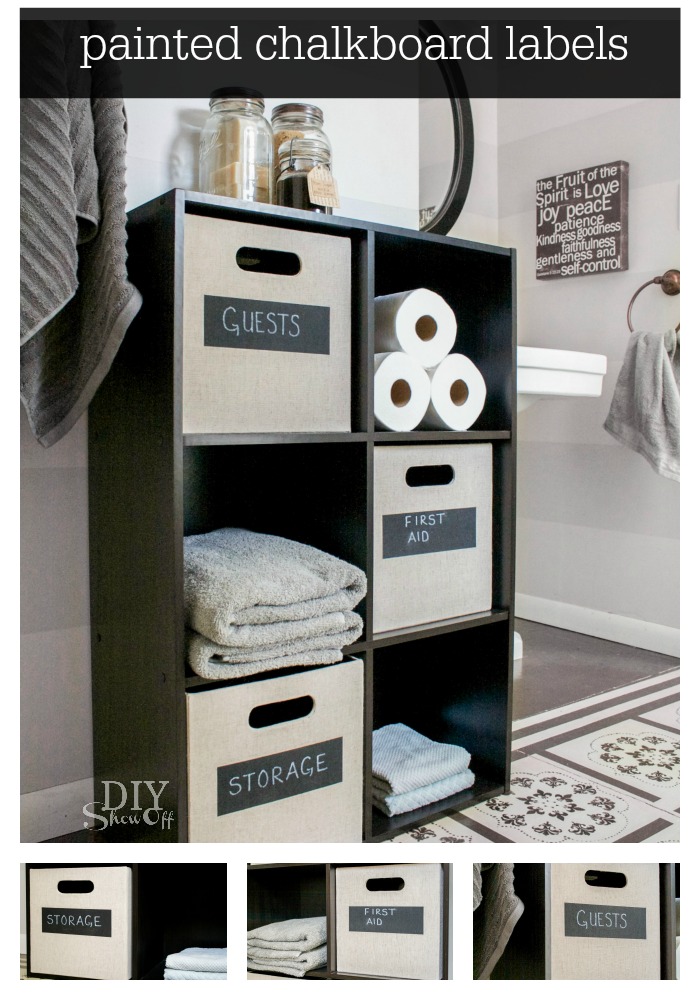
Our guest bathroom has some bins for keeping things stocked and organized. I know what’s in them, however guests have no idea. So I grabbed:
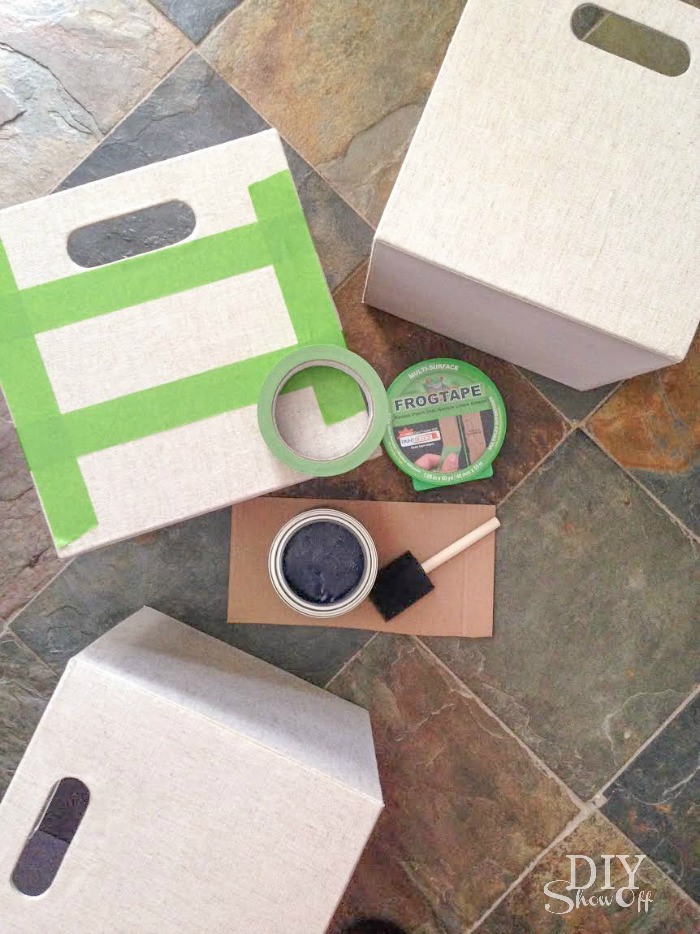
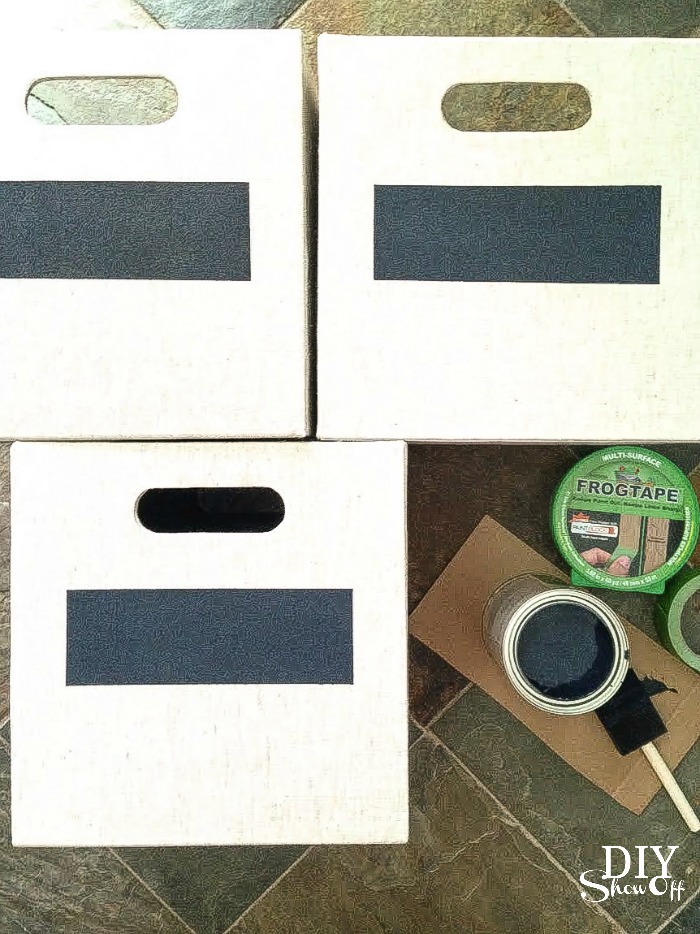
- the bins from the shelf in the guest bathroom
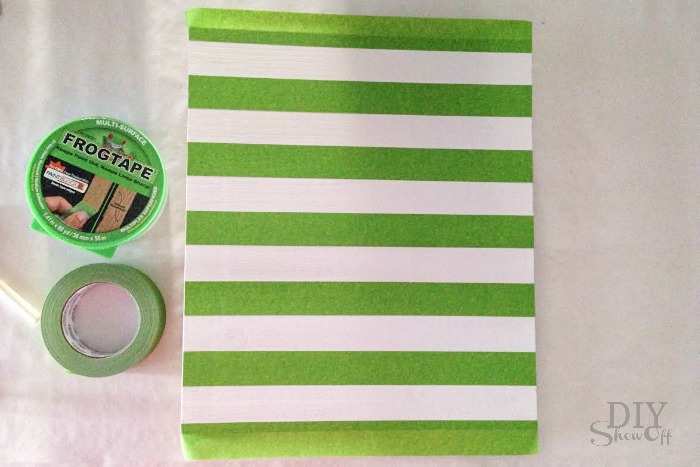
- FrogTape® Multi-Surface
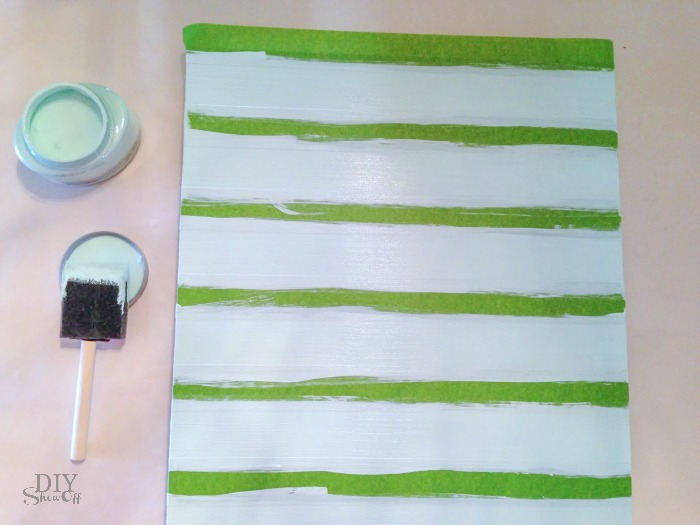
- chalkboard paint
- foam paint brush
Here’s what I did:
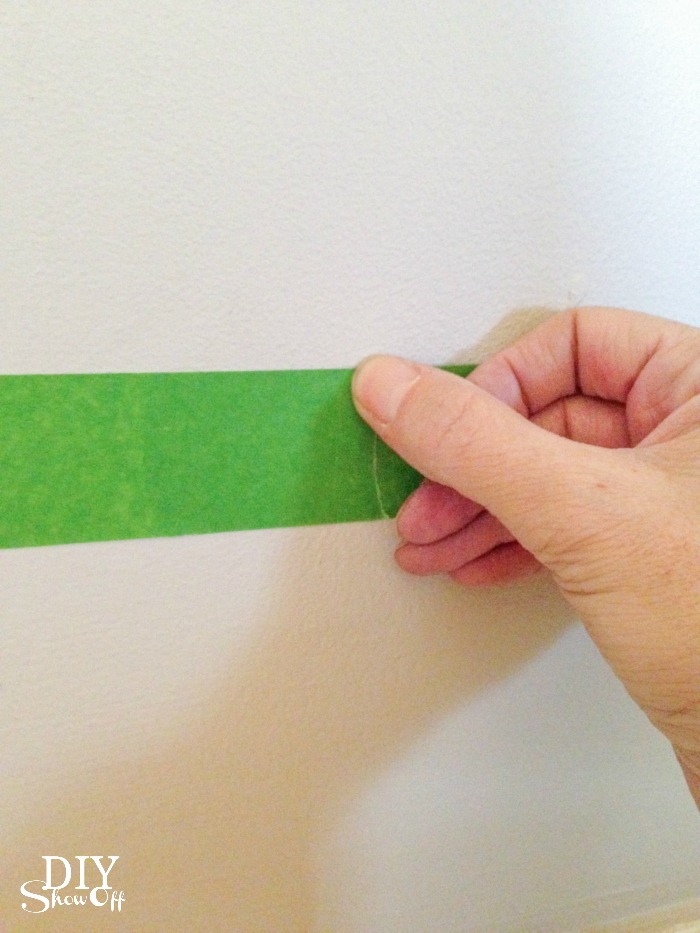
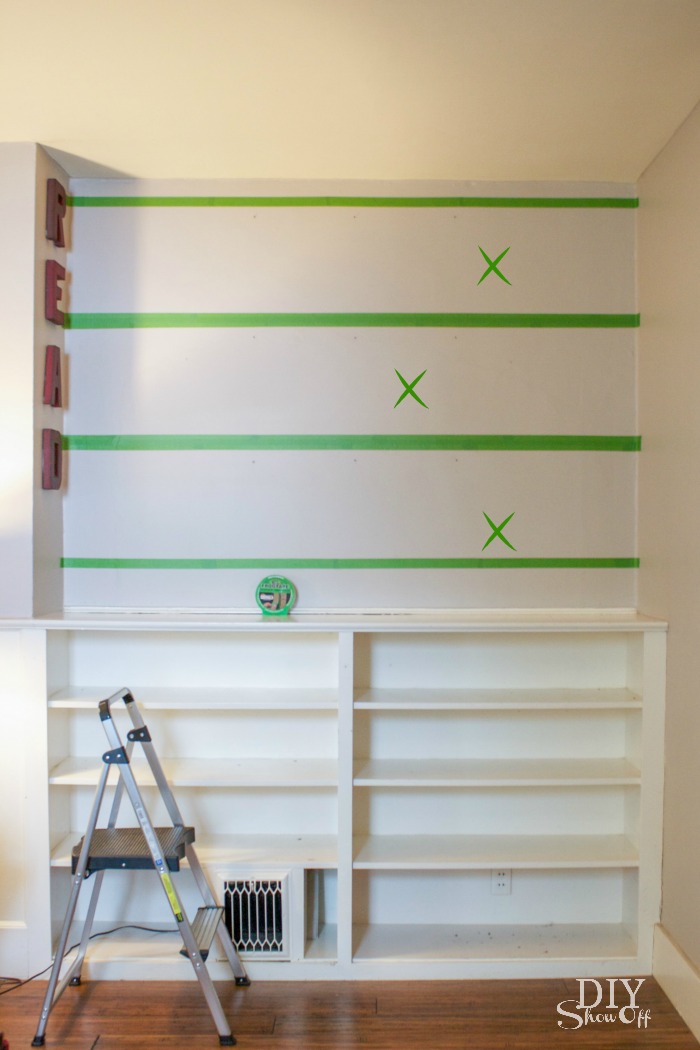
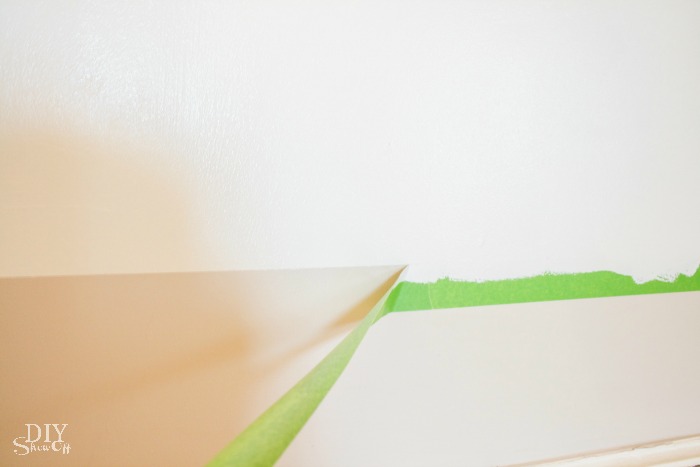
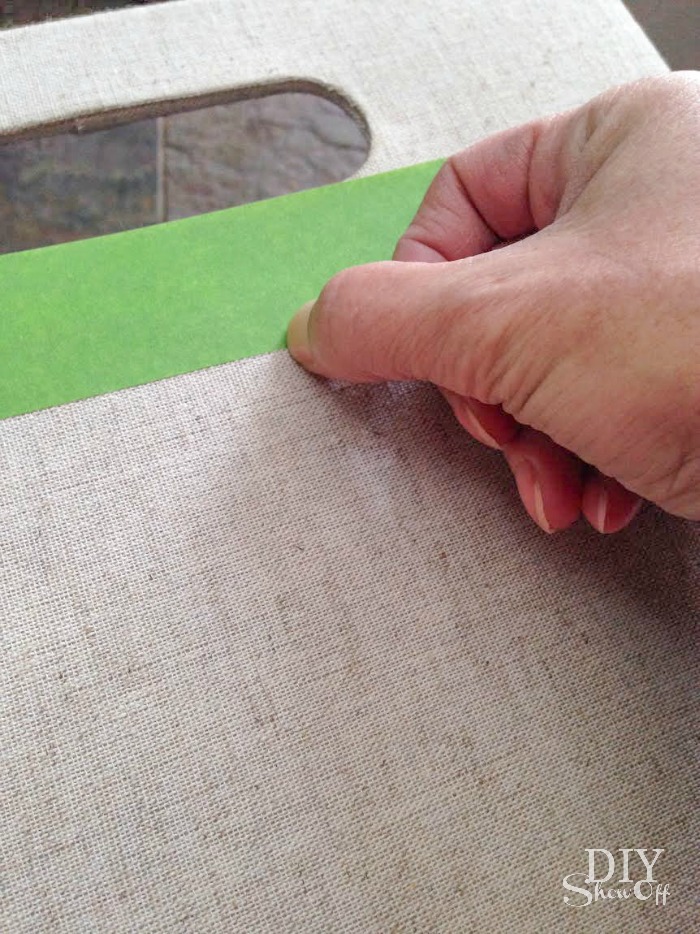
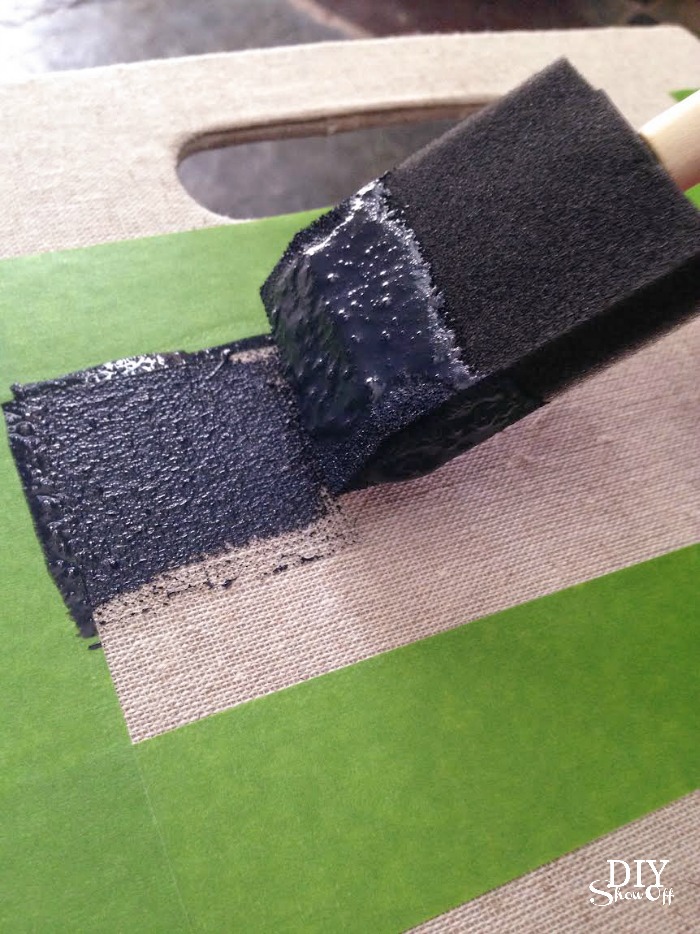
Using my FrogTape, I taped off rectangles onto the front of the bins….
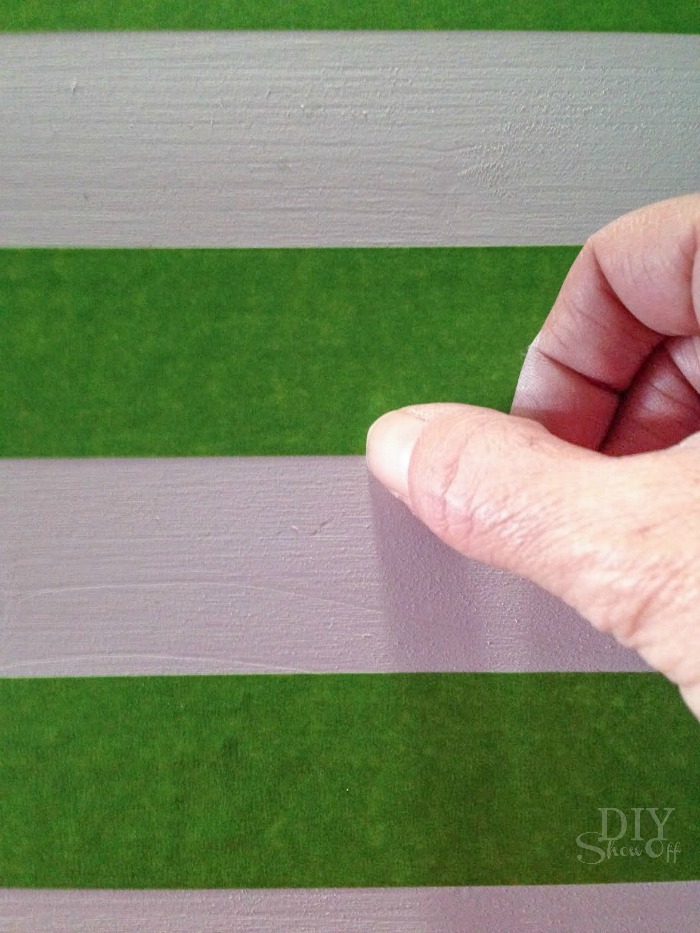
I burnished the edges of the tape with my thumbnail…
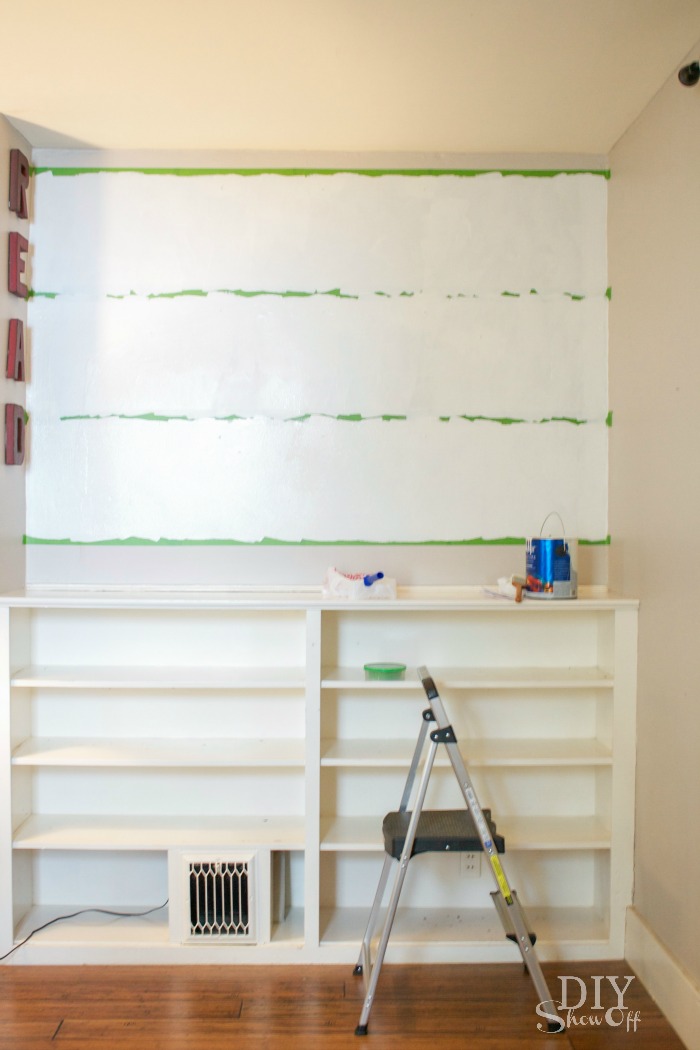
and gave each rectangle label area two coats of chalkboard paint.

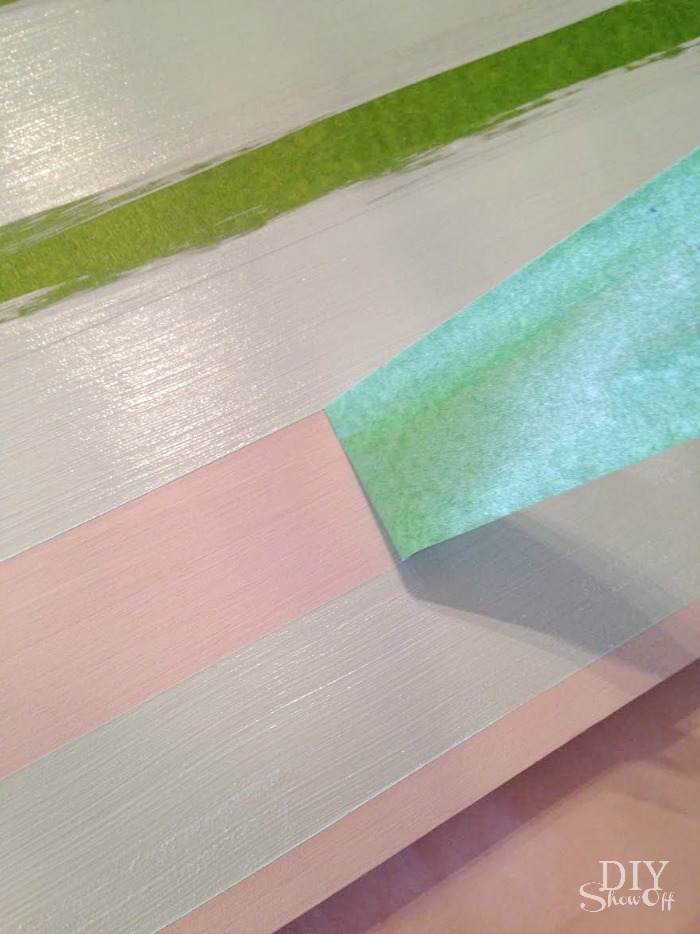
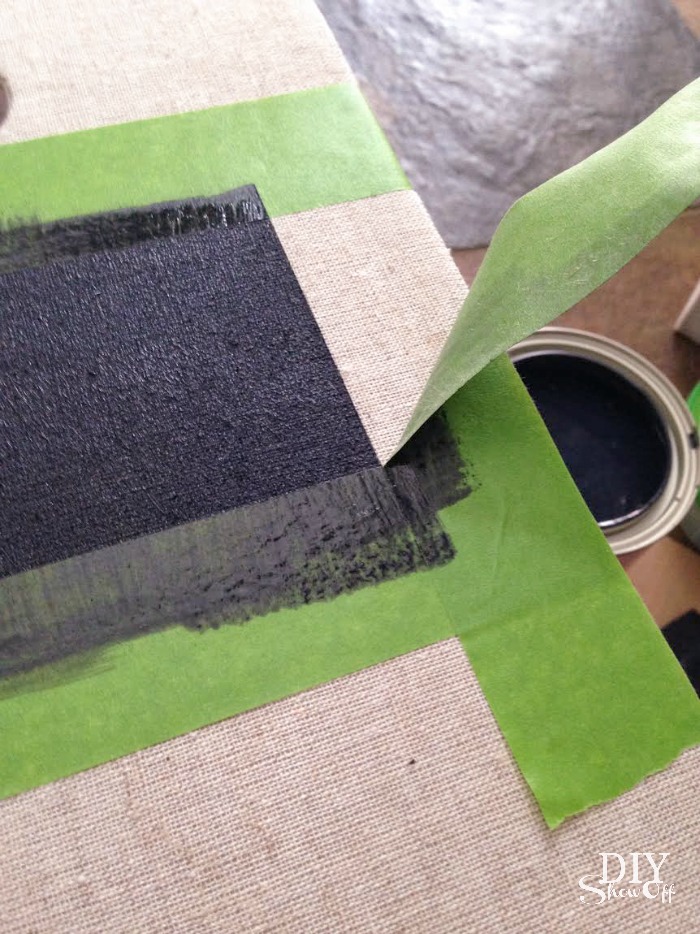
While the paint was still wet, I carefully removed the FrogTape to reveal crisp clean paint lines! I let the paint dry.
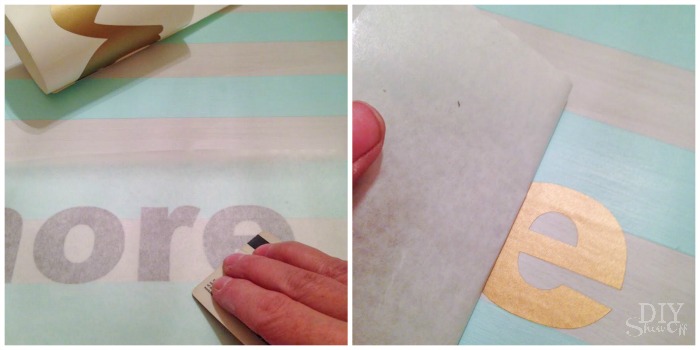
I labeled the bins using a chalkboard marker.
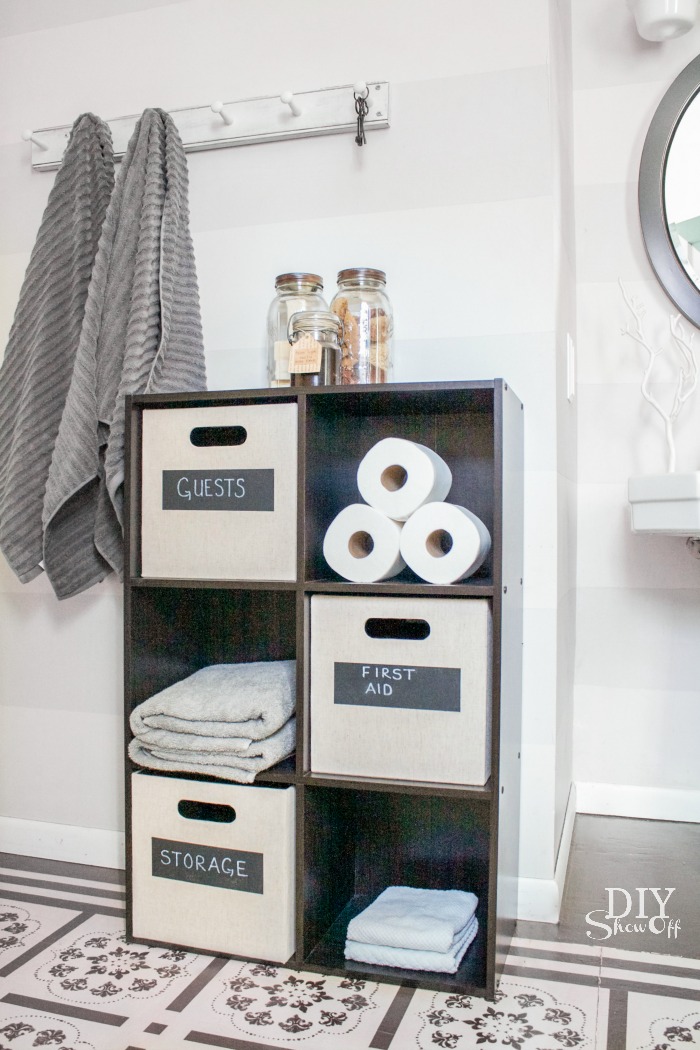
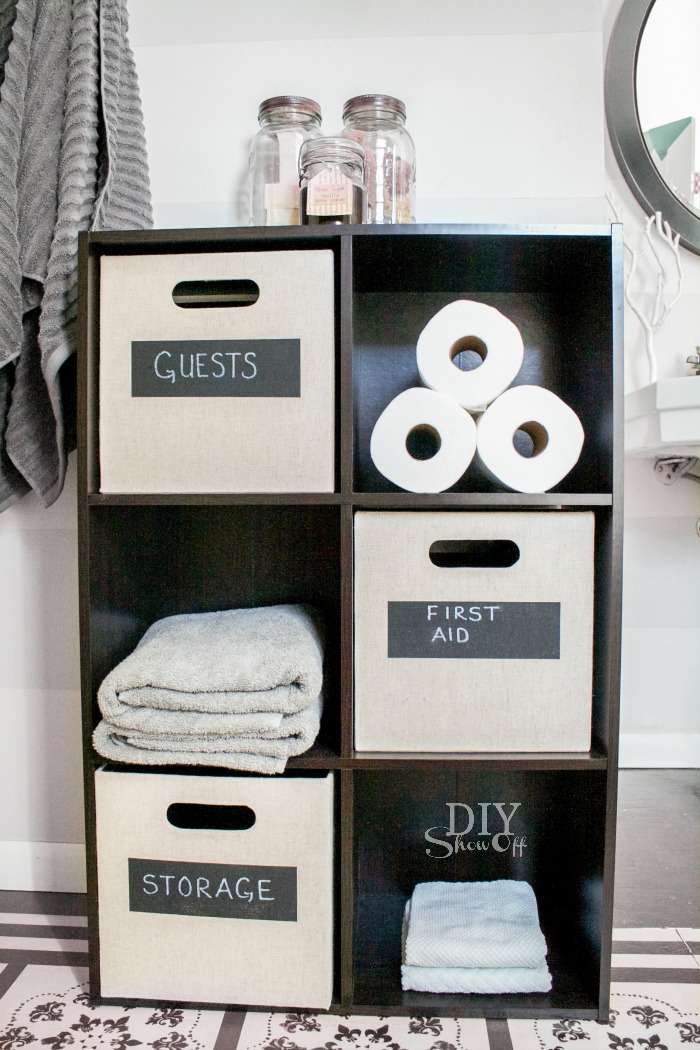
Now toiletries, first aid supplies and extras can be easily spotted.
![]()
Disclaimer: I received compensation to complete this project for using FrogTape® products. All opinions, projects and ideas are based on my own experience.