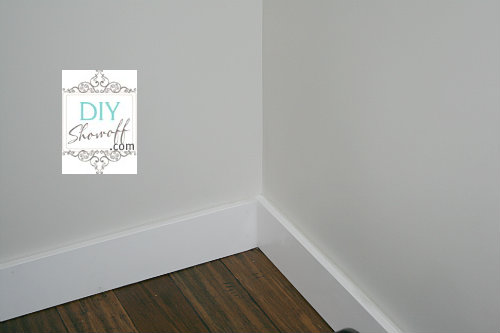
Family room DIY started with installing new baseboards (super easy tutorial) with bulky 1×5 boards…
and includes plans of beefing up the baseboards too. This project is sponsored by FrogTape. In an effort to “practice”, I choose to give it a trial run in our half bathroom.
The result: success!
Here’s what I did:
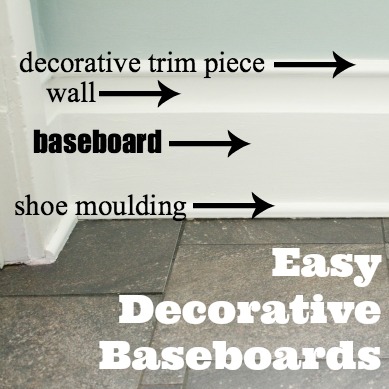
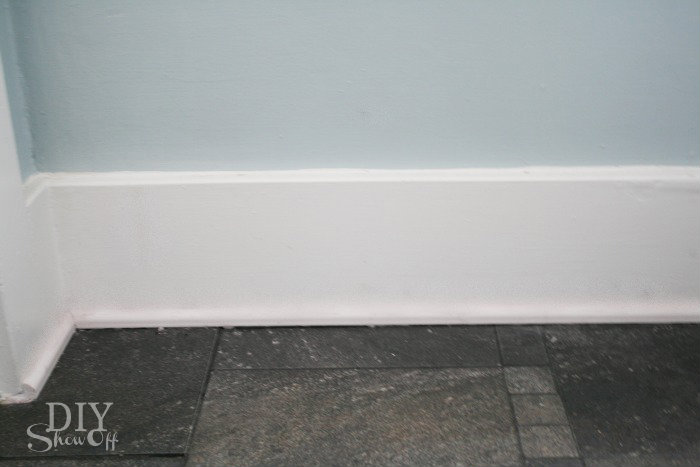
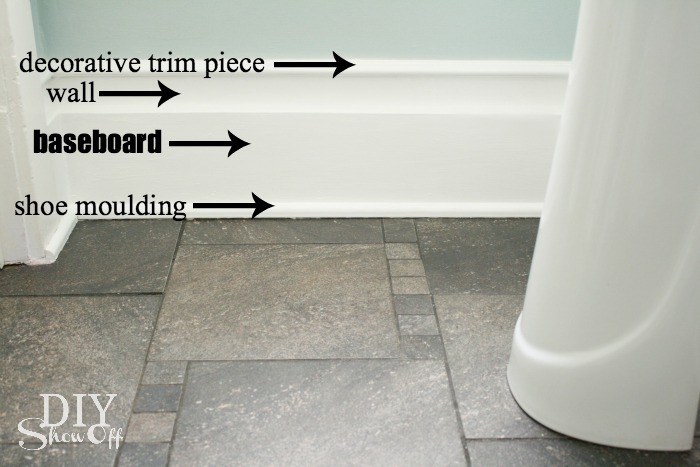
Before, baseboards are a nice chunky size with shoe moulding.
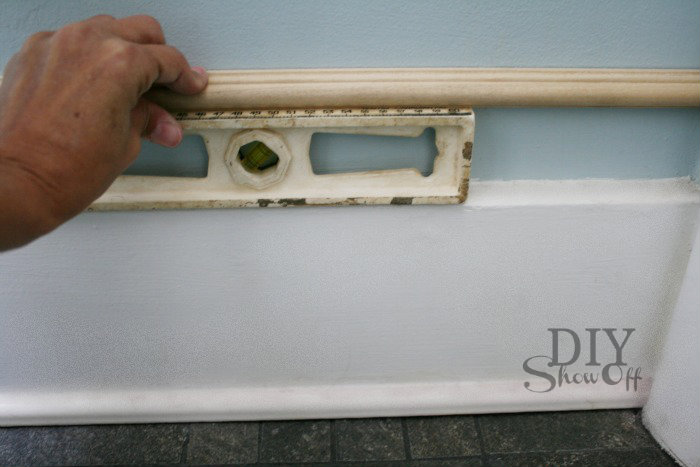
I measured each width and cut my skinny decorative trim to size (yes, tricky mitered cuts…you may want to purchase extra trim. Thankfully this skinny decorative stuff is inexpensive).
I used the spacing of my level to hold the trim in place. For a bigger room, I’d pencil a level line for leveling up trim while nailing into place.
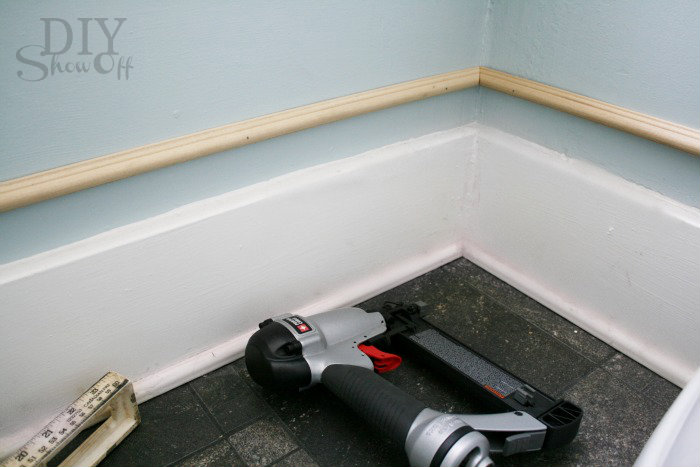
Using my nail gun and level, I nailed the trim into place.
Then caulked the cracks using DAP paintable caulking. Tips for caulking trim:
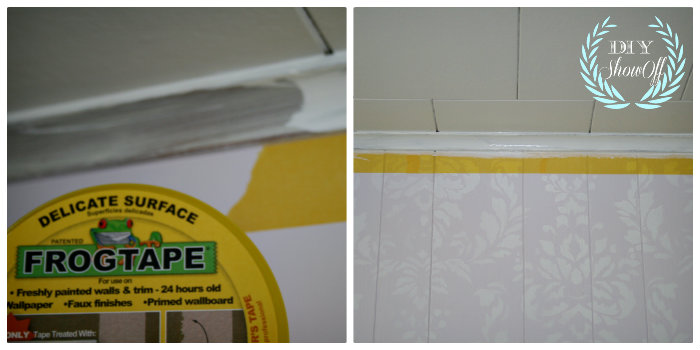
- Use FrogTape on the wall right next to the trim for a clean line.
- Dip finger in water and smooth caulk. Have paper towels on hand.
- Remove FrogTape before caulk dries. Then let caulk completely dry before painting.
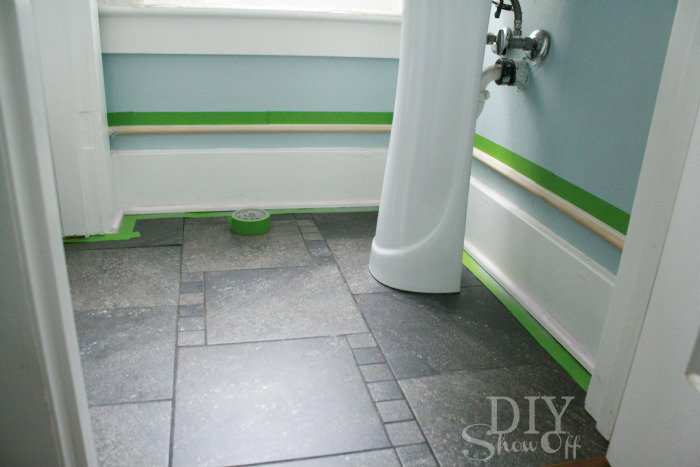
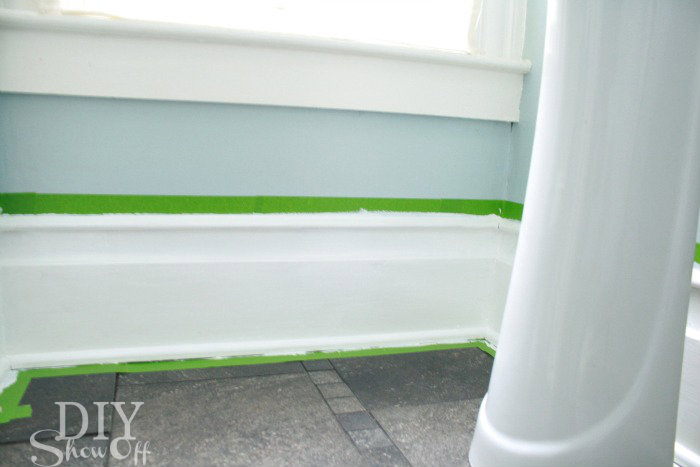
After the caulk was dry, I reapplied FrogTape to the wall and to the floor, pressing down where the FrogTape would meet the paint line to activate the Paint Block Technology (keeps paint from seeping under the tape).
Paint baseboard, wall and new trim. I used a primer + paint. And did two coats.
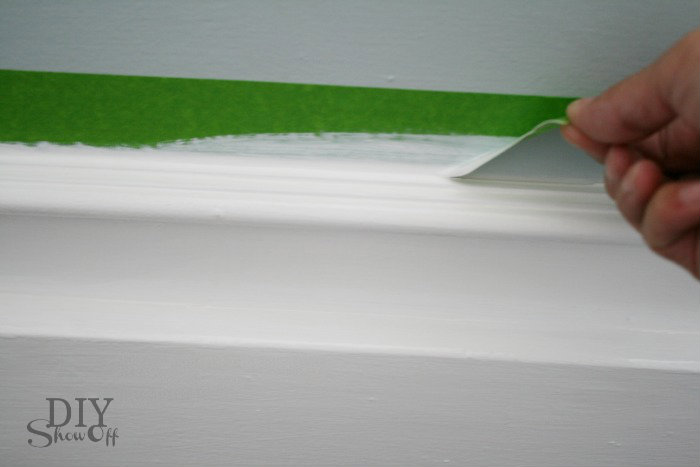
Remove FrogTape by pulling away from the trim while the second coat of paint is still wet.
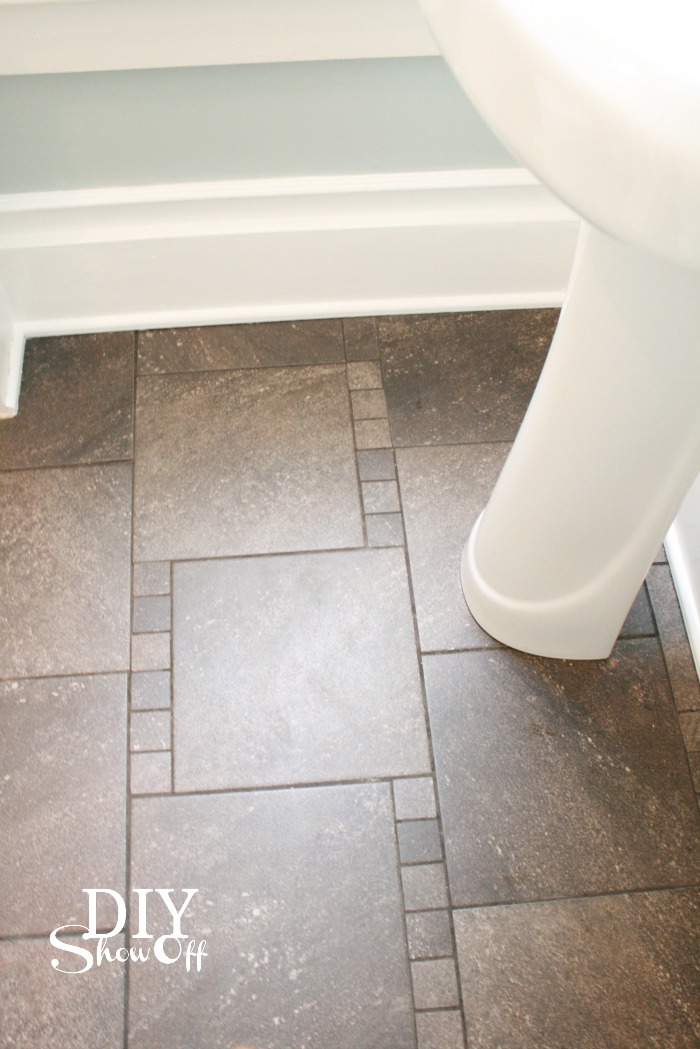
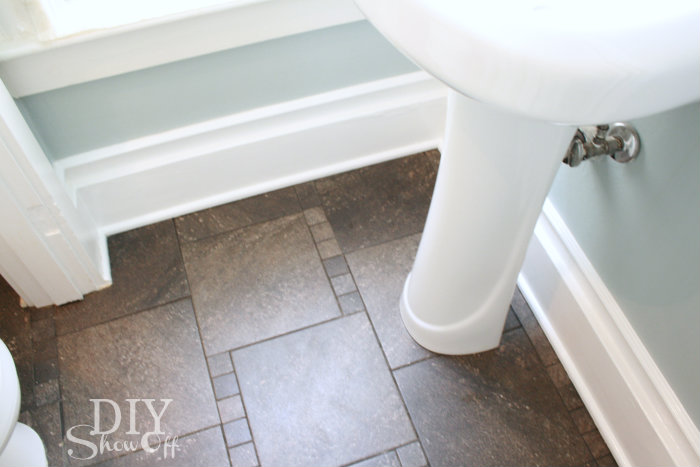
All done…beautiful thick easy baseboards with architectural detail.
Before:
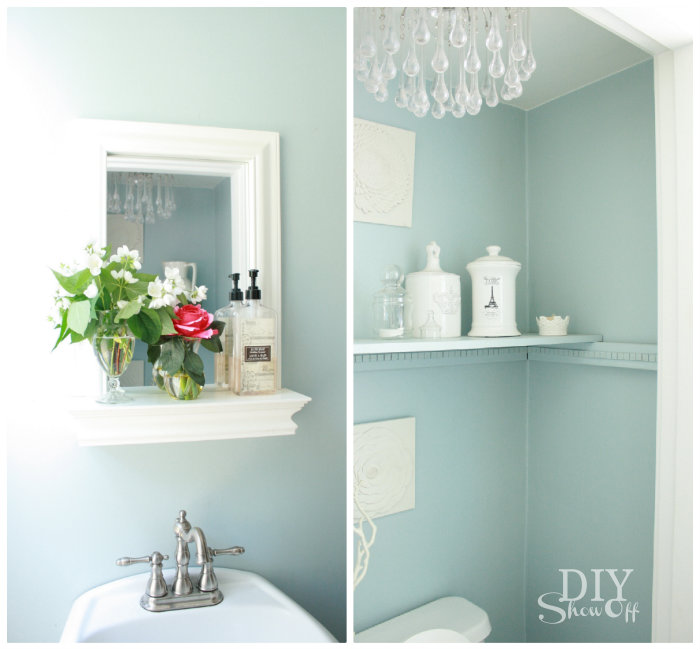
After: easy, cheap and gorgeous!
Definitely happening in the family room next…well, unless I decide to do a board and batten. DIY decisions, decisions. 🙂
Sharing at Domestically Speaking.
*This post is brought to you by FrogTape. FrogTape provided by Shurtech. The opinions are completely my own based on my own experience. For more FrogTape projects ideas, check out the FrogTape Blog Squad.


