October’fest of Fun! {Theme: Fall Crafts}

Welcome, DIY friends! In lieu of the regularly scheduled DIY Fall Festival this week, I’m super excited to be kicking off and hosting the October’fest of Fun with some of my blog friends! Today’s theme is “crafts”. All fall crafts, including spooky!
DIY Halloween Nevermore Tree
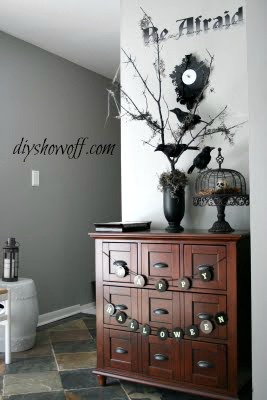
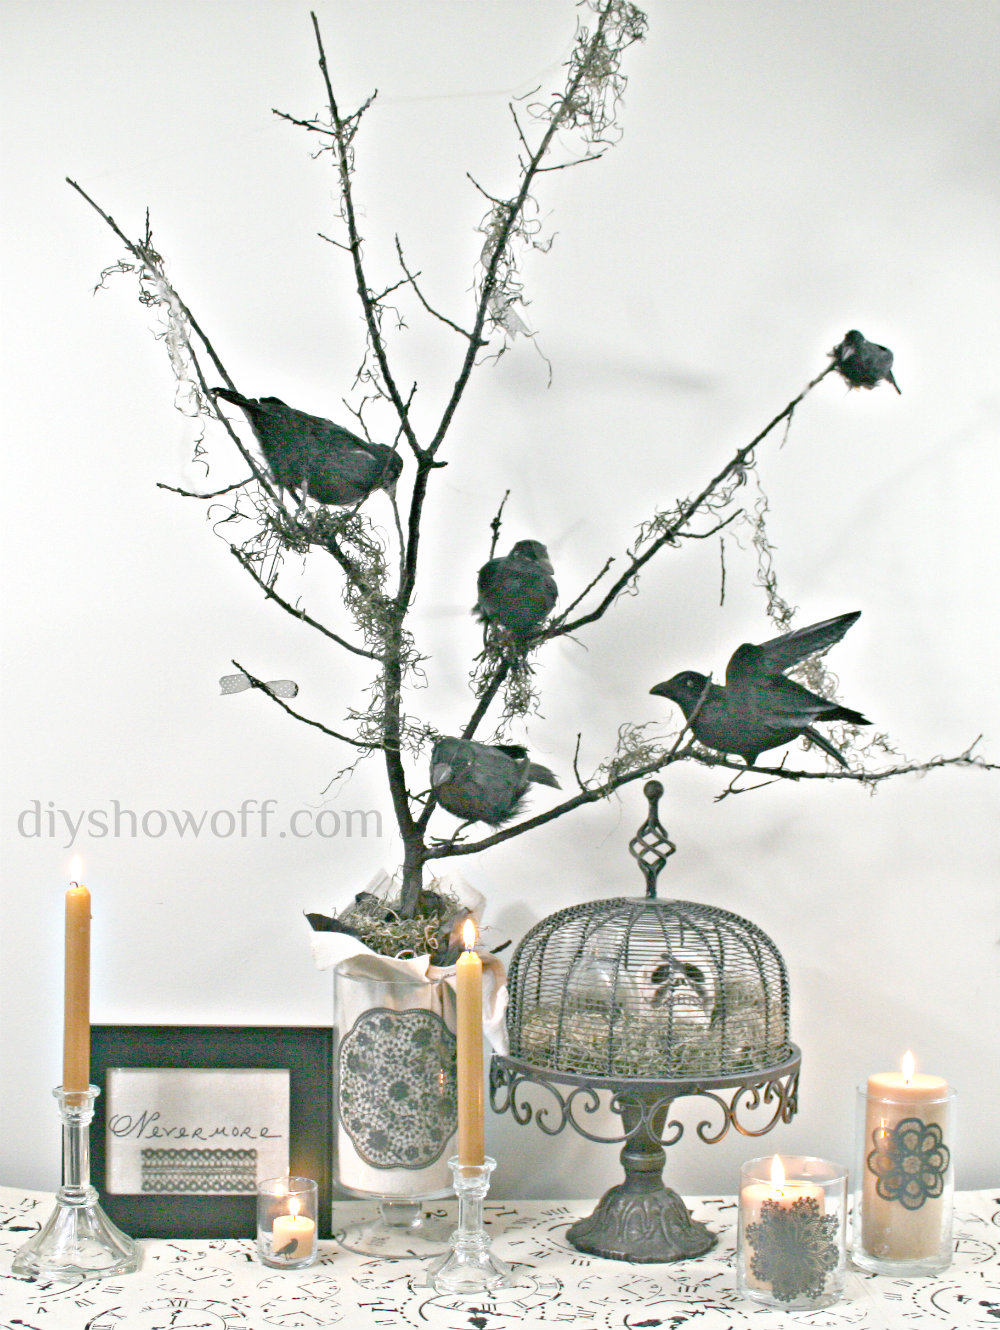
I decorate one area for Halloween every year, one small fun Halloween vignette. This year, I’m bringing back my “nevermore” tree that I made a few years ago. I swapped out the container, added a few more crows. Here are some tips on how I made mine for making your own:
Materials:
  • Vase, container, urn. I used glass this time but any container for holding small branches works. A few years ago, I used an old thrift store vase and spray painted it black…

DIY Halloween decor

  • Small branch (desired size that fits your container). Choose one that has several branch-offs to look more like a tree.
  • Black spray paint
  • Styrofoam cone
  • Handful of dry moss. Other options: shredded newspaper, crinkled paper
  • Dollar Store accessories: faux crows, plastic spiders, cotton spider webbing, ribbon
  • Optional: low temp hot glue
Tutorial:DIY nevermore tree tutorial
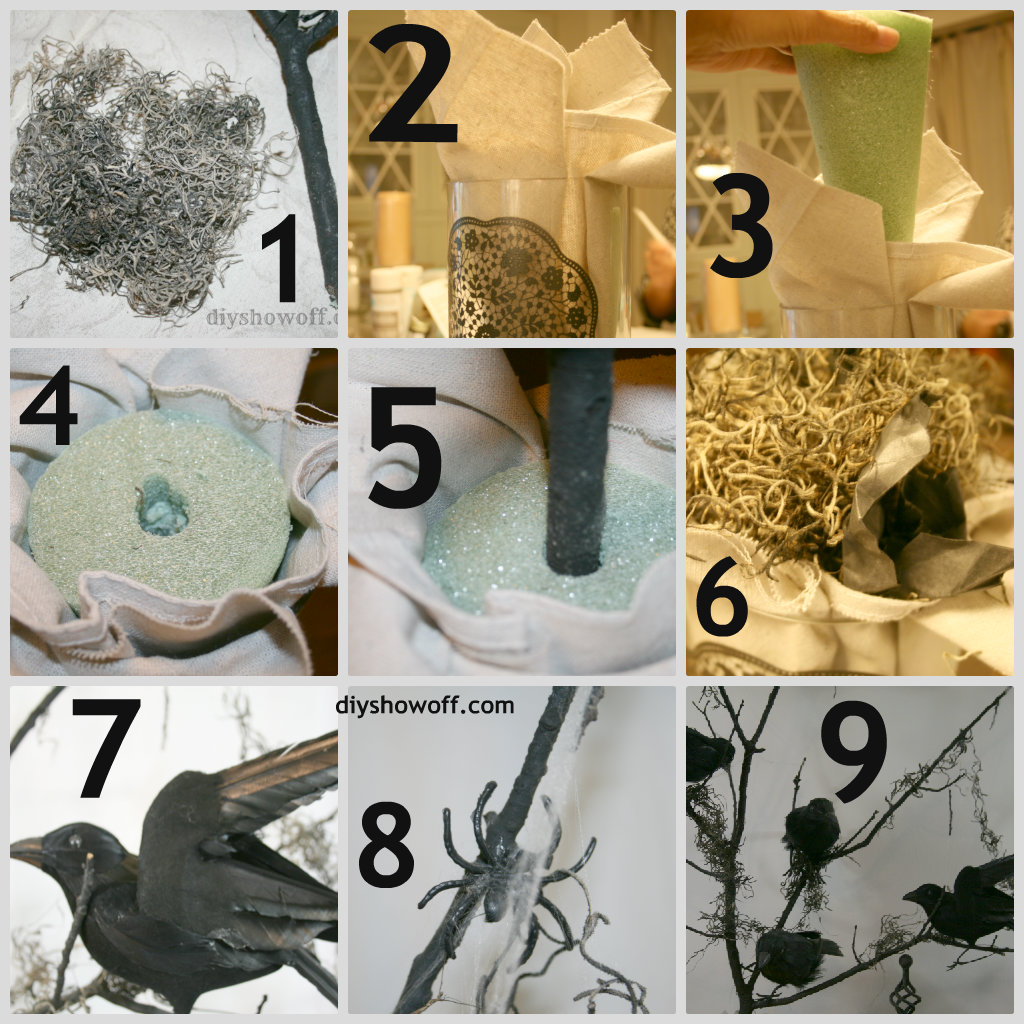
1. I started by spraying my branch black and adding a touch of black to my dried moss and let them dry.
2. Because I used a glass container, I lined it with a scrap piece of dropcloth.
3. Paper, newspaper, moss would also work.
4. Using the bottom of my tree branch, I poked a hole into the circular side of my cone. Insert the Styrofoam cone into container with the circular side/hole facing up. You can secure your foam to the container. I didn’t.
5. Insert the branch into the Styrofoam hole. Secure with hot glue if needed.
6. Cover styrofoam with dried moss, crinkled paper or shredded paper. Glue into place if desired.
7.  8.  9. ACCESSORIZE: I strung more dried moss and spider webs to my branches (drag the spider webbing). Attach crows. I used black twist ties to attach some of my crows, others are just propped on branches. I did use hot glue to attach a few plastic spiders and added a couple of snips of sheer ribbon here and there for a little added whimsy.
Stand back and admire!
DIY Halloween Nevermore Tree
Do you decorate for Halloween? Any fun fall crafts to share?
  • Note: Today’s theme is “crafts” – Fall or Halloween crafts only please {ALL FALL DIY FALL FESTIVAL resumes next Wed.}
  • Please link back using the button below or permalink to this post. Thanks!
DIY Showoff
<div align="center"><a href="https://diyshowoff.com/" title="DIY Showoff"><img src="https://i237.photobucket.com/albums/ff107/smnf/Octoberfestoffunbuttonsidebarsize205x_zps2e9f4157.png" alt="DIY Showoff" style="border:none;" /></a></div>


Don’t forget to visit these blog friends this week:
Thursday: Link up your fall mantels with Shannon @ Fox Hollow Cottage

Friday: Share your fall tablescapes with Kristin @ My Uncommon Slice of Suburbia

Saturday: Debbie @ Debbiedoo’s – share your fall home tour!
OneCreativeMommy.com

Where I find decorating inspiration.

I’m guest posting over at Heartland Homes blog today! 

DIY Show Off guest blog post

When it comes to decorating our home, “where do I begin?” Here are a few things that give me idea and jump start my decorating motivation:

My INSPIRATION
  • YOU! Blog friends, DIY Home Improvement and Decorating blogs. I love all of the ideas linked up to the DIY Project Parade each week. And that leads to
  • Pinterest. Addicted? Yea, me too!
  • Catalogs.
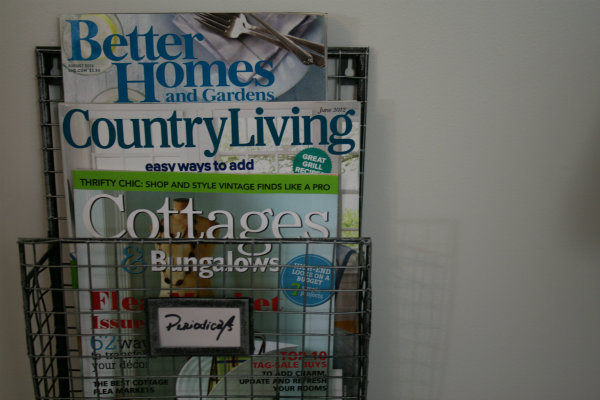
  • Magazines.
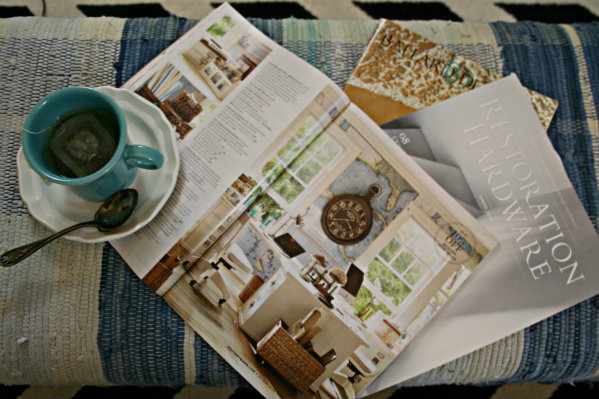
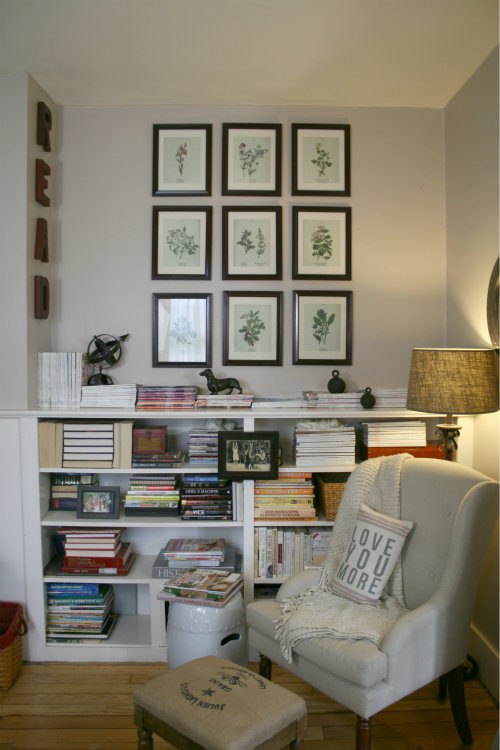
My reading nook is filled with my magazine collection…
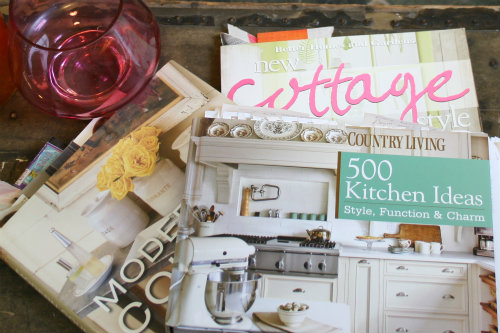
  • Decor Books.

  • Lifestyle: Can you tell something I might like to do by the picture below? 

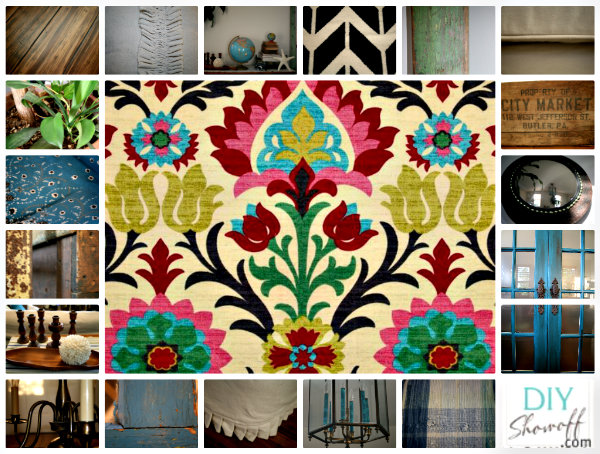
  • Inspiration piece –
ORGANIZING THOUGHTS/PLANS:
Ways to organize favorite ideas and inspiration:
  • Scrapbook: a collection of ideas and images, paint and fabric swatches.
  • Design board for online favorites using Powerpoint or a Word document or an online source like Olioboard or create a real board using physical items as you would a scrapbook.
  • Utilize Pinterest.
  • Keep a notebook on hand.
decorating notebook
We spend more time than anyone else in the world in our home. Our motto is “do what you love”. Surrounding myself with an environment that works with our lifestyle and personality makes us happy and comfortable.
Visit Heartland Homes blog for more thoughts on how I gather inspiration for decorating my home.
DIY Show Off guest blog post

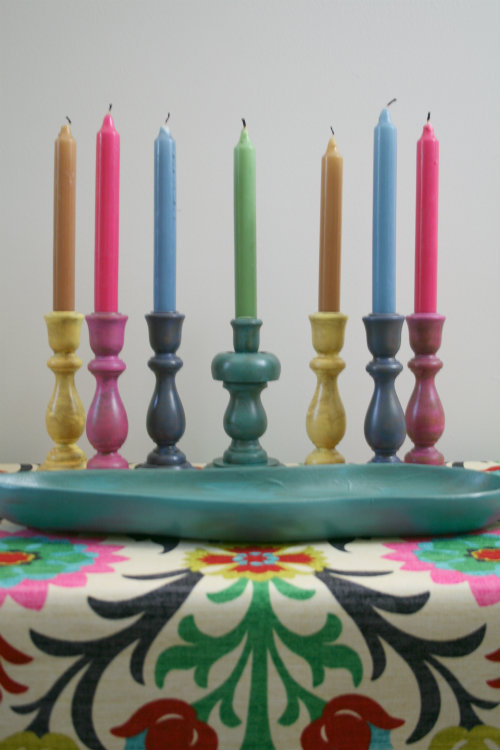
Thrifty Treasure Transformation – colorful candlesticks

I shared this over at the DIY Club a few weeks ago but wanted to share here too. When I saw this Martha Stewart image…I loved the coordinating colorful candles and candlesticks.

colorful candlesticks

So, I started collecting wooden candlesticks from thrift stores and yard sales…

 wooden candlesticks

I wanted a fun colorful accent to go with our family room plans:family room design

What I used:

  • Wooden candle sticks
  • Candles (color matching my Patio Paints)
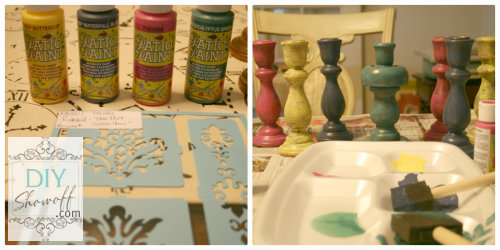
  • Deco Art Patio Paint (dark eucalyptus green, waterfall, fuchsia, buttercup)
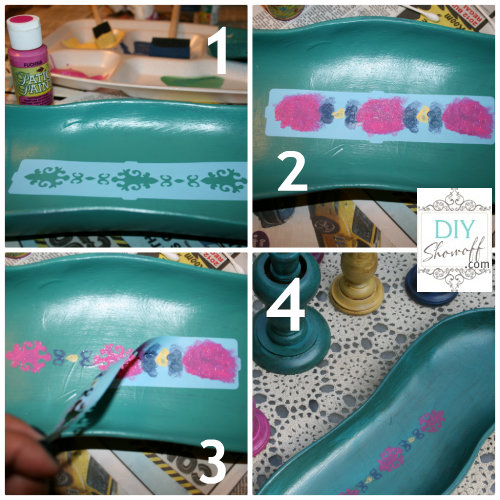
  • Deco Art Patio Paint reusable Home & Garden stick on stencils
  • dark glaze (TransTint Dye by Rockler)

How I did it:

1. I gave my wooden candlesticks a few coats of Patio Paint each. Because I didn’t sand the wood, I used a dry brush technique. I preferred an antiqued look. I let the candlesticks dry between coats.

2. I brushed on and wiped off my glaze (TransTint dye) to give it an old finish.

3. The Deco Art stencil was sticky (and reusable) making stenciling super easy:


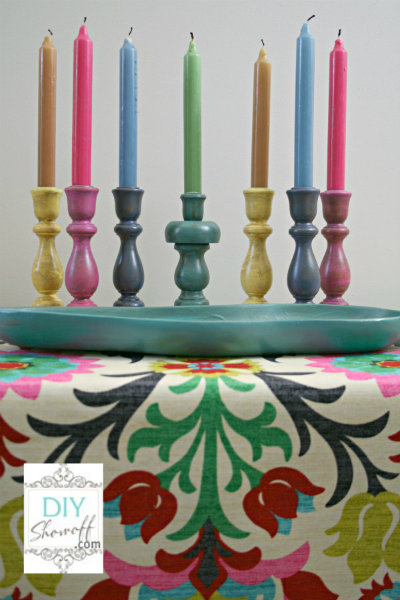
Ta-da!

painted candlesticks

{fabric is waverly santa maria desert flower – I’ll be using it for my drapes}

Love them – fun colorful accent to add to our family room…if I can ever get back to working on the makeover!
DIY Club
DIY Show Off - FacebookDIY Show Off - TwitterDIY Show Off - PinterestDIY Show Off - Feed