Project Diary #14 – Entryway, Stairs & Landing Before & After

Featured

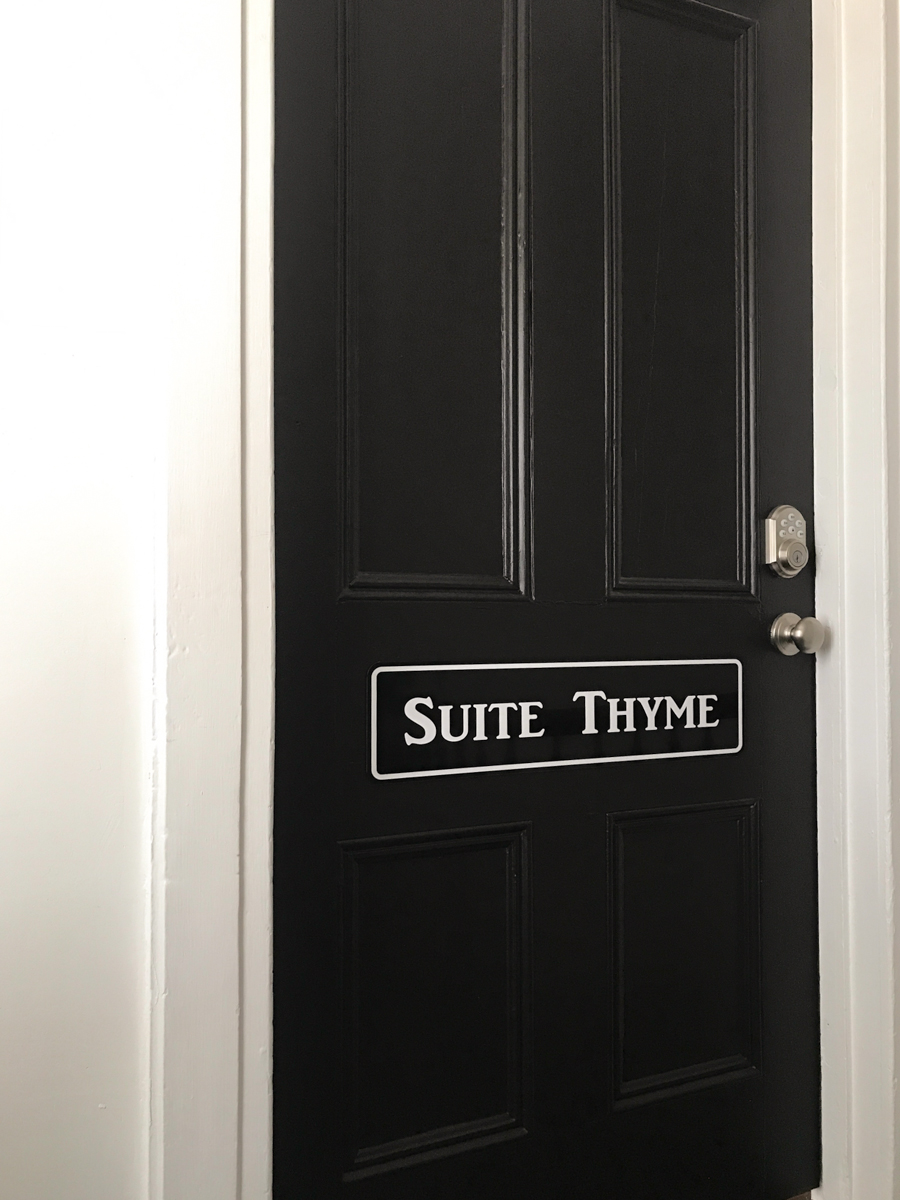
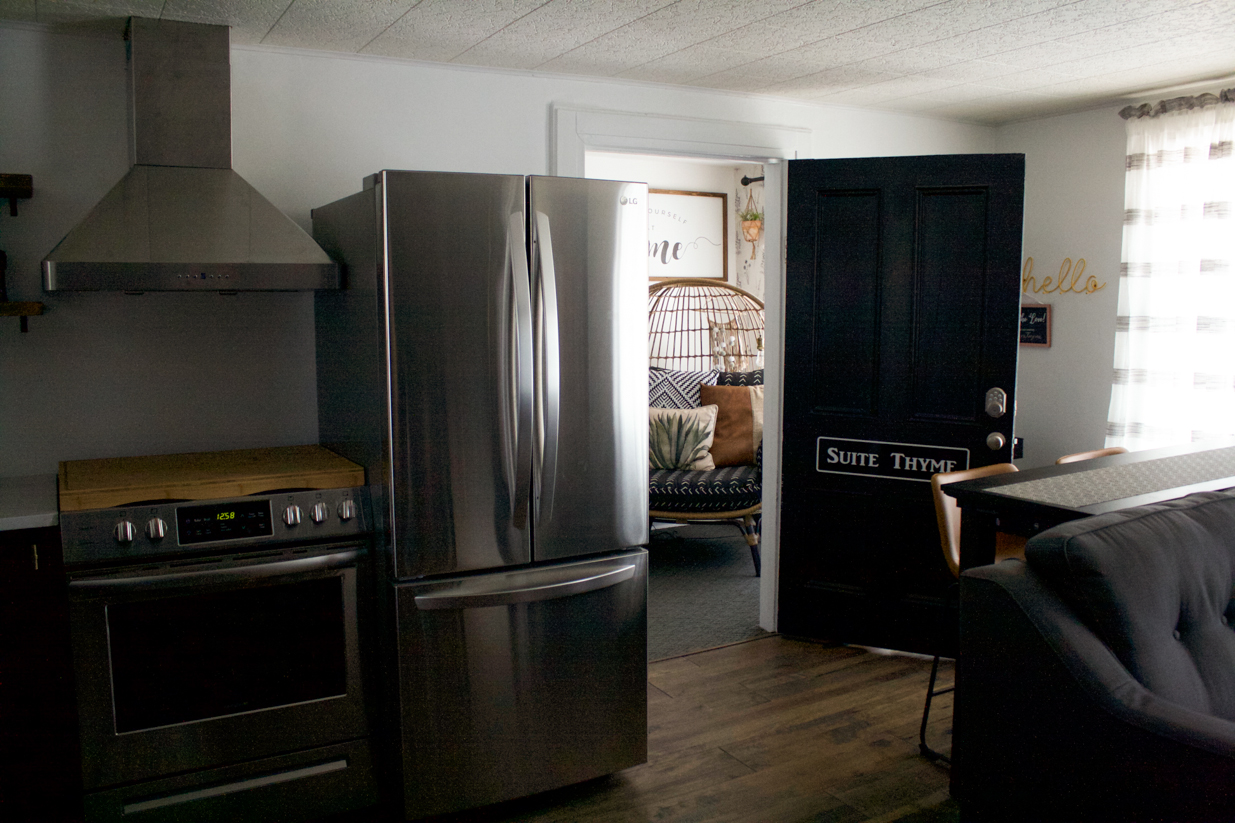
I’ve been sharing teasers for so long, it’s ABOUT THYME I got to the good stuff! Right?Time for a reveal, room by room of the project I’ve been working on. The main floor is my wellness studio, the upstairs – finally: A luxury AirBnB apartment I’ve nicknamed “Suite Thyme”. Ready? Let’s go! Here’s the before and after when we walk in the door and up the stairs.

The Reveal

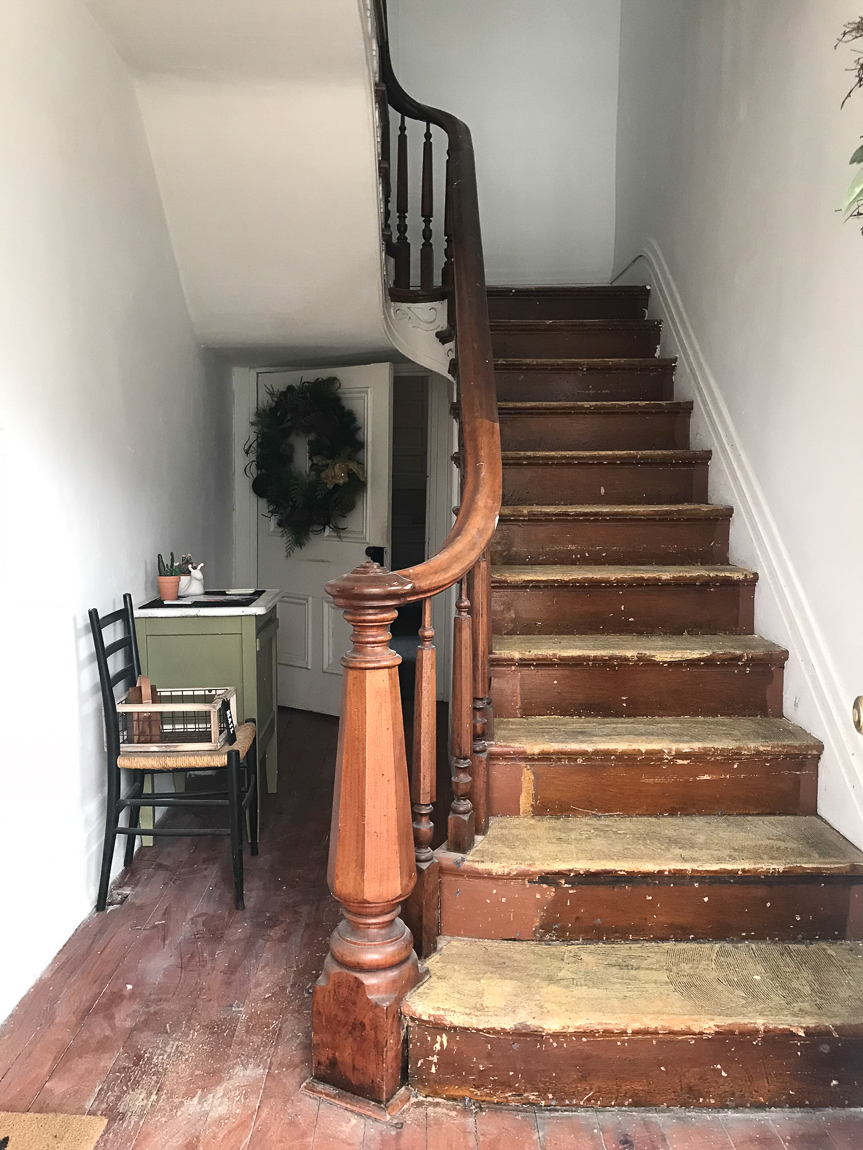
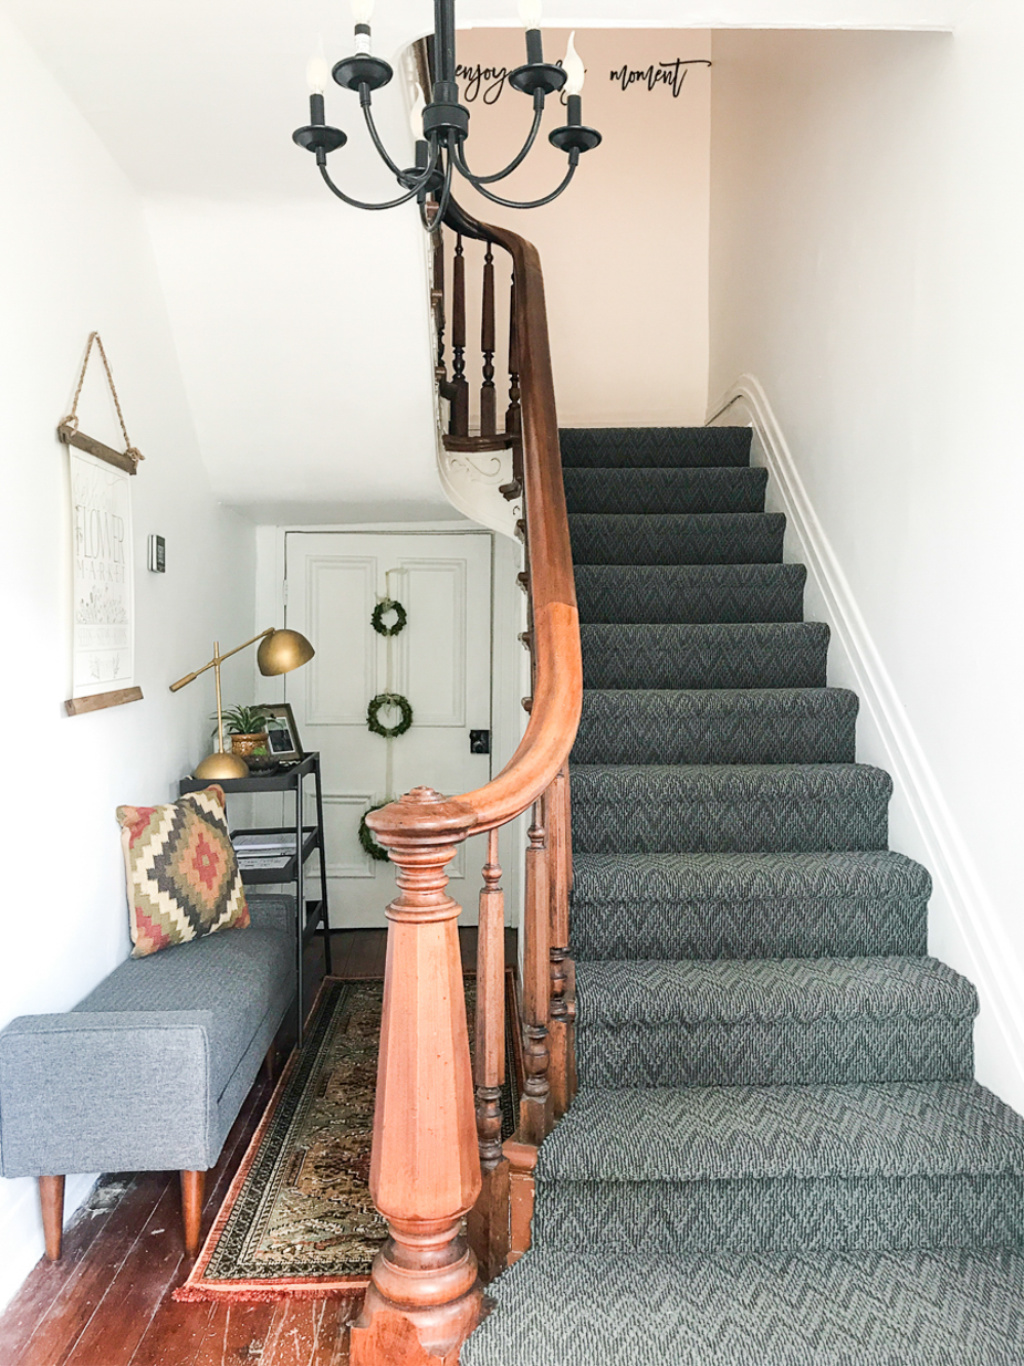
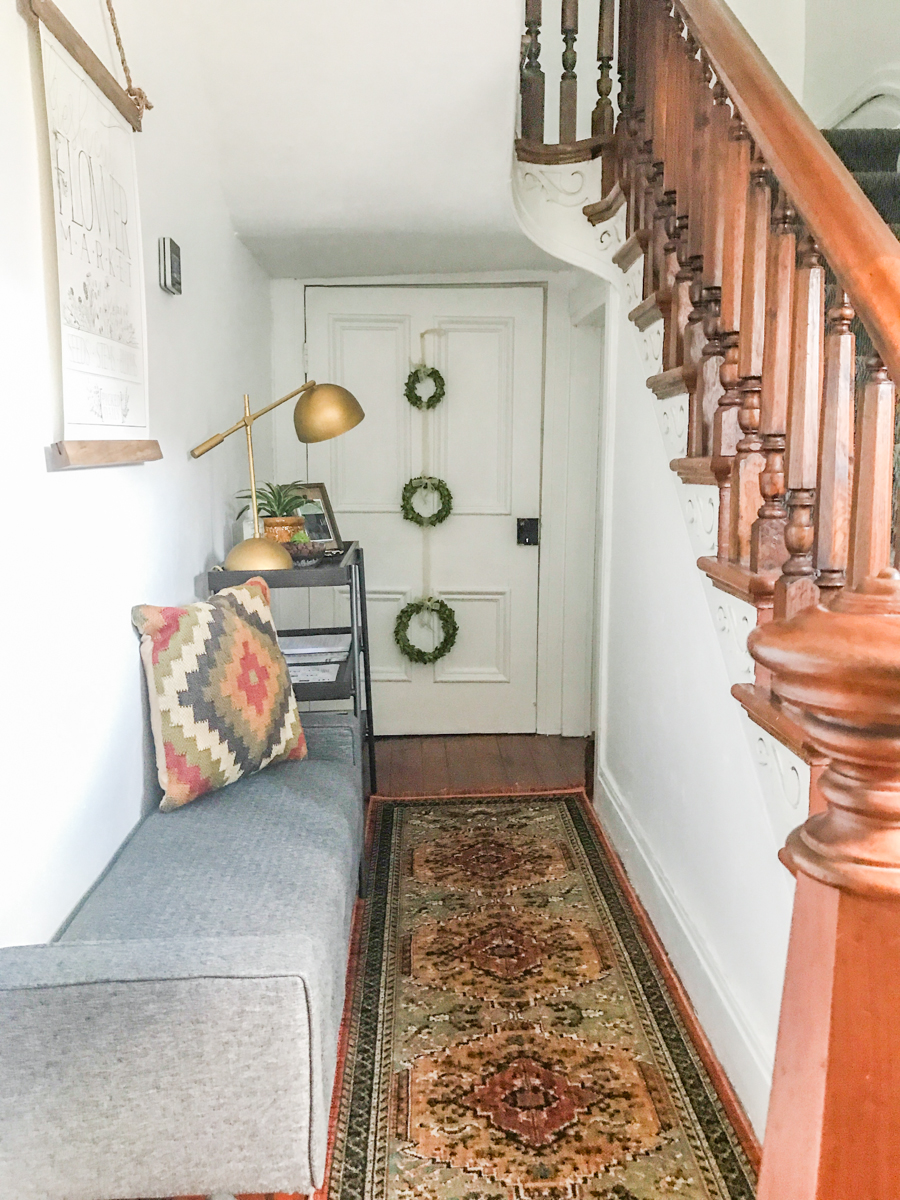
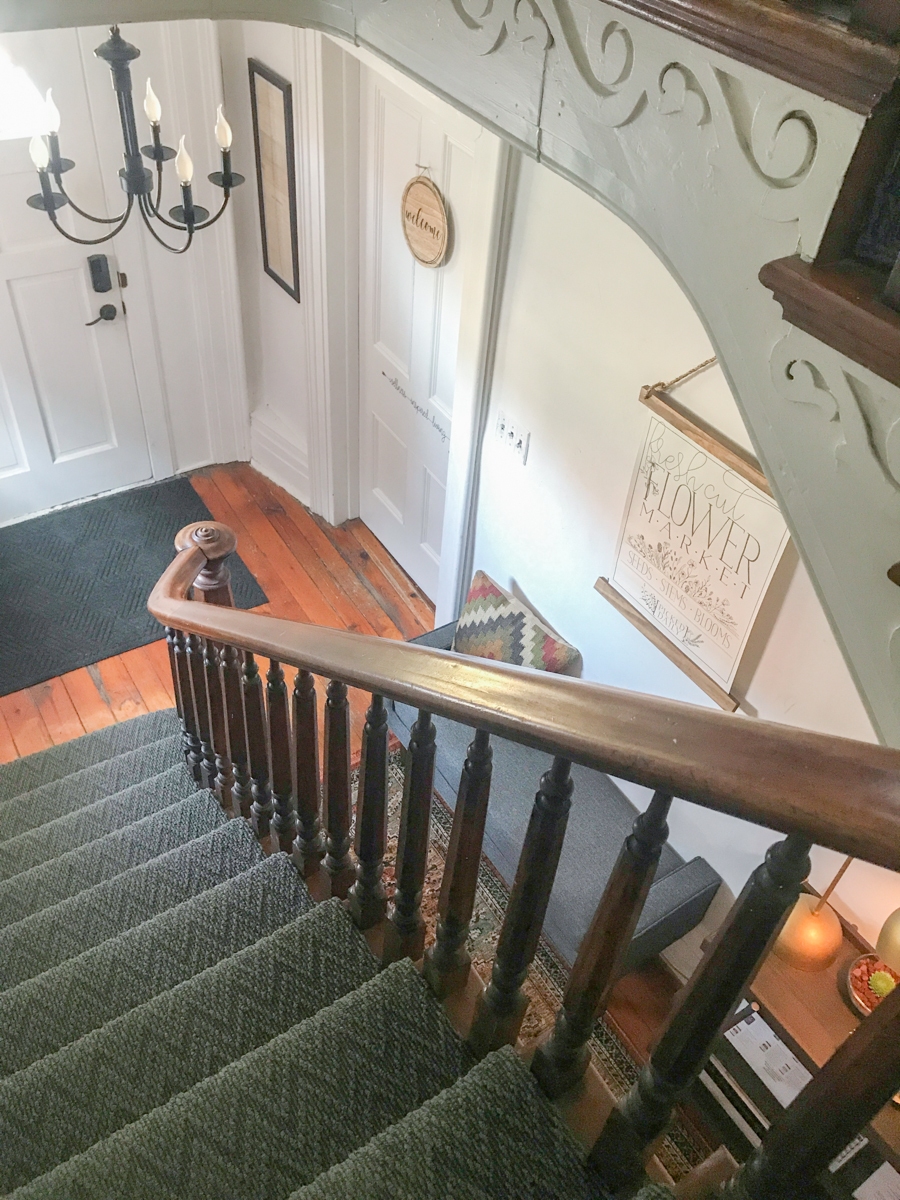
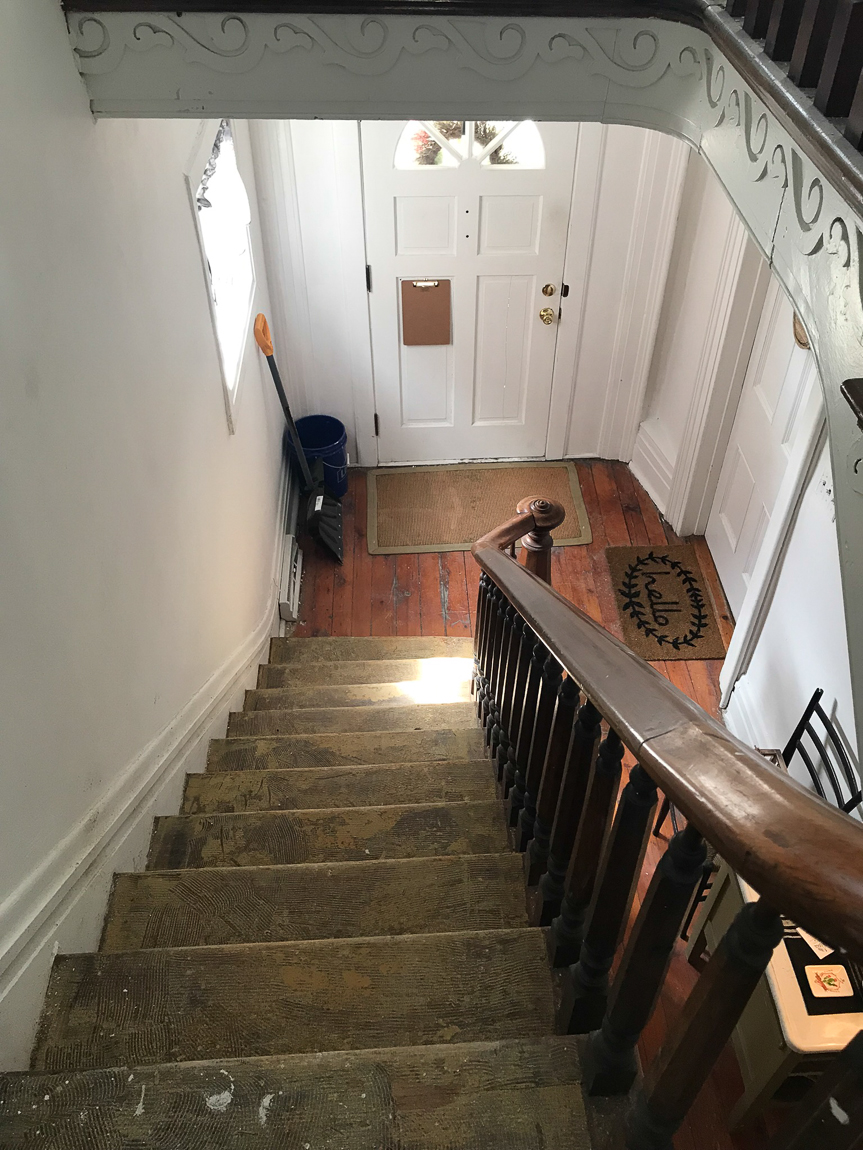
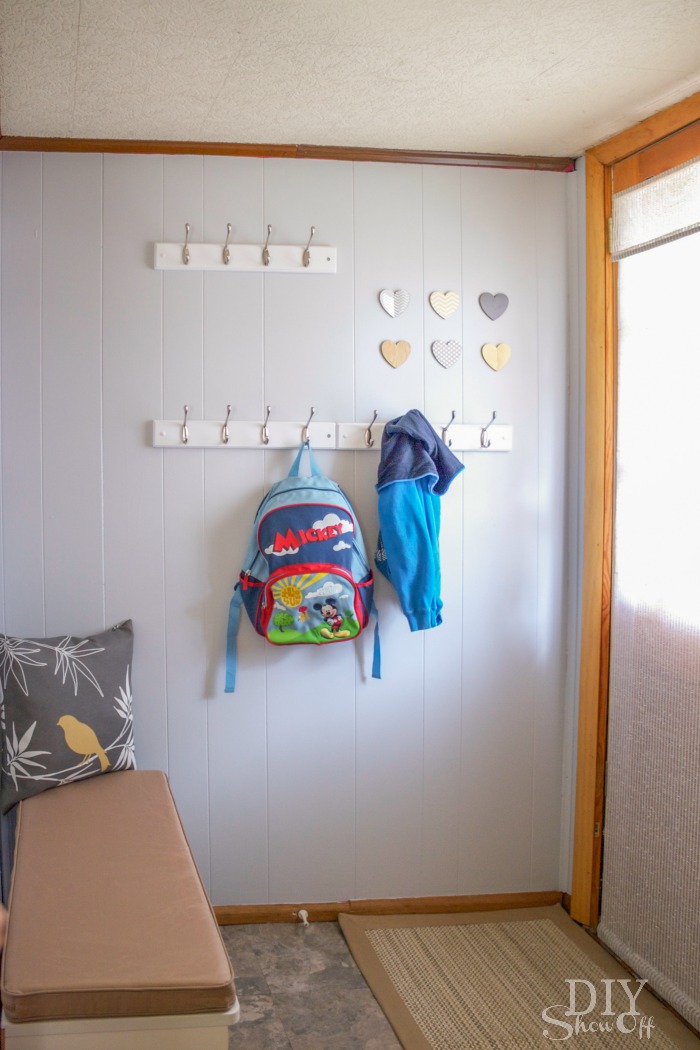
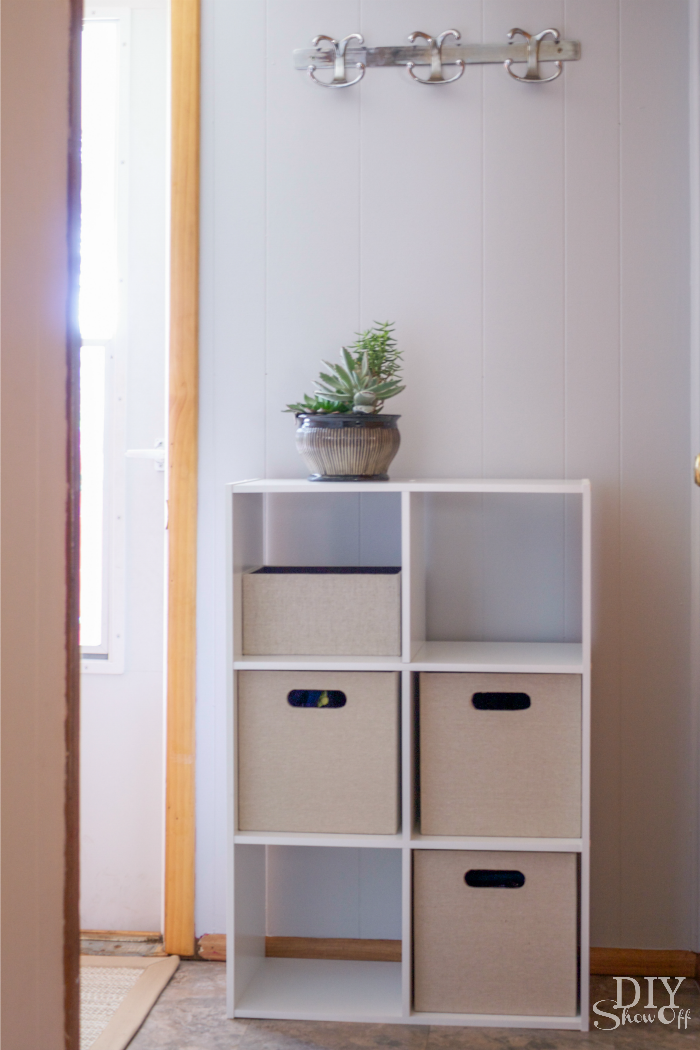
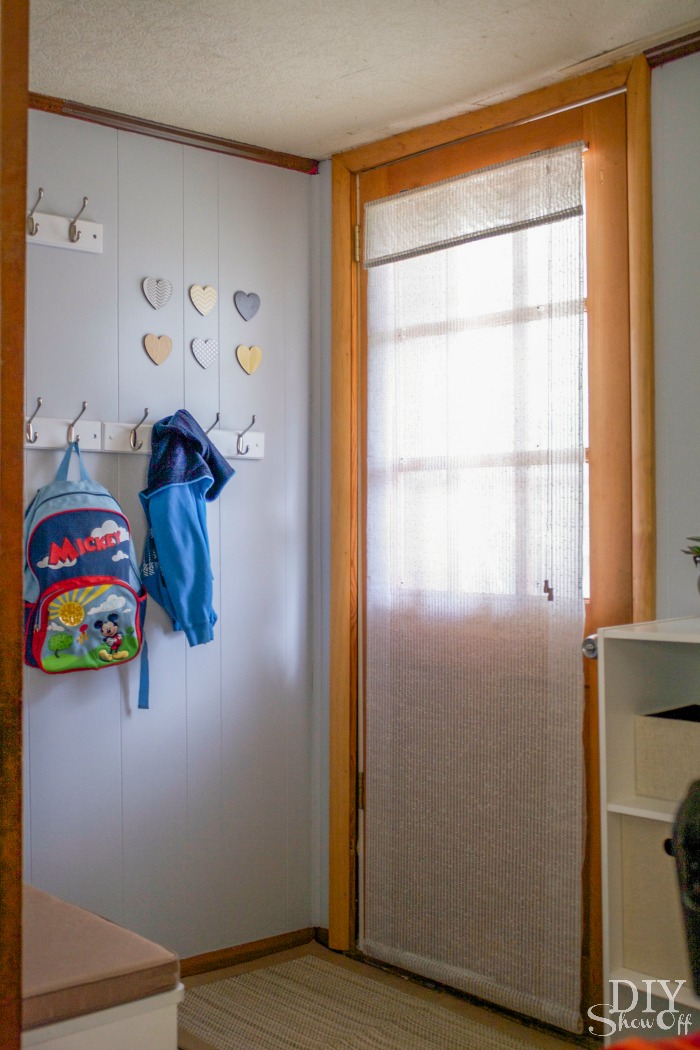
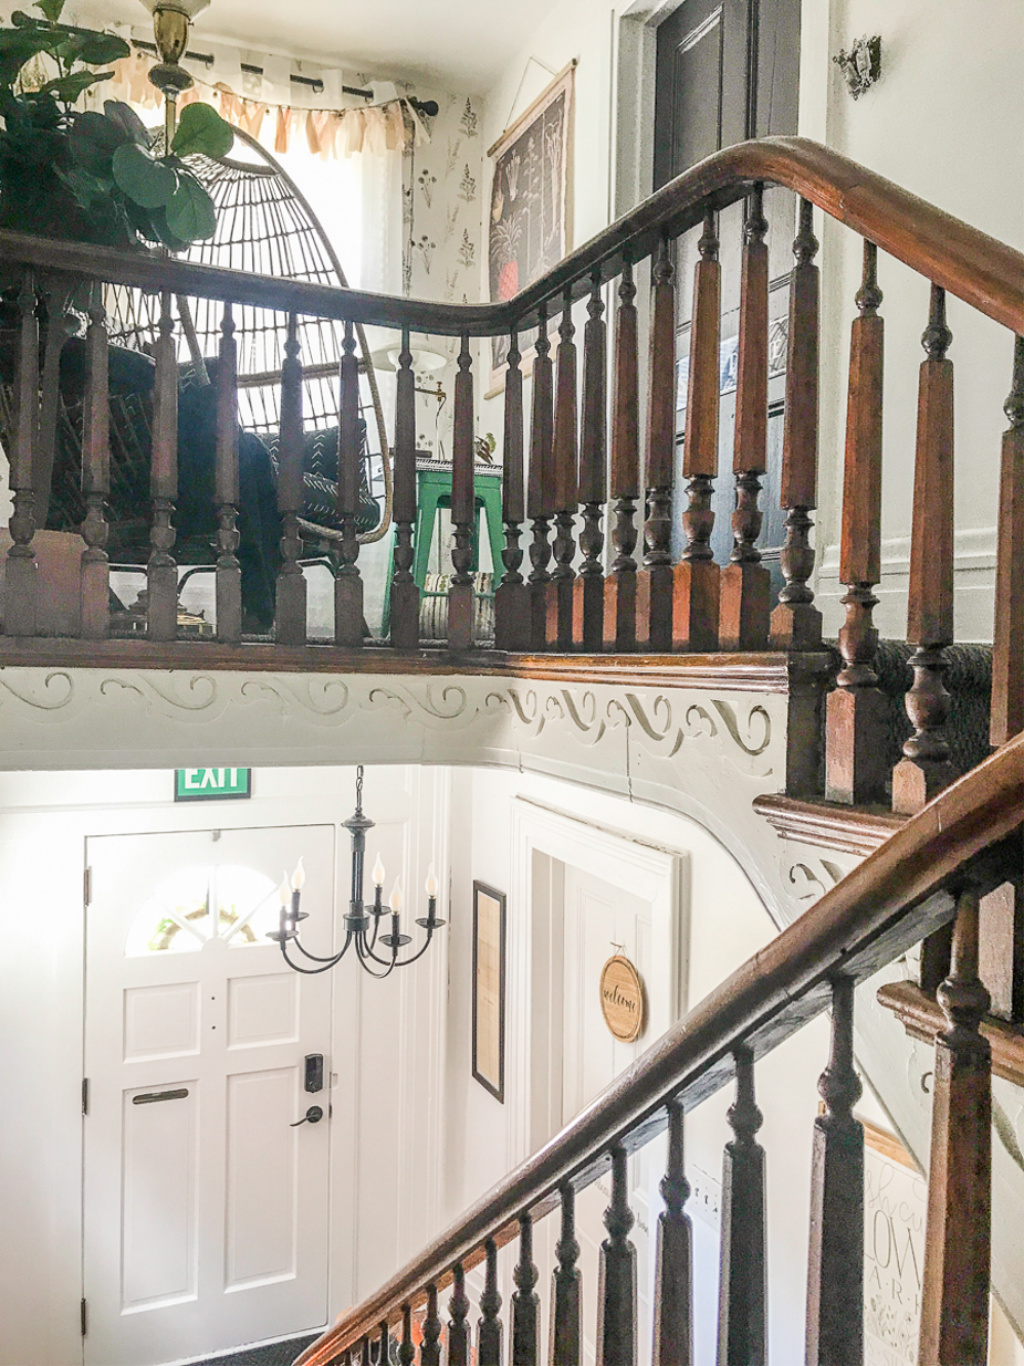
Before when you entered, it was old industrial blue carpet, dirty dingy walls and a 2nd floor landing without personality. Now it’s a welcoming, inviting entryway with a place to sit and remove/put on shoes, doors with keypads for guest self check in and keeping the wellness studio off limits, a bookshelf with information on the services offered by the wellness studio as well as information on local attractions. That back door, we call it the “hobbit door”…seriously watch your head, tall people! It’s locked from the inside (it’s access to the wellness studio/back door). 

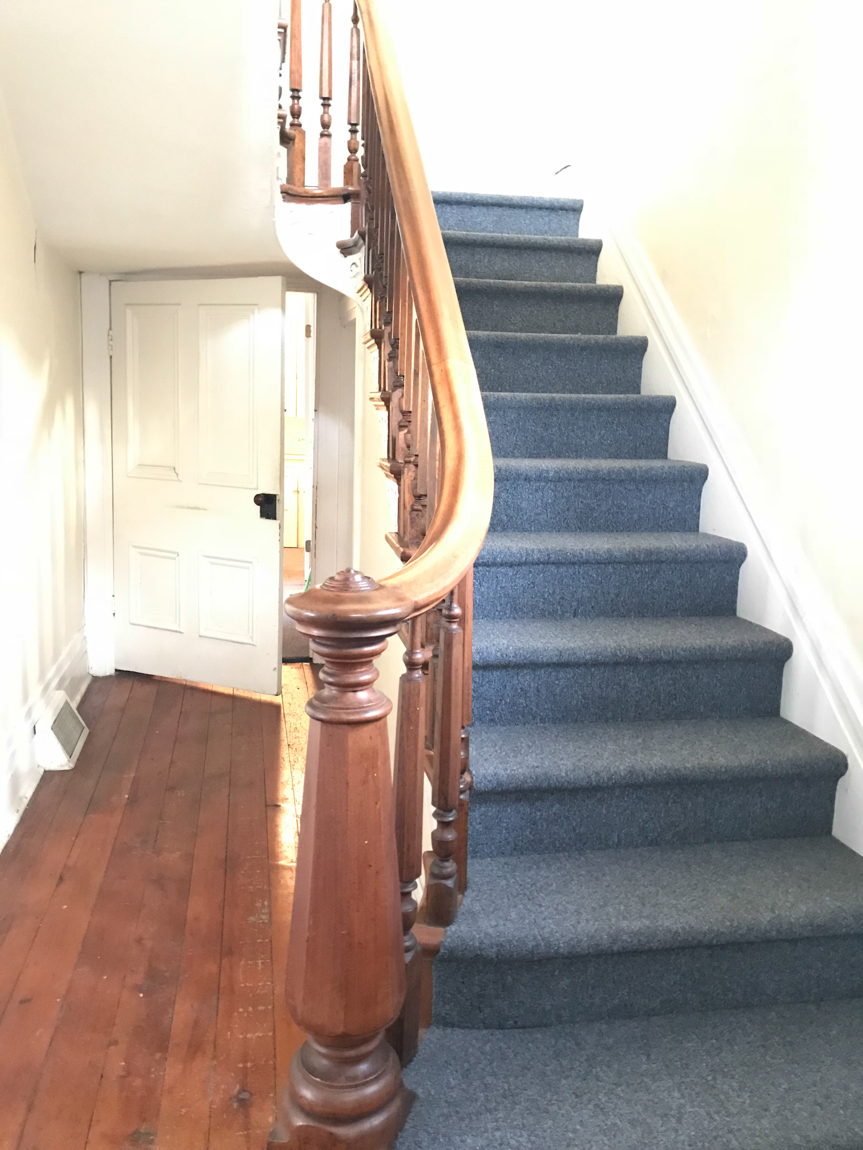
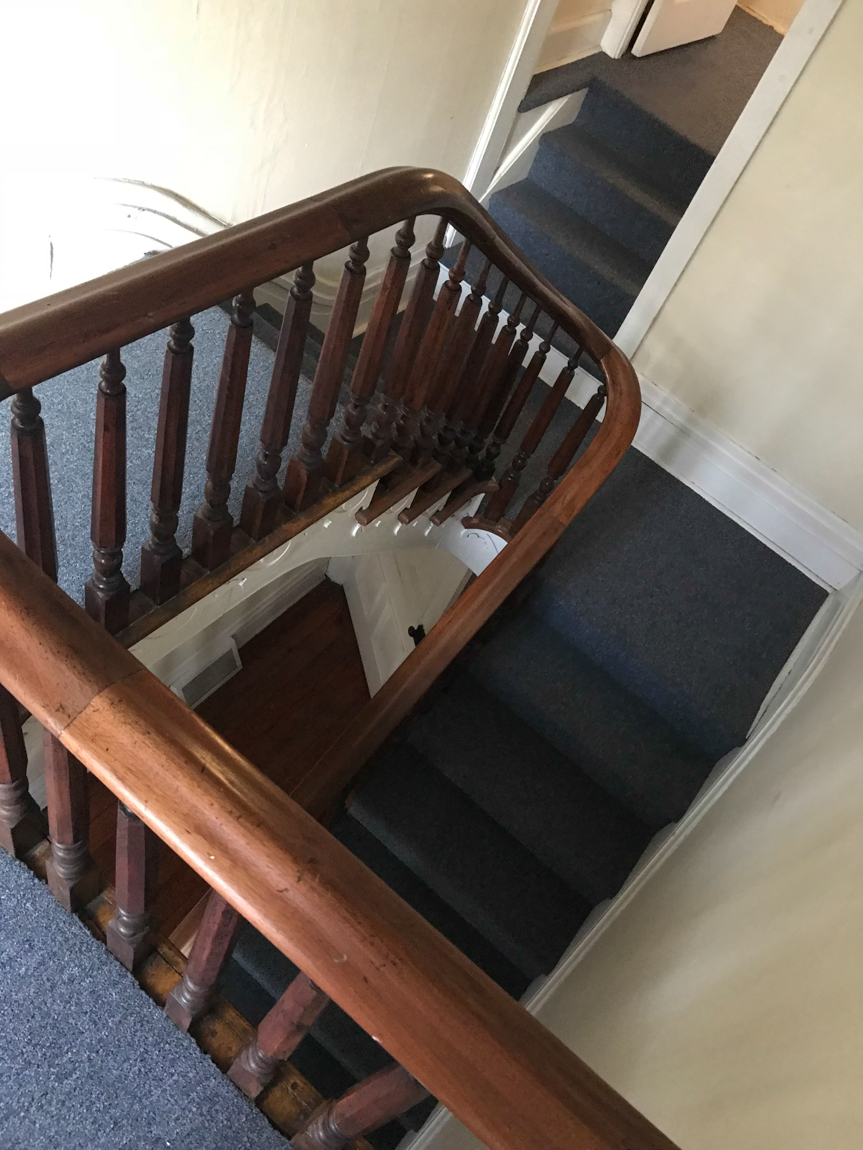
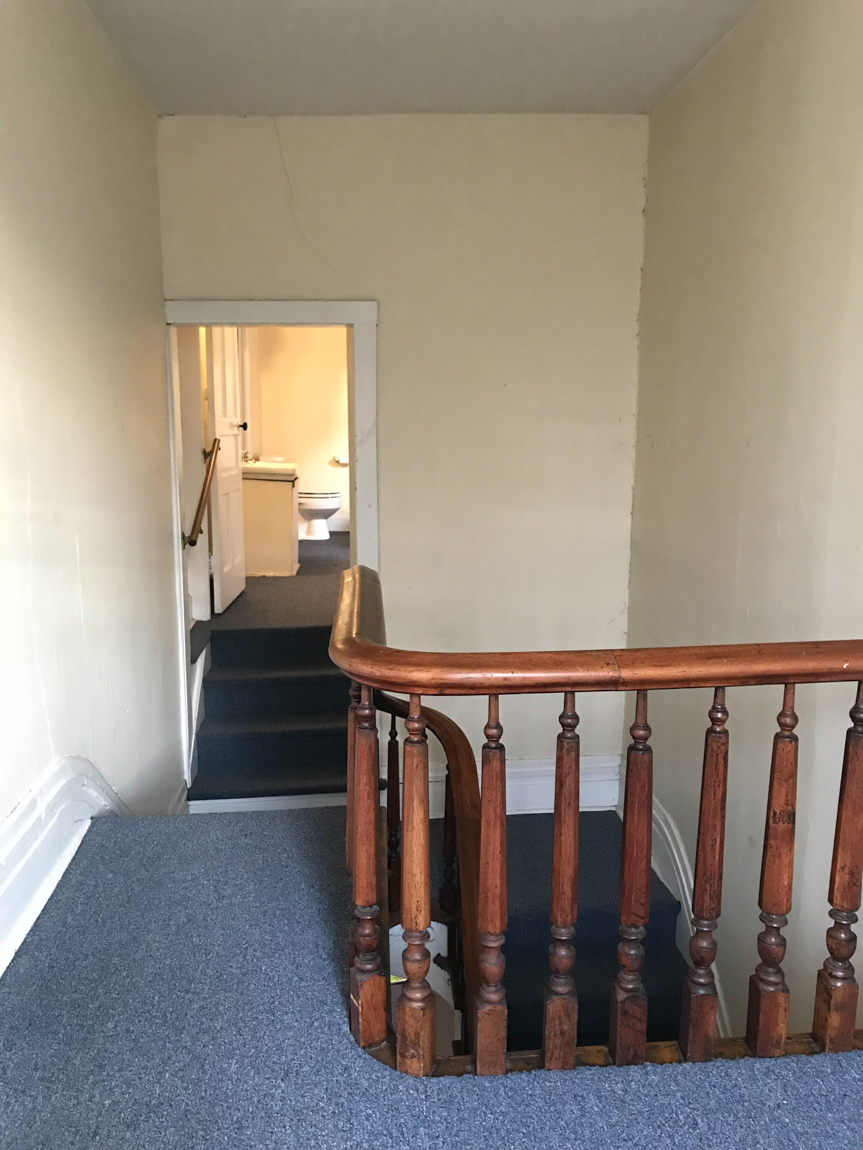
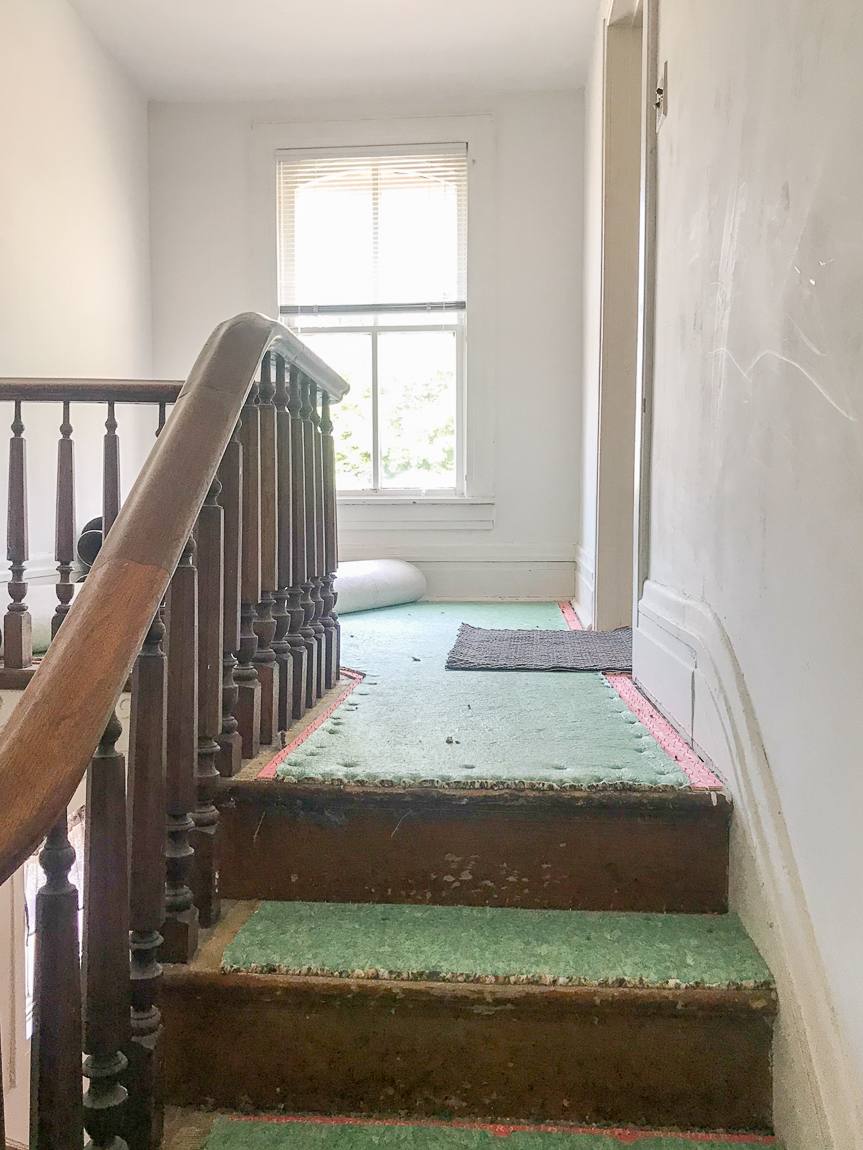
before – the banister and railing is original, probably at least 100 years old (beautiful!)

DIY craft studio // workshop - before room makeover @diyshowoffGood bye blue carpet. staircase before carpeting

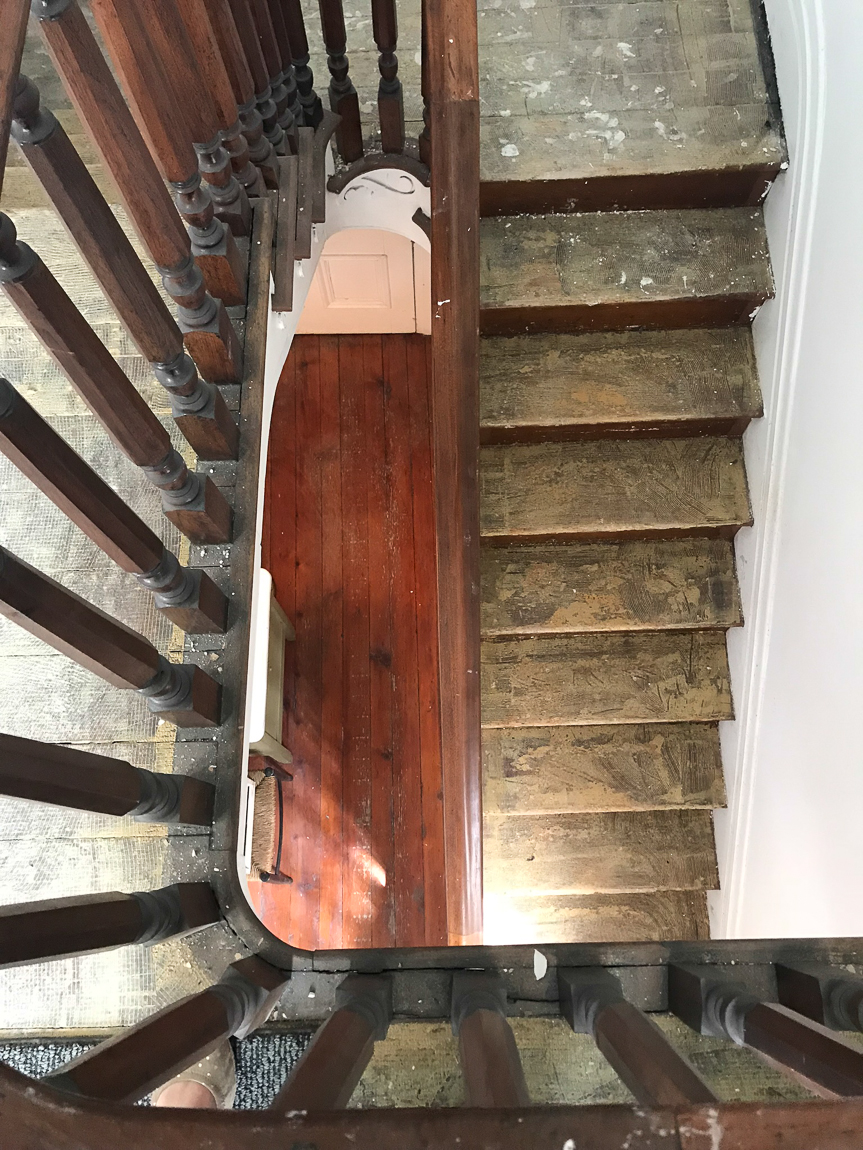
after – the original pine floors are very scratched, marked up with paint and scuffs too. We’ll add that to the project list for another day and embrace the imperfections for now, okay? It adds character, my friends. lol

entryway airbnb butler pa suite thyme diyshowoffboho entryway

before:

DIY craft studio // workshop - before room makeover @diyshowoffbefore and after carpeting stairs

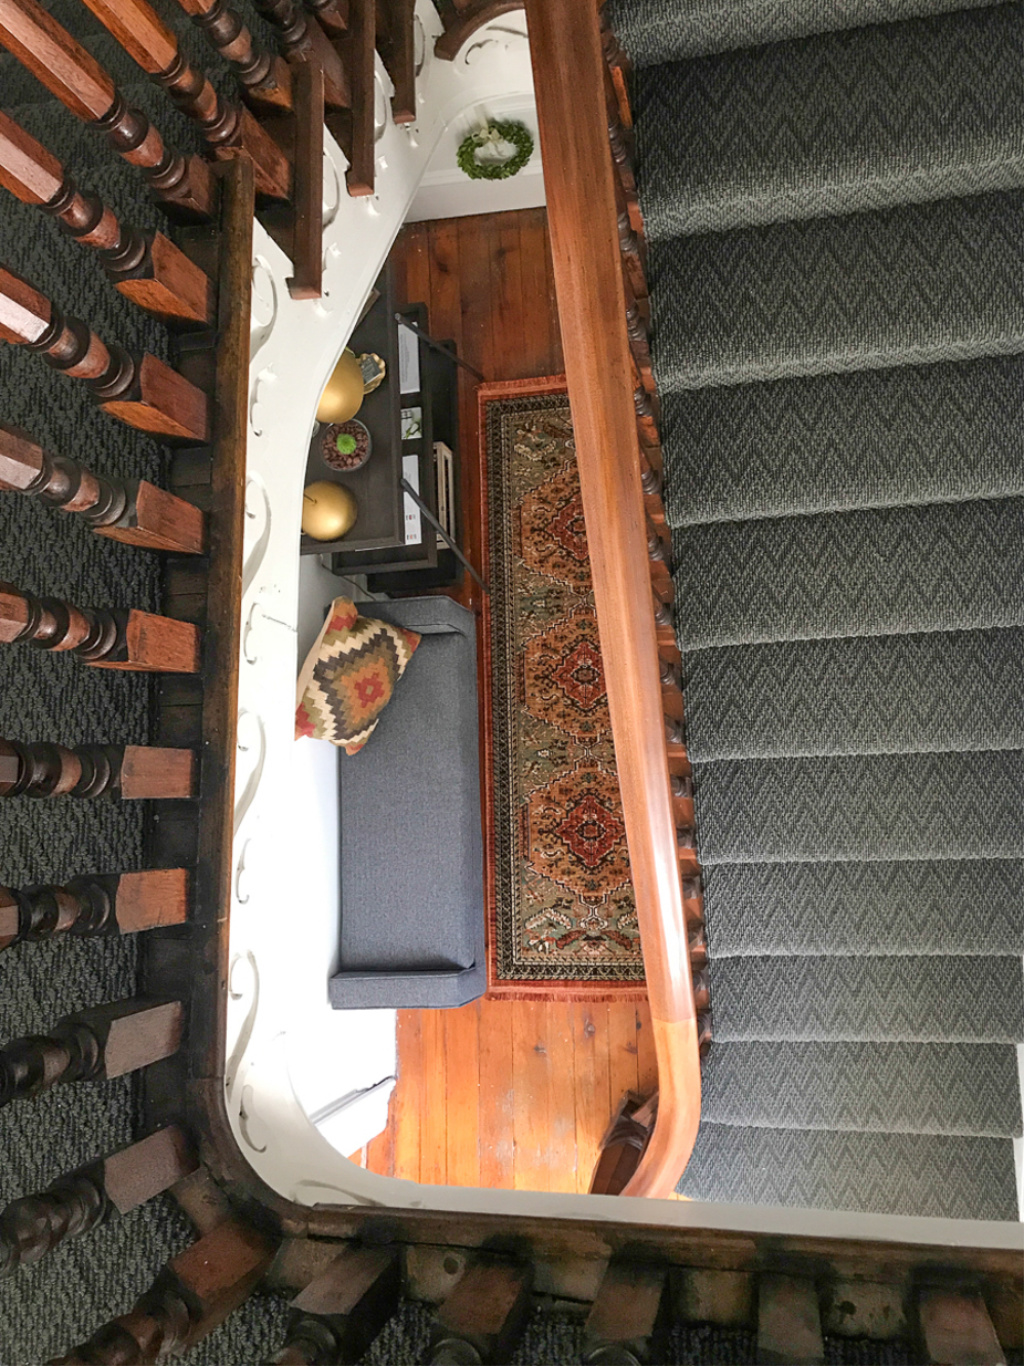
after:

stairs airbnb butler pa suite thyme diyshowoff

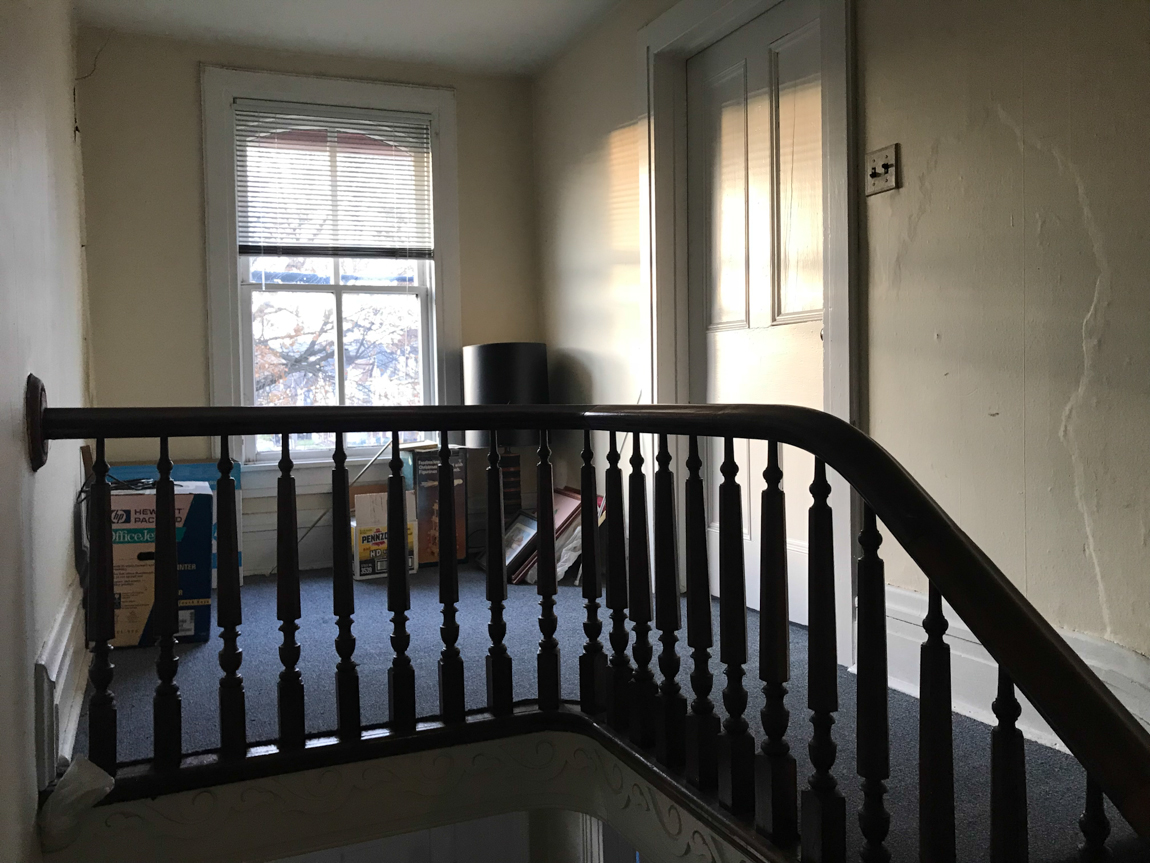
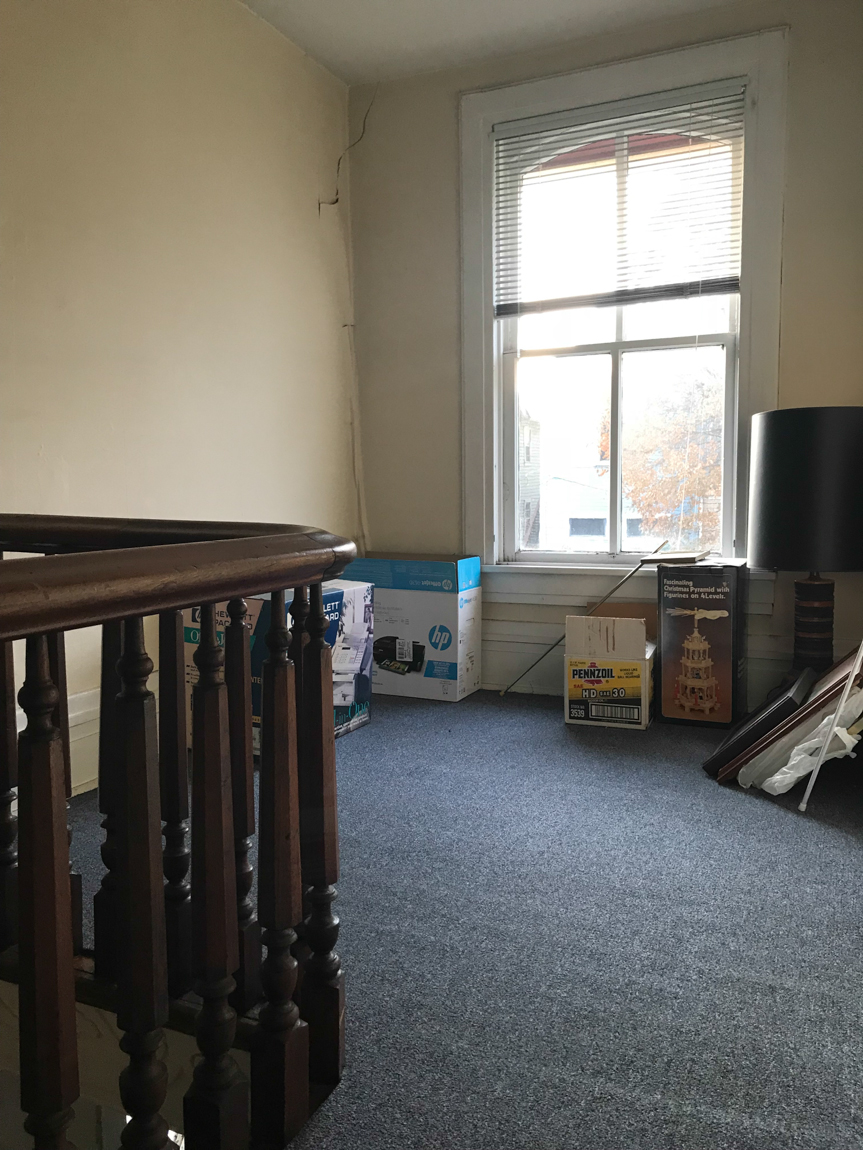
before: It seemed that this space and the entire upstairs was used for storage only in the recent past. It feels SO good to give it new life and purpose! 

DIY craft studio // workshop - before room makeover @diyshowoffcarpeting stairs

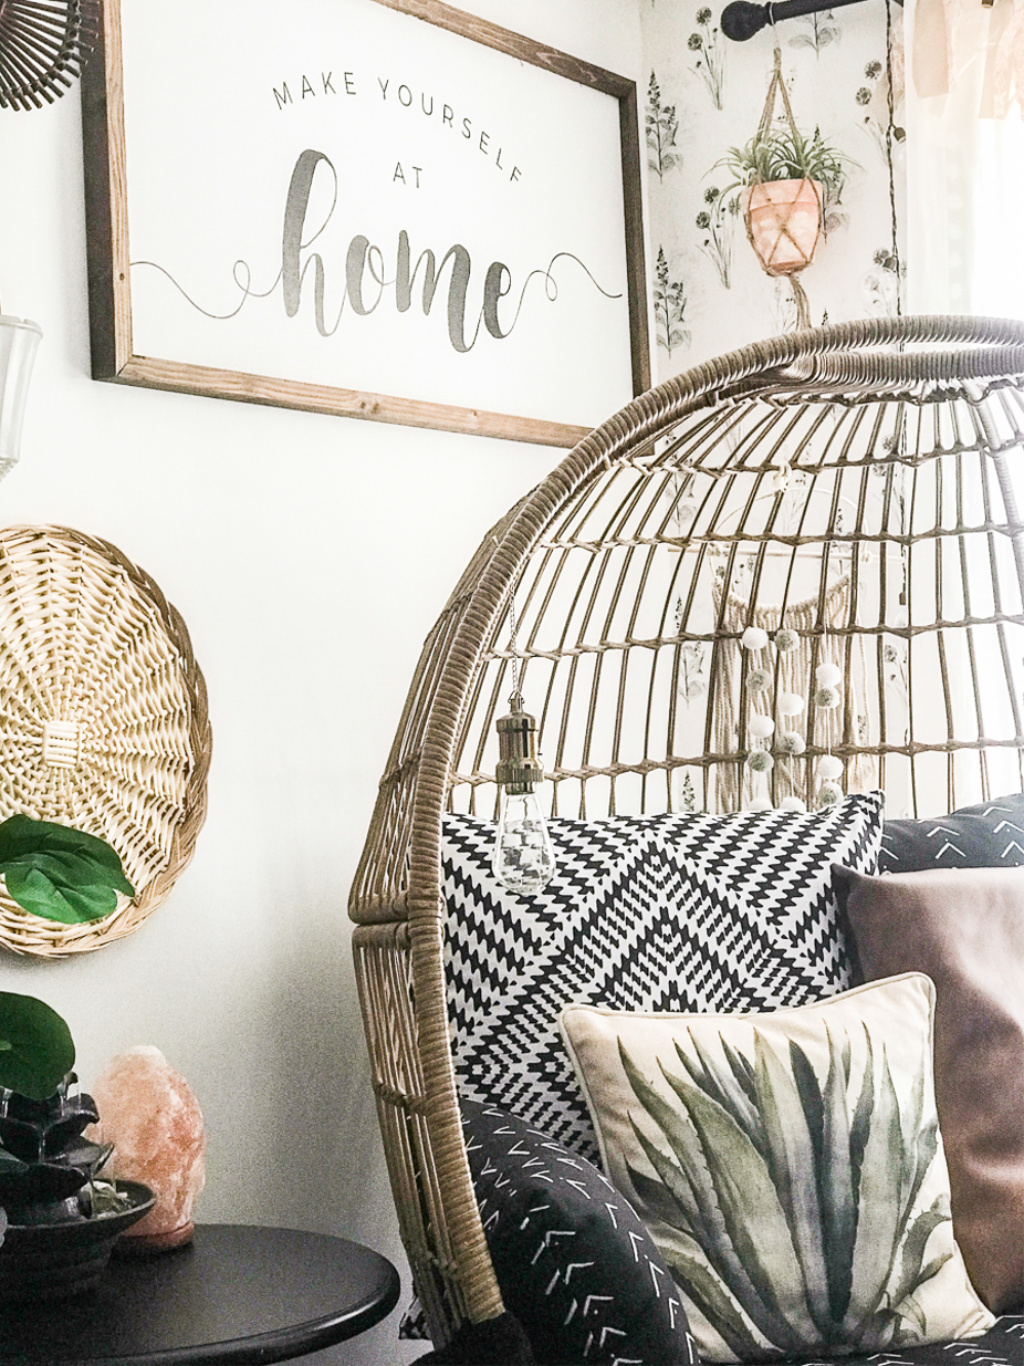
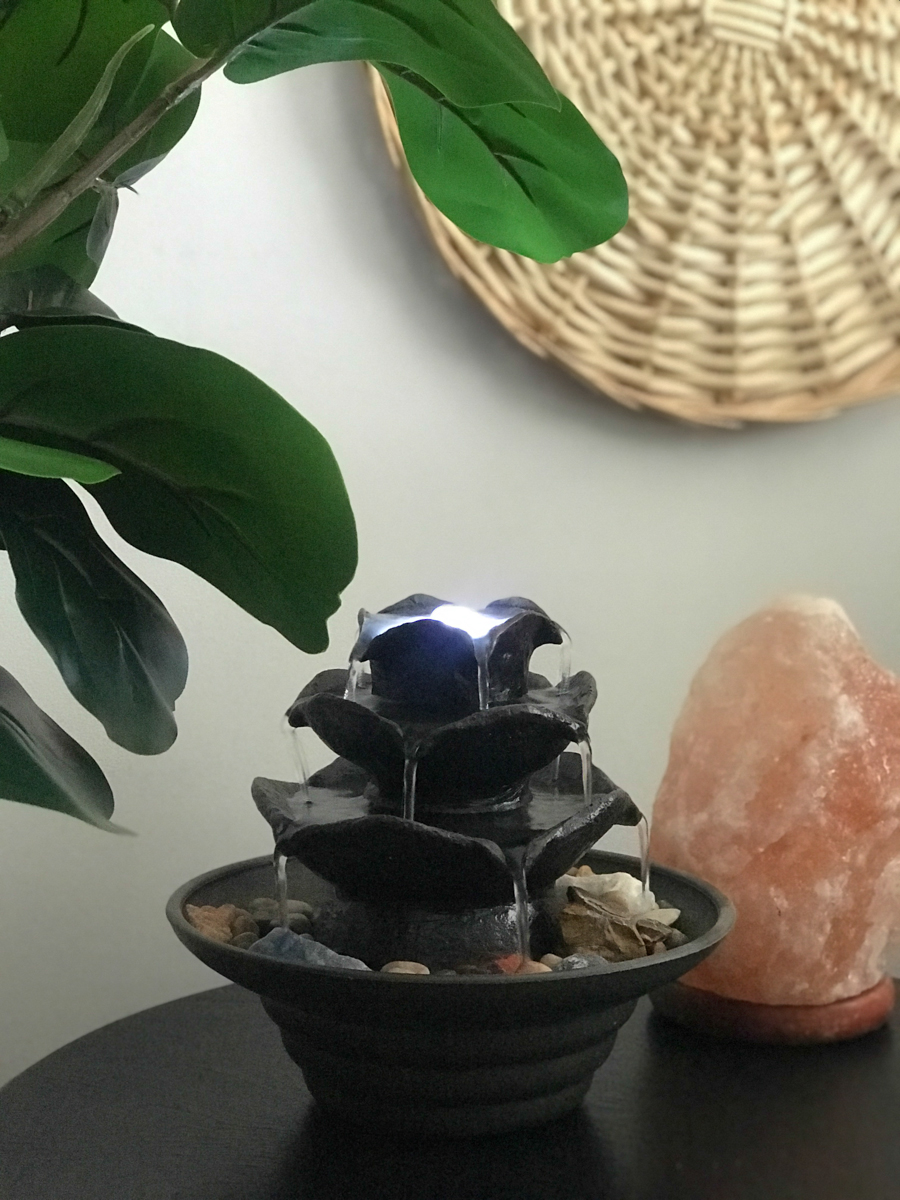
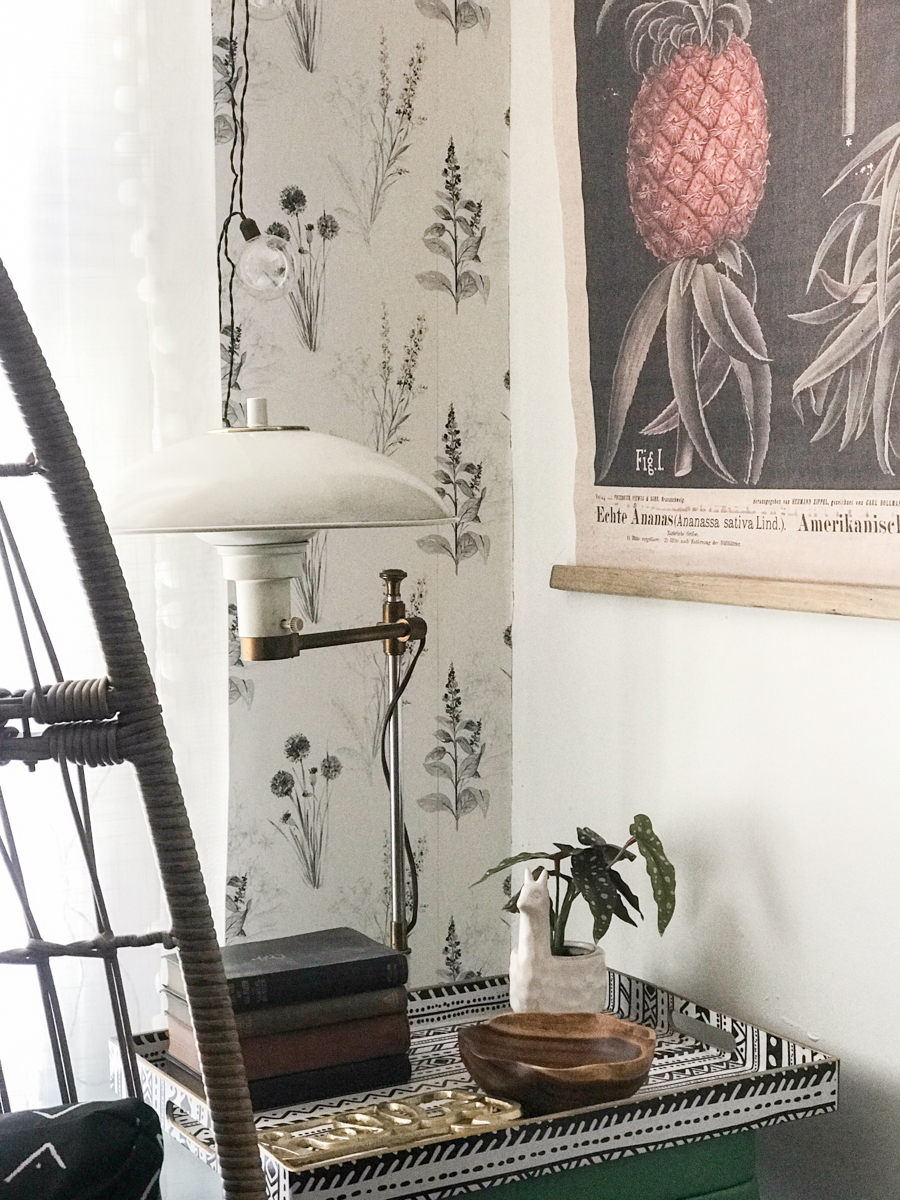
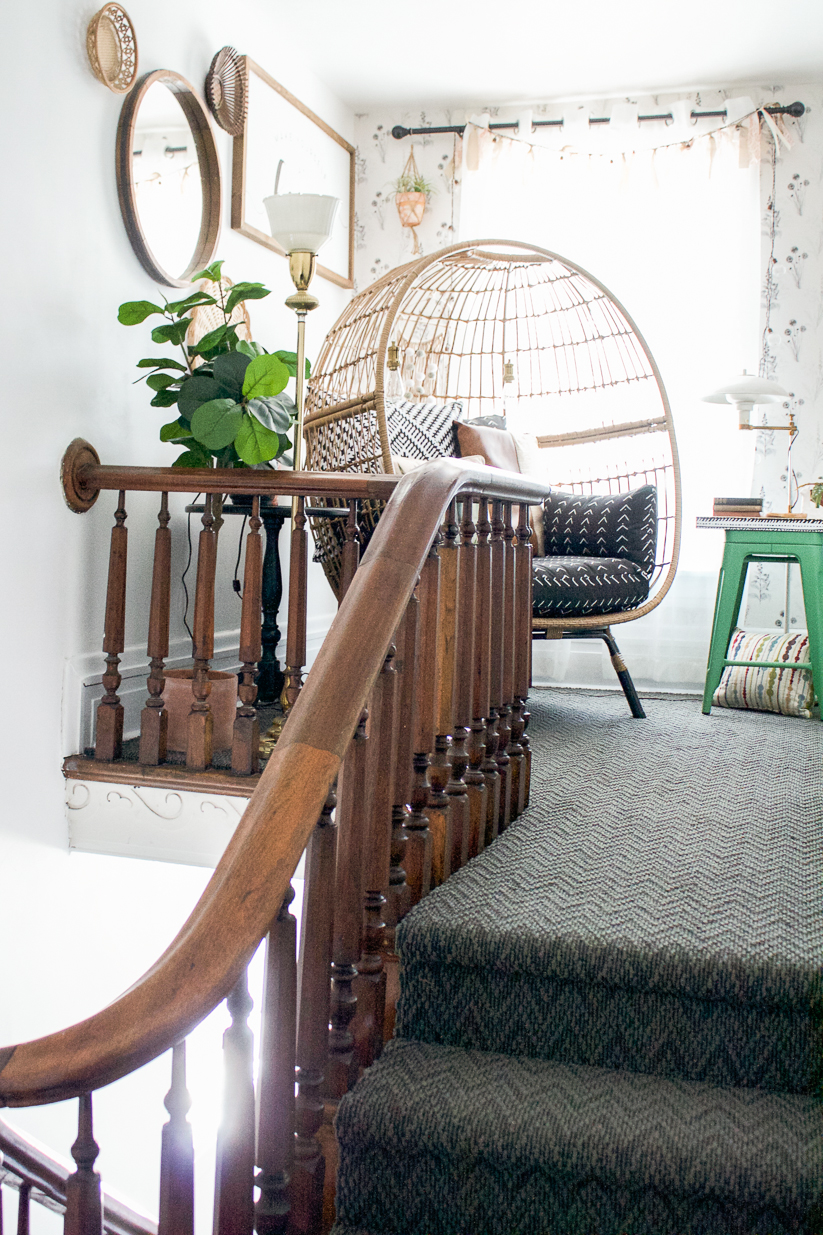
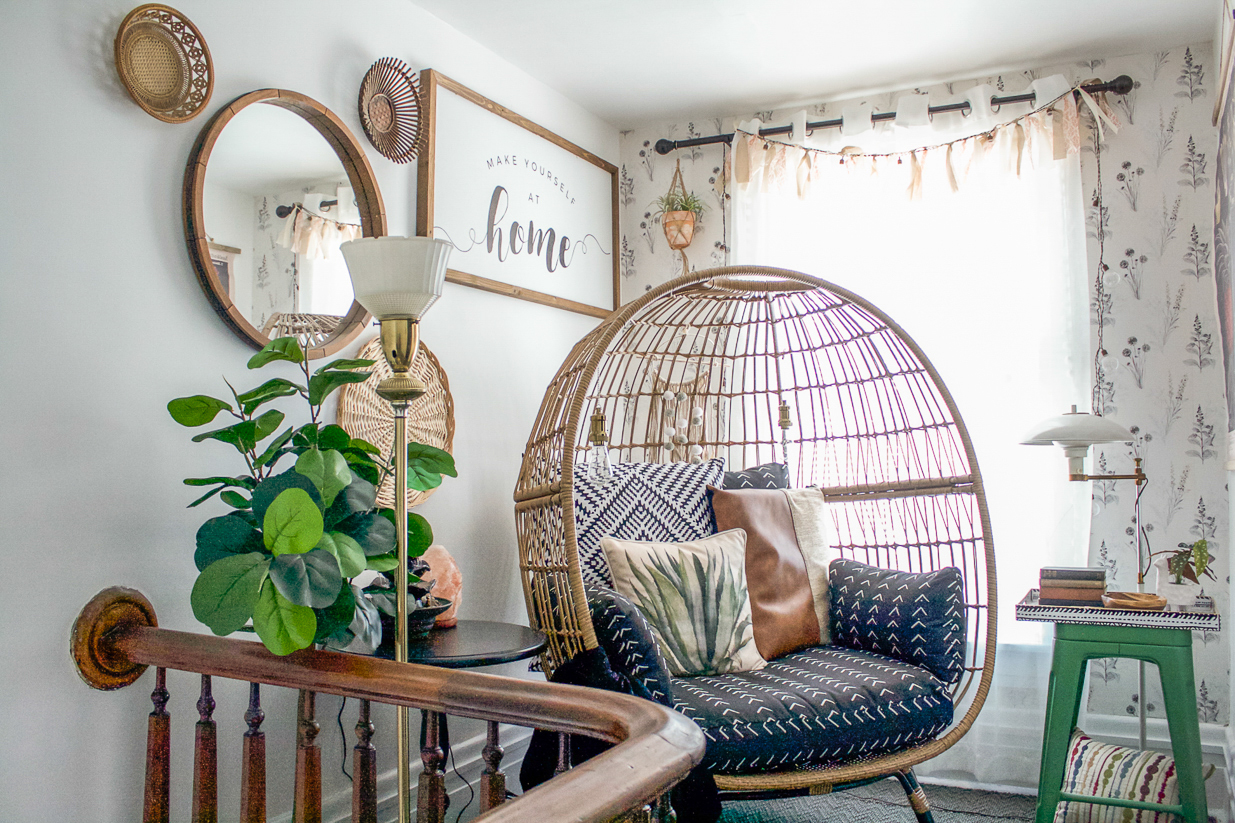
after: The stair landing is now an indoor porch area/comfy and relaxing reading nook for guests with a huge cozy egg chair, lots of pillows, a salt lamp and water fountain. The perfect spot to ‘getaway’ with a good book, to catch up on social media with friends or to take a little cat nap. There might even be room for two in that chair. 🙂 The electrical/light switch has since been updated. Oops! Just seeing that I didn’t cut that out of the shot. There’s a new wood beaded flush mount light fixture not shown. It has a very boho vibe and it’s one of my favorite spots in the apartment. Well, to be honest…wait ’til you see the rest. The entire apartment is my favorite spot!

reading nook

before: 

DIY craft studio // workshop - before room makeover @diyshowoffpadding for carpet on stairs

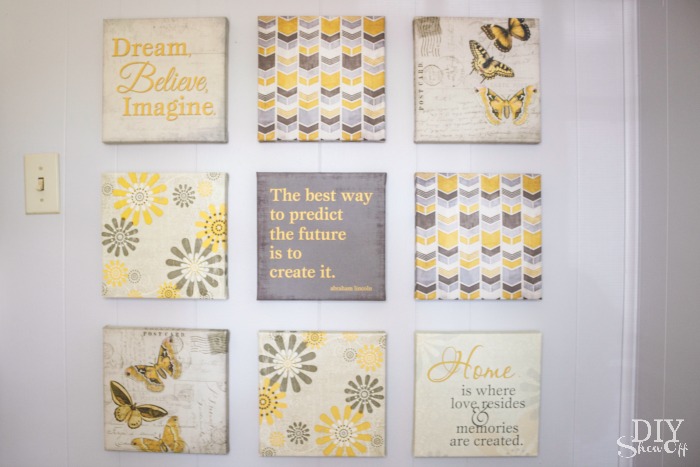
after: so cozy, so fun! A small thrifted basket gallery wall, 

reading nook stair landing airbnb butler pa suite thyme diyshowoff reading nook airbnb butler pa suite thyme diyshowoffreading nook makeover reading nook makeover reading nook makeover

before:

DIY craft studio // workshop - before room makeover @diyshowoff 

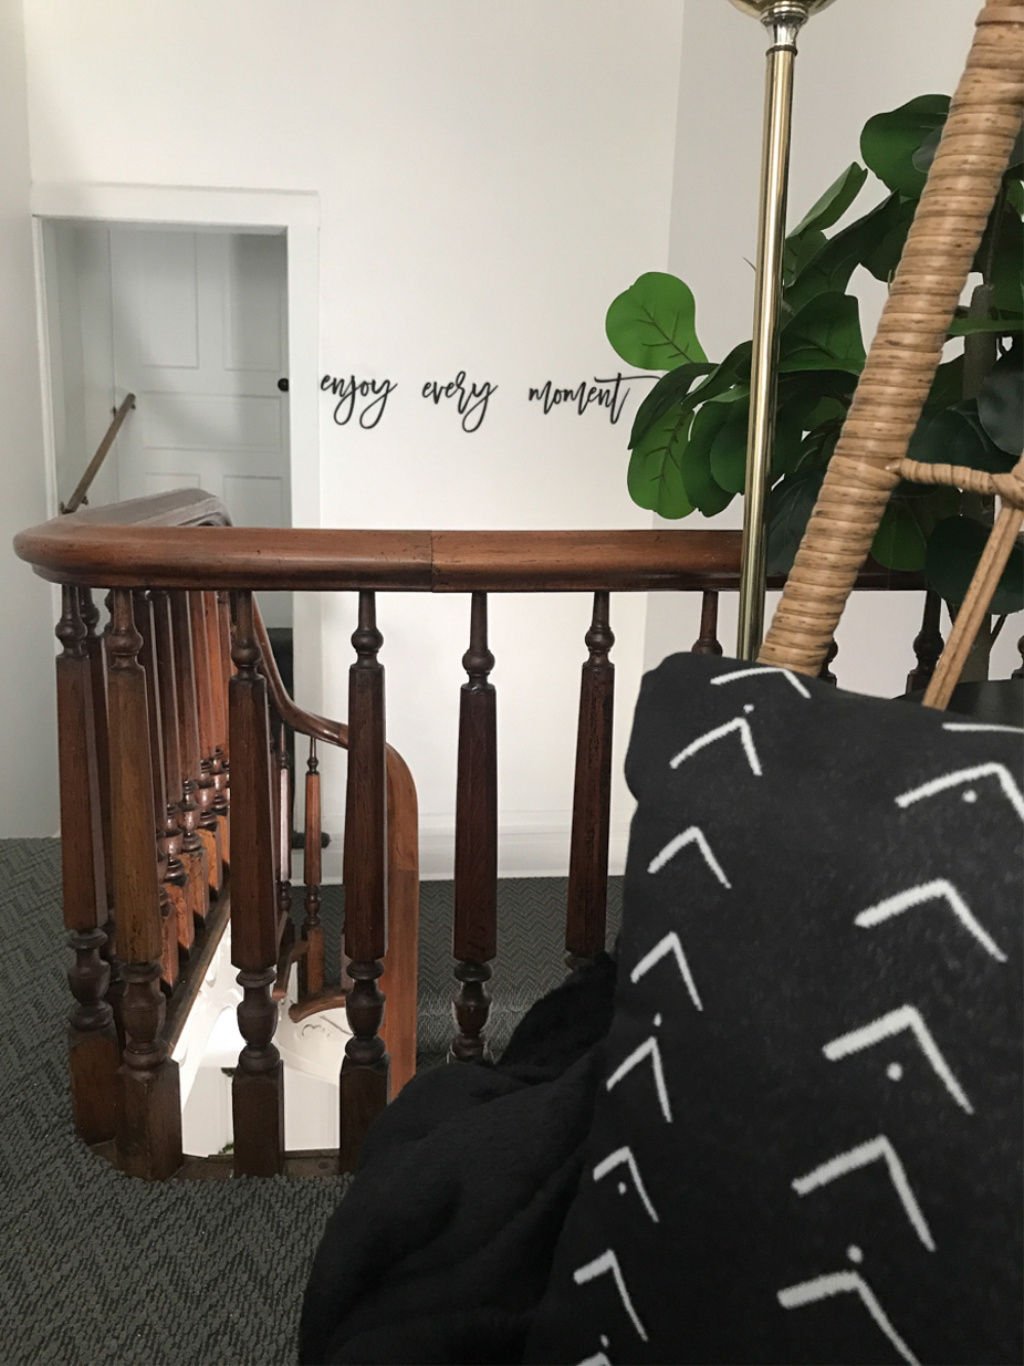
after: clean and simple!

enjoy every moment airbnb butler pa suite thyme diyshowoff

Share your thoughts! 

What do you think? Notice the wallpaper on the back window wall of the landing?Wallpaper fan? Not your thing? Not your style? Know what I mean when I say I sure loathe the removal? Willing to change your mind and take a risk when you fall in love with a print/pattern and it’s just want you and in mind for adding interest? I felt like this print was less trendy, the design is traditional. How about carpet on the stairs? I partnered with Shaw (see the info HERE) to replace what was there. I love the subtle design and features for it to be a long lasting investment. 

Let’s talk about that chair! It’s the OpalHouse Southport chair from Target. Something I really wanted but outside of the budget. And my entire family knew I wanted that chair. So when Mr. DIY asked what I wanted for Mother’s Day, he immediately knew the answer before I got the words past my lips. lol Then at our Mother’s Day dinner, I said to my girls “guess what I got for Mother’s Day?” and Evangeline “did you get THE chair?”, Alainee: “did he buy you the chair?!” Me: “I got the chair!” It was just like a “He went to Jared’s” tv commercial. Moral of the story: I got the chair. ::love:: And guests renting the AirBnB just might find me hanging out in it! (Just kidding!)

Next up:

One room combination living room/dining area/kitchen with a BIG WOW factor! AHHH! I can’t wait to show you! 

Upstairs apartment door…

apartment suite thyme door

Sneak peek looking the other direction from inside of the apartment:

apartment makeover

More about #helloredreno

The building has so much historical charm. It’s about one block from our town’s Main Street. The bus stop is literally steps away. There’s a gorgeous Butler, PA Bed & Biscotti across the street called Suite Retreat (how cute is that?!) and an antique shop nearby. There are breweries, the YMCA, shops, restaurants, salons, florists, candy/coffee shop, holiday parades and festivals within walking distance. So fun! If renovation from blah to ahhhhh is your thing, stay tuned!

So subscribe and be reminded of updates as the renovations progress! I’ll share before and after photos, projects underway and updates, plans and design boards, sources and links as they relate as well as fun events going on in and around the downtown area. I’ll be using a specific hashtag on social media to keep things all neat and tidy and organized.

#helloredreno and #suitethyme

I welcome your thoughts and ideas! And as always, thanks for your encouragement and support and for sharing in my joy and vision! 

The #helloredreno project diary:

Project Diary Entry #1 – Hello Red Reno!

Project Diary Entry #2 – Efficiency Apartment

Project Diary Entry #3 Color Passive Paint

Project Diary Entry #4 – Full Bathroom Demo Day

Project Diary Entry #5 – Sealing A Wood Plank / Shiplap Wall

Project Diary Entry #6: Bathroom Flooring

Project Diary Entry #7: Sealing Brick

Project Diary #8: Hardwood Floors

Project Diary #9: Carpeted Stairs

Project Diary #10 Vinyl Floor Tiles

Project Diary #11 – Living Room Before & After

Project Diary #12 – Christmas at the Studio

Project Diary #13 – Wallpaper Mural

Project Diary #14 – Entryway, Stairs & Landing Before & After

Hi Tech Entry Door

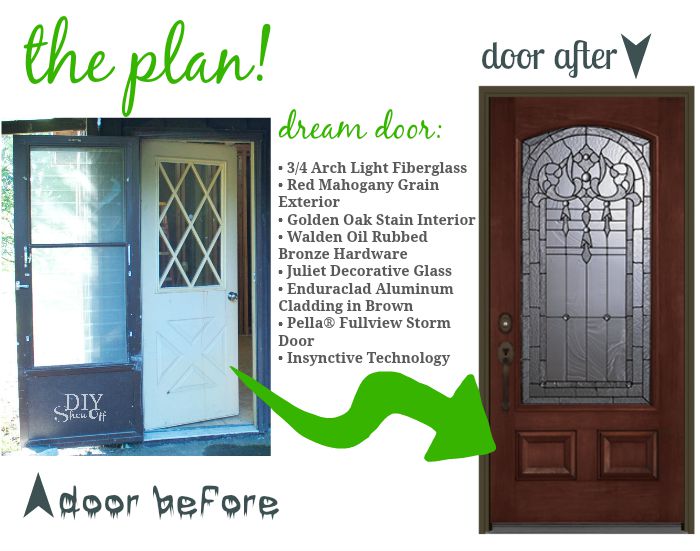
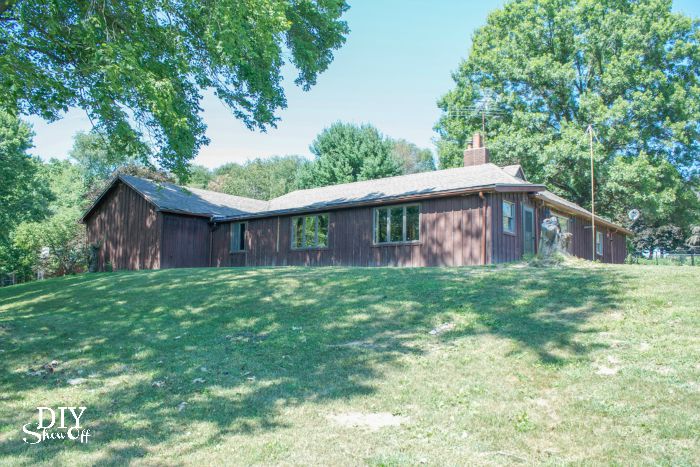
A month or so ago, I shared the plans with Pella Windows and Doors that mom has for the exterior entrance way to the house they’re completely remodeling inside and out.

Things are moving along with the home renovation and the latest is a cool hi tech Pella Windows and Doors entry door with Pella Insynctive Technology (also featured in the Better Homes & Gardens Innovation Home)!

Pella door after @diyshowoff
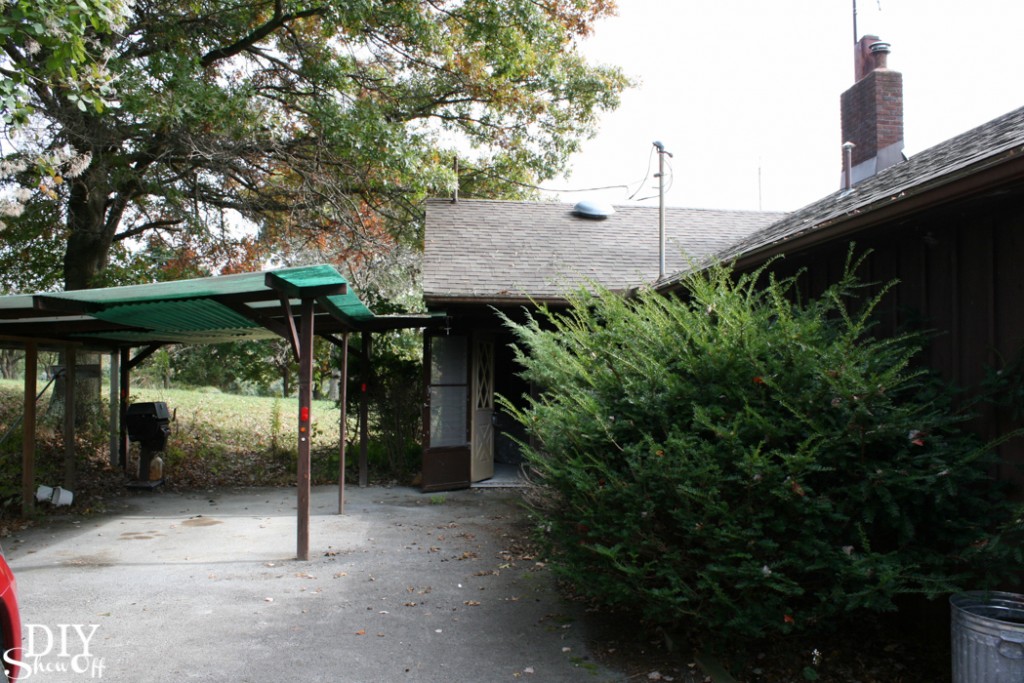
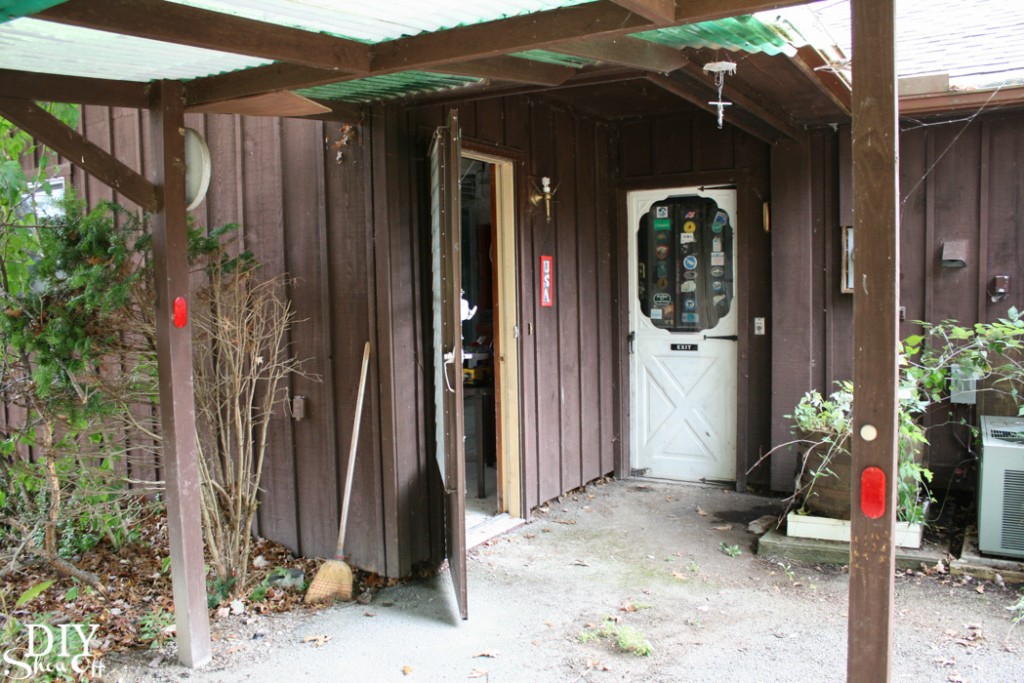
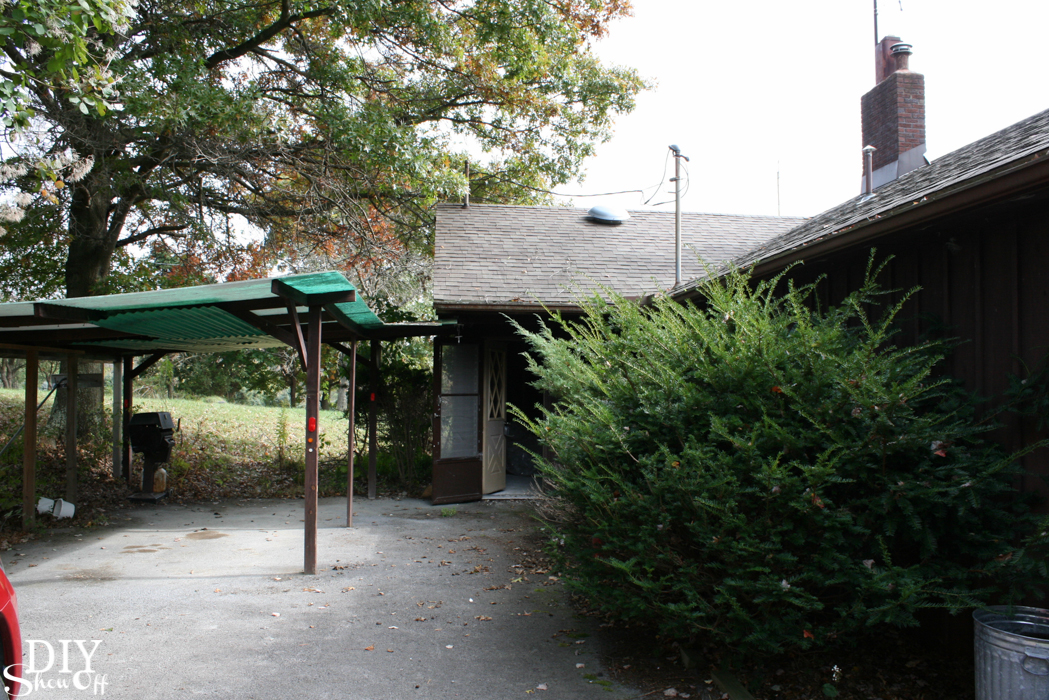
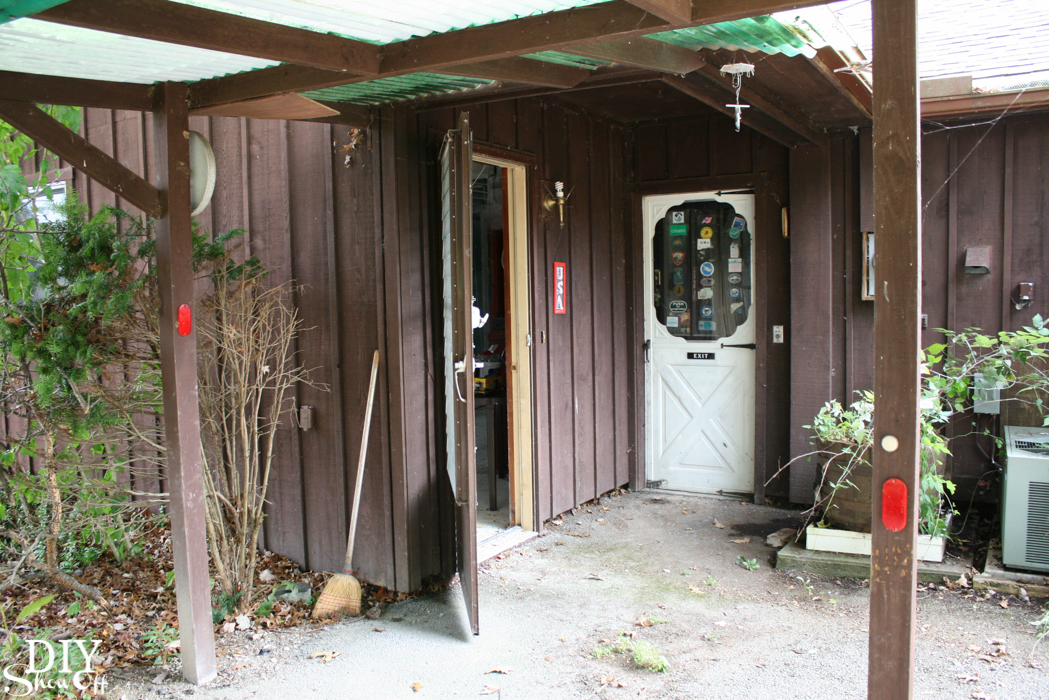
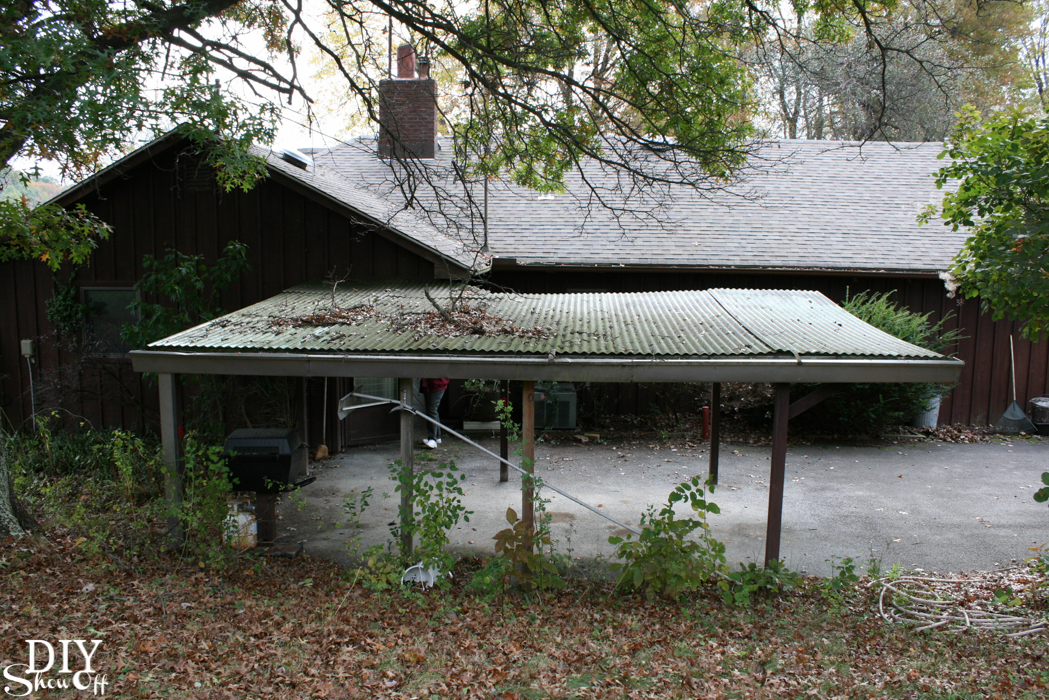
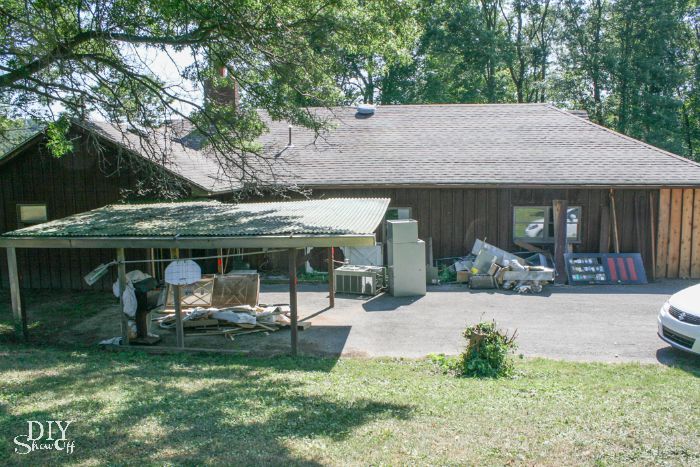
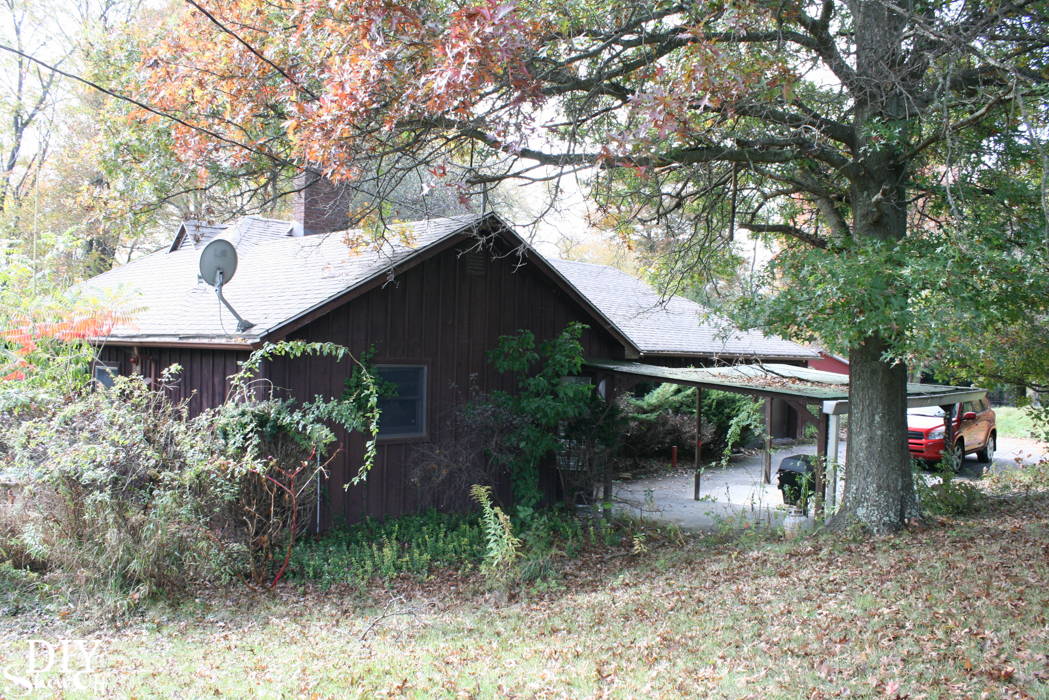
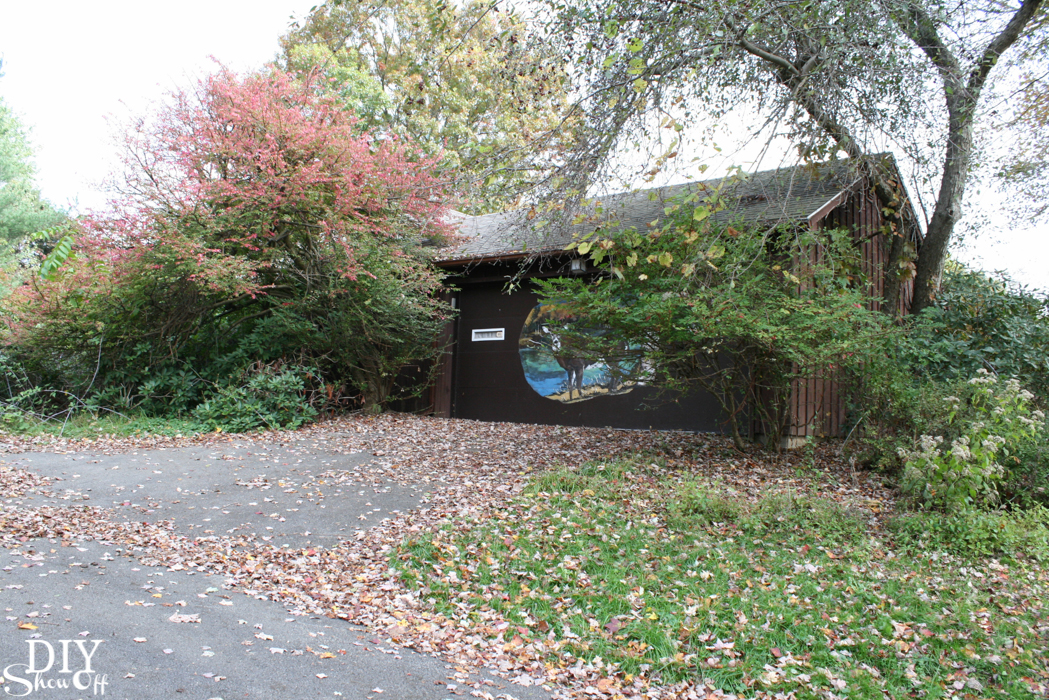
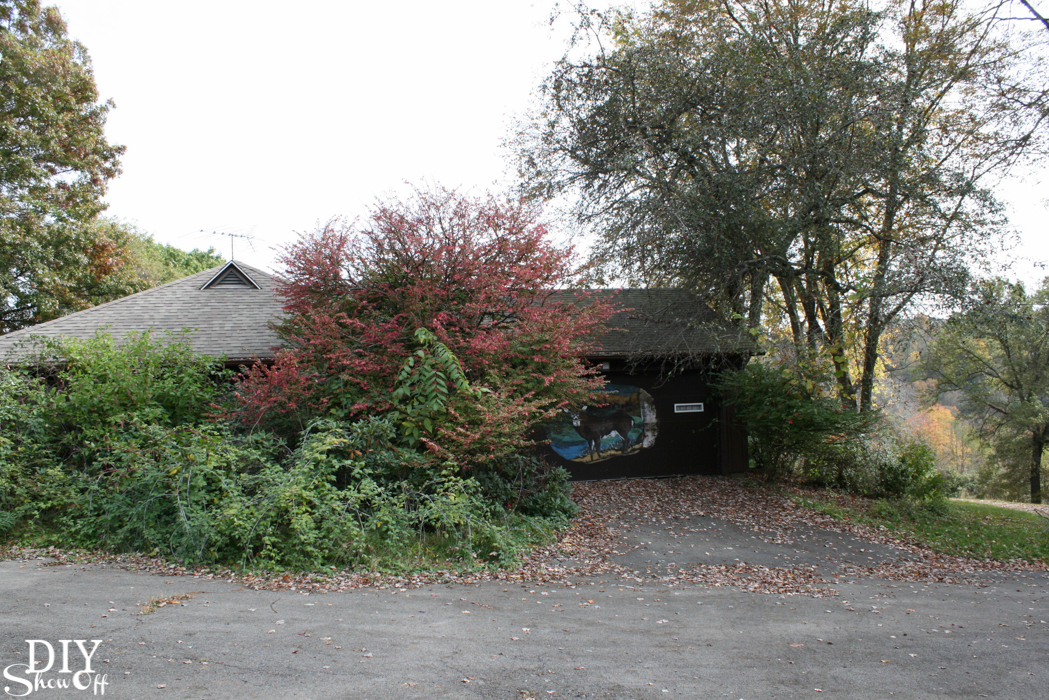
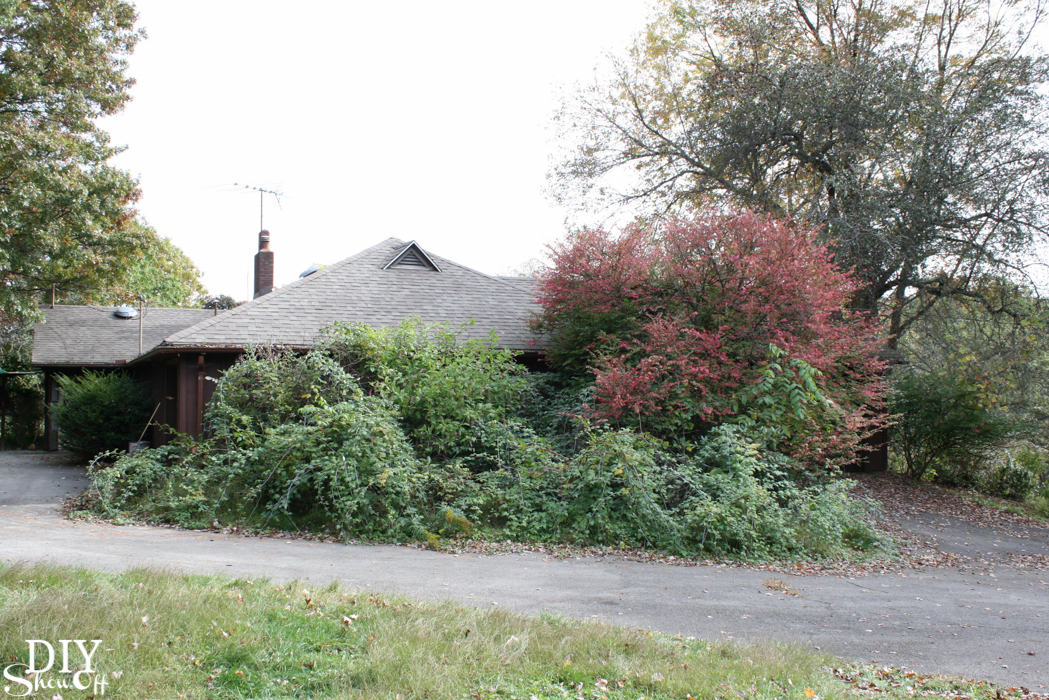
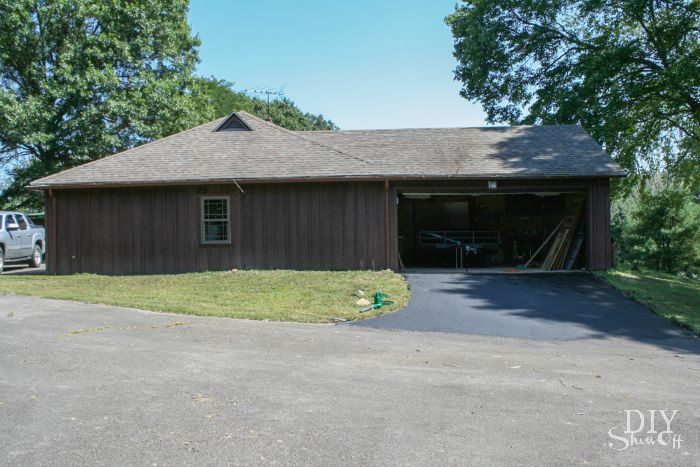
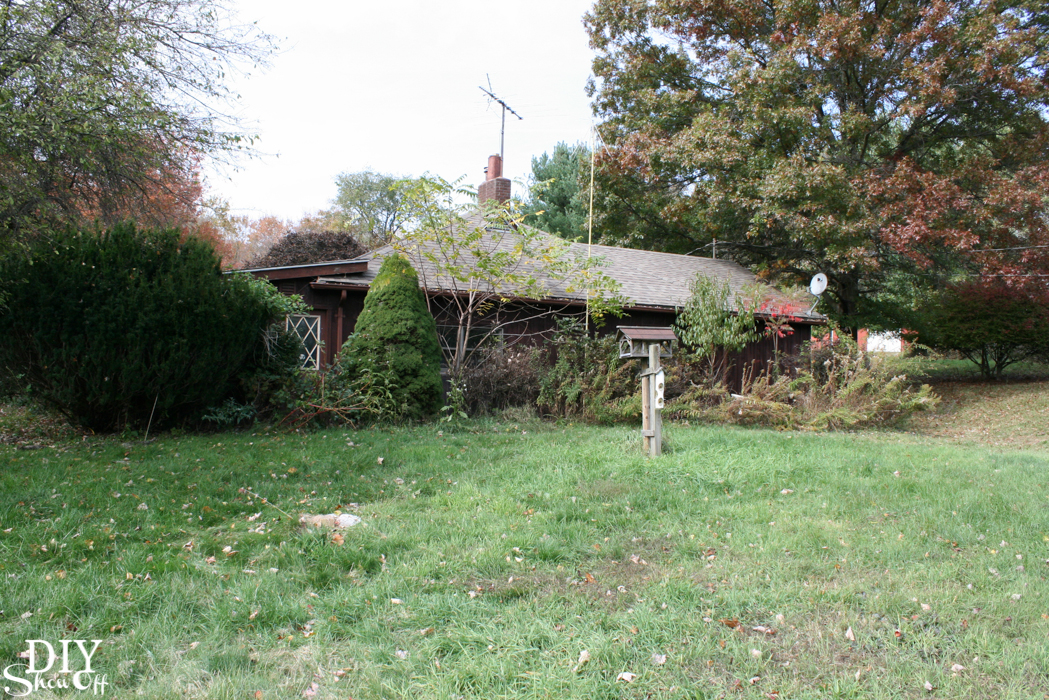
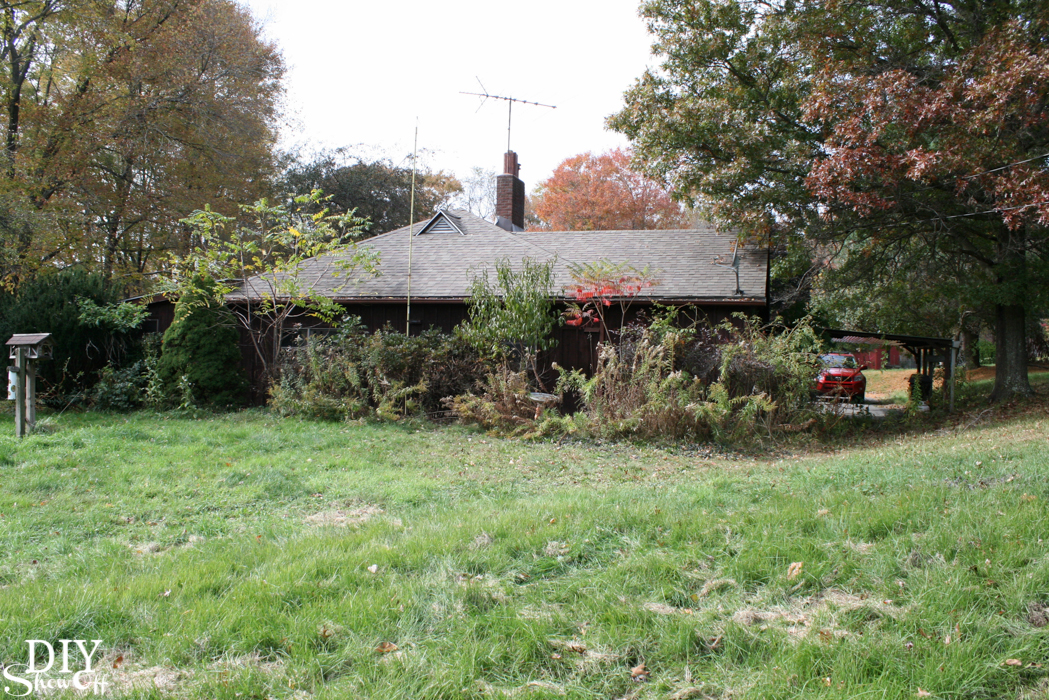
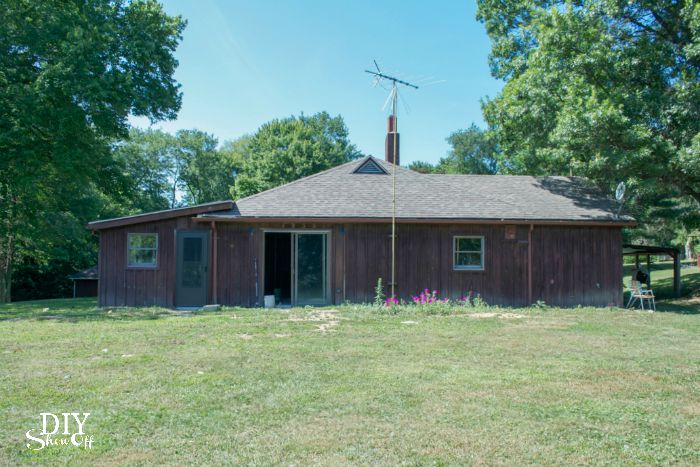
So much work is being completed on the inside – new electrical, plumbing, new walls, new floors, new everything! I can’t wait to show you! Exterior/outdoor/landscaping DIY will resume next spring. I love the board and batten siding! Wouldn’t it be beautiful in a lighter color? Their plans are to create a stone facade. That’ll be gorgeous too. The ugly carport/paved parking area will be transformed into a pergola and patio. But in the meantime, a beautiful new ‘smart’ entry door just couldn’t wait. Because this entrance (before) was anything but welcoming…
door before

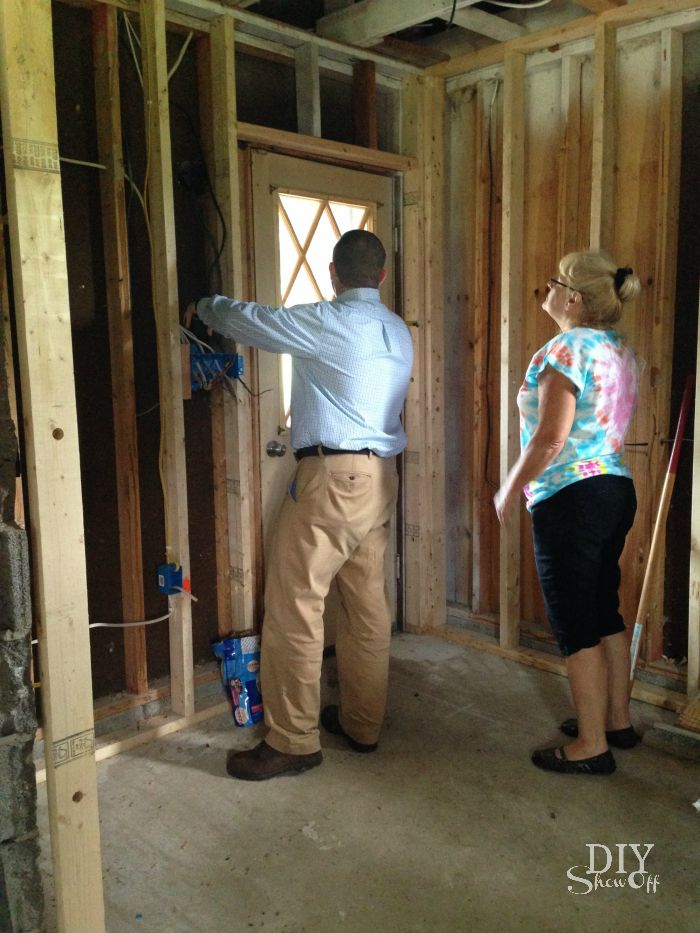
Pella arrived to do the measurements and to confirm the door and accessories that my mom wanted. A quick simple visit and an appointment made for installation. Then Pella’s installation crew showed up and got to work. They handled everything from removing the old door and door jamb to installation of the gorgeous new door and accessories to installing trim to clean up. Professional, fast, friendly and quality work…

Pella door installation

…and a gorgeous entry door…

Pella door after @diyshowoff
…with Insynctive technology. What is Insynctive technology? It’s a wireless system that monitors when the door is locked or unlocked, closed or opened. How handy is that? Smart! There’s a sensor in the door that connects wirelessly to a bridge home automation hub (which reads sensors on as many doors and windows as you wish to connect) adding extra security and peace of mind to the homeowner. They’re even considering the garage door sensors for several of their outbuildings. A status indicator is then displayed anywhere in the home. We’re thinking the bedroom is a good place…a quick glance before going to sleep to know if you’re all locked down without having to get back up to check the doors and windows. A Pella representative does the installation and provides education for how it all works.
Insynctive

My mom and her husband are thrilled with the gorgeous Pella door that allows natural light to flood into what will be their kitchen, a beautiful warm welcome from the outside as well as the Insynctive technology that will provide convenience and extra security. Huge difference!

door before and after
Looking forward to how that gorgeous door is going to inspire a beautiful outdoor entryway in the near future!

Pella door after @diyshowoff
See more about Pella on Facebook, Twitter, Instagram and Pinterest.Learn more about Pella’s Insynctive technology here: http://insynctive.pella.com/

This is a sponsored project written by me on behalf of Pella Windows and Doors . The opinions and text are all mine.

Step Stool Makeover
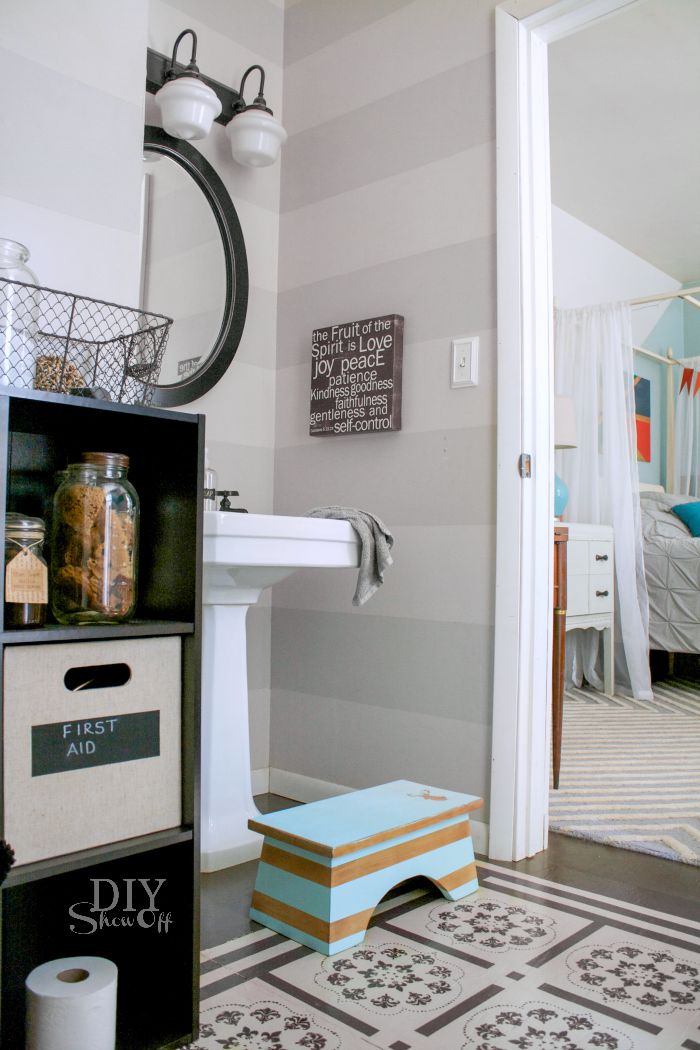
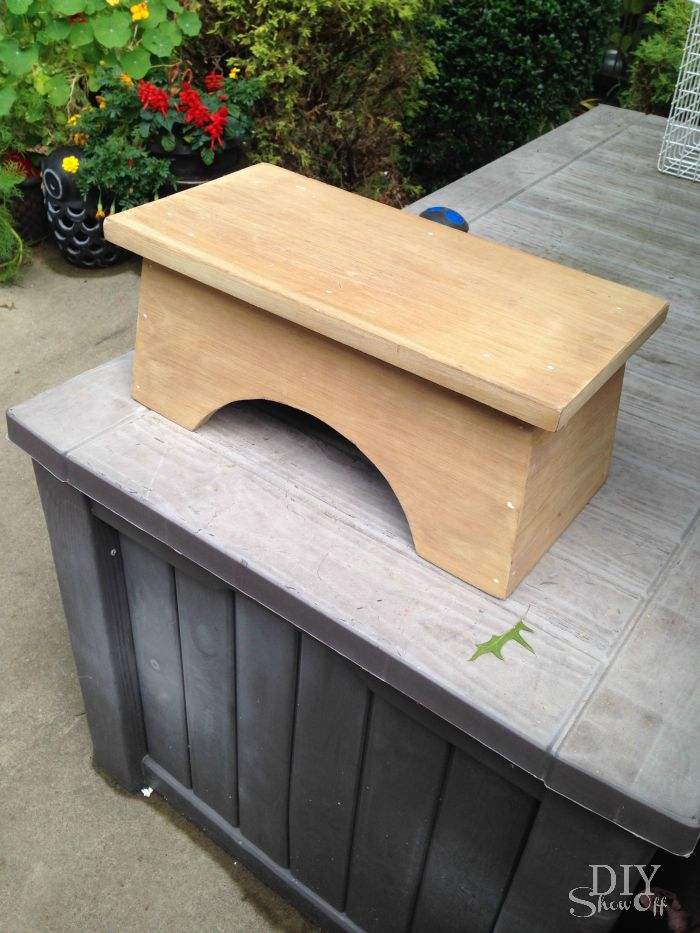
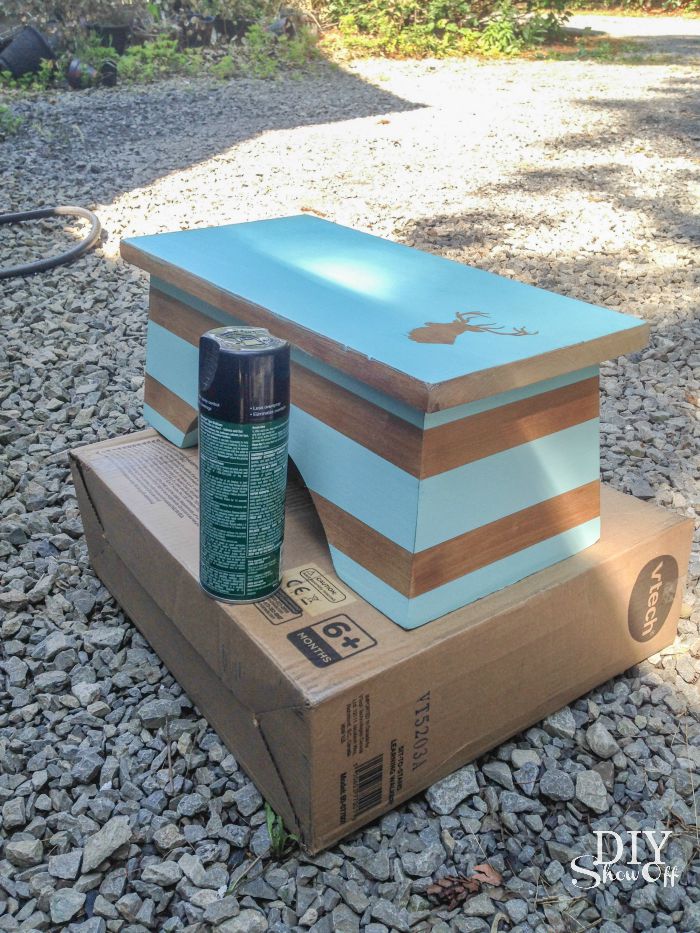
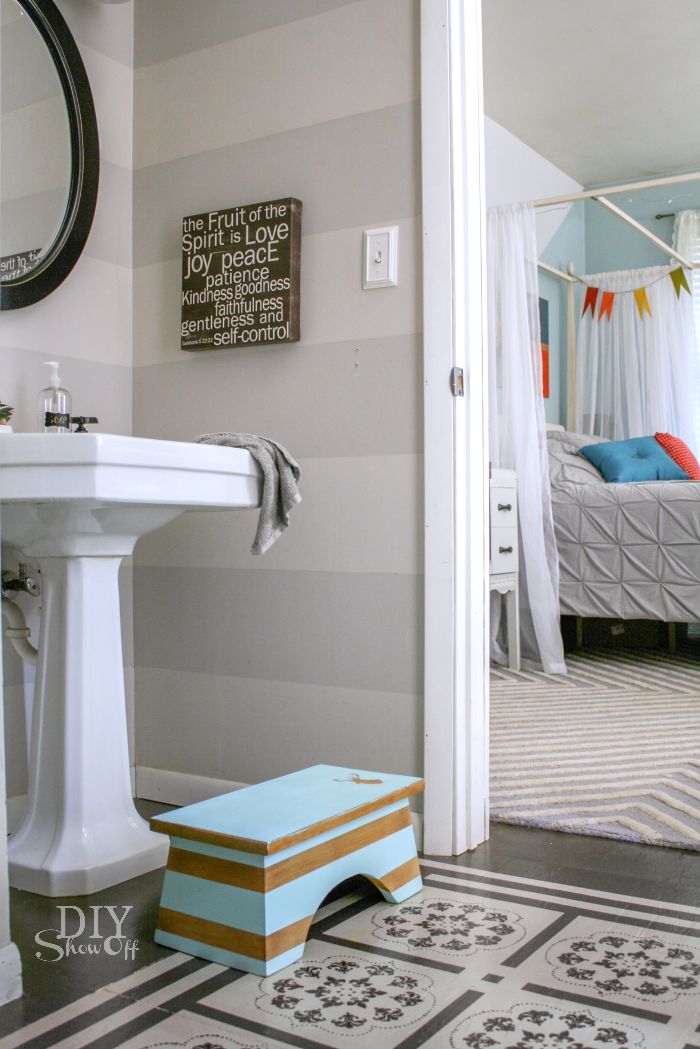
Scoop up a step stool at the flea market, yard sales or thrift stores and give it a makeover. Thinking ahead, sweet grand baby is going to need a step stool to reach the bathroom sink to wash his little hands. This wooden flea market treasure is perfect. And of course I can’t resist the opportunity to take it from blah to cute with a little paint and FrogTape®.
flea market step stool makeover @diyshowoff

Materials I used:

  • wooden foot stool (sanded and wiped clean)
  • FrogTape and scissors
  • vinyl decal 
  • paint (I used Valspar Sea Kiss in a satin finish) and paintbrush
  • spray lacquer 

What I did: 

1. I convinced Mr. DIY to do the sanding for me. He’s much faster at that task than I. He simply sanded away the varnish leaving me a clean blank slate.

flea market step stool makeover @diyshowoffflea market step stool makeover @diyshowoff

2. Then I wiped away the saw dust with a damp cloth. 

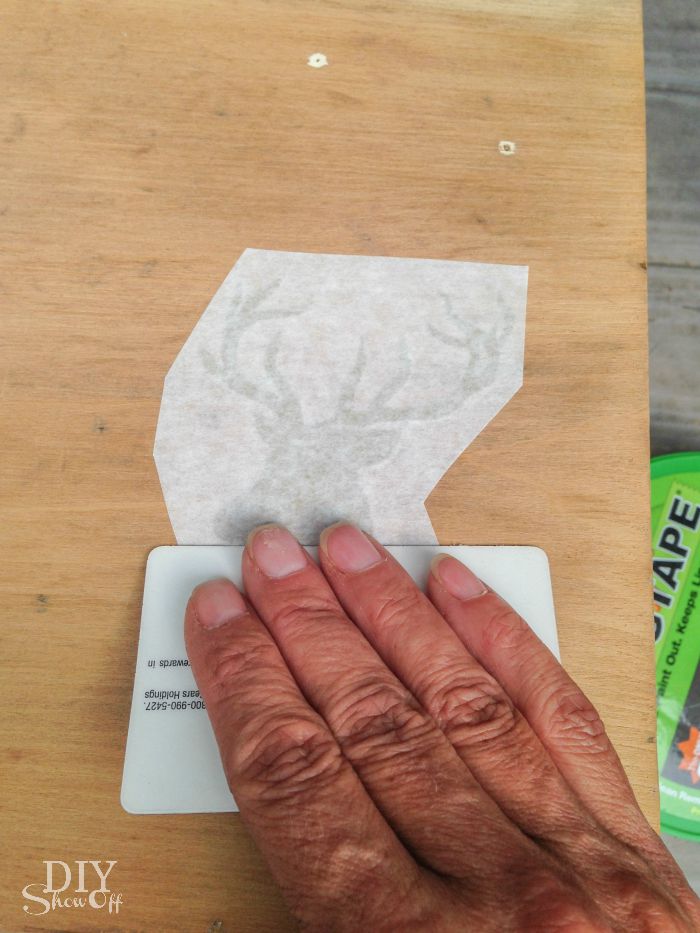
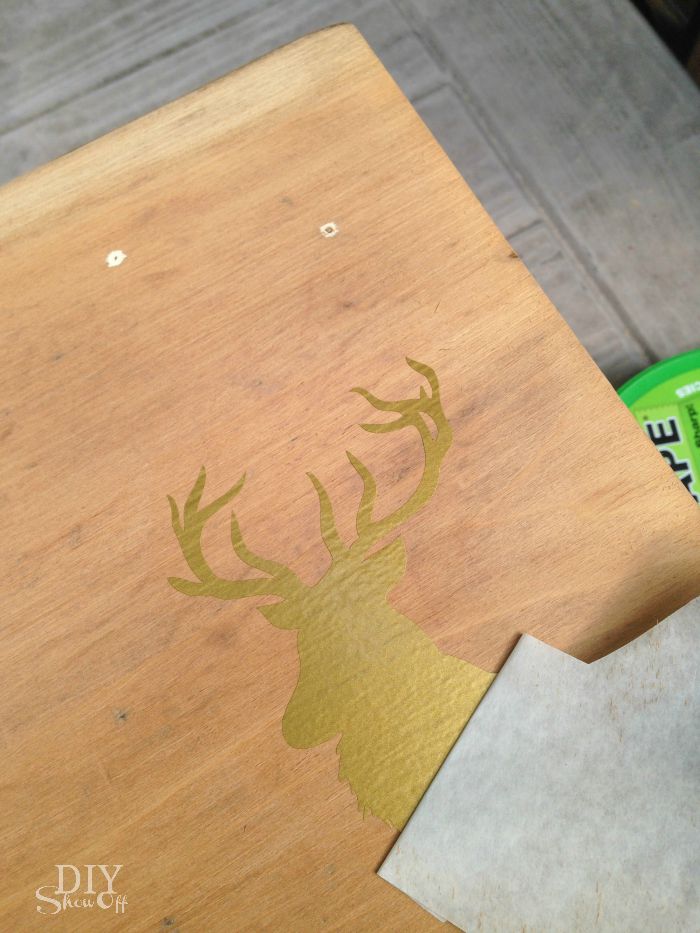
3. Next I applied my vinyl decal to the top, burnished it and pulled away the transfer paper. 

flea market step stool makeover @diyshowoff flea market step stool makeover @diyshowoff

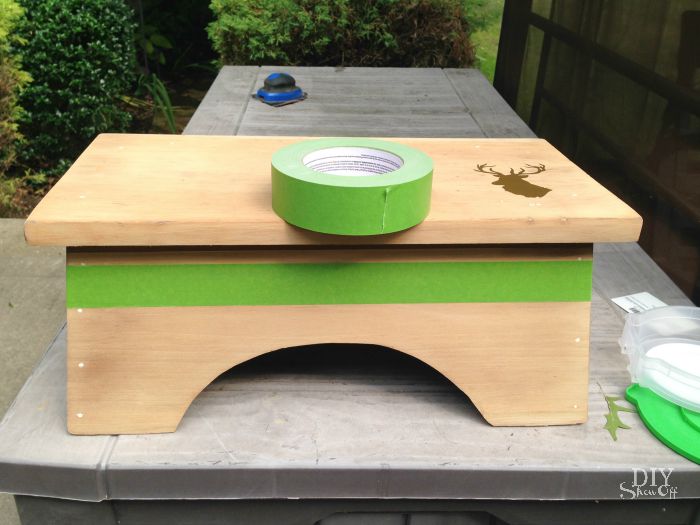
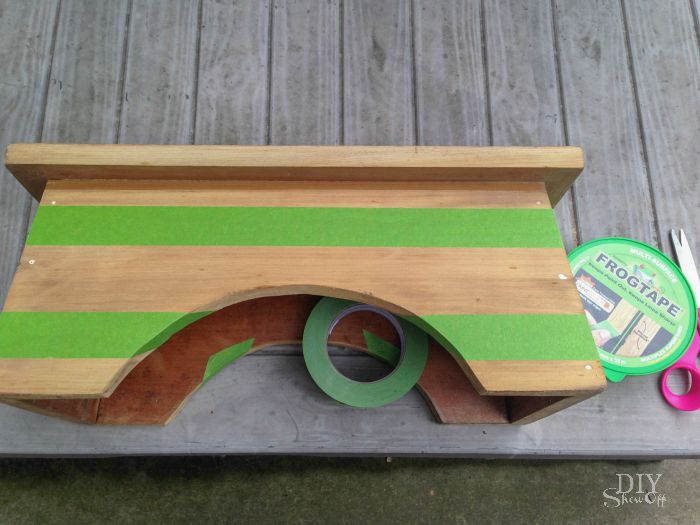
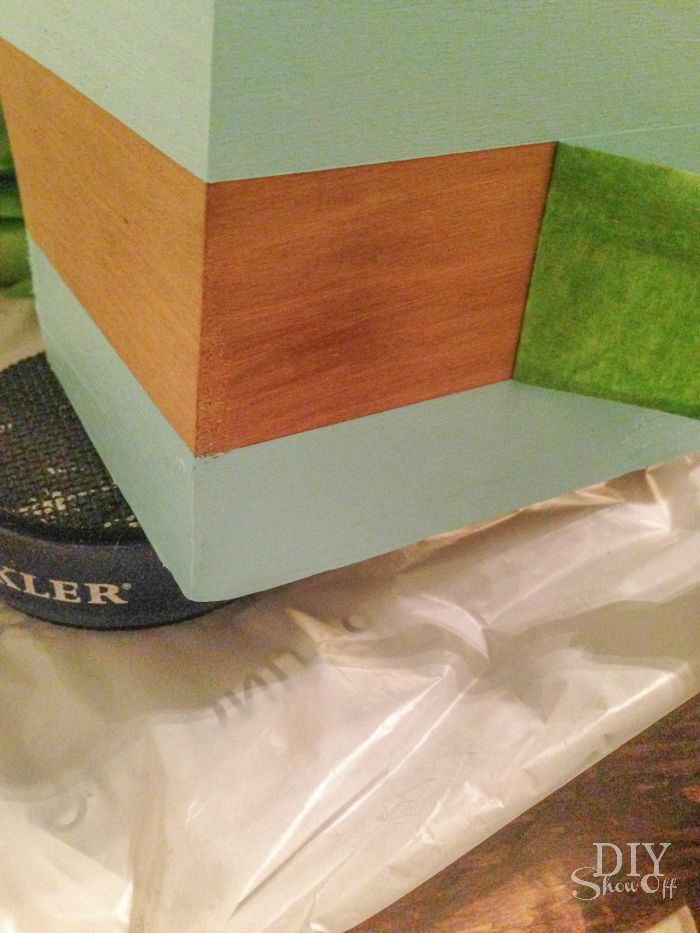
4. I taped off stripes using FrogTape Multi-Surface. Since the sides aren’t 90 degree angles, here is what I did: Tore off a piece of FrogTape longer than needed. I placed it in a straight line (I just eye-balled it) and folded the edges over on the ends. Using my thumbnail (or credit card), I rubbed the FrogTape on the corner. Then I gently lifted it up and using scissors, cut along the ‘white’ line. Replace and burnish tape. Repeat on each of the four sides, two rows of stripes. 

flea market step stool makeover @diyshowoff flea market step stool makeover @diyshowoffflea market step stool makeover @diyshowoff

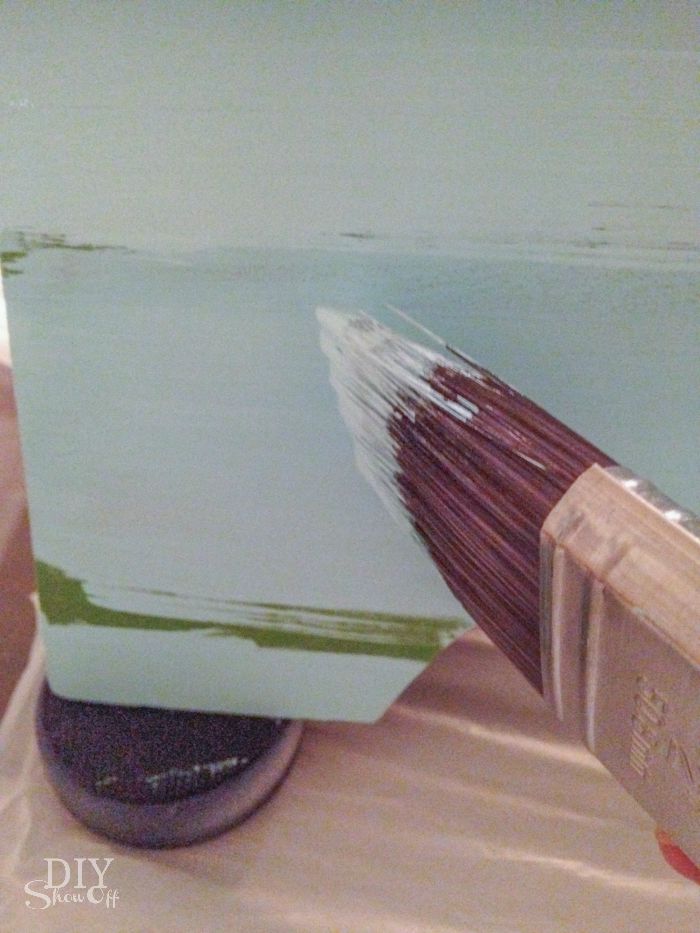
5. Paint a coat. Let dry. Paint a second coat. 

flea market step stool makeover @diyshowoffflea market step stool makeover @diyshowoff

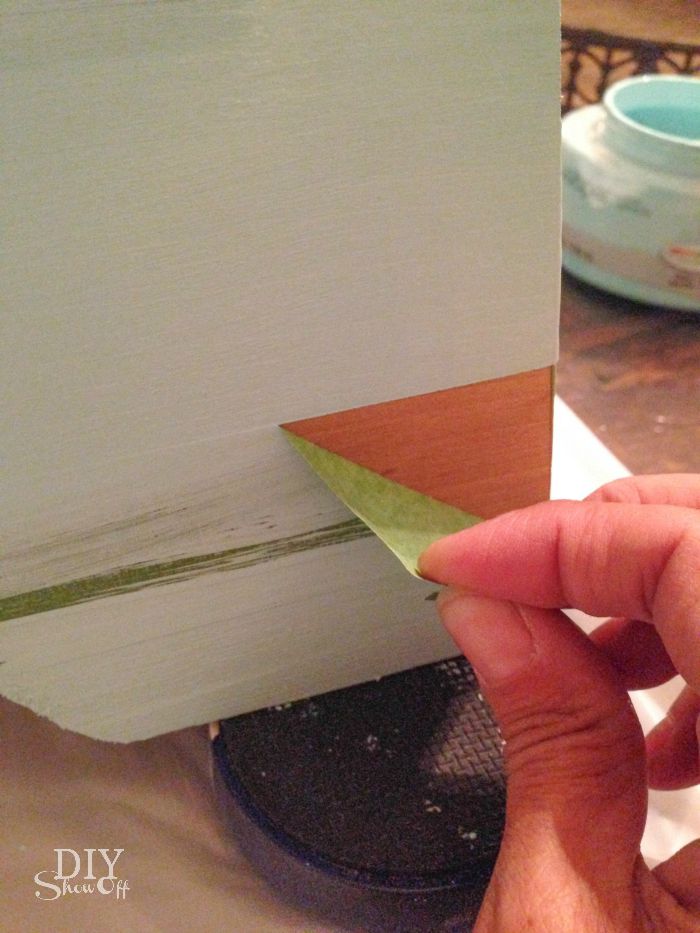
6. While paint is still wet, carefully remove FrogTape and vinyl decal. Then allow paint to dry over night. 

flea market step stool makeover @diyshowoff flea market step stool makeover @diyshowoff

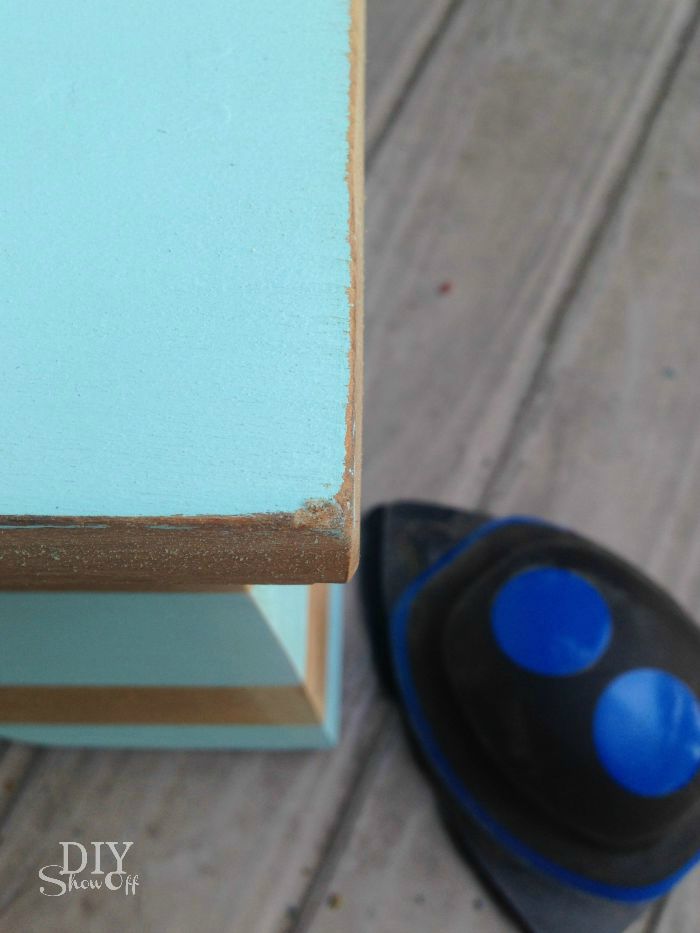
7. Optional: sand edges for a distressed look. 

flea market step stool makeover @diyshowoff

8. Apply two light even coats of spray lacquer, allowing dry time between each coat according to instructions on the can. 

flea market step stool makeover @diyshowoff

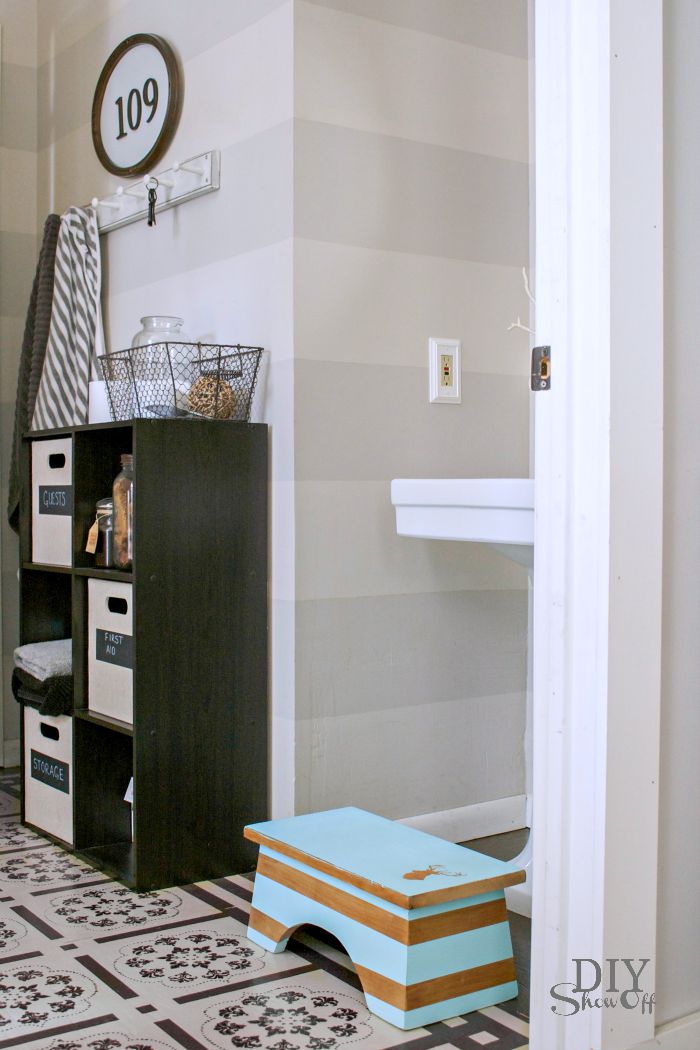
Ta-da! A cute addition to the bathroom sink for little ones. 

flea market step stool makeover @diyshowoff flea market step stool makeover @diyshowoff

*I received compensation to complete this project for using FrogTape® products. All opinions, projects and ideas are based on my own experience.

 FrogTape Blog Squad