Best Dressed Laundry Room Contest by Samsung

Best Dressed Laundry Room Contest by Samsung:

Samsung Best Dressed Laundry Room

When we first moved into our home, we relocated the laundry room from the scary old basement to a walk in closet on the first floor. Unfortunately, that’s as far as we got. There’s  only a plywood subfloor, old mismatched appliances and in fact, the closet is open and walks through from the guest bedroom to the family room and there are no doors! I promise I have the worst dressed laundry room but that’s about to change. 

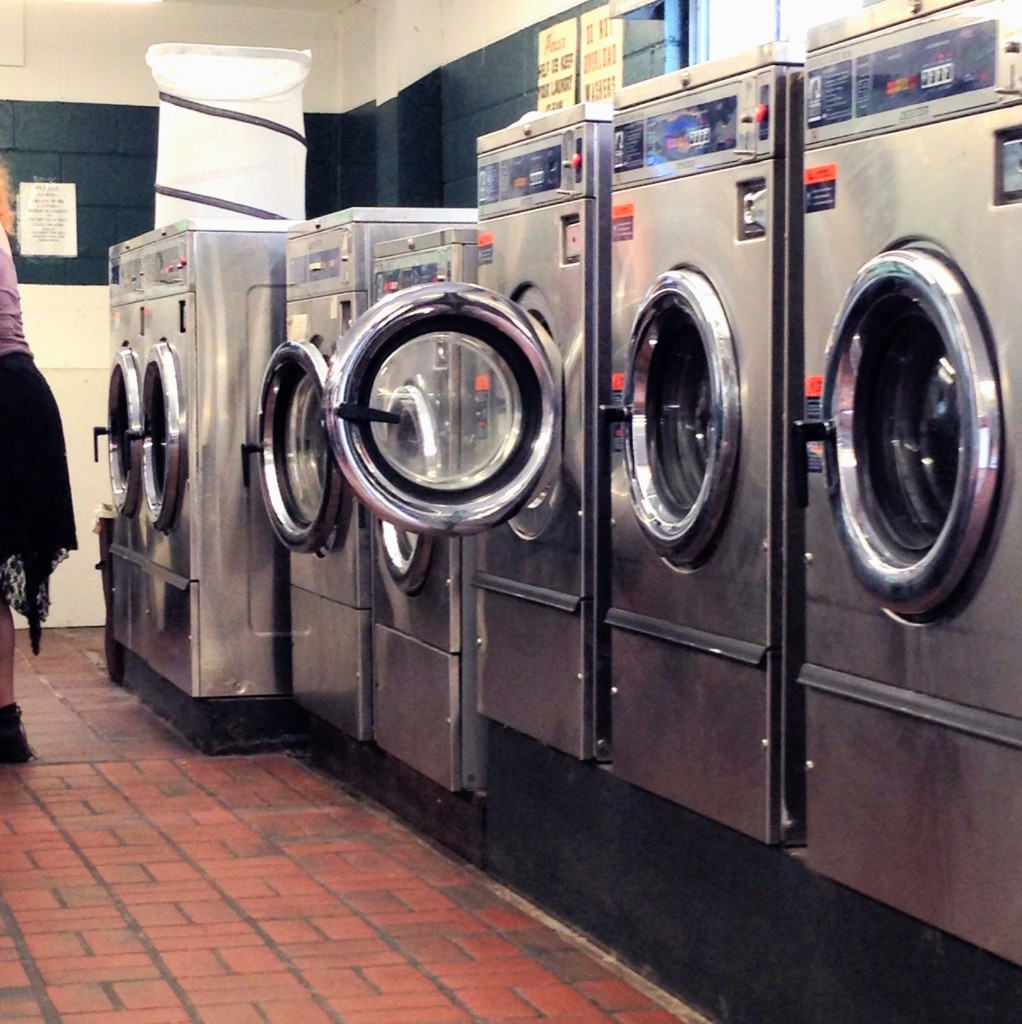
This is where I’ve been doing laundry the past few weeks…

laundromat

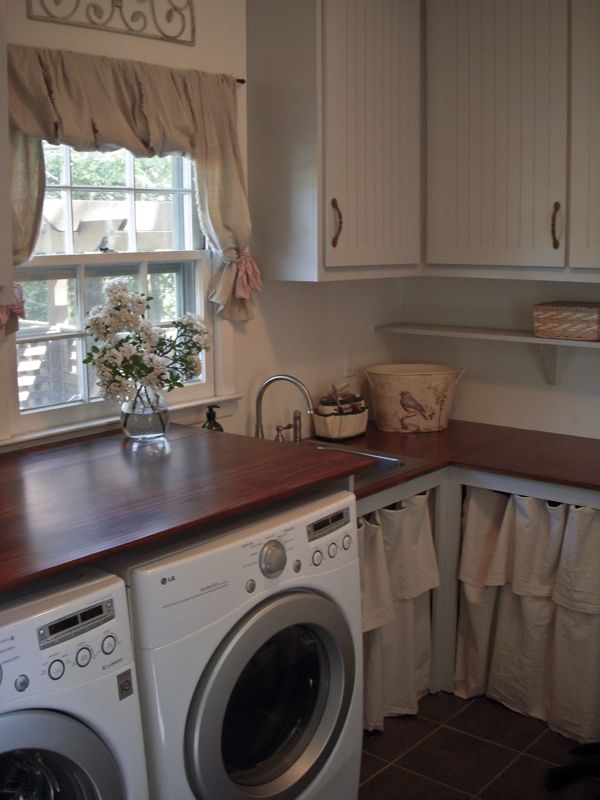
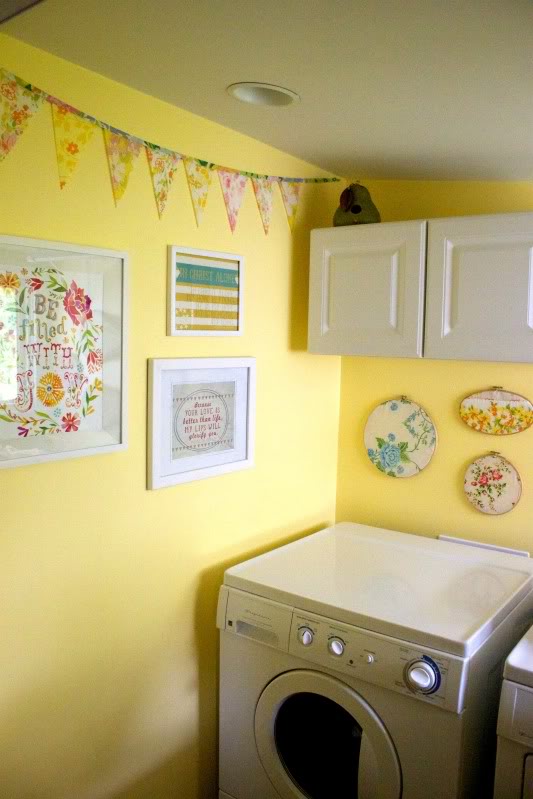
I’ve been looking at and drooling over Laundry Rooms. The recent death of our 18-year-old dryer has inspired a laundry room makeover here at DIY Show Off. Here are some favorites that I’ve featured in the past to jumpstart some inspiration: 

Hydrangea Home

laundry room at Hydrangea Home

First Home…Love Life

laundry room at First Home…Love Life

Take Heart

laundry room at Take Heart

So pretty! Well, when I was asked to participate as Samsung media partner and judge in the Samsung Best Dressed Laundry Room Contest, the timing was perfect! Even more inspiration! I need to see more – let’s see YOUR laundry room!

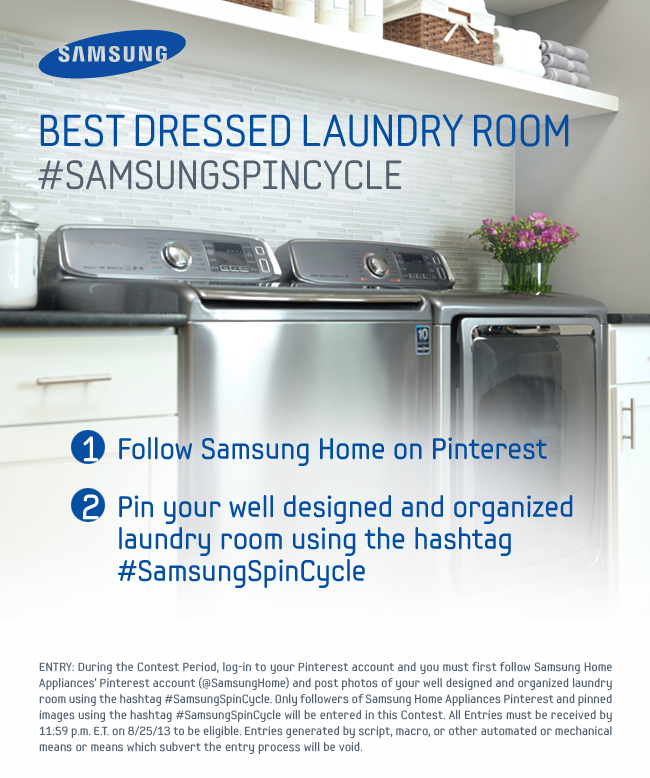
How to Enter:

Samsung Best Dressed Laundry Room

1. Follow Samsung Home on Pinterest.

2. Pin YOUR laundry room using the hashtag # SamsungSpinCycle

Samsung Best Dressed Laundry Room Pinterest board

GOOD LUCK!

NO PURCHASE NECESSARY.  Open to legal residents of the 50 United States and D.C., 18 years and older. Begins: 12:00 p.m. ET on 7/24/13. Ends: 11:59 p.m. ET on 8/25/13. (Hurry! Only a few days left to enter!) Void where prohibited. Sponsor: Samsung Electronics America. Administrator: Meredith Xcelerated Marketing, a division of Meredith Corporation.

More information and official rules. 

Judging Criteria: On or about August 28, 2013, a panel of qualified judges (ME included! Yay!) will judge all eligible Entries received based on the following criteria:  Overall aesthetic of the pinned images (33%), Creativity/originality of the pinned images (33%) and Representation of the home and contest theme (including décor, laundry room organization, etc.) (34%). The one (1) Entry with the highest total score will be deemed the potential Grand Prize winner. In the event of a tie, the Entry among the tied Entries having the highest score in the criterion of Representation of the home will be deemed the potential Grand Prize winner. Decisions of judges are final and binding in all respects. 

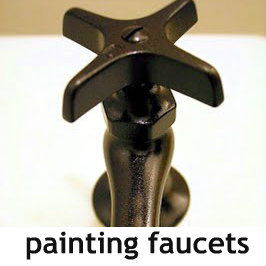
How do Painted Faucets Hold Up?

Nearly four years ago, I painted the faucets in our budget friendly guest bathroom makeover. You can see how I painted them here

painting-bathroom-faucets

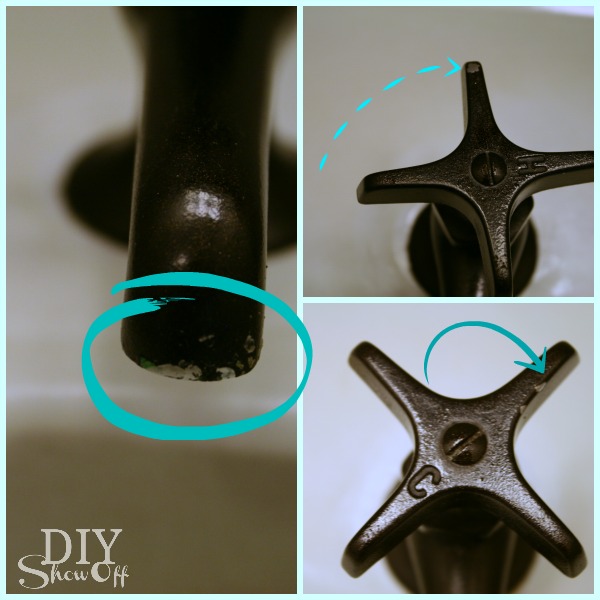
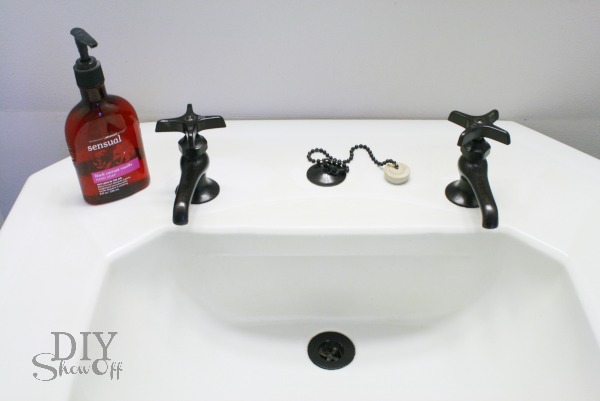
Do I regret it? Not one bit. Has it held up? For the most part. Here is how they look four years later…

painted faucet durability

These faucets are in a guest bathroom that gets used every day however it’s not heavy use. And I learned after taking this picture that the spout was even less chipped than shown. That’s mostly dried toothpaste. Oops. 

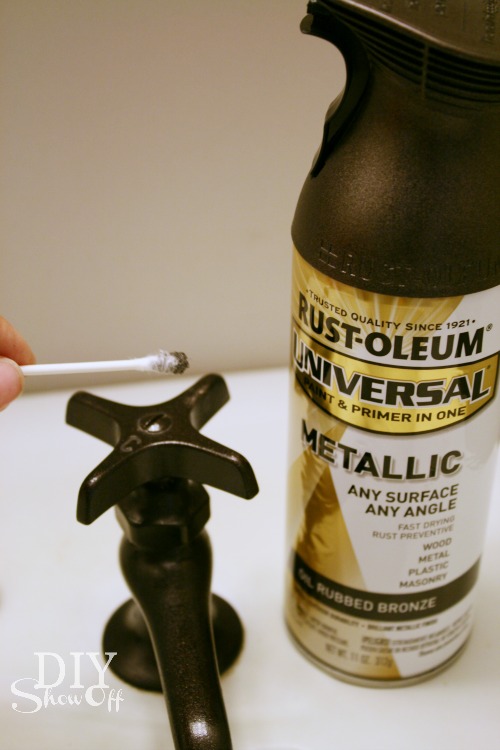
The fix: Since my paint is not flaking, I sprayed Rustoleum’s Metallic Oil Rubbed Bronze onto a styrofoam plate (until I got a “puddle” of paint). Then I used a Q-Tip to touch up the paint.

painted faucet touch up

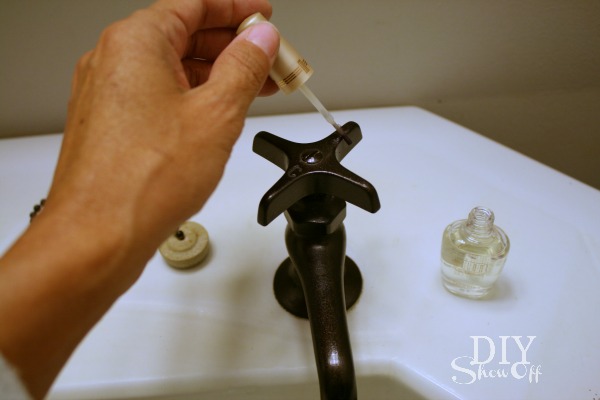
Once that was dry (a few hours), I sealed the touch ups with clear nail polish.

touching up painted faucets

Good as new!

DIY painted faucets 

Guest ready once again…

painted faucets

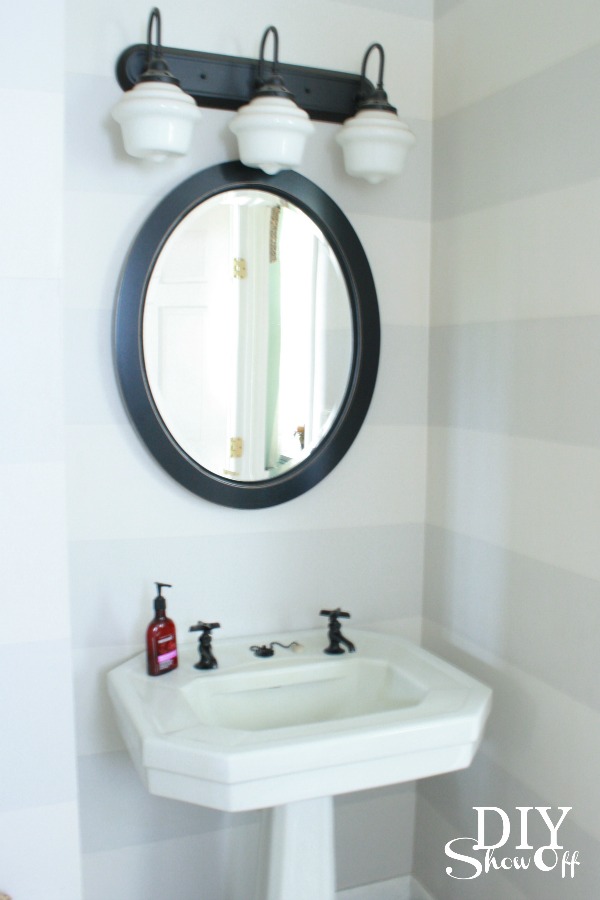
For us, painting the faucets updated the old vintage pedestal sink and kept the cost of our bathroom makeover down. Finding separate hot and cold faucets with their own spout was a challenge so painting the faucets worked for us. I do have to say…it’s rather odd having one spout for cold and one spout for hot. There’s no dilly-dallying washing hands under the hot spigot…ouch! Filling the sink is the only option for “warm” water. Strange, isn’t it?

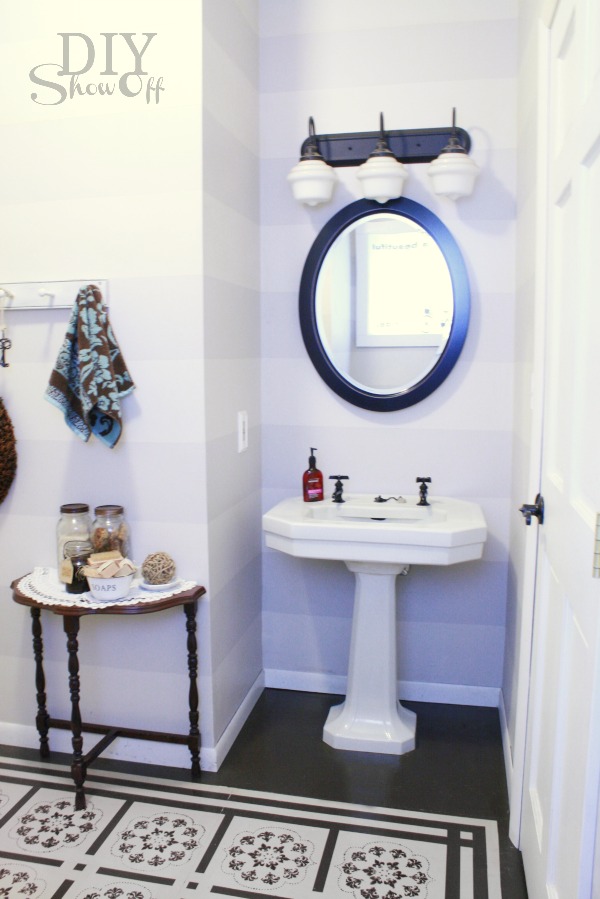
And in case you’re wondering, the painted floor has held up well too!guest bathroom

See the entire before and after: Bathroom Reveal.

Full painting faucets tutorial: painting-bathroom-faucets

DIY Alphabet Burlap Cork Board Message Center

Hello DIY friends! One of my favorite stores is Michaels – although it’s one of those stores that I can’t run in for just one thing because I end up with a cart full of the cutest decorative accents and more materials for my craft stash. You too, right? Well, Michaels just announced the addition of pre-cut craft fabric to the thousands of creative products available in its stores, providing us with one-stop shopping for DIY projects. This is BIG HUGE news when you live in a smaller city with only one local fabric store! While I was there, I also discovered that Michaels sells a complete line of sewing supplies as well…this cuts my shopping time in half. One store instead of two. Bonus!
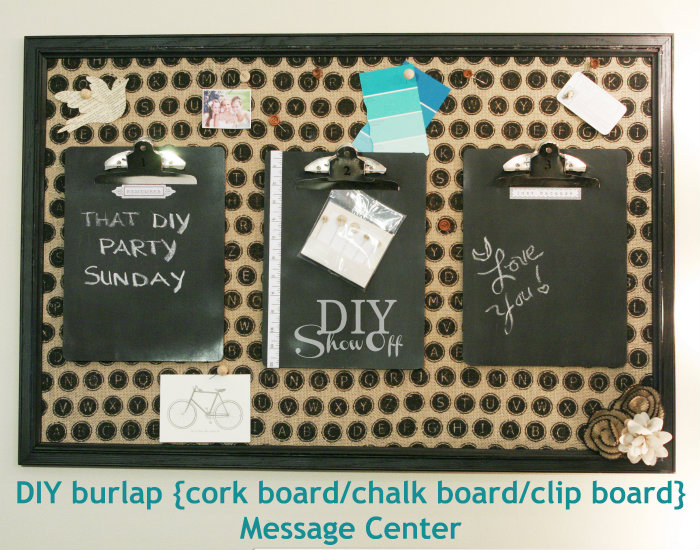
DIY burlap message center

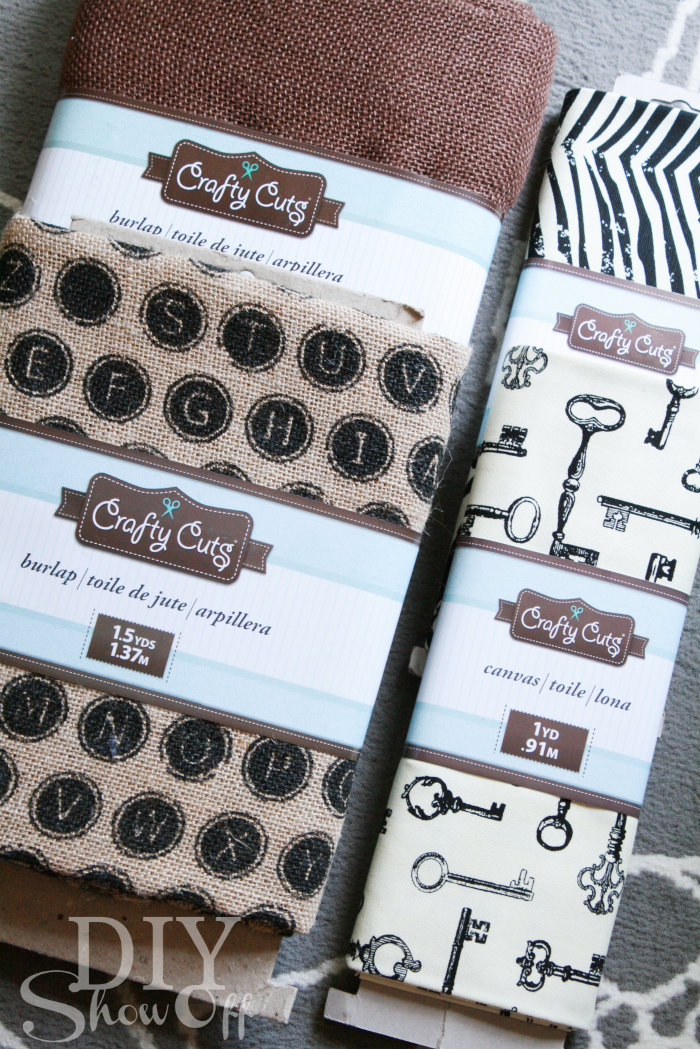
Michaels supplied me with this awesome stash of fabric as a part of a promotion for their new line of home decor fabric. Isn’t it darling? 

Michaels fabric line

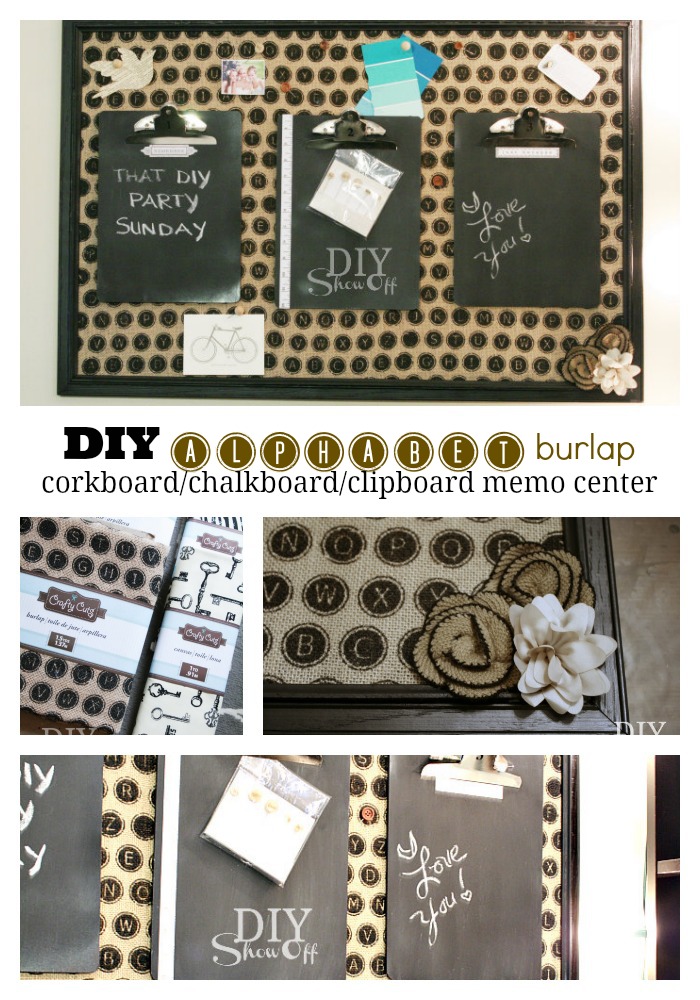
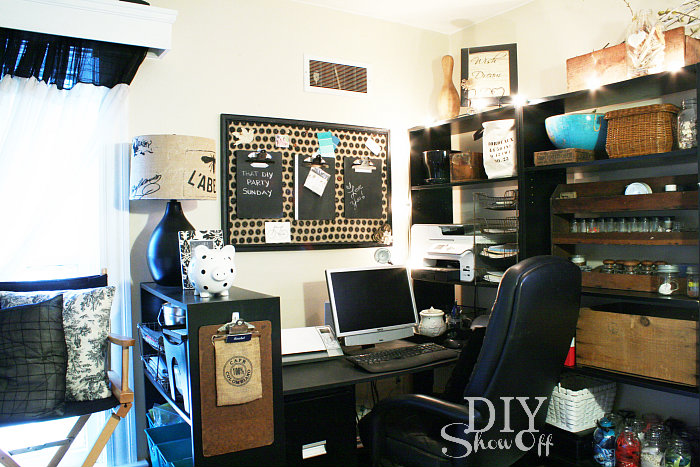
The alphabet burlap is ADORABLE! and a perfect match for my craft room so I decided I would make myself a burlap covered corkboard message center to help keep me organized. Cork board, Chalk board, Clip board AND burlap? That’s what I’m talking about! A fun combo!

Materials:

  • 36″ x 24″ framed corkboard
  • Crafty Cuts alphabet burlap
  • 4 pieces of thin wood trim (Michael’s also sells a small miter box & saw)
  • Black spray paint (or you could probably get away with one can of chalkboard spray paint)
  • Spray adhesive
  • 3 clipboards
  • Chalkboard spray paint
  • Hot glue (and hot glue gun)
  • Embellishments
  • Push pins

Corkboard/Chalkboad/Clipboard Message Center Tutorial:

DIY message center

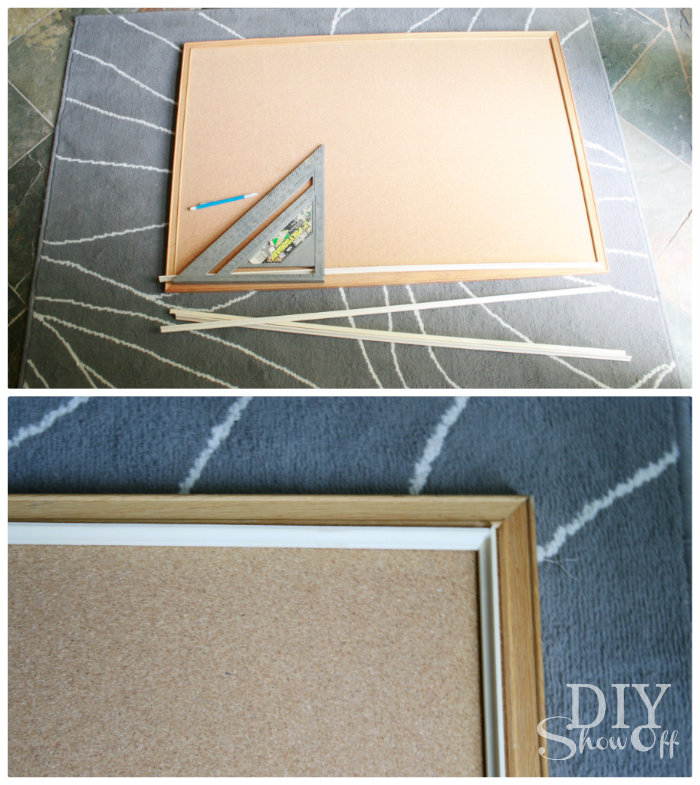
1. Measure and (miter) cut small trim pieces to fit inside of the corkboard’s frame. 

DIY burlap covered cork board

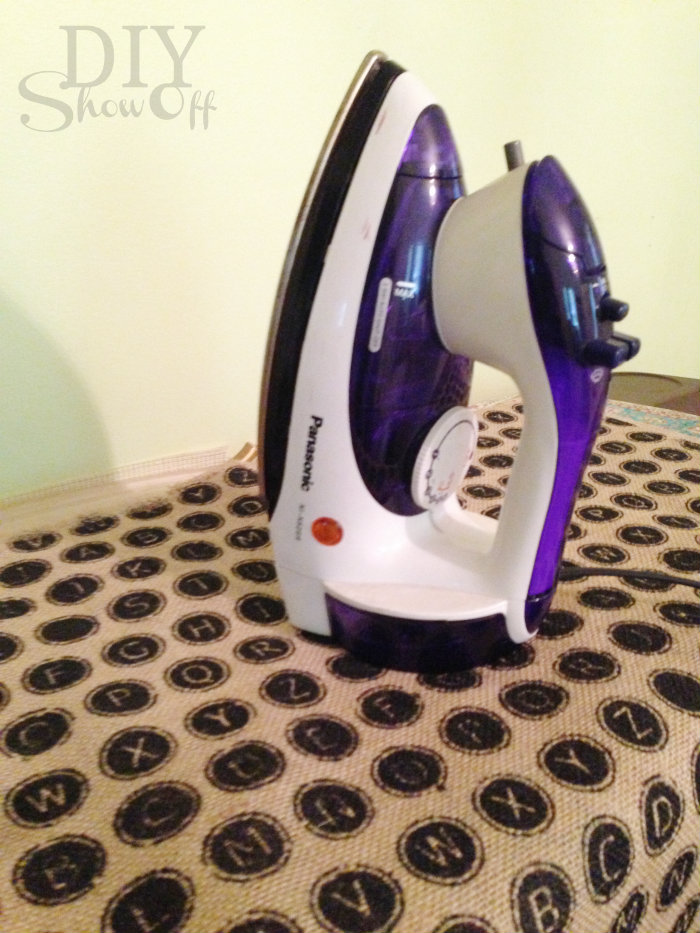
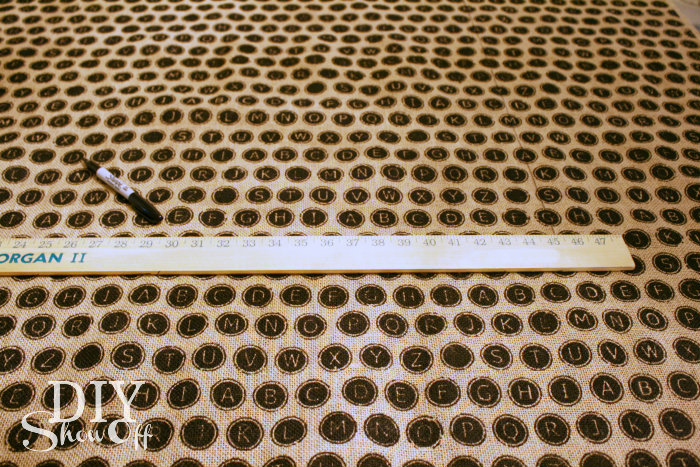
2. Iron burlap. I used my iron’s highest setting and sprayed water (not steamed) to get out wrinkles. Iron both sides. 

ironing burlap

3. Measure inside of corkboard frame and cut a piece of the burlap to those measurements (mine was 34.5″ x 22.5″). If you subtract 1/4″, it will save you from having to trim the fit later. If it’s a smidge small, it’s okay (and actually better) and will be hidden by the added wood trim later. Set fabric piece aside. 

alphabet burlap

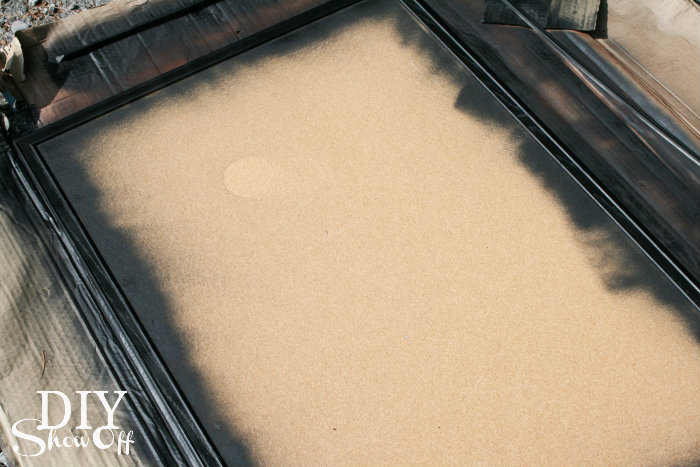
4. Spray paint the corkboard frame and trim pieces black. I was okay with imperfect coverage for a distressed look. (You could also sand edges when dry.) No need to tape the corkboard since it’ll be covered later. Let paint dry. 

DIY burlap corkboard message center

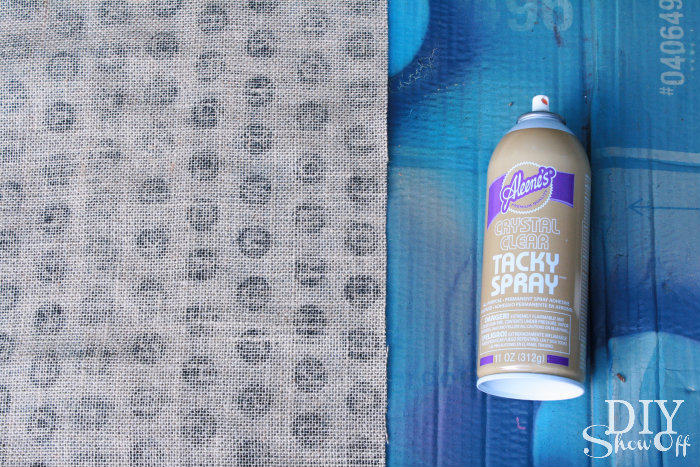
5. Give the cut burlap piece a coat of spray adhesive on the back side.  (I do this outside because of the overspray but be mindful of the wind direction blowing the adhesive spray mist as well as when picking up the sticky burlap, not to touch/fold which mine did but easily quickly pulled apart.) Immediately move to step 6.

DIY burlap covered cork board message center

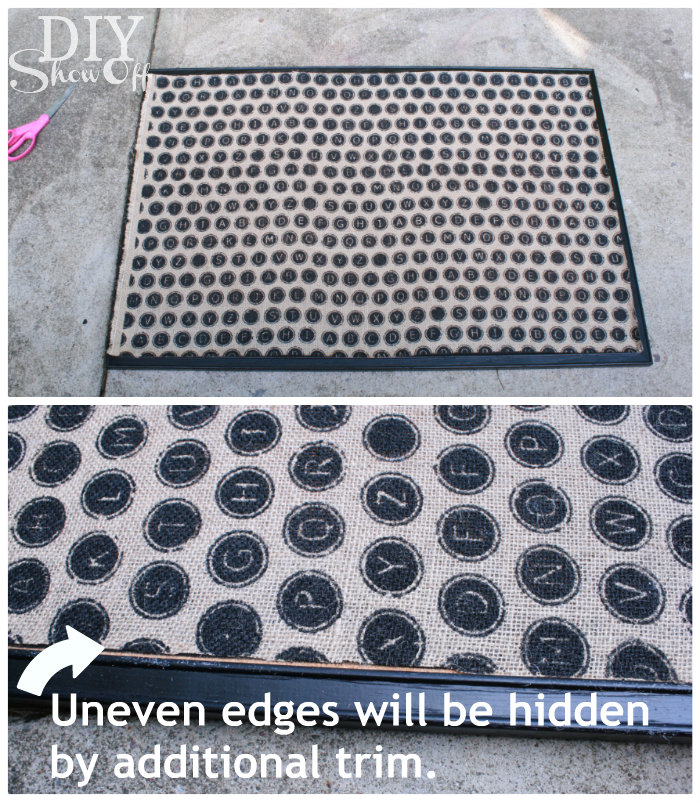
6. Working from the middle out, smooth the burlap over the corkboard (inside the frame). It’ll be reposition-able right away if needed. 

DIY burlap covered cork board

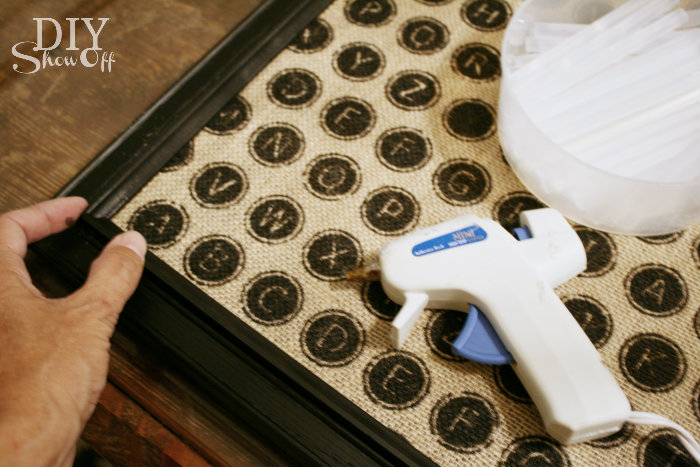
7. Next I used hot glue to attach my small mitered trim pieces over the burlap edges, right next to the inside of the corkboard frame. This covers the edge of the burlap.

DIY burlap covered cork board

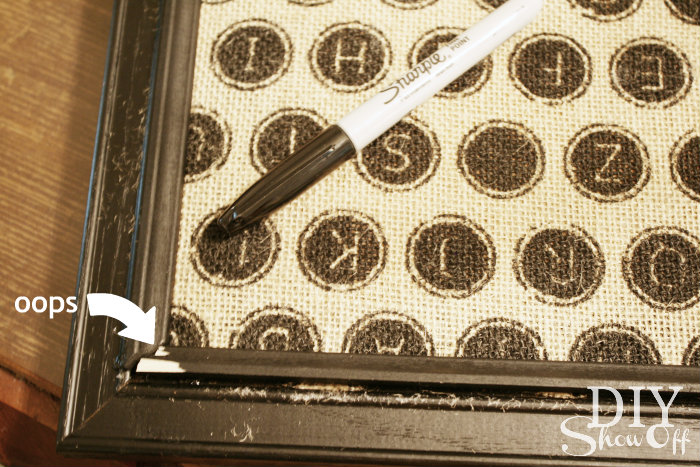
If you need to re-cut a mitered piece or accidentally scratch the black paint finish, simply fix it with a black Sharpie.

DIY burlap covered cork message center

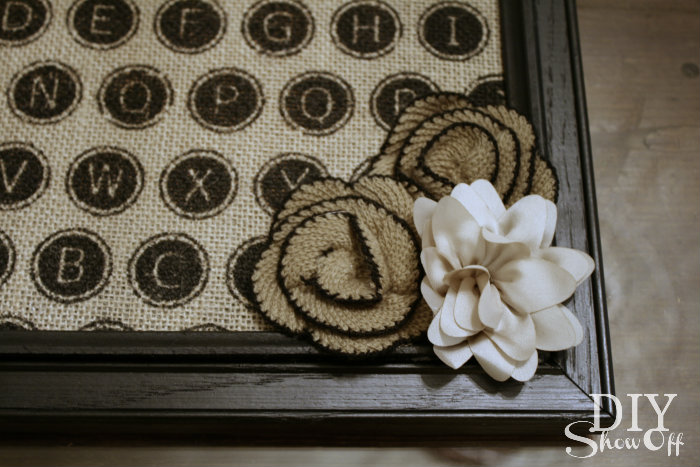
8. Embellish as desired. My mitered edges surprisingly were a great fit after the mitered cut fix above, but these adorable flower embellishments attached with hot glue would work for covering a not so professional {tricky cuts!} mitered fit too. 

flower embellishments

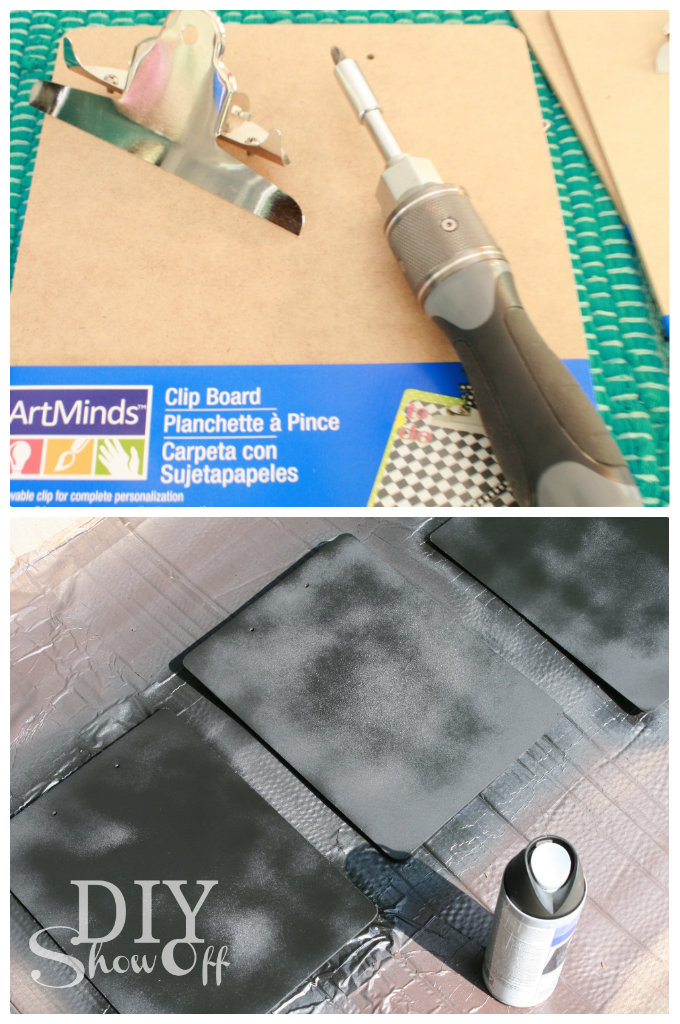
9. Clipboards: Remove metal clip hardware, coat with chalkboard paint, let dry and repeat a second coat and let dry. 

chalkboard clipboard

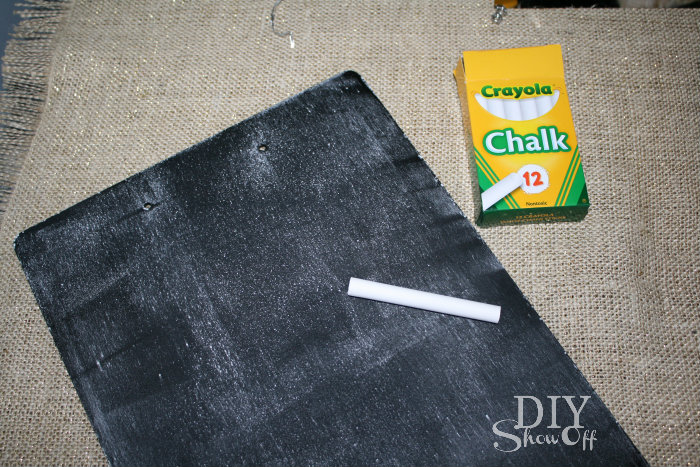
10. Season chalkboard by rubbing the length of a piece of chalk over the complete surface then erasing. 

seasoning chalkboard

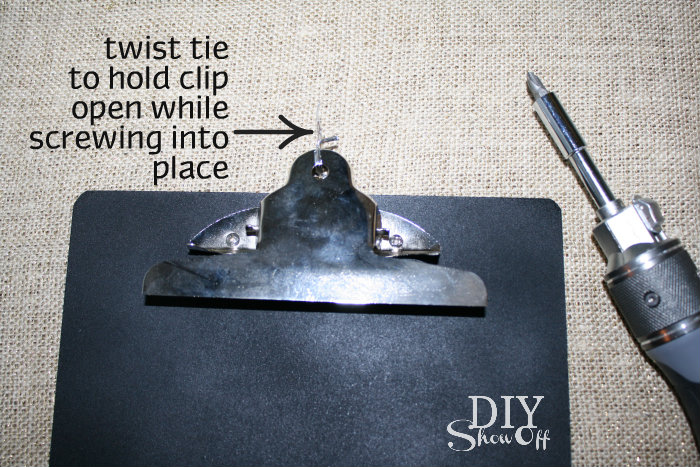
11. Re-attach clips. I found that using a twist tie to hold the clip open then lining up screws made reattaching the clip to the board a lot easier (because of the spring in the clip). Once screws are in place and tightened, remove twist tie. 

reattaching clipboard hardware

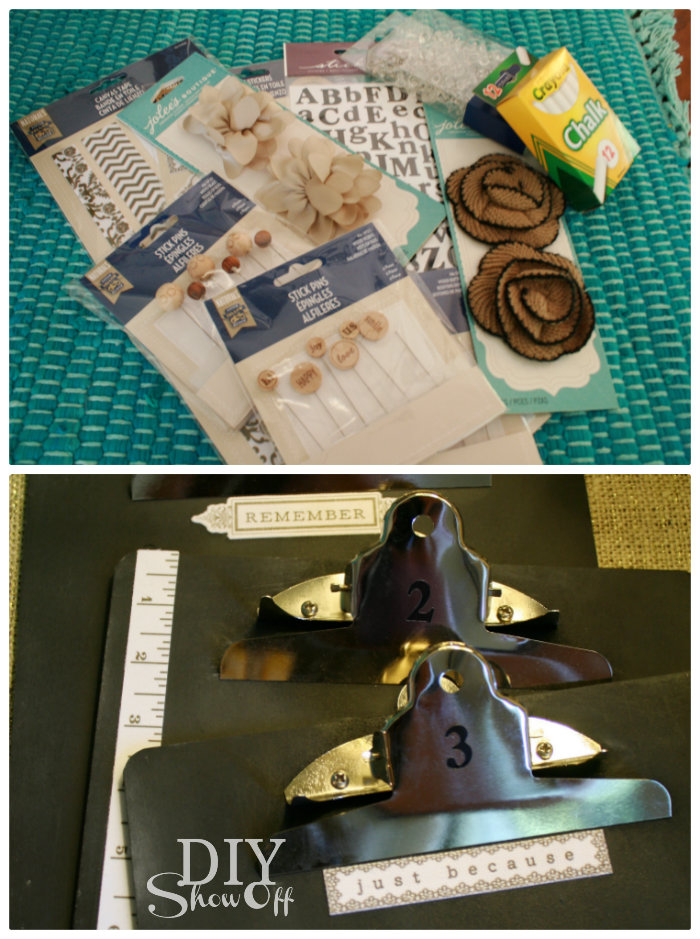
12. Embellish chalkboard clipboards if desired. I numbered mine and added some cute stickers. 

decorating chalkboard clipboard

13. Hang! Corkboard should come with hanging hardware but large Command strips will work too. 

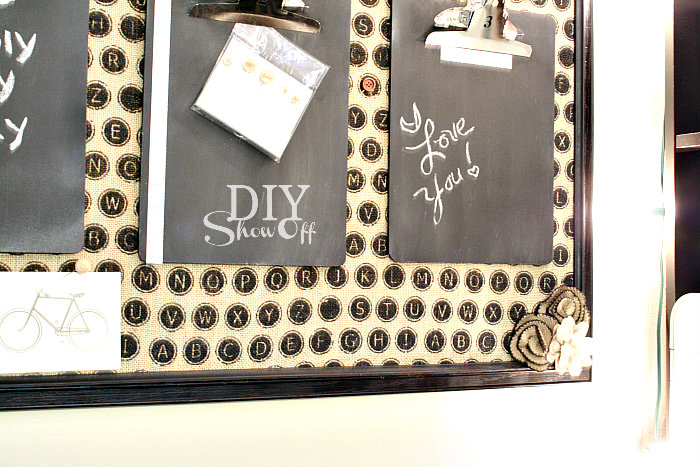
alphabet burlap message center

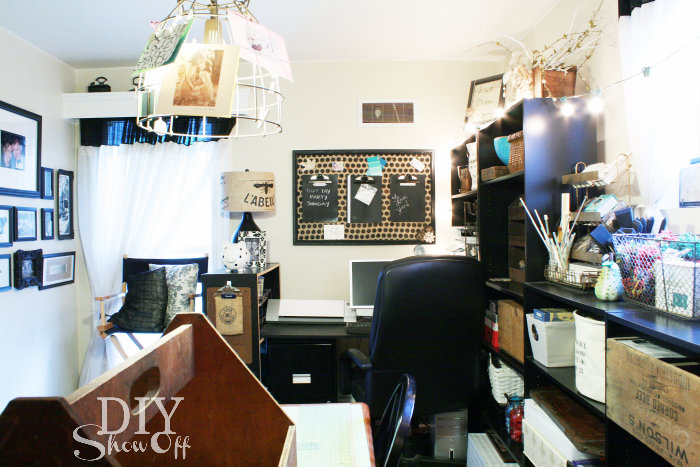
It’s perfect for my black, natural, vintage inspired craft room. Lovin’ it!

craft room

There’s a lot of “stuff” in this room but it is clean and organized!

craft room / home office

I was provided with fabric and a Michaels gift card to complete the challenge. Michaels.com and Michaels Pinterest Boards feature project ideas that use fabric, including throw pillowslamp shadeschair seat covers, and bracelets. Laminated burlap, a Michaels limited exclusive, can be fed through most home printers to add personalized messages and images to fabric projects…I want to try that next!