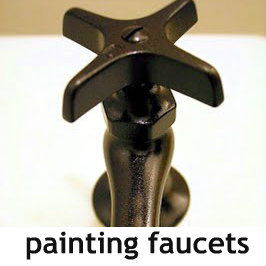
I know most of you have seen this, but I thought I’d share my faucet project again. It’s one of my most popular projects and update: as of 2017, these are still holding up beautifully!
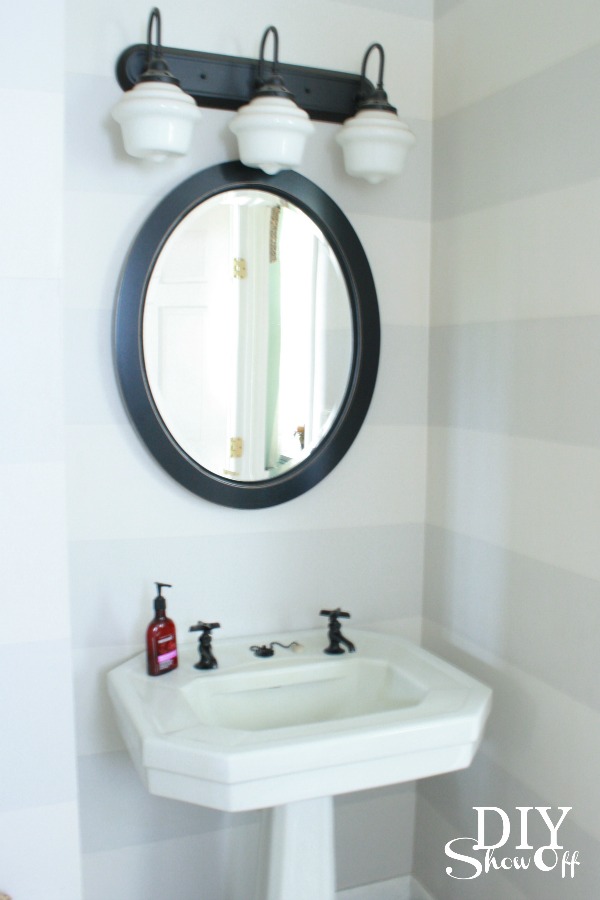
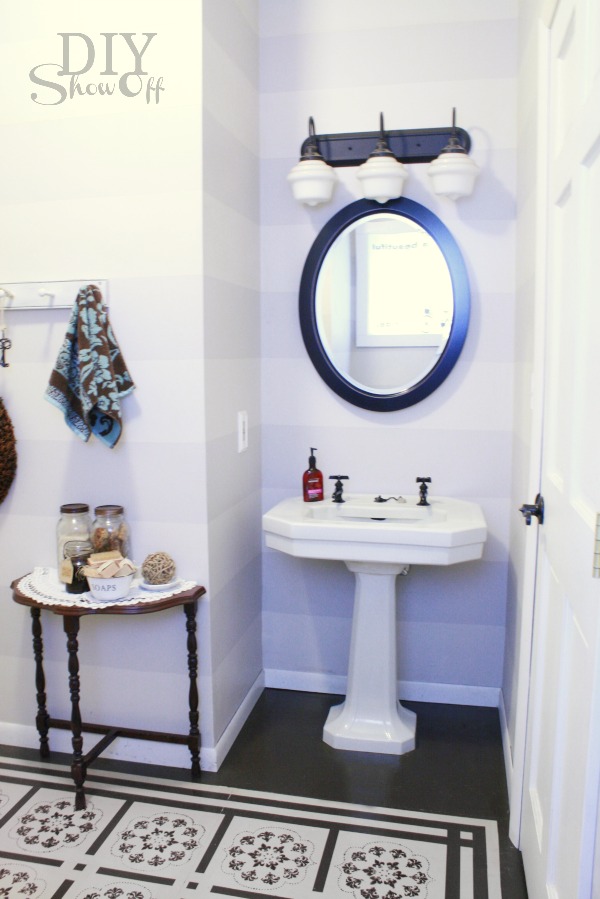
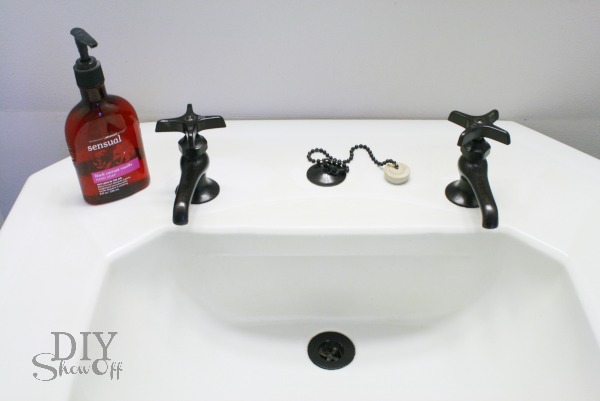
We’re keeping the pedestal sink. It’s pretty. It’s in like-new condition although I’m certain it is fairly old and I kind of like that it has a history. It stays until big dream-remodel occurs. However the faucets presented a dilemma. Look at the set up. One faucet for cold. A separate faucet for hot. Washing hands is a challenge. It requires a back and forth motion between faucets or hoping that the hot water isn’t instant. Or, using the stopper and filling the basin to get a sink full of warm water. I imagine original home owners used it that way. I looked to replace them…but I didn’t have any luck in finding separate hot/cold faucets. Now I’m kind of glad that I didn’t.

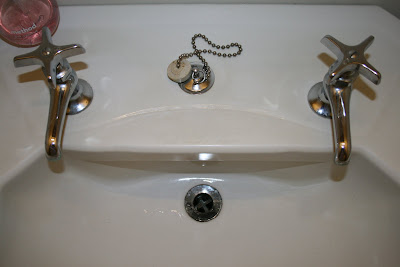 The old faucets are solid and silver. I’m guessing these things are old. I tried looking them up. They say “volverwine”. There is an old “Wolverine” brand. ? They’re heavy and the quality is awesome. I however want oil rubbed bronze to match other fixtures in the room. I decided that my old trusty favorite DIY magic transformation technique (spray painting) was the answer.
I tested the process on a gold brassy door stop. I loved the results. This is my all time favorite spray painting project so far!
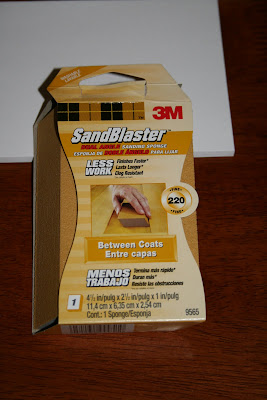
I sanded all surfaces of the faucets, drain and metal parts and chain for the plug. I used a 3M sanding block and even an emery board to get every single area. I made sure I got all areas nice and scuffed up.
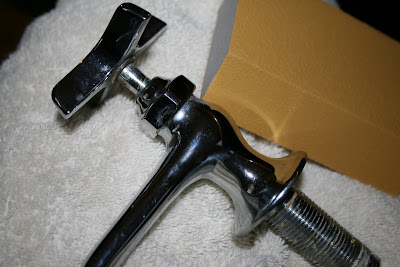 (At this point…they looked beautiful and polished. I almost backed out but I felt like silver faucets and oil rubbed bronze everywhere else just didn’t “go together”. I found the courage to move on. I think it was when I dreamt of wearing brown boots with black pants.)
I washed and dried them and I taped off the areas I didn’t want painted and put the knobs in the “off” position so I wouldn’t gum up the opening/closing function.

I start by painting the underneath and sides. Each piece got a couple of lightly sprayed coats of Rustoelum Primer in “rust”. I let each coat dry at least 8 hours before applying another. Once the underside was done, I flipped and did the top and sides.
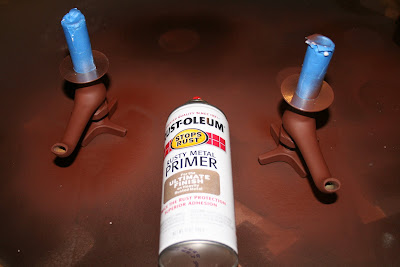 I used a piece of packing styrofoam to hold them upright.


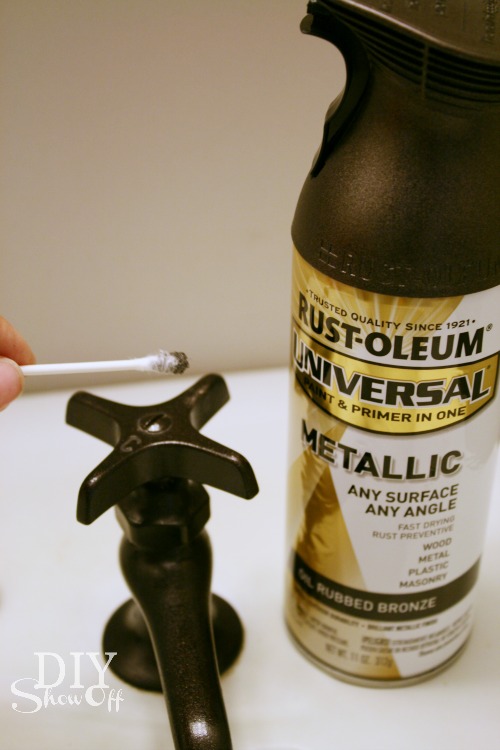
I followed the same steps for the oil rubbed bronze spray paint. (Upside down and sides = light coats, then flip and top and sides = light coats). Once that was dry…


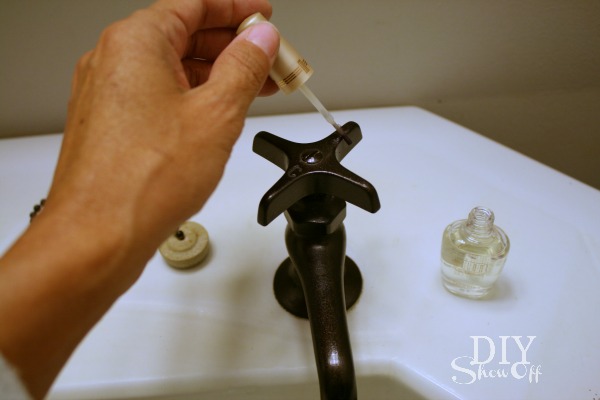
I used a high gloss lacquer and the same steps. It’s been drying for about a week. It’ll probably two weeks by the time all is said and done and ready for installation. Plenty of time to cure. The sink isn’t back in place but I can’t wait to see them!
 This piece was easier painted when hanging.
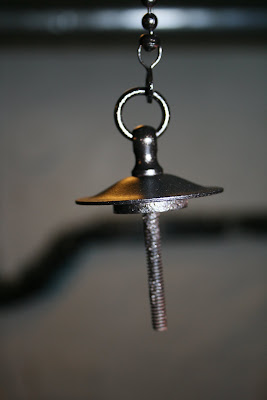 After: Here is it against the porcelain:
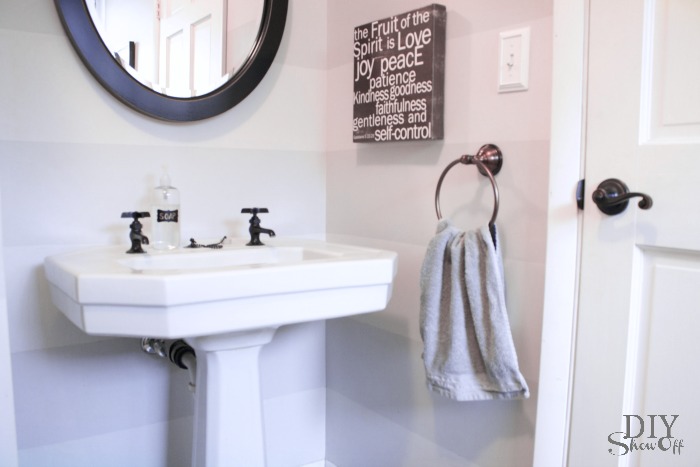
 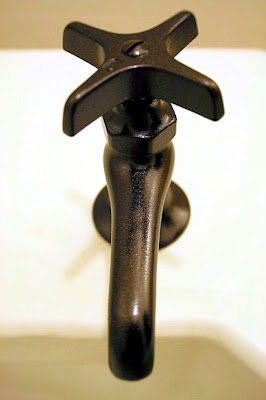 I LOVE how they turned out. What do you think? The finish is very hard and durable. The faucets open/close without any issues. And now they match the door knobs and light fixtures. I’m happy!
I used: Rustoleum Rusty Metal Primer Rustoleum Metallic Brilliant Metal Finish (oil rubbed bronze) Lacquer Hi-Gloss (for metal) I did at least two coats of the primer and ORB then quite a few of the lacquer. I stayed back about 9-12 inches to keep the spray even and to prevent runs.
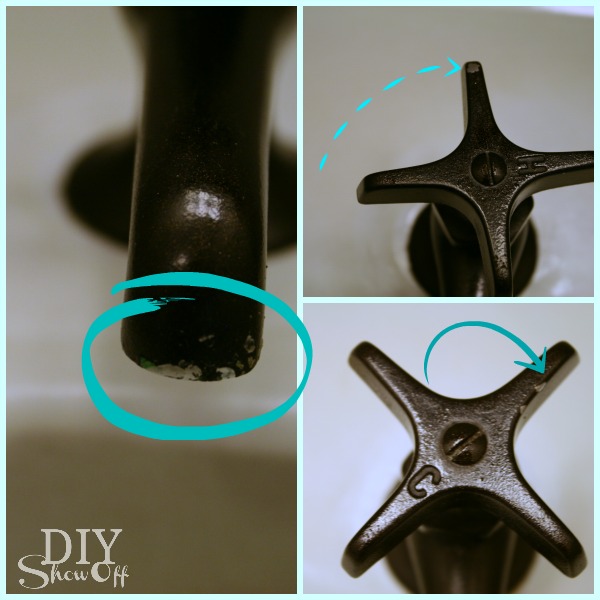
Touch ups in 2013.