Toilet Paper Holder Shelf and Bathroom Accessories

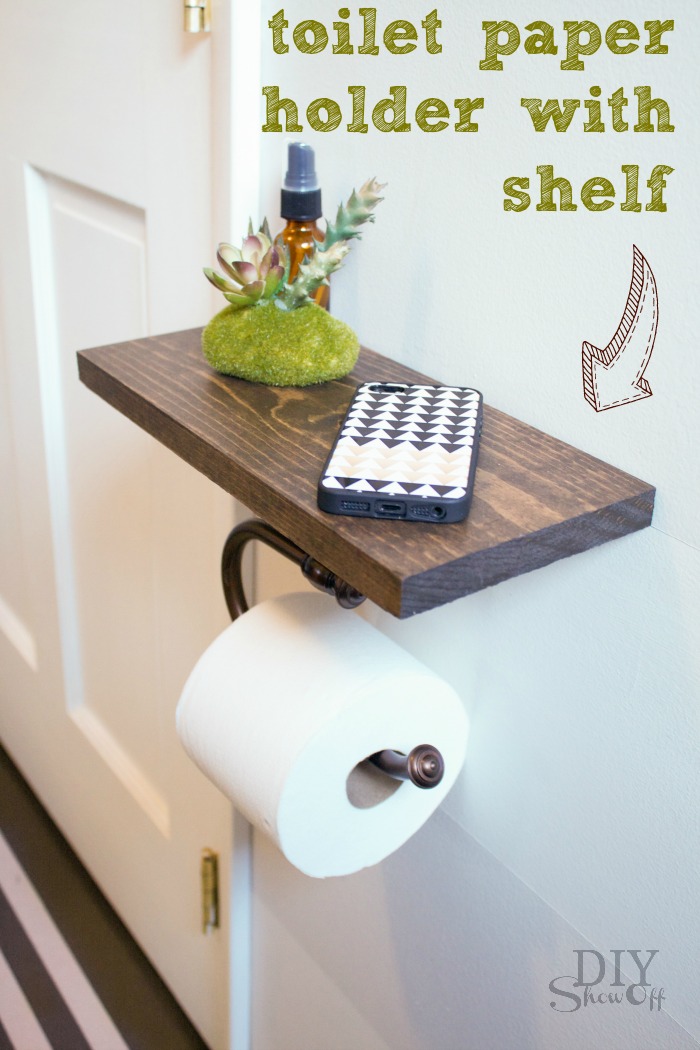
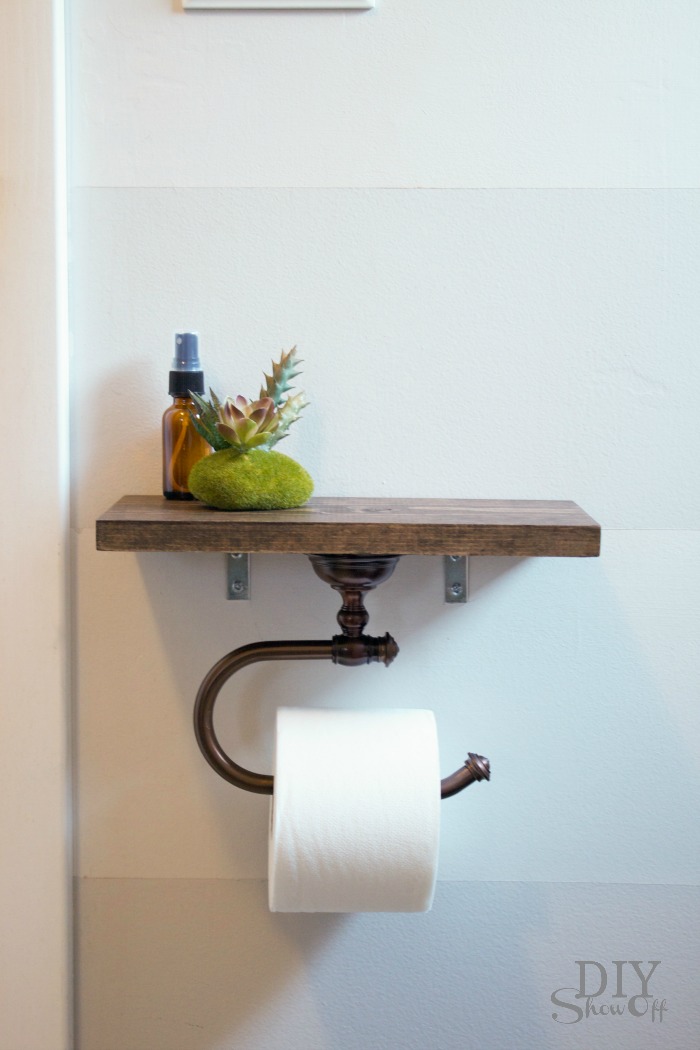
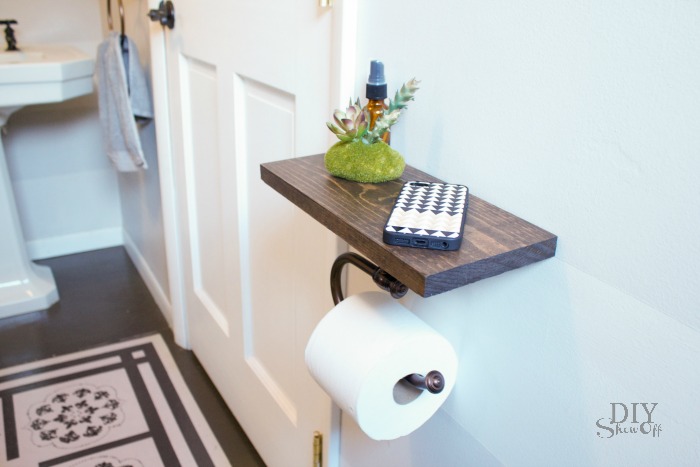
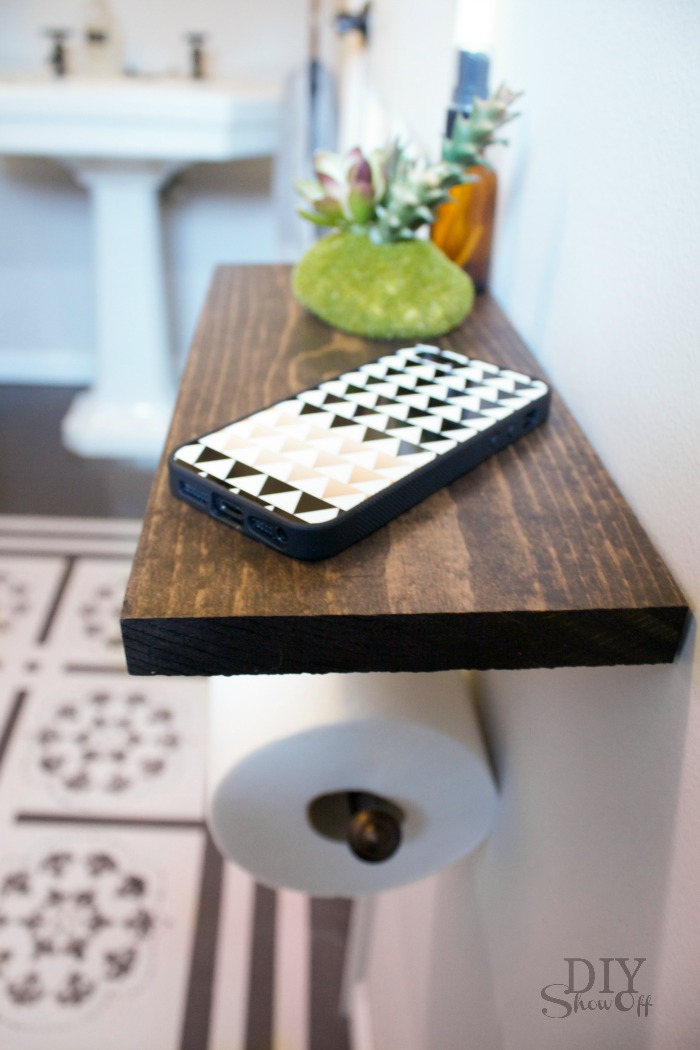
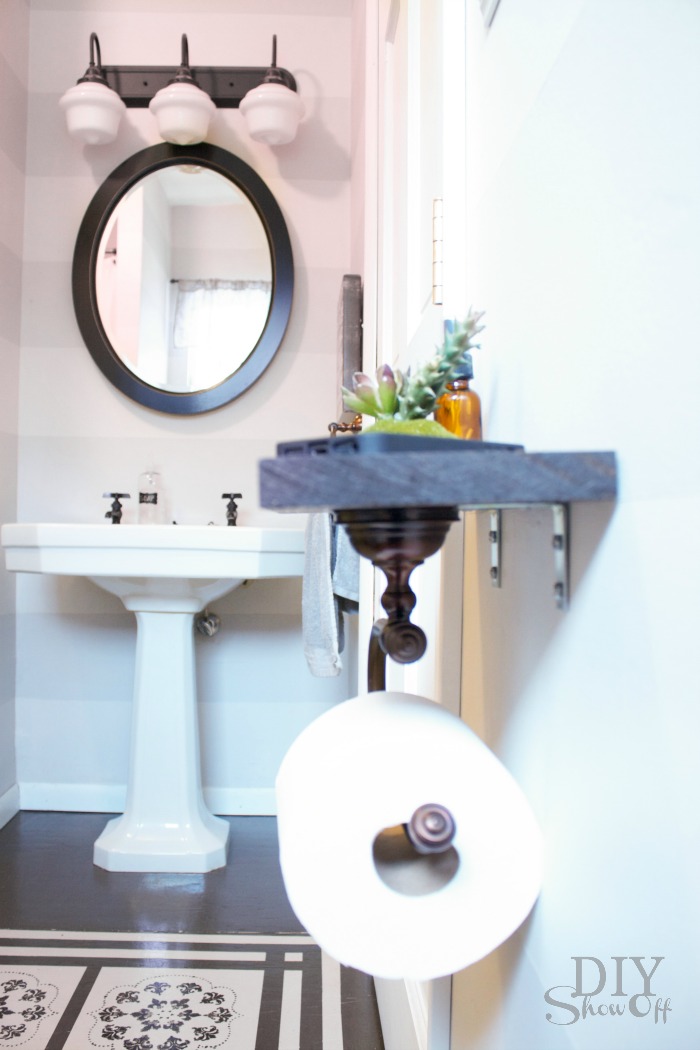
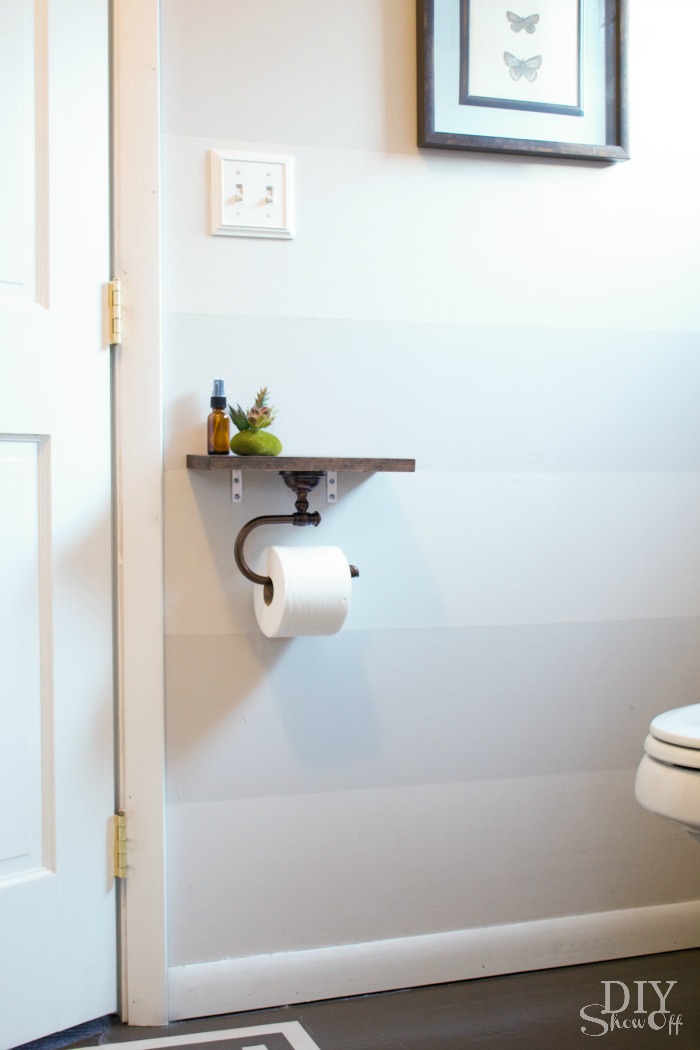
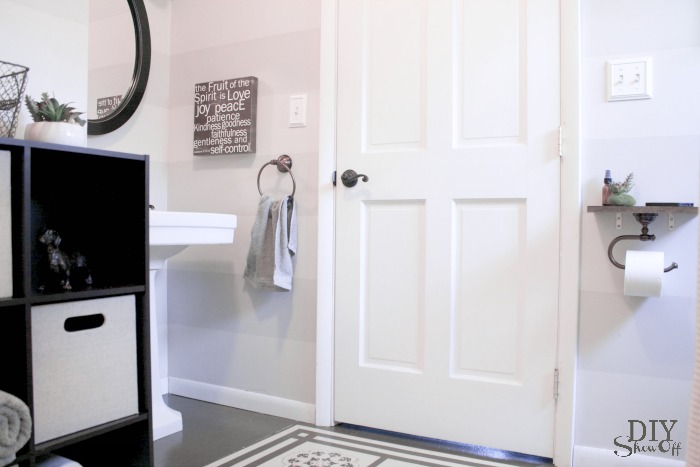
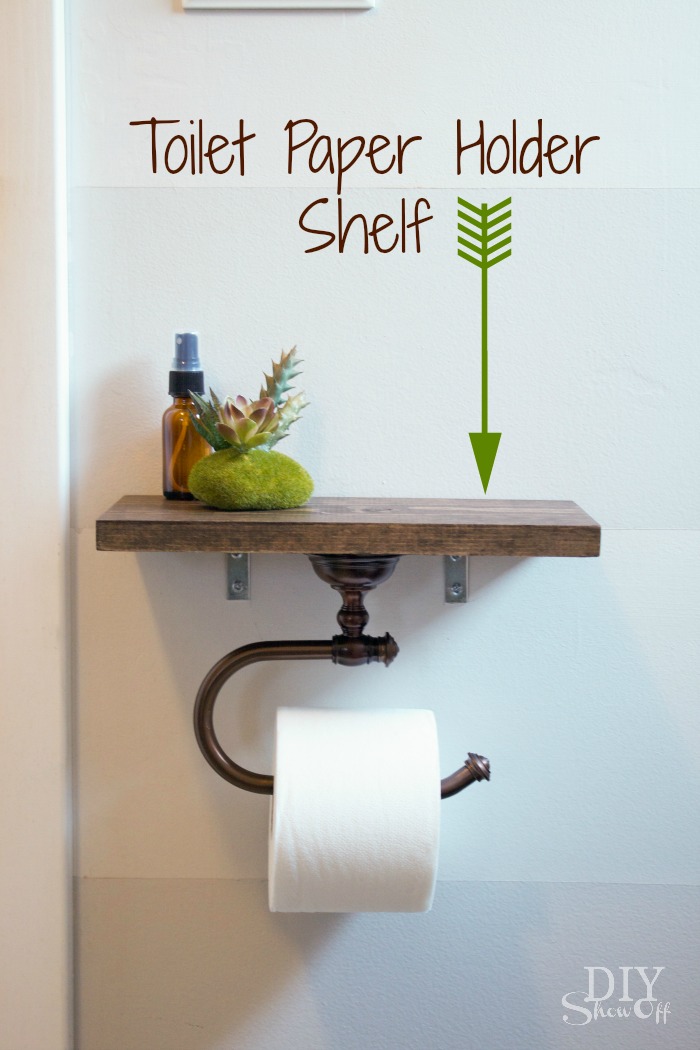
Lowe’s Creative Ideas Monthly Challenge: For as long as we’ve lived here (going on 8 years), the guest bathroom’s toilet paper rested in a basket on the floor. Not ideal. So, rather than just secure a pretty oil rubbed bronze holder to the wall, I attached it to a piece of stained scrap wood to create a shelf for decorative accessories like a small plant, air freshener, vase of flowers, extra t.p. or even just cell phone accident prevention, if you know what I mean. 

DIY Toilet Paper Holder with Shelf tutorial @diyshowoff

What I used:

What I did:

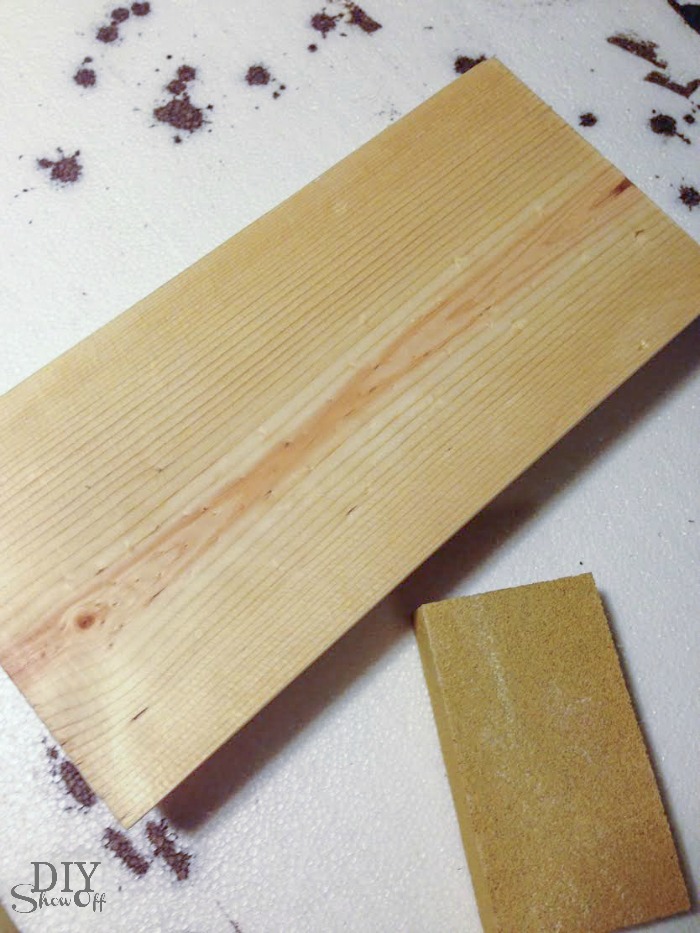
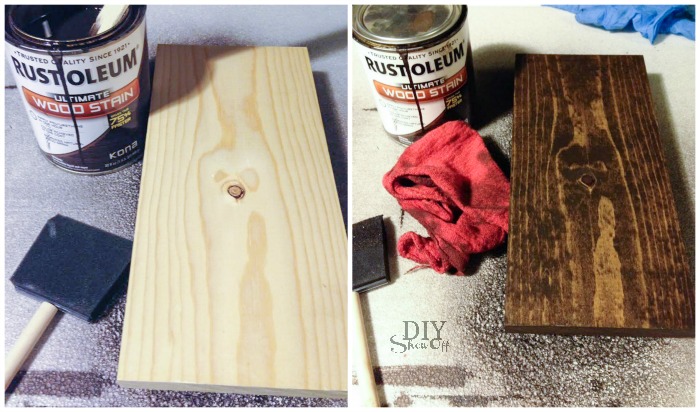
1. Cut, sand and clean a piece of scrap wood. 

DIY shelf toilet paper holder at diyshowoff

2. Stain wood shelf by applying stain. Then wipe away with a clean rag.  I use RustOleum Ultimate Wood Stain since it dries in about an hour.

DIY shelf toilet paper holder at diyshowoff

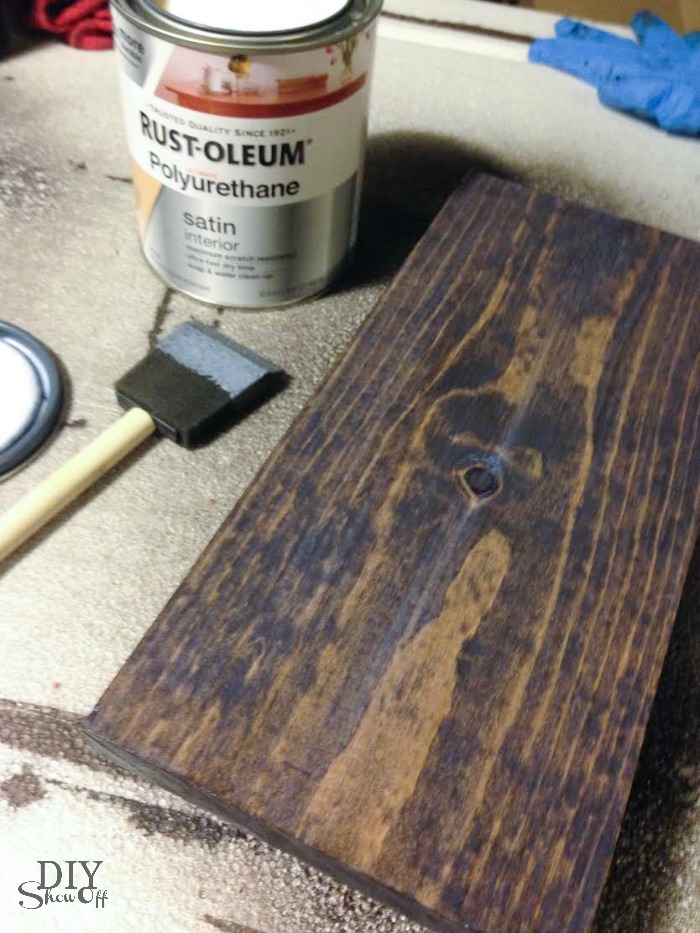
3. Seal wood. I did two coats. 

DIY shelf toilet paper holder at diyshowoff

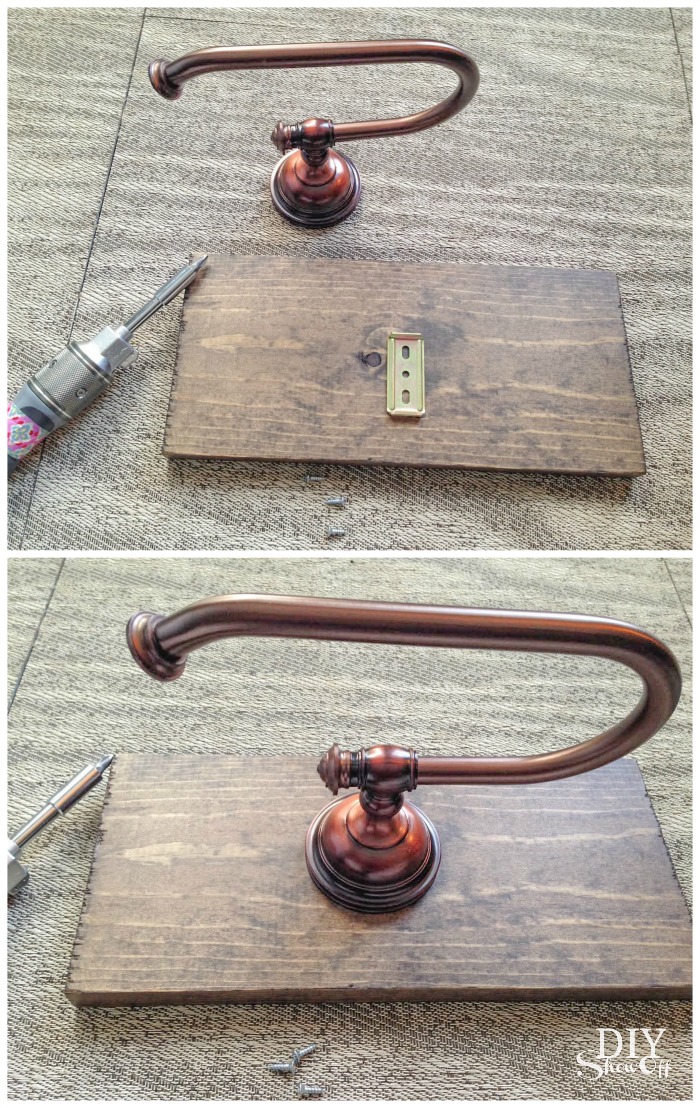
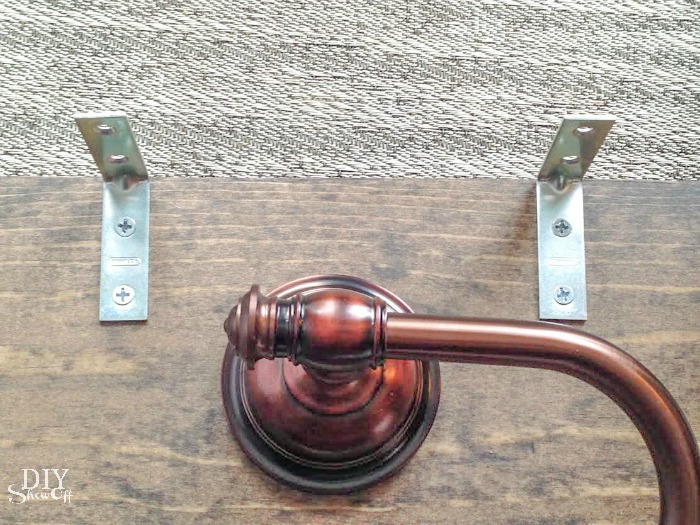
4. Attach the toilet paper holder to the under side of the shelf. Allowing room for toilet paper to roll (not be tight agains the wall when installed).

DIY shelf toilet paper holder at diyshowoff

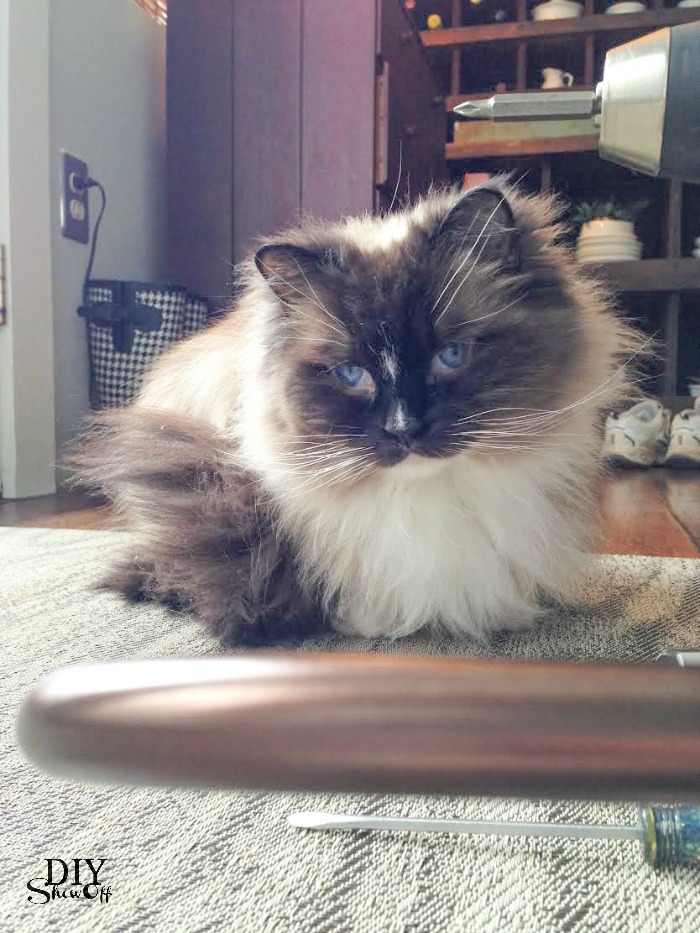
Optional: Have inspector approve your work.

Lalka (ragdoll) at diyshowoff

5. Attach corner brackets on one side where shelf will rest against the wall.

DIY shelf toilet paper holder at diyshowoff

6. Decide placement (keeping everyone’s size in mind – not too far of a reach but not so close that it’s in the way of someone’s knees or thighs) and using a level (there’s one in my iPhone’s compass), secure shelf to the wall with screws (use wall anchors if needed). 

DIY shelf toilet paper holder at diyshowoff

7. Add a roll of toilet paper. 

DIY Toilet Paper Holder with Shelf tutorial @diyshowoffDIY Toilet Paper Holder with Shelf tutorial @diyshowoffDIY Toilet Paper Holder with Shelf tutorial @diyshowoffDIY Toilet Paper Holder with Shelf tutorial @diyshowoffDIY Toilet Paper Holder with Shelf tutorial @diyshowoff

Other bathroom updates: 

Pedestal sink means no storage. Storage cubes with linen milk crates/bins for organizing towels and bath products…
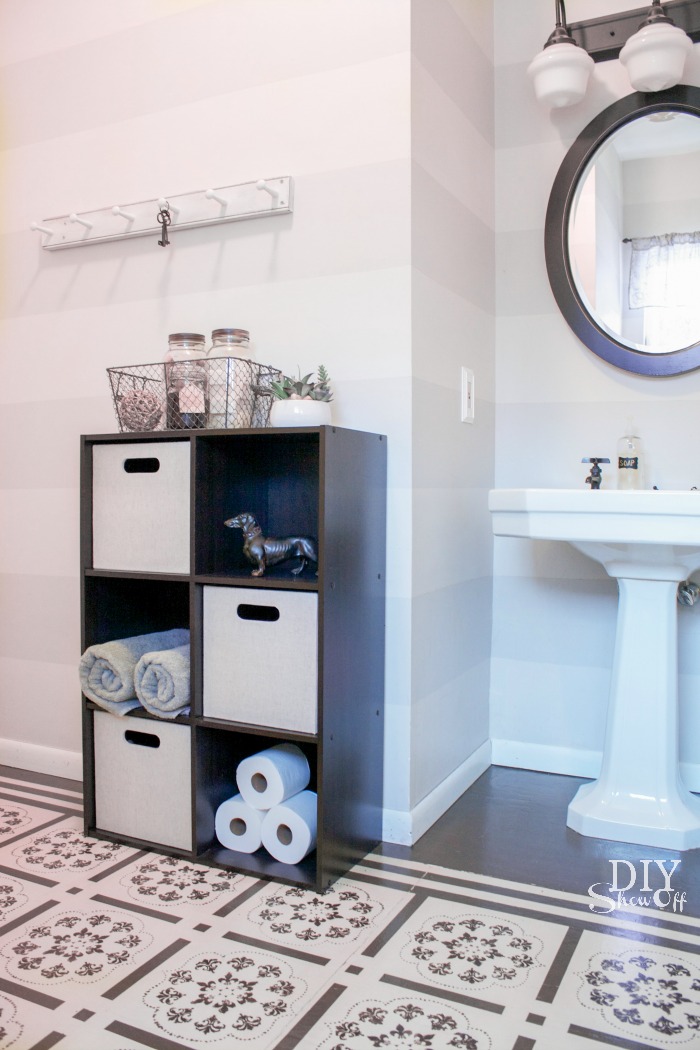
bathroom storage shelves{It’s been nearly SIX years and the painted floor is still in good shape!}bathroom storage cube and bins
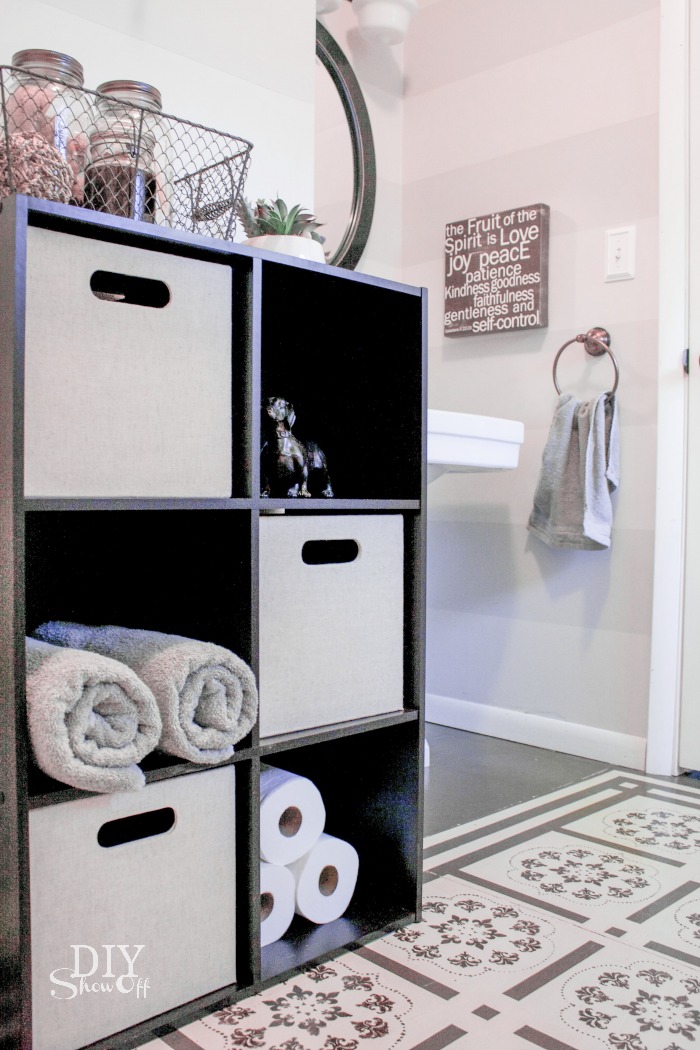
 

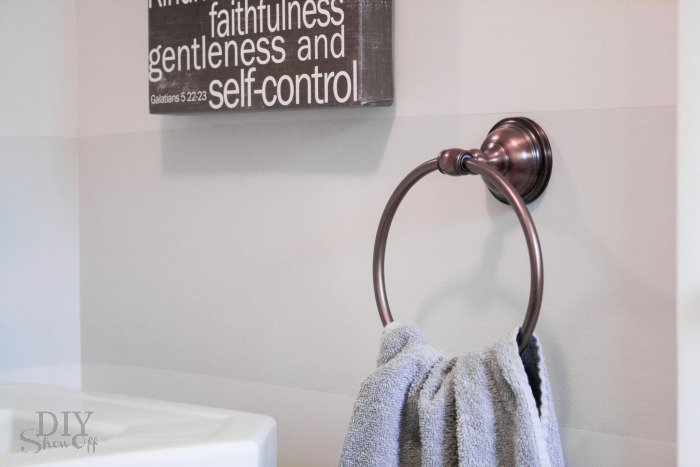
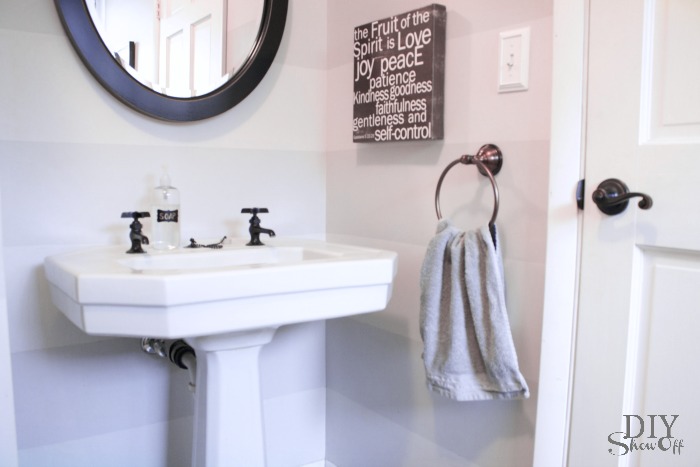
A towel ring for hand towels…towel barbathroom updates

Just a few finishing but helpful/functional accessories make a big difference!

Bathroom Updates @diyshowoff

DIY Toilet Paper Holder with Shelf tutorial @diyshowoff

DIYShowOff #lowescreator

I received a Lowe’s gift card to put towards this challenge. Opinion and above idea is 100% my own. More DIY ideas at Lowe’s Creative Ideas or follow Lowe’s on InstagramPinterest and sign up for the Creative Ideas magazine and app.

Small Apartment Nursery Nook Reveal

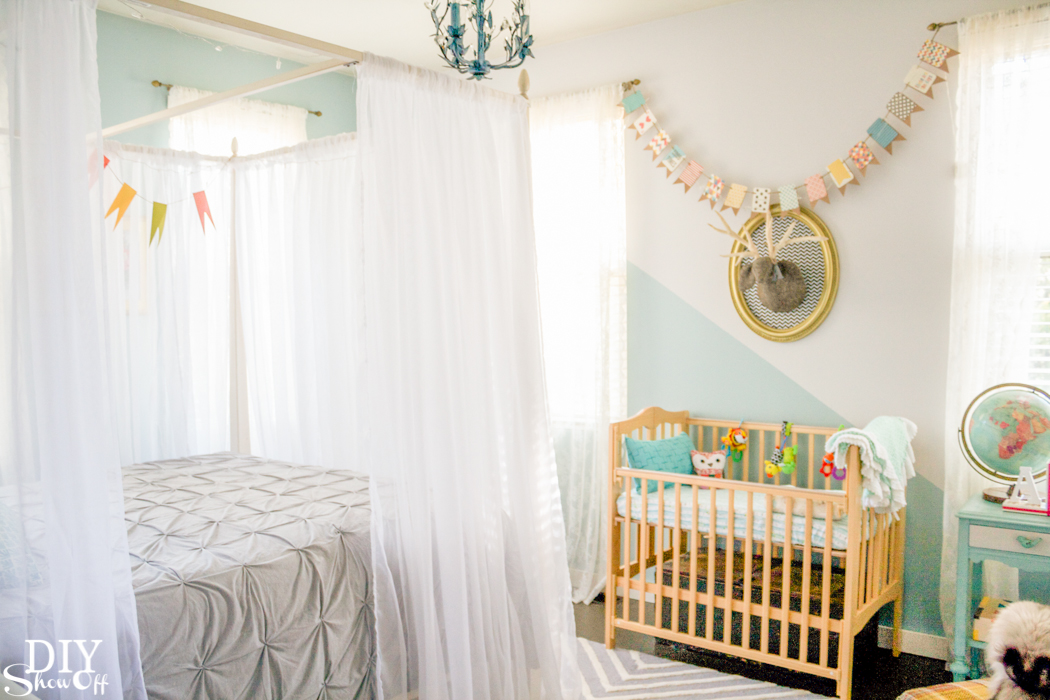
I’ve enjoyed creating two nursery spaces the last couple of months. The first one was the guest room/nursery space in my own home (see links below).

Guest Room/Nursery reveal @diyshowoff

Today is my daughter’s birthday! Happy Birthday, Ali! Creating a space for baby is one of her birthday gifts. Fun!

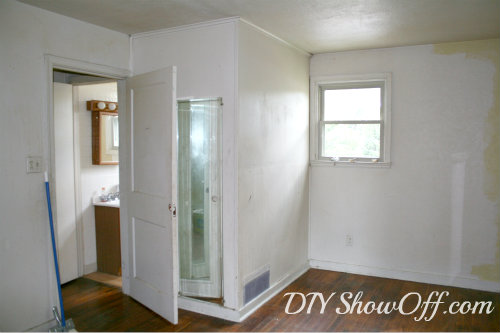
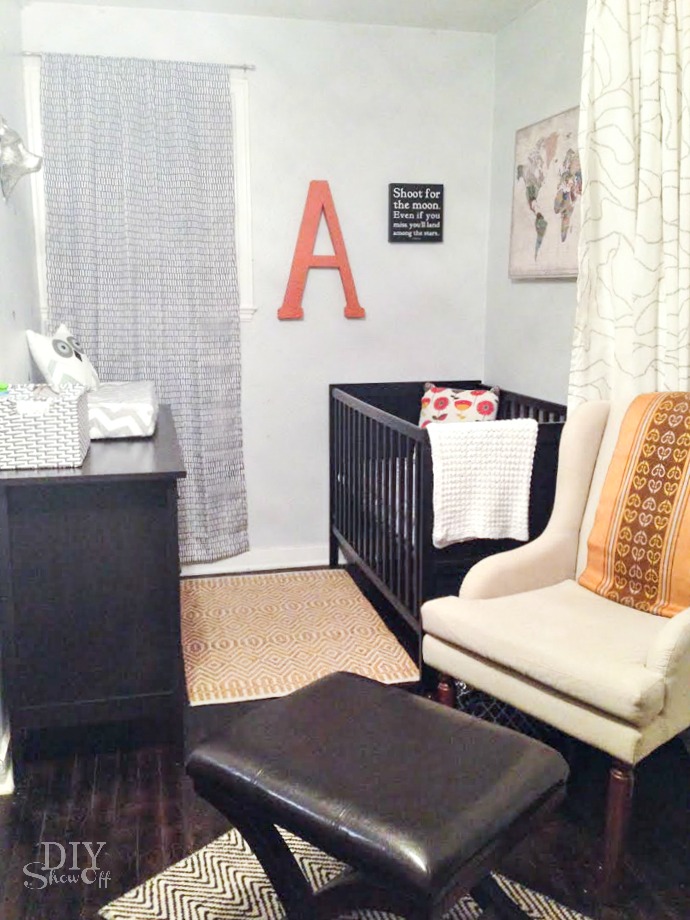
This one is a temporary space (functioning as a nursery until spring of next year). I call this sweet little room the nursery nook since it’s located in a small one bedroom apartment. Until I rescue photos from my old laptop, this is the only before picture I could find of the space:

bedroom-before

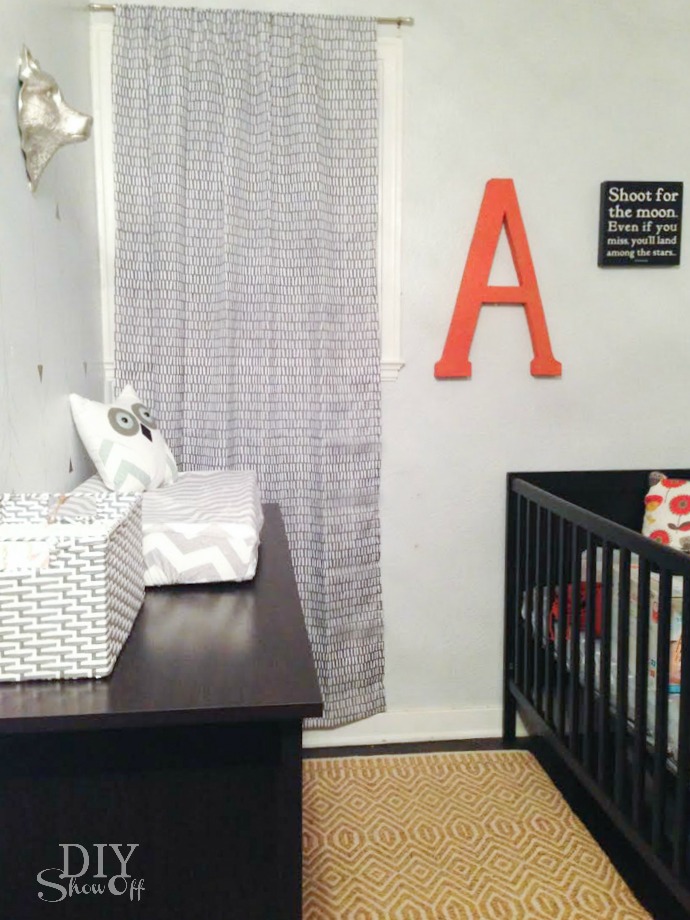
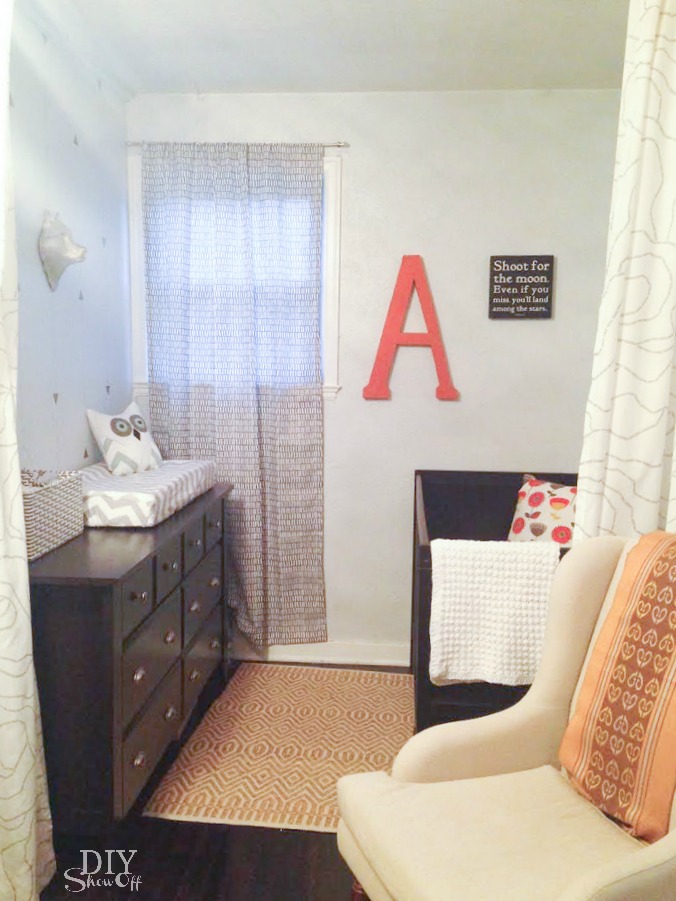
This part of the bedroom was made into a ‘dressing room’ type closet space a few years ago since storage is limited (I promise I’ll dig out the small apartment before and after pictures in the near future) but now part of the one bedroom is a cute little nursery nook for a soon to arrive little boy.

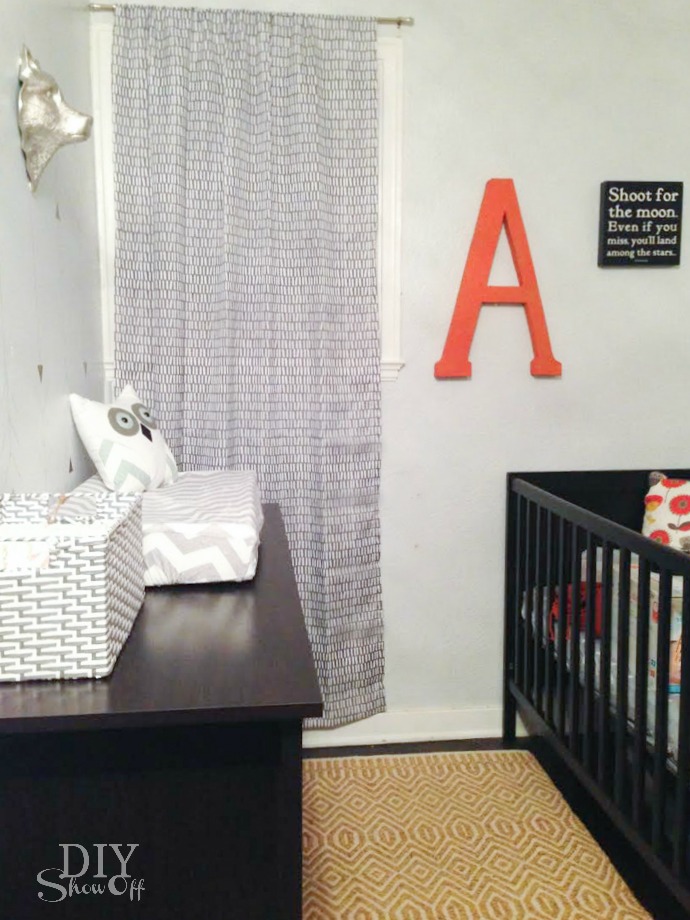
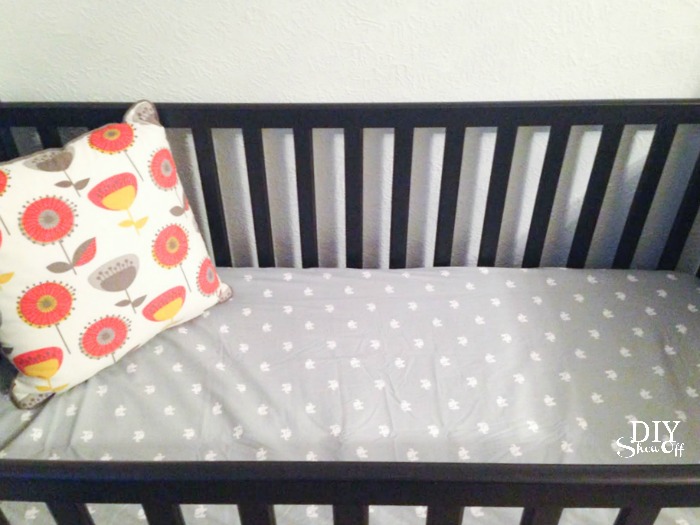
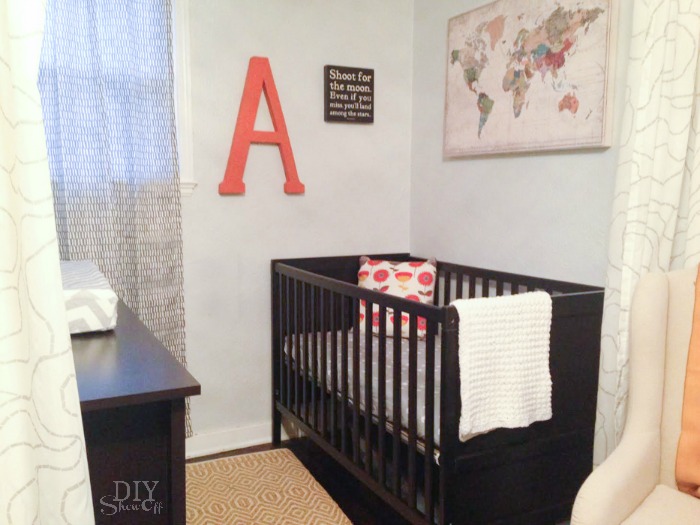
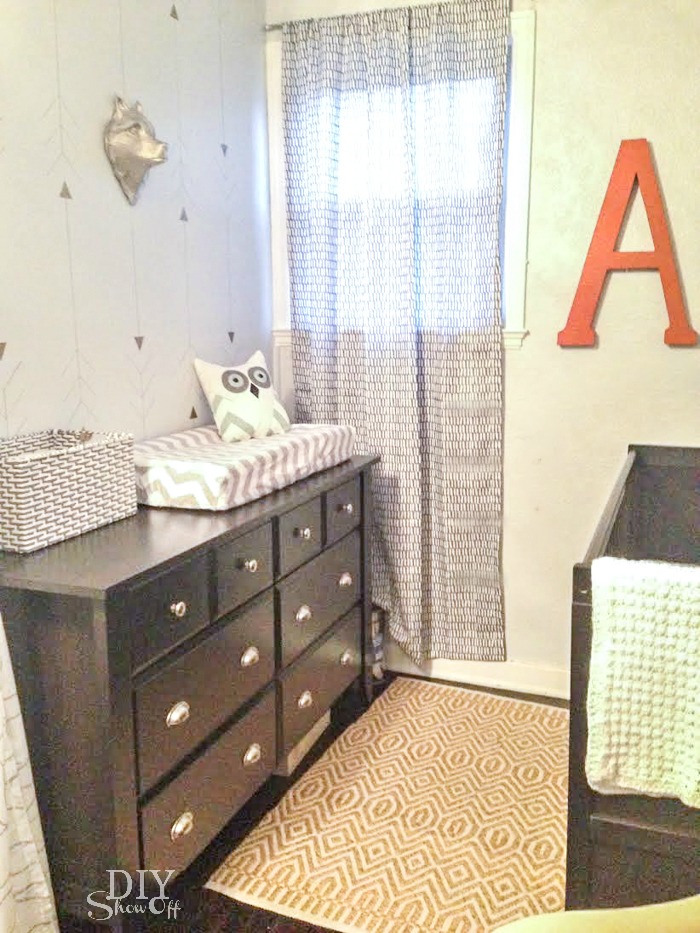
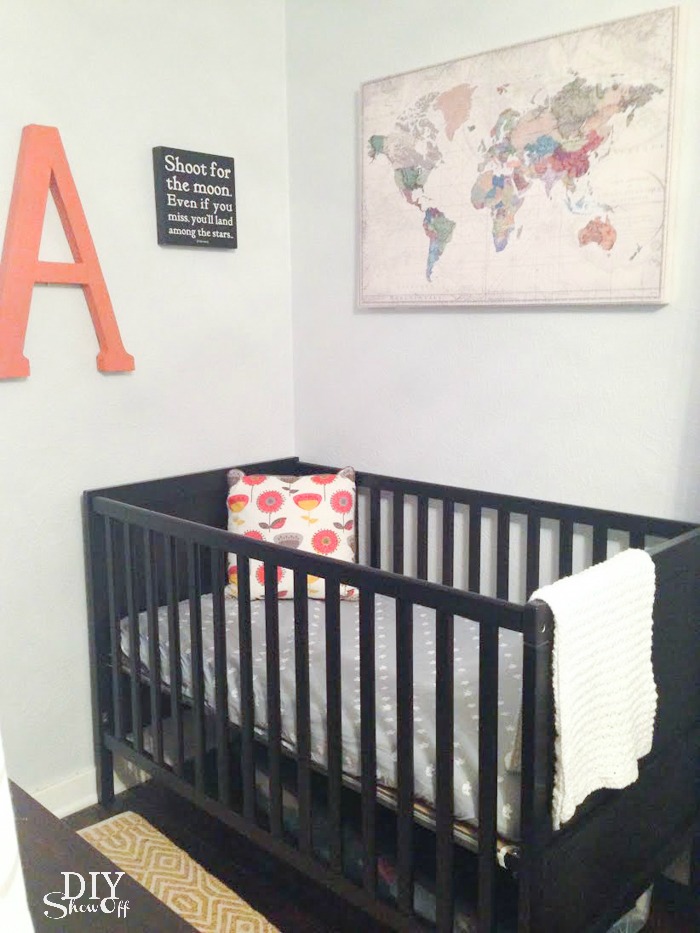
small apartment nursery nook reveal @diyshowoff small apartment nursery nook reveal @diyshowoffsmall apartment nursery nook reveal @diyshowoff small apartment nursery nook reveal @diyshowoff small apartment nursery nook reveal @diyshowoff small apartment nursery nook reveal @diyshowoffsmall apartment nursery nook reveal @diyshowoff small apartment nursery nook reveal @diyshowoff

As you can see, it’s not super baby themed since it’s a temporary/rental space. We’re saving a fun boy-themed nursery design for next summer. 

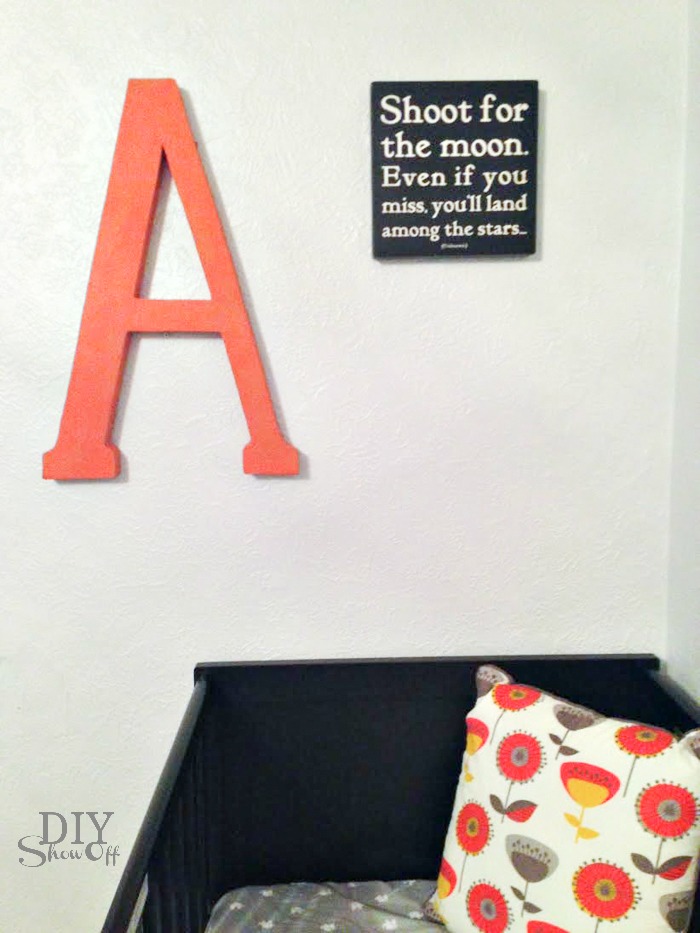
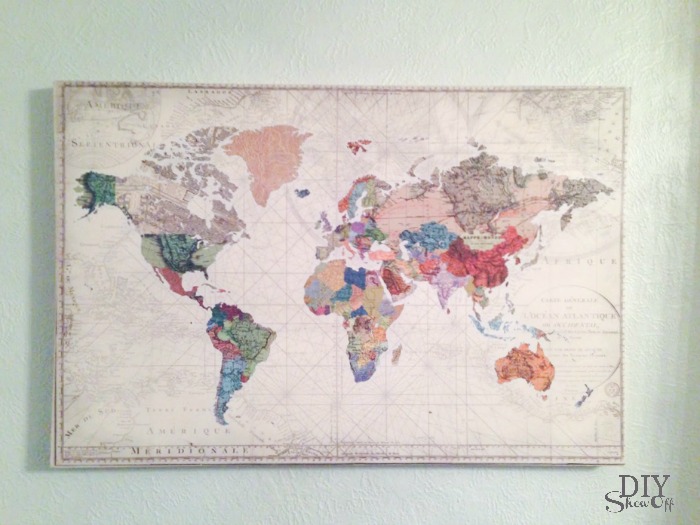
small apartment nursery nook reveal @diyshowoff small apartment nursery nook reveal @diyshowoffsmall apartment nursery nook reveal @diyshowoff small apartment nursery nook reveal @diyshowoffsmall apartment nursery nook reveal @diyshowoff small apartment nursery nook reveal @diyshowoff

Source List:

  • Sauder dresser
  • Crib – Ikea
  • accessories, accent rugs and wall art – HomeGoods 
  • curtain – Target
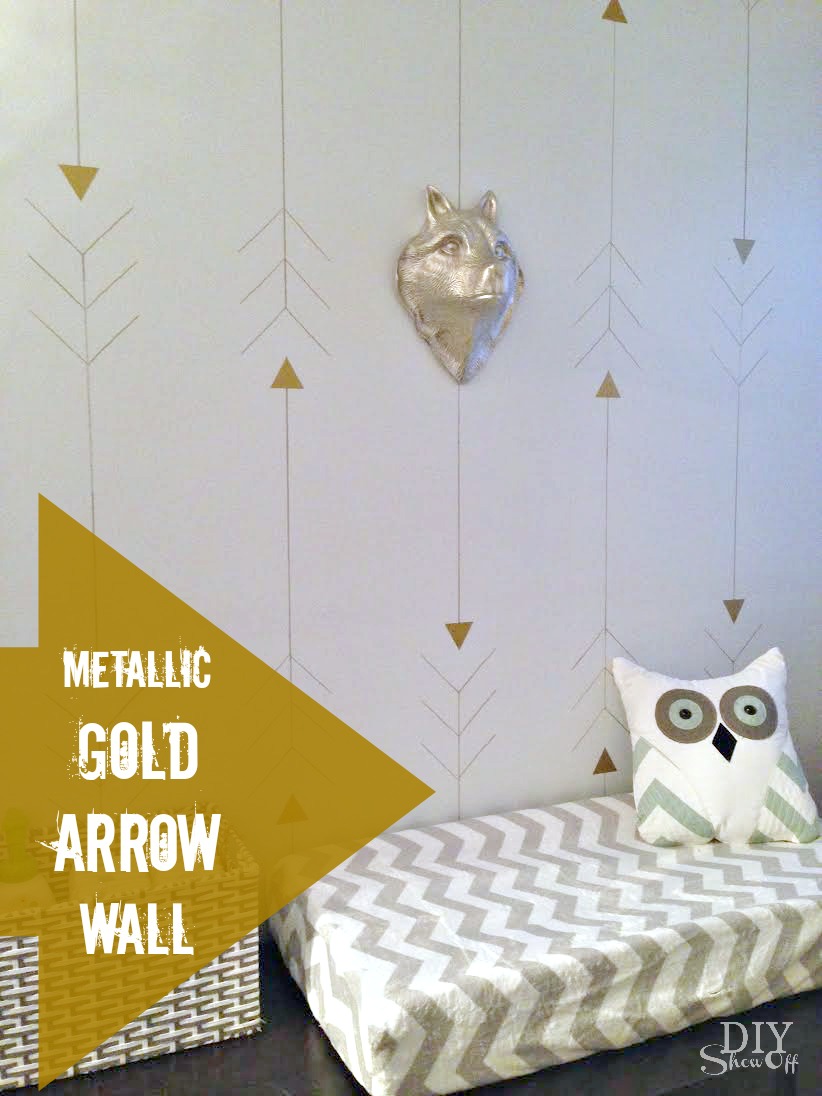
  • DIY arrow accent wall

Metallic gold arrow accent wall tutorial

metallic gold arrow wall at diyshowoff.com

See my guest room/nursery space for more nursery inspiration:

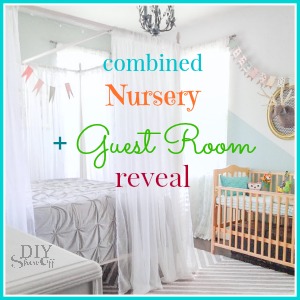
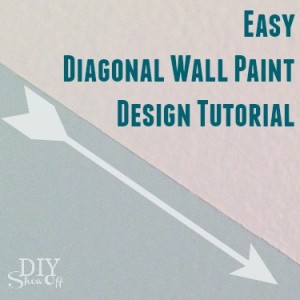
DIY nursery wall decor at diyshowoff.comcombined guest room nursery reveal @diyshowoffeasy diagonal wall paint design tutorial @diyshowoffpainted craft box DIY at diyshowoffDIYShowOff Michaels Makers back to school book ends feature

Metallic Gold Arrow Accent Wall Tutorial

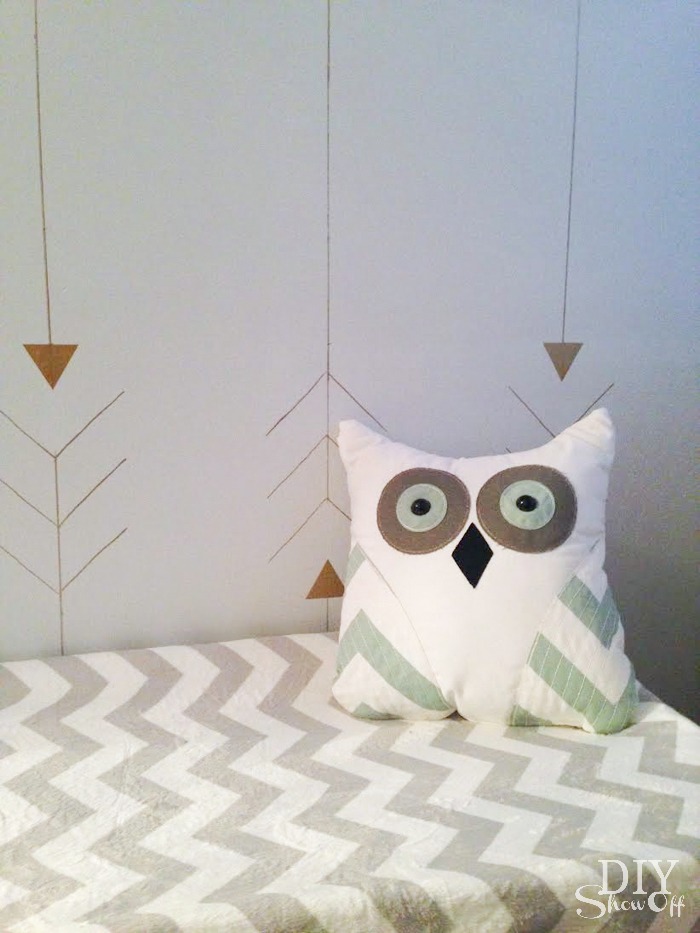
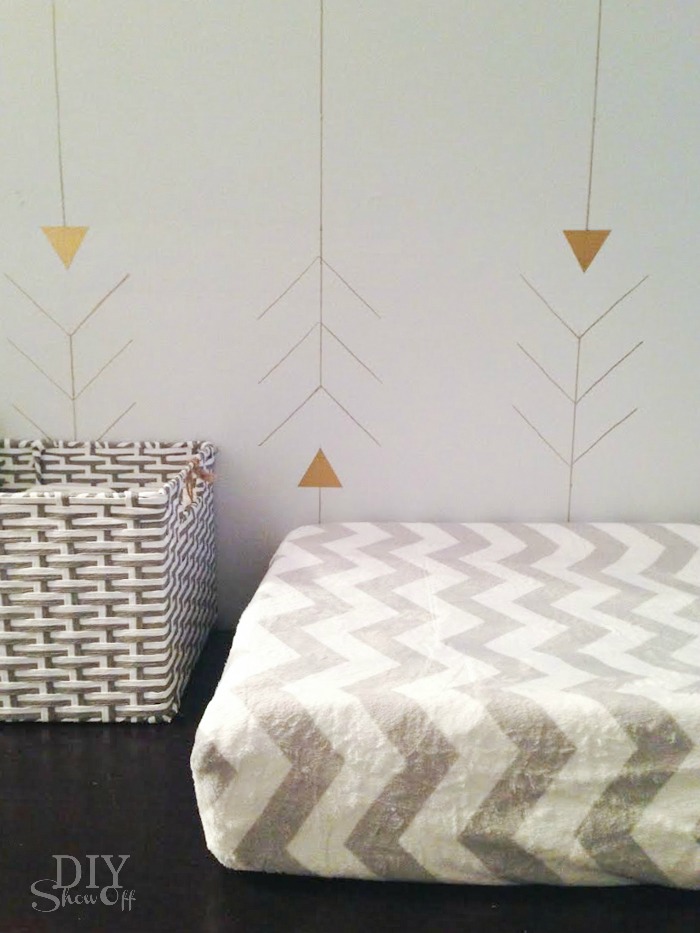
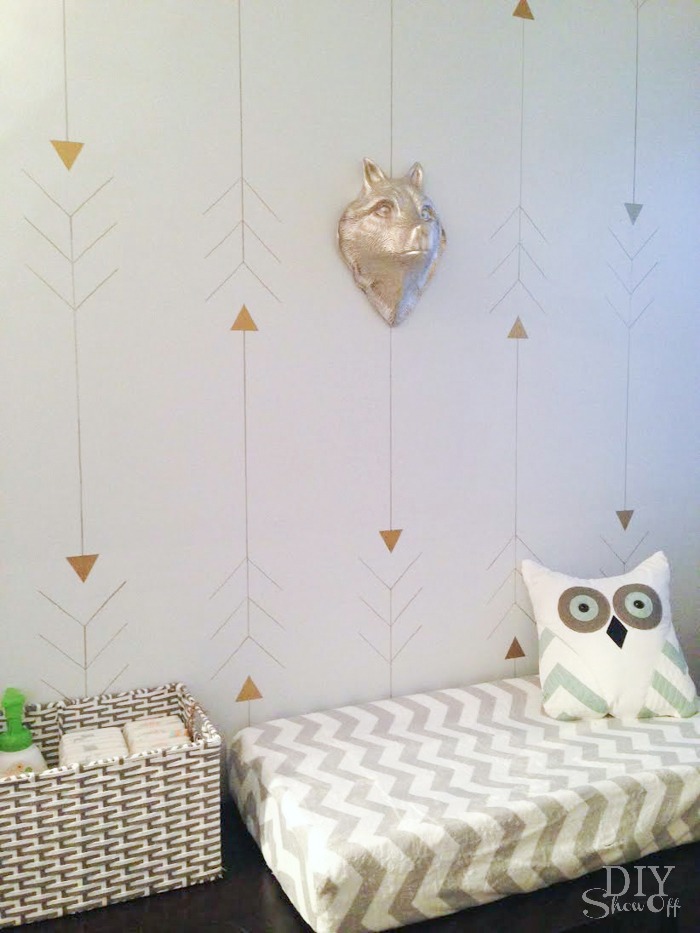
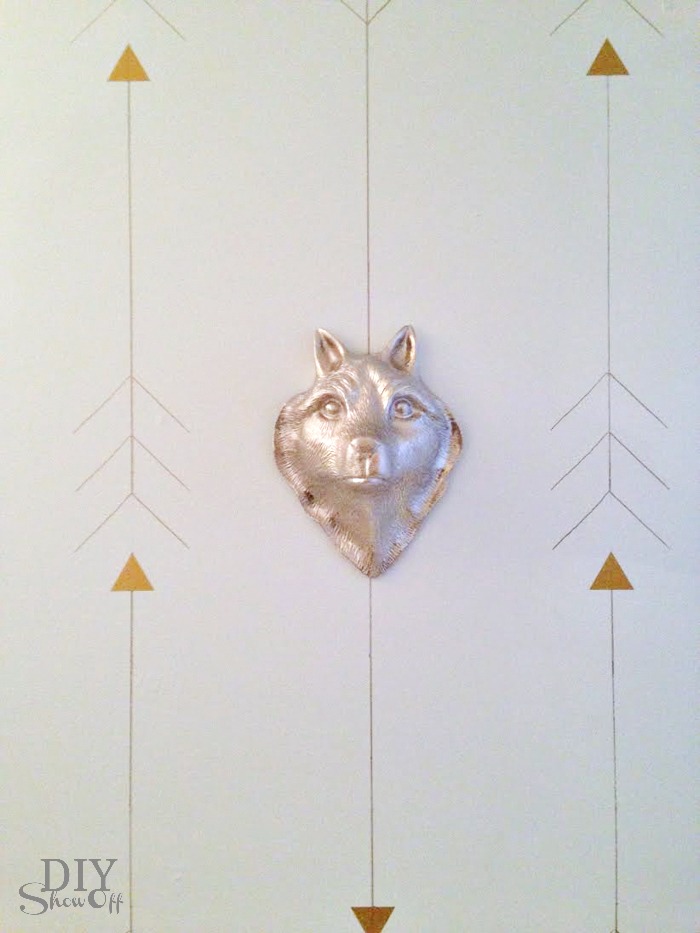
A small plain wall is a great spot for adding some pattern and detail to a room. This small wall in the apartment nursery nook was just begging for a little attention. Here’s what we did to give it some pizzazz:

metallic gold arrow wall at diyshowoff.com

Arrow Accent Wall Tutorial

Materials:

What worked for me:

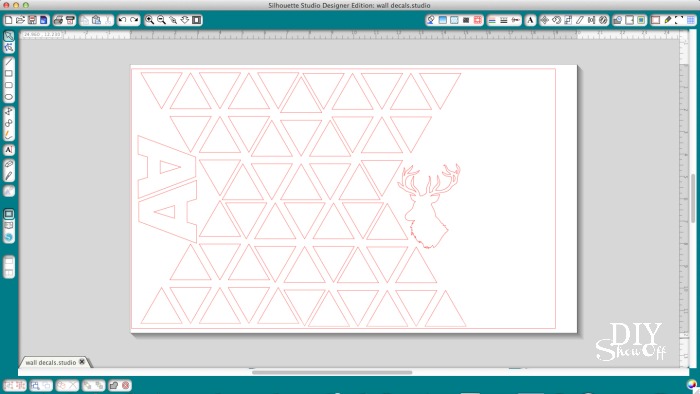
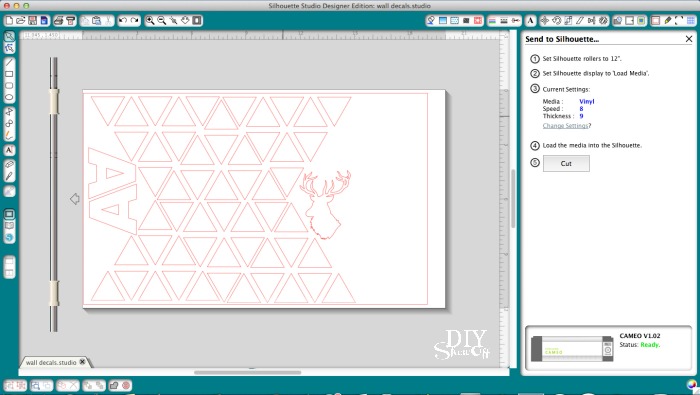
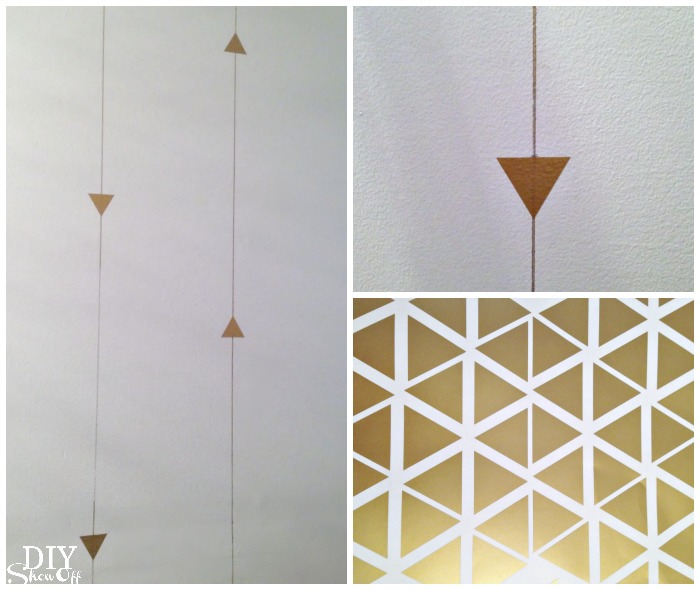
I started with creating triangle (arrowhead) vinyl stickers in my Silhouette Design Studio software. (Since I had some extra space, I created a few vinyl decals including the letter A and a deer head as well…they aren’t a part of this project.)

metallic arrow wall design tutorial @diyshowoff

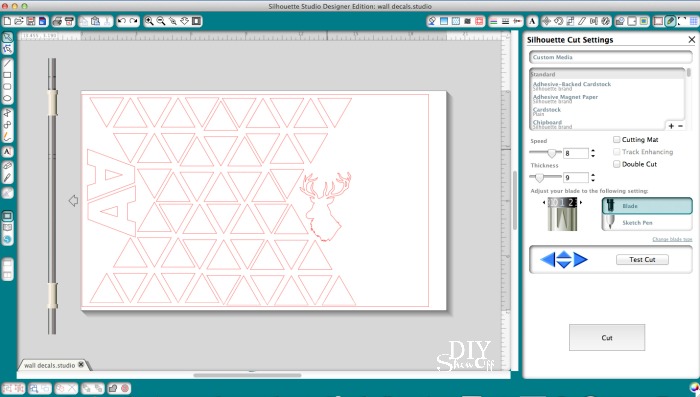
I hit the “cut” button and adjusted the settings on my blade for vinyl. 

metallic arrow wall design tutorial @diyshowoff

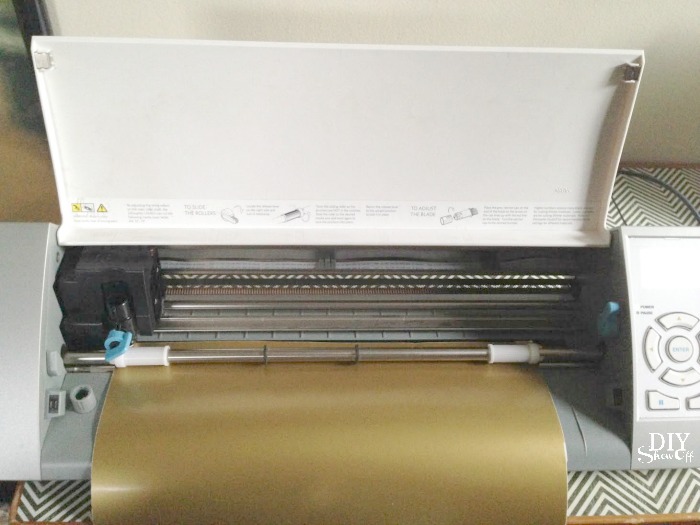
Load the vinyl into my Silhouette Cameo color side facing up. 
metallic arrow wall design tutorial @diyshowoff

Hit “cut” and remove from machine. 
metallic arrow wall design tutorial @diyshowoff

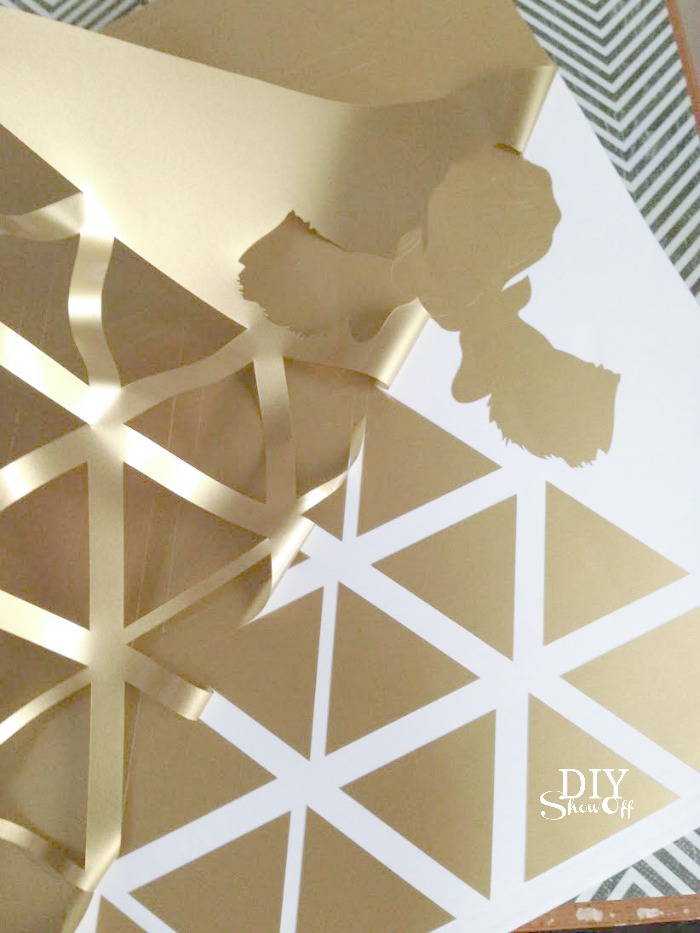
Weed away the excess vinyl (the vinyl that’s not a part of the design). Vinyl stickers. That fast!

metallic arrow wall design tutorial @diyshowoff

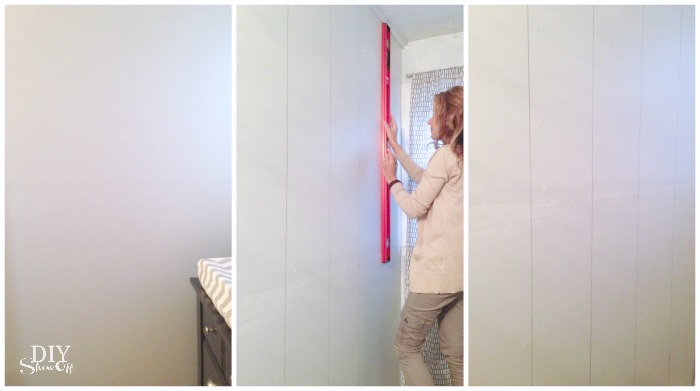
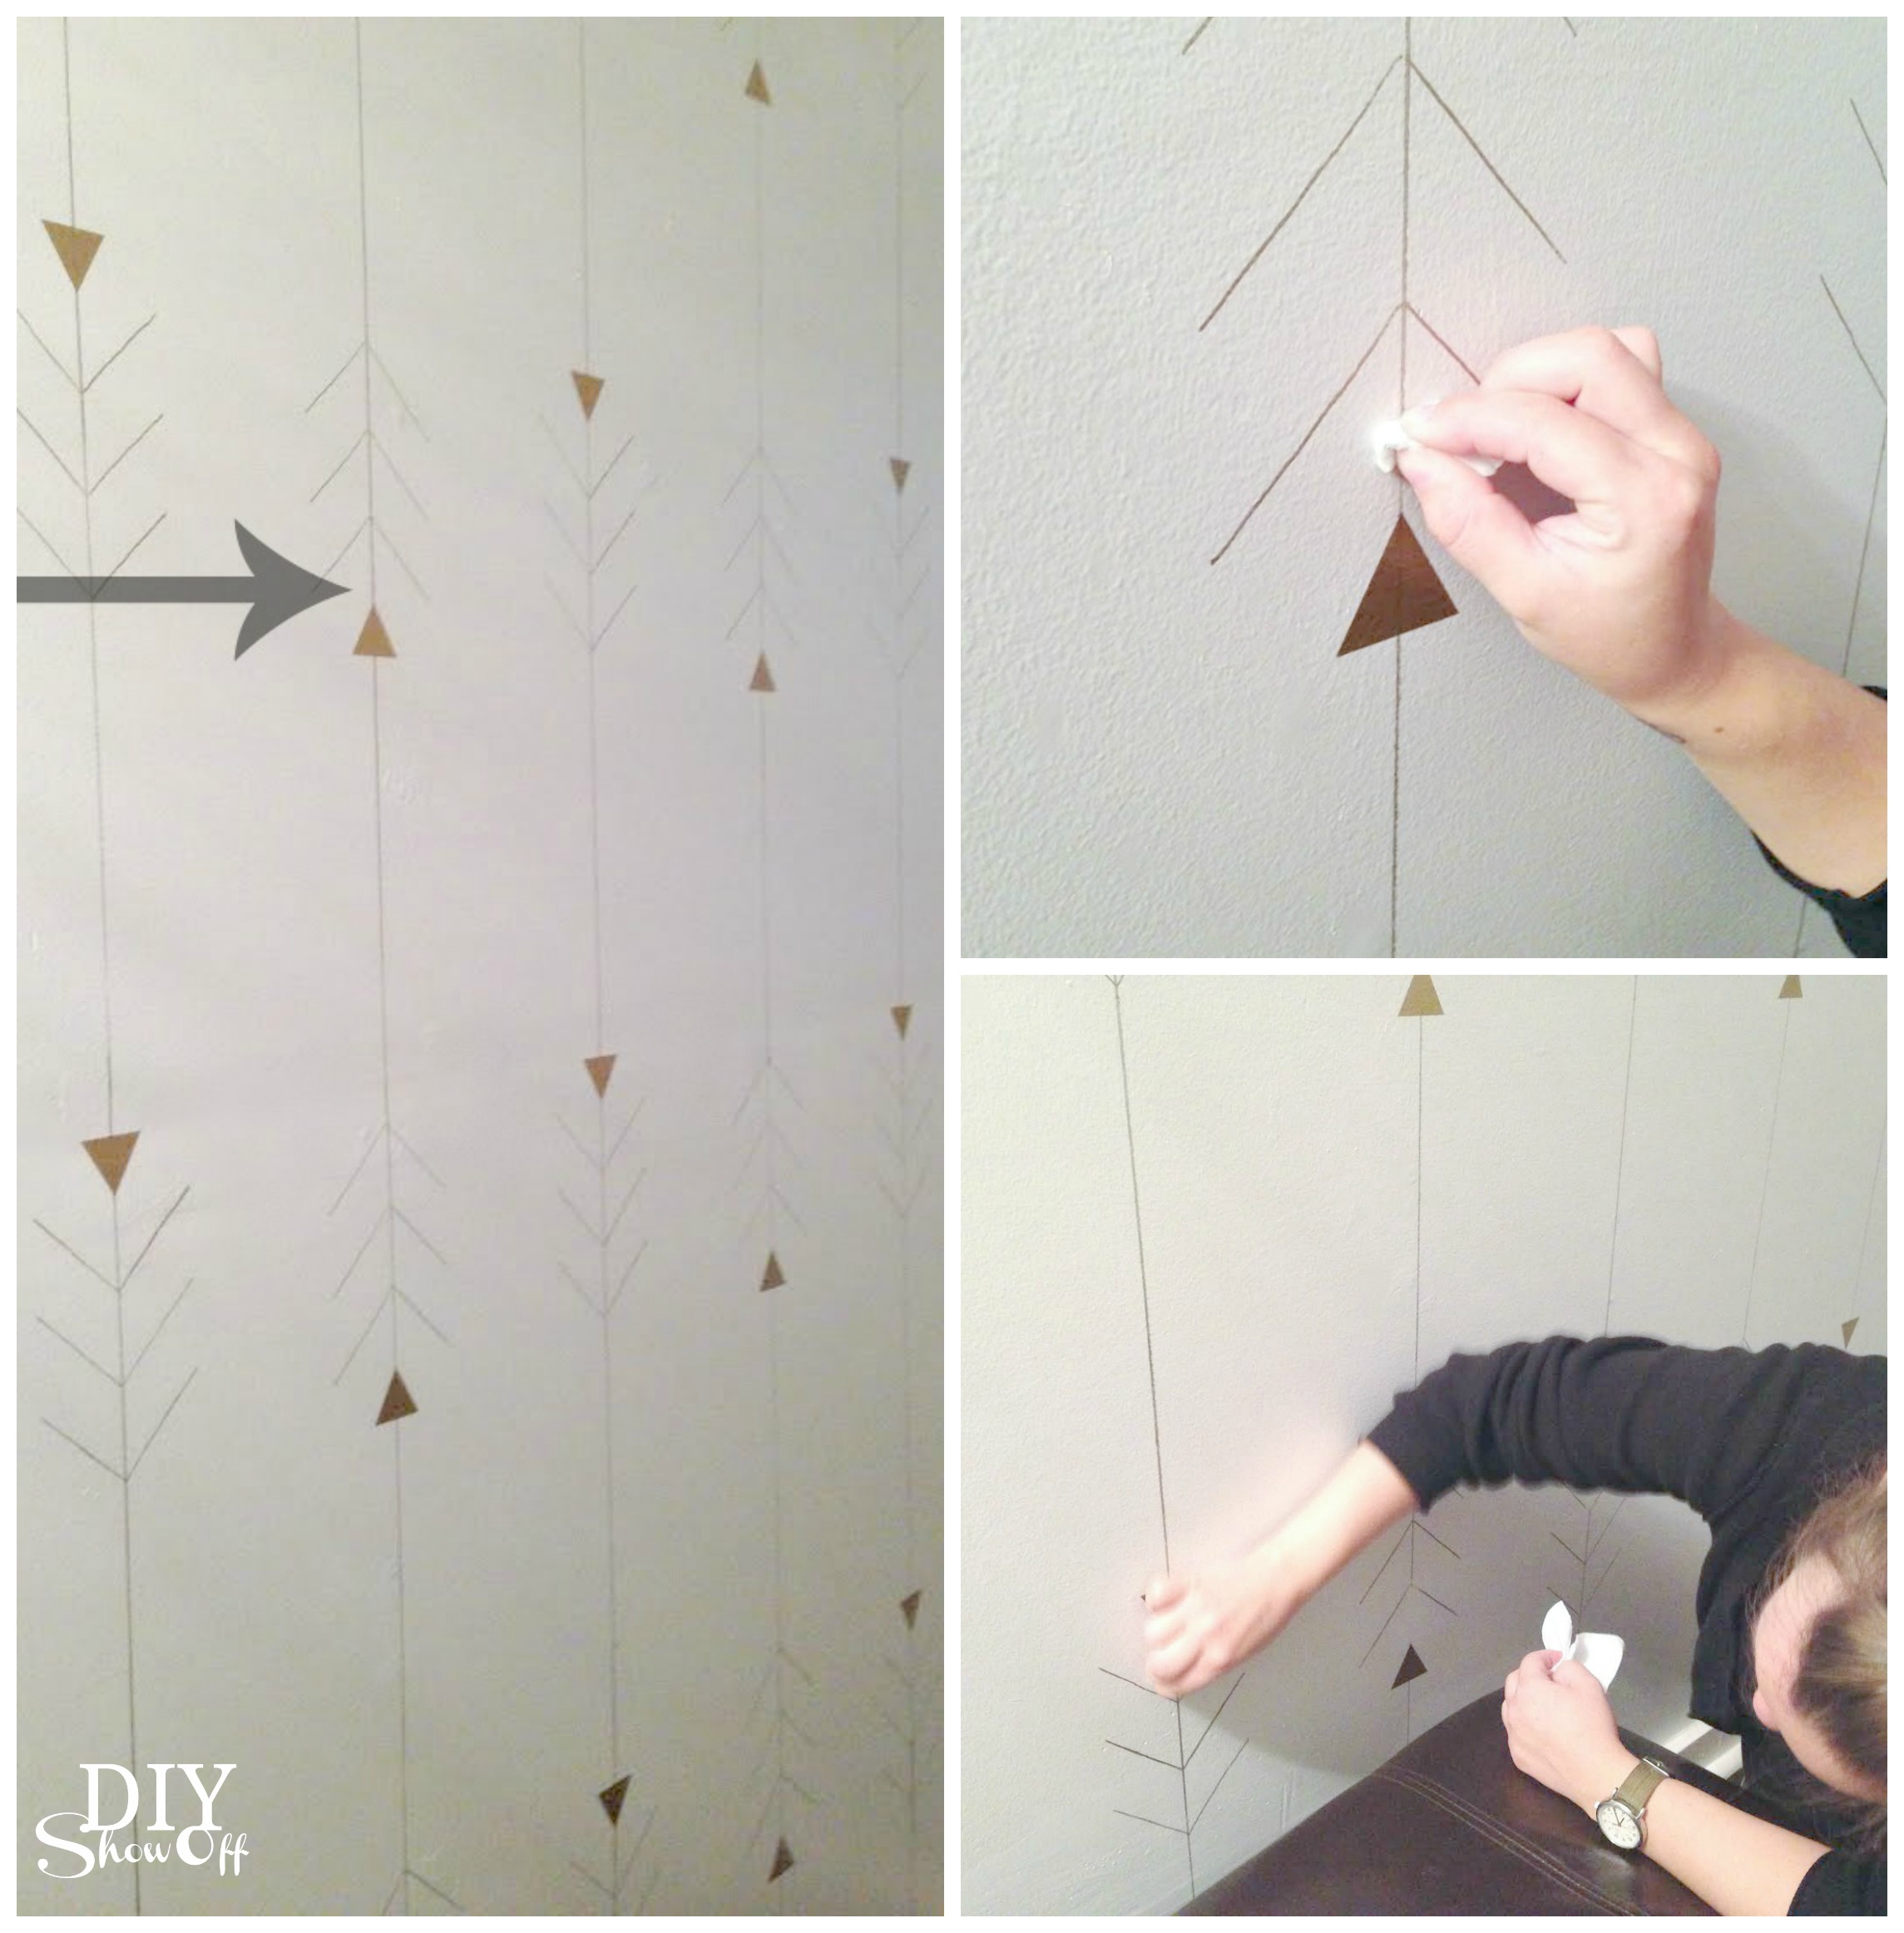
On the wall using a level and Sharpie, I drew vertical lines evenly spaced part. 

metallic arrow wall design tutorial @diyshowoff

We then decided on placement of the arrow heads, alternating the direction every other line. 

metallic arrow wall design tutorial @diyshowoff

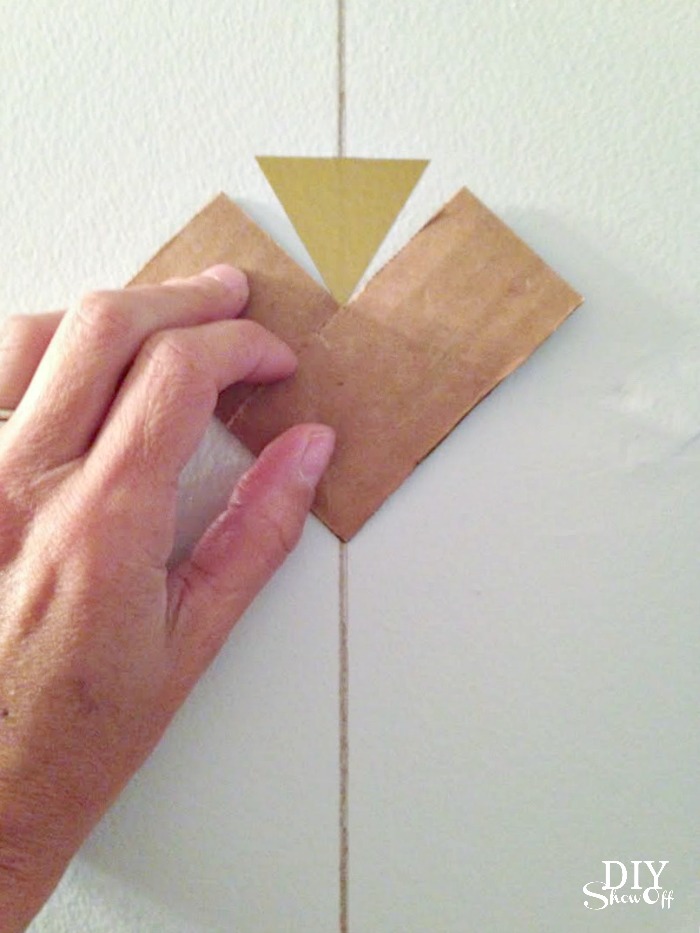
I cut a “chevron” pattern from cardboard and used it to create arrow tails, again, evenly spaced and alternating the direction every other line. 

metallic arrow wall design tutorial @diyshowoffmetallic arrow wall design tutorial @diyshowoff

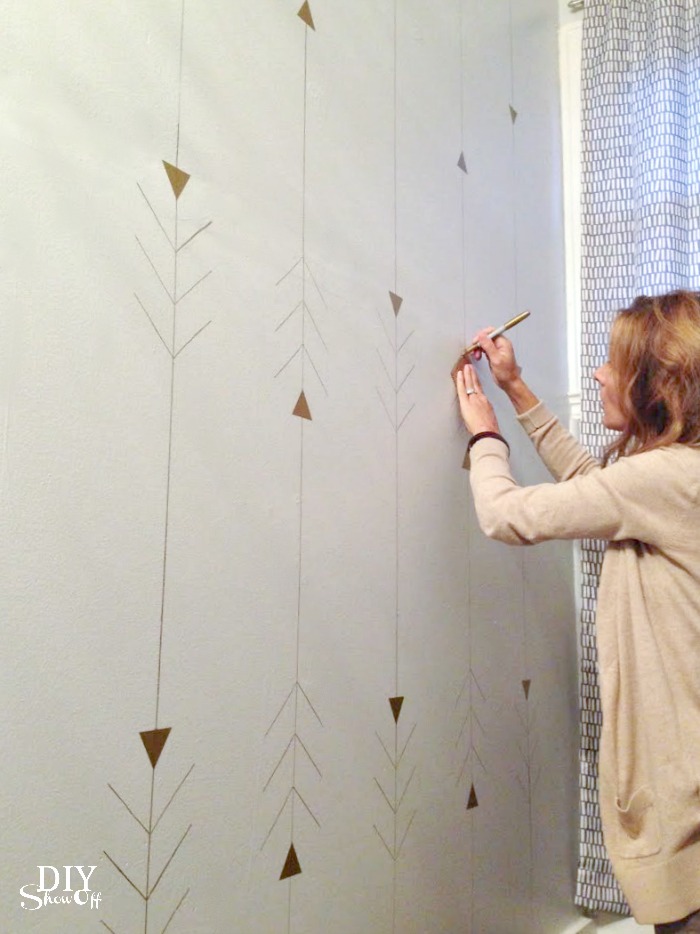
Ali used a piece of damp magic eraser to erase the Sharpie line between arrows (note for potential future reference: magic eraser works on removing permanent marker from walls). 

metallic arrow wall design tutorial @diyshowoff

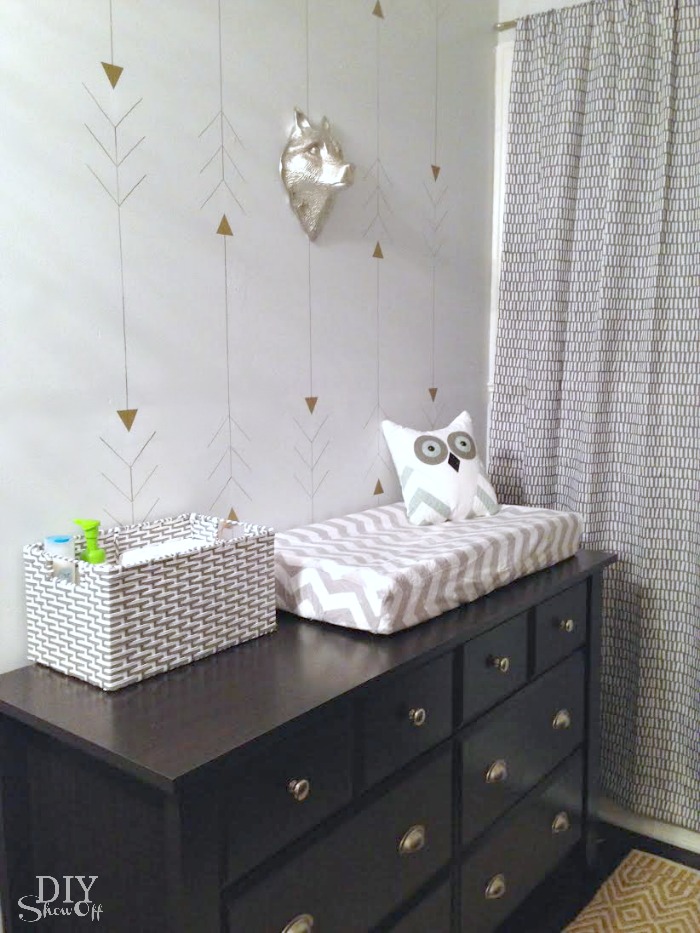
That’s it. I was hoping for a more staggered look, but even with drawing it out on paper, the final design had an alternating horizontal pattern too. Cool! 

metallic gold arrow wall - nursery @diyshowoff

What do you think? Cute. Simple. Right? 

See the entire nursery nook HERE

small apartment nursery nook reveal @diyshowoff

See my guest room/nursery space for more nursery ideas:

combined guest room nursery reveal @diyshowoffDIY nursery wall decor at diyshowoff.comeasy diagonal wall paint design tutorial @diyshowoffpainted craft box DIY at diyshowoffDIYShowOff Michaels Makers back to school book ends feature

*This post is sponsored by Happy Crafters. Tutorial, experience and opinion is my own.  Check out all the supplies at Happy Crafters for inspiration for your next project. 

HClogopngsmall