Project Diary #19 Bathroom Before & After Makeover Reveal

Featured

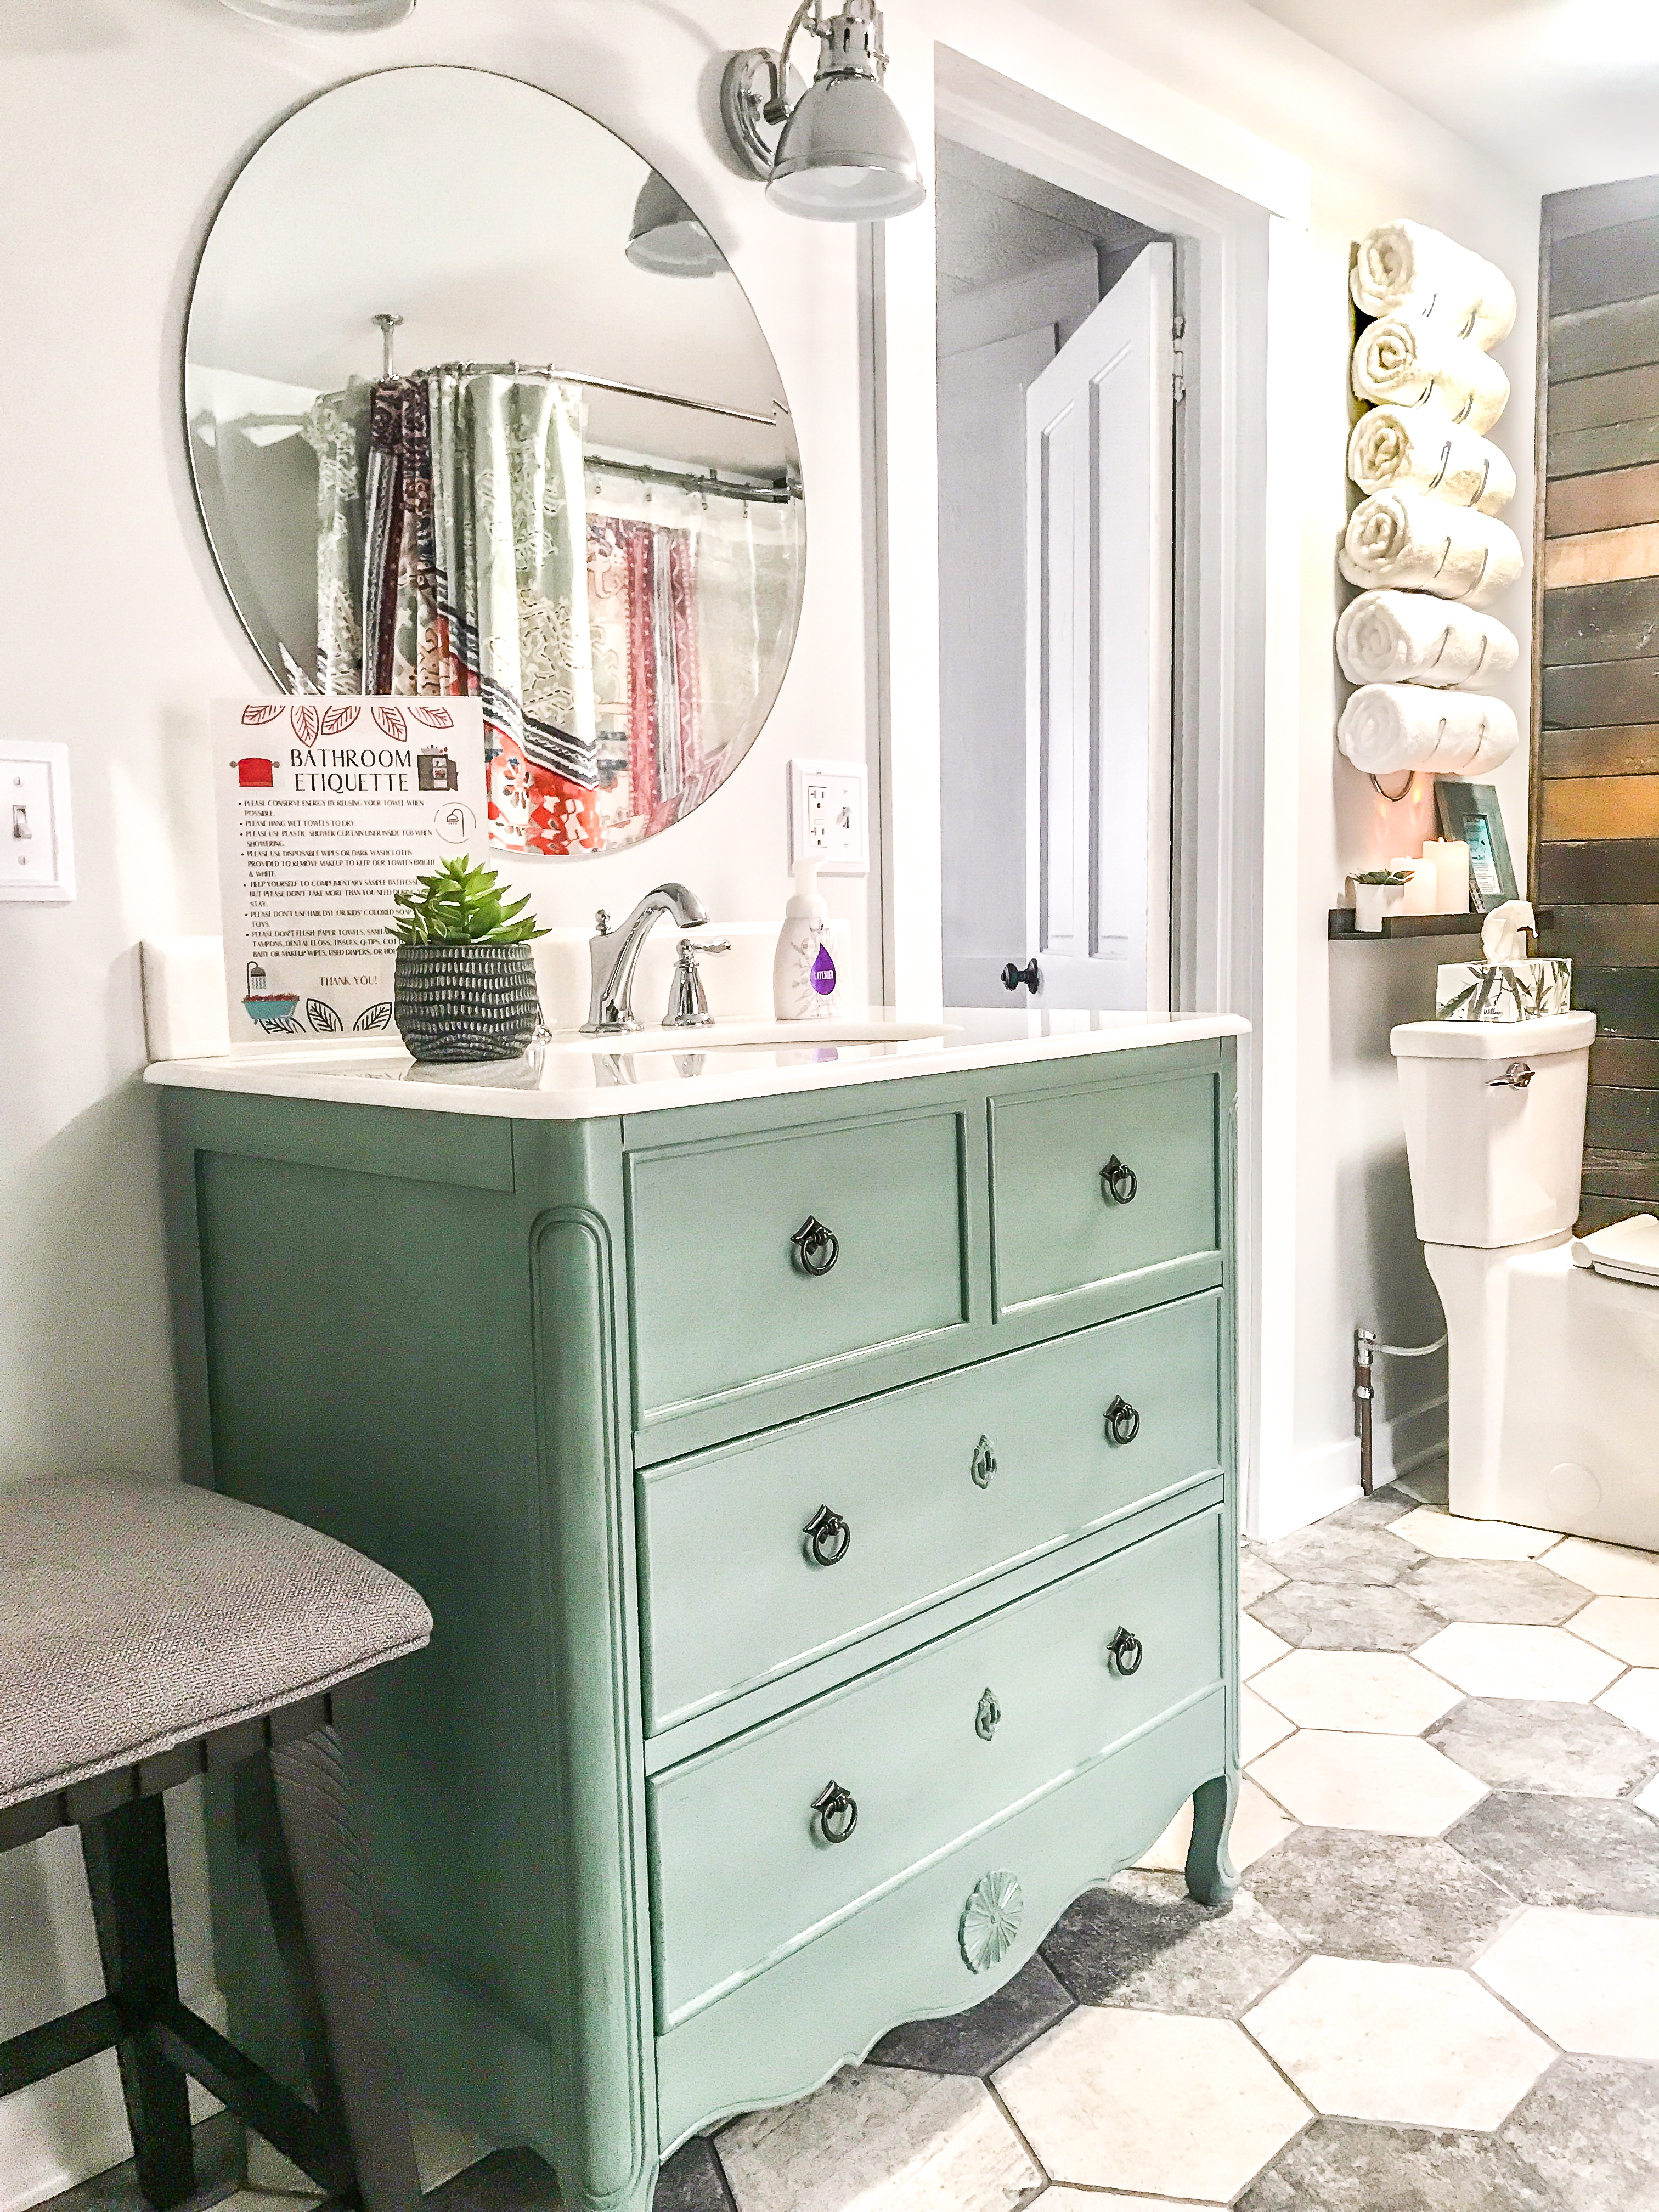
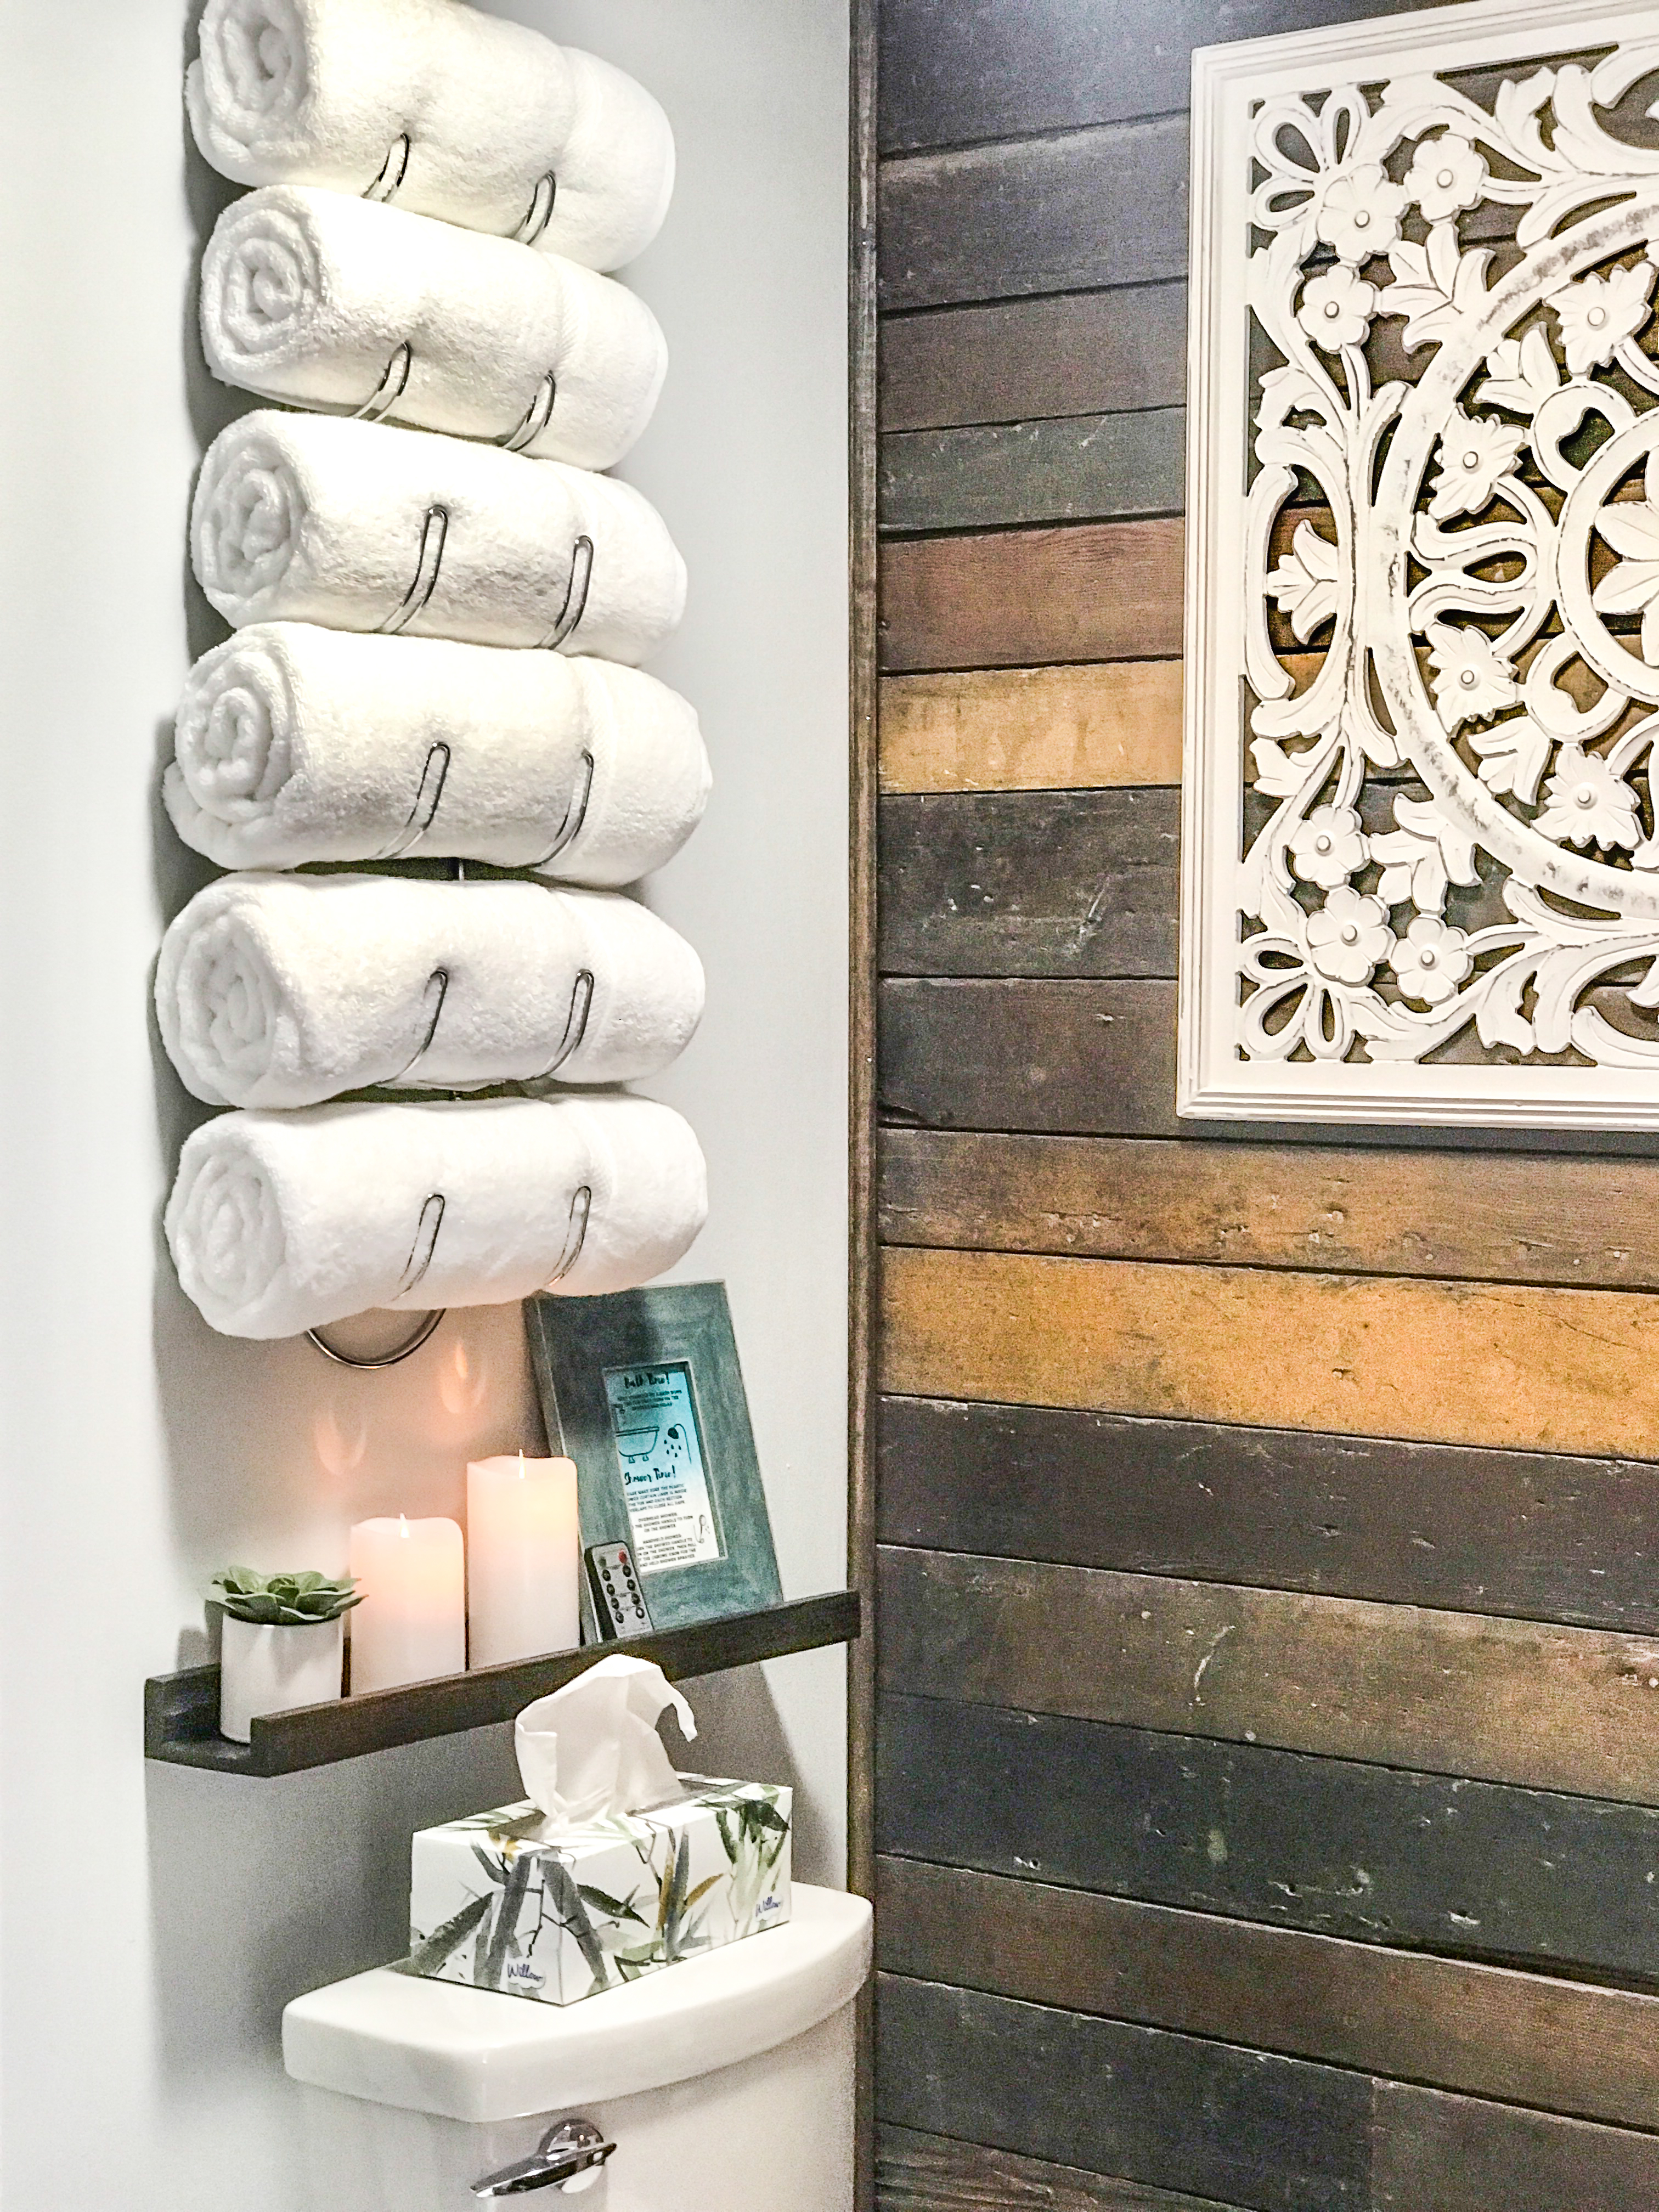
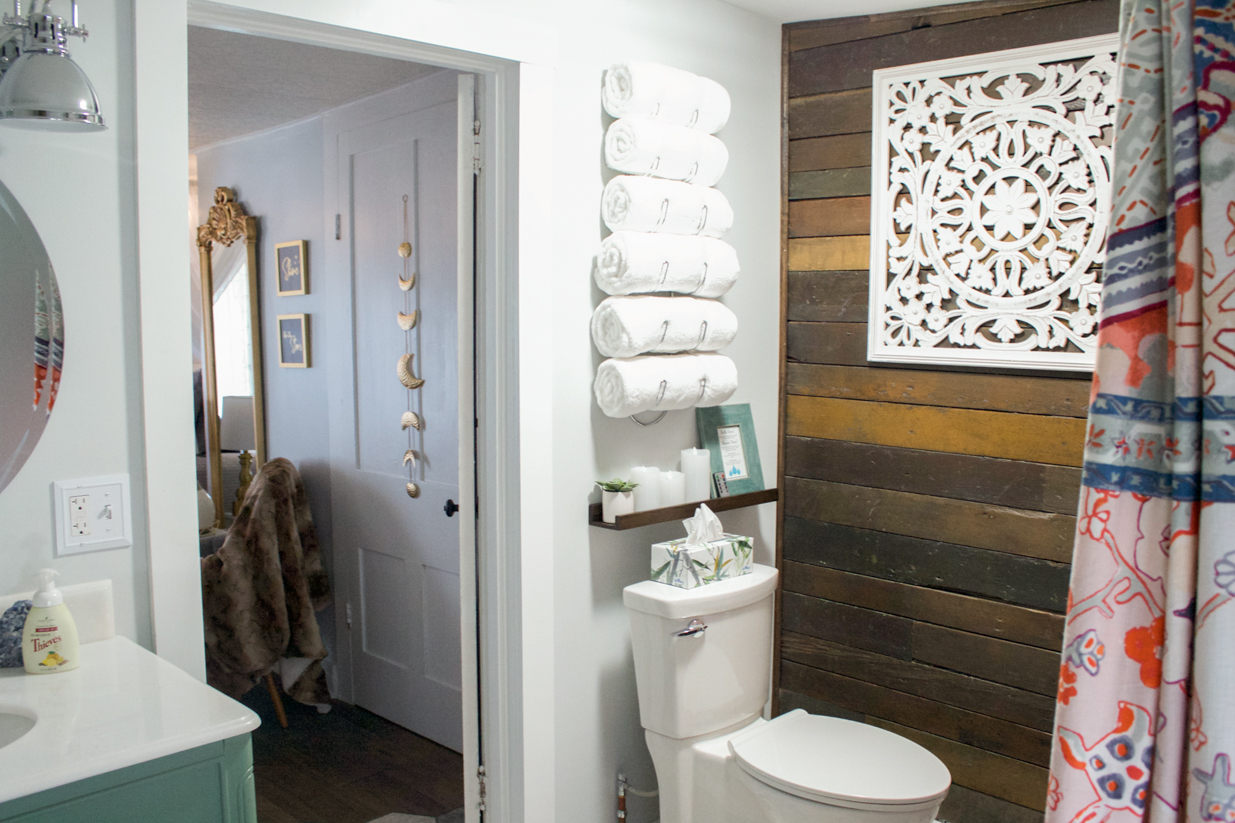
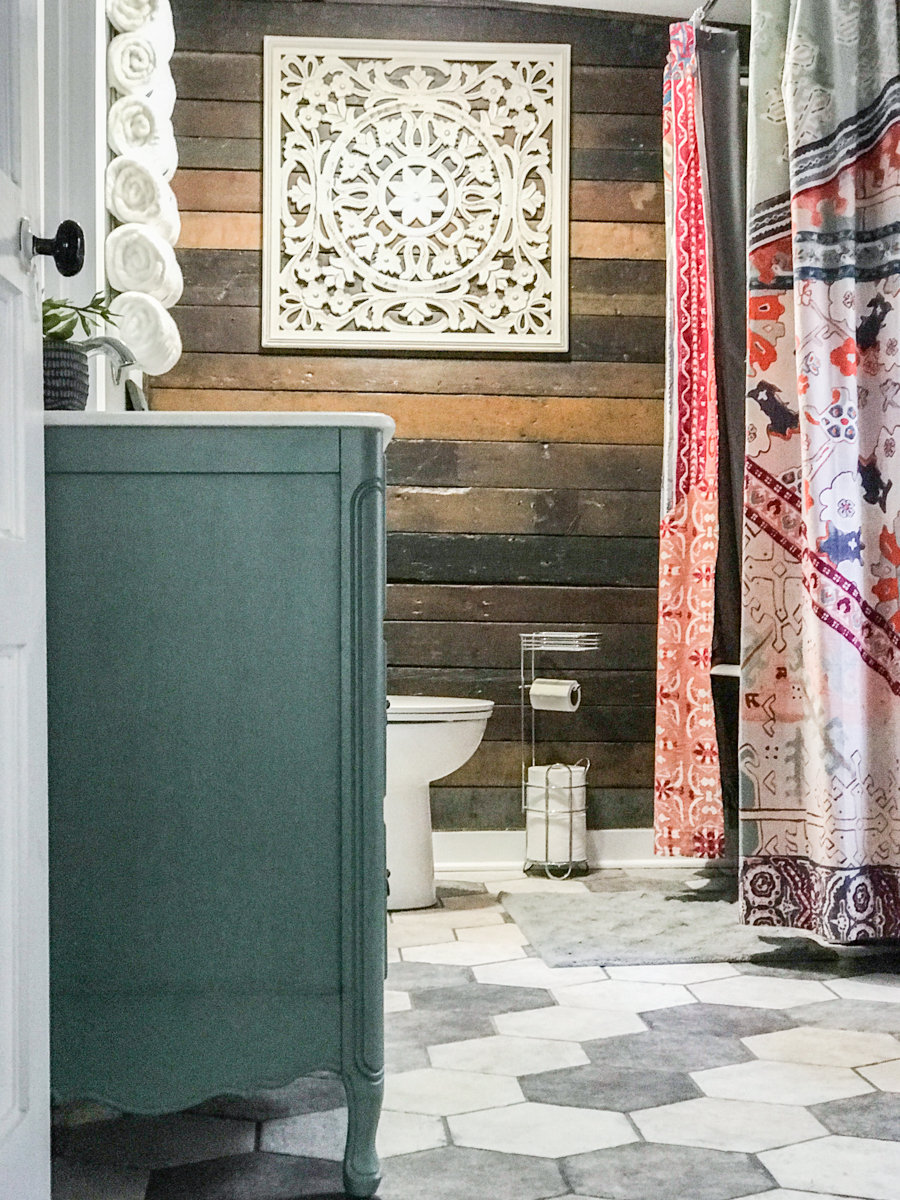
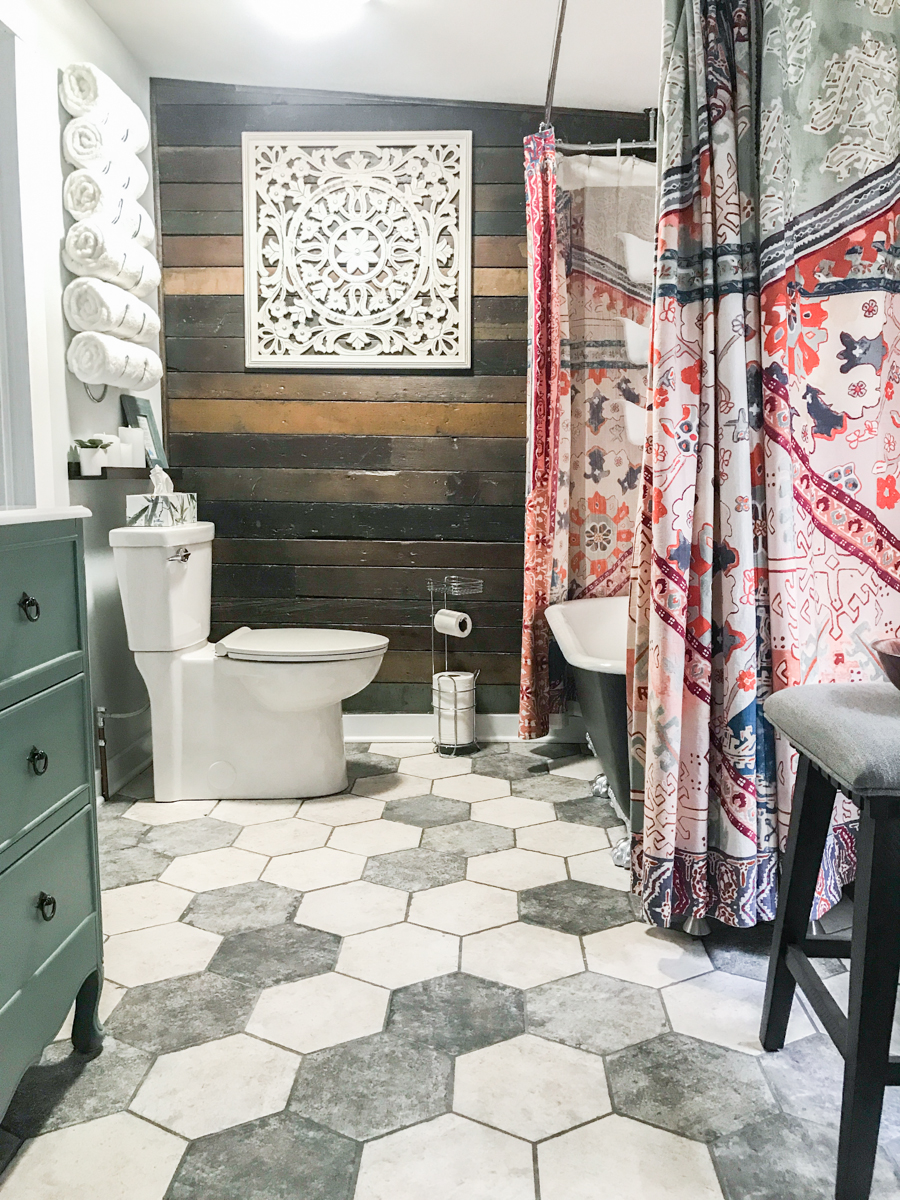
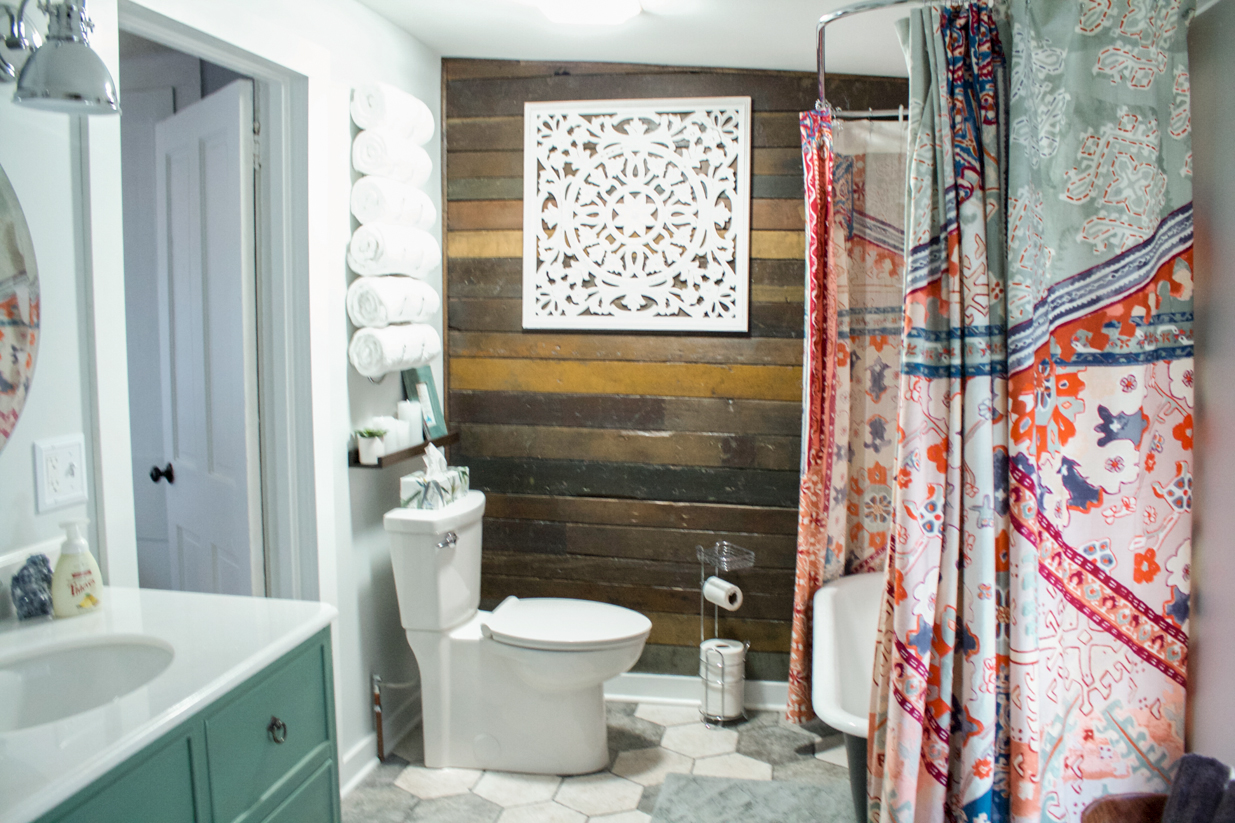
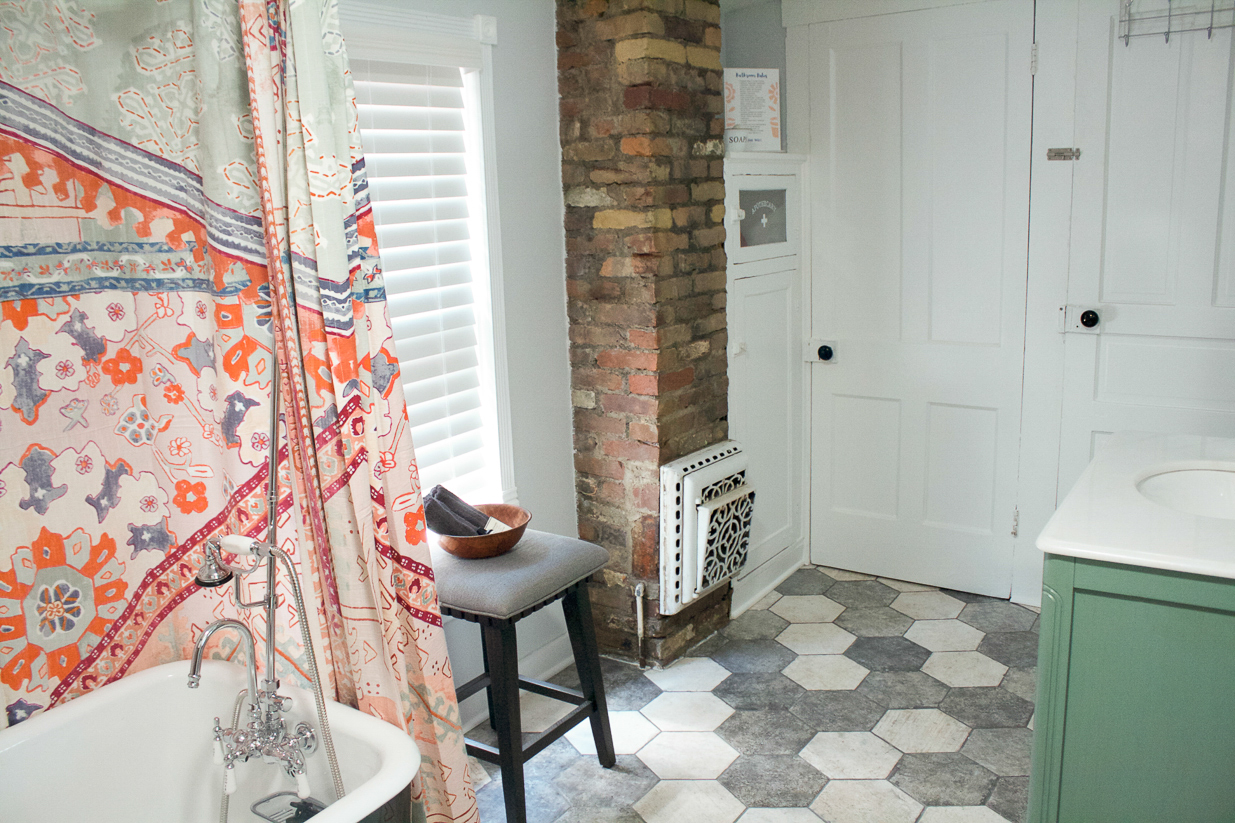
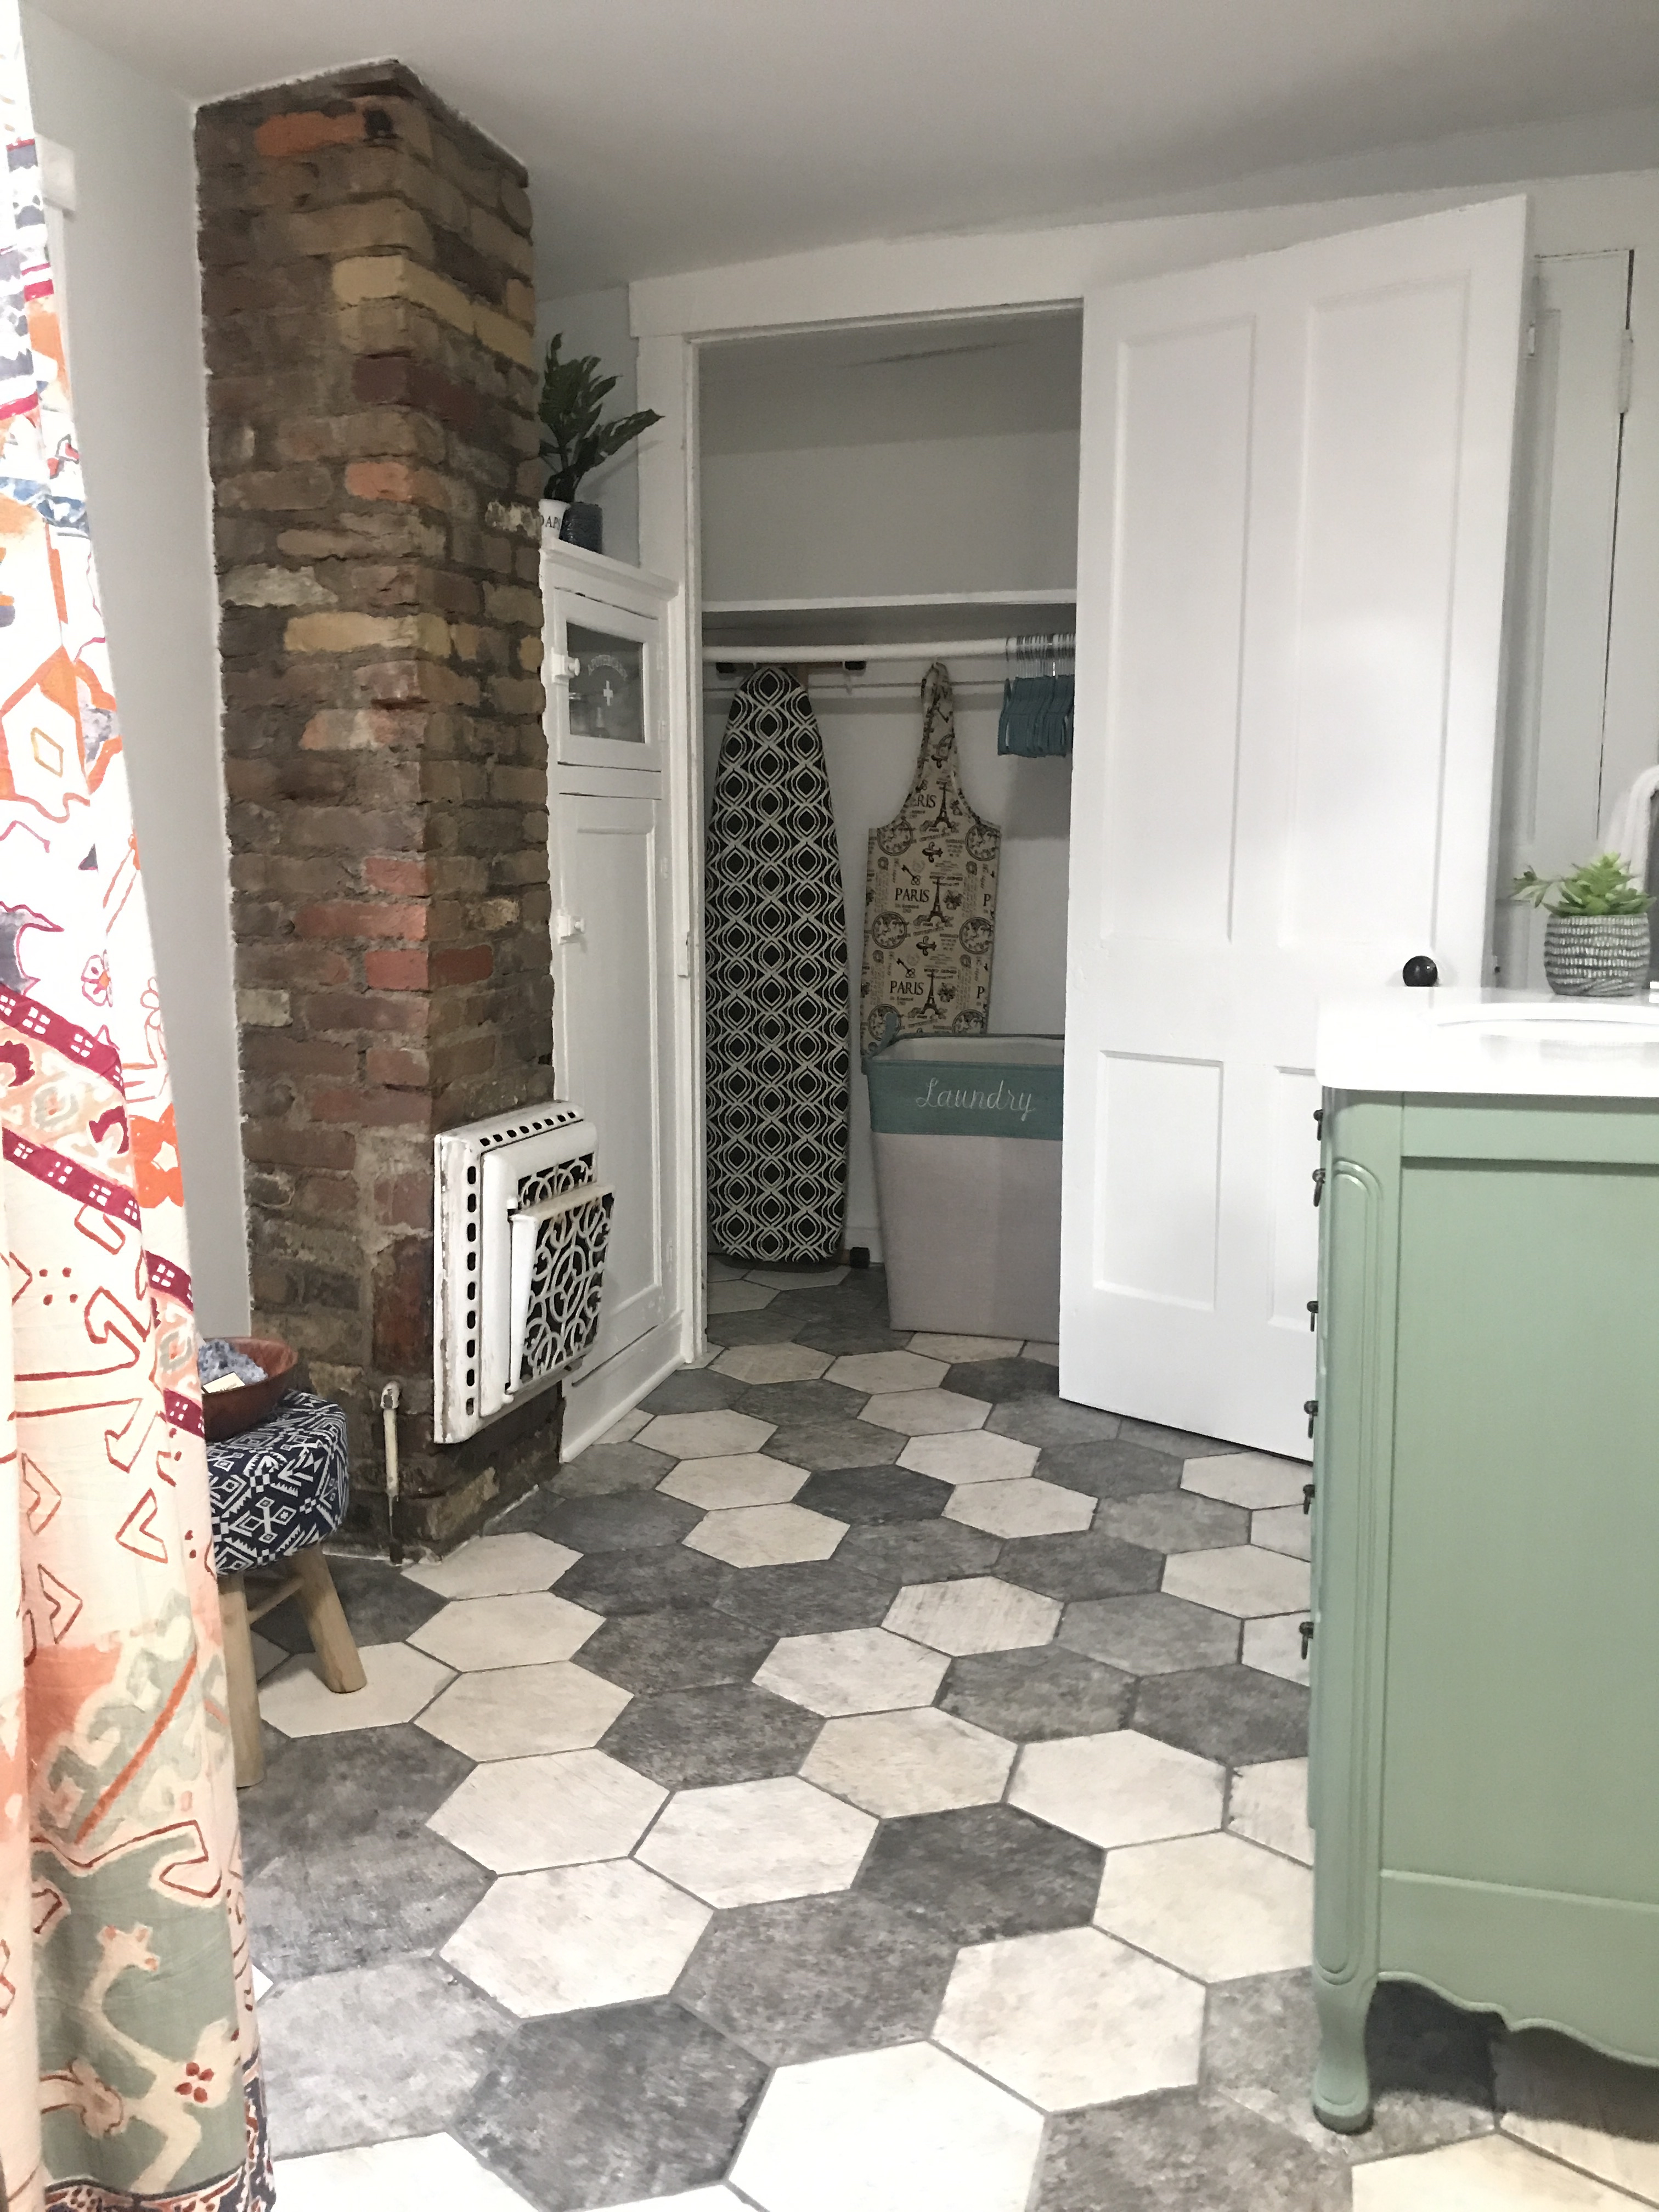
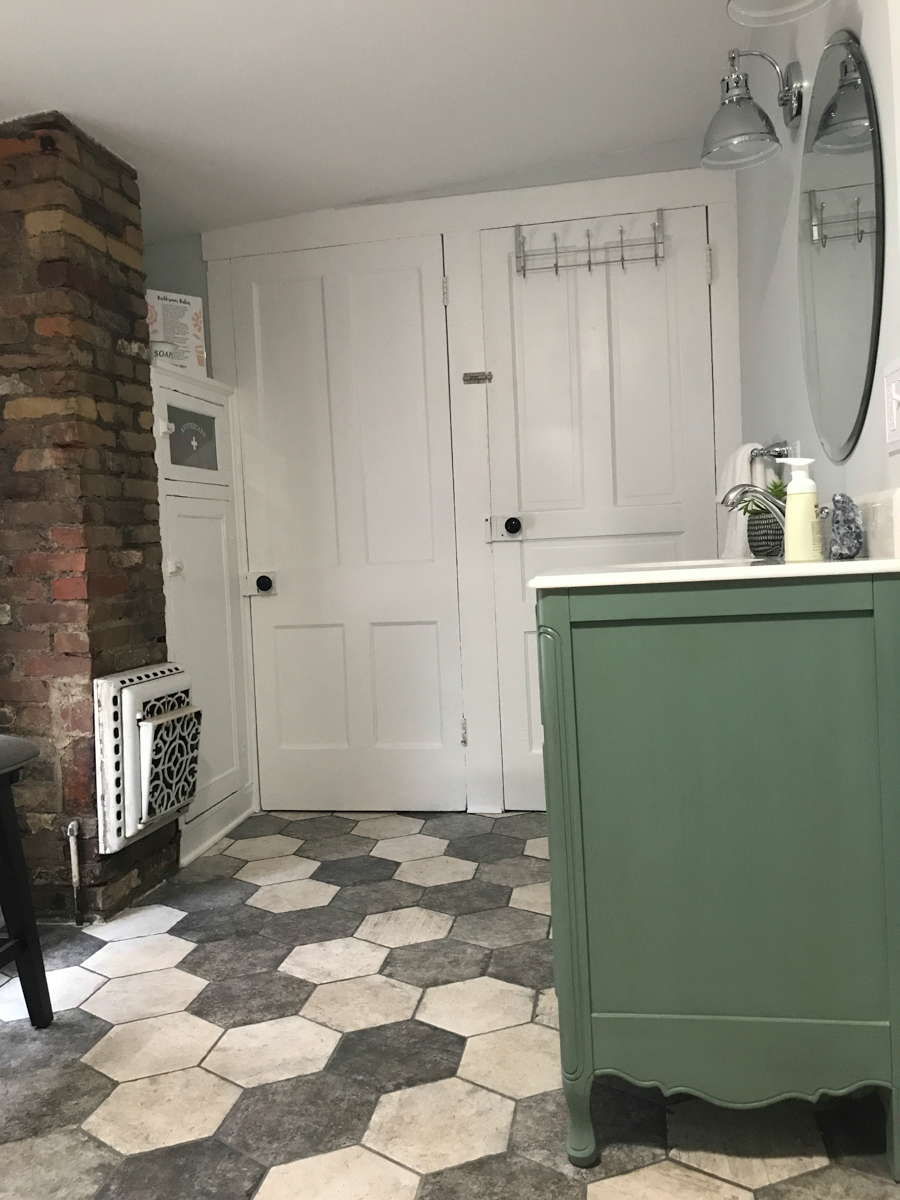
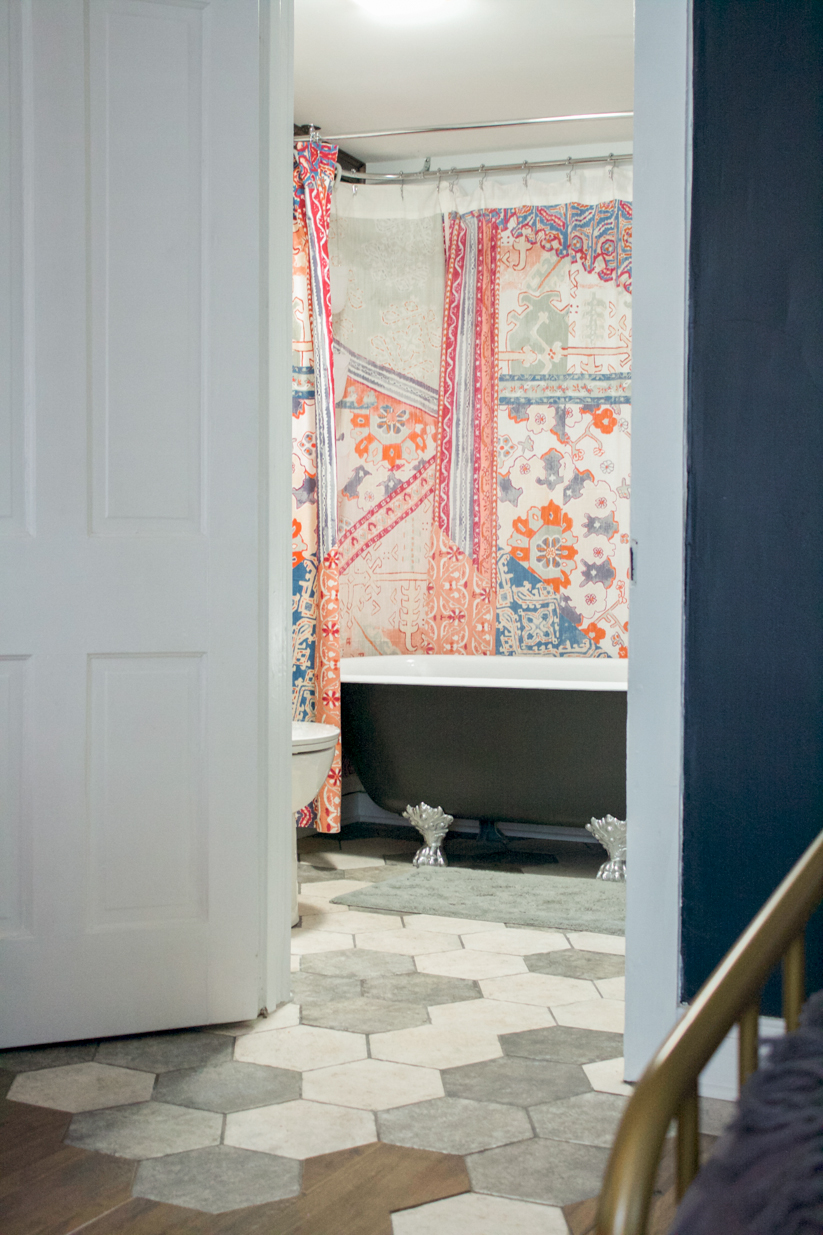
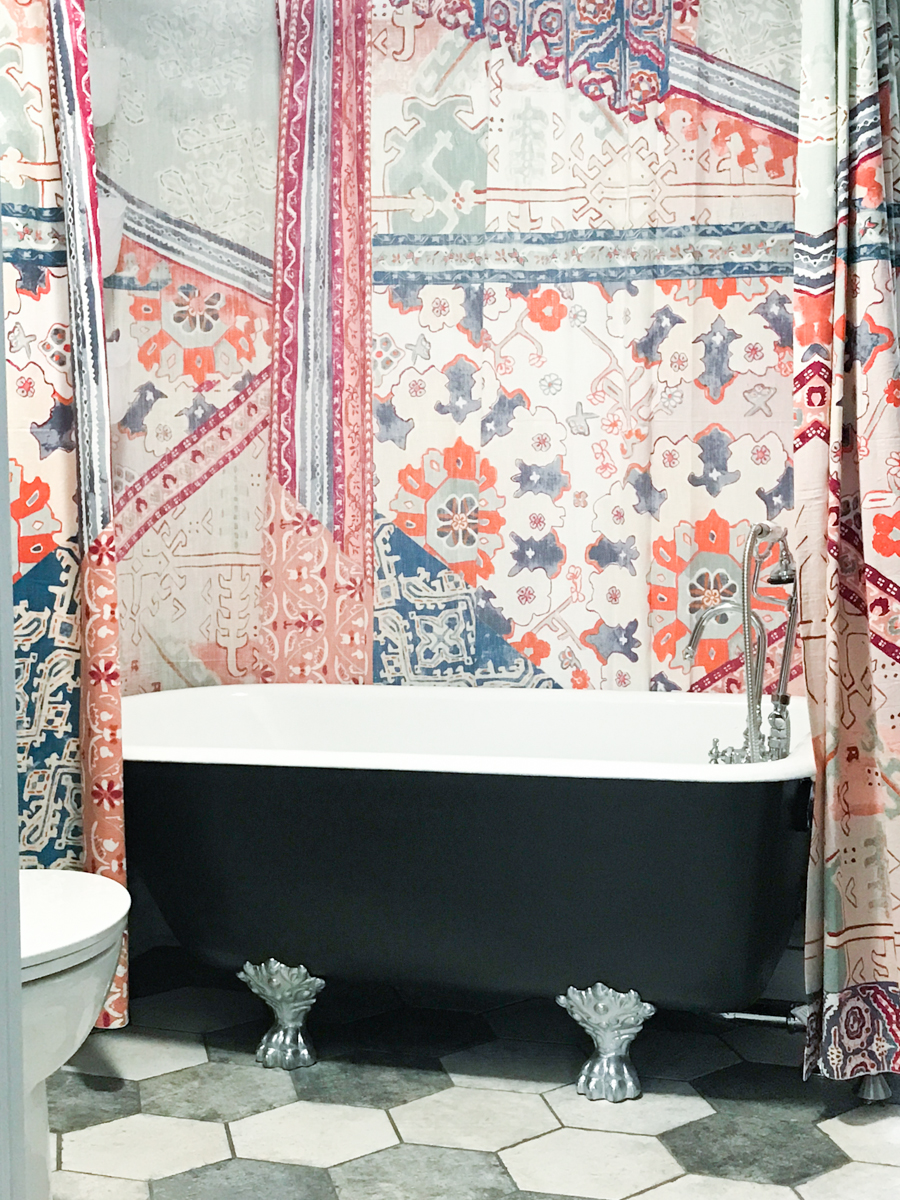
The bathroom before and after is the biggest transformation of the #helloredreno series. A lot of hard work, sweat, (thanks, Steve!), tears and love went into this space. Ready for the bathroom before and after makeover reveal? Check it out! 

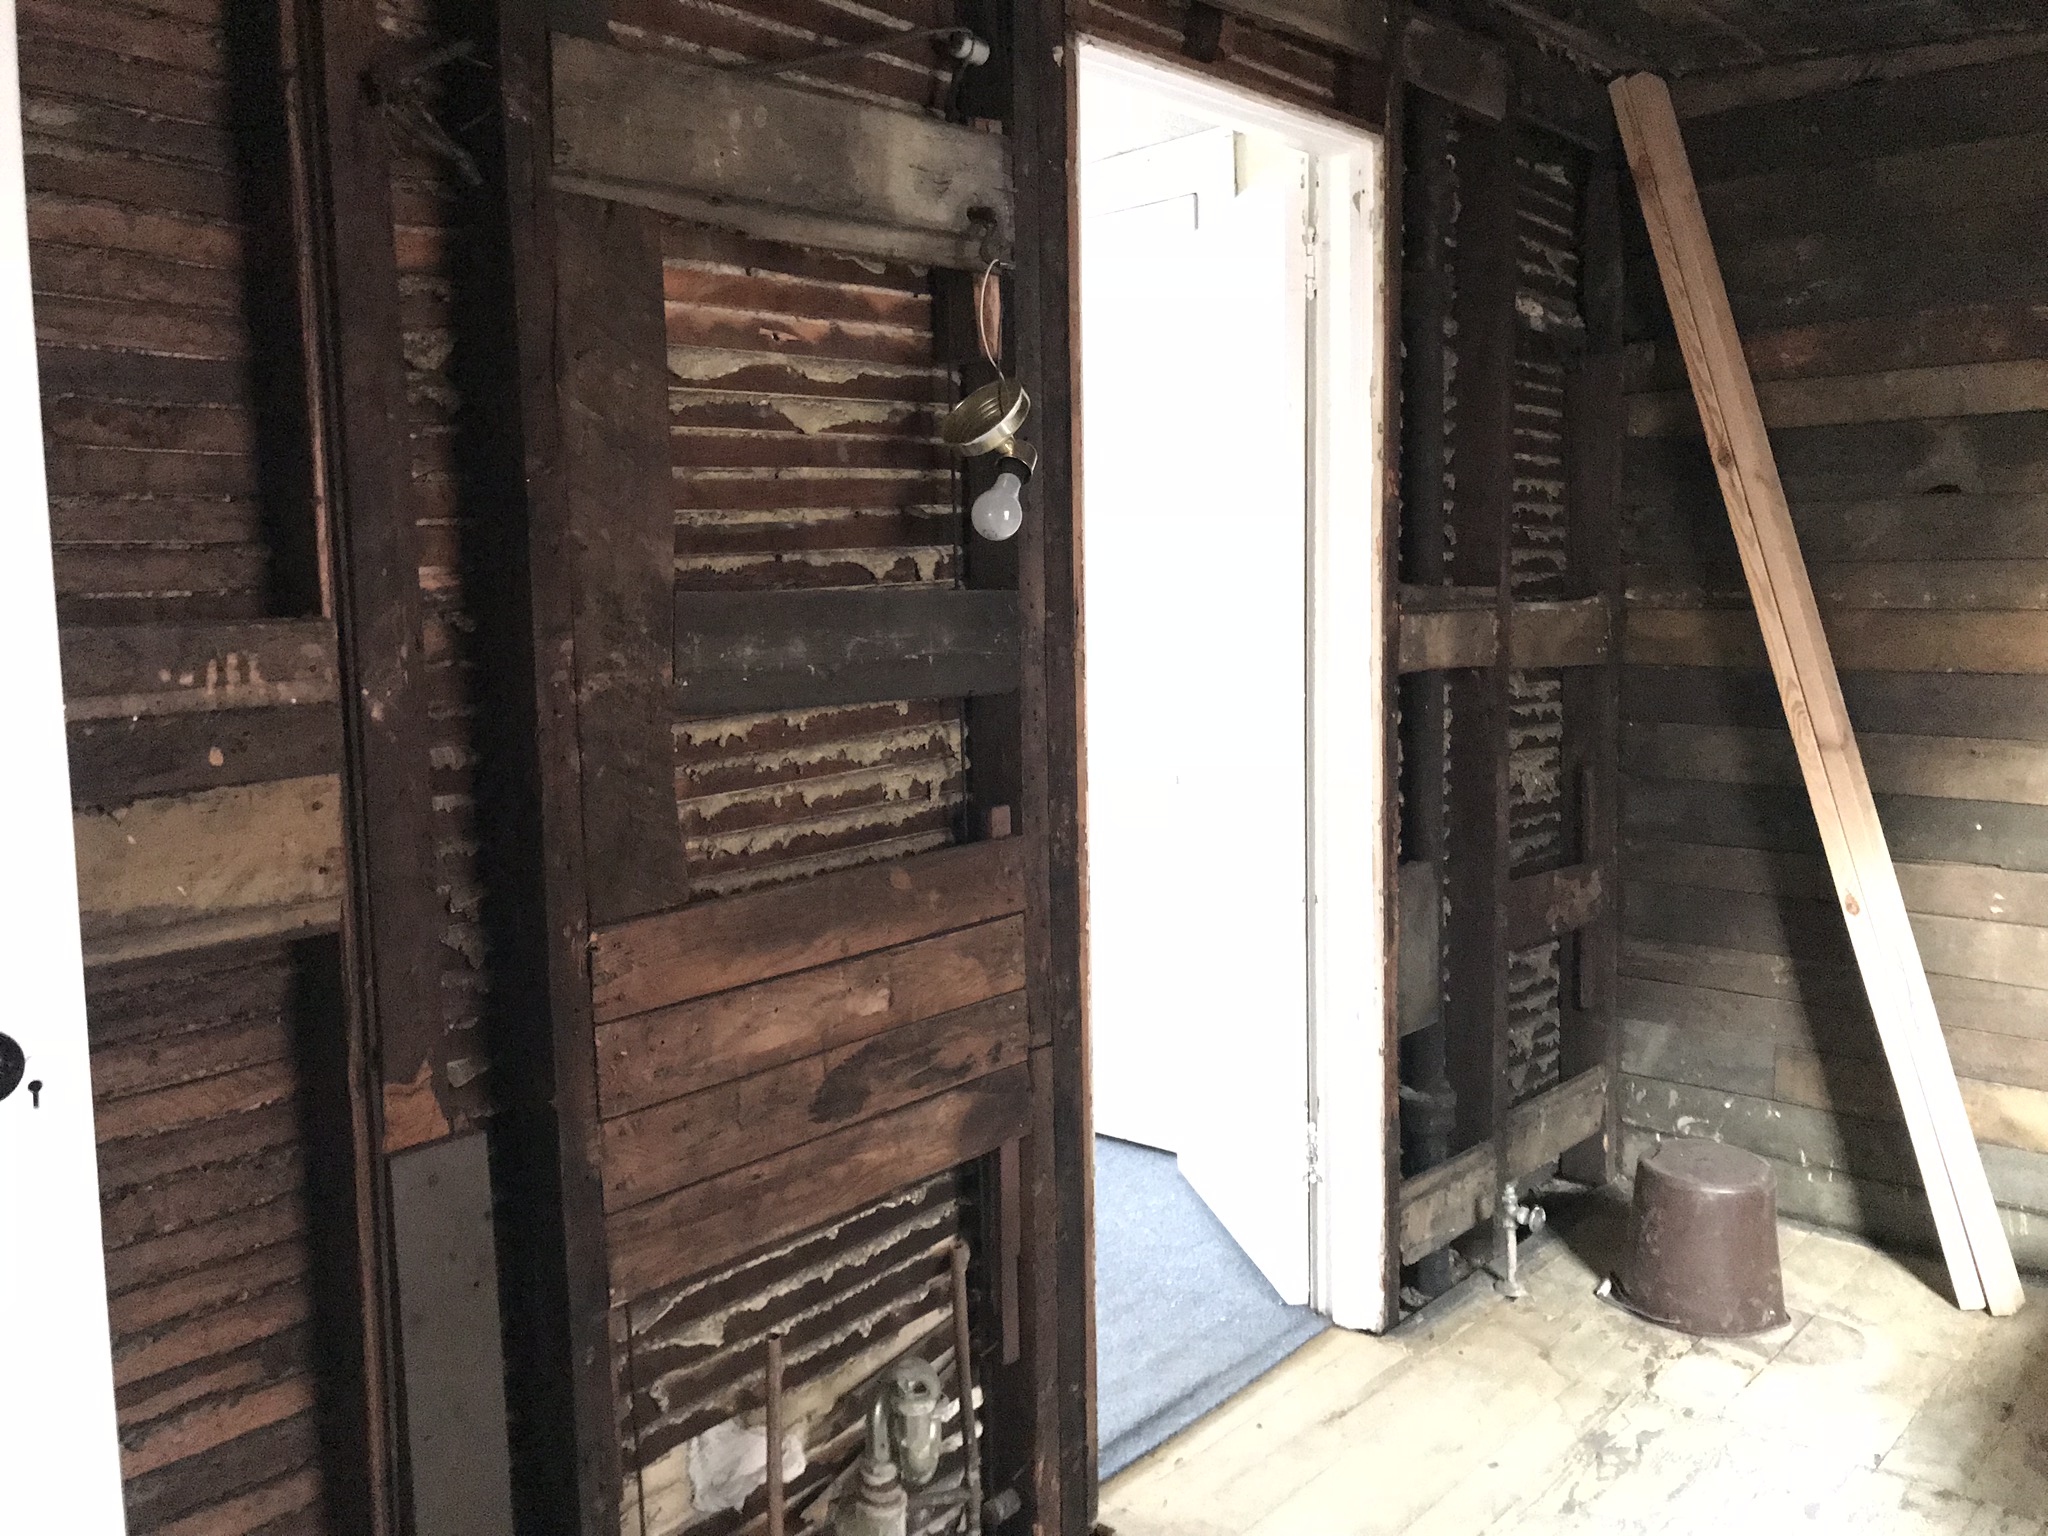
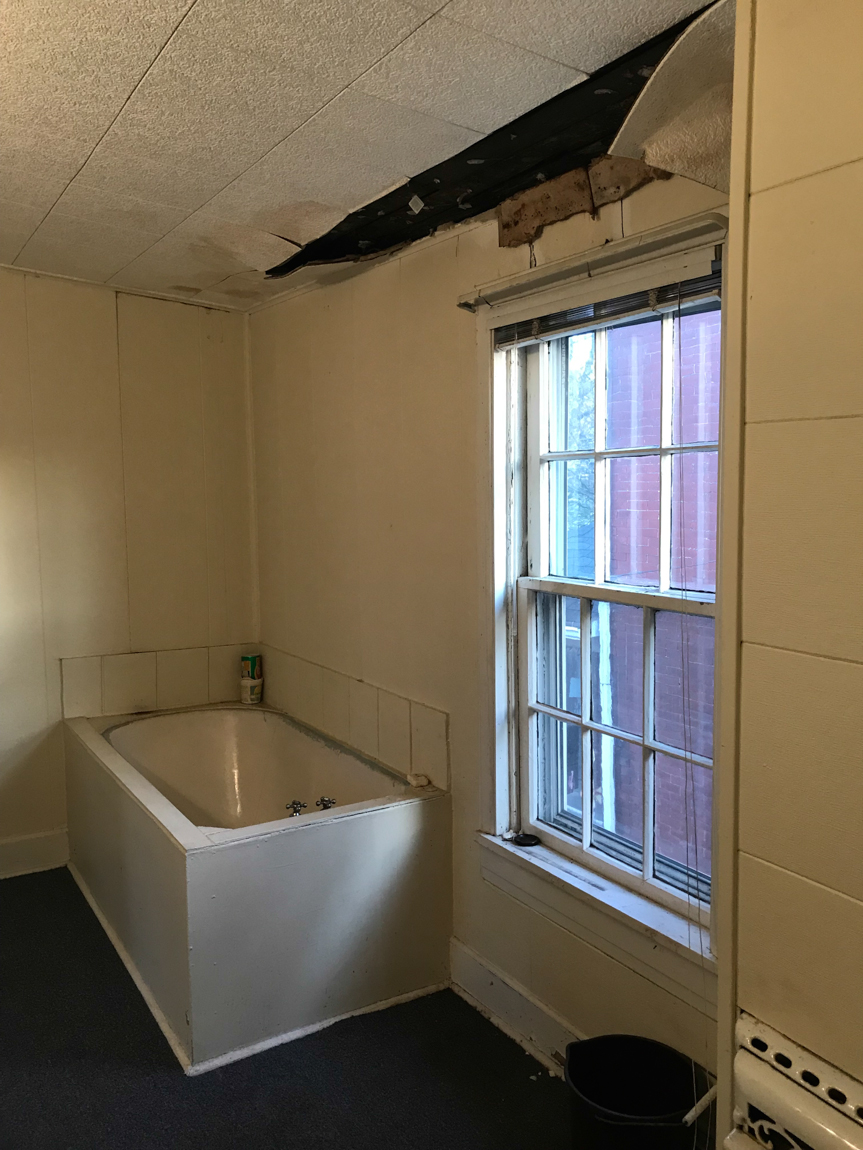
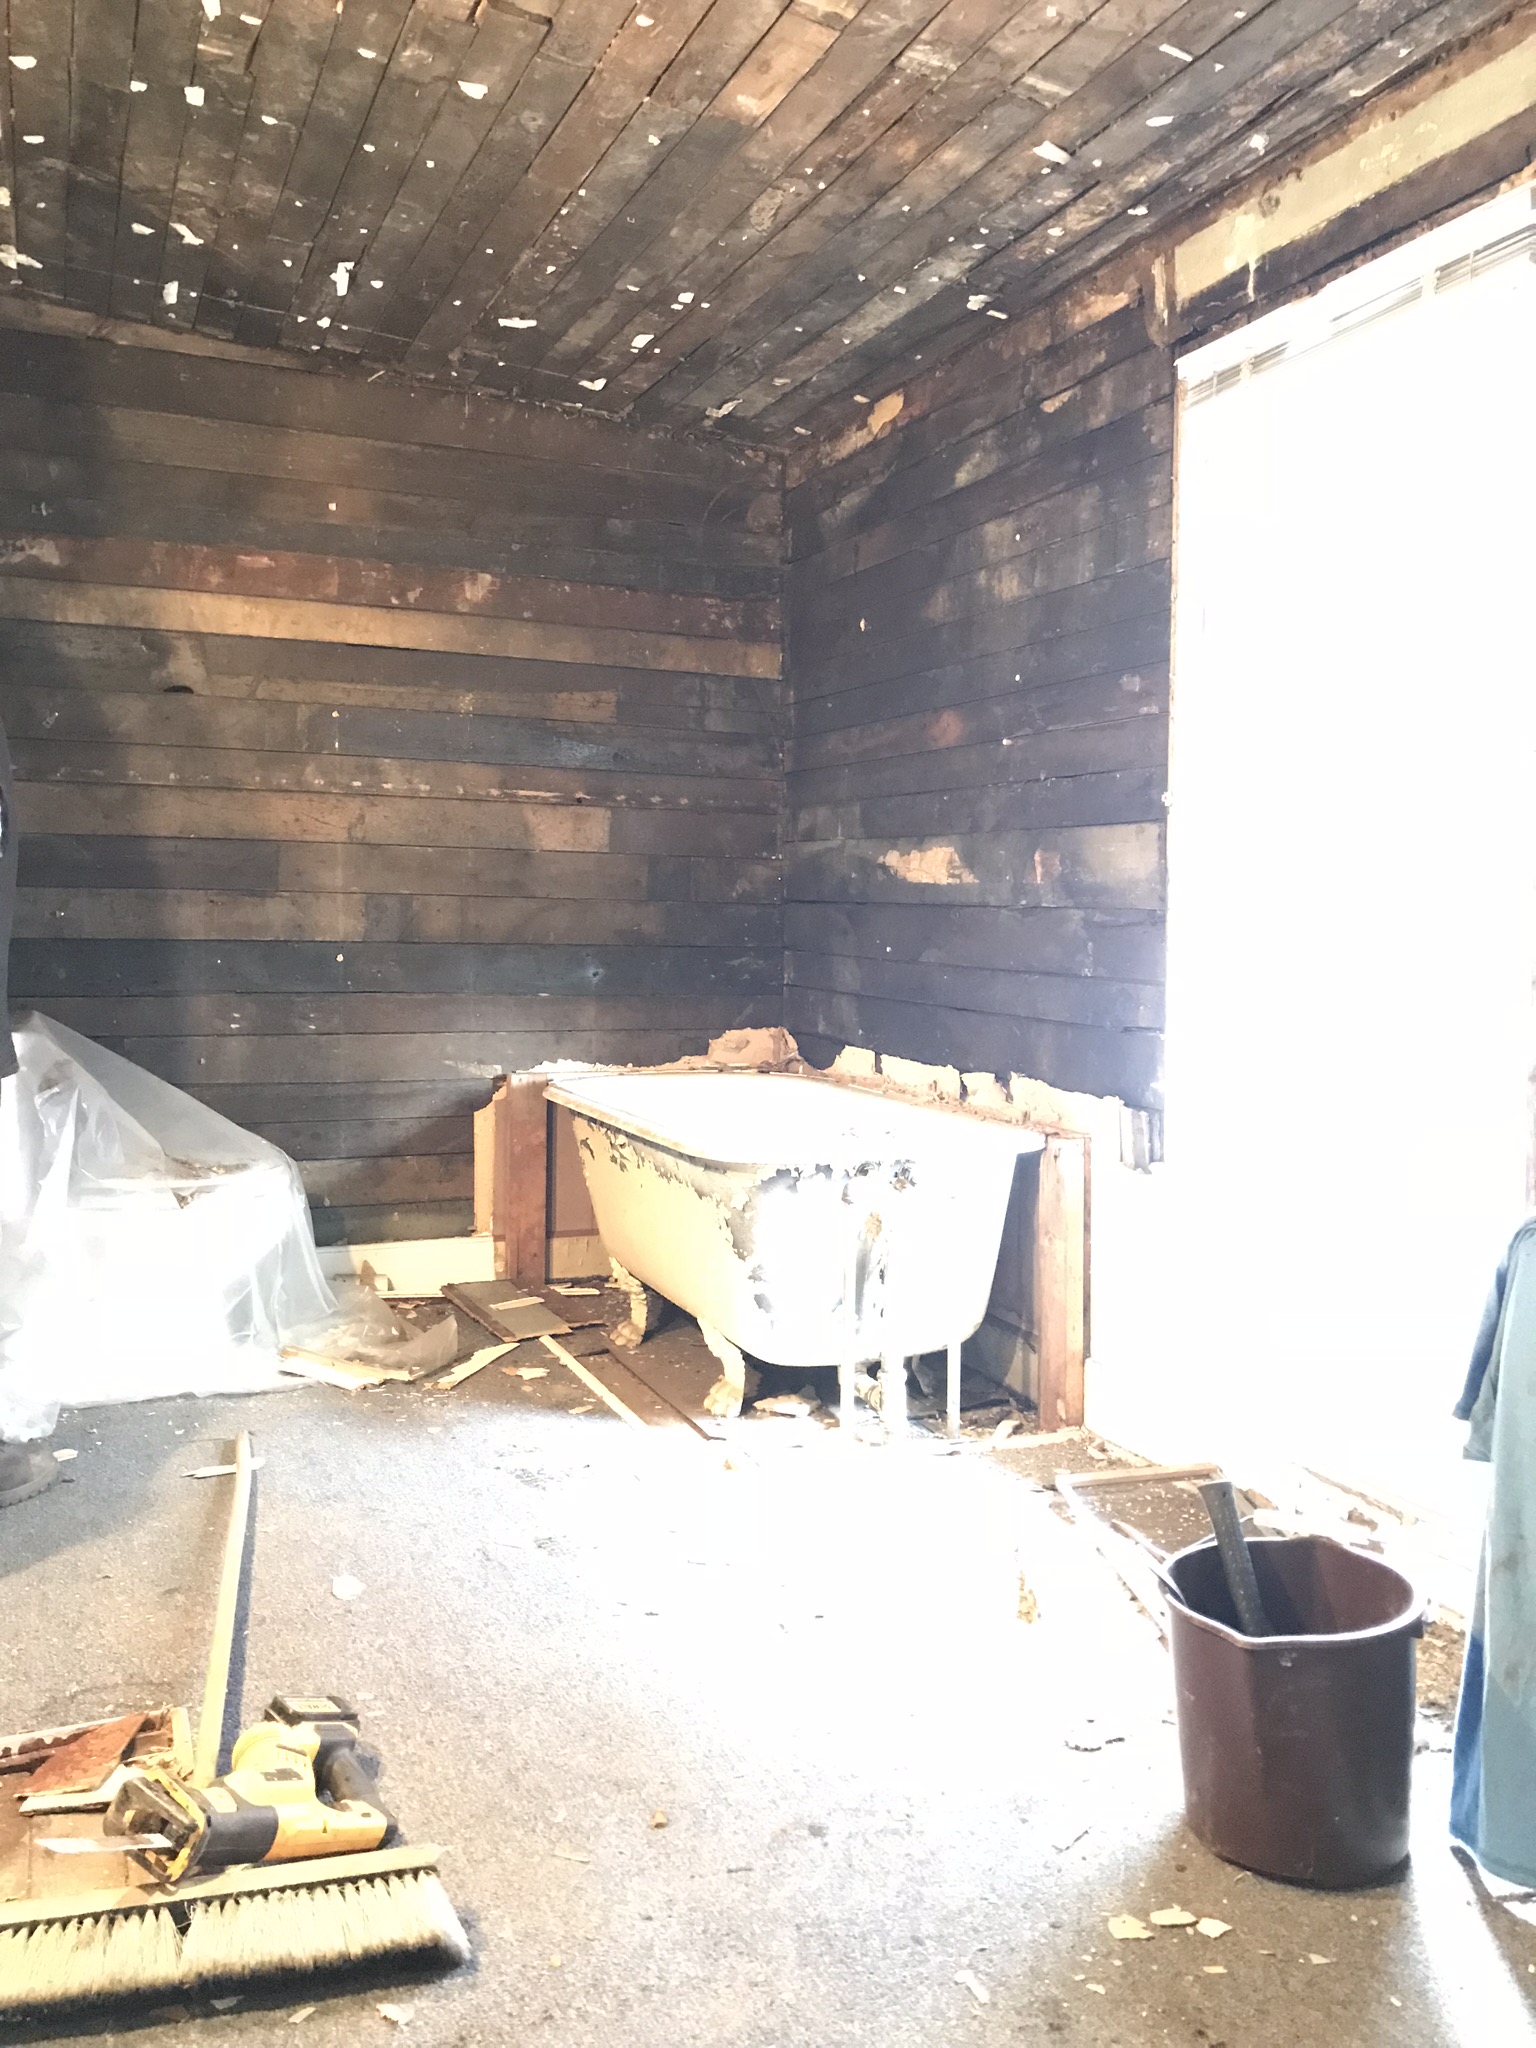
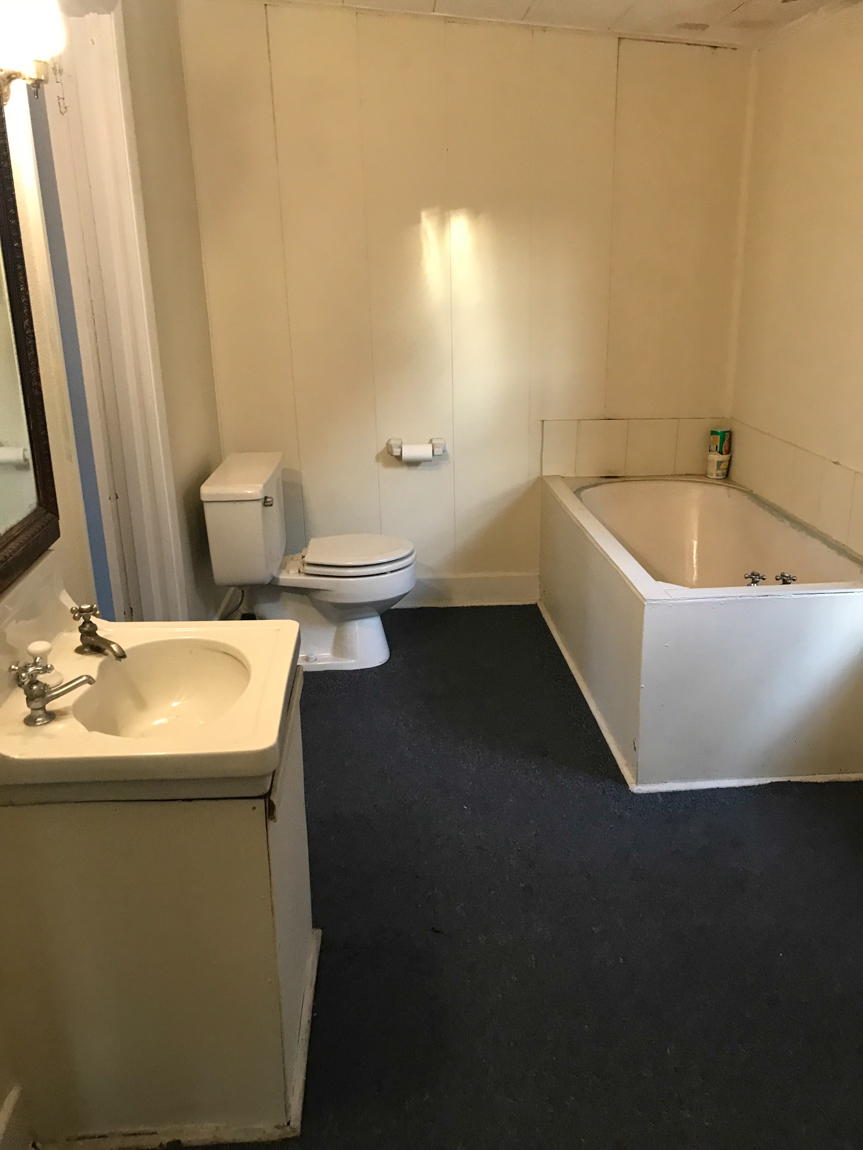
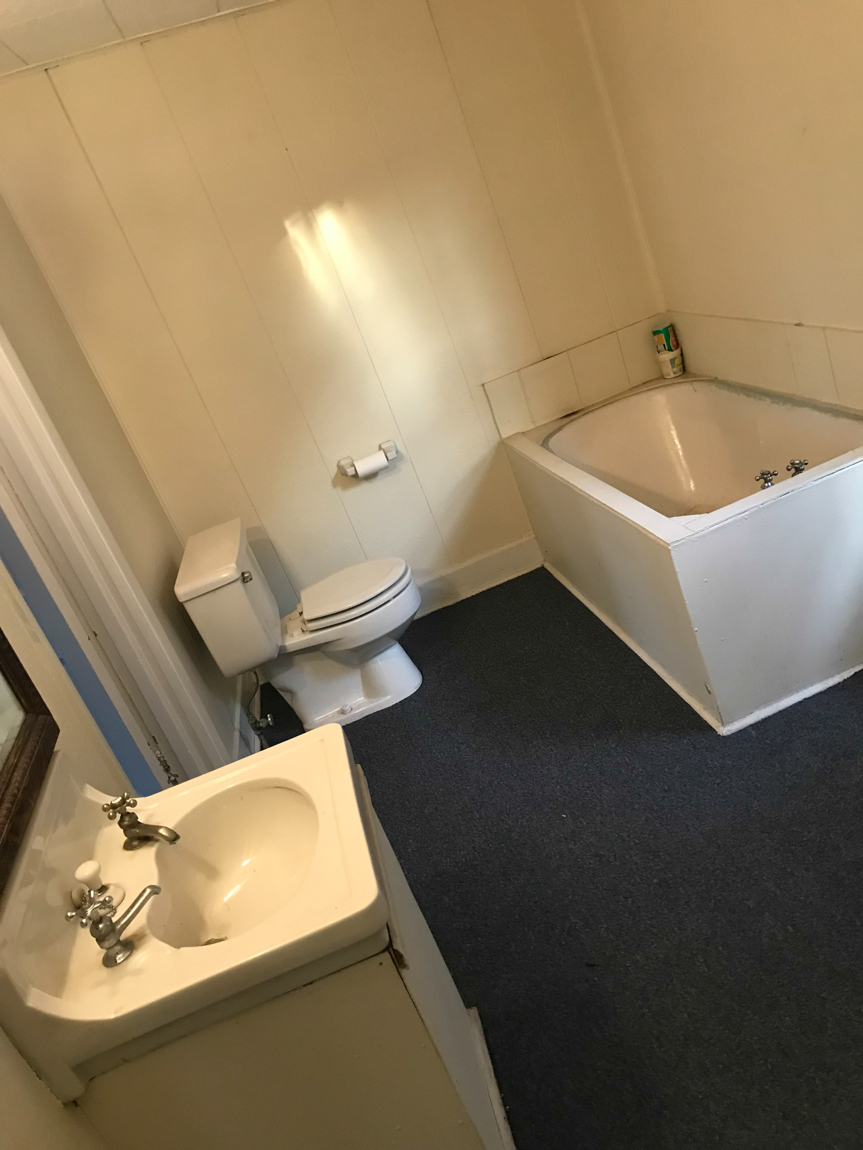
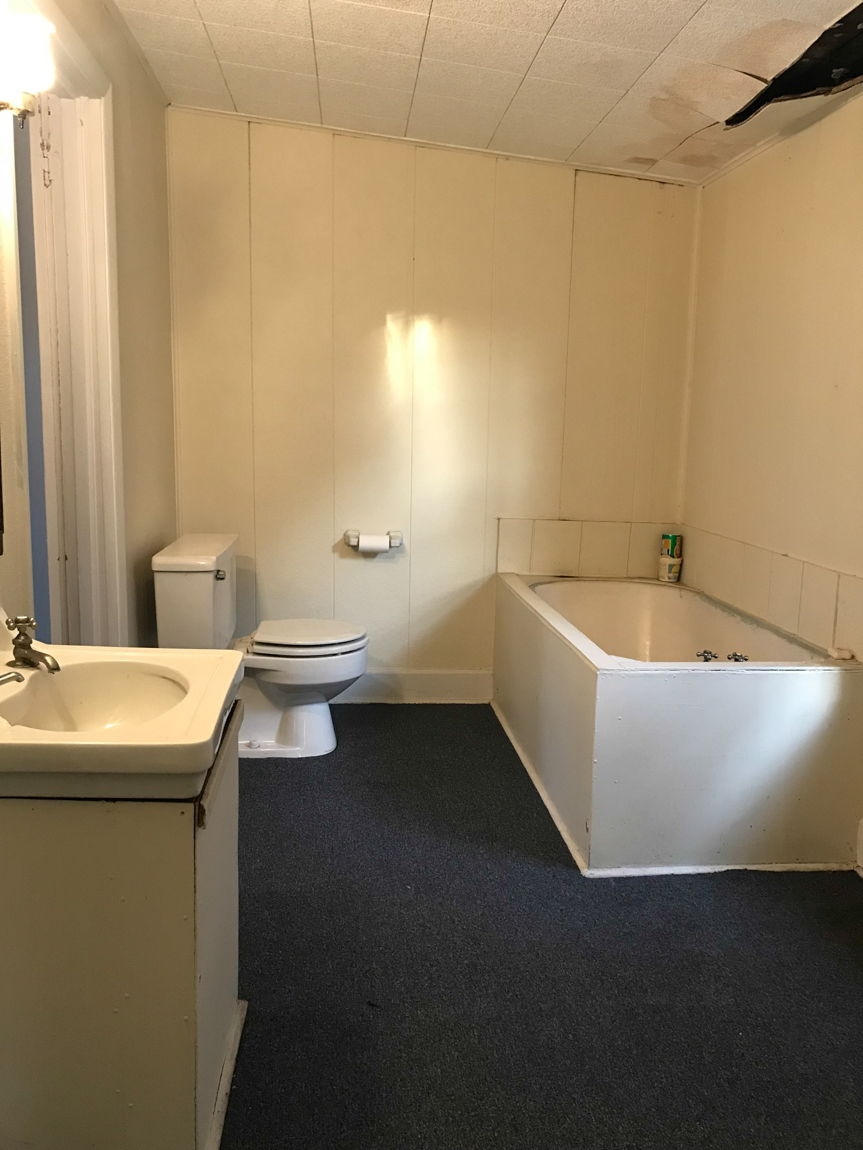
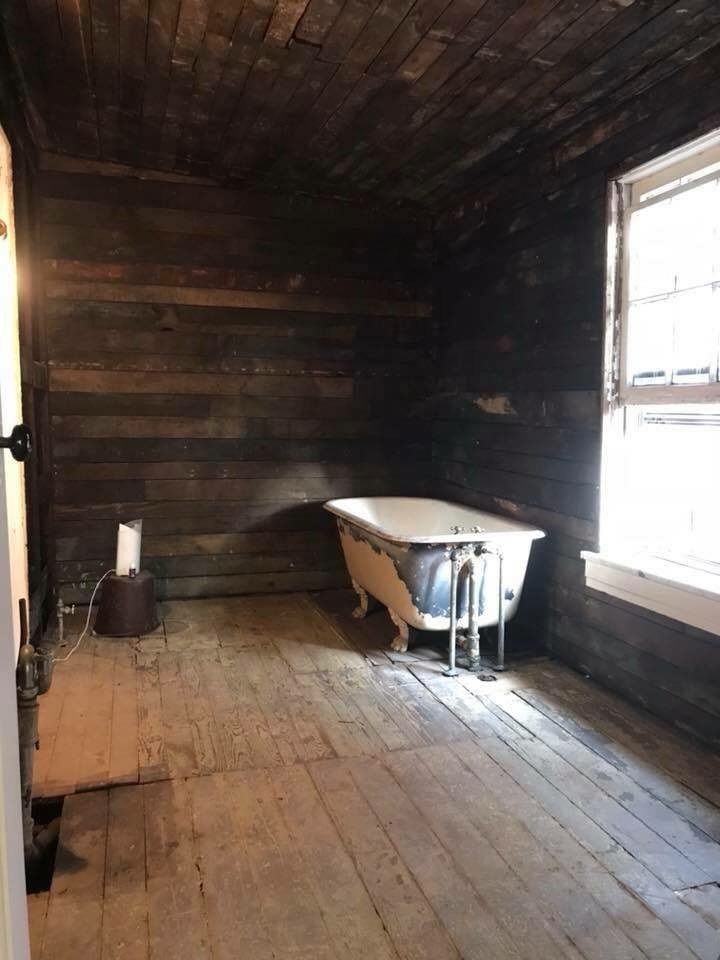
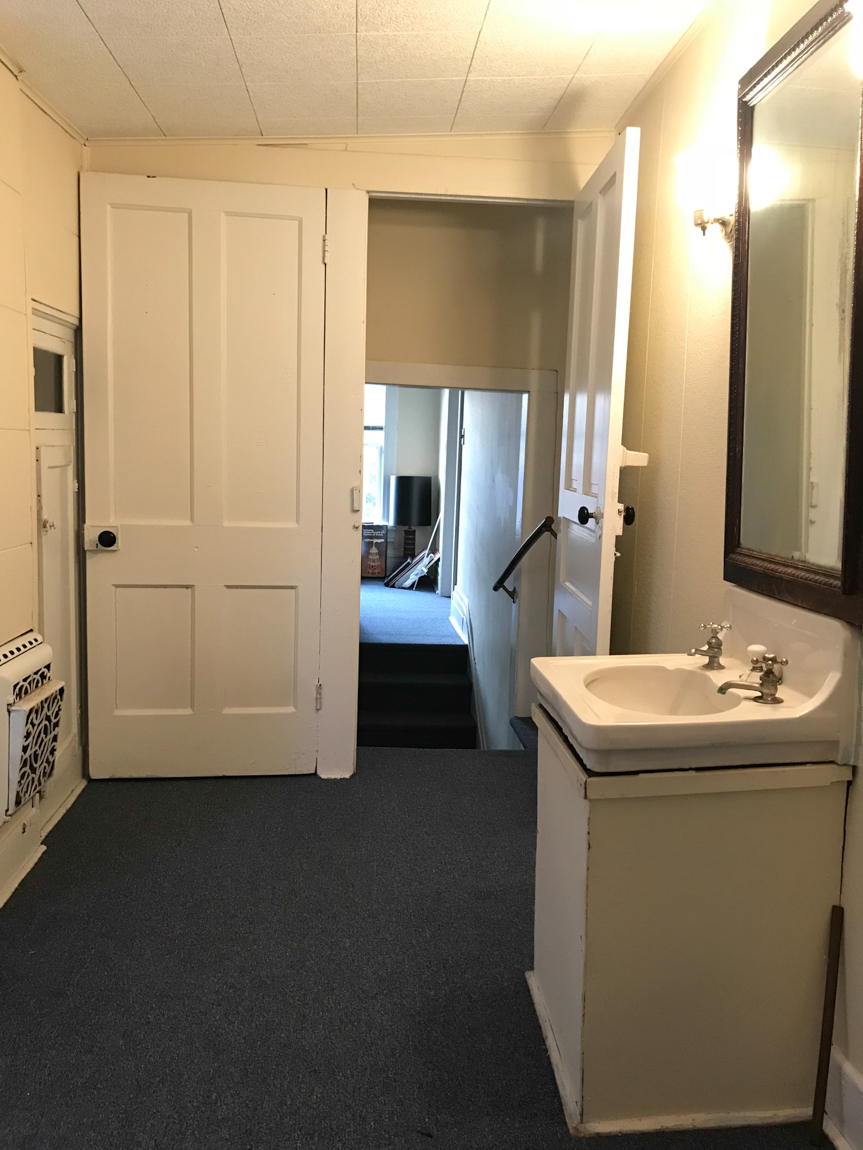
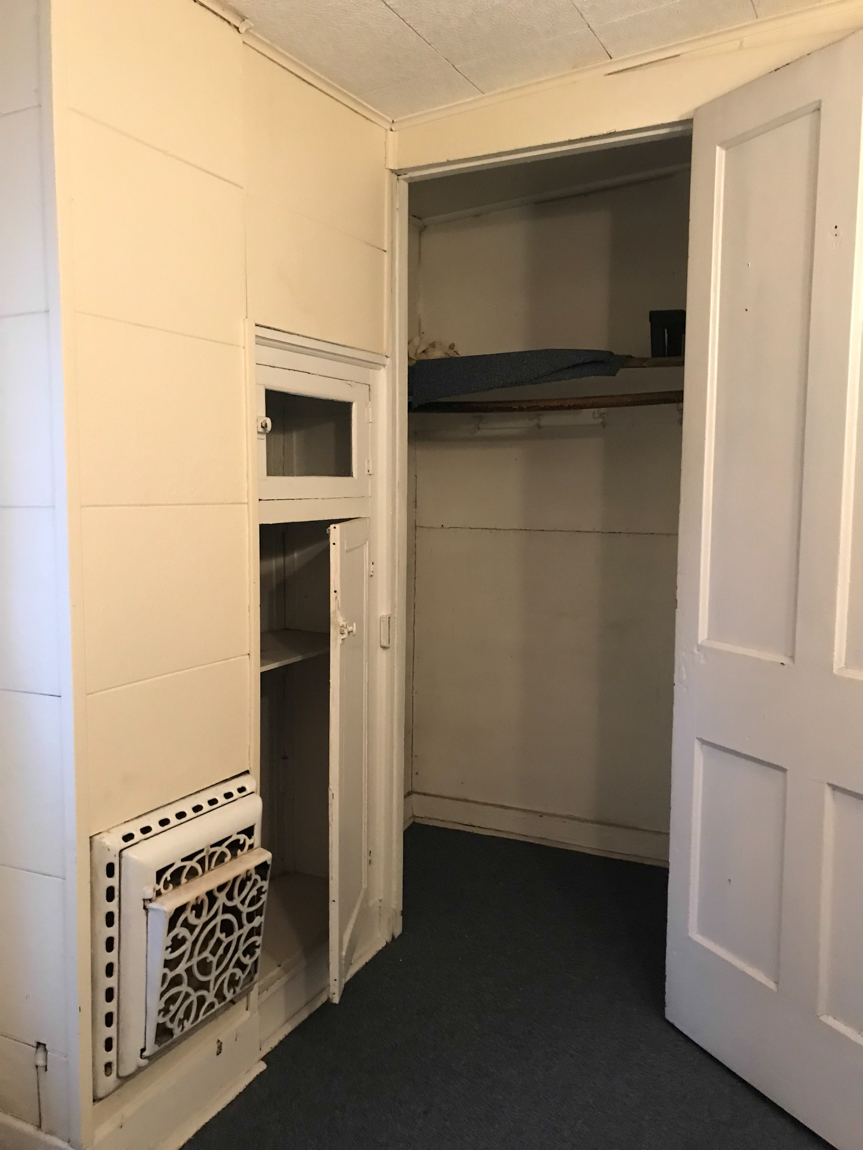
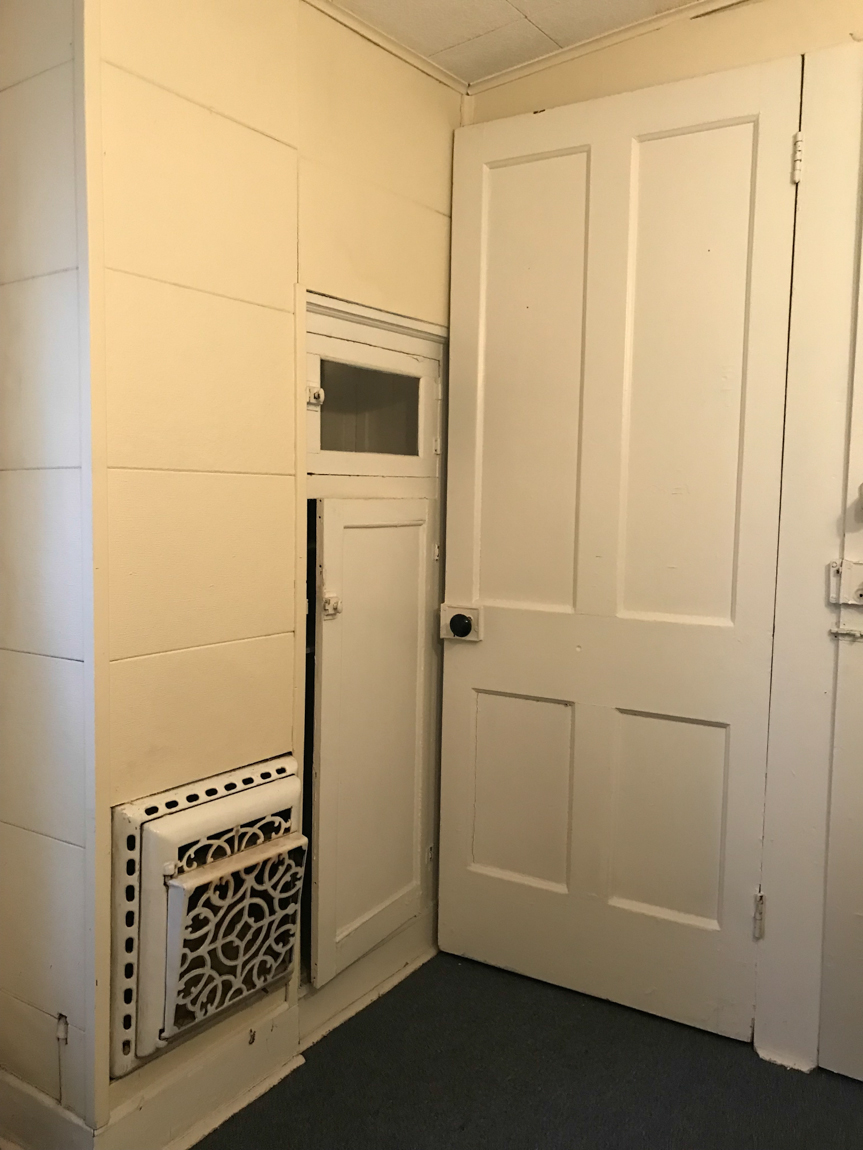
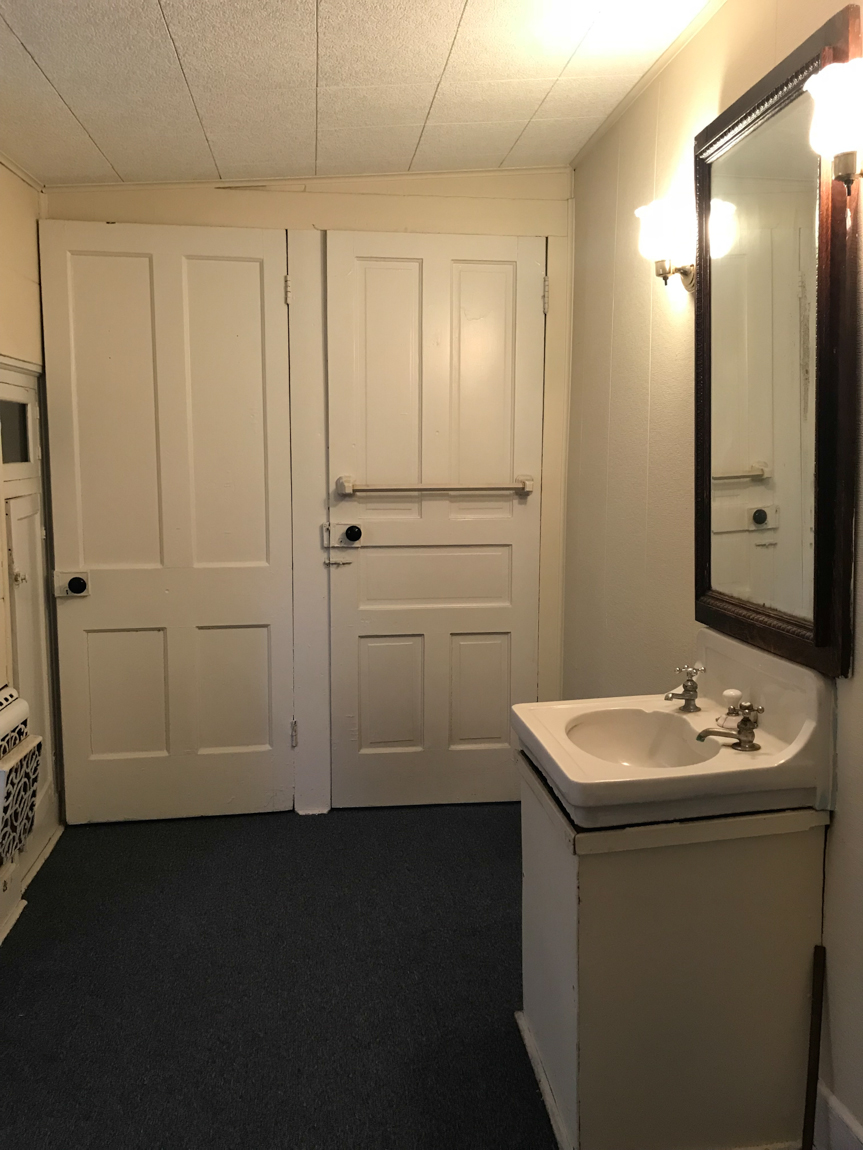
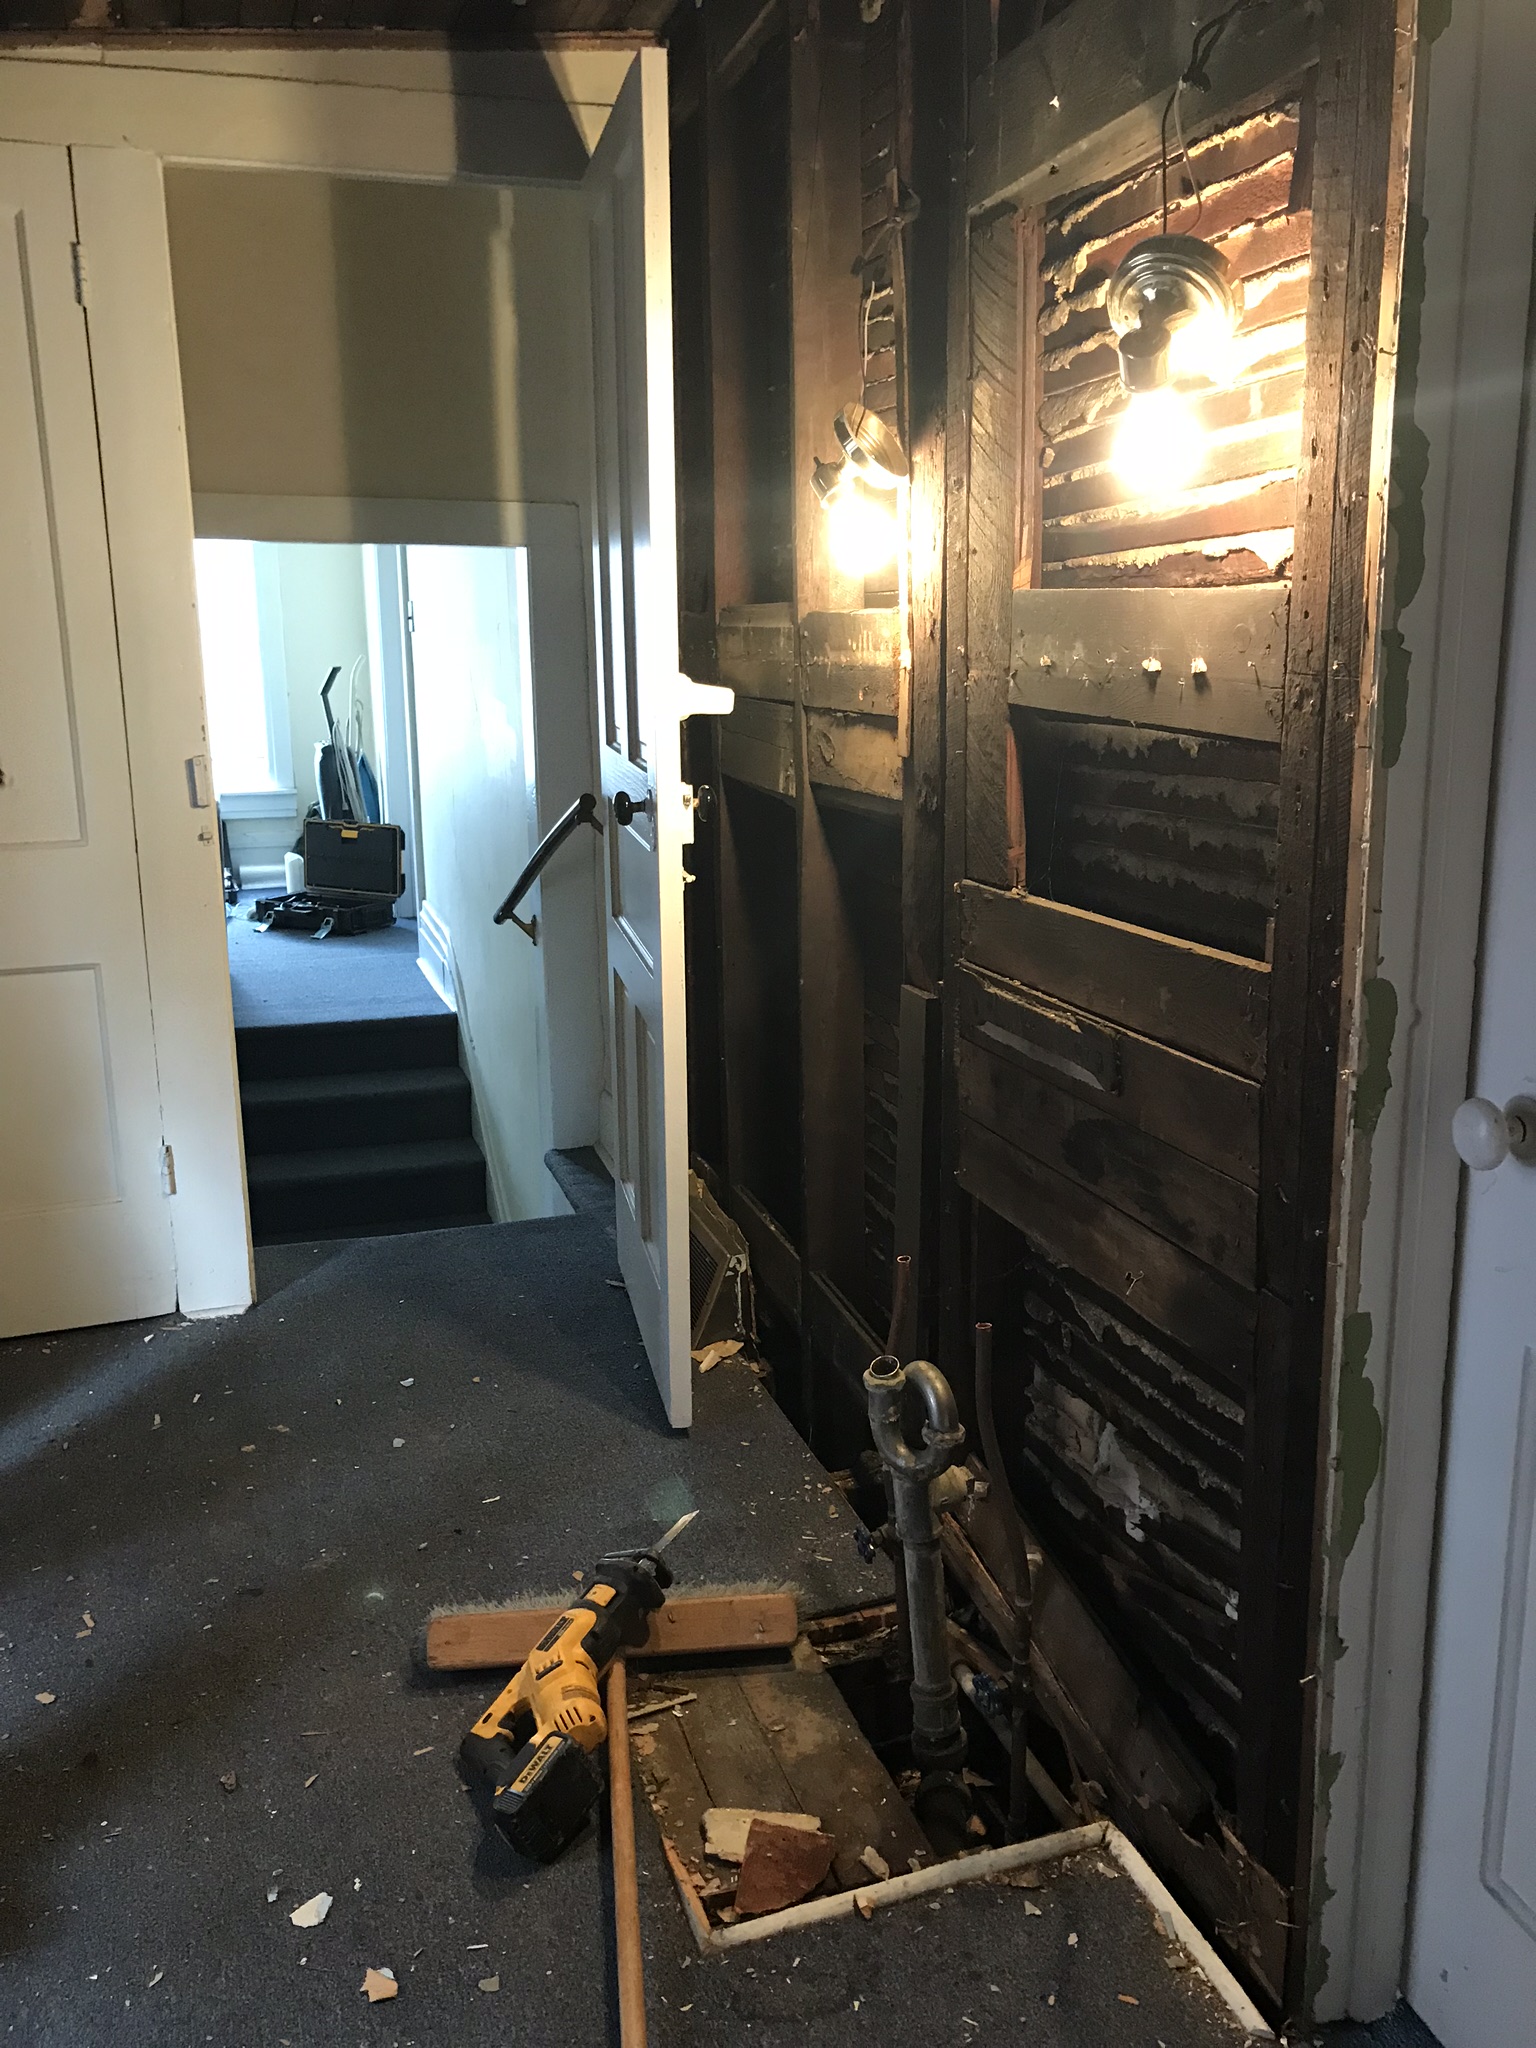
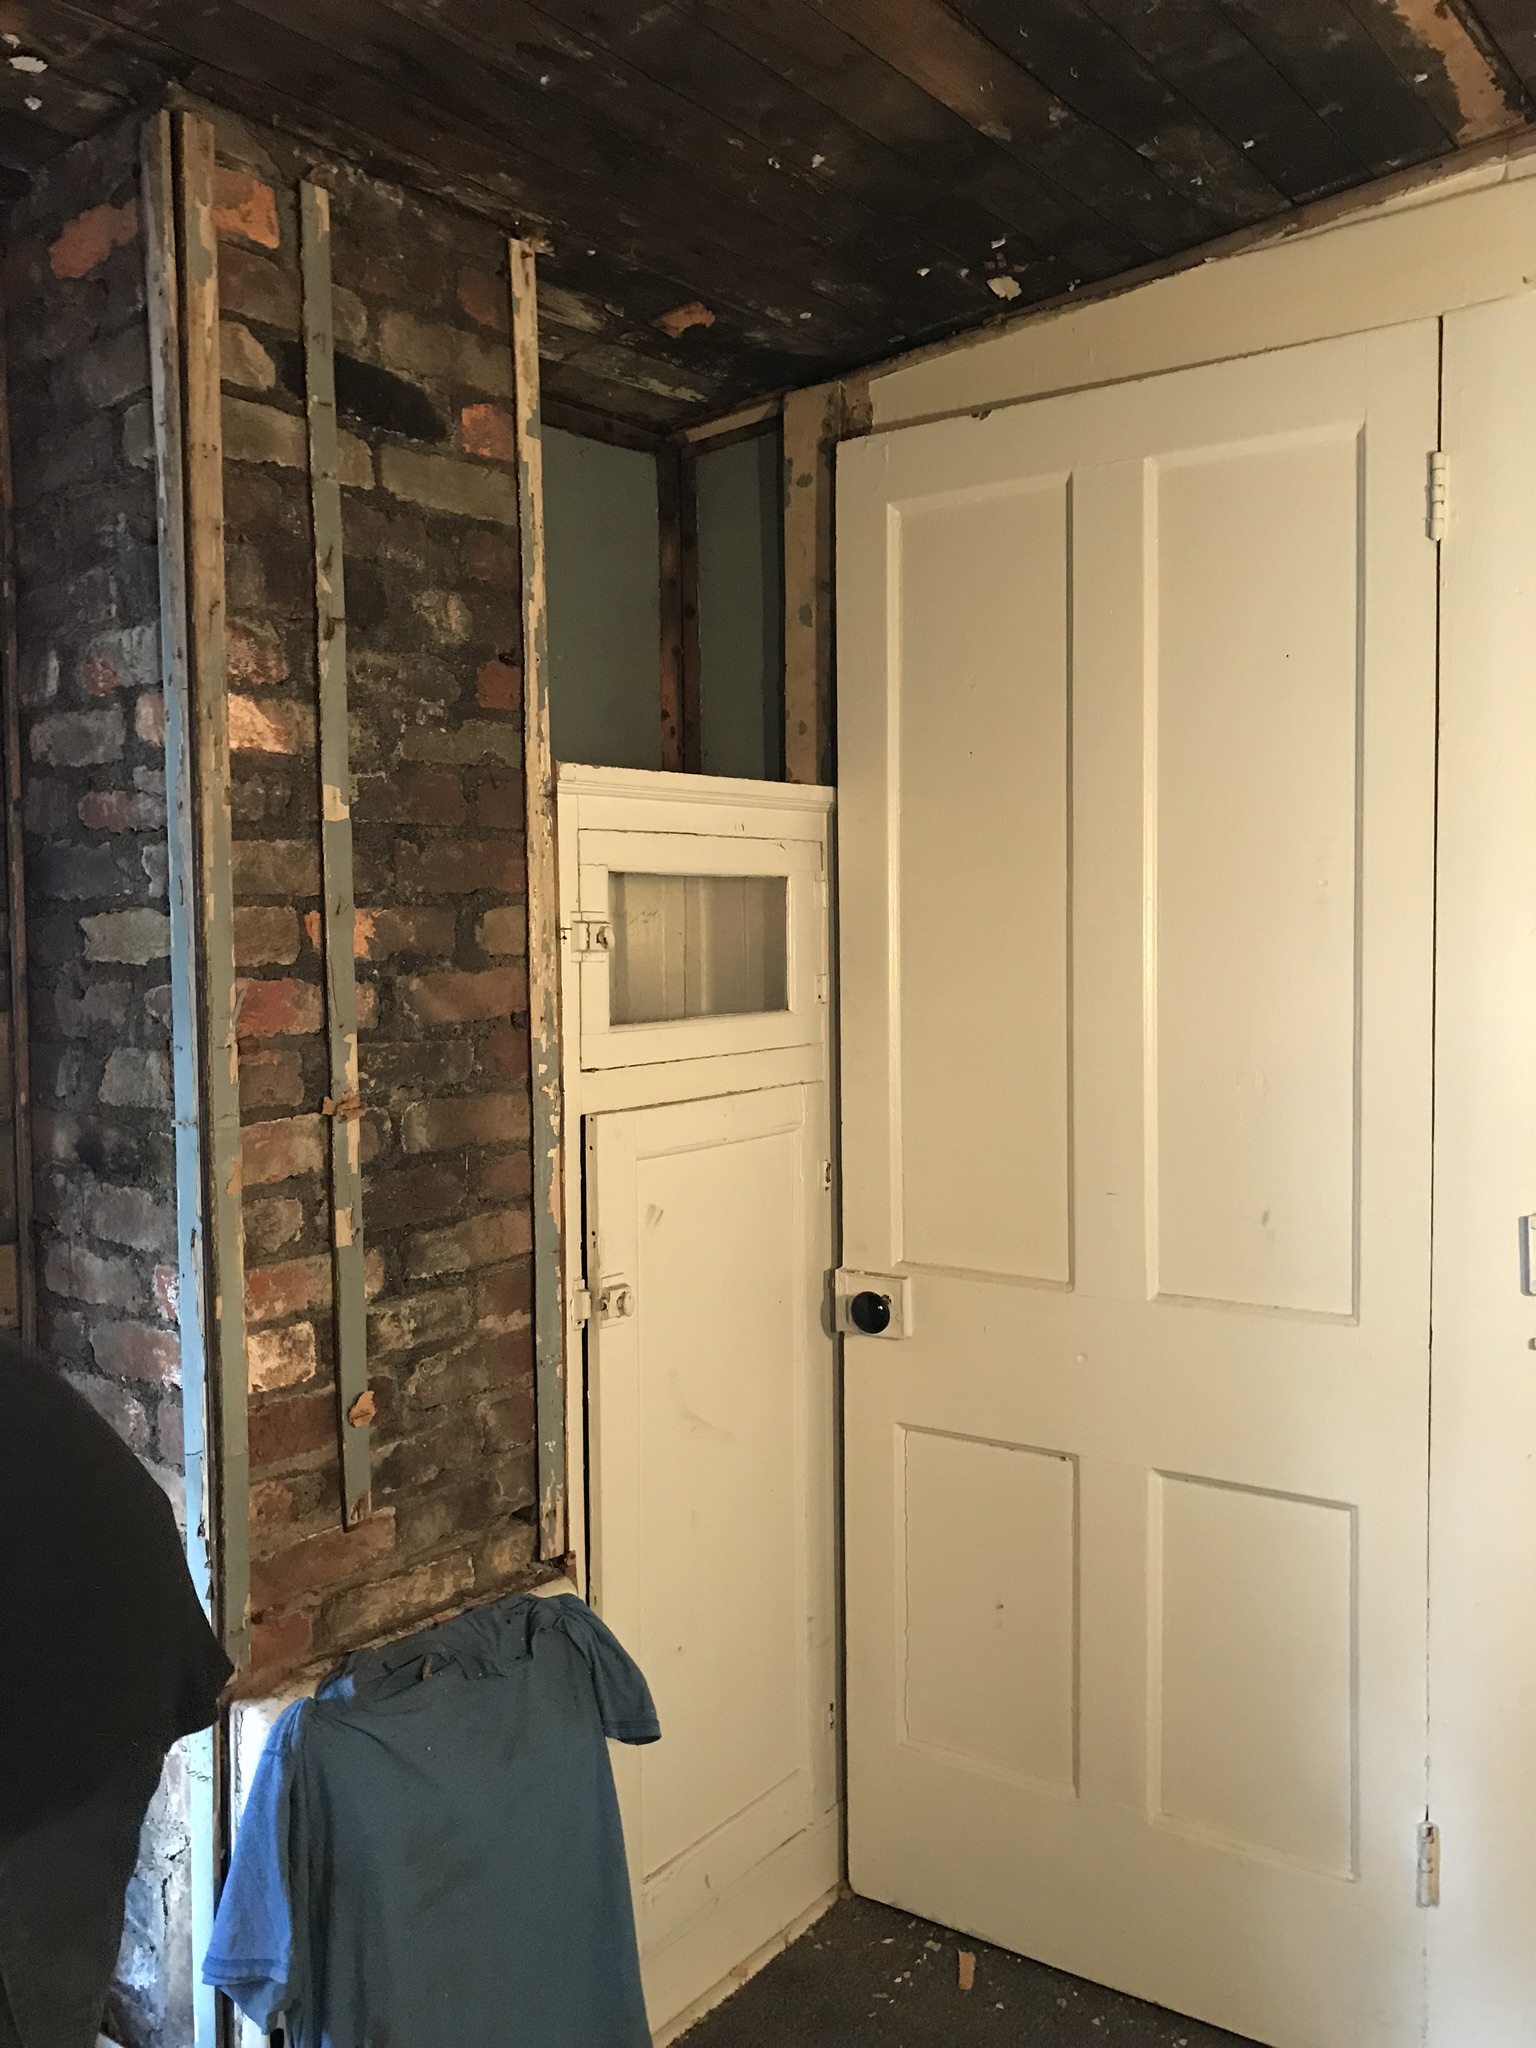
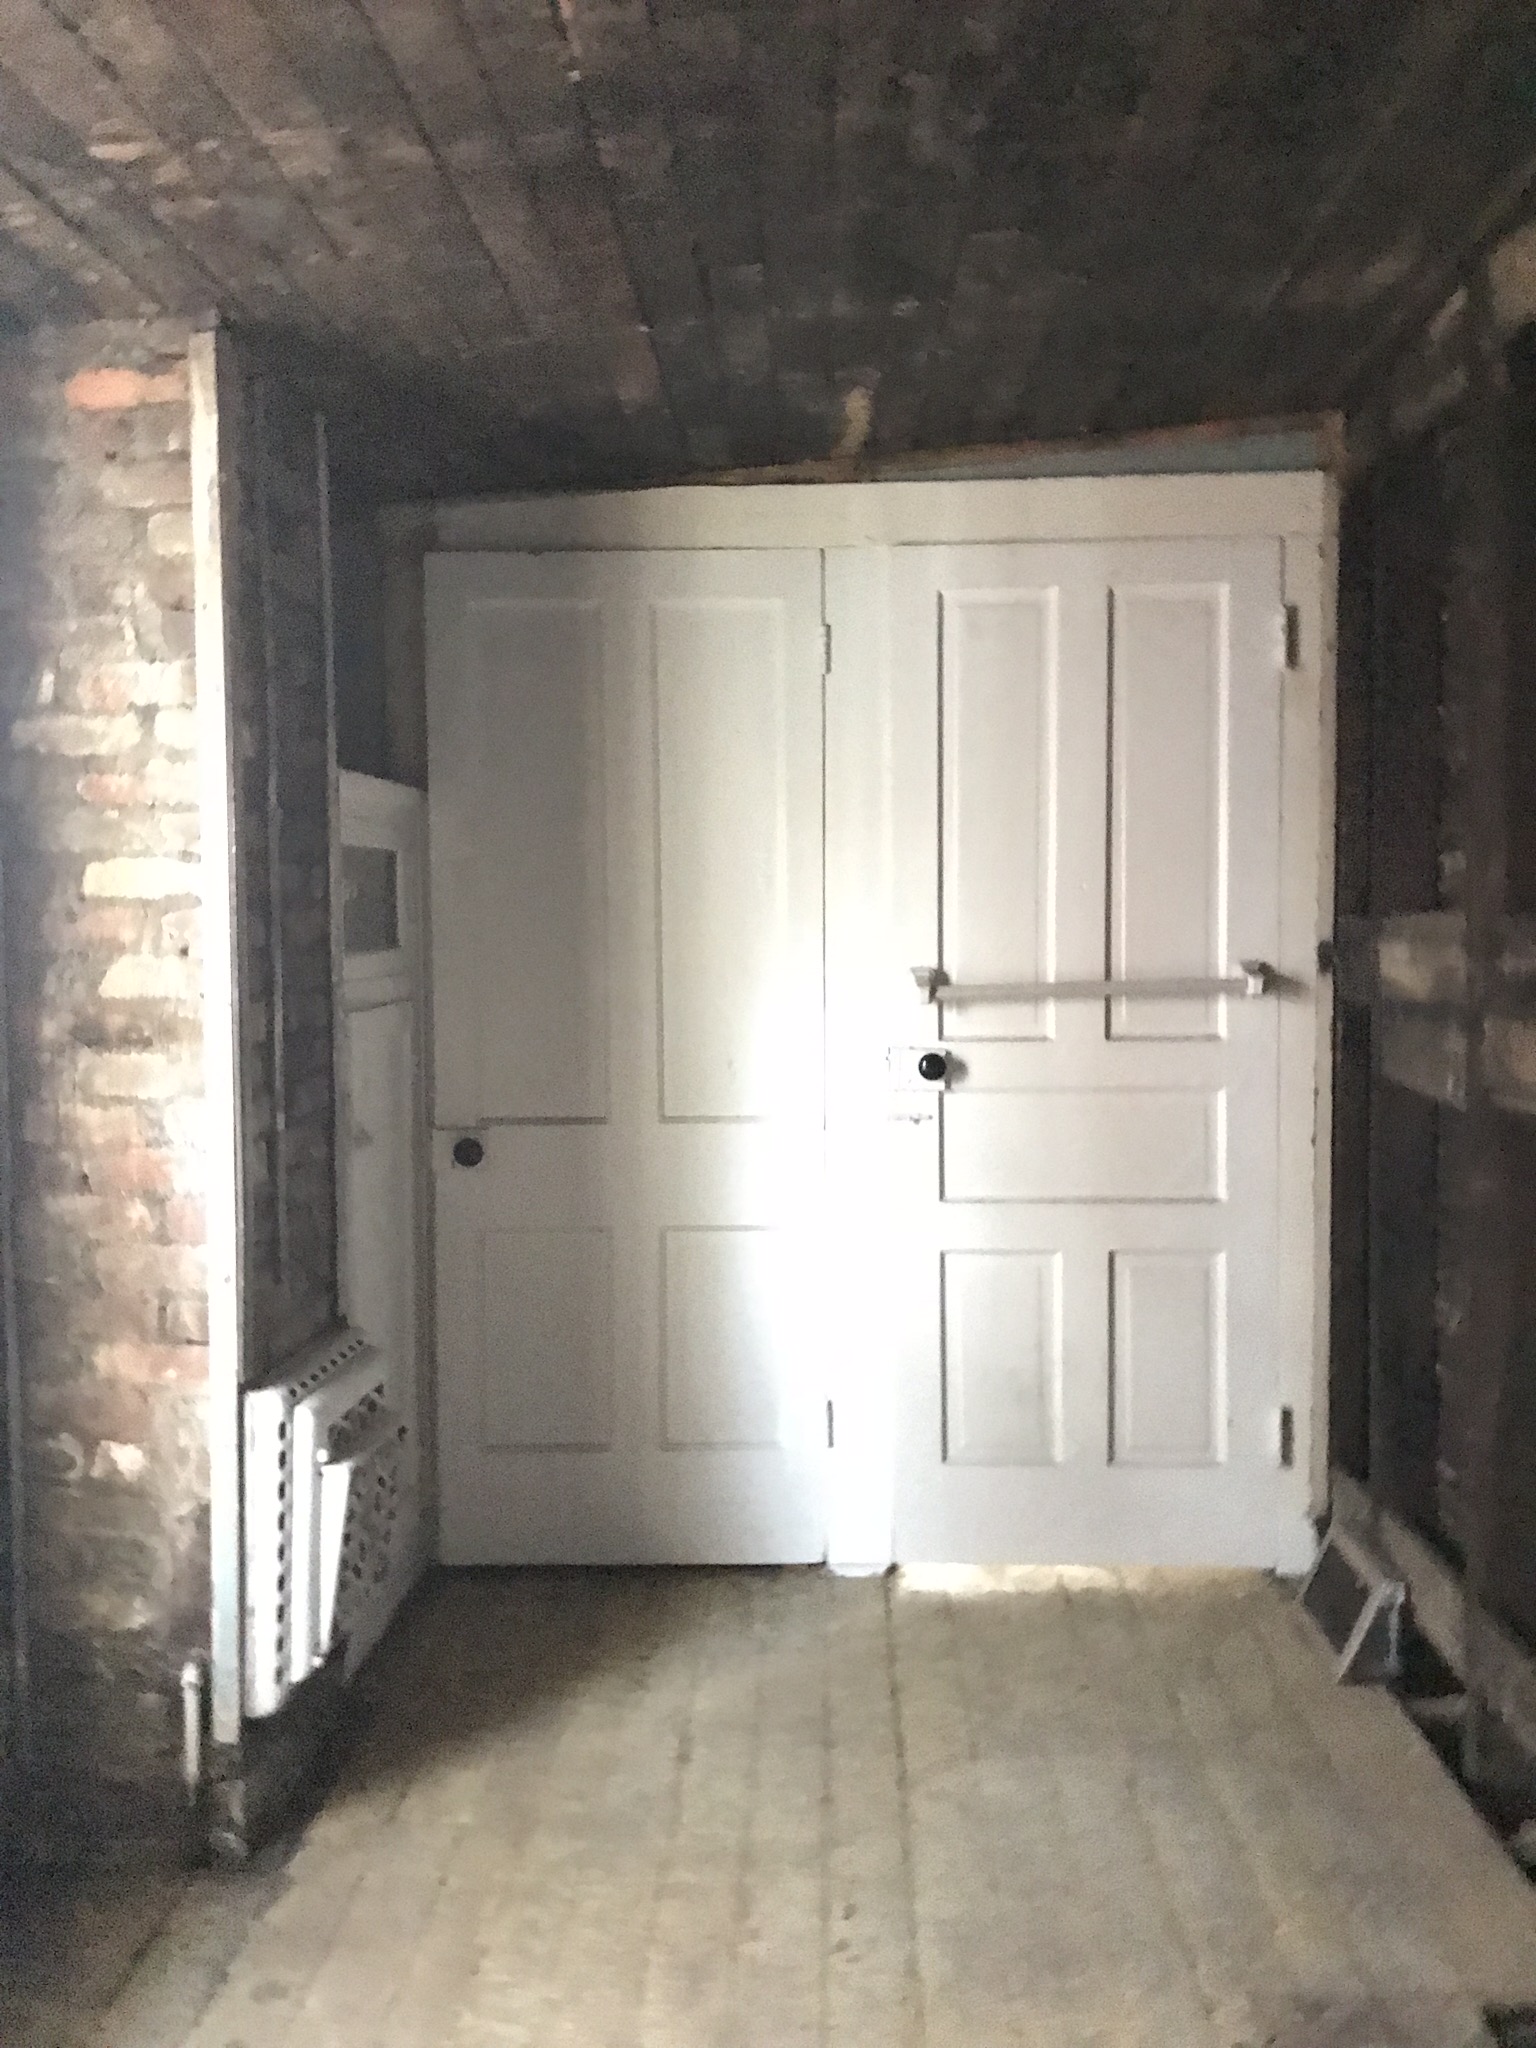
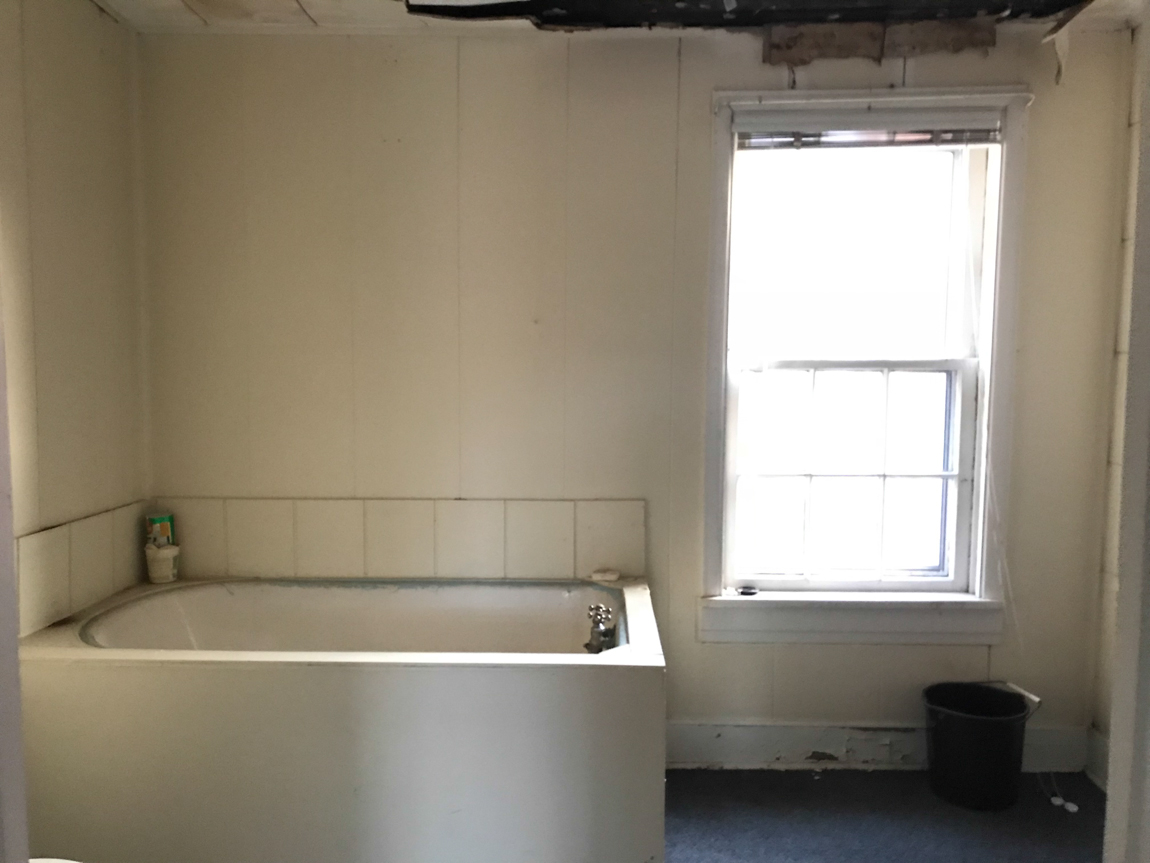
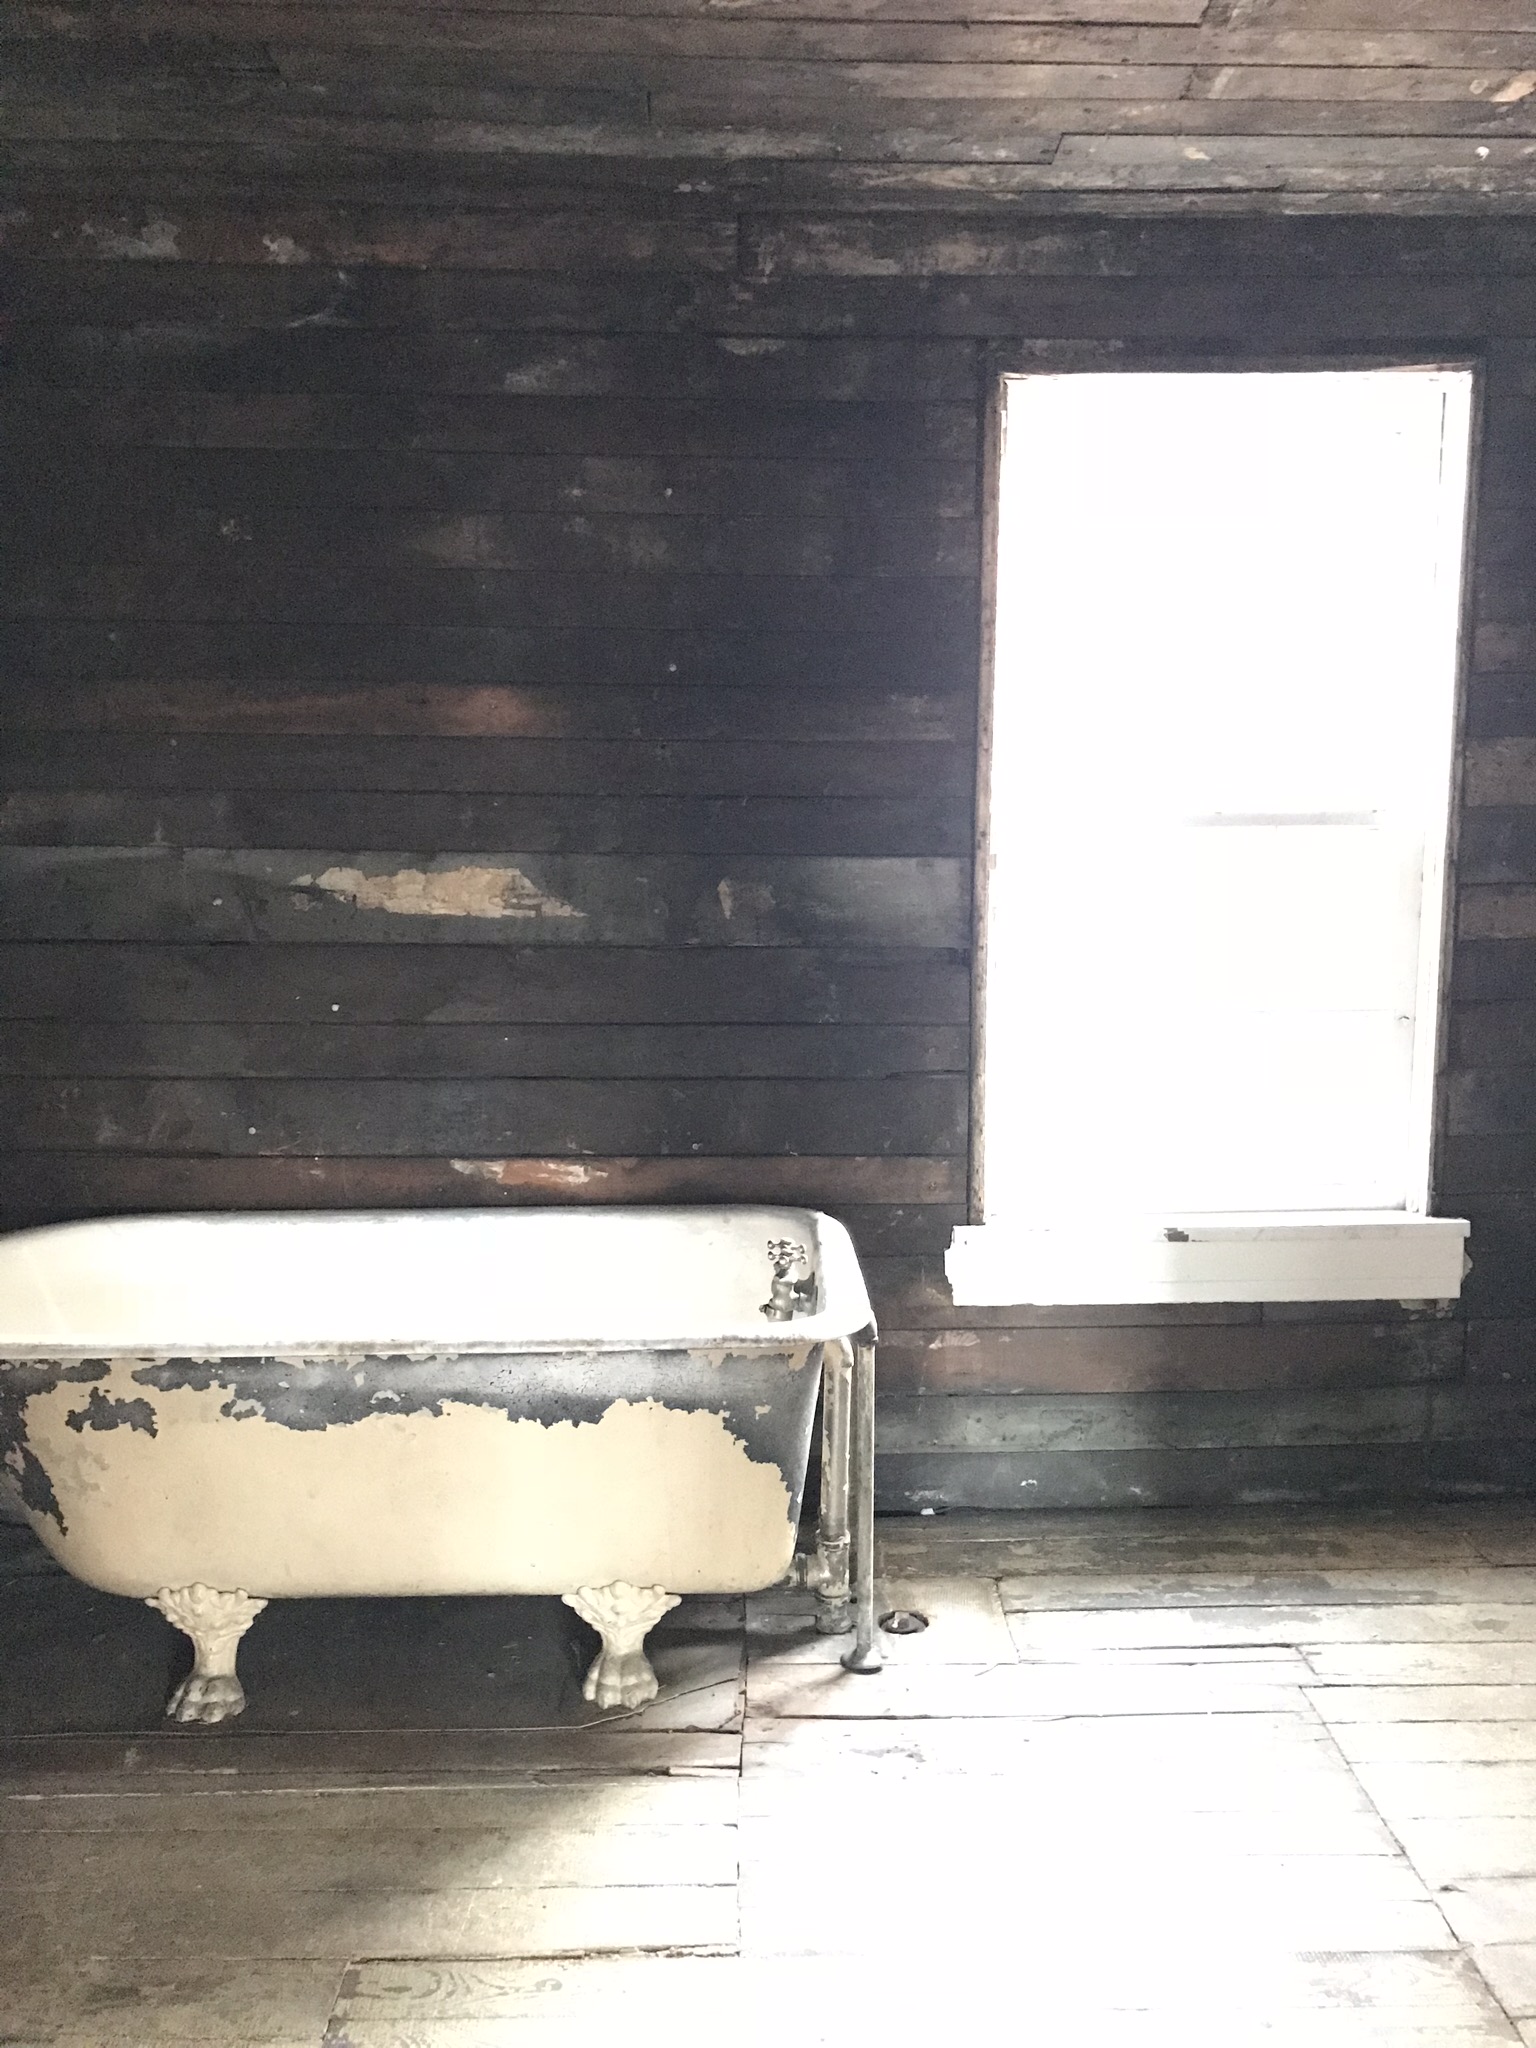
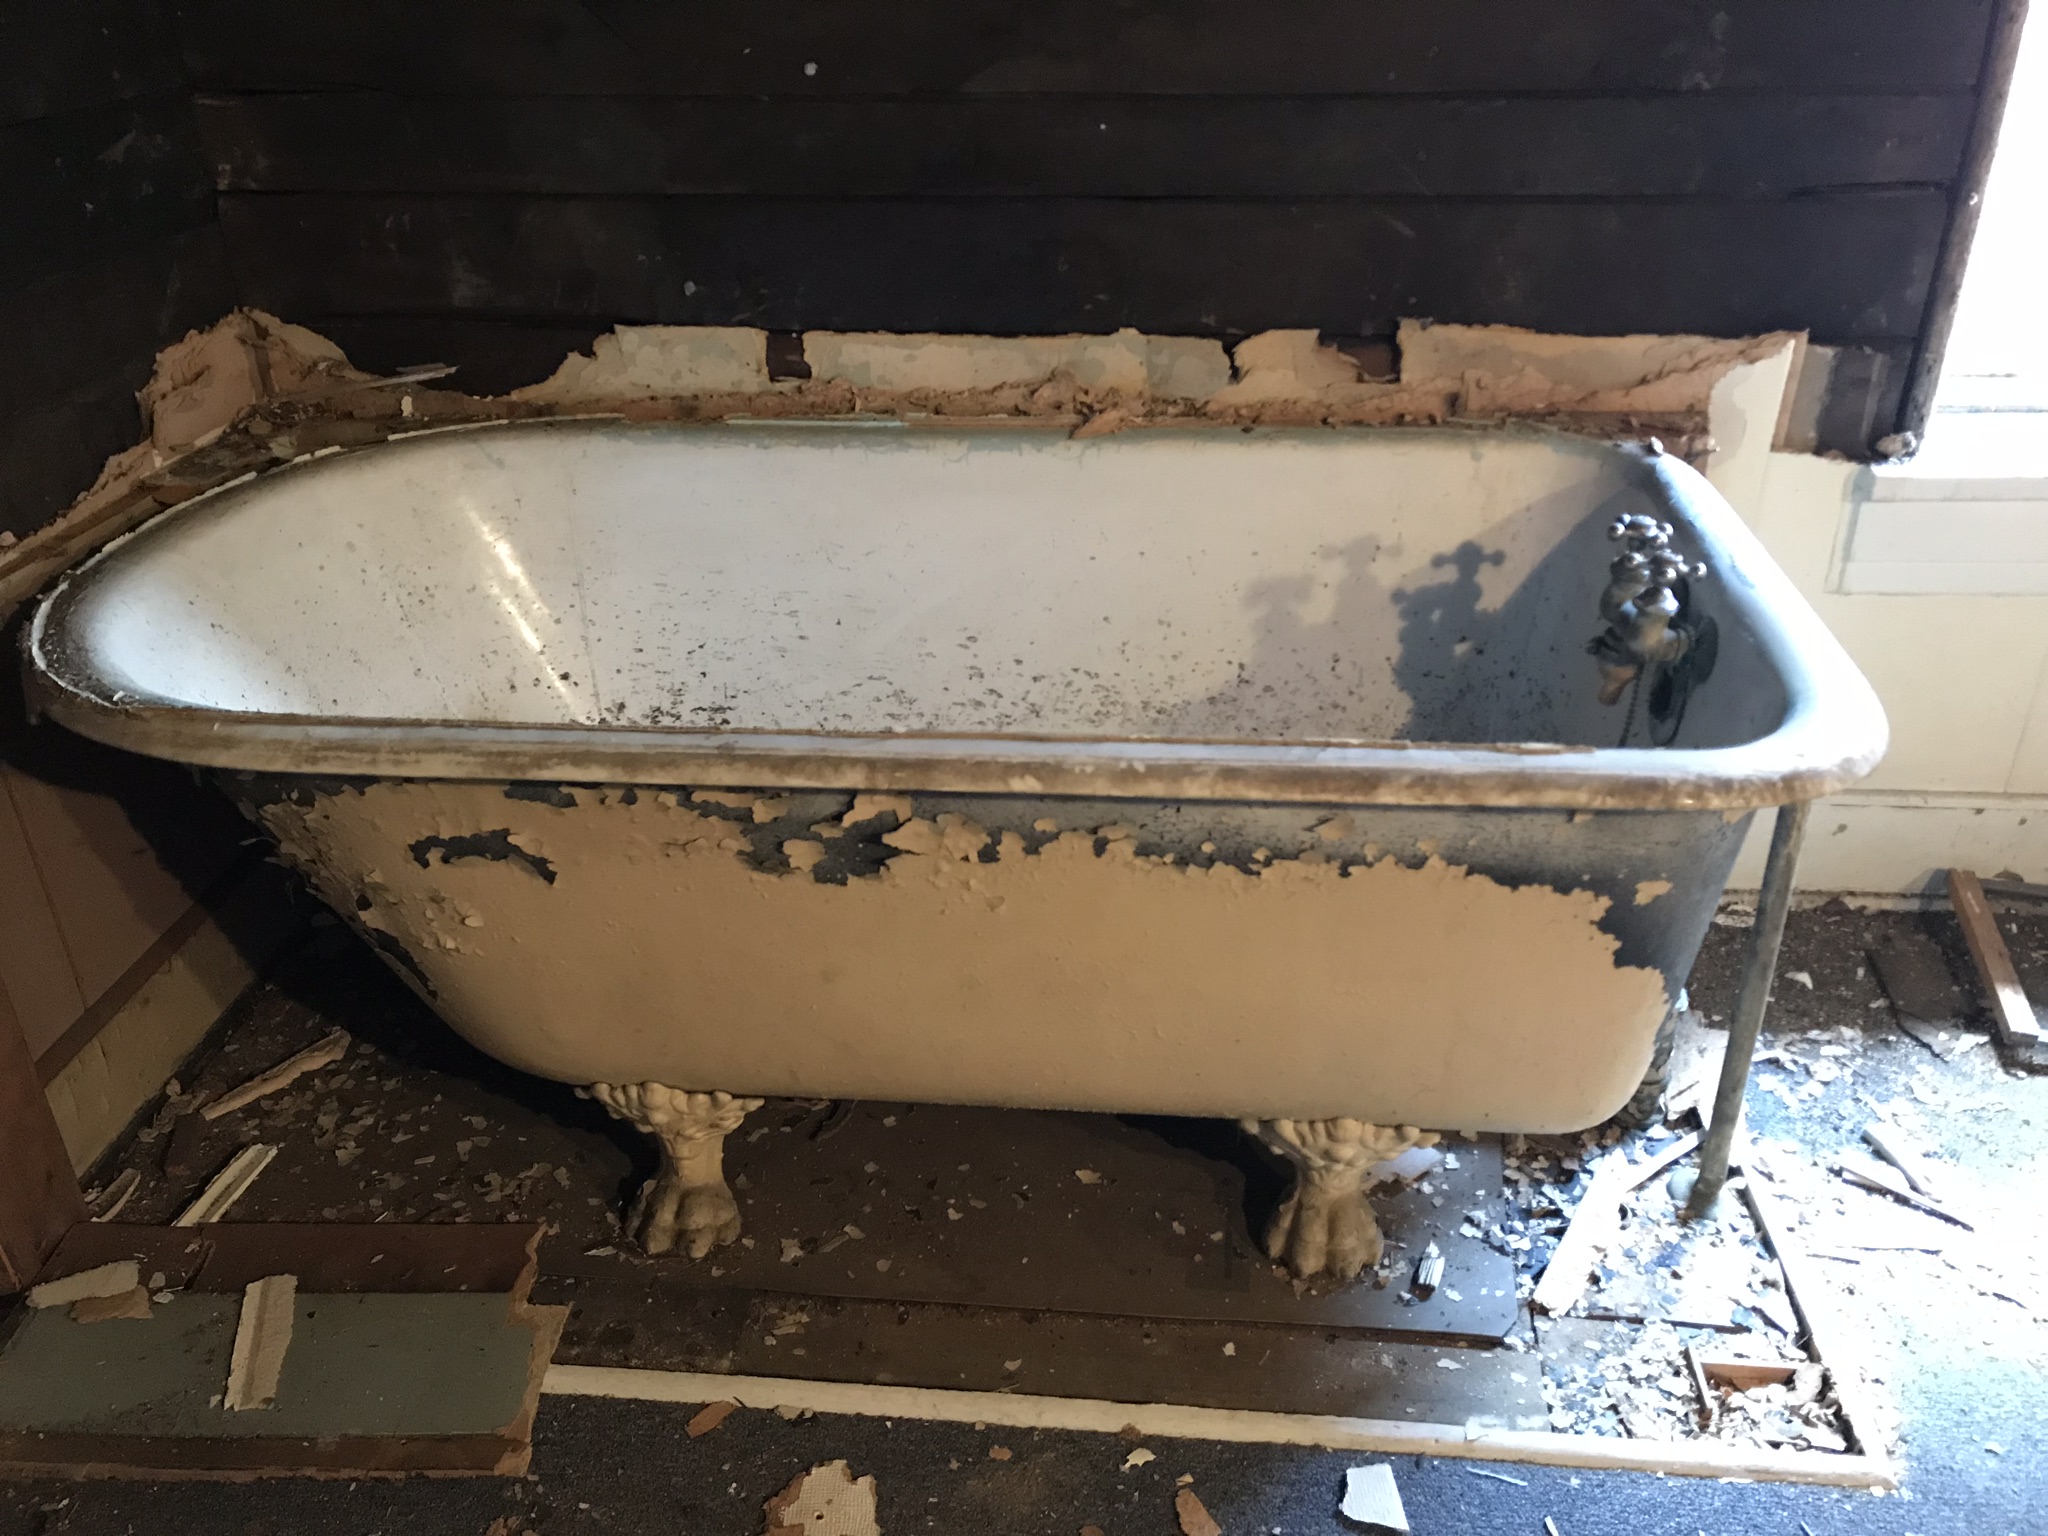
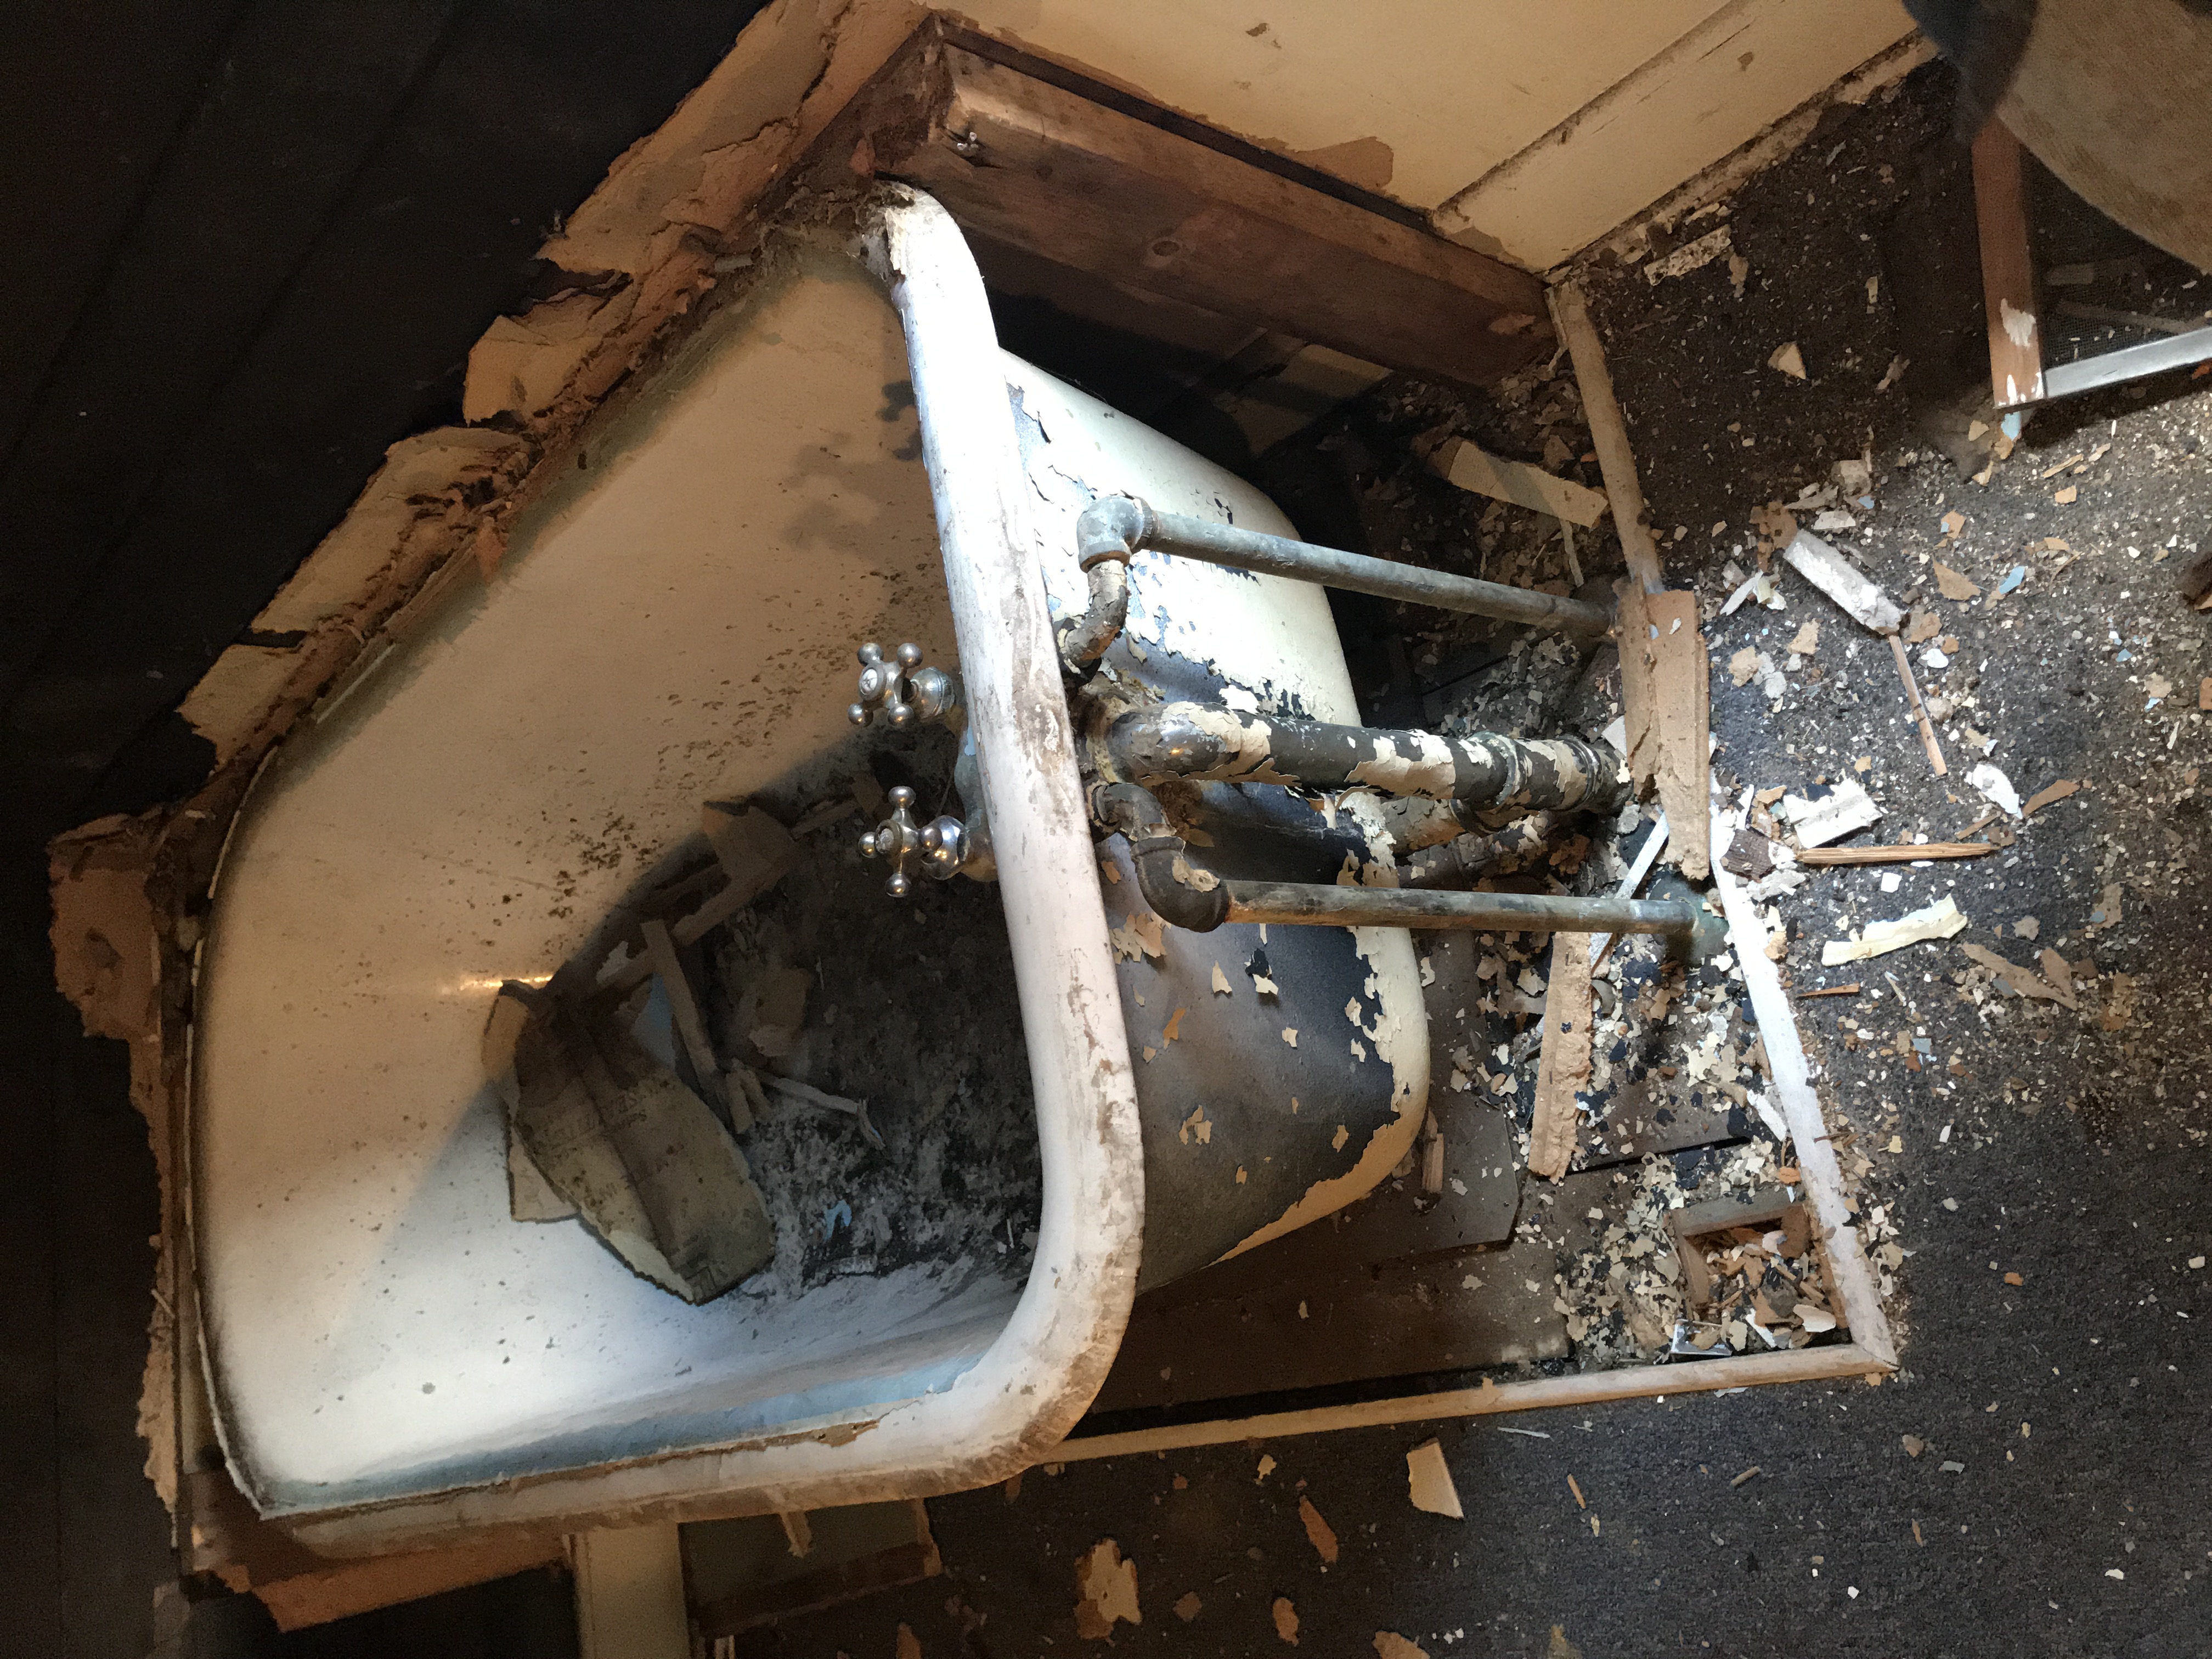
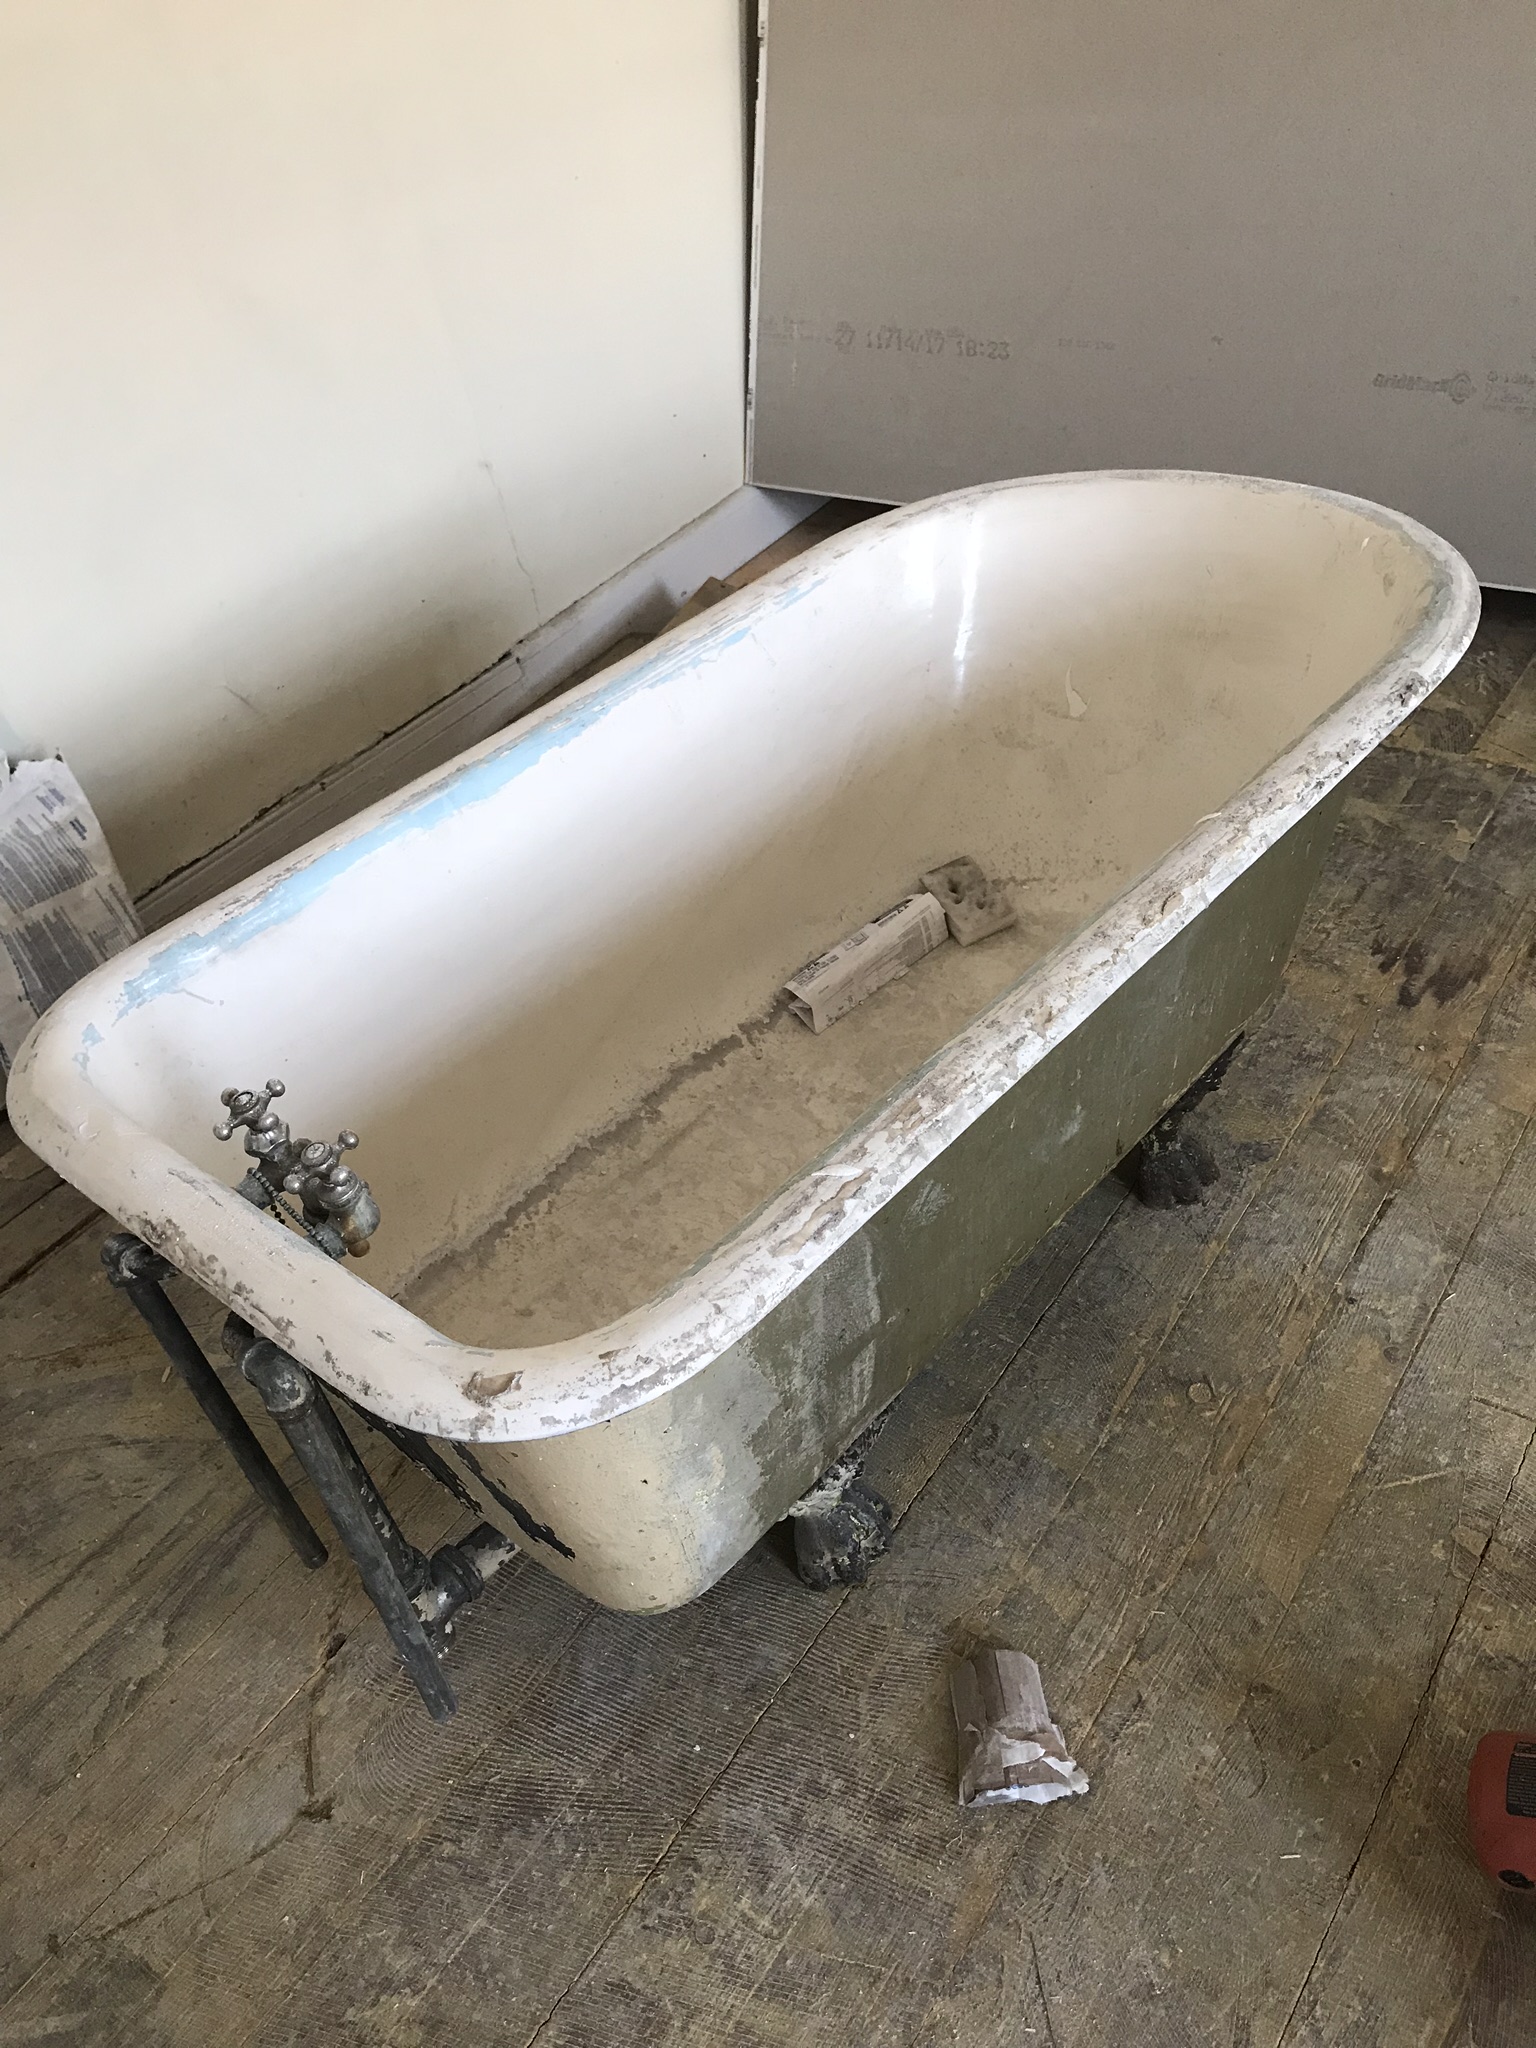
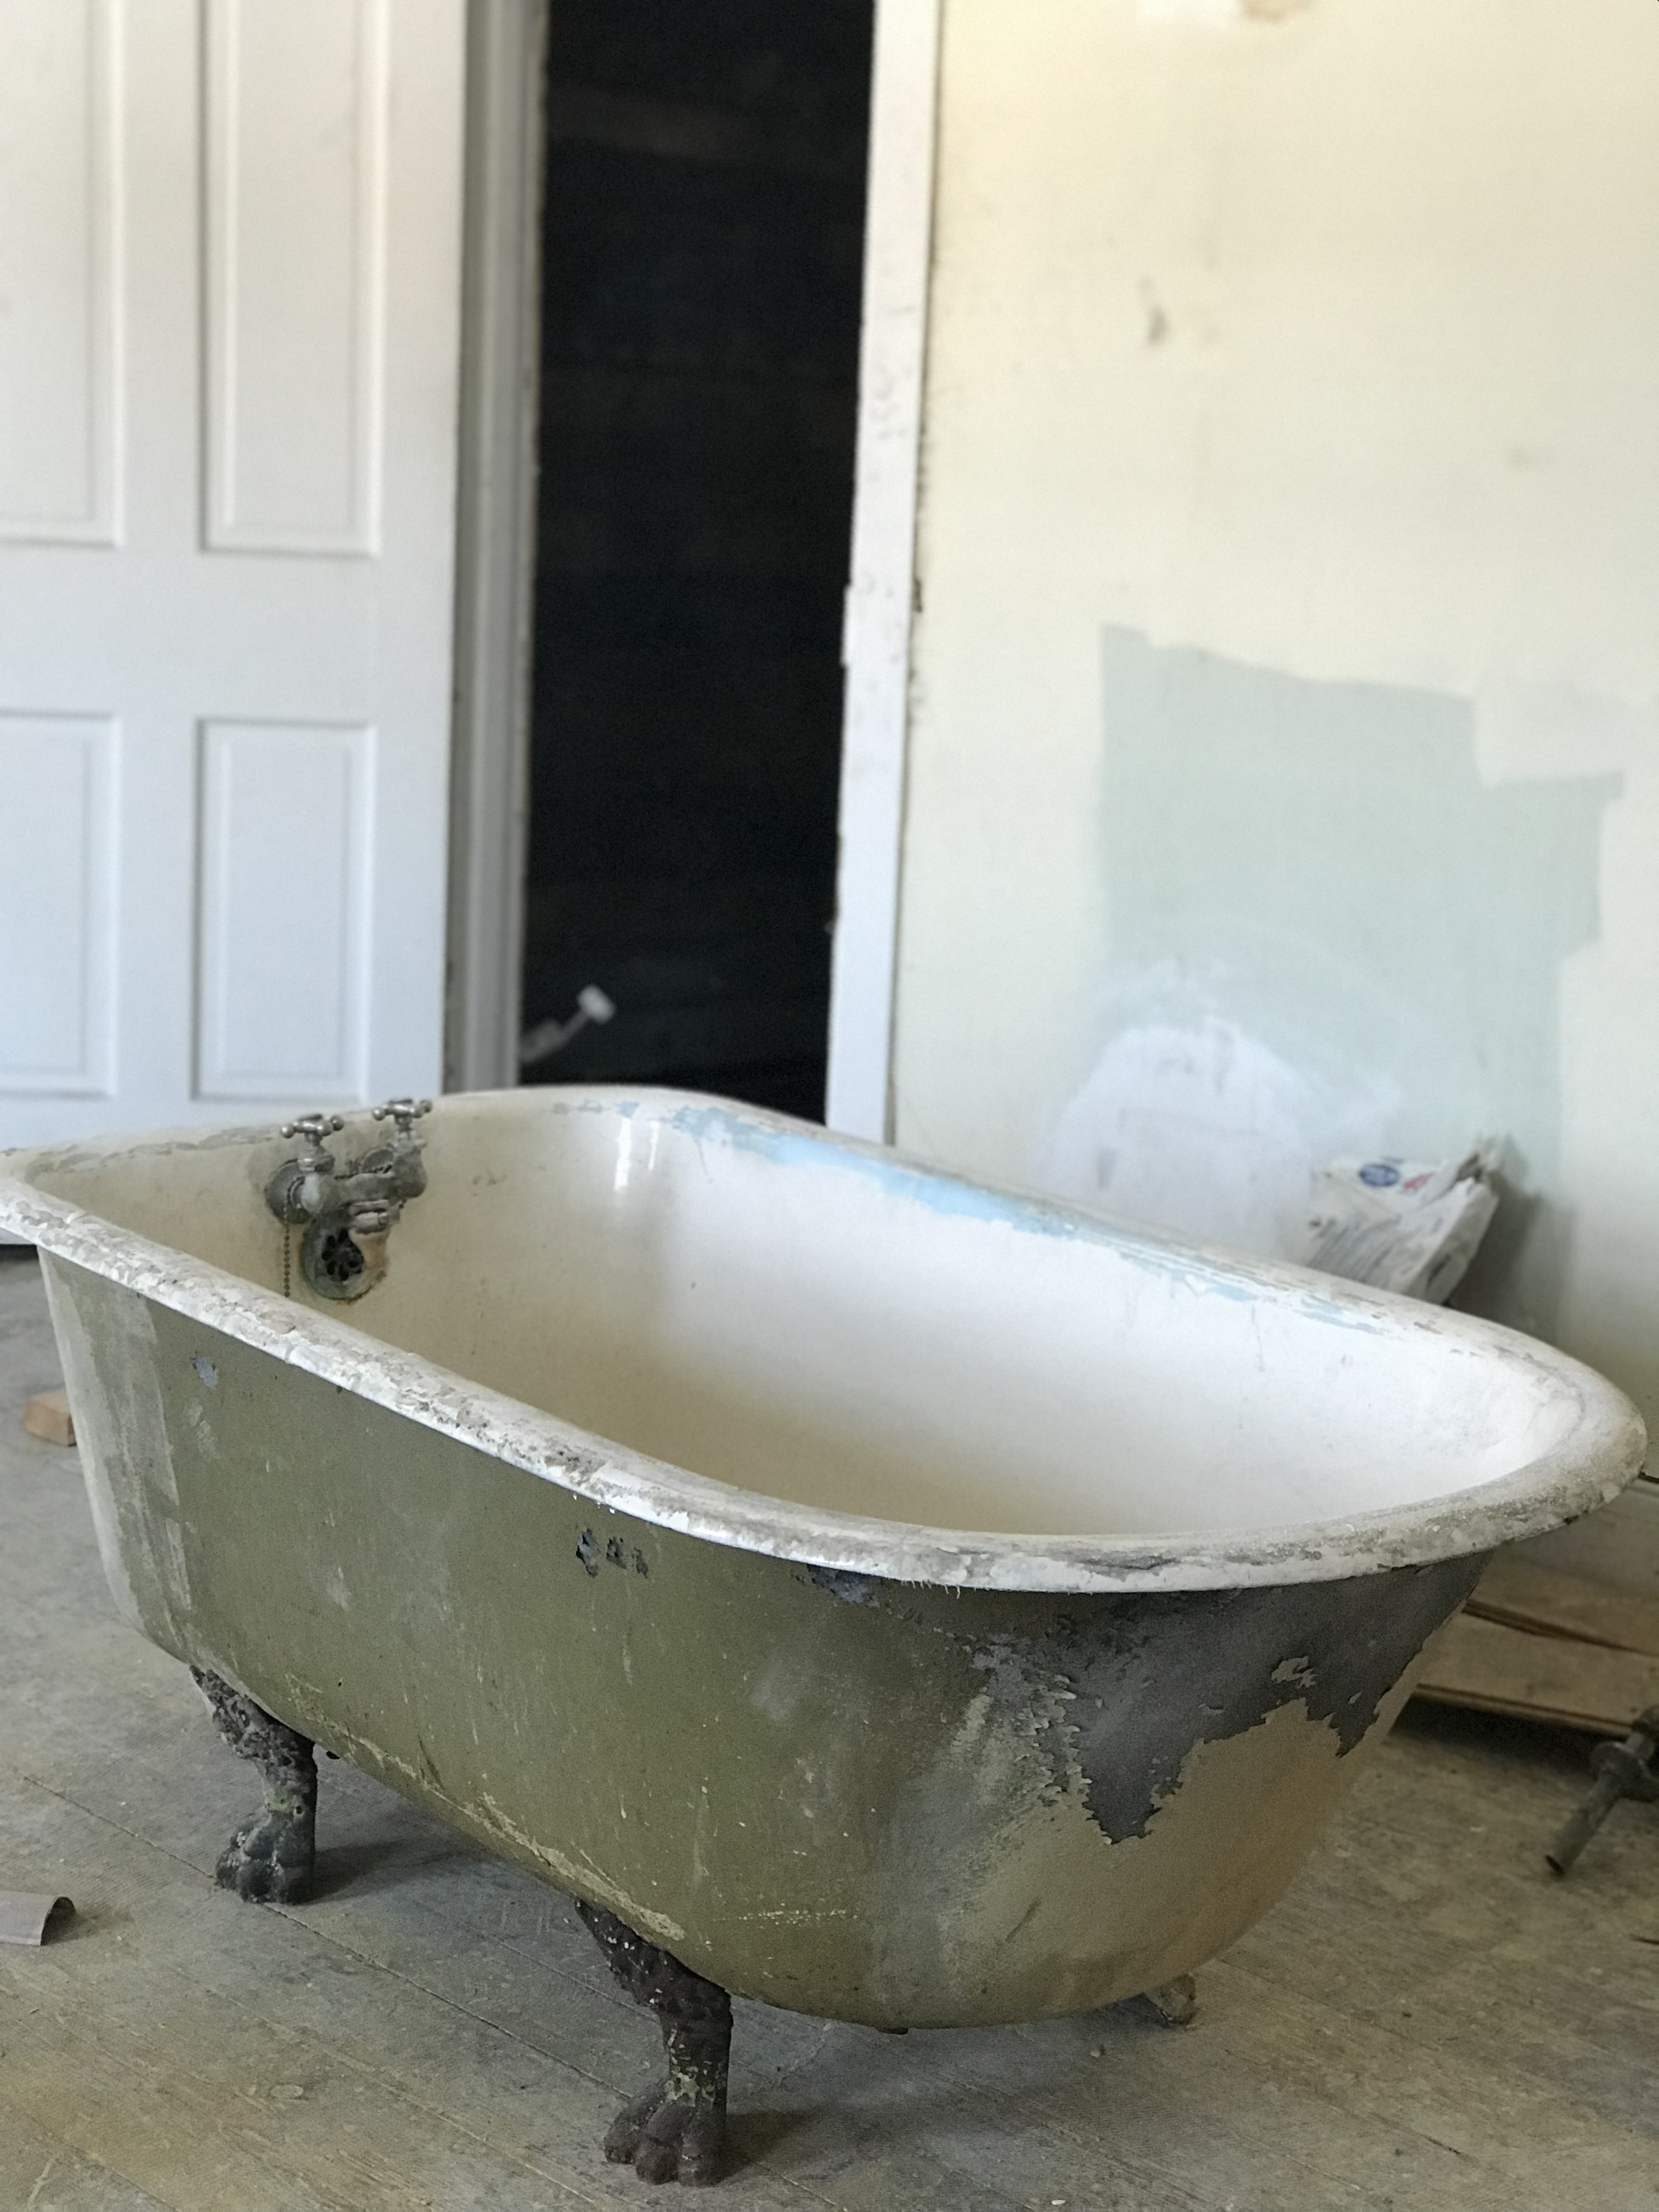
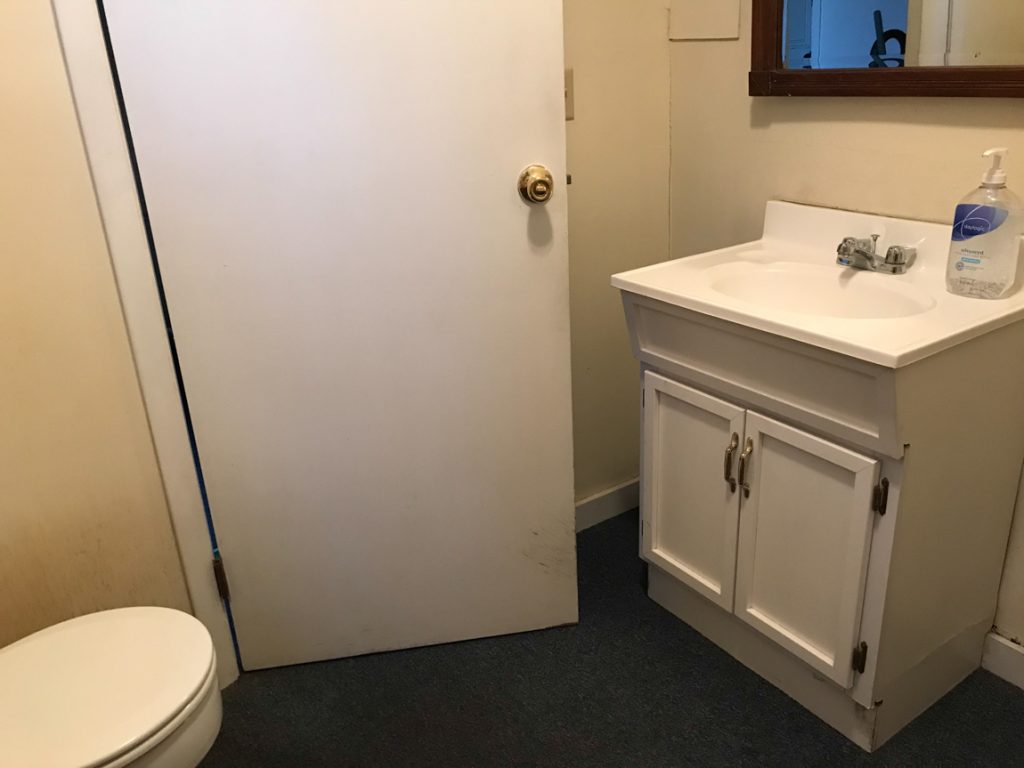
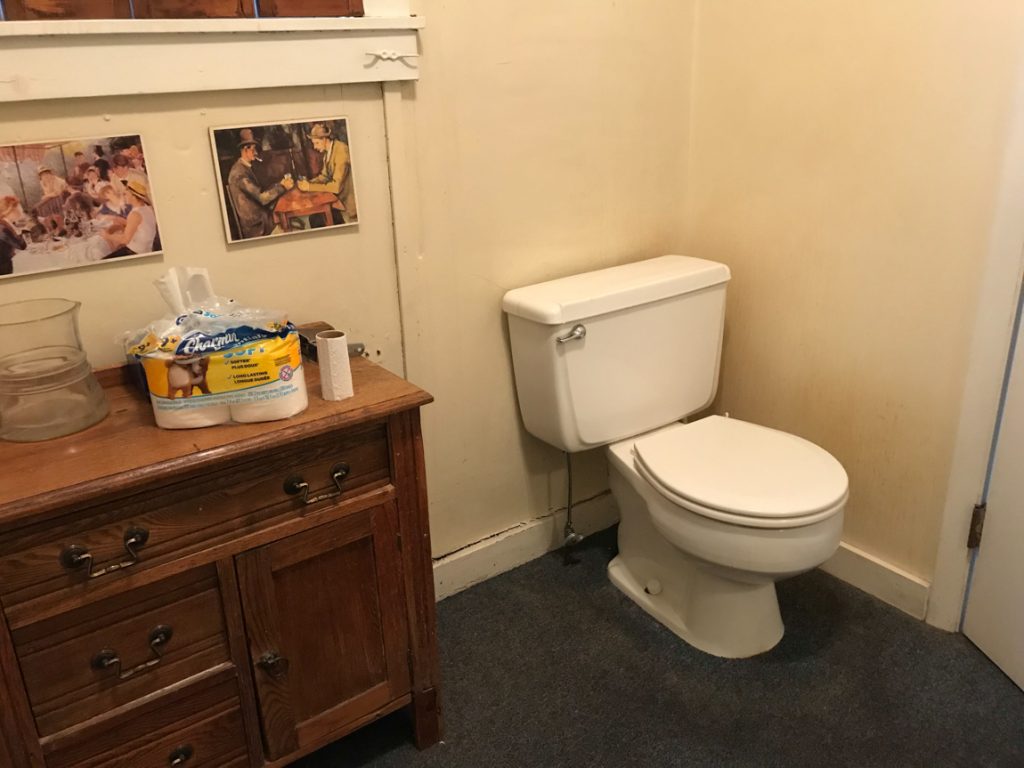
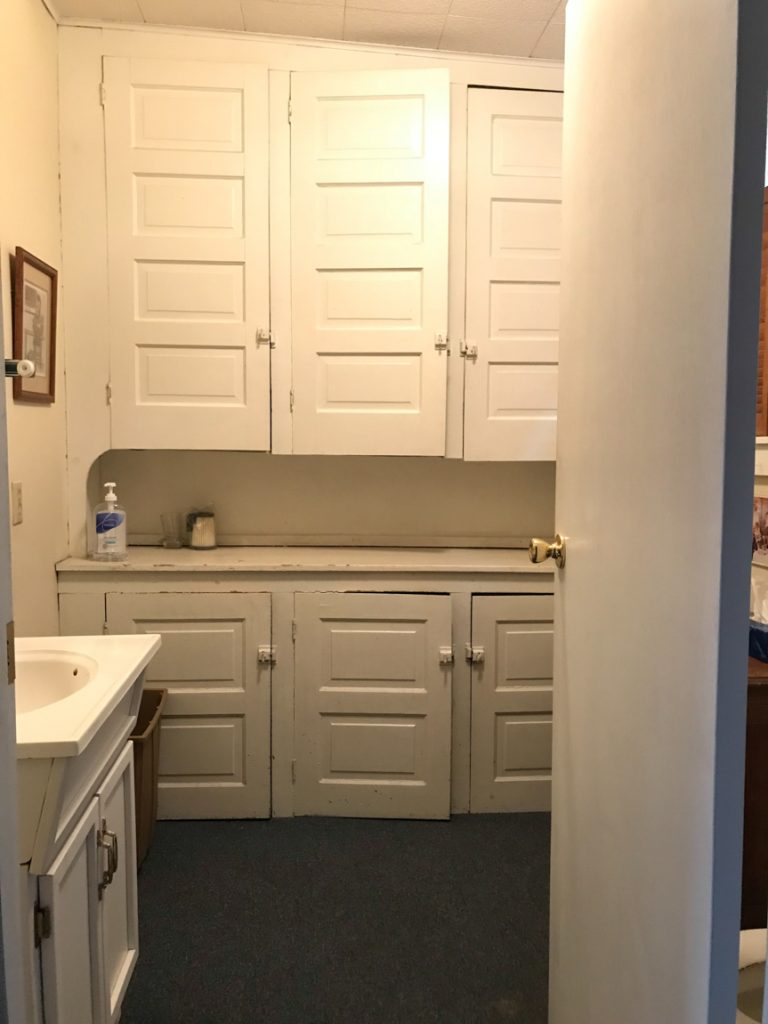
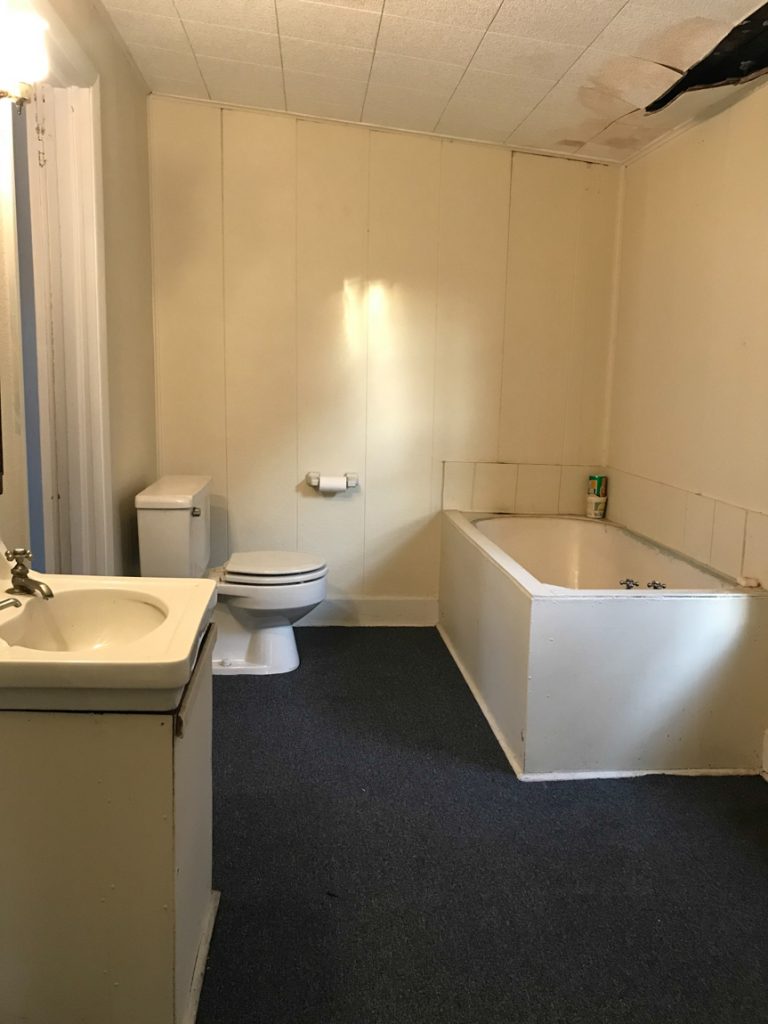
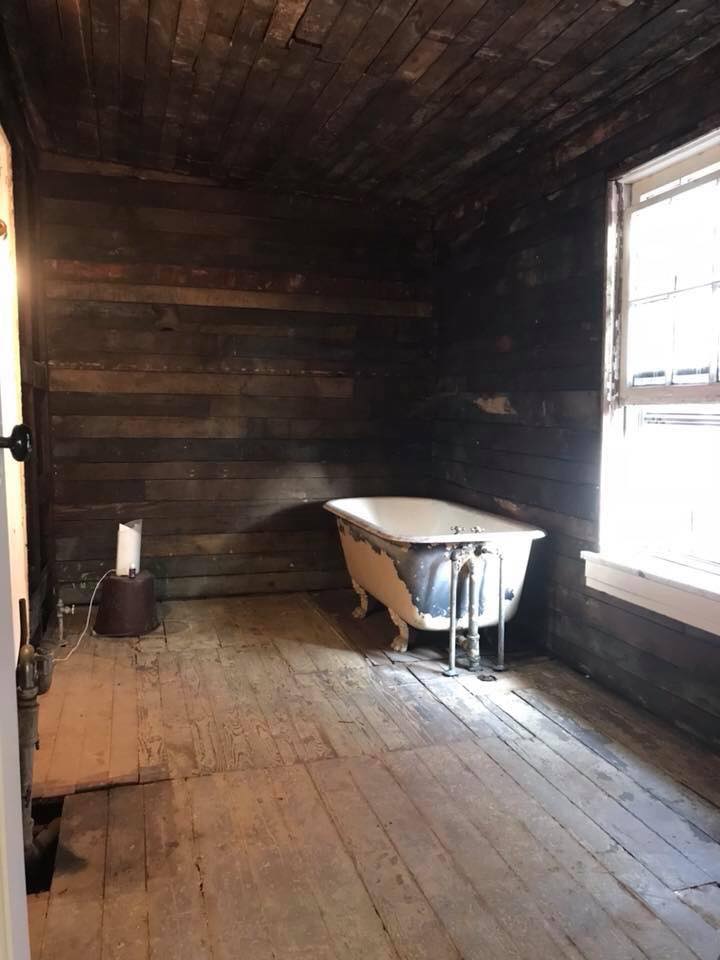
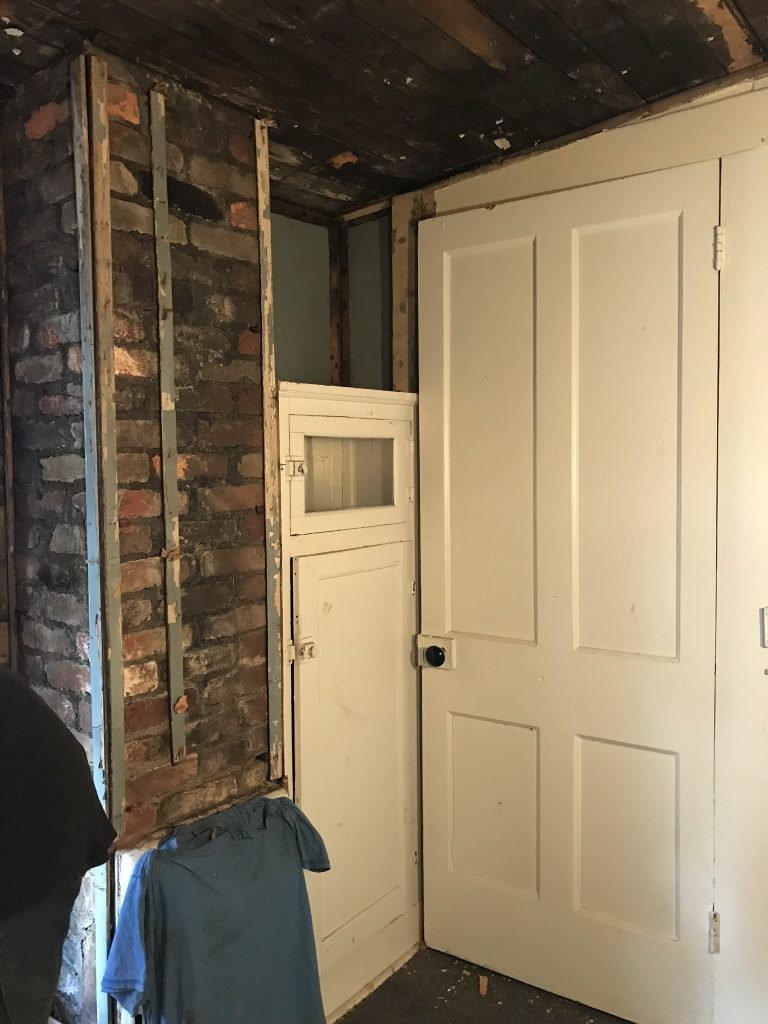
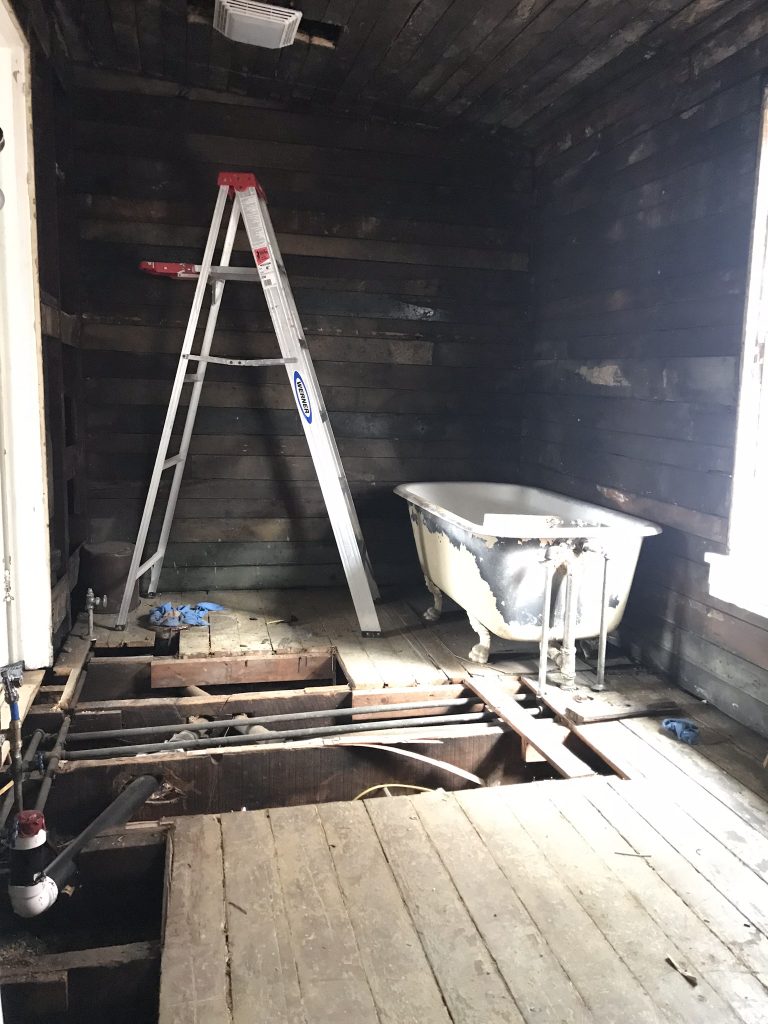
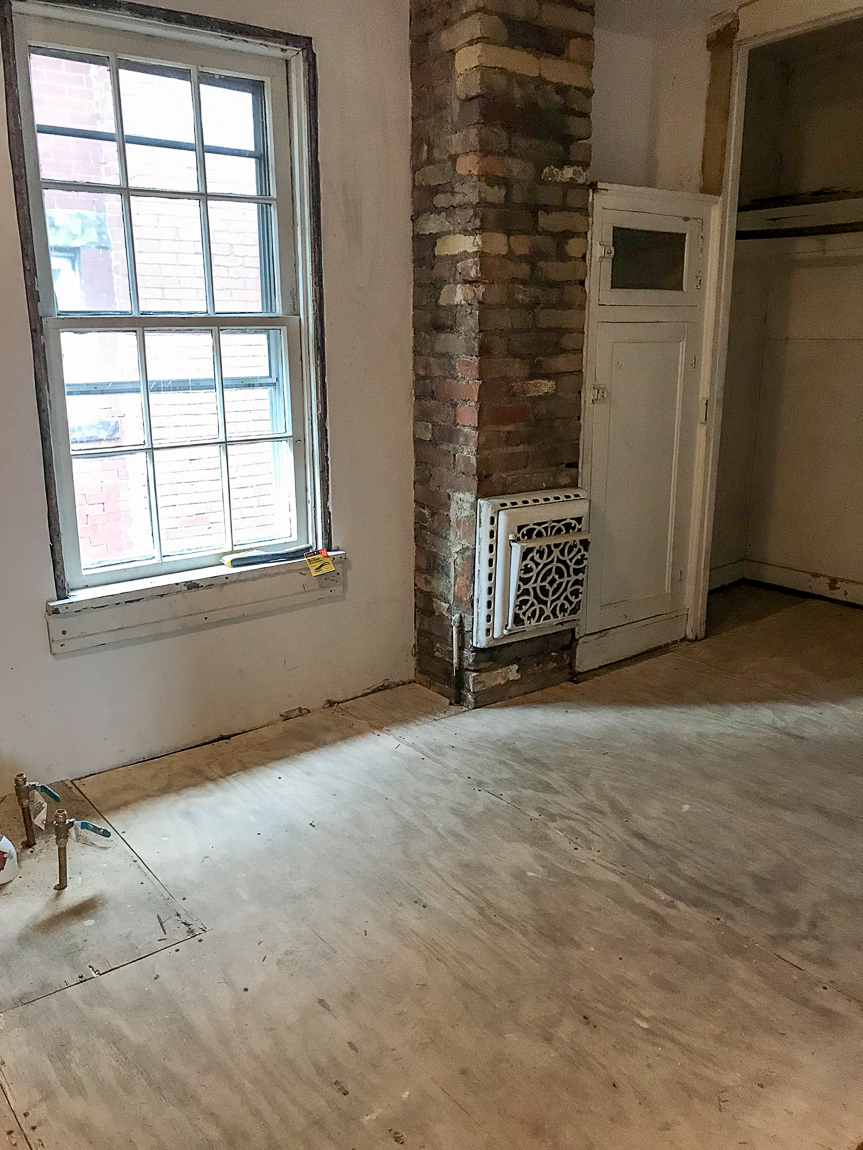
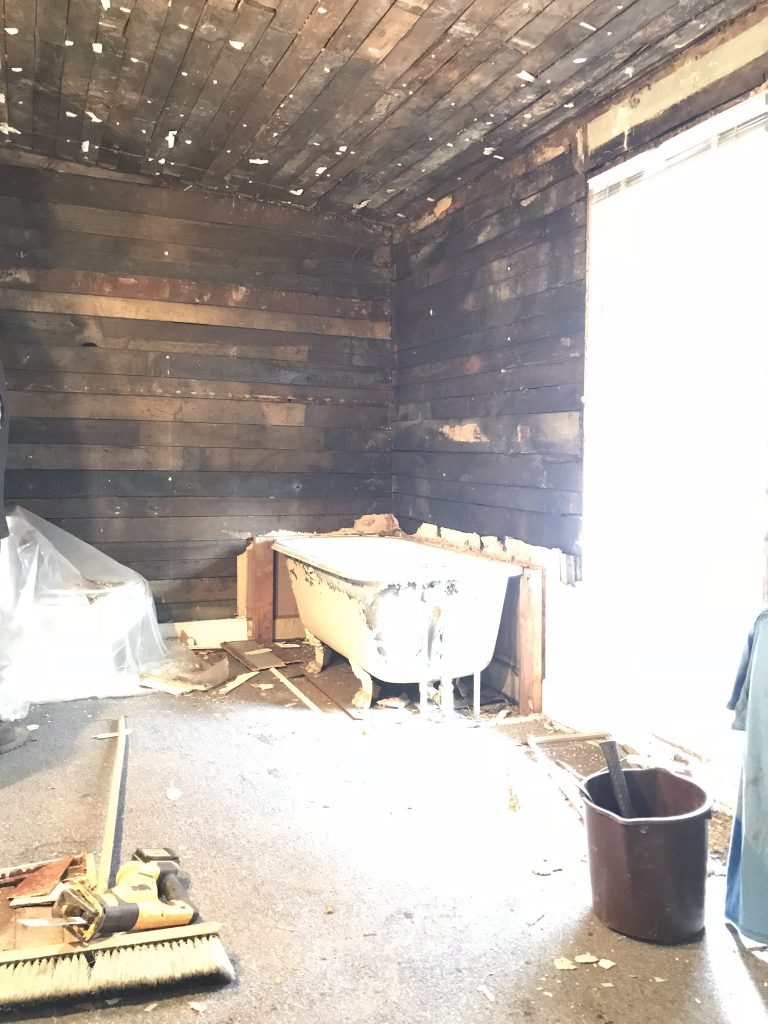
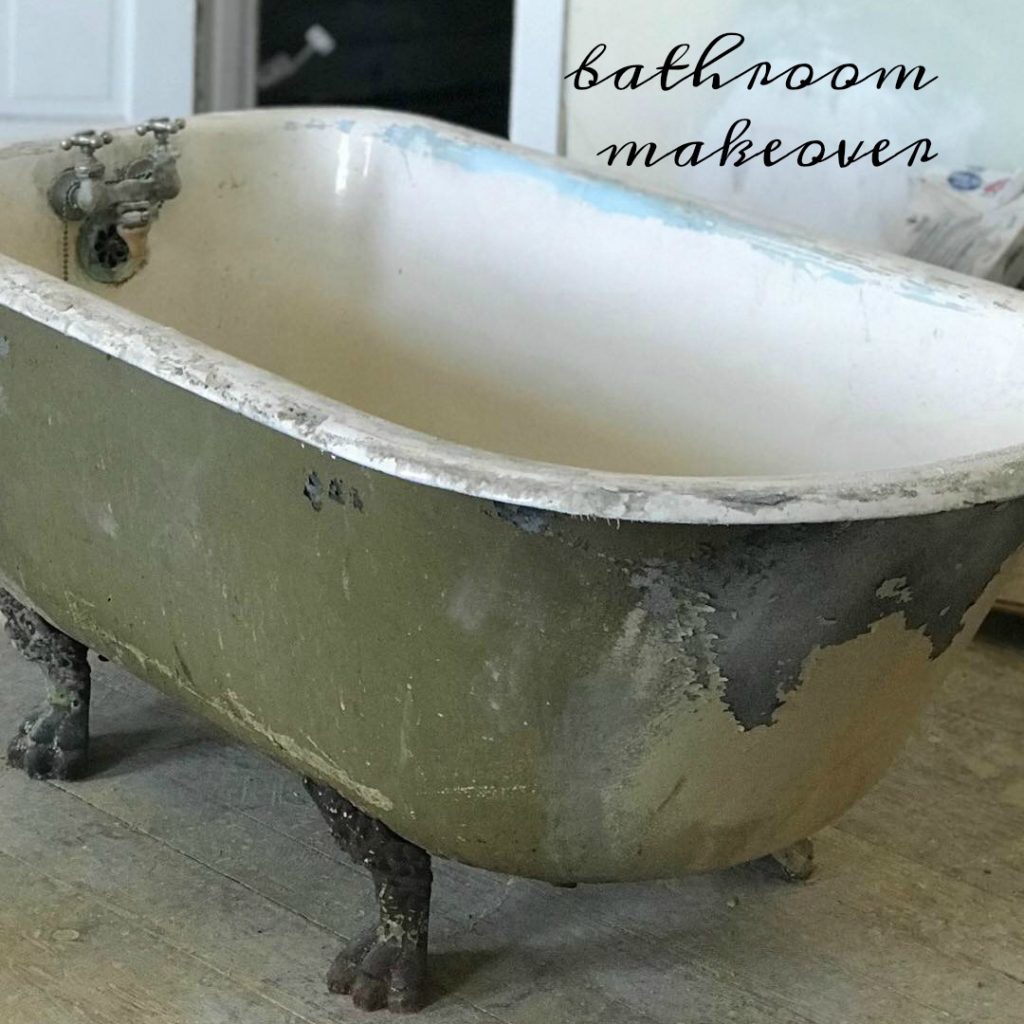
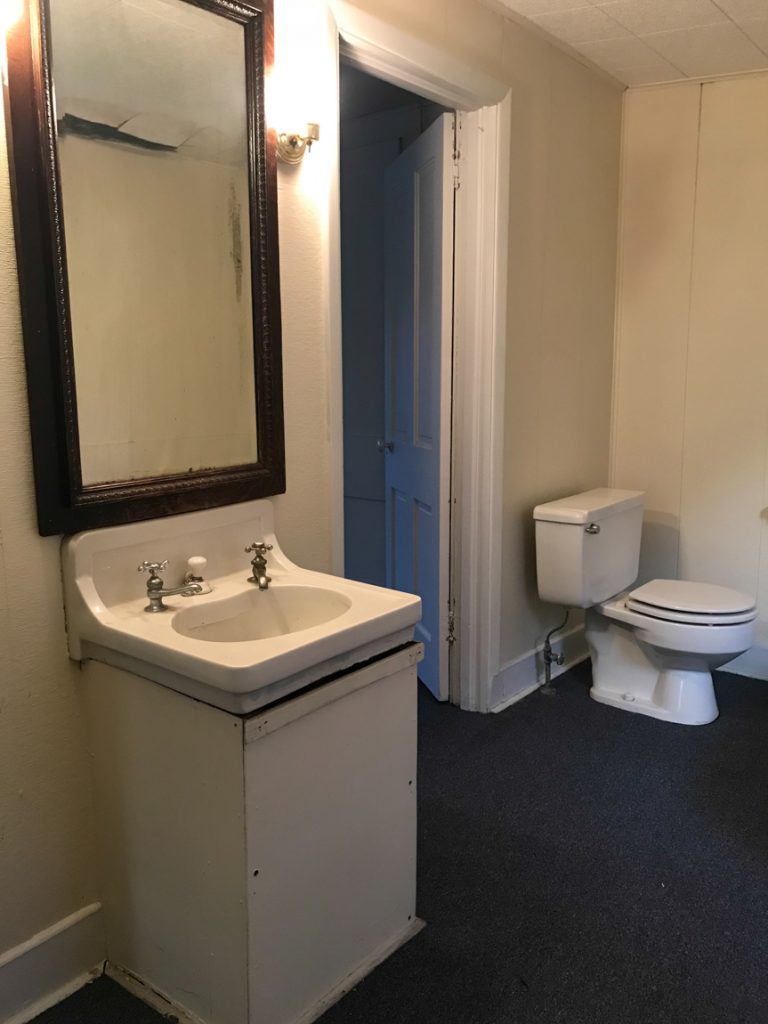
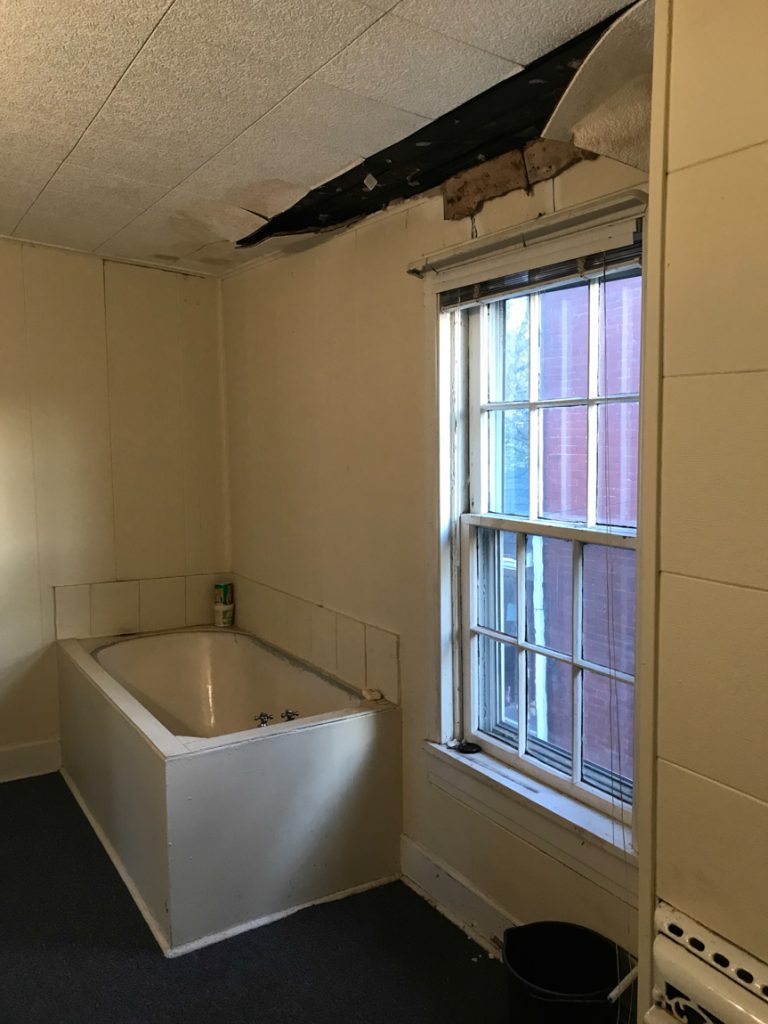
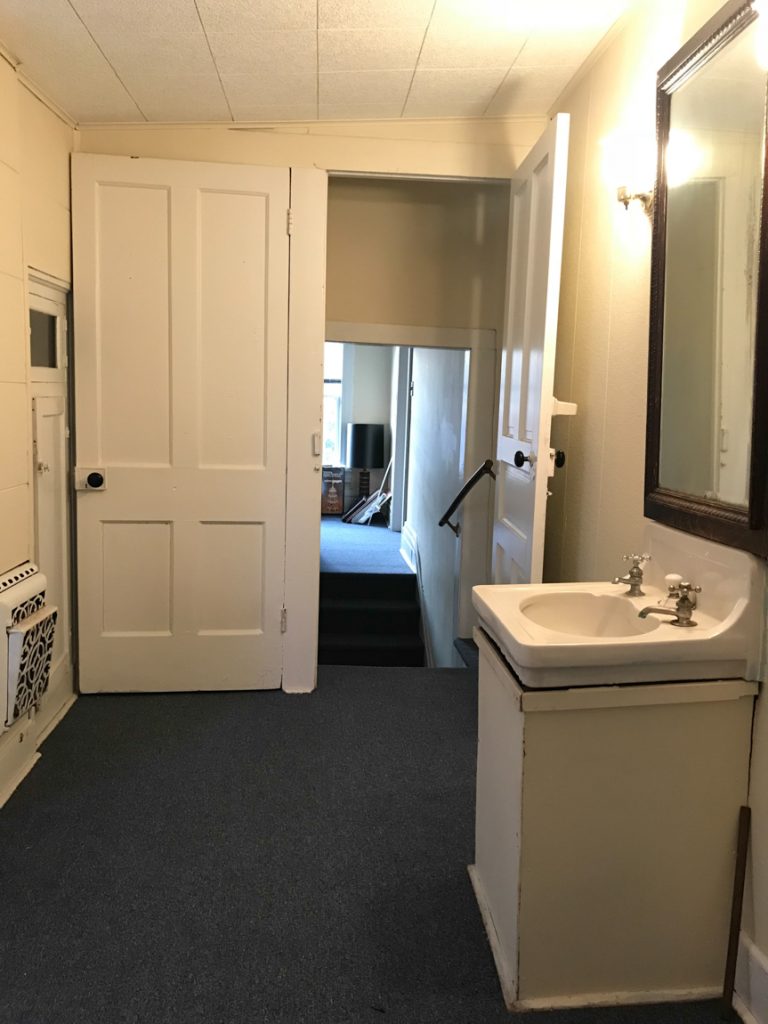
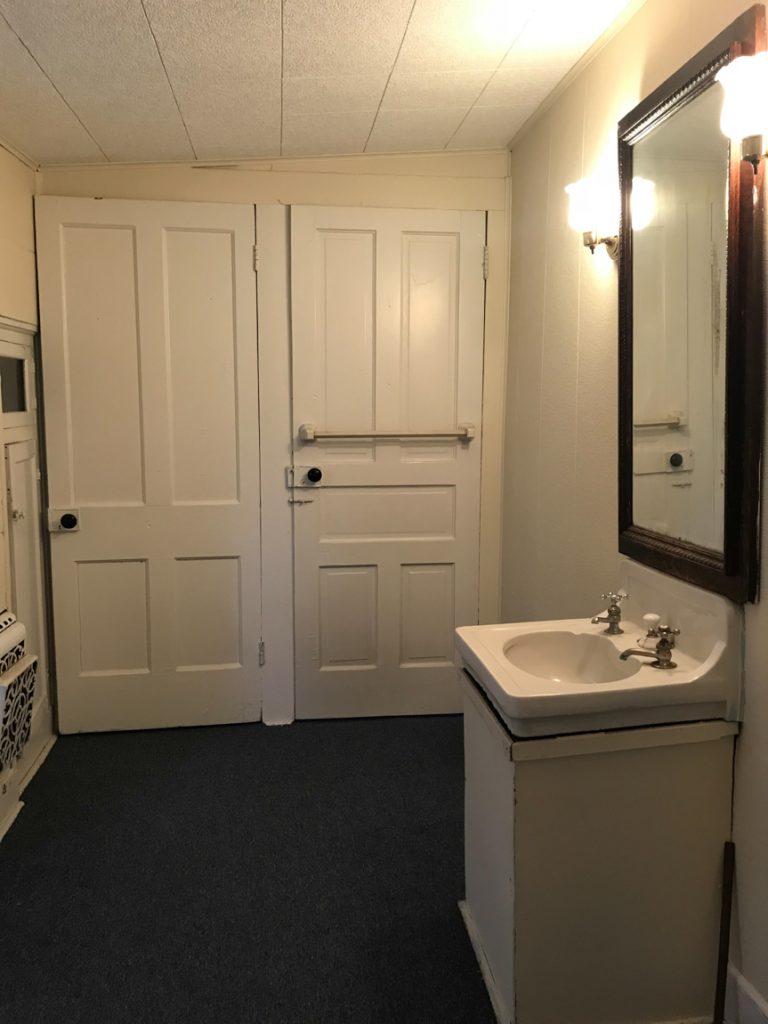
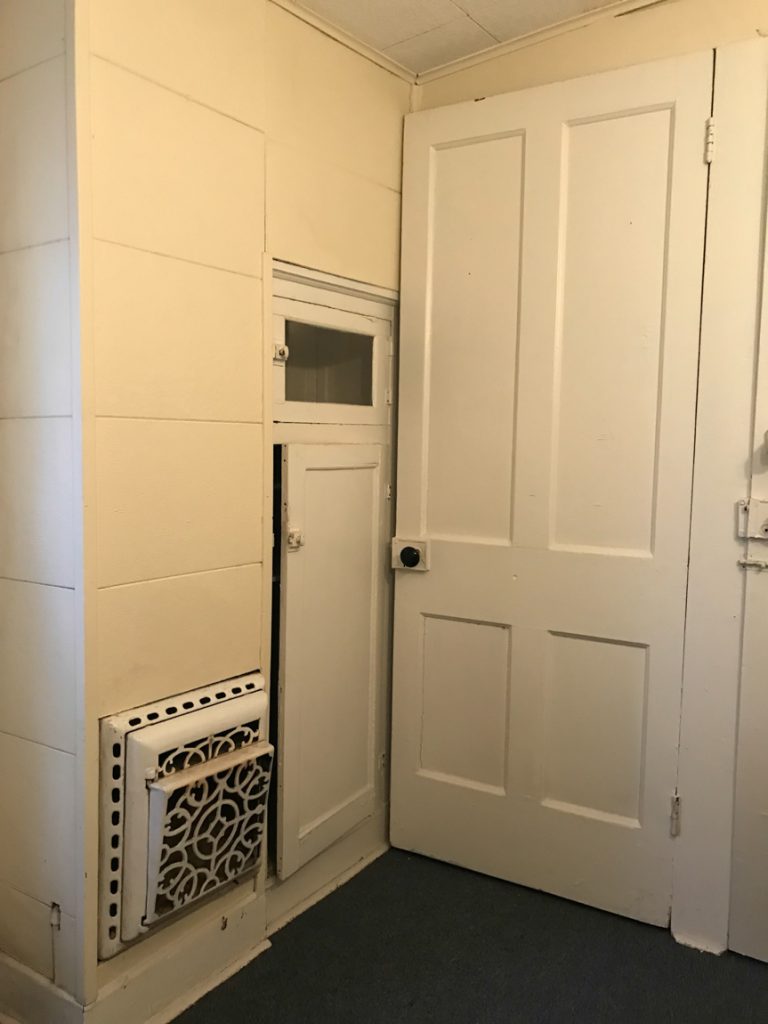
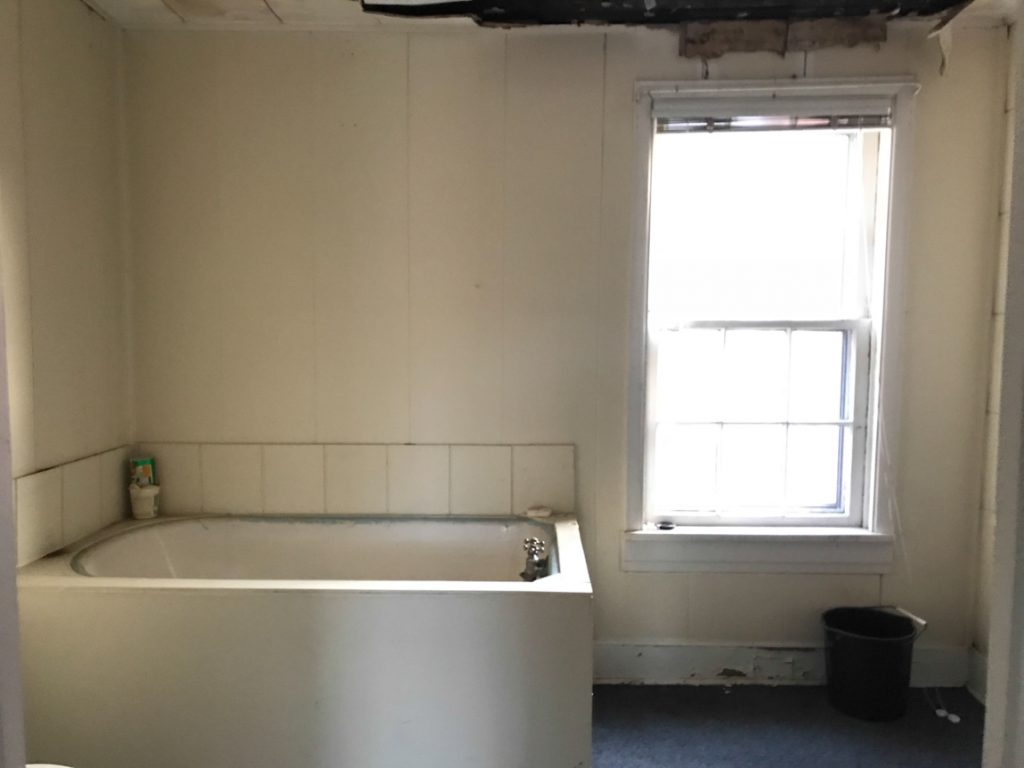
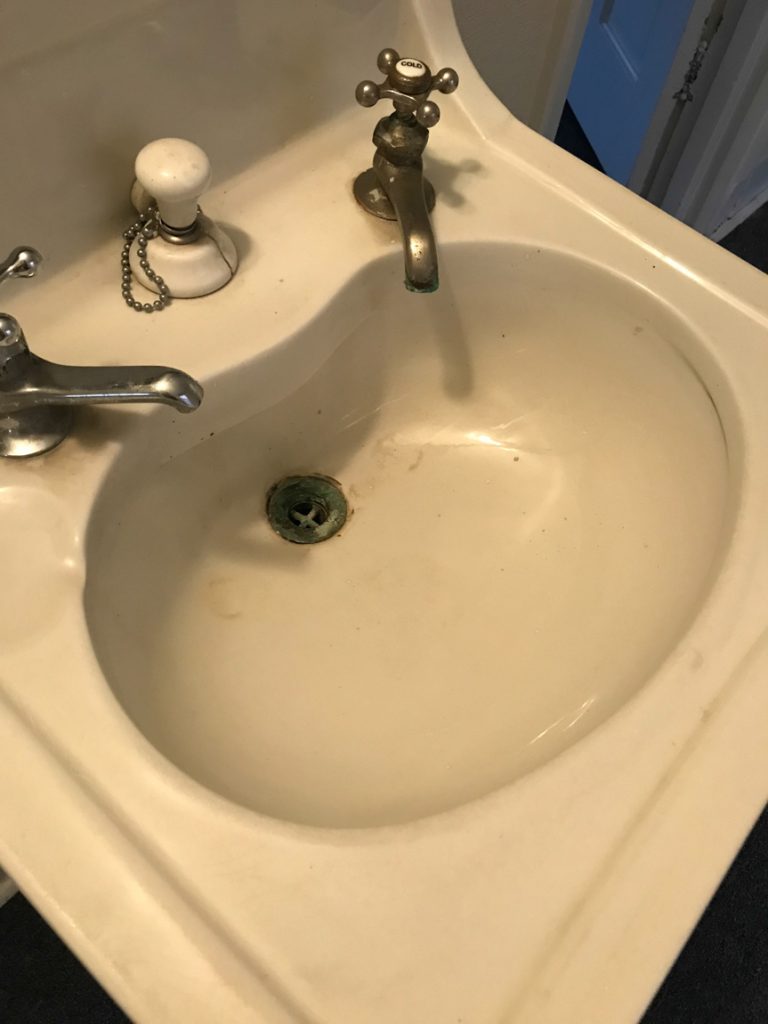
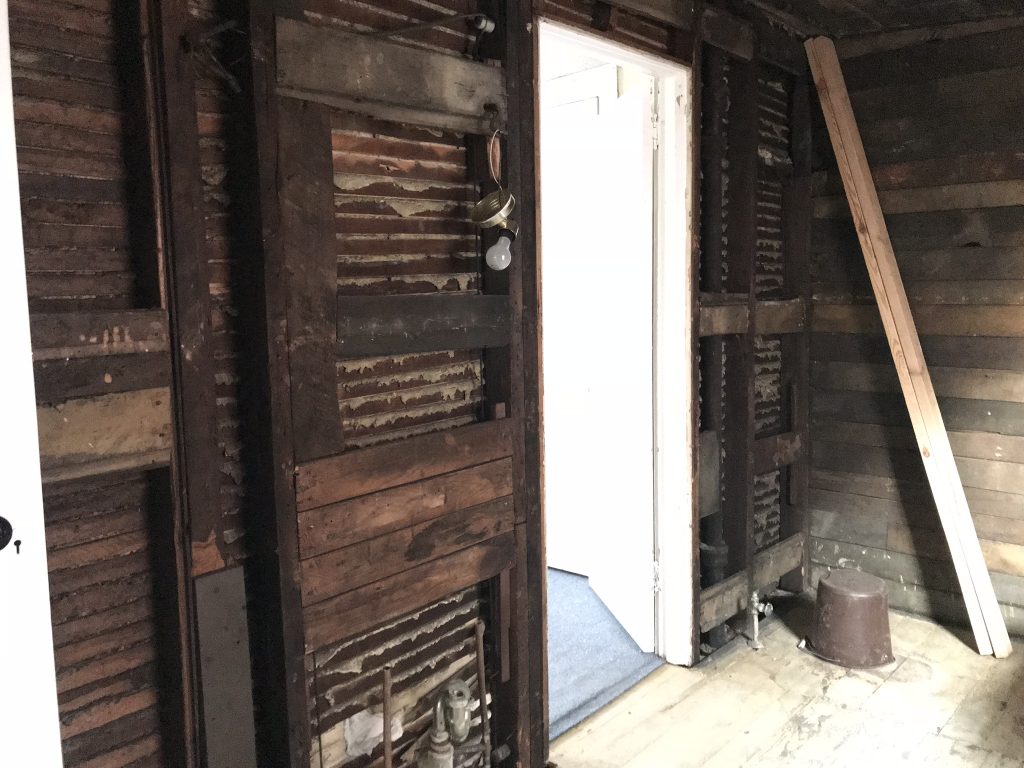
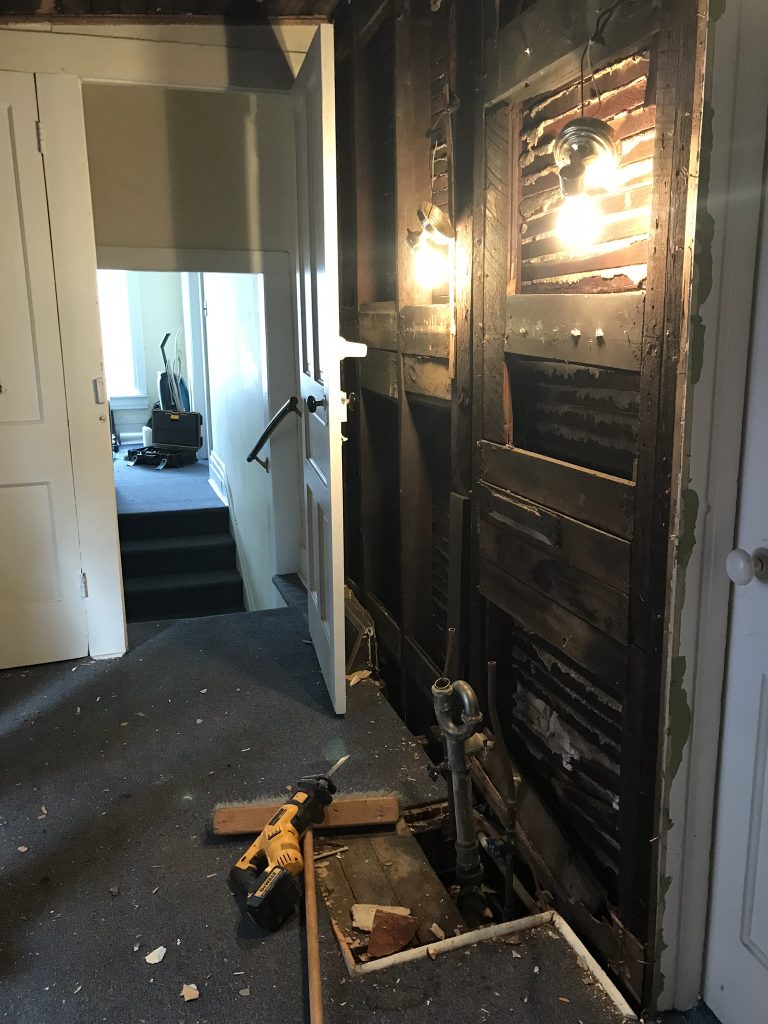
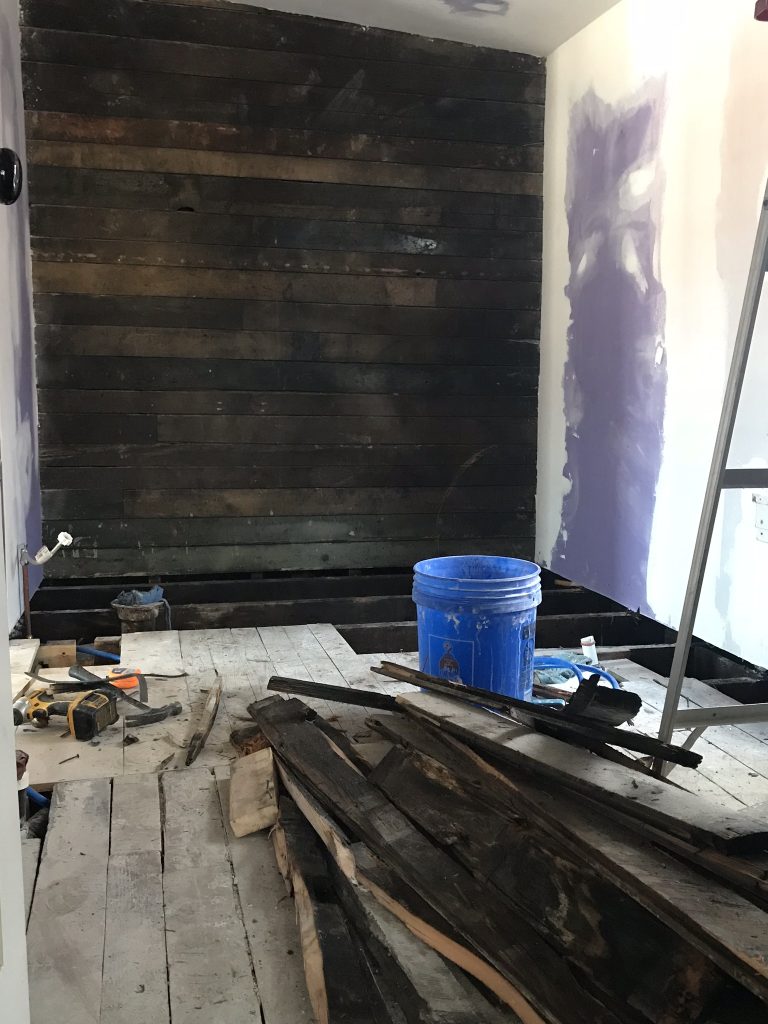
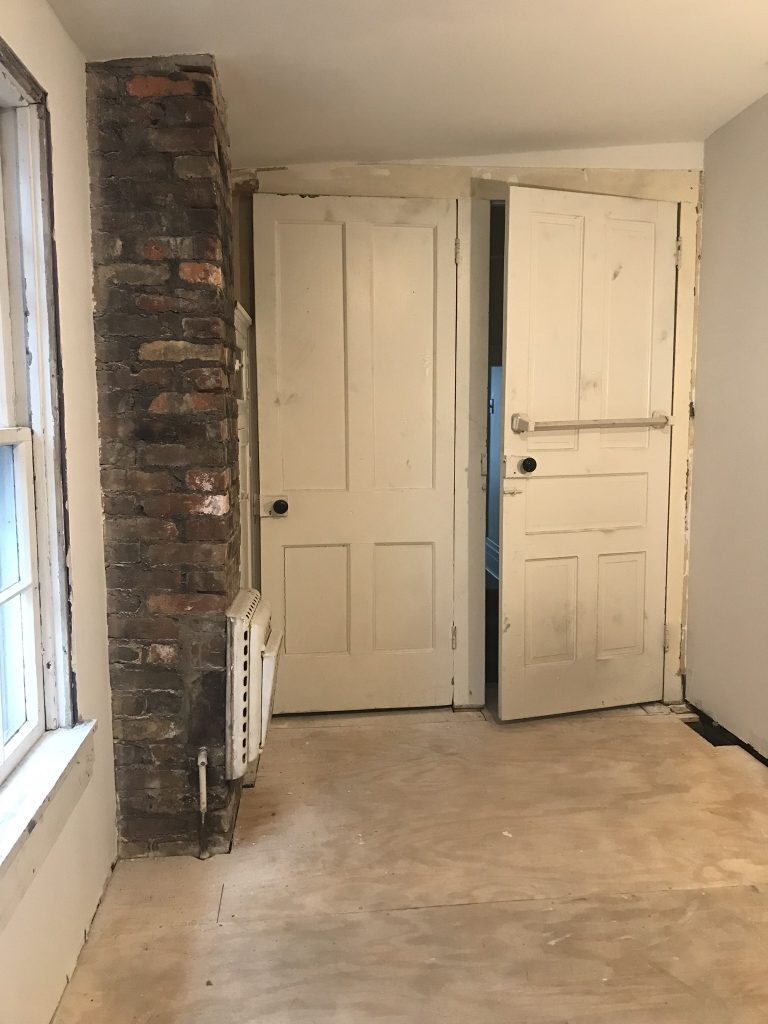
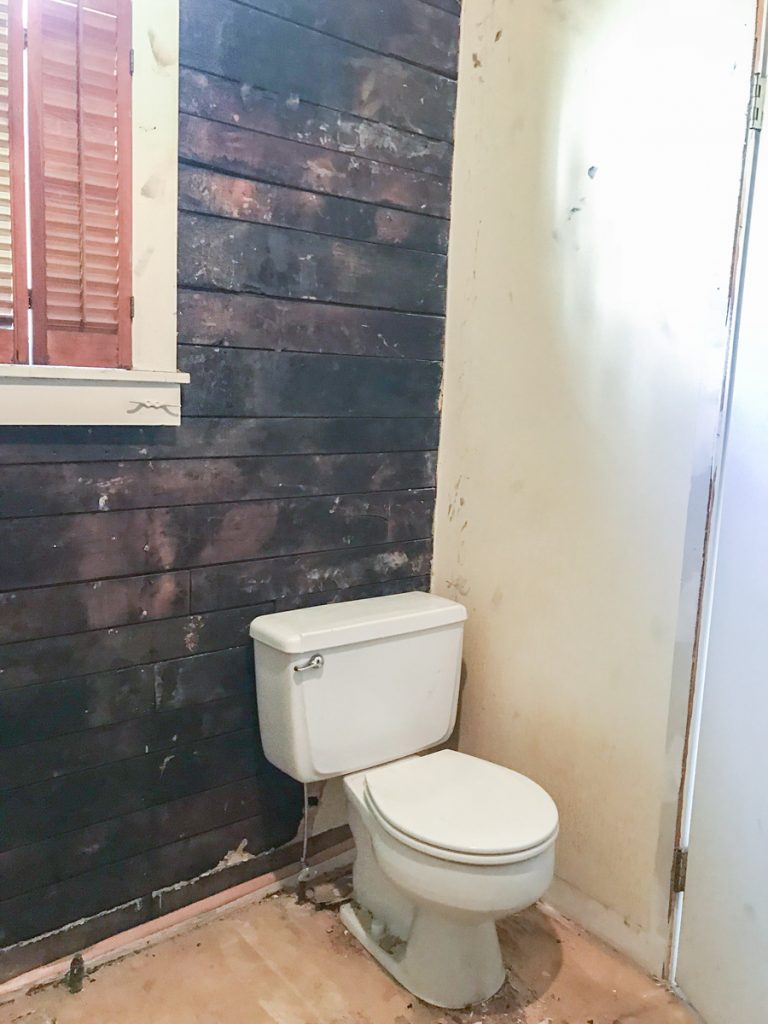
The before: A caving ceiling was the first project to receive some attention. There were paneled walls, boxed in pedestal sink and clawfoot tub (didn’t know that until we started the demo), blue industrial carpeting…the best plan of action was to gut it. 

DIY craft studio // workshop - before room makeover @diyshowoff

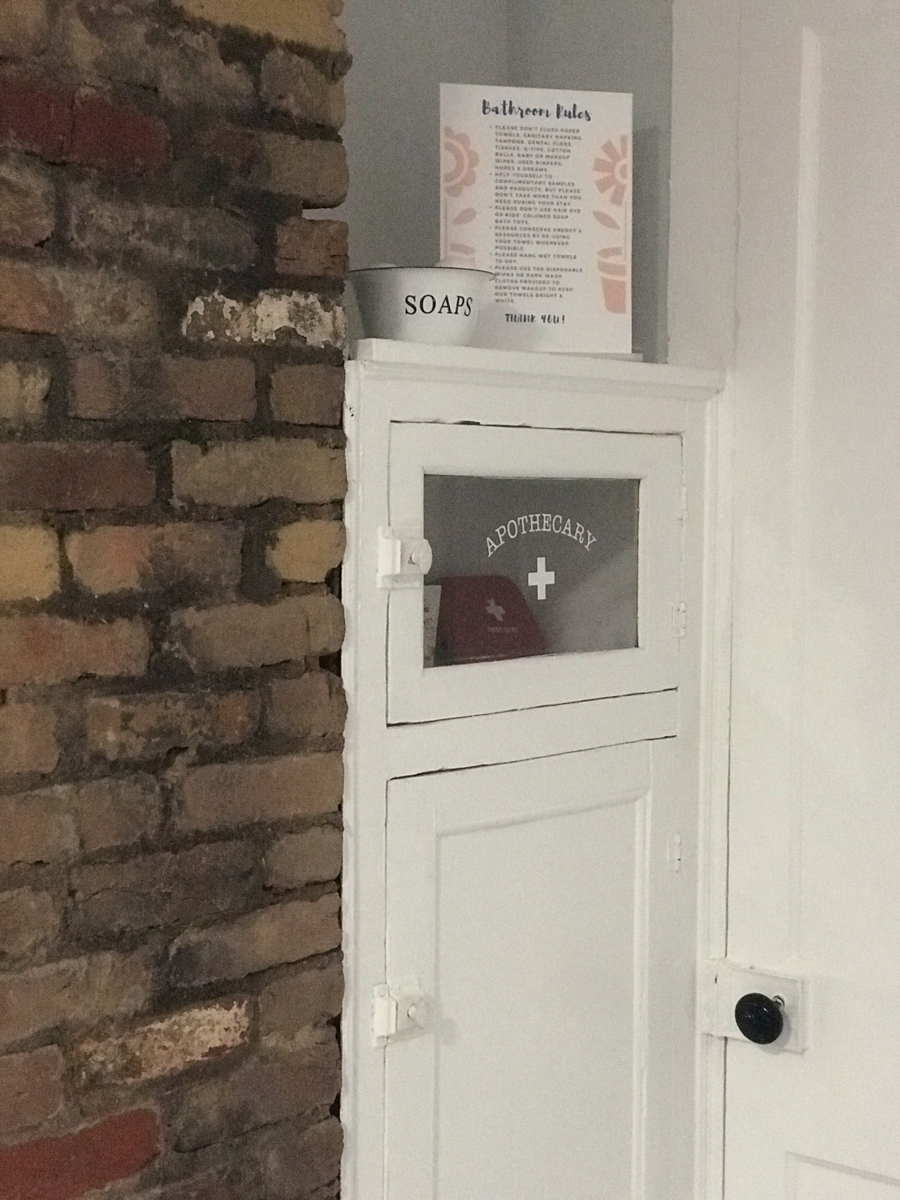
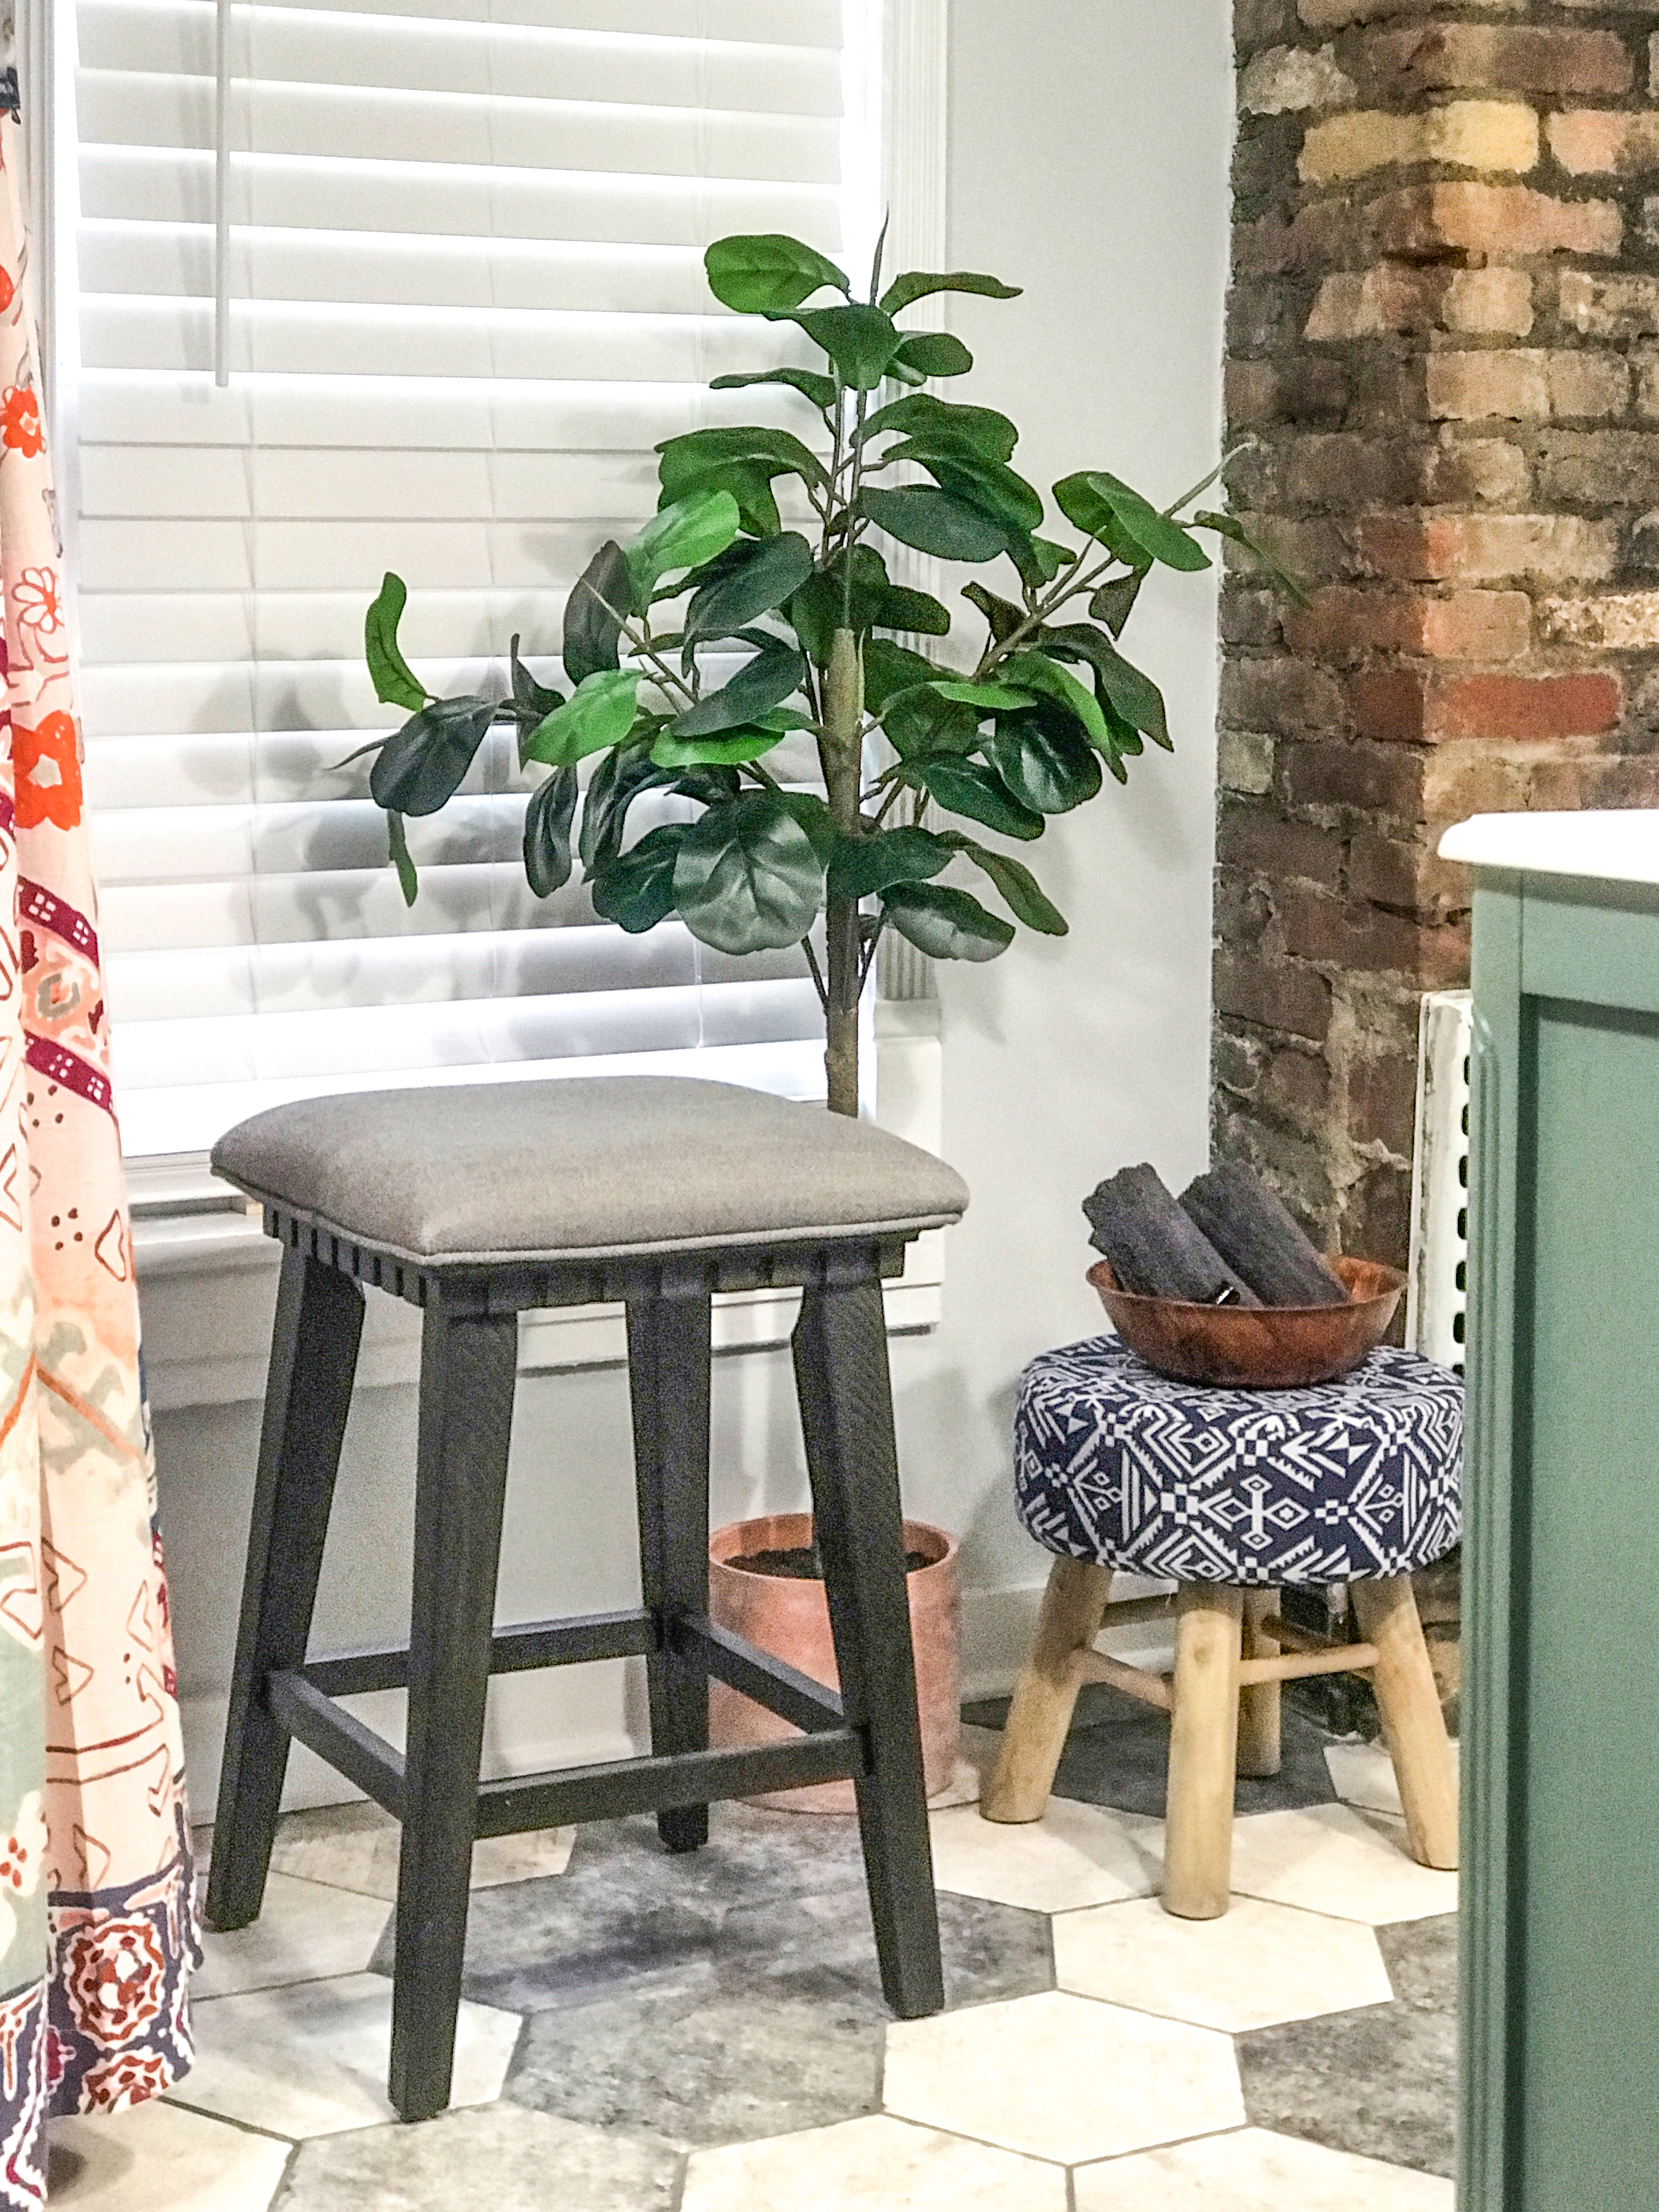
After:airbnb apartment bathroom makeover suite thyme

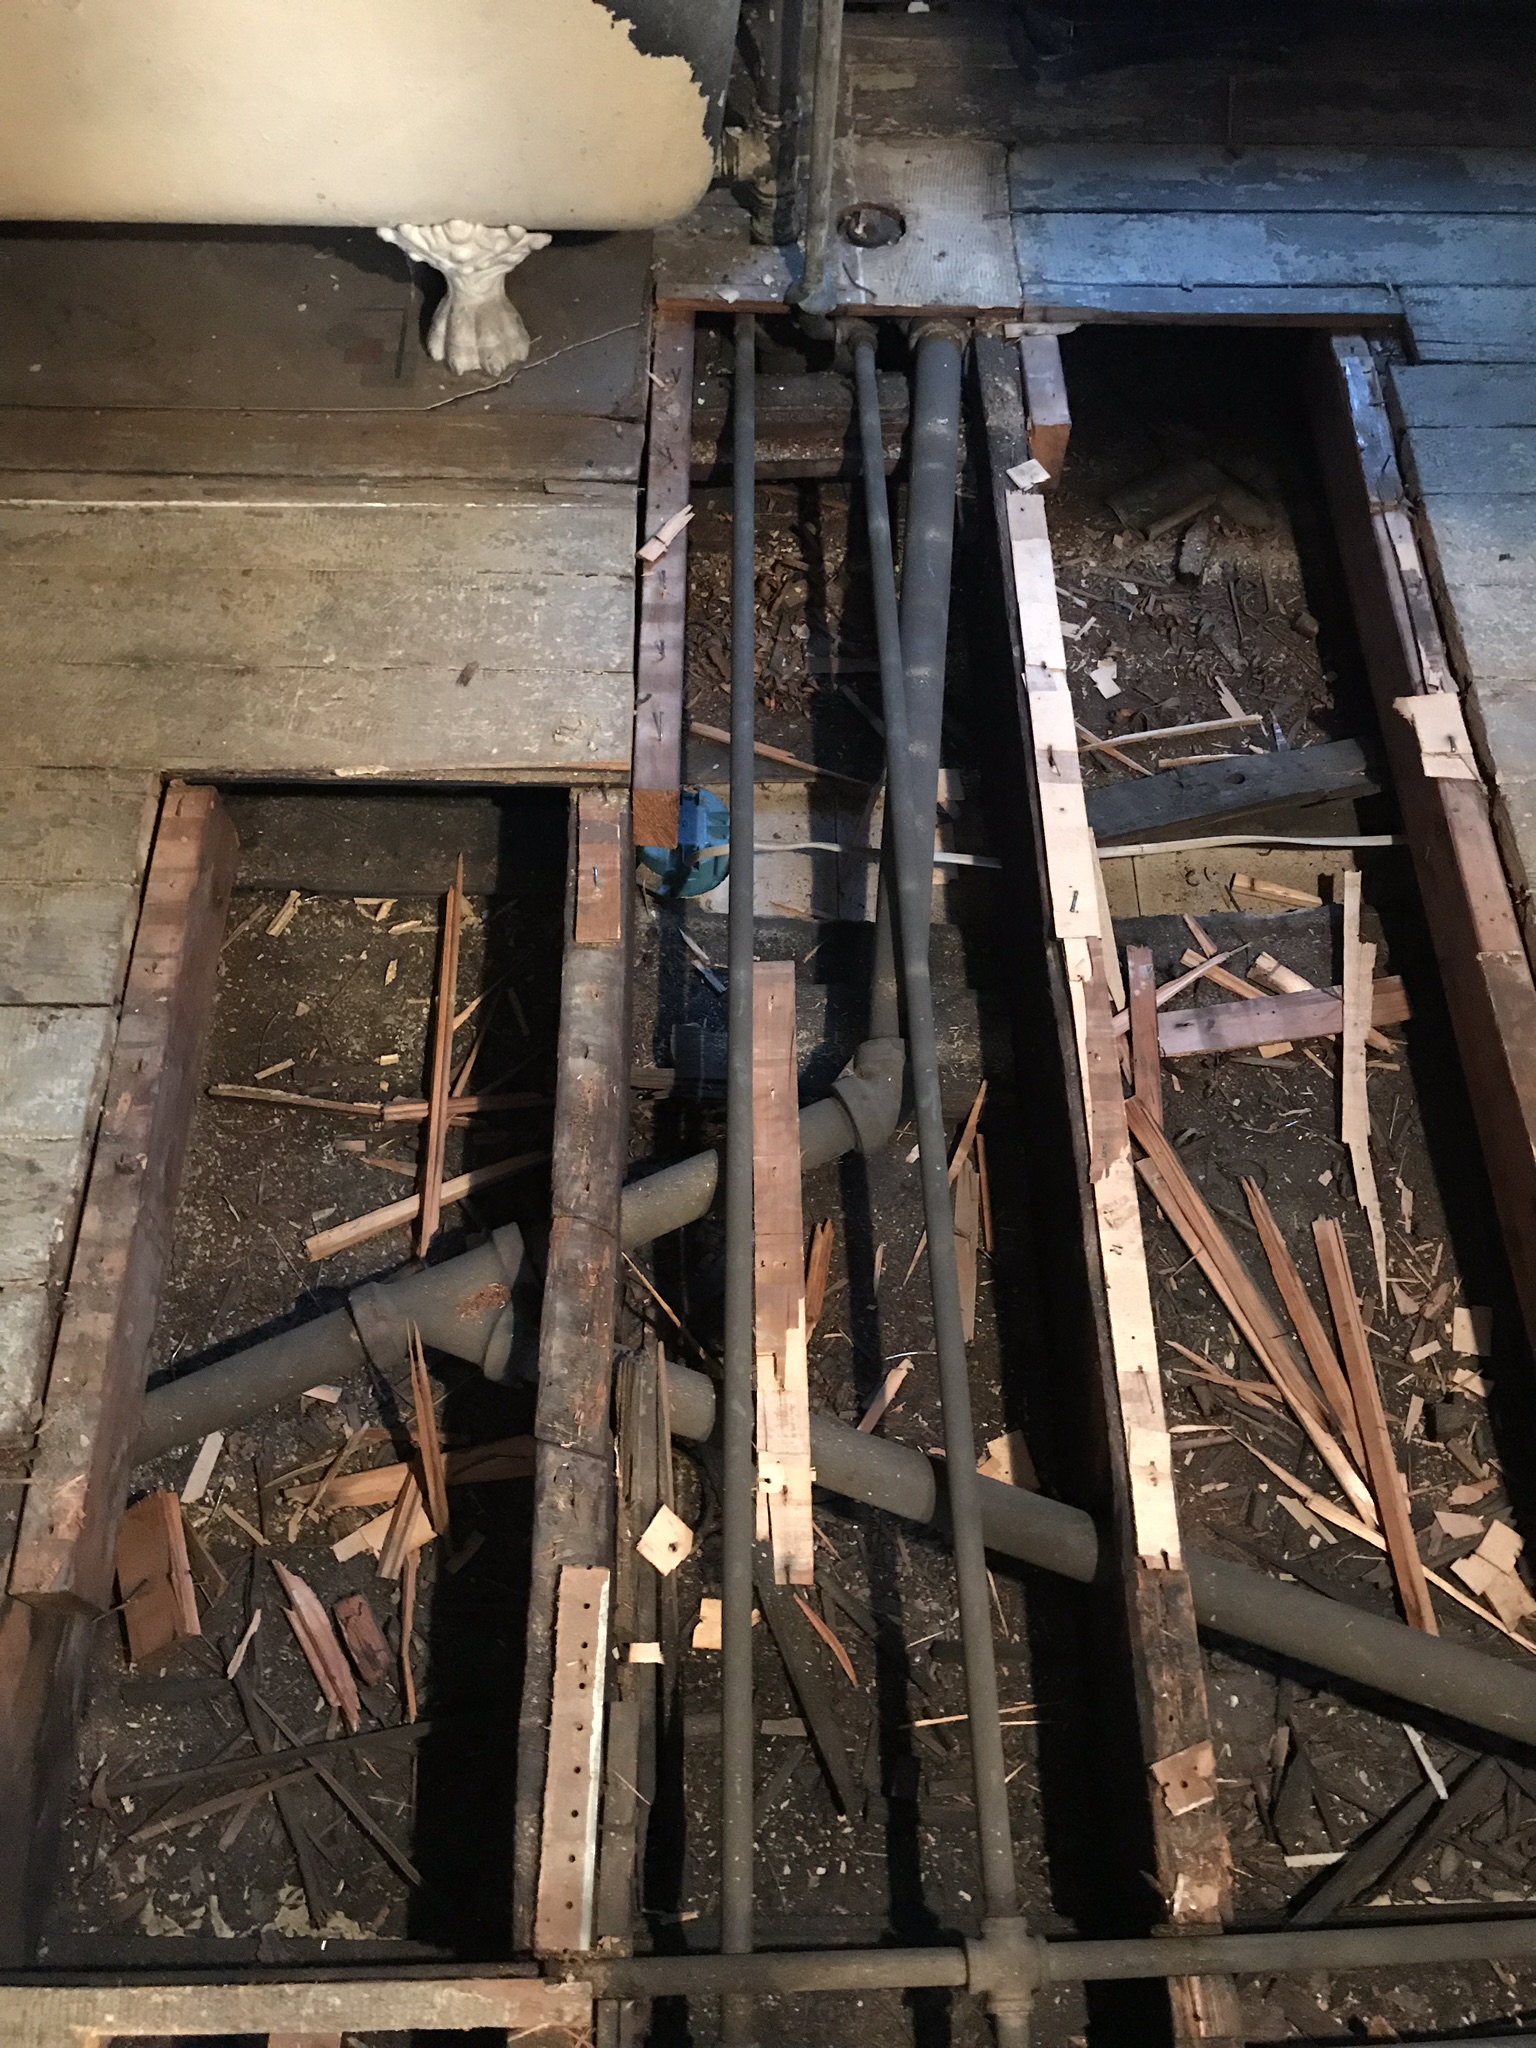
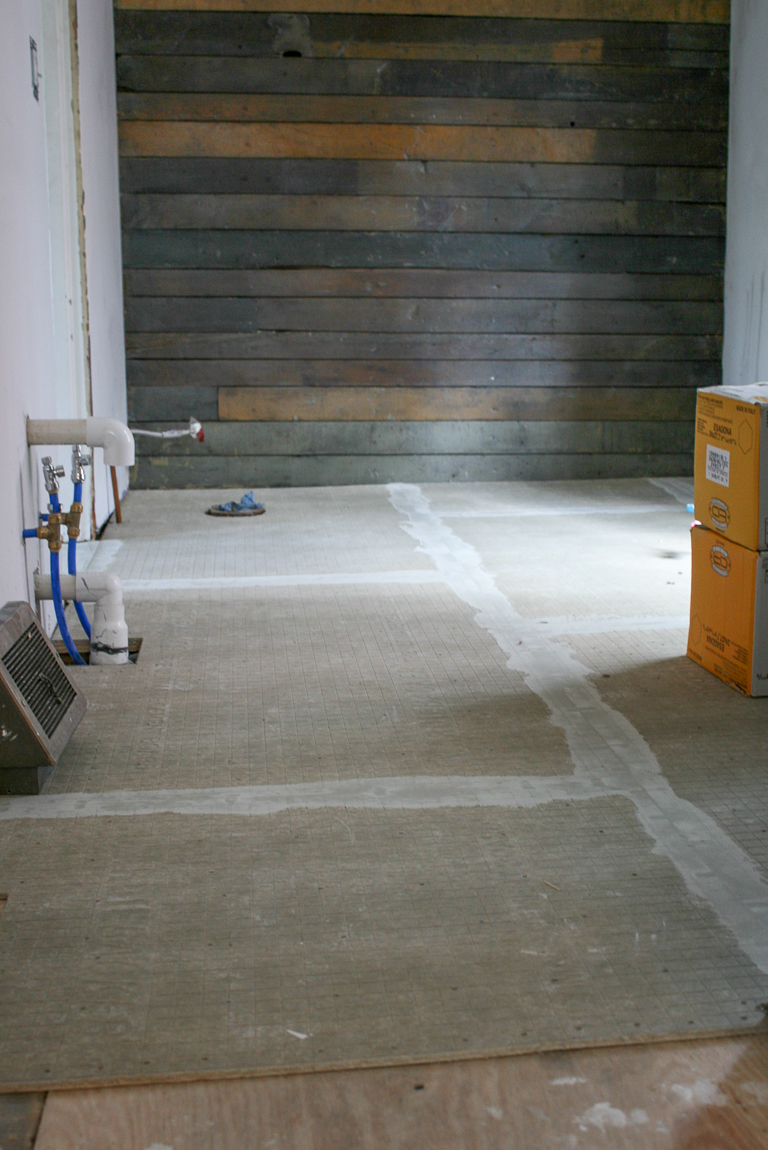
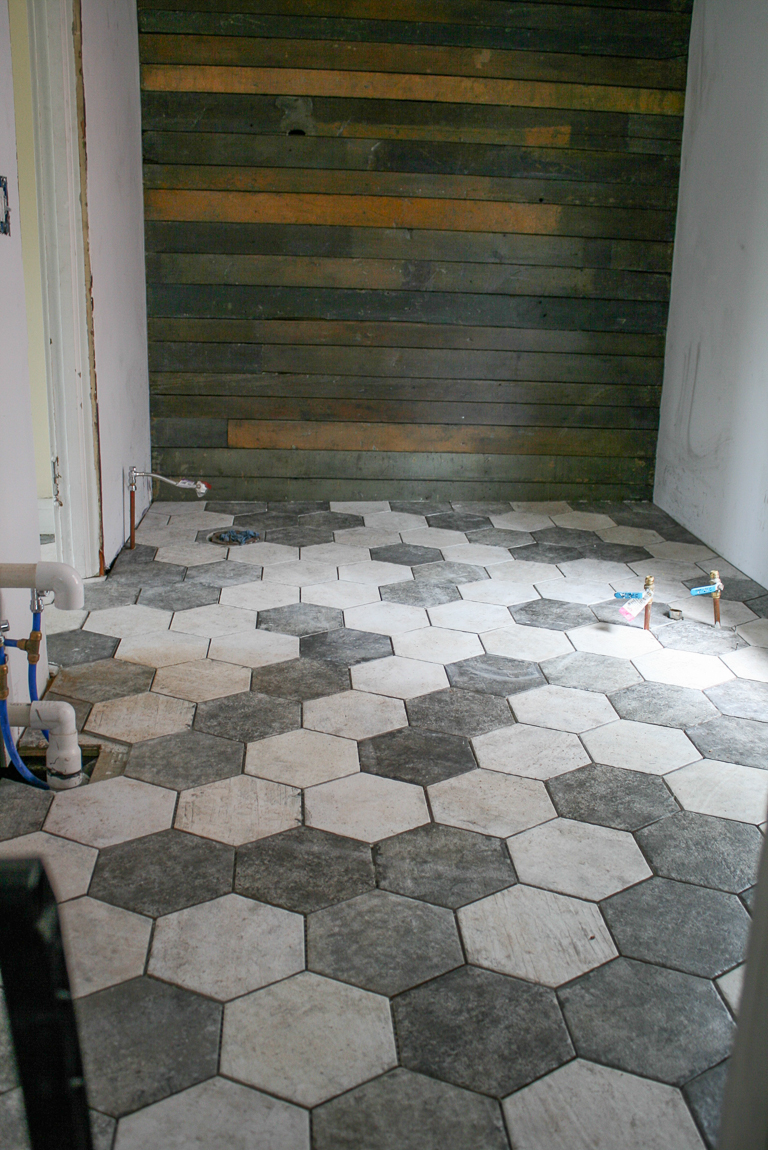
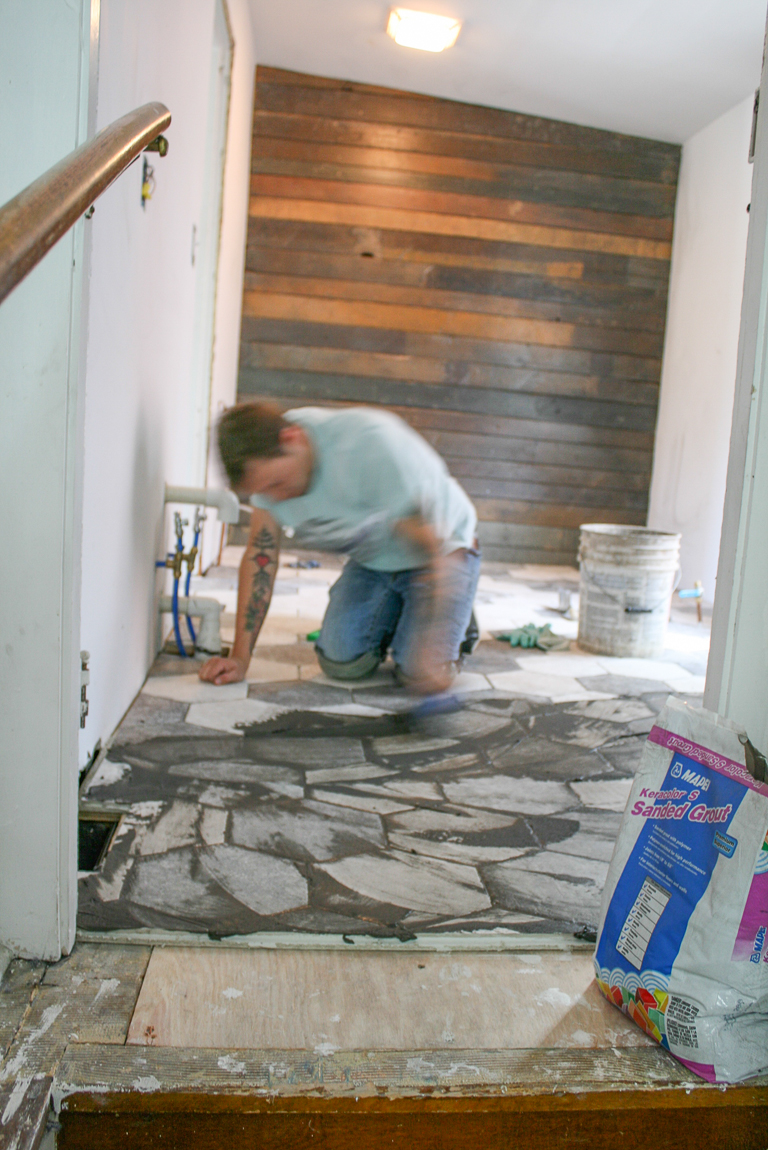
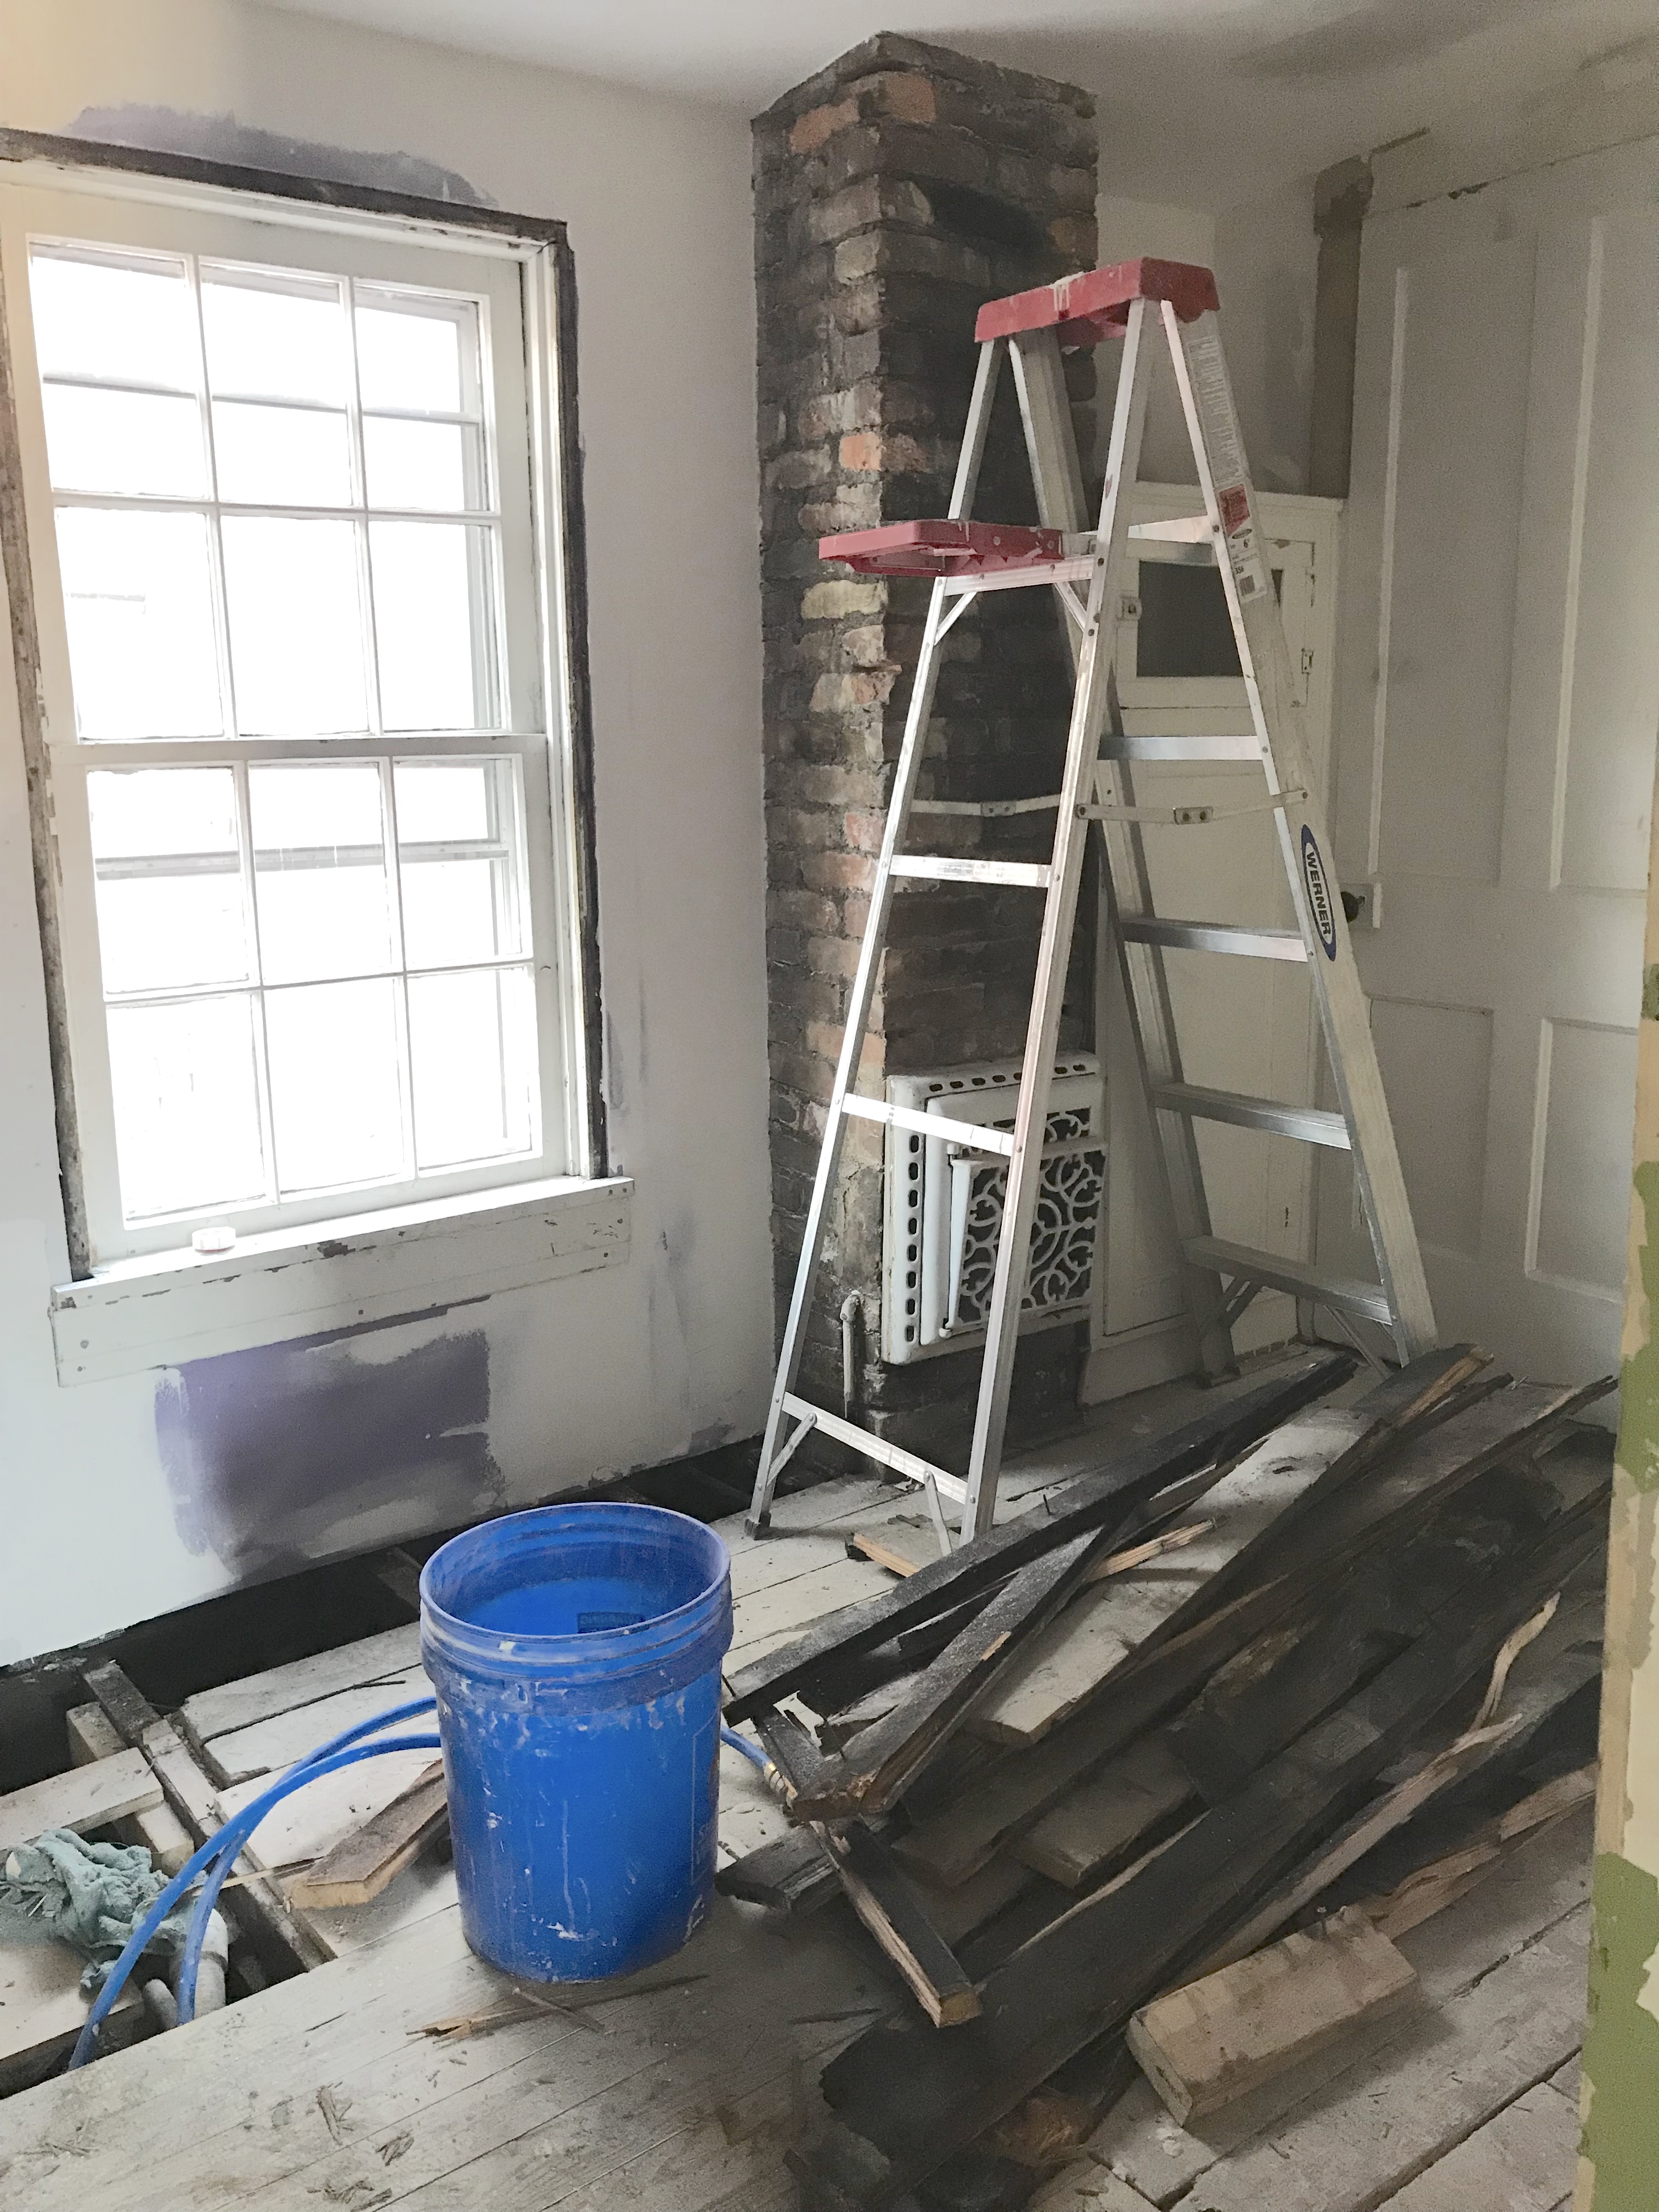
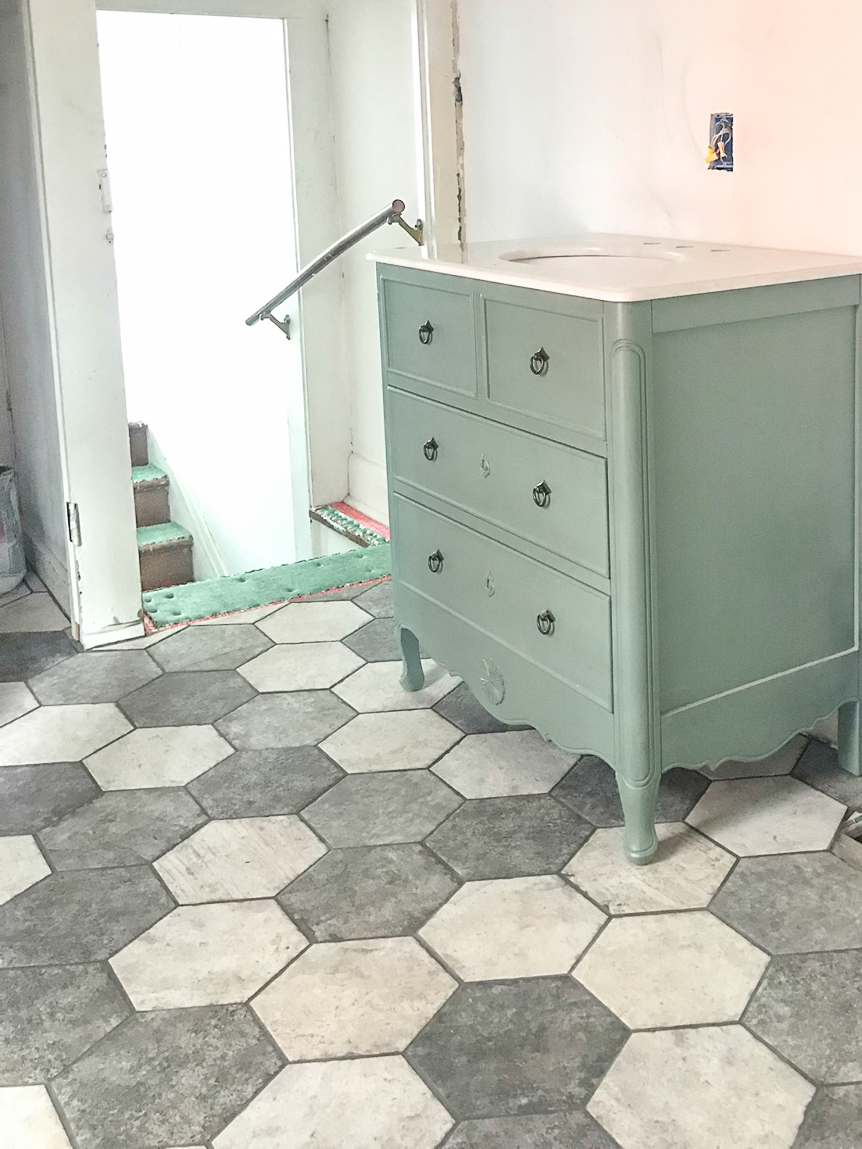
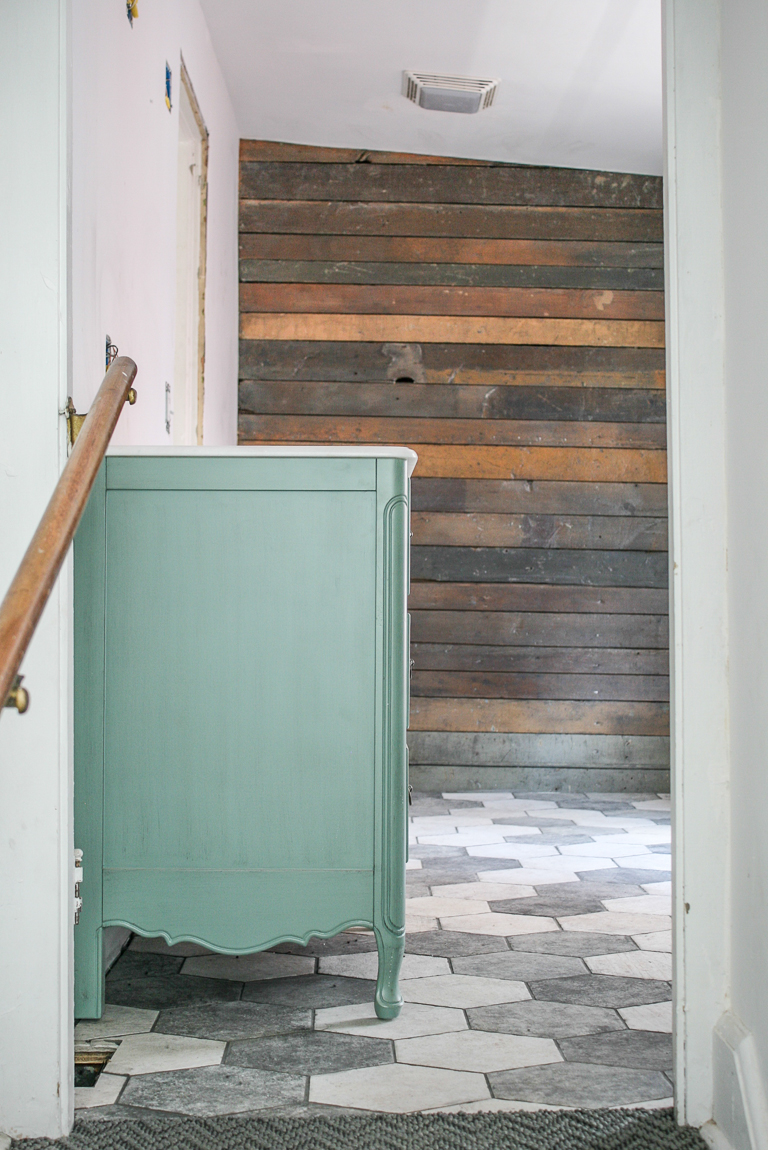
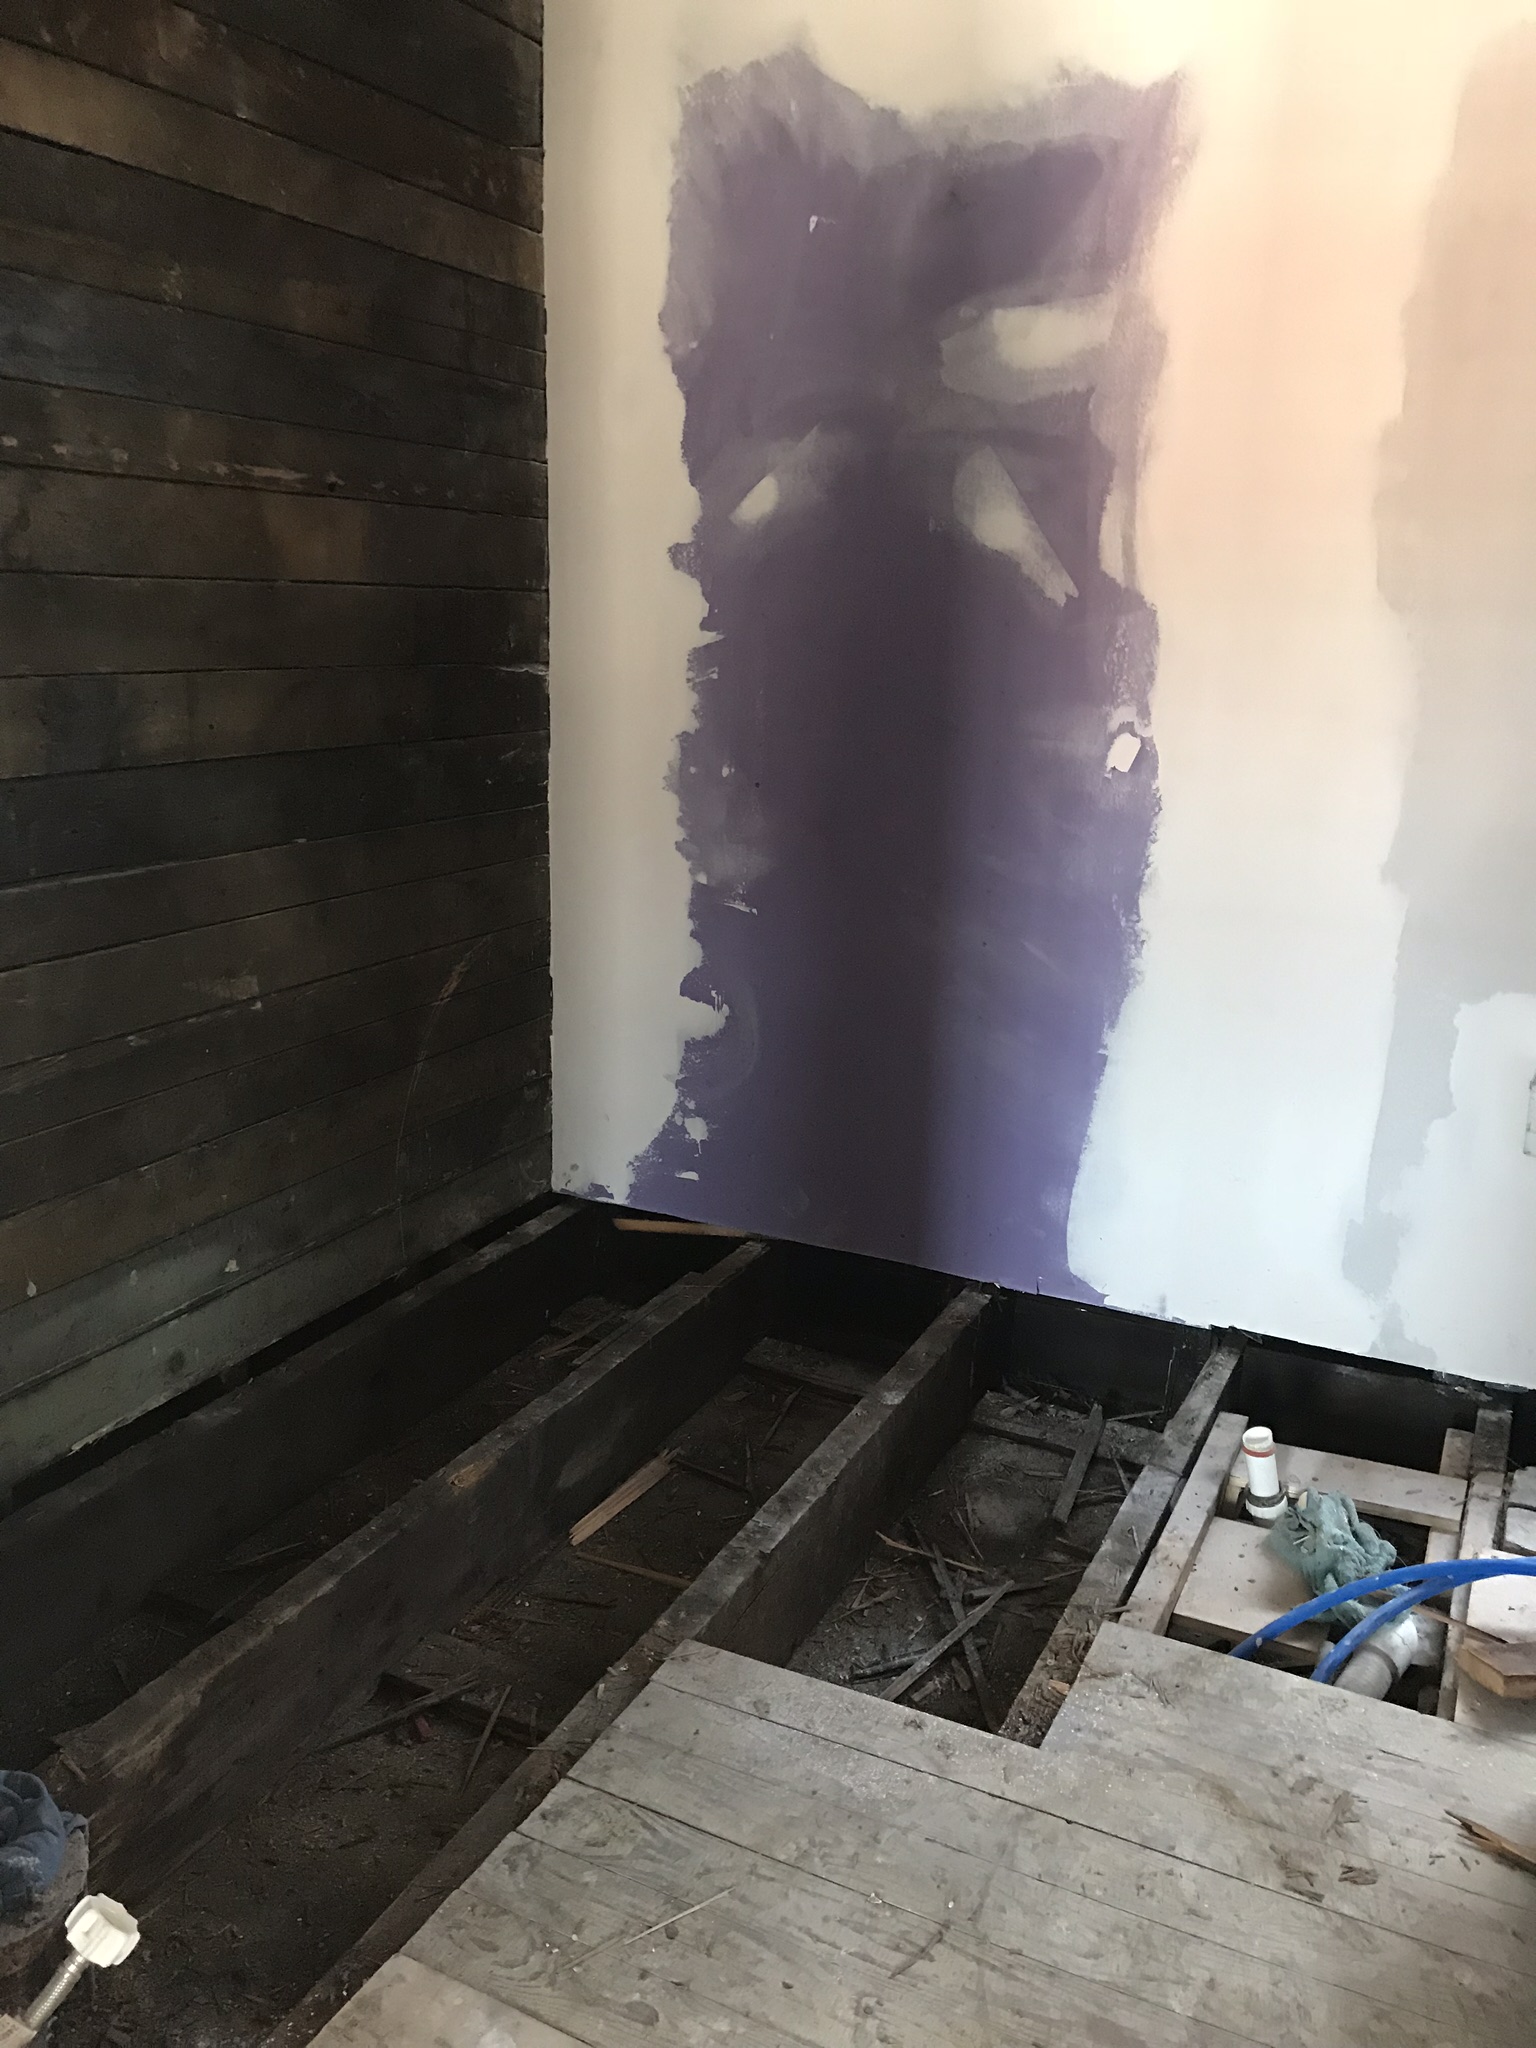
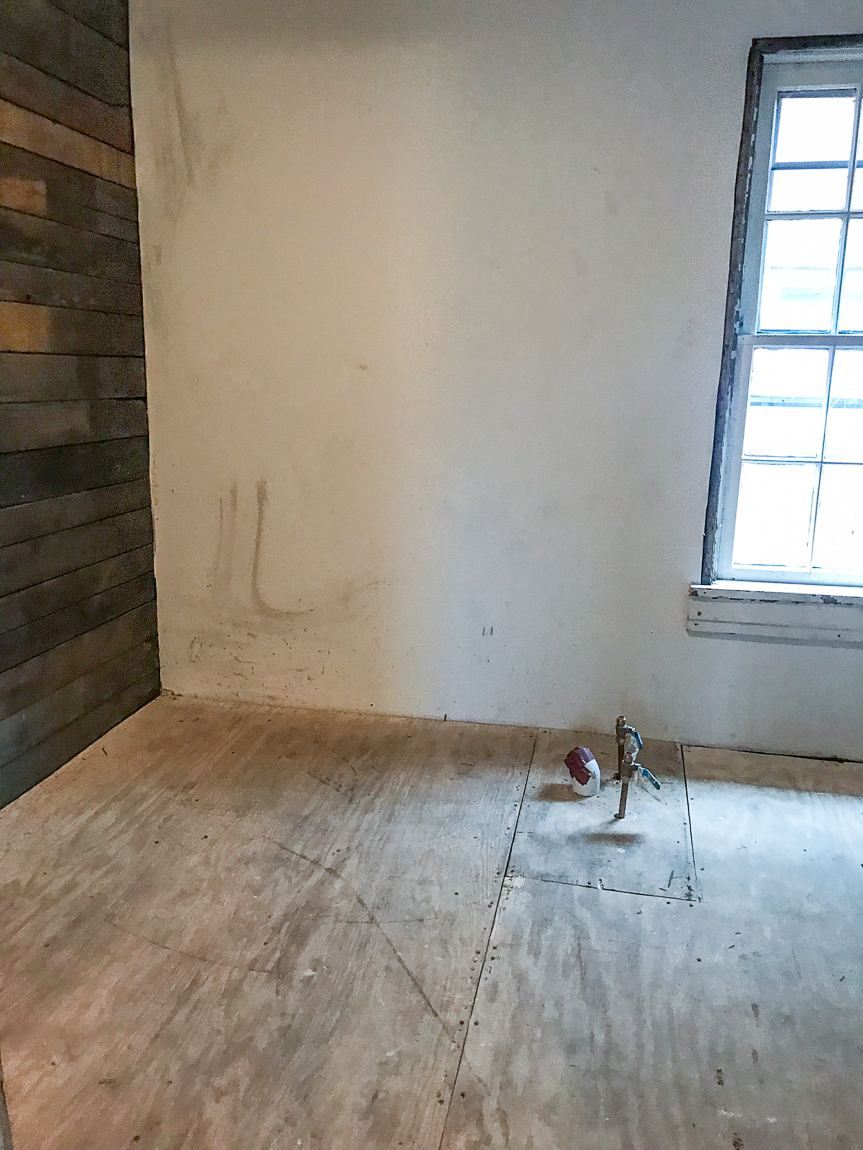
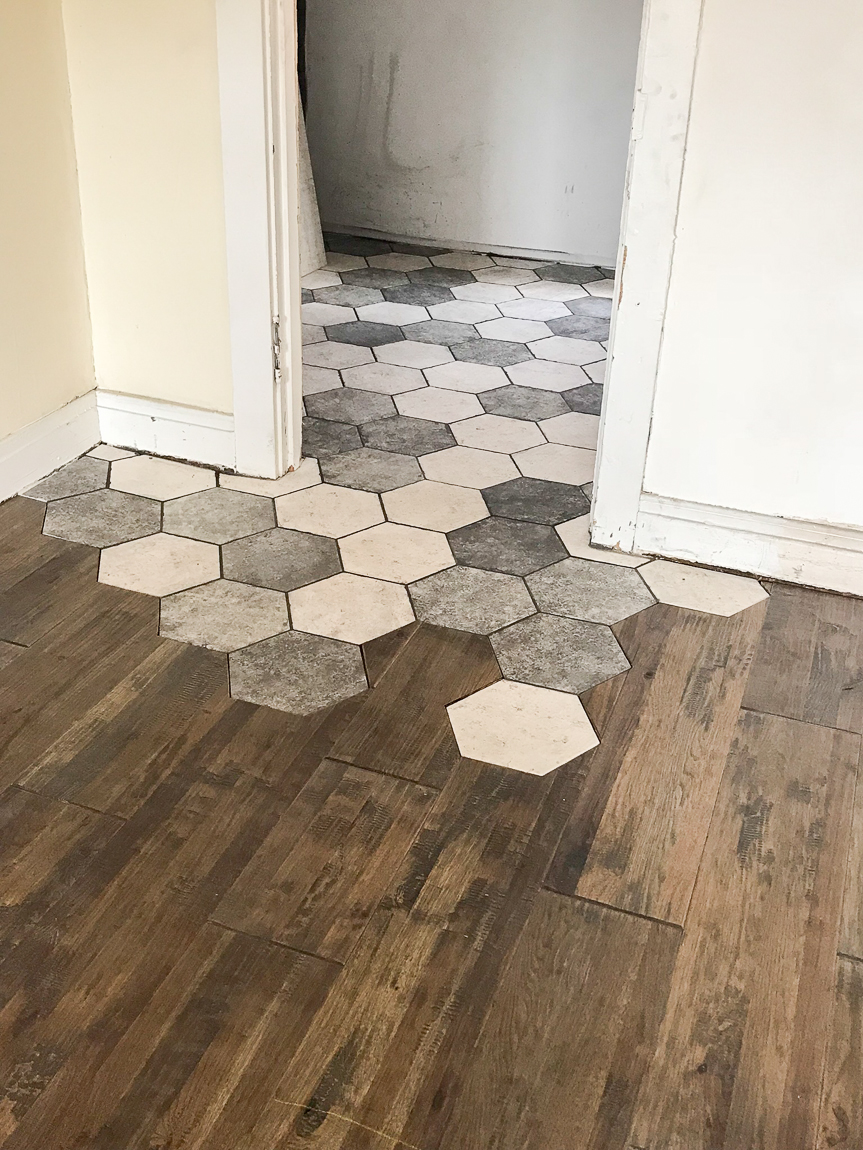
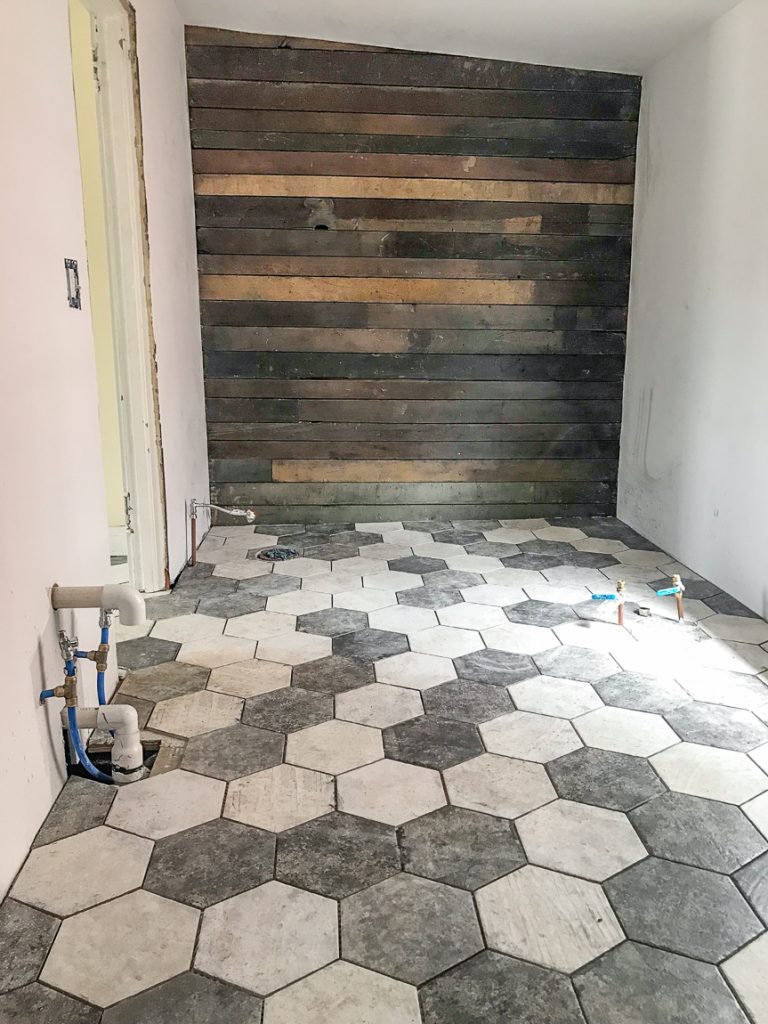
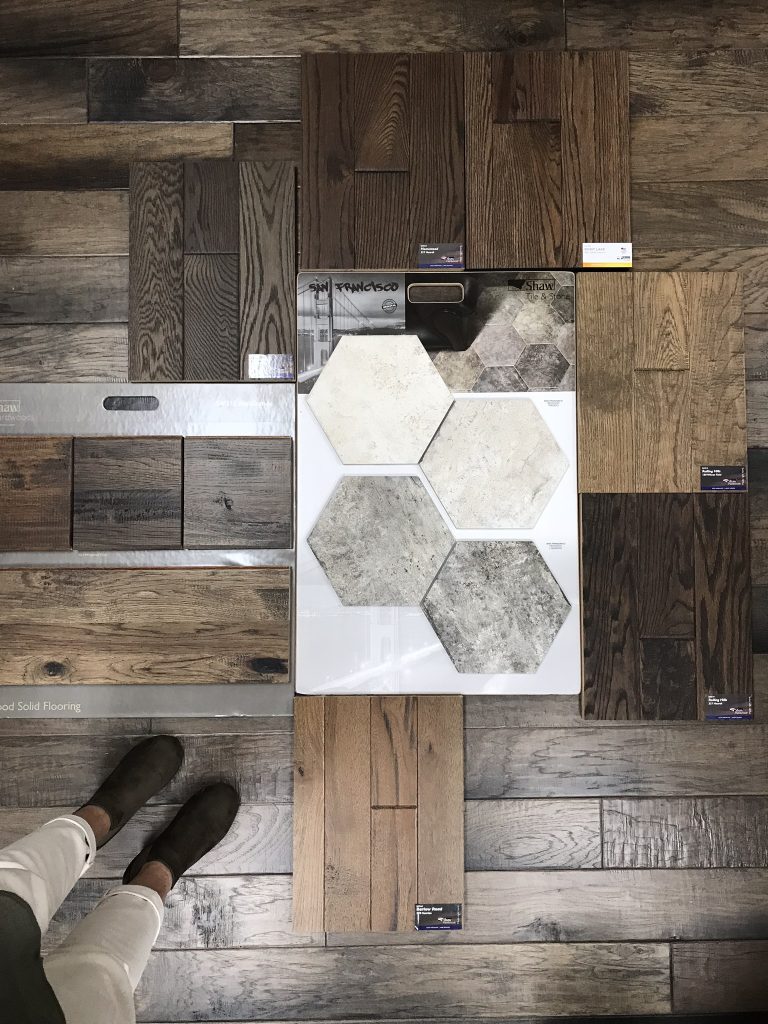
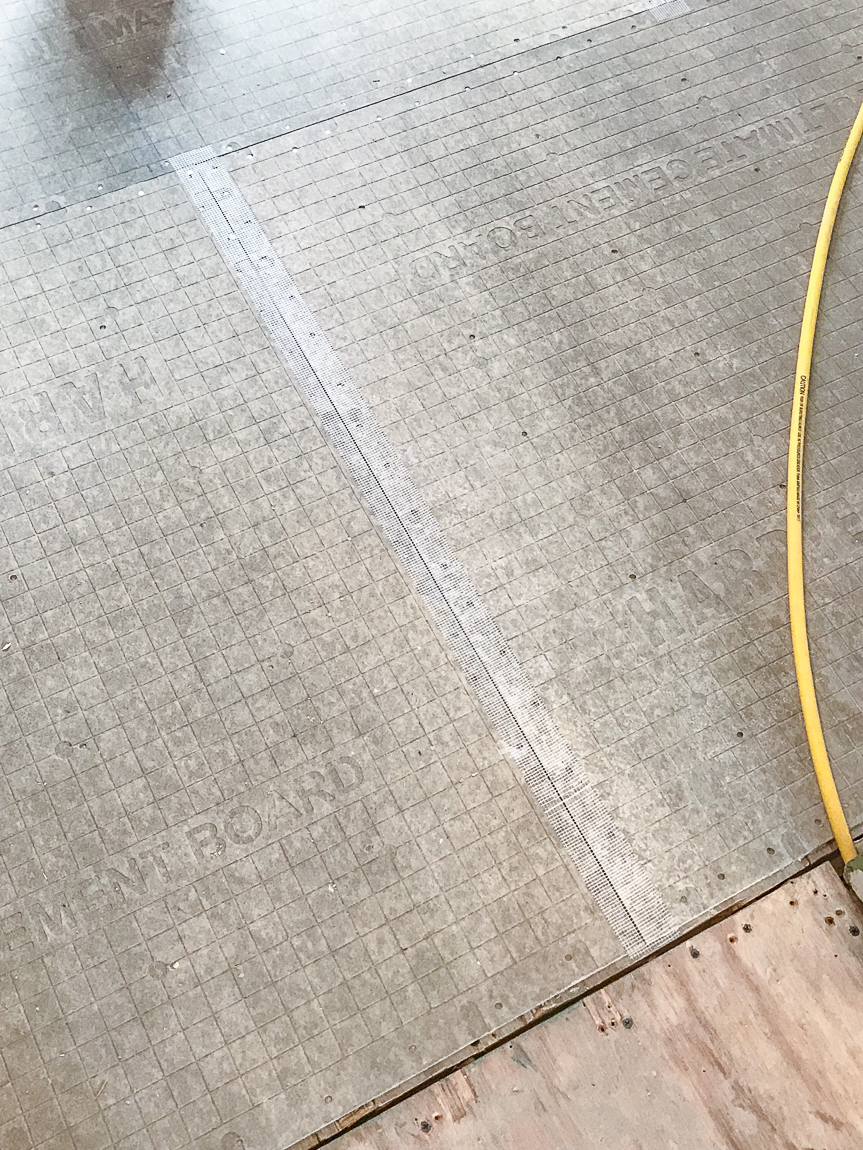
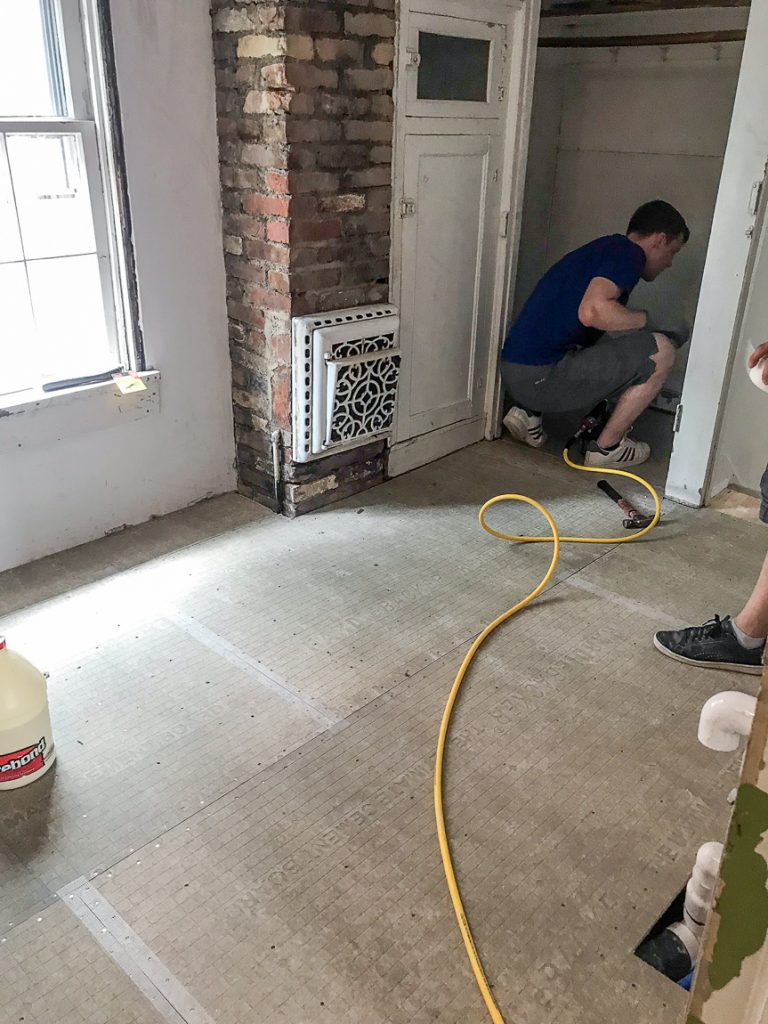
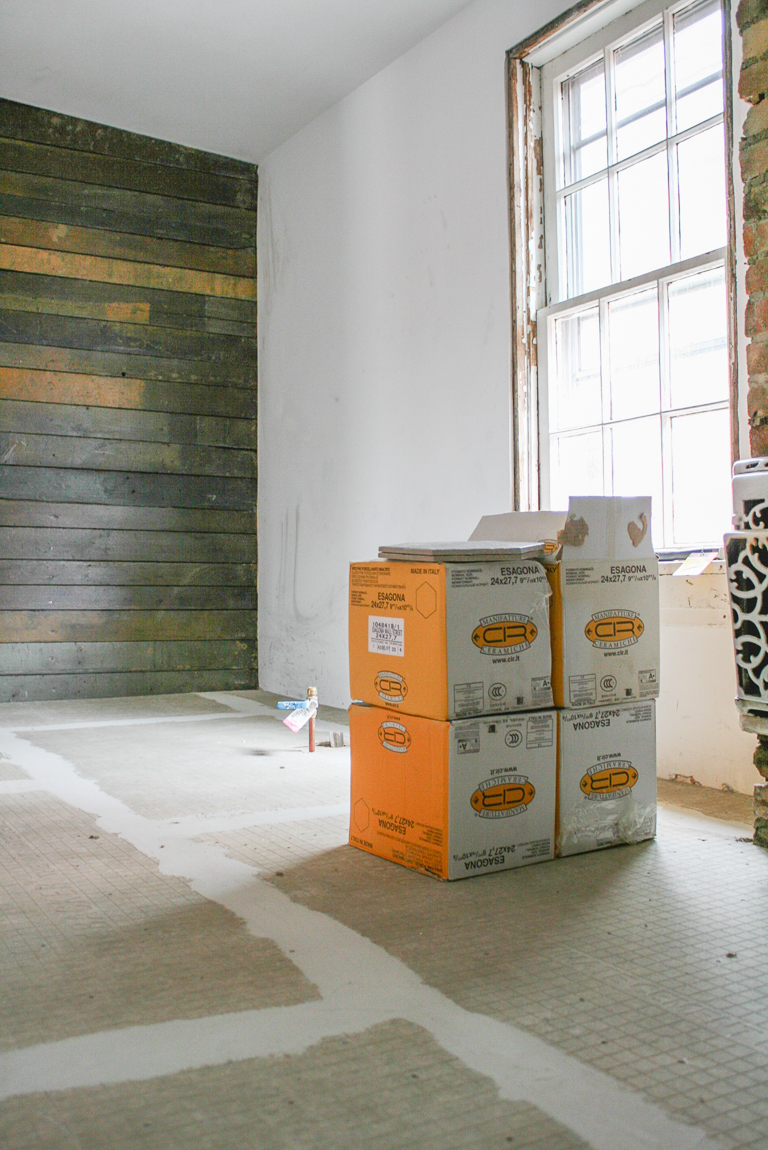
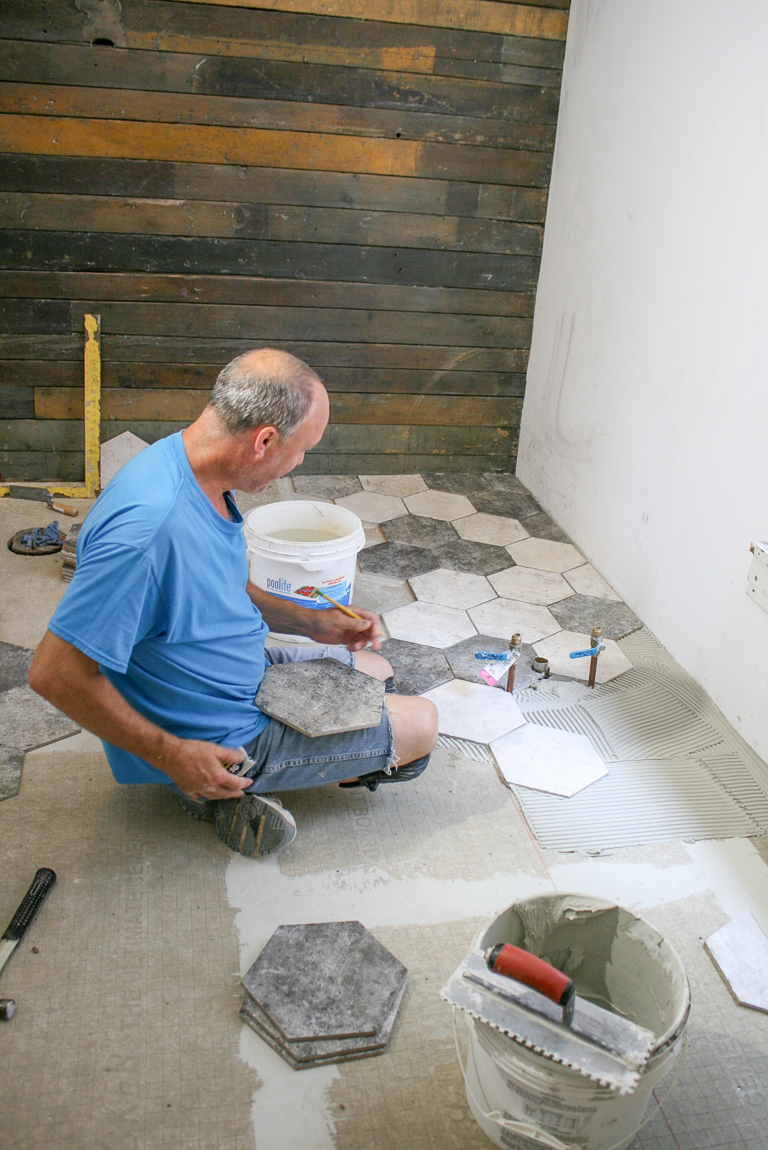
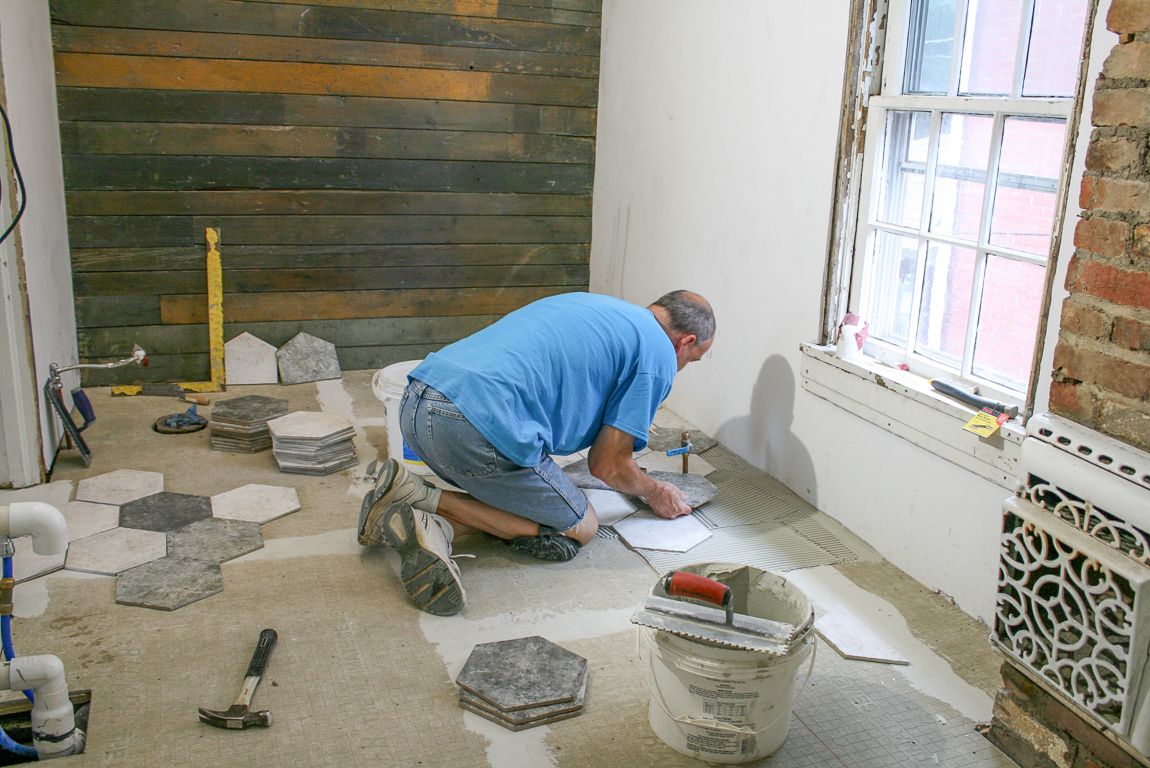
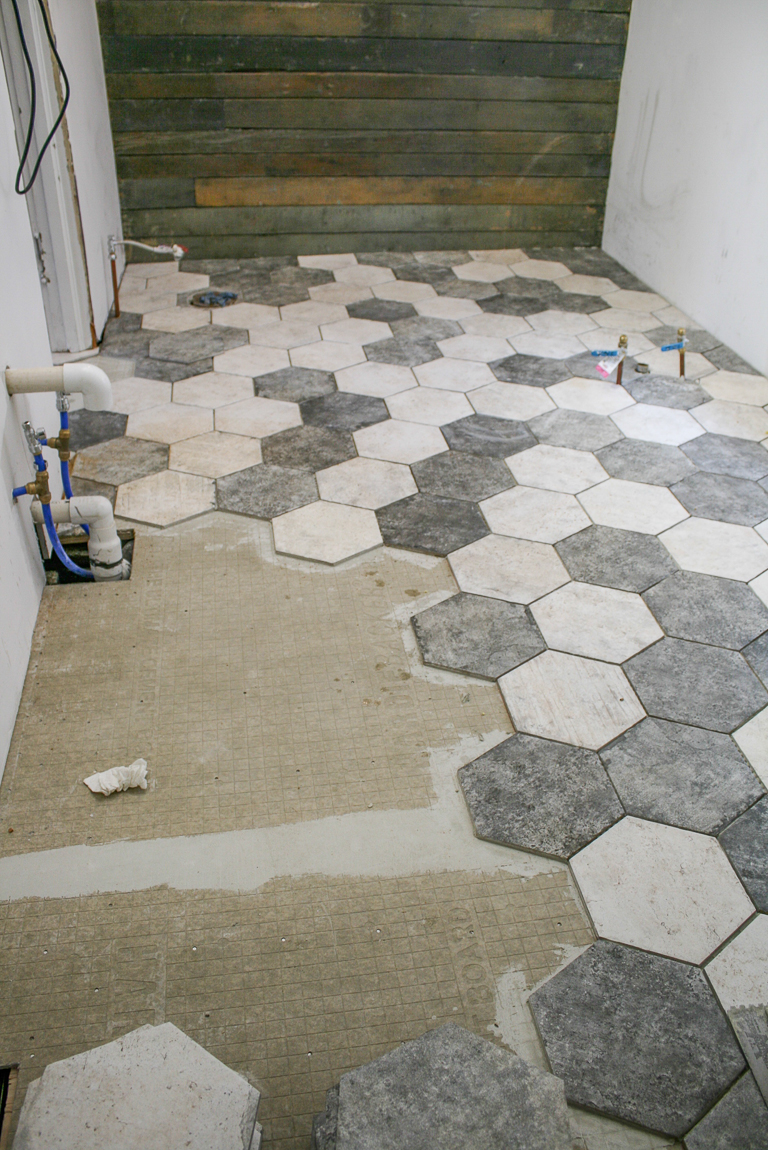
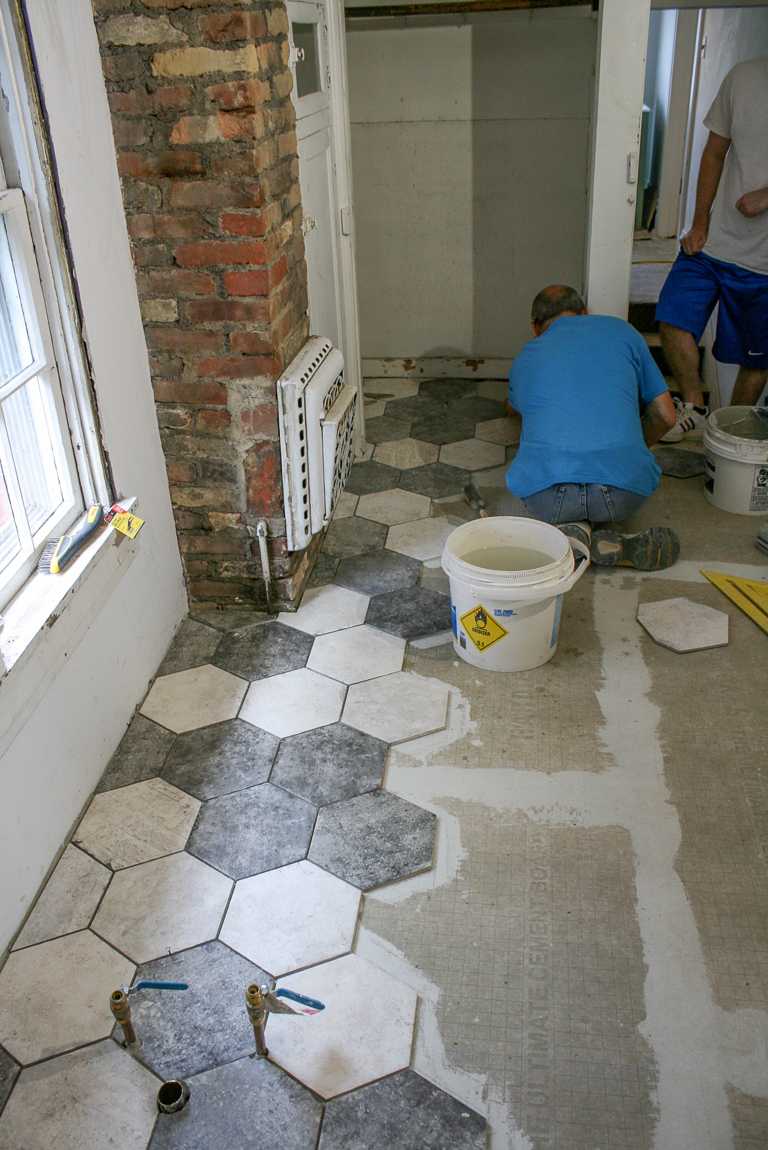
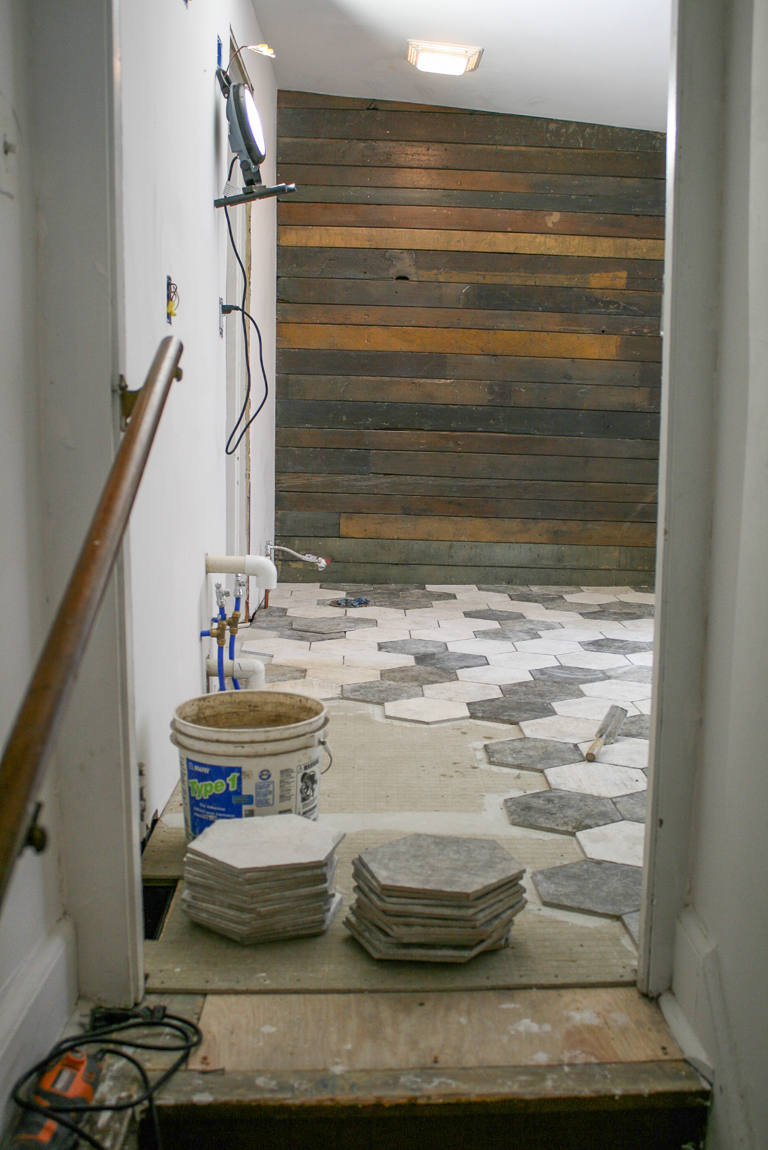
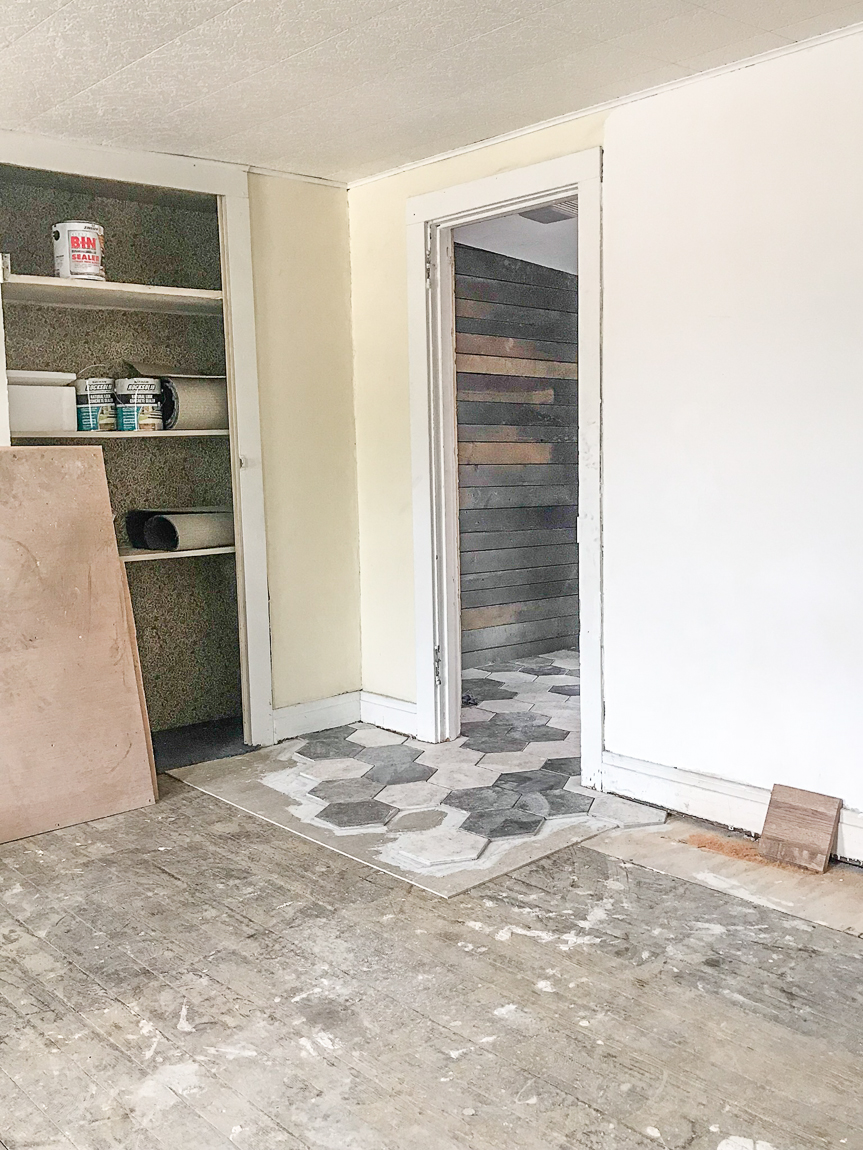
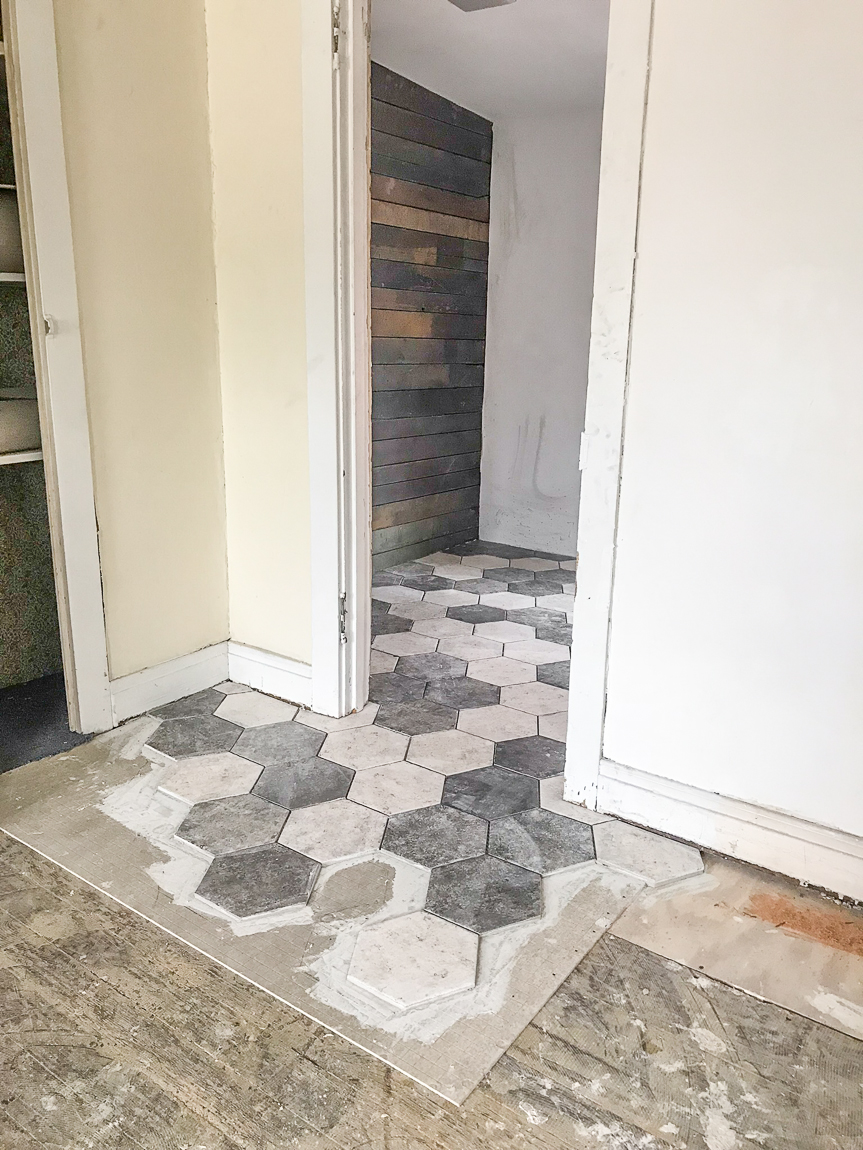
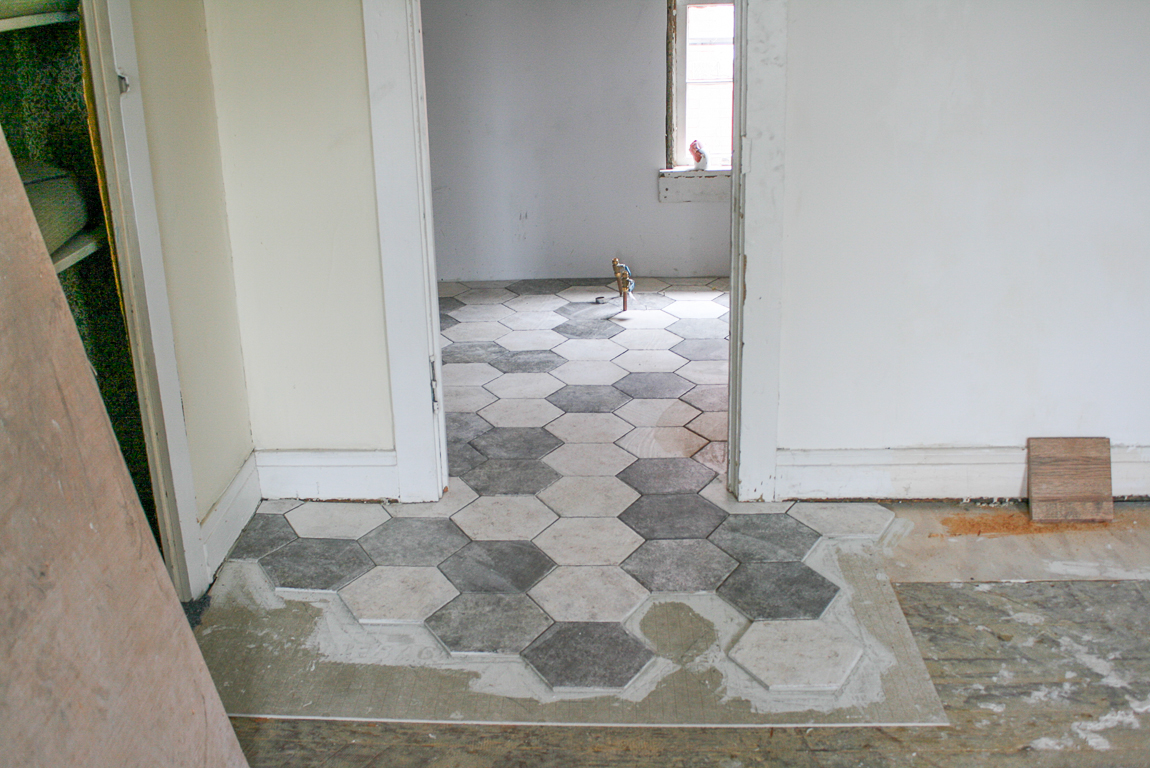
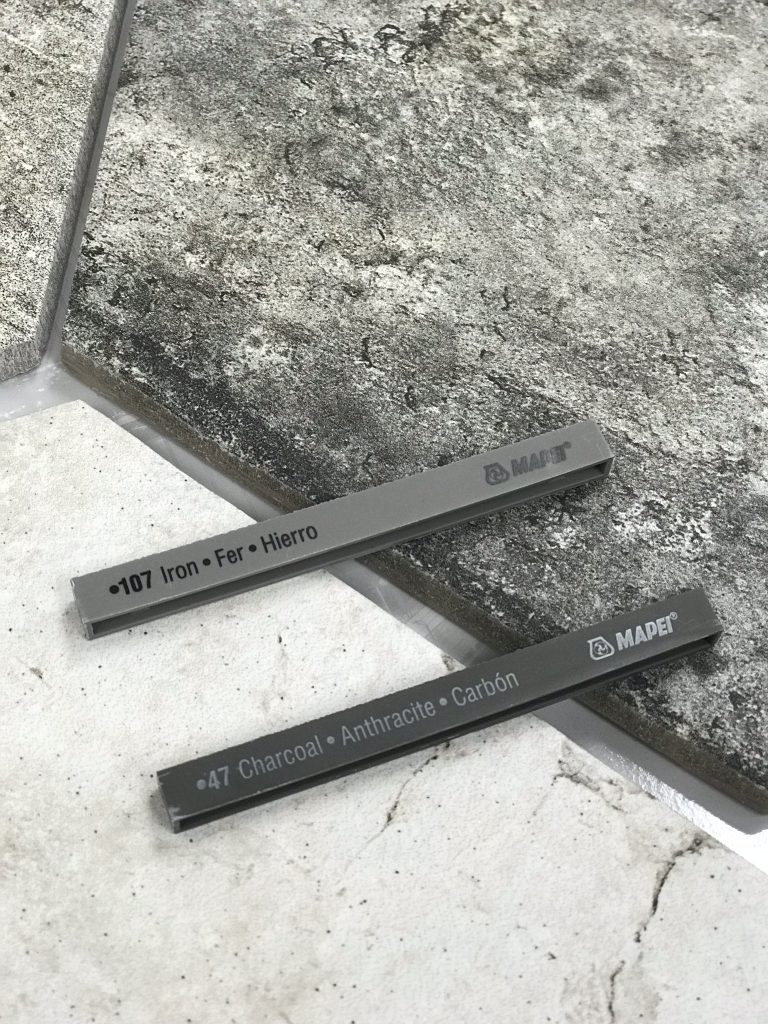
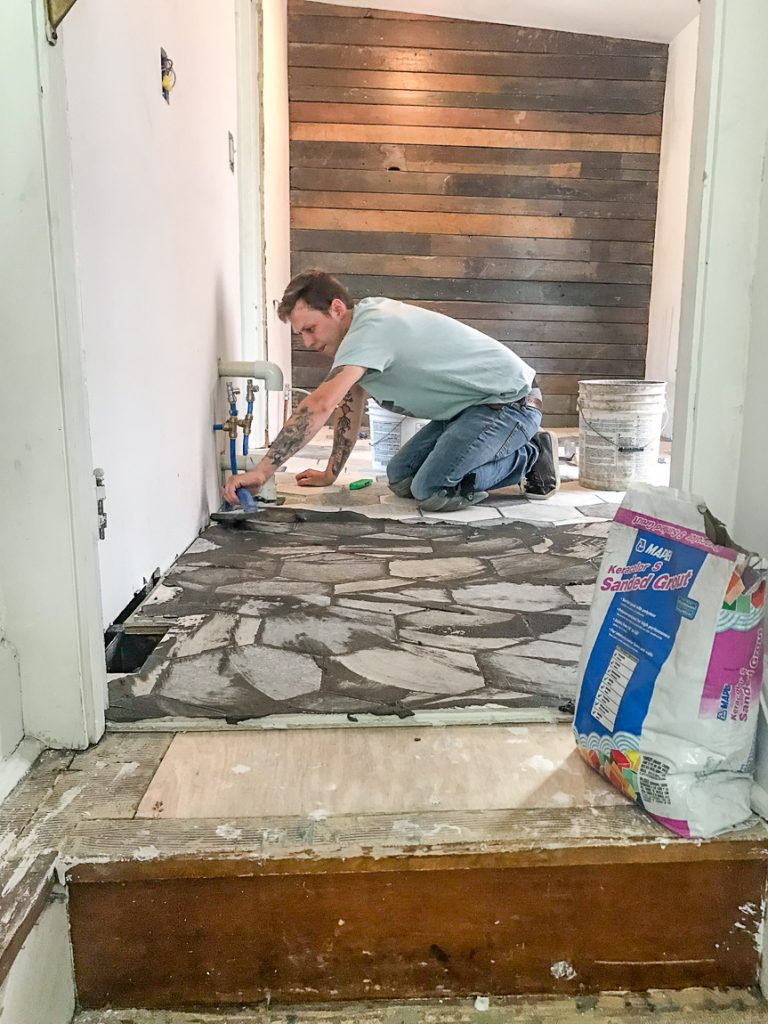
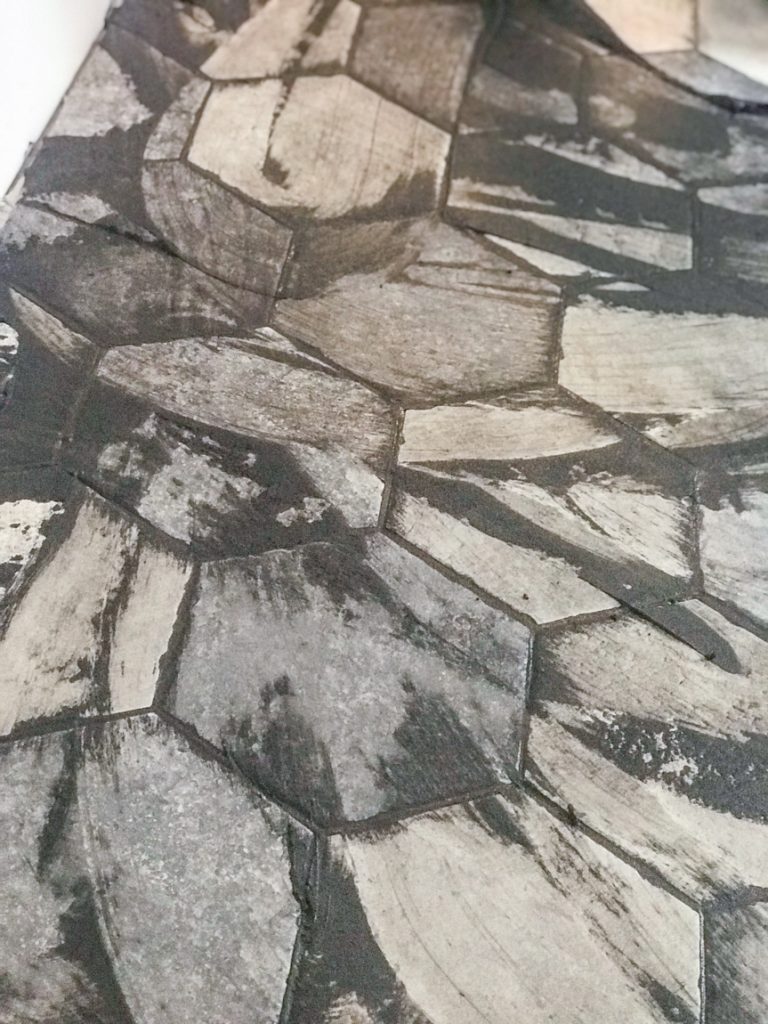
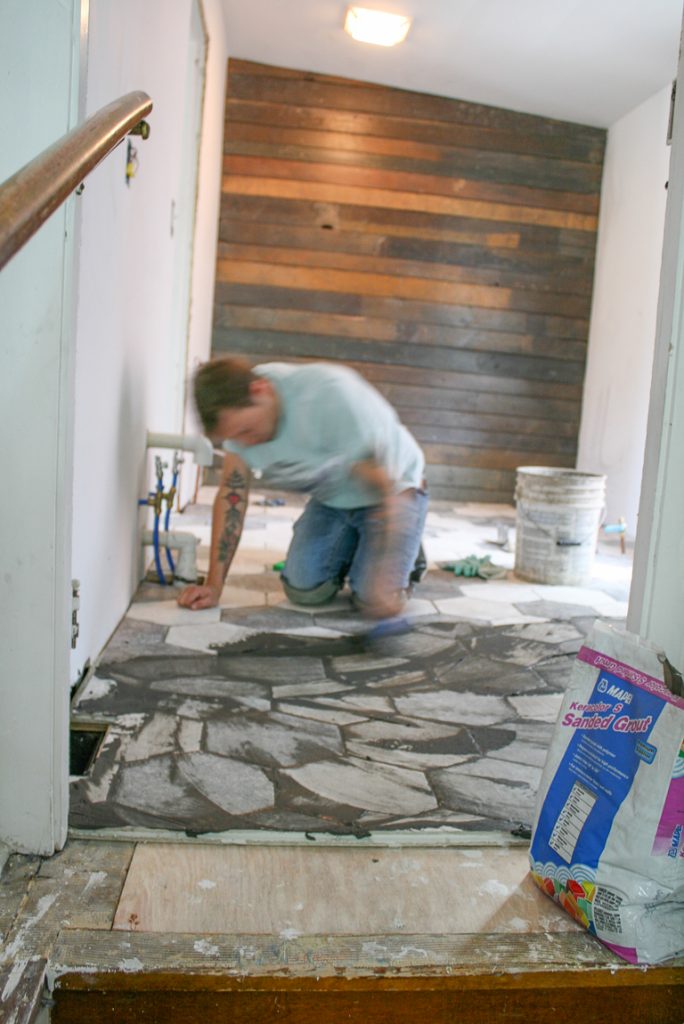
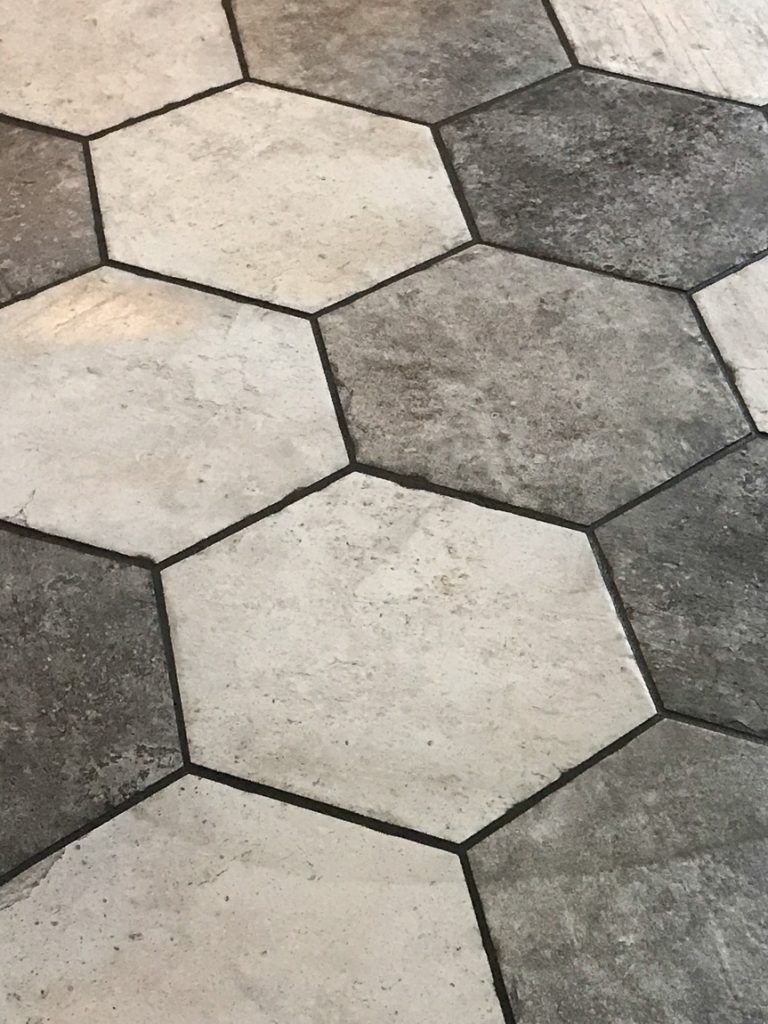
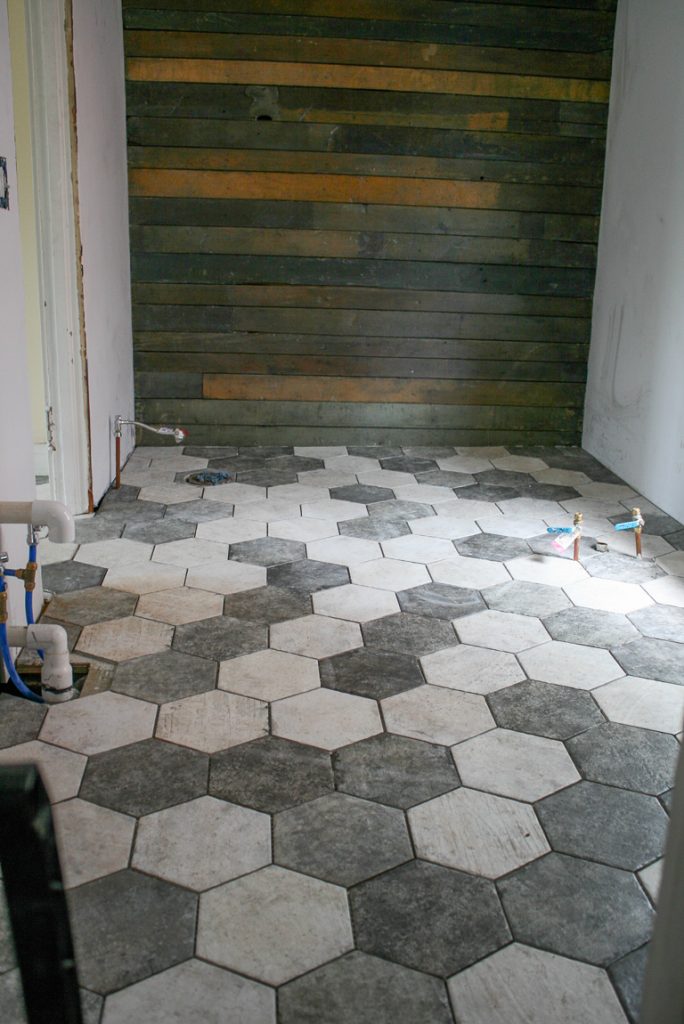
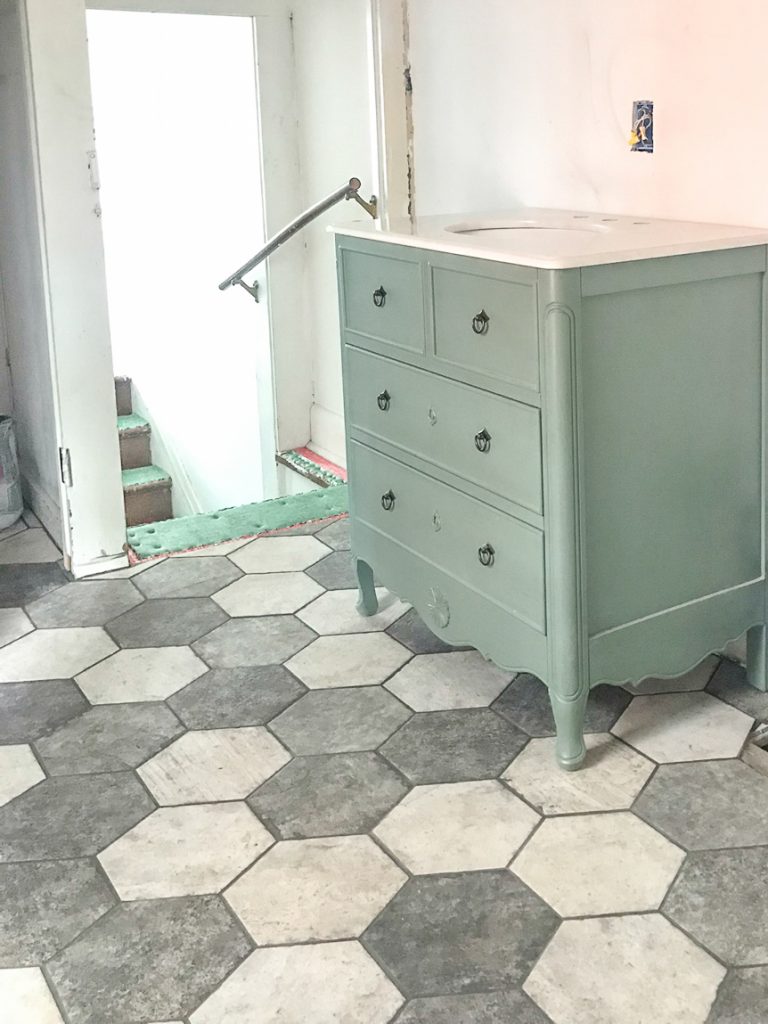
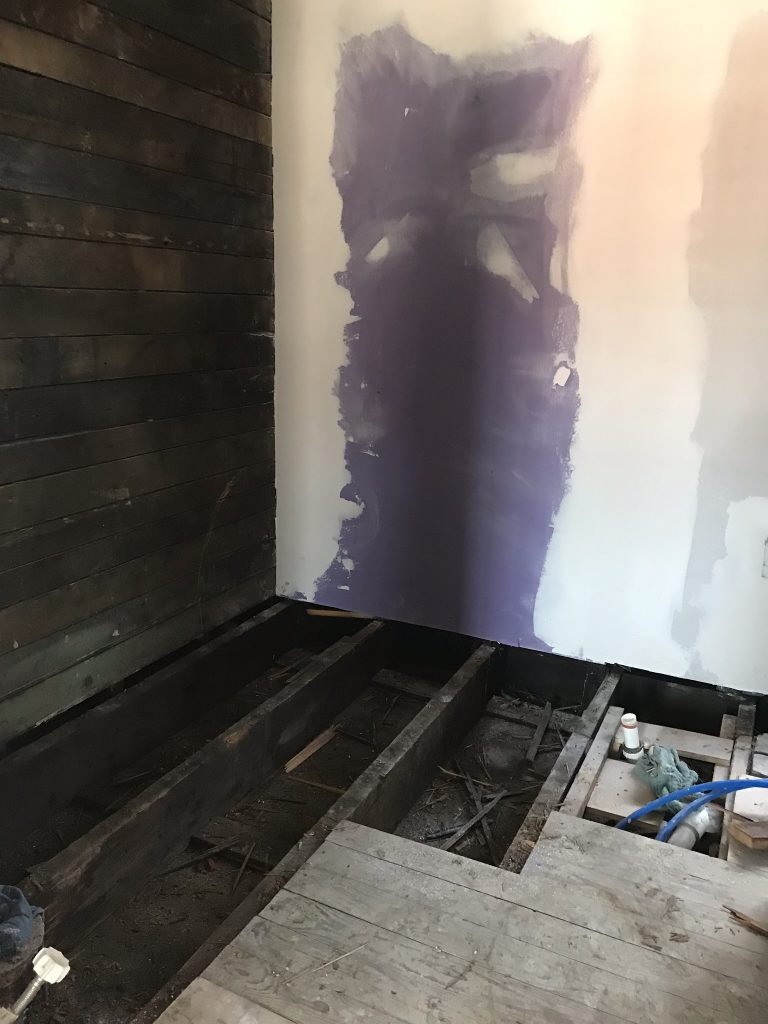
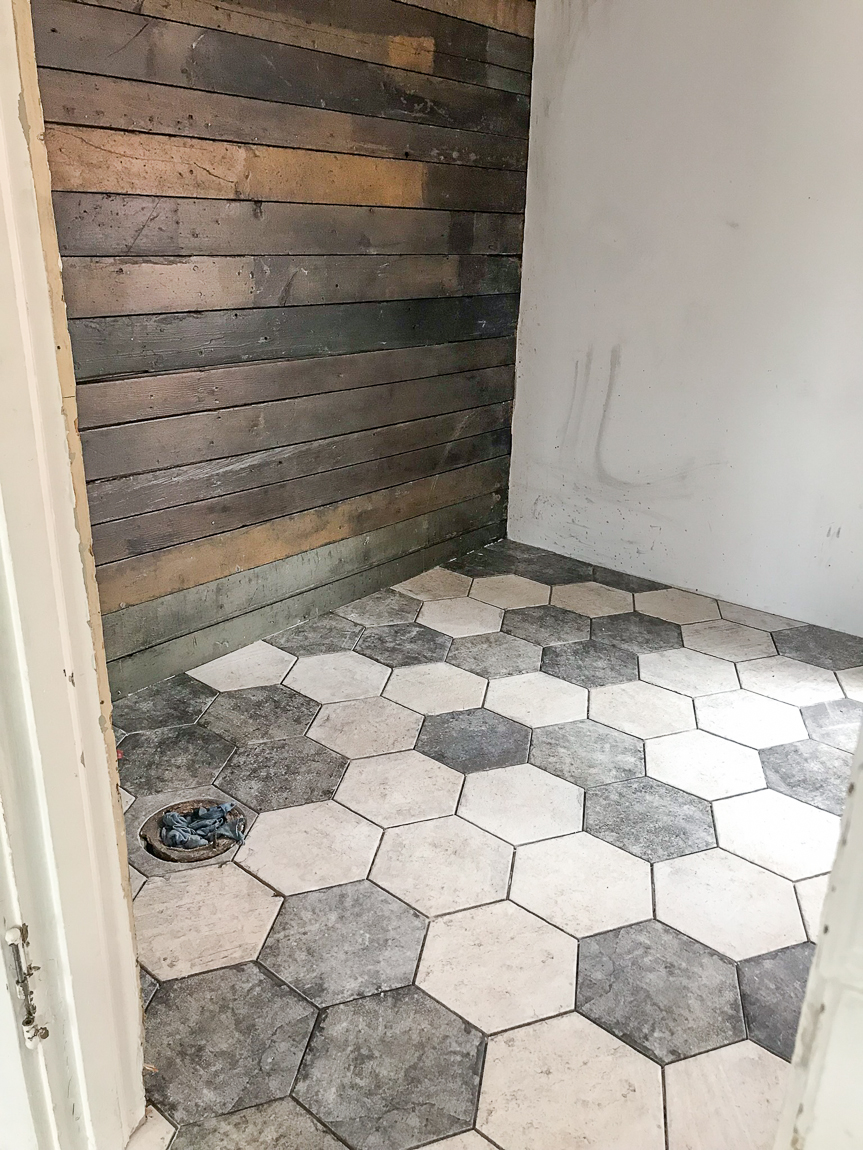
The floor – nothing is square or level but I insisted on installing tile. So, the floor was completely removed and a new level subfloor installed. You can see more about the gorgeous Shaw Floors tile I chose and installation here –> Bathroom Flooring

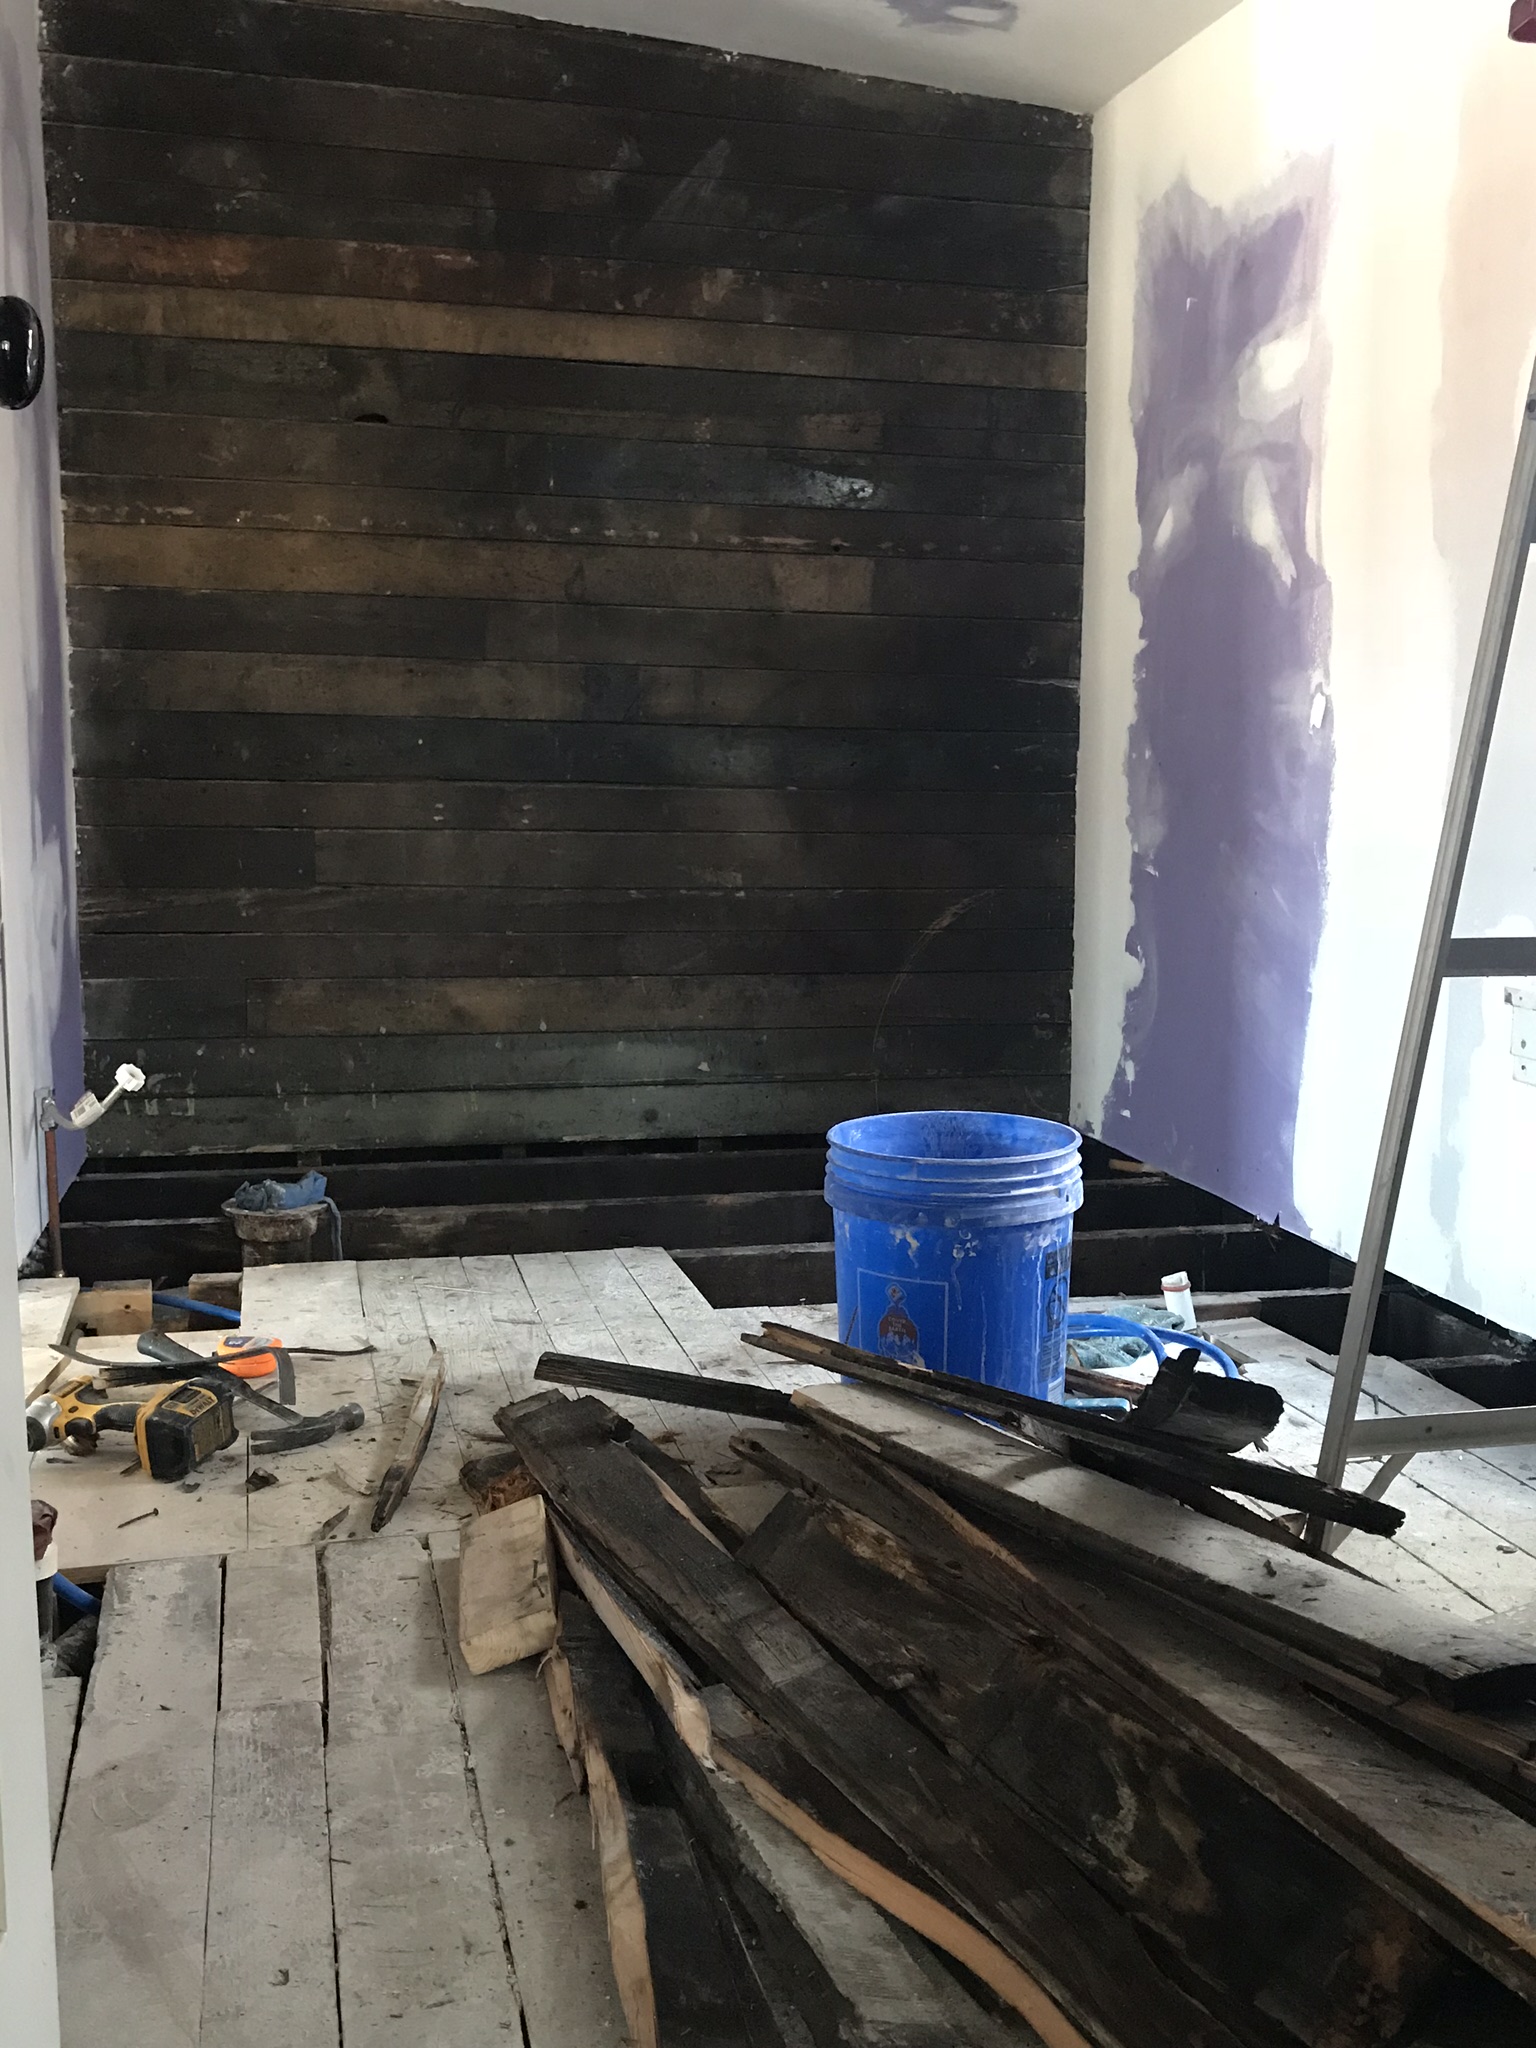
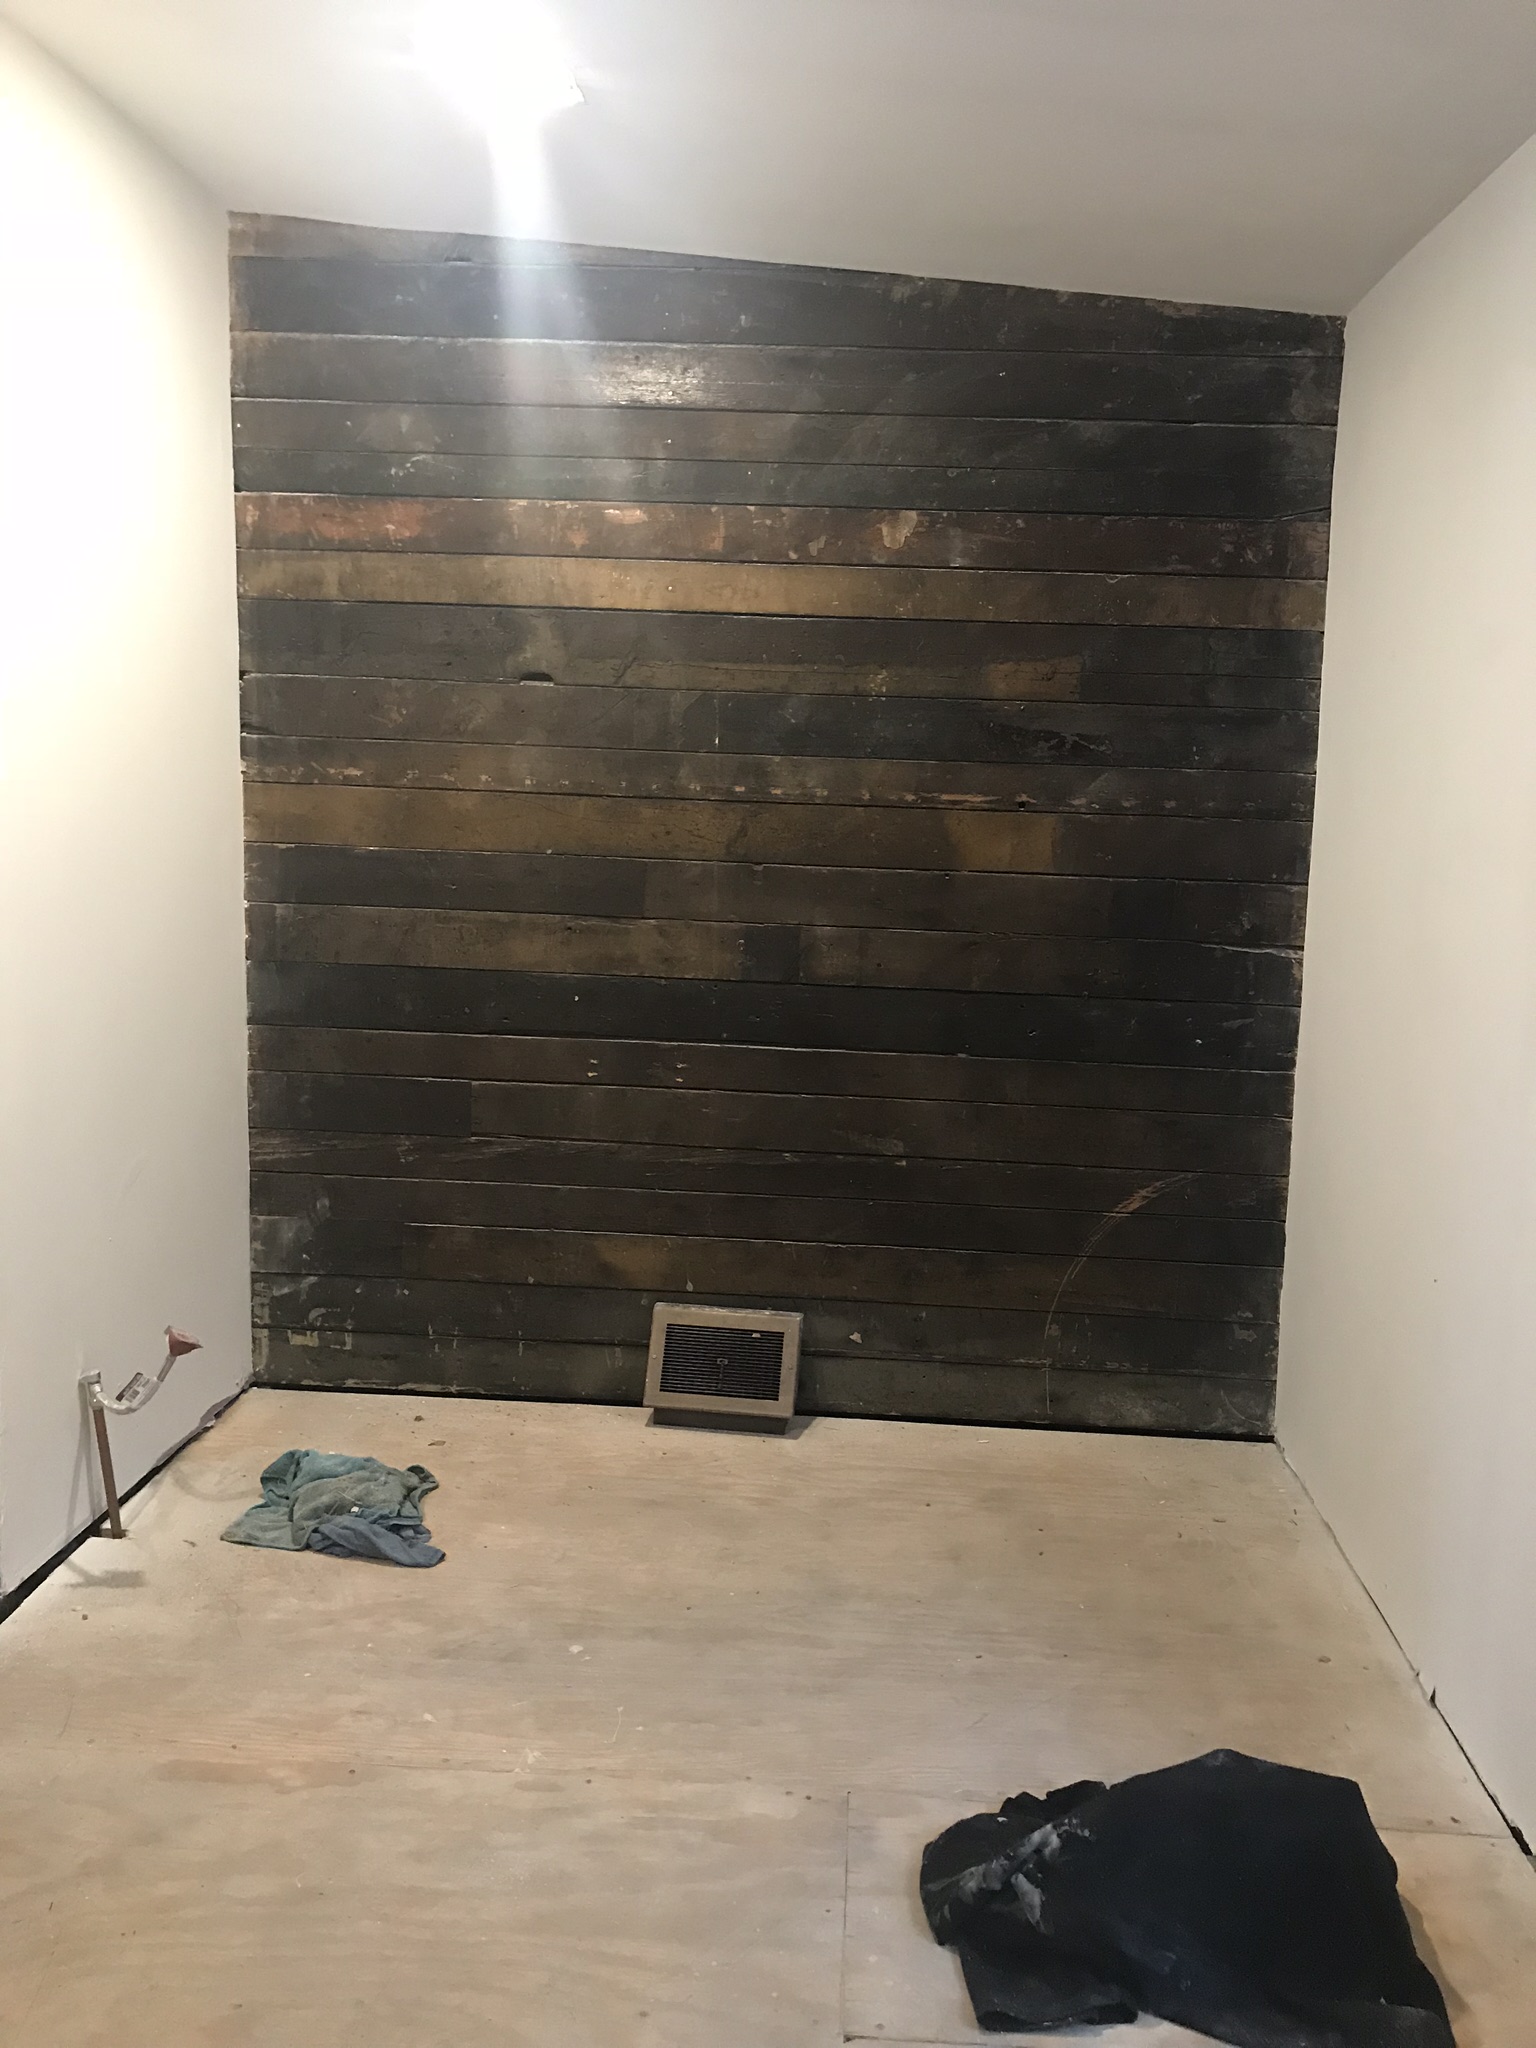
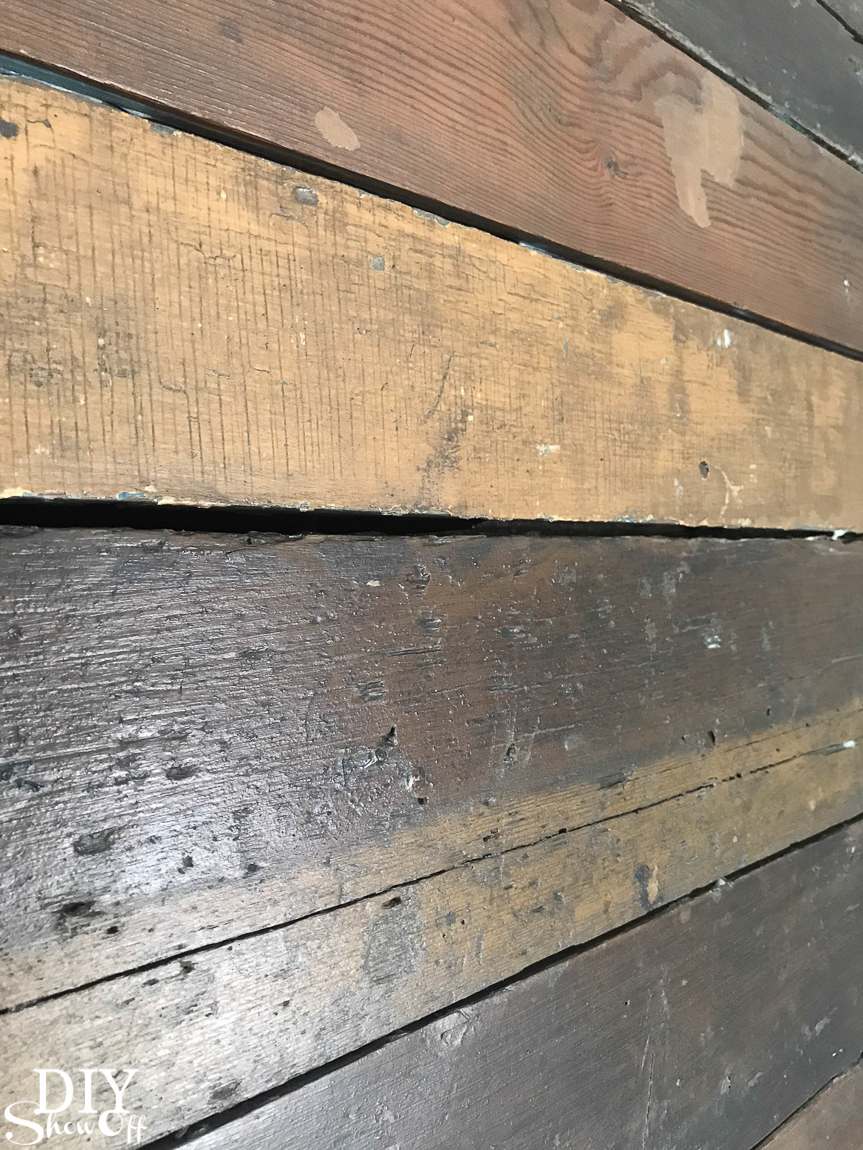
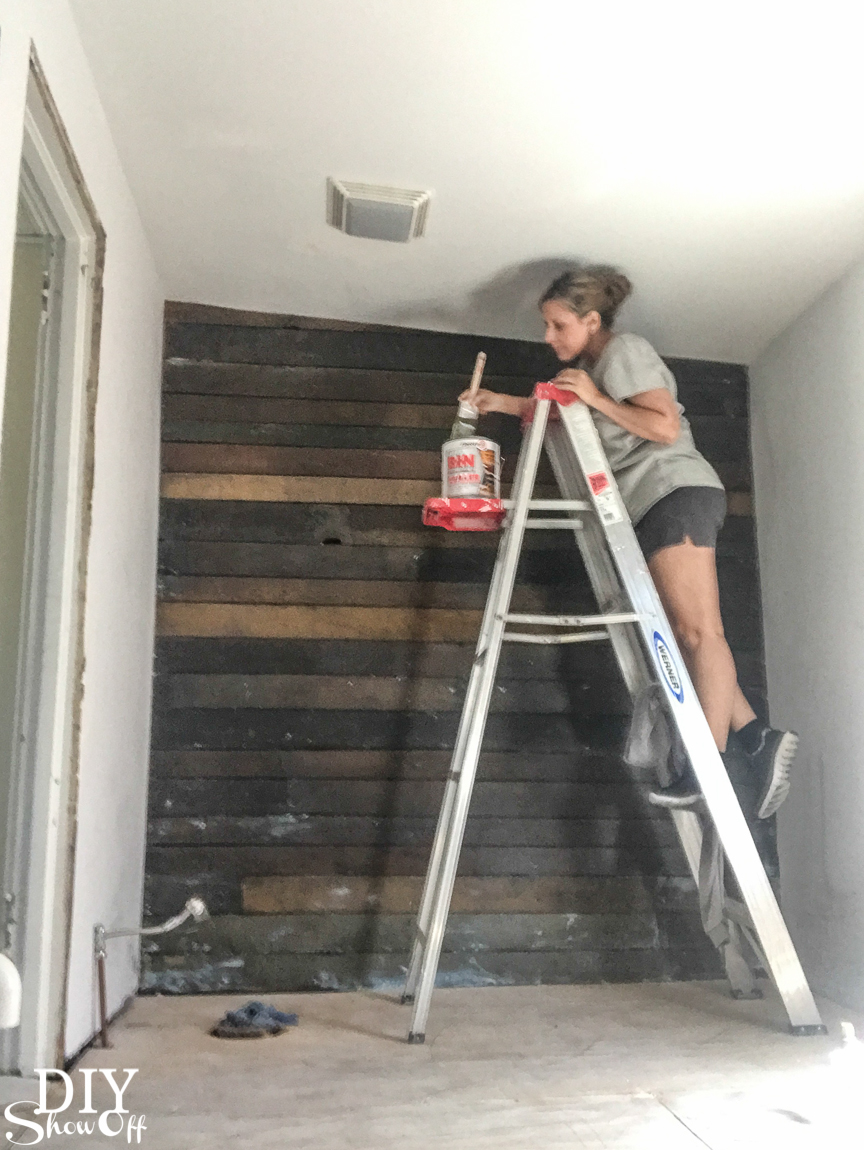
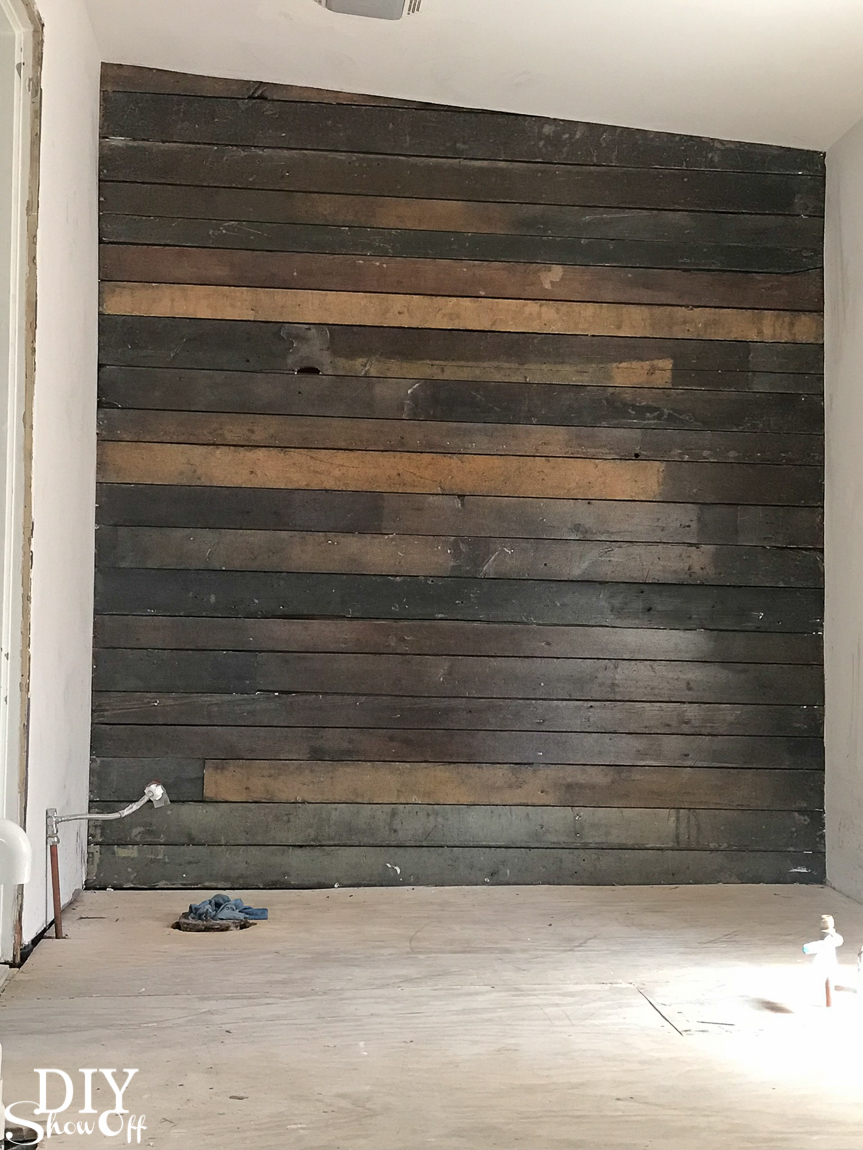
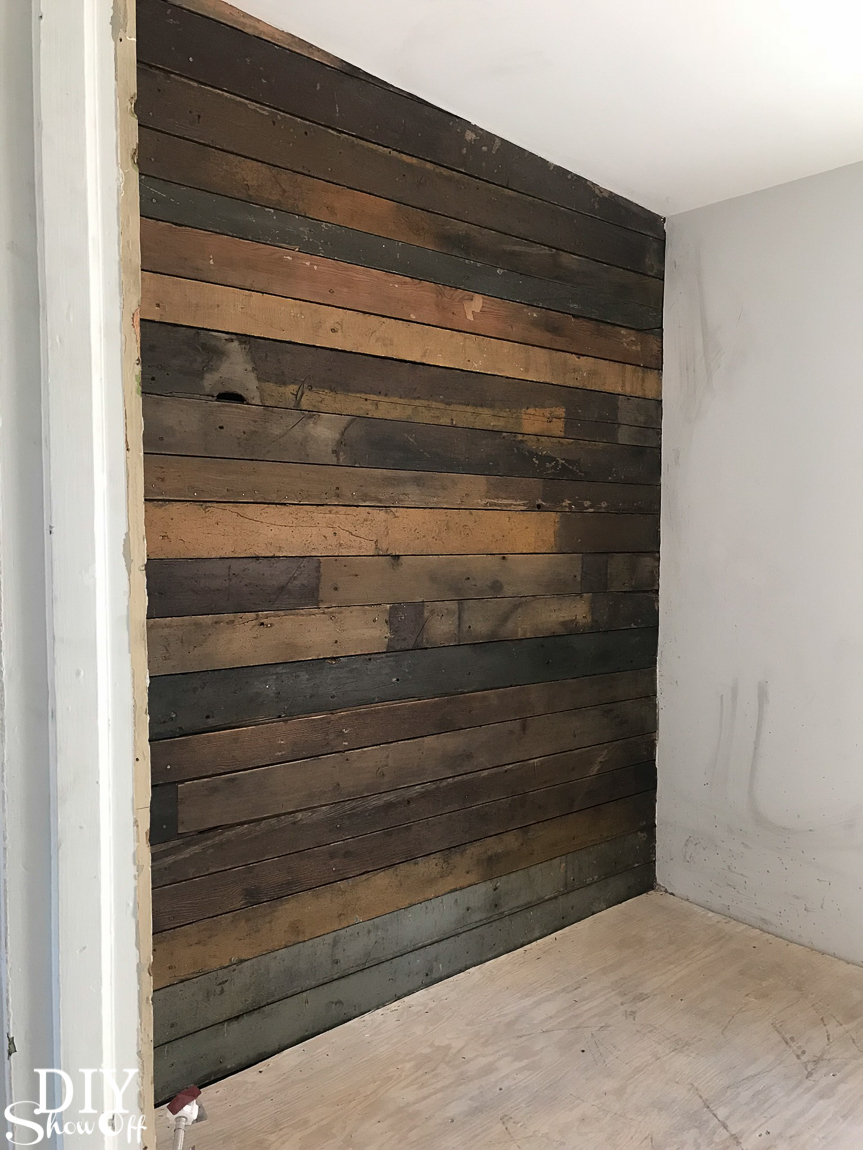
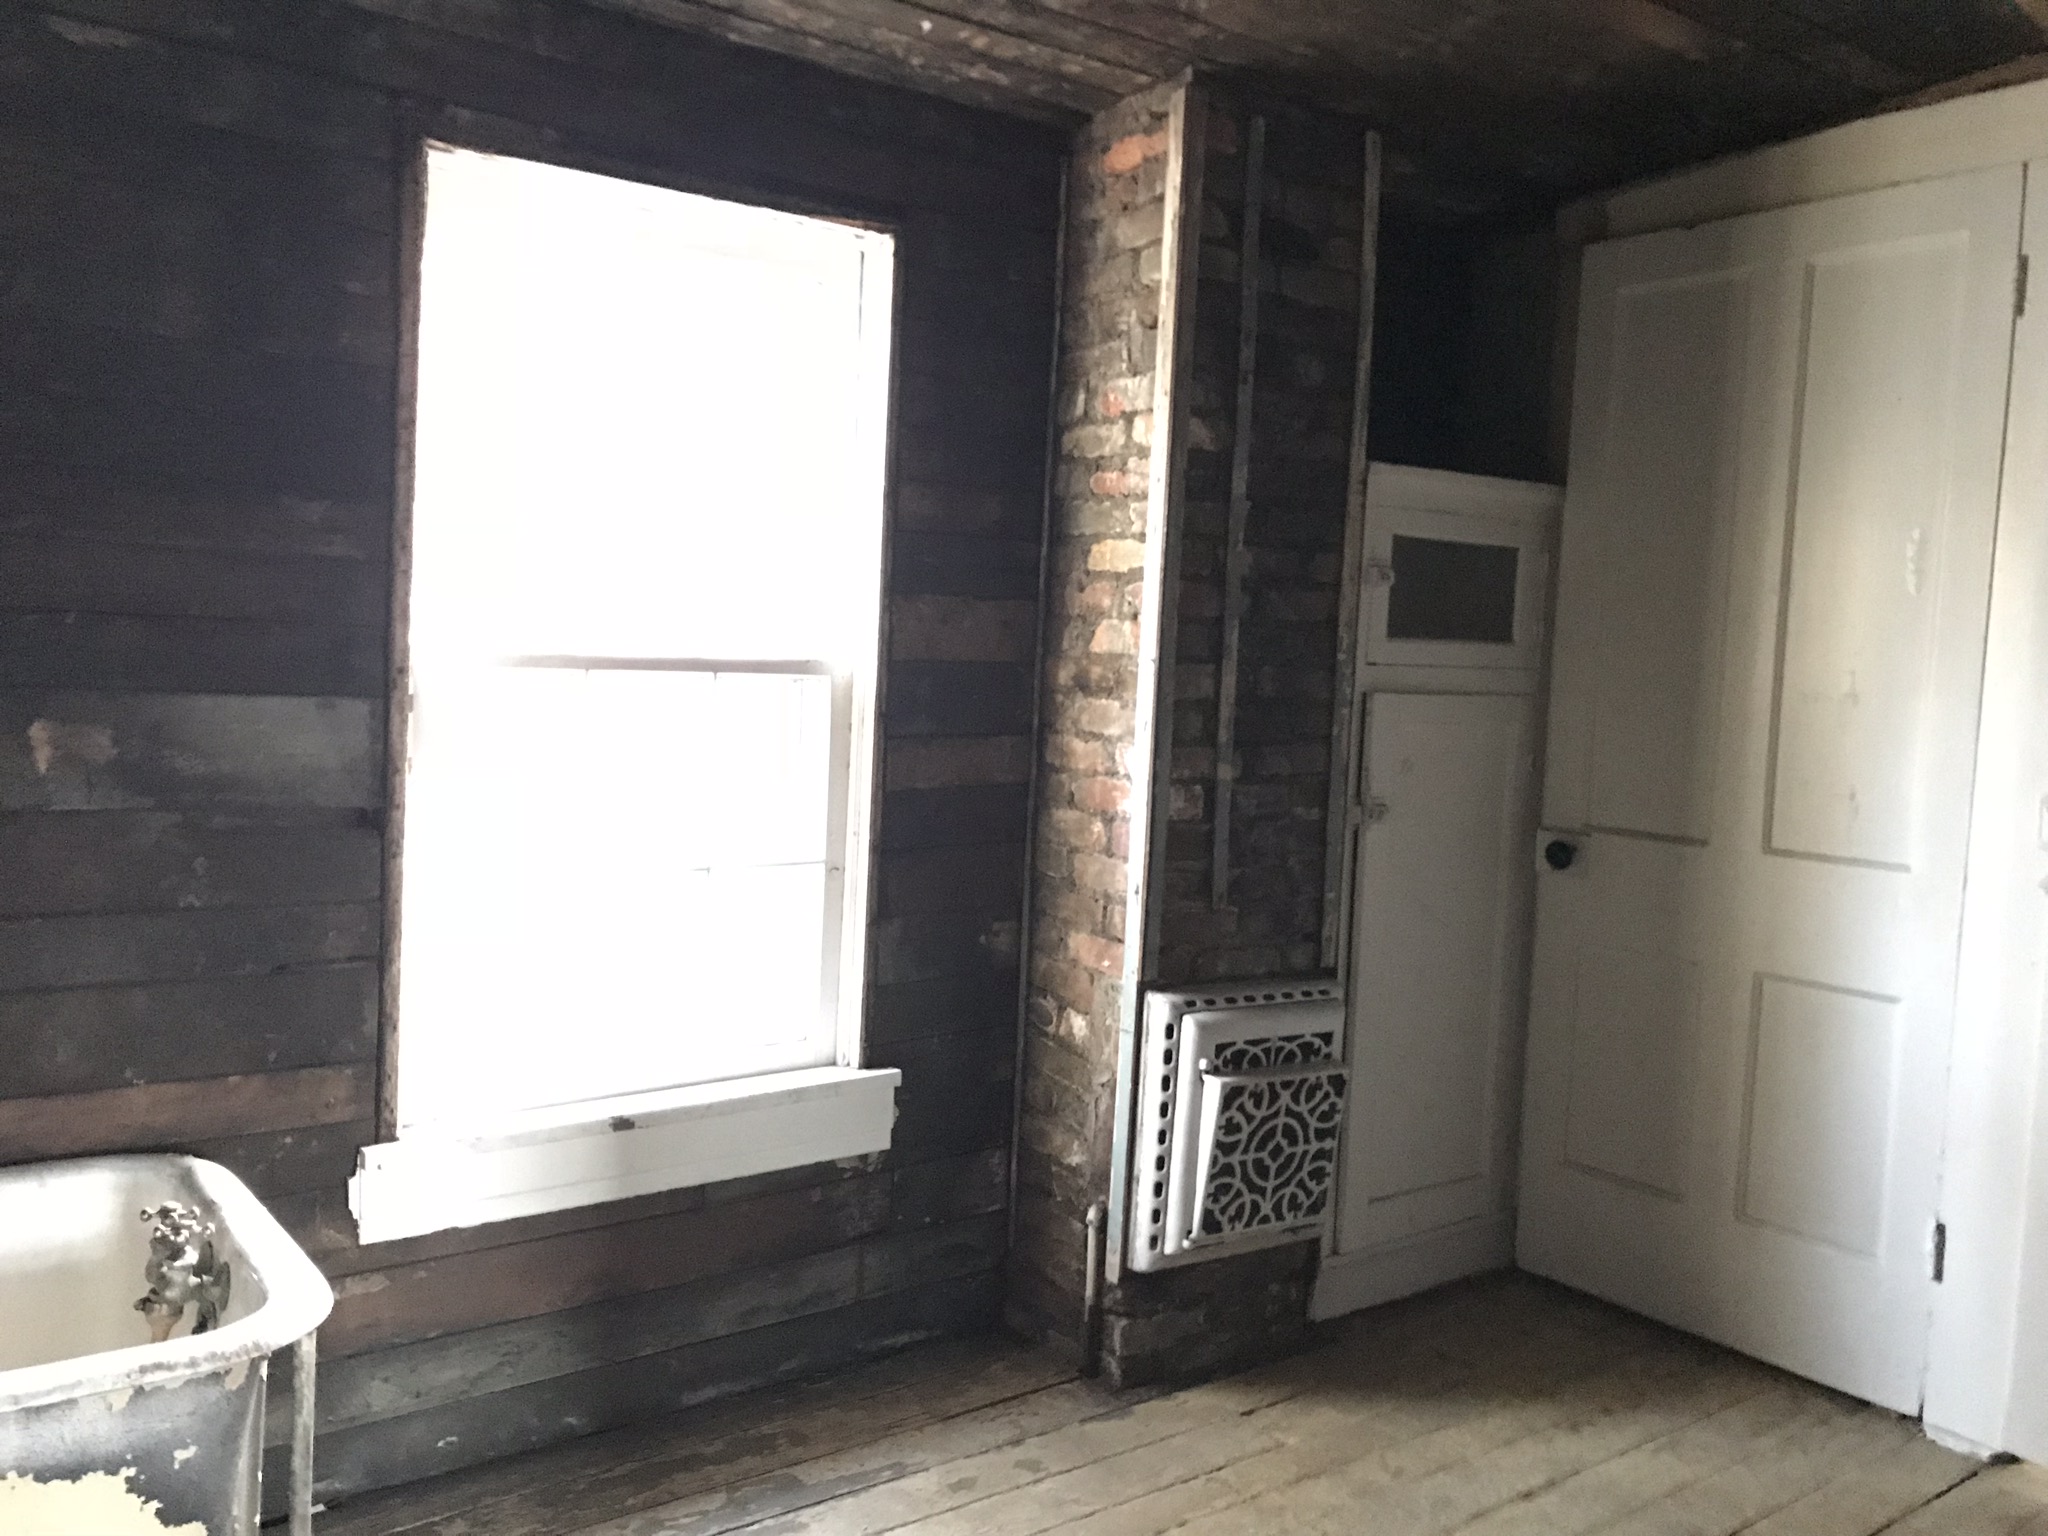
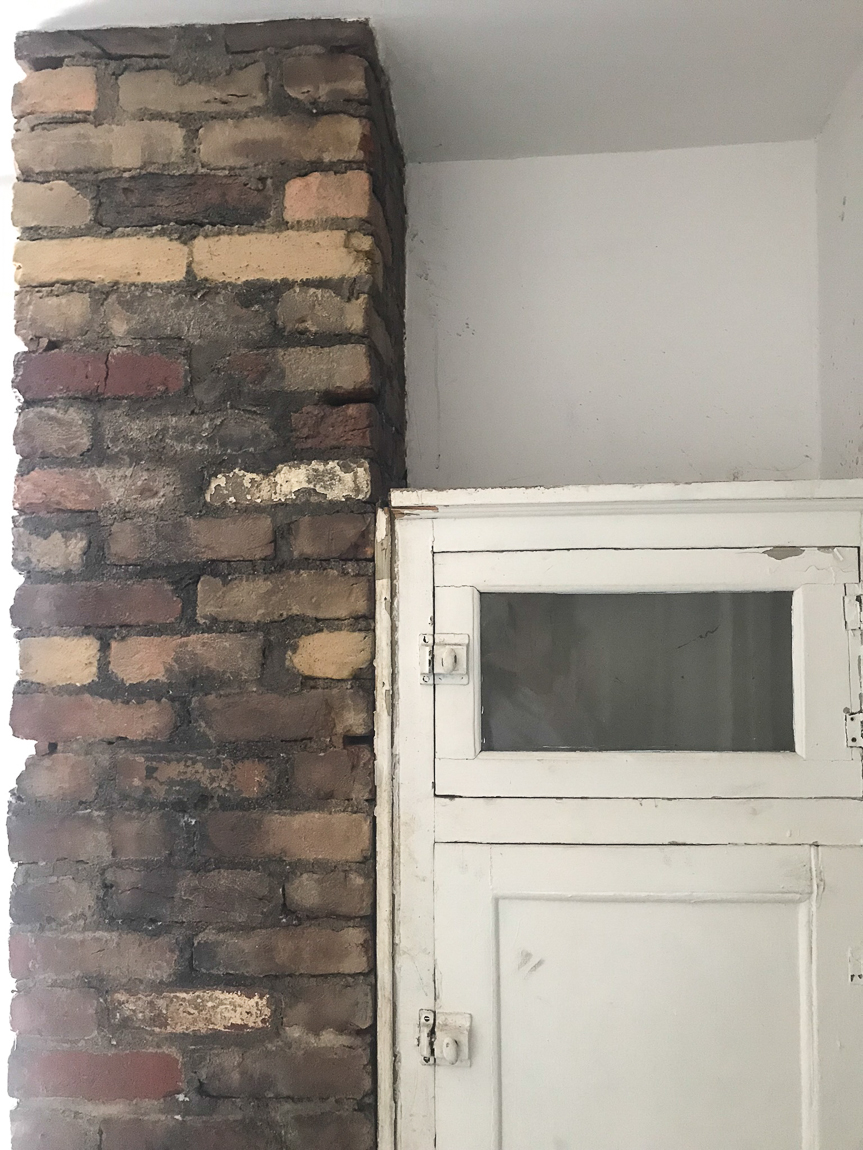
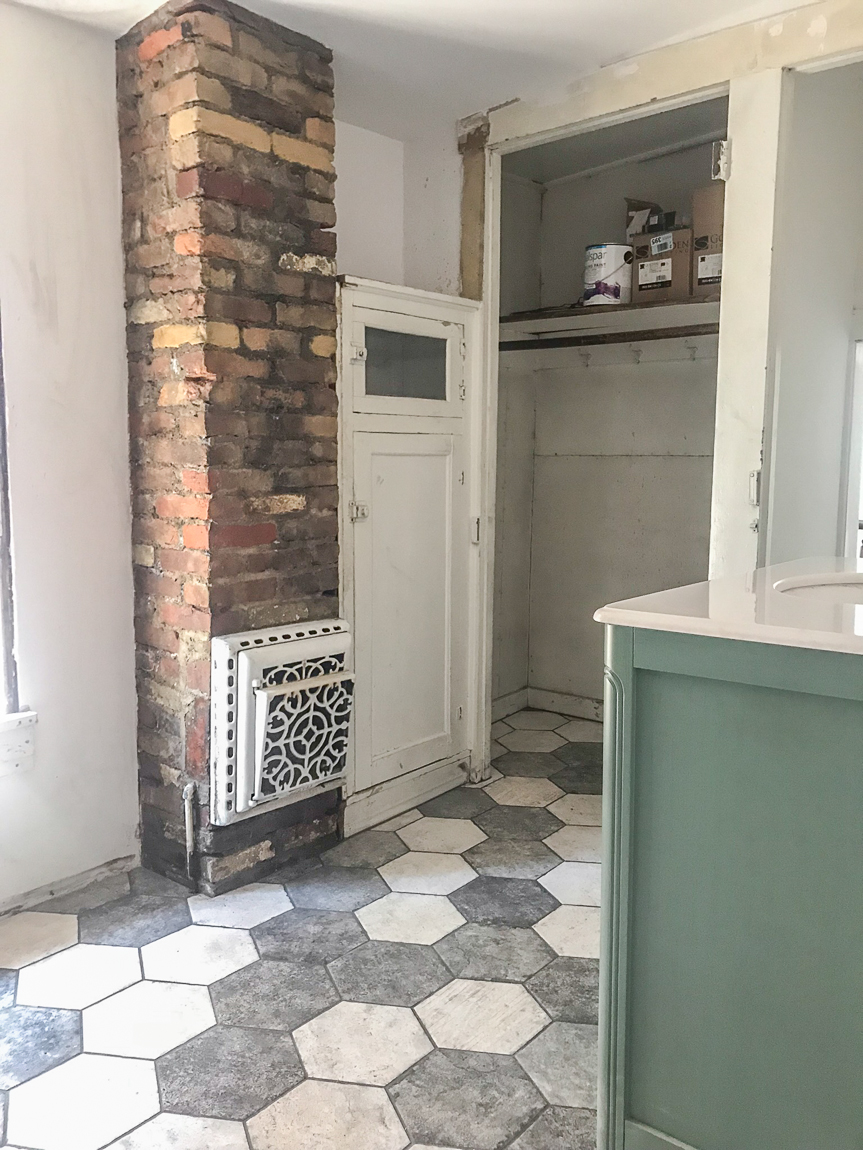
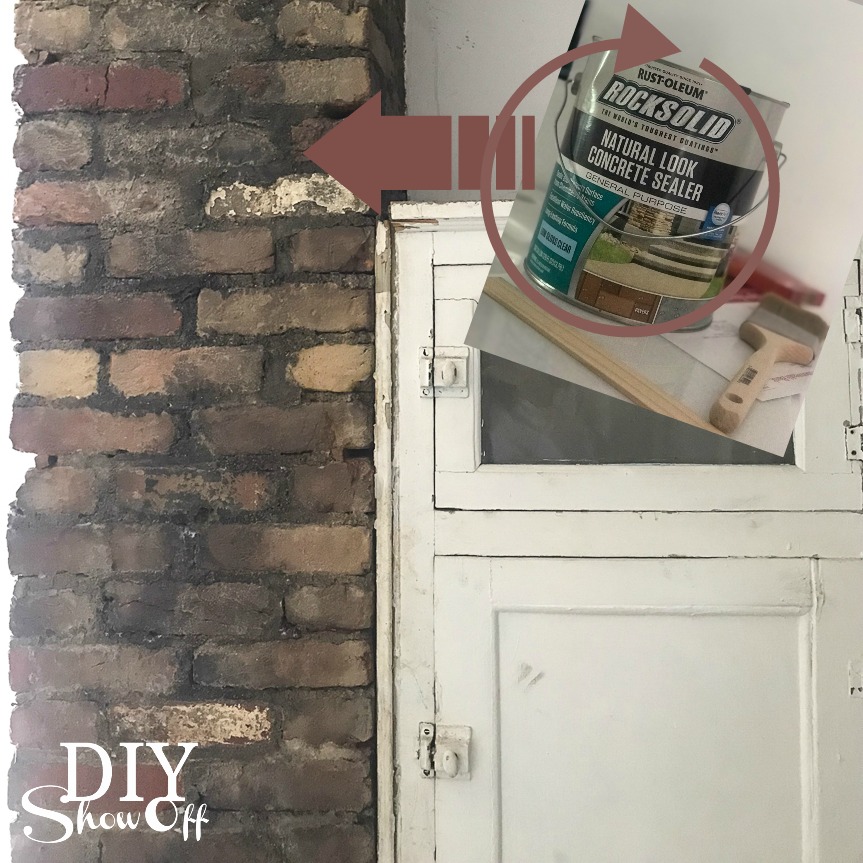
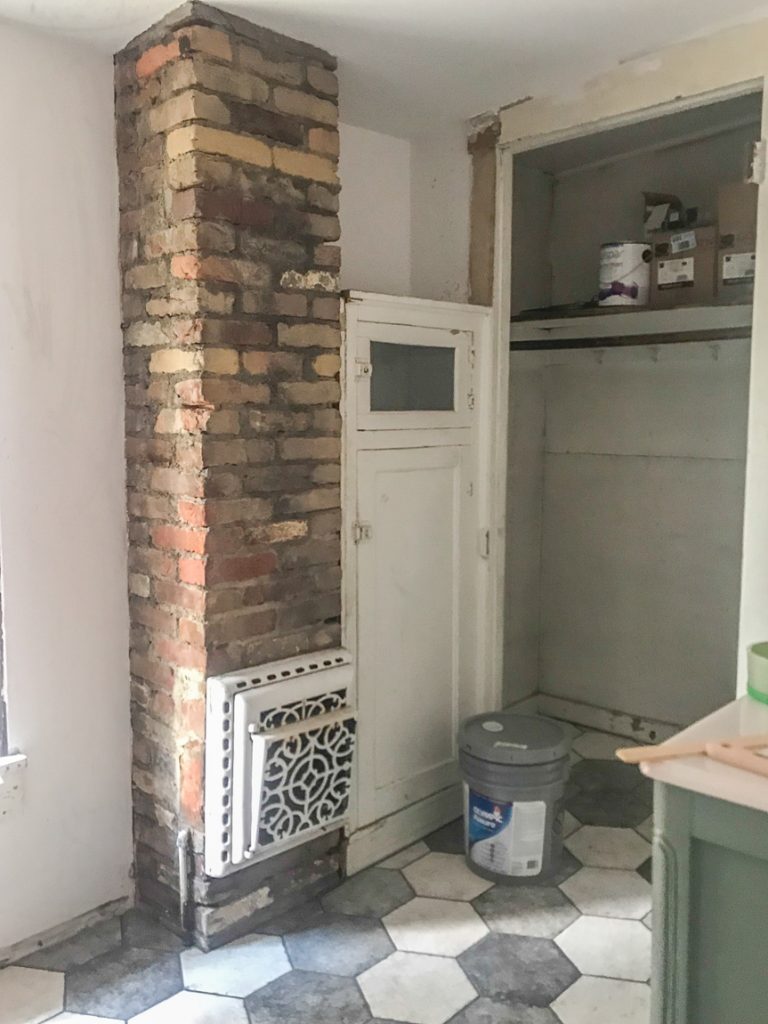
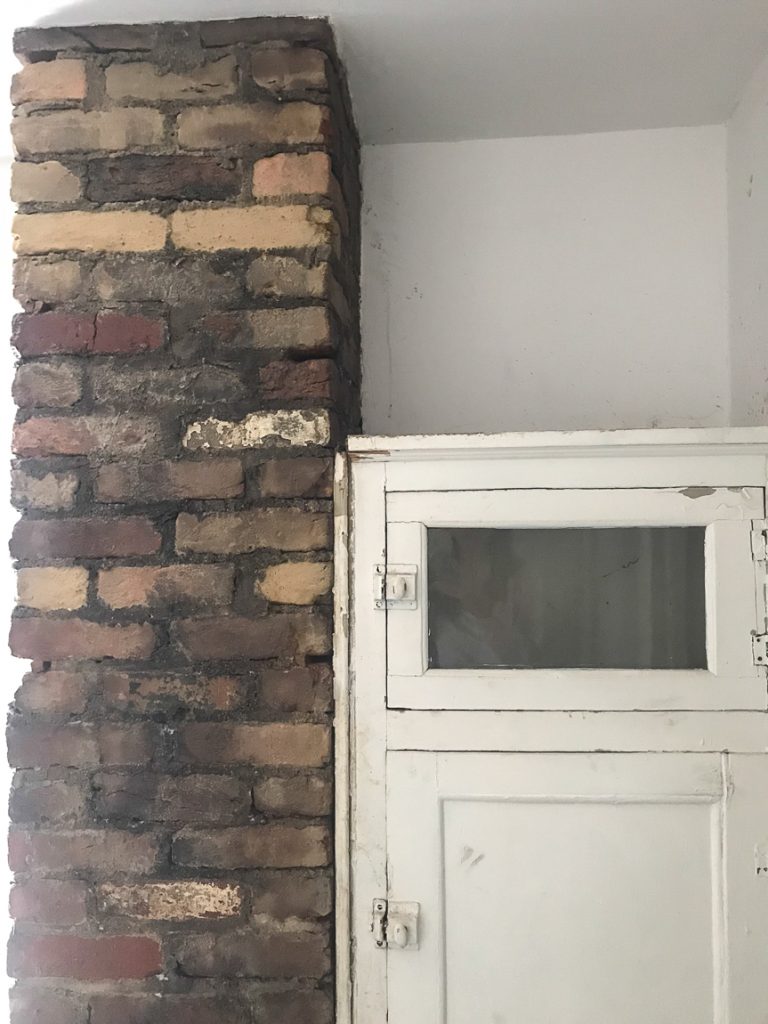
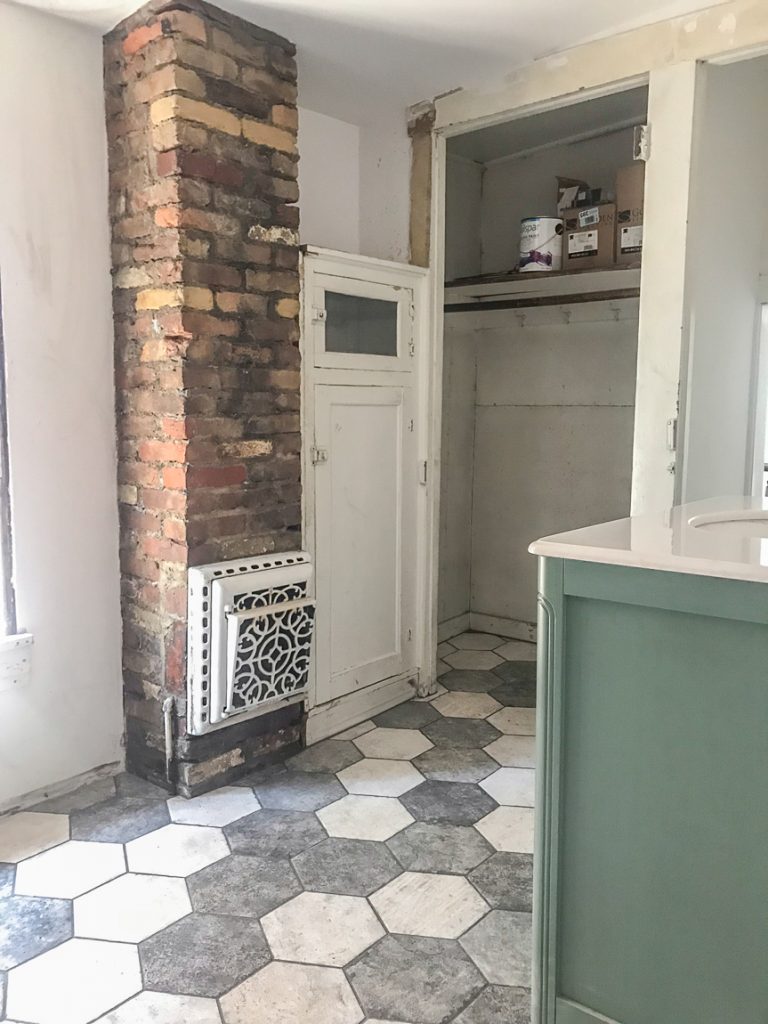
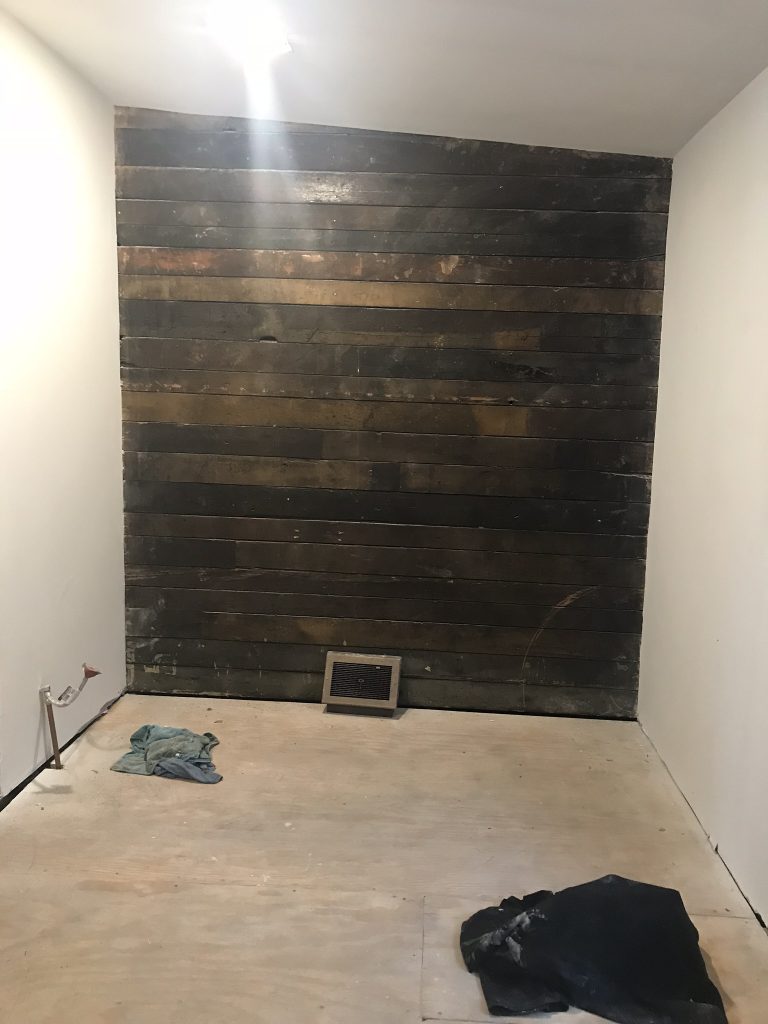
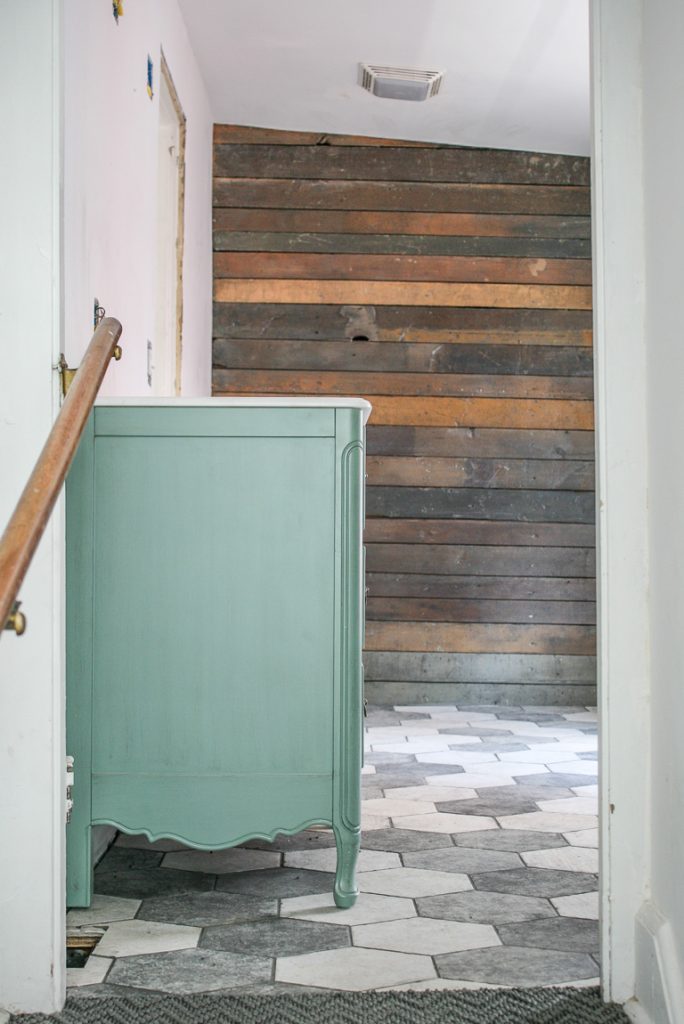
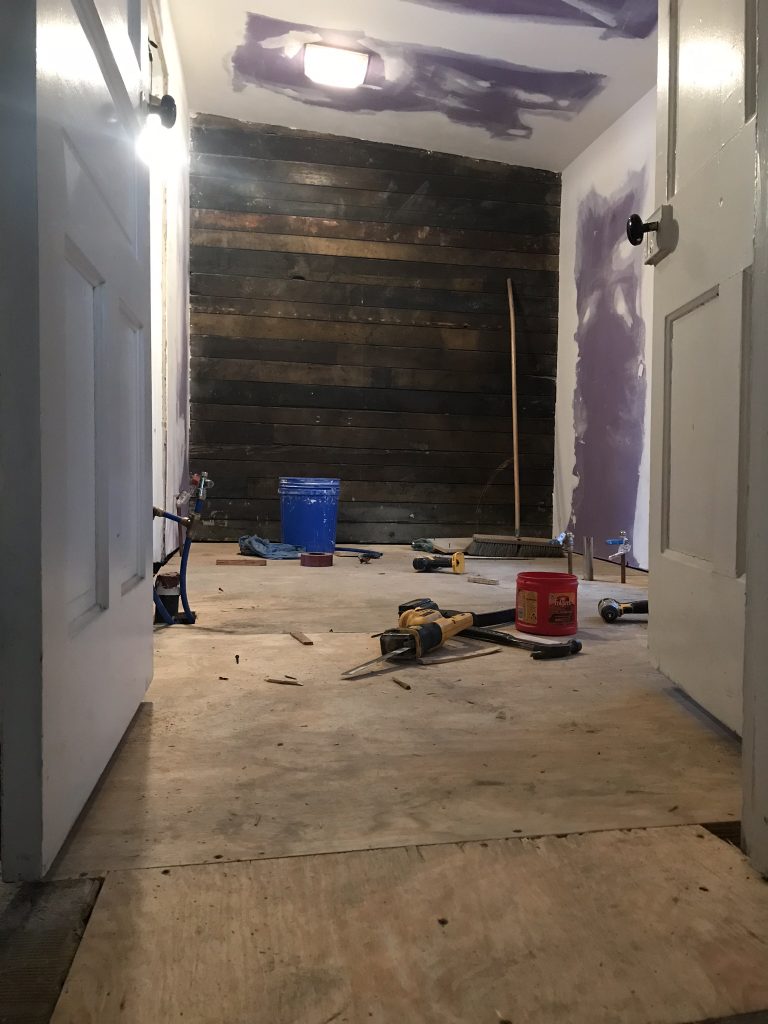
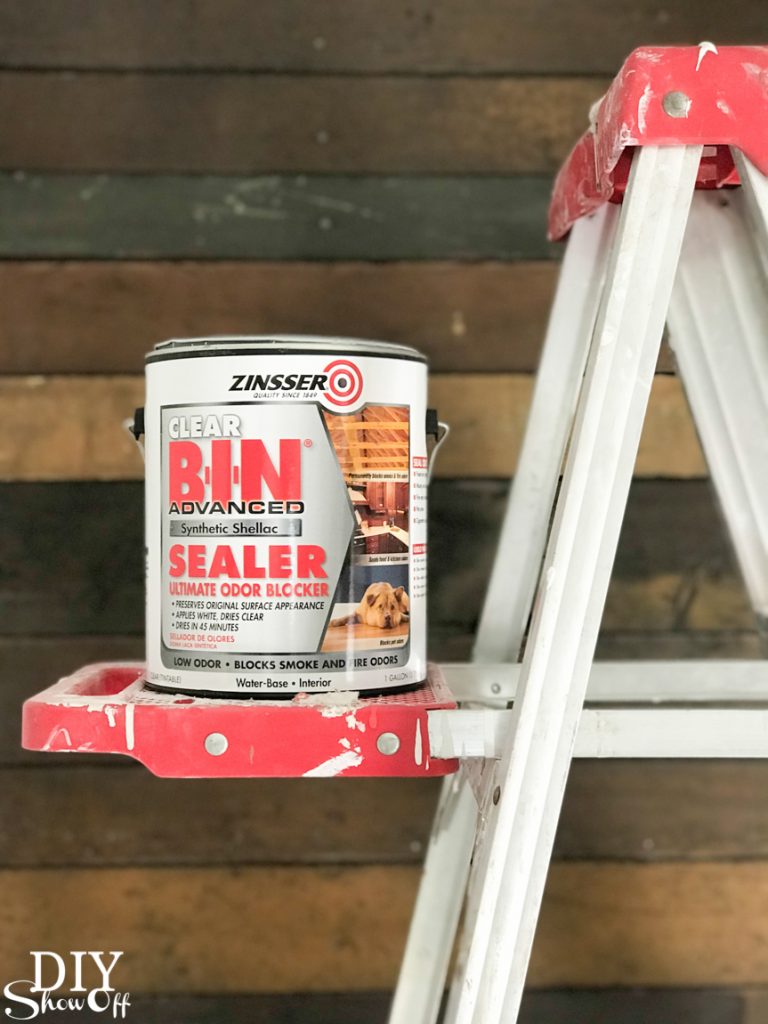
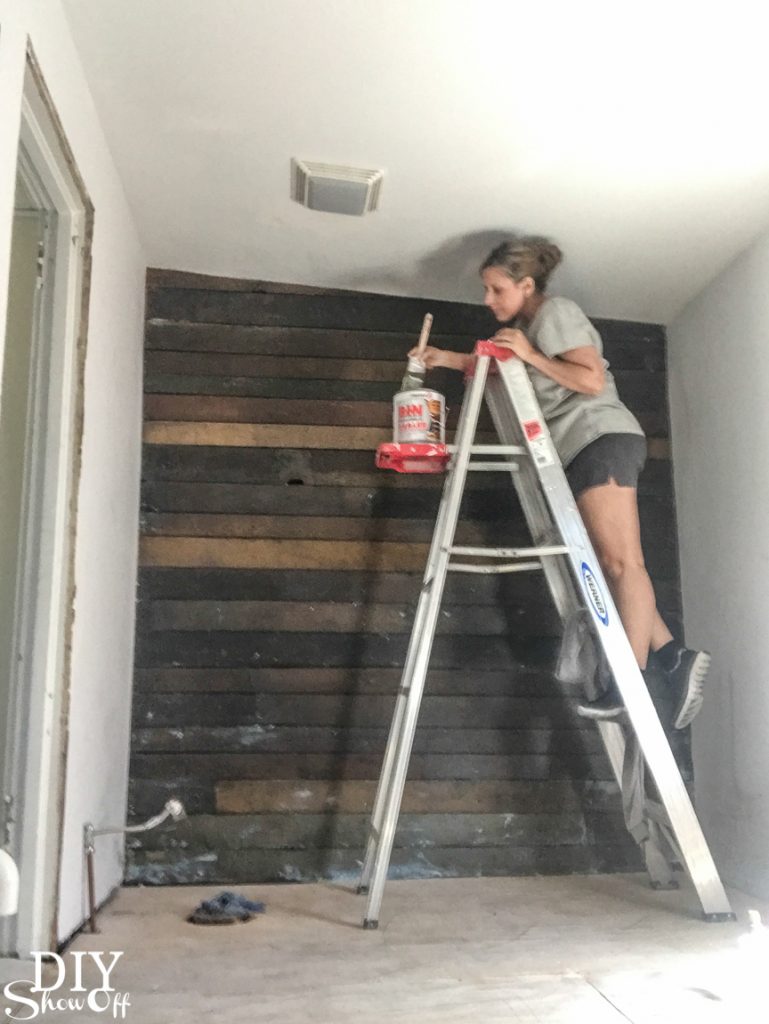
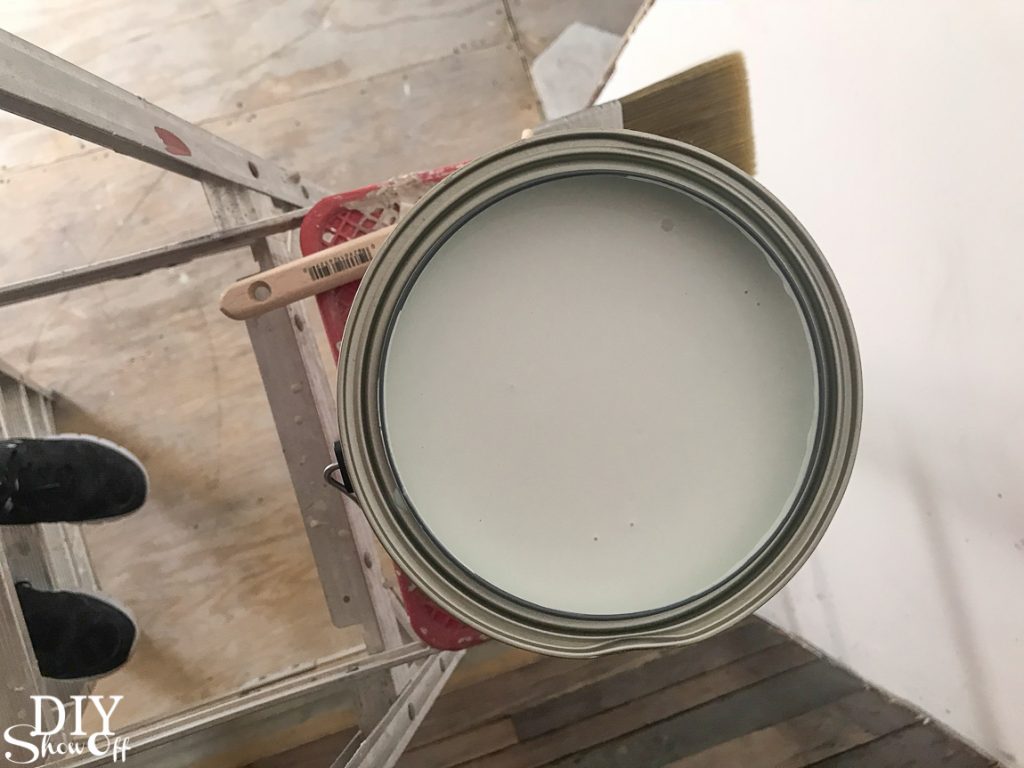
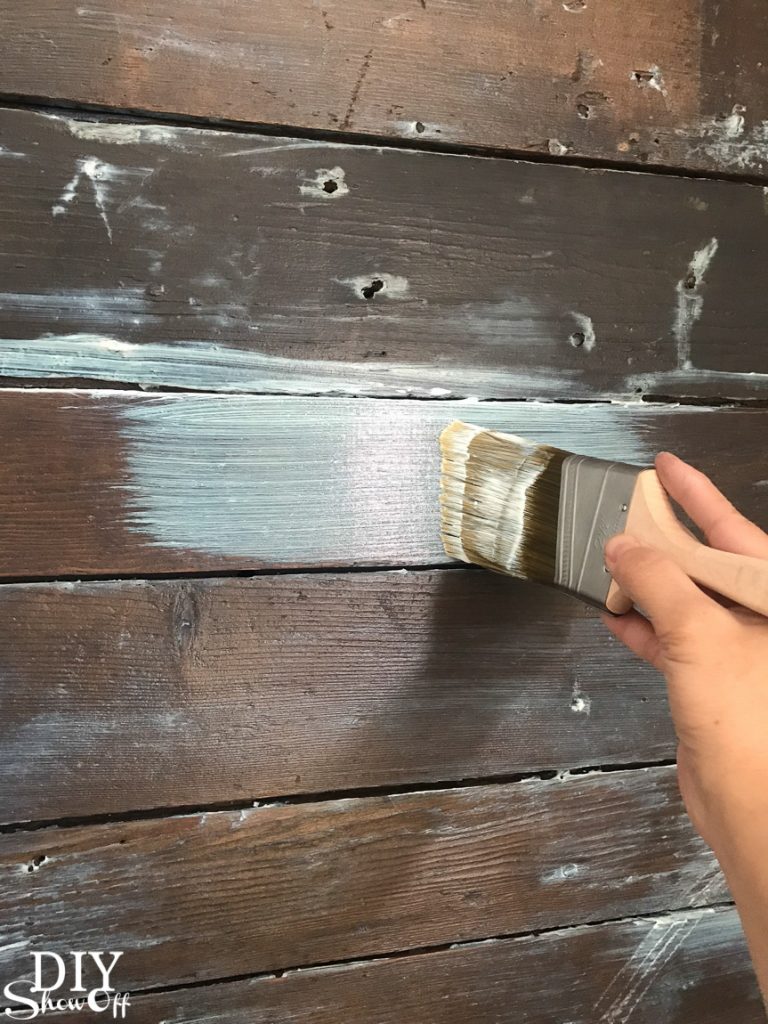
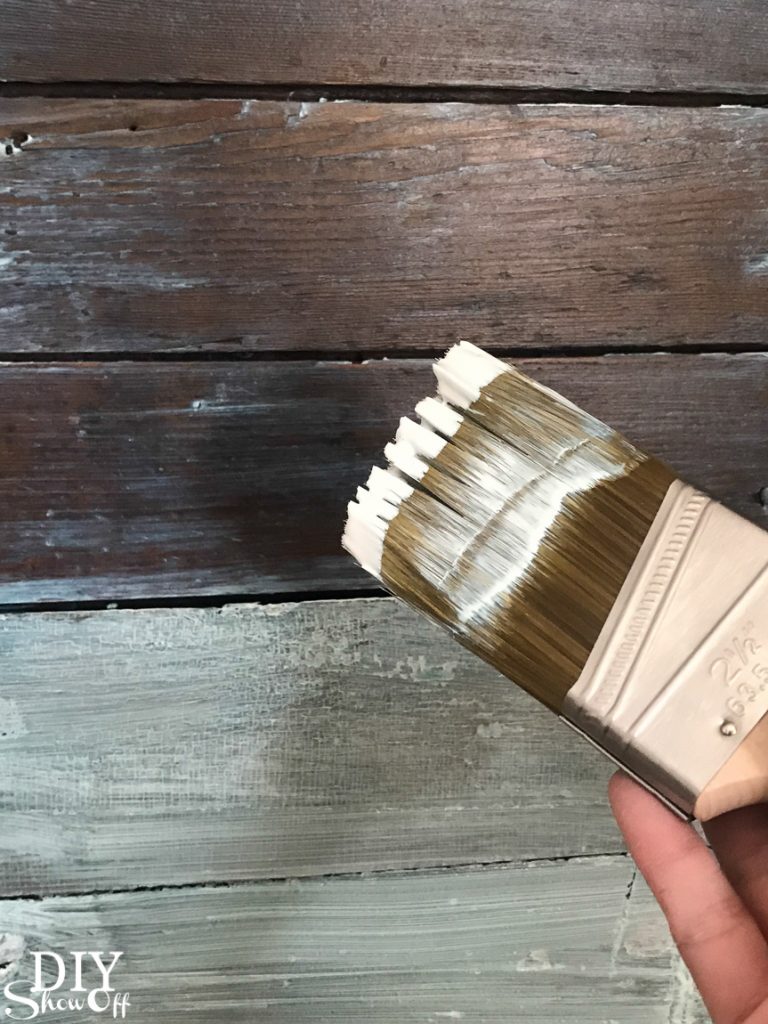
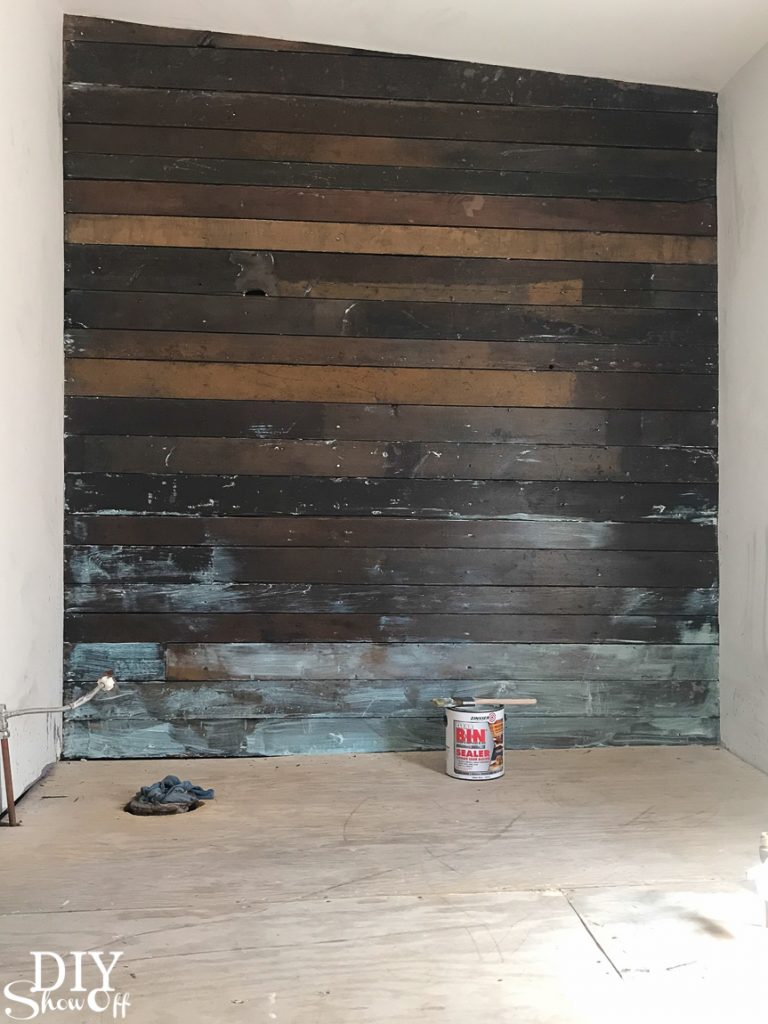
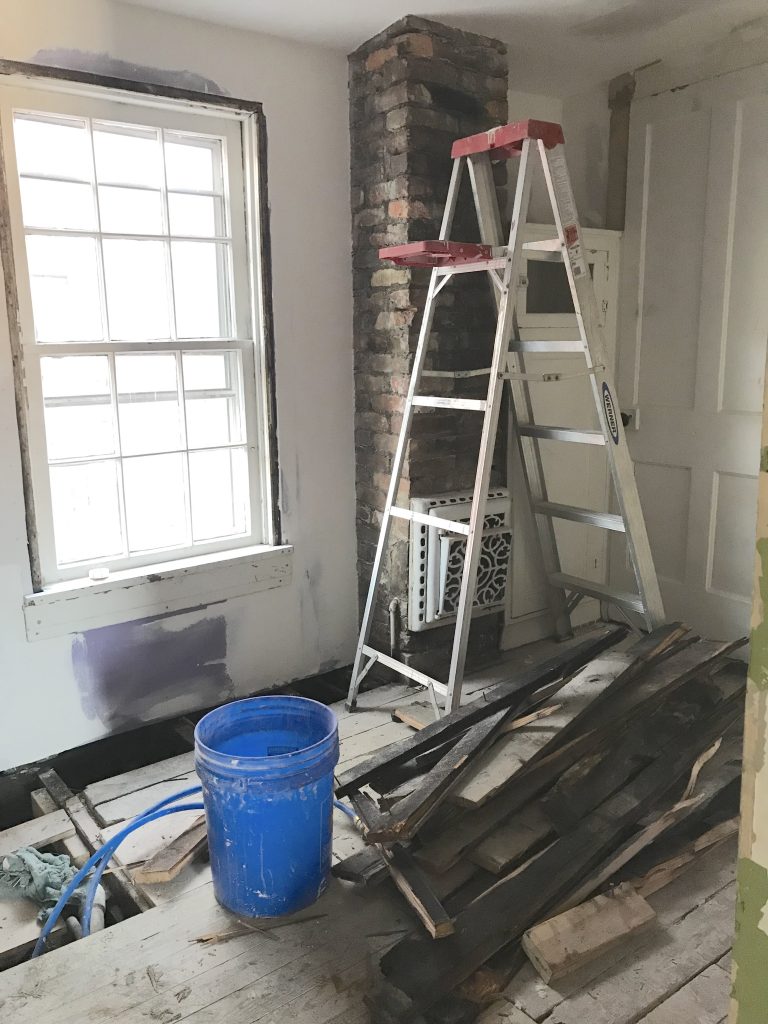
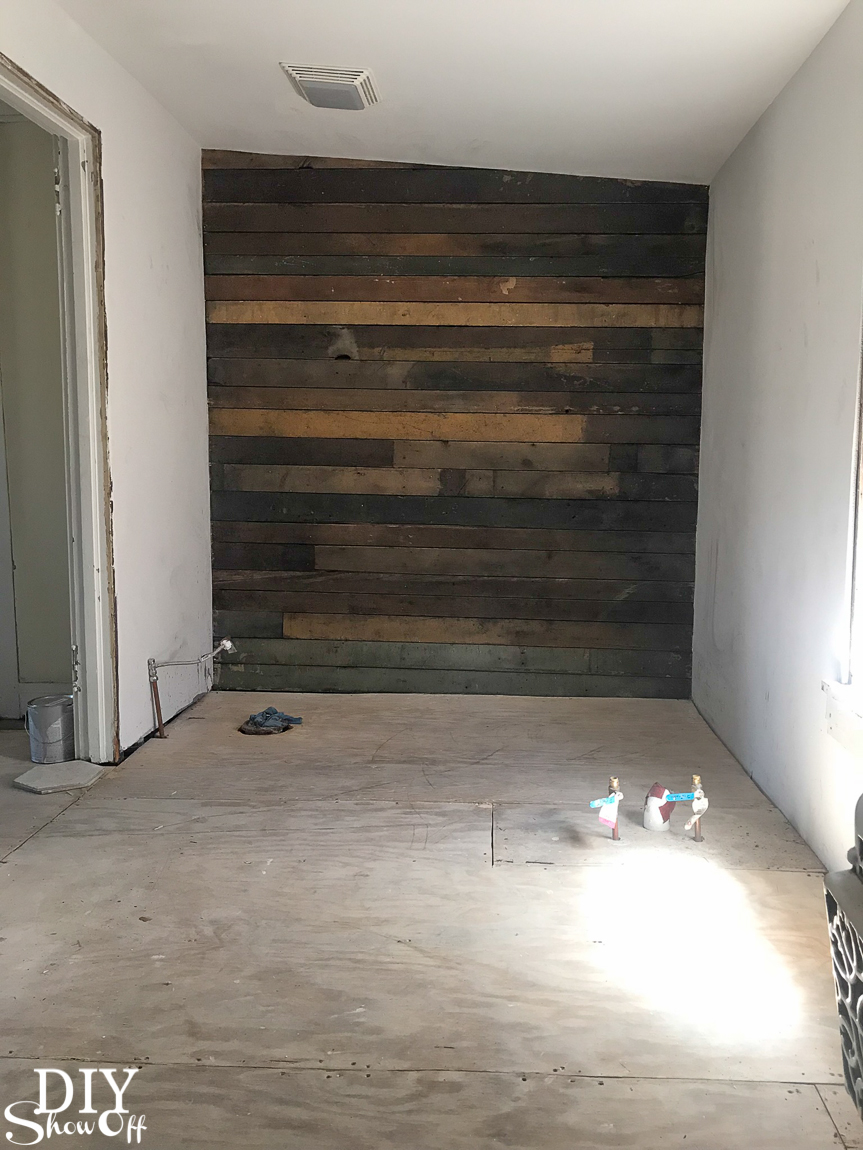
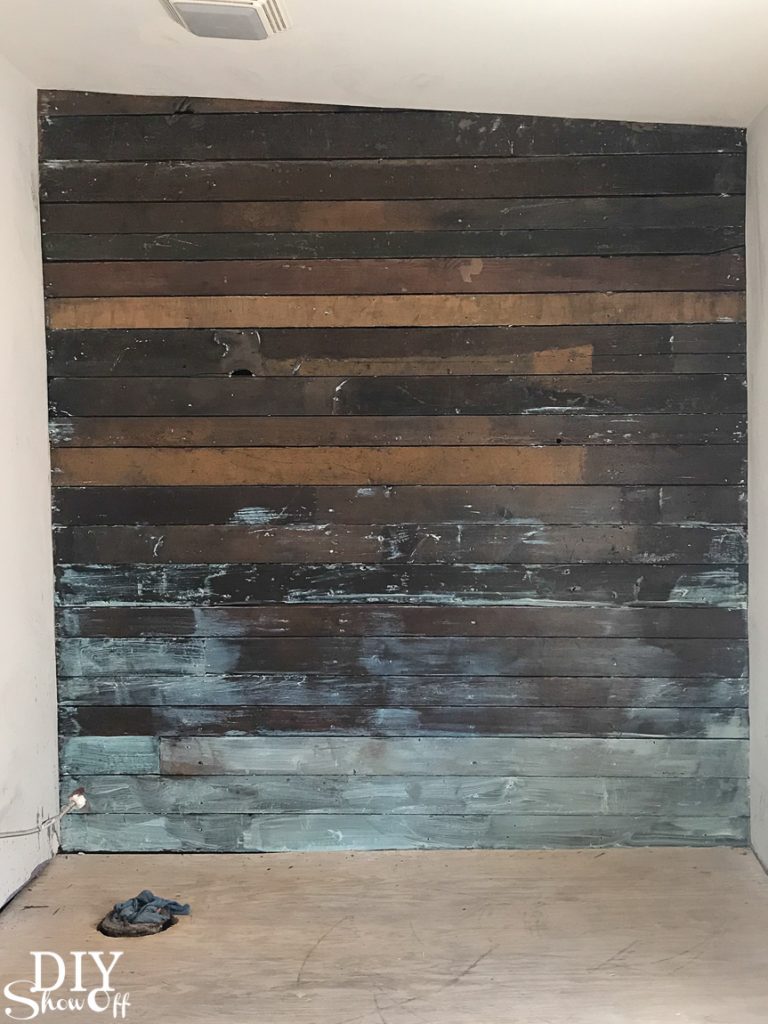
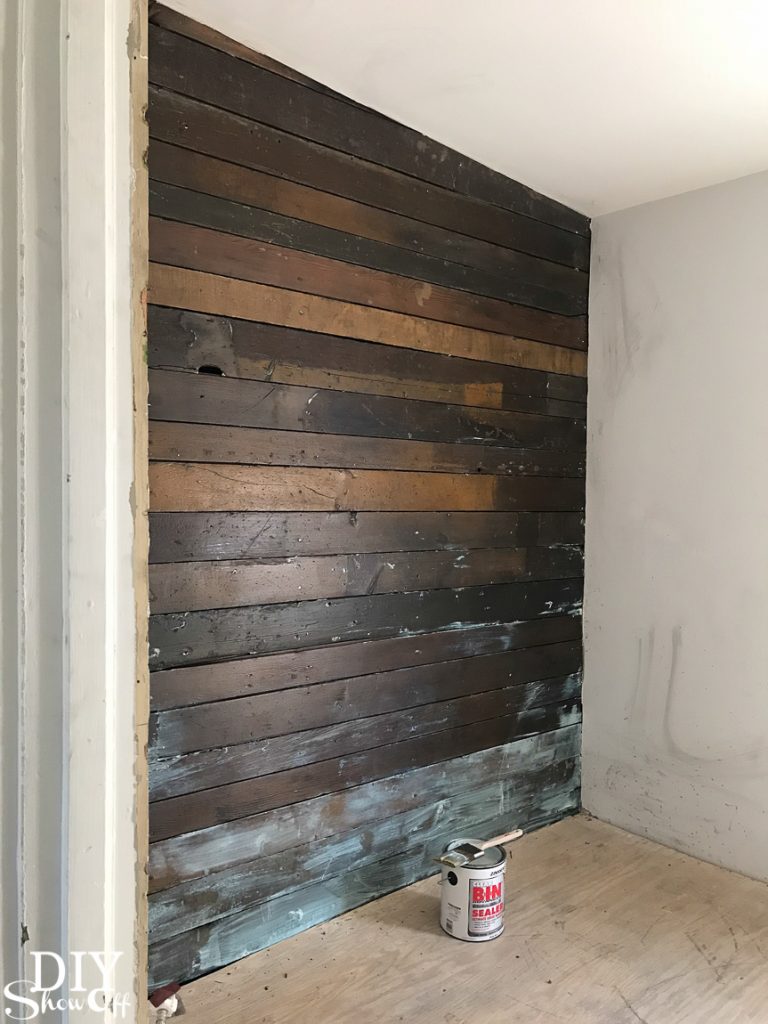
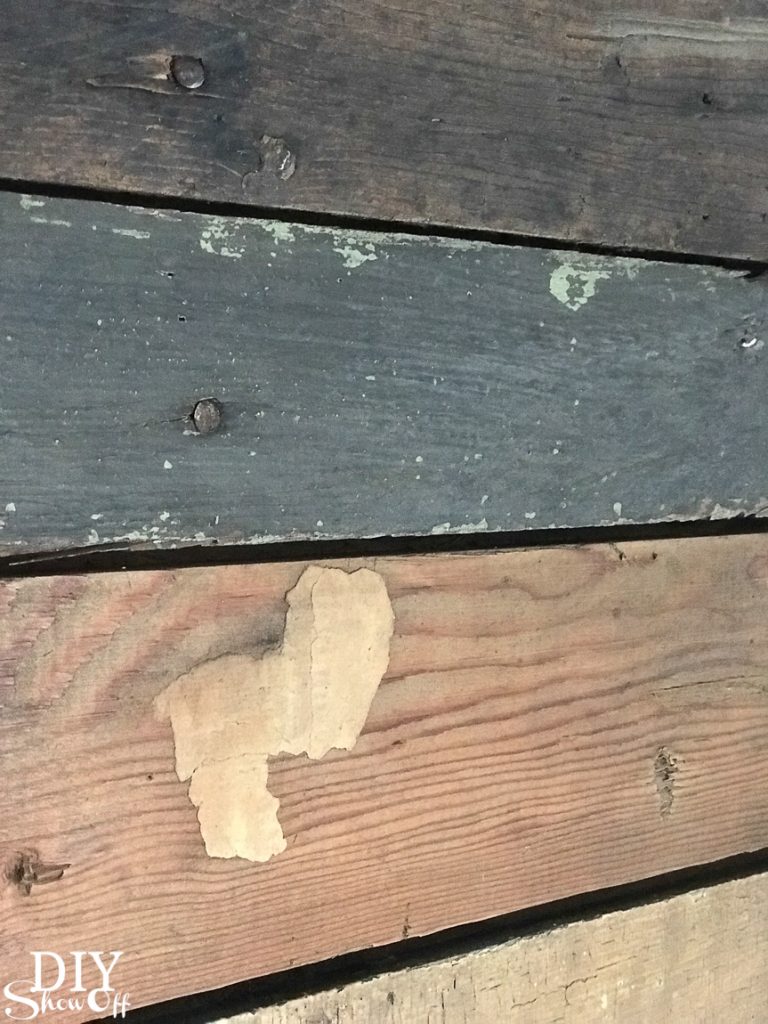
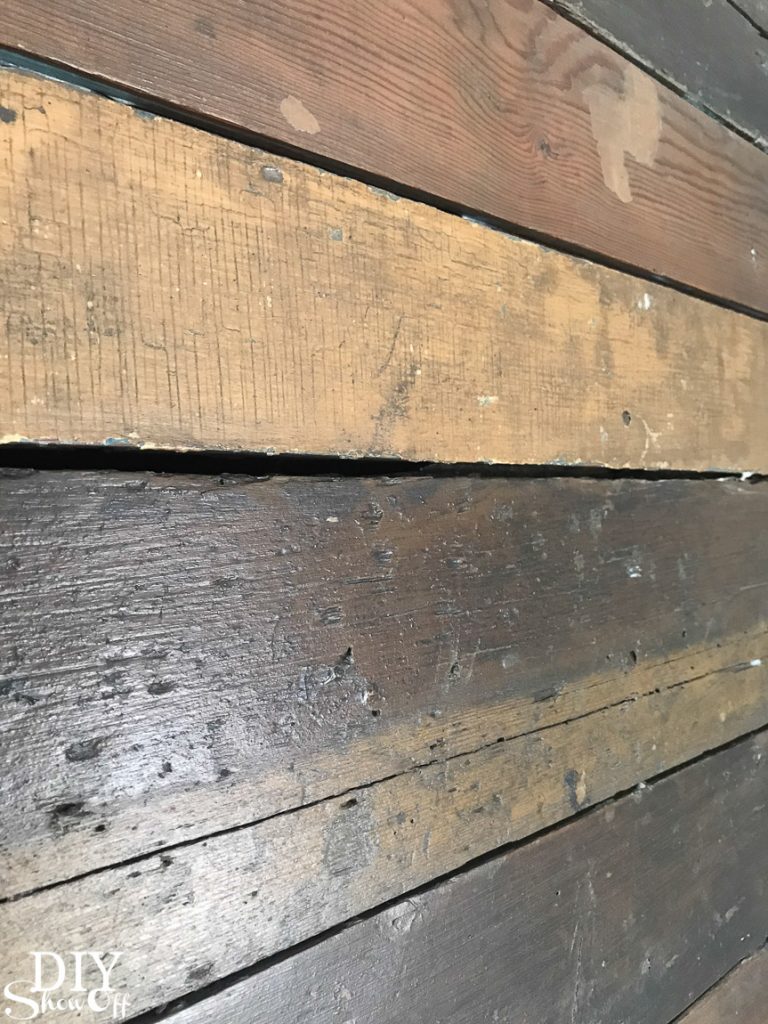
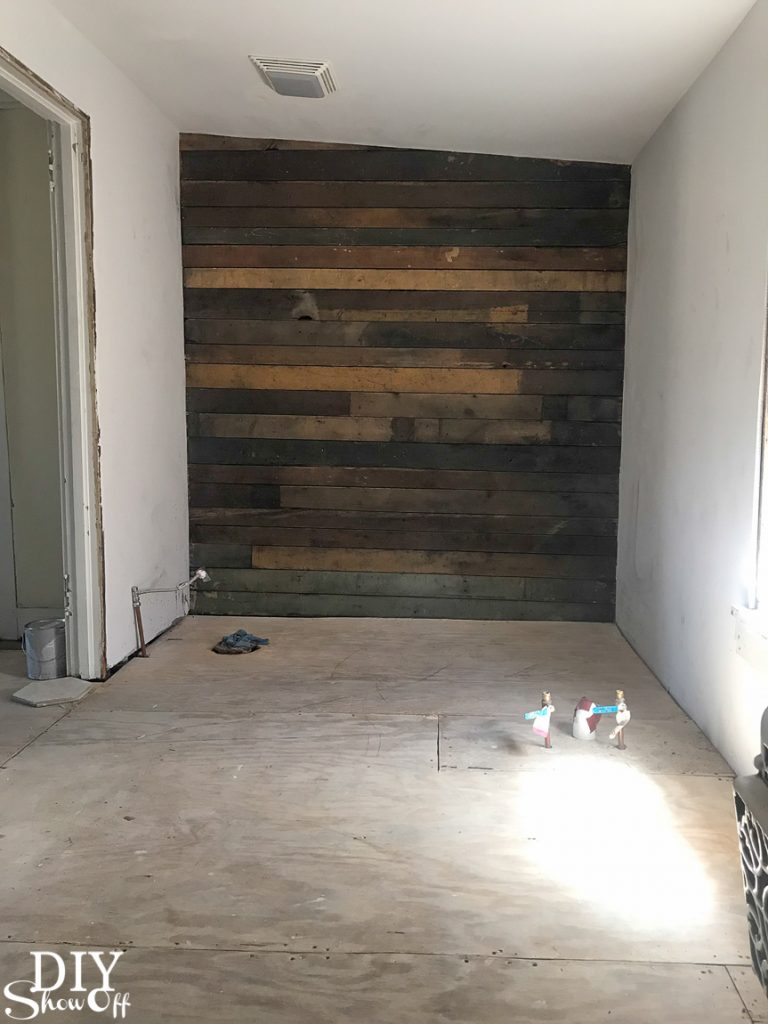
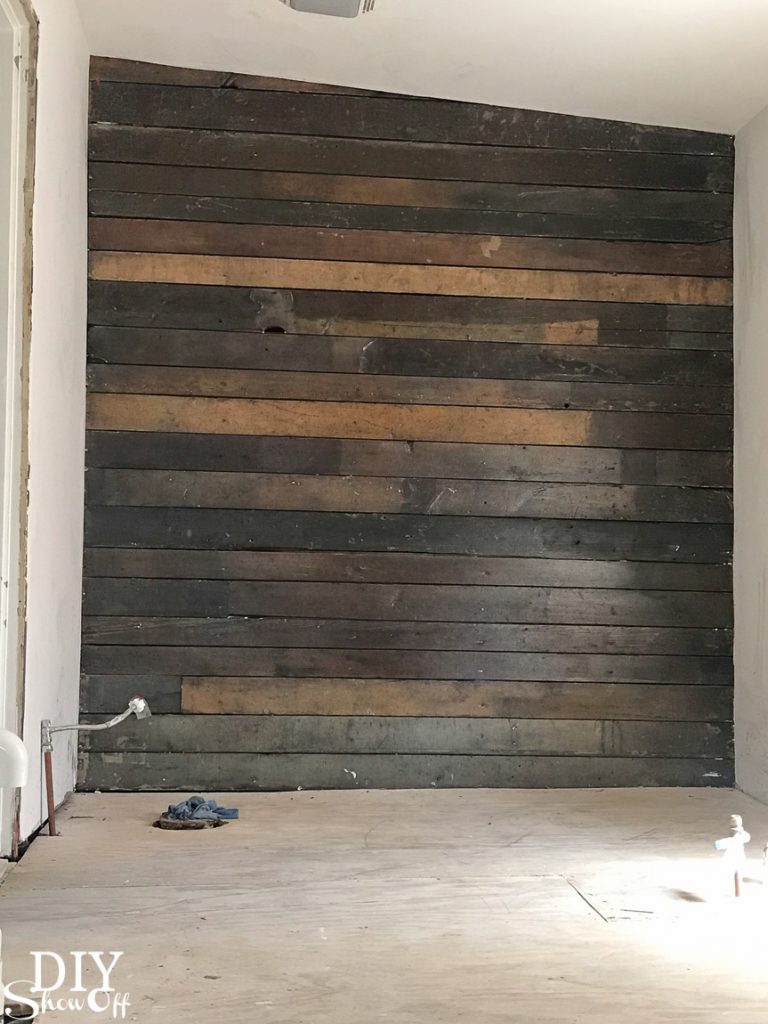
And the walls? That paneling. Gone! Down to the studs and very dirty ‘shiplap’. I just couldn’t cover up the beautiful back wall (Sealing a Wood Plank Wall) and the rest of the walls and ceiling was covered with drywall. I decided to leave the brick chimney exposed and sealed it (more on that with this post: Sealing Brick). I love that kind of original charm!

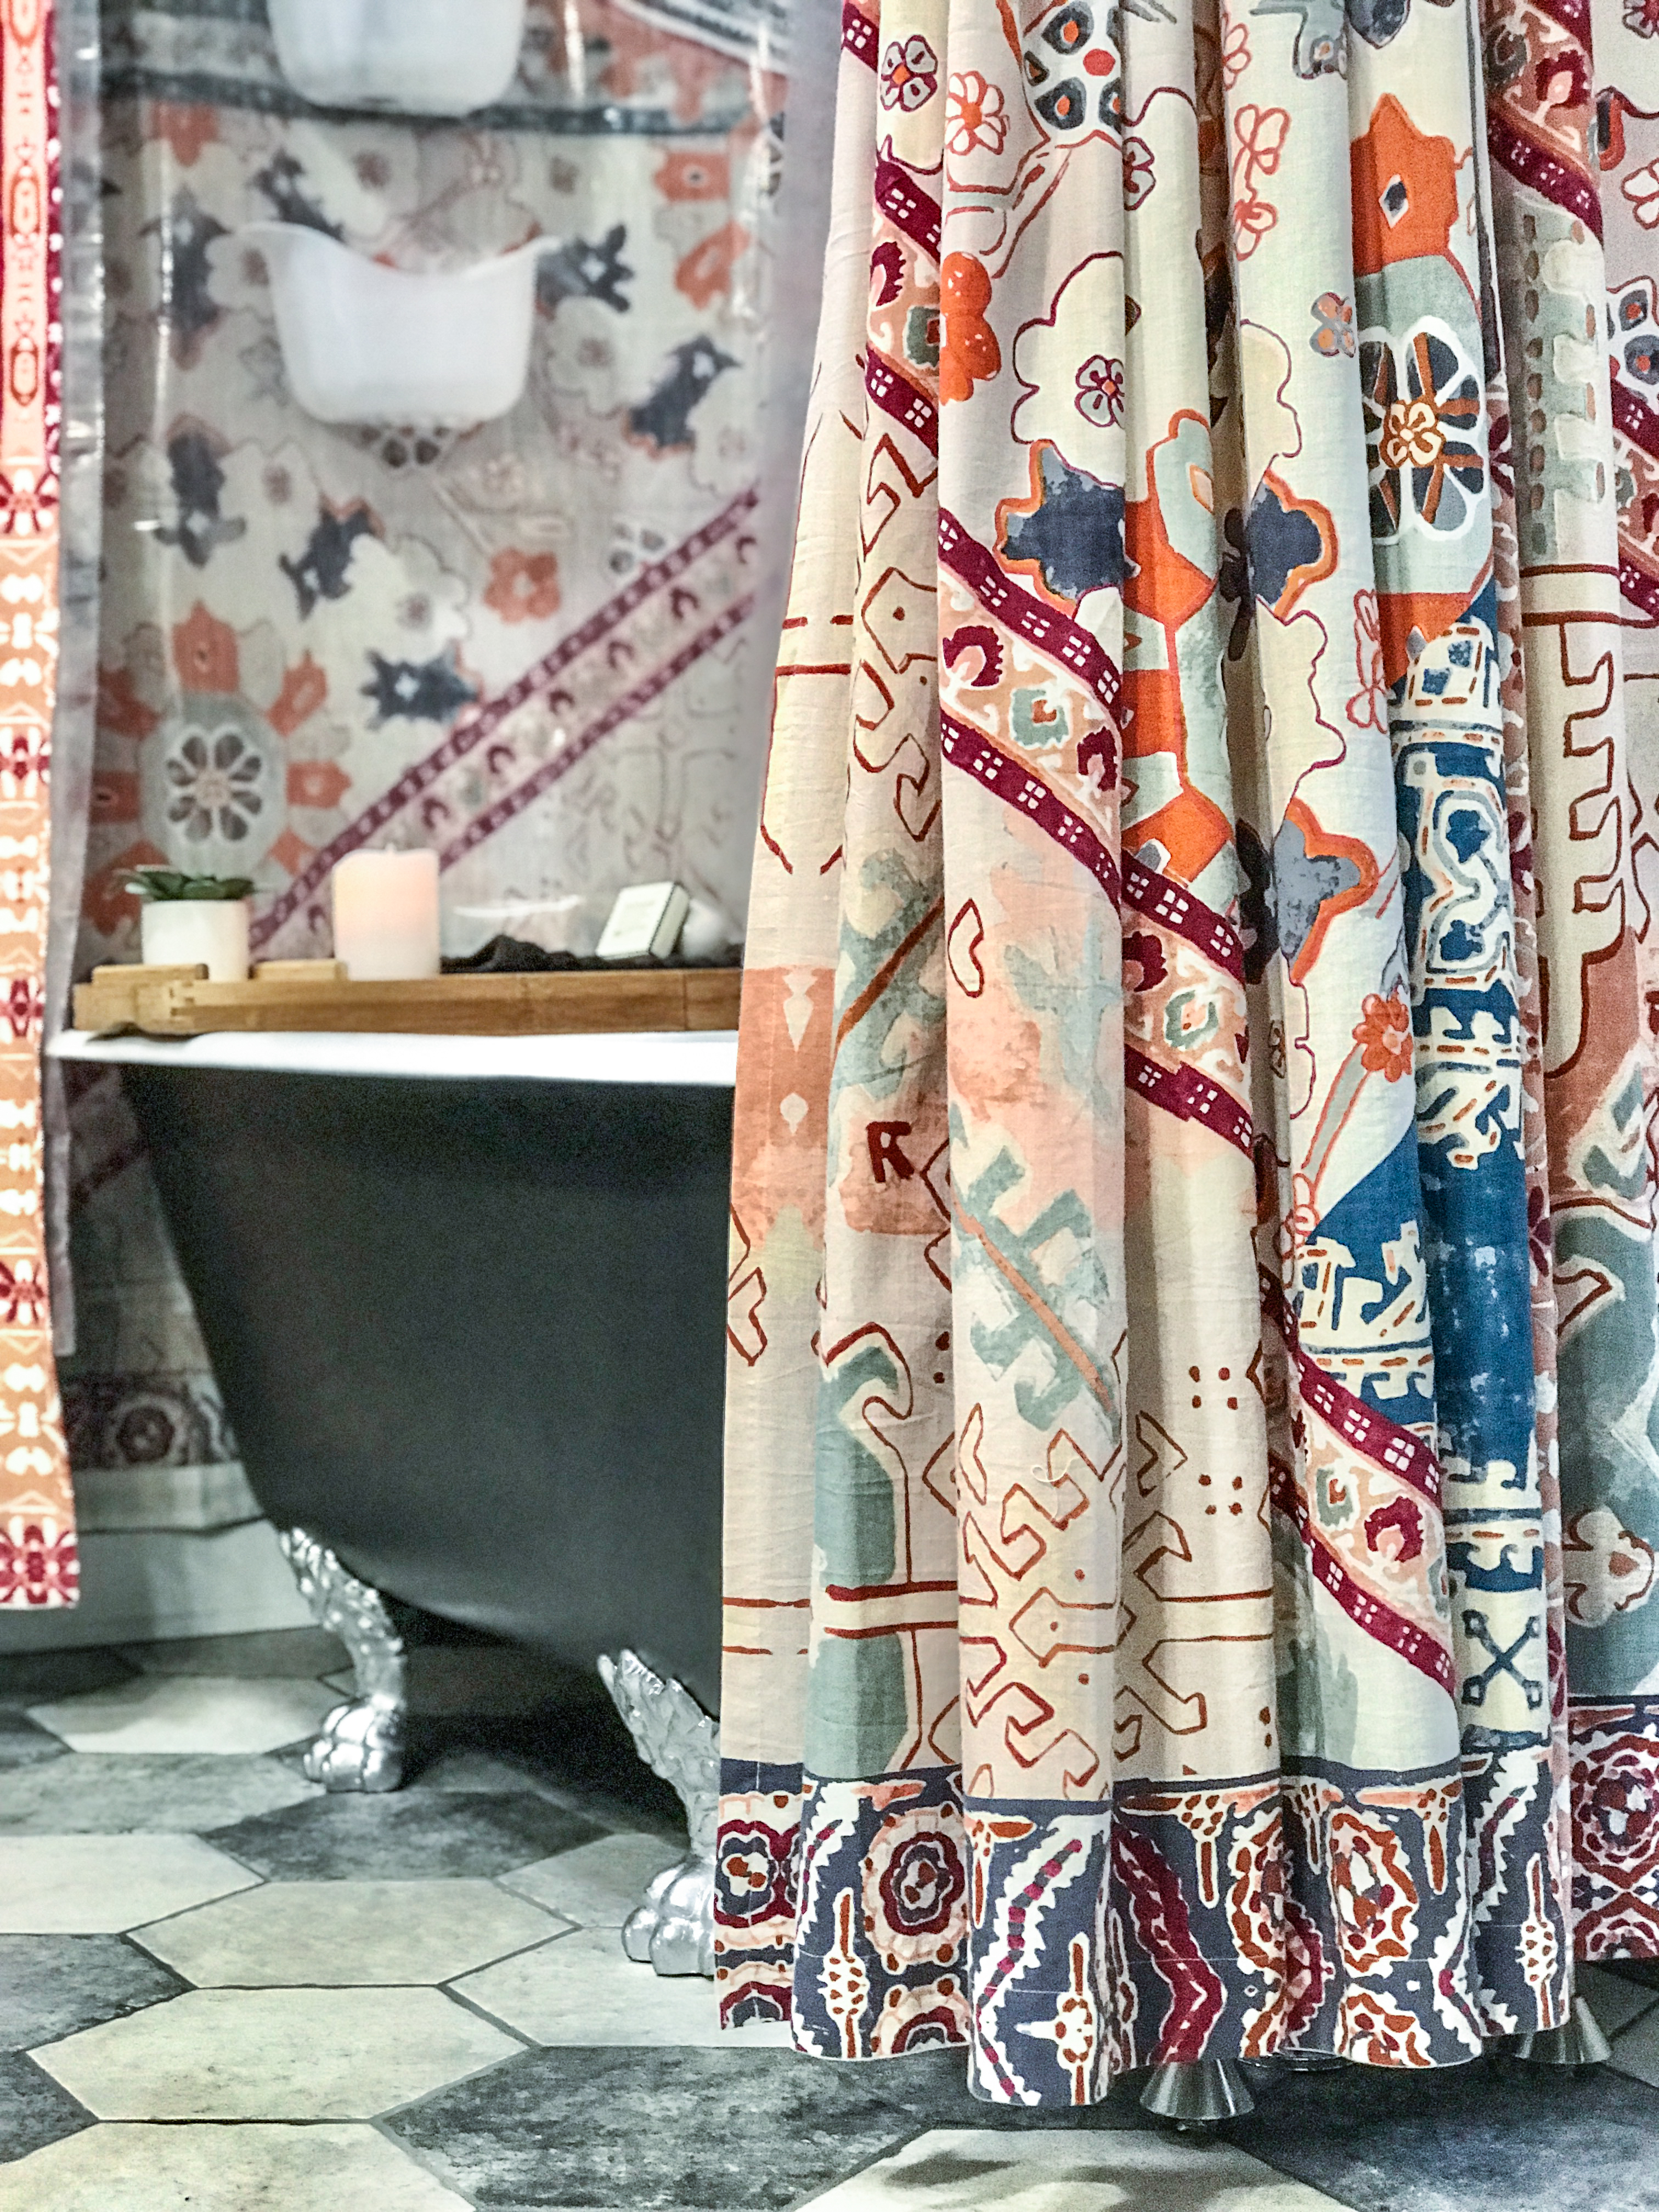
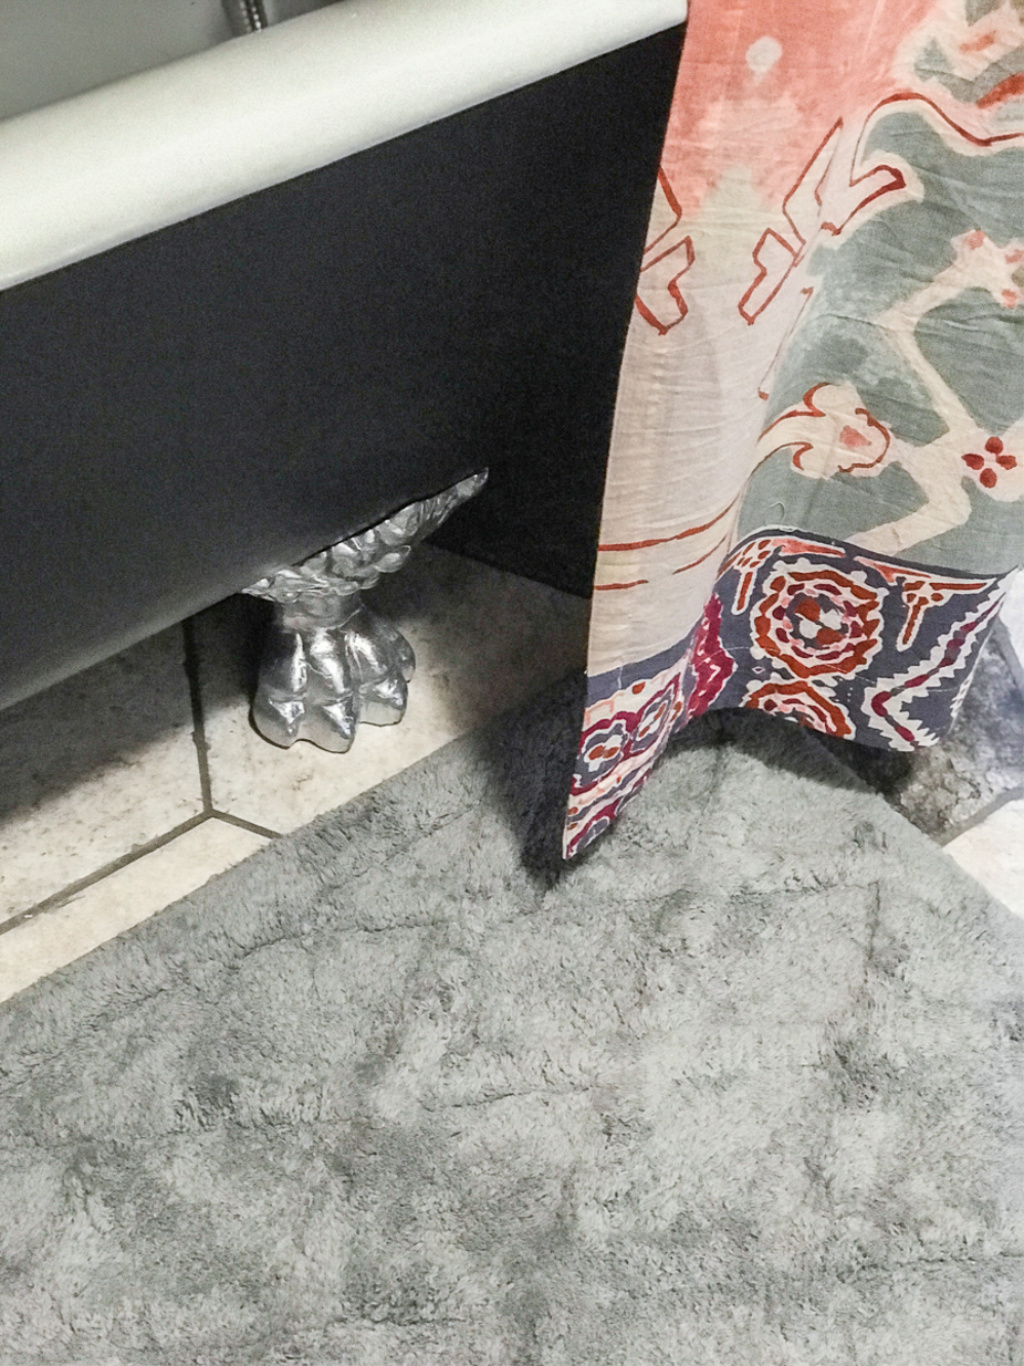
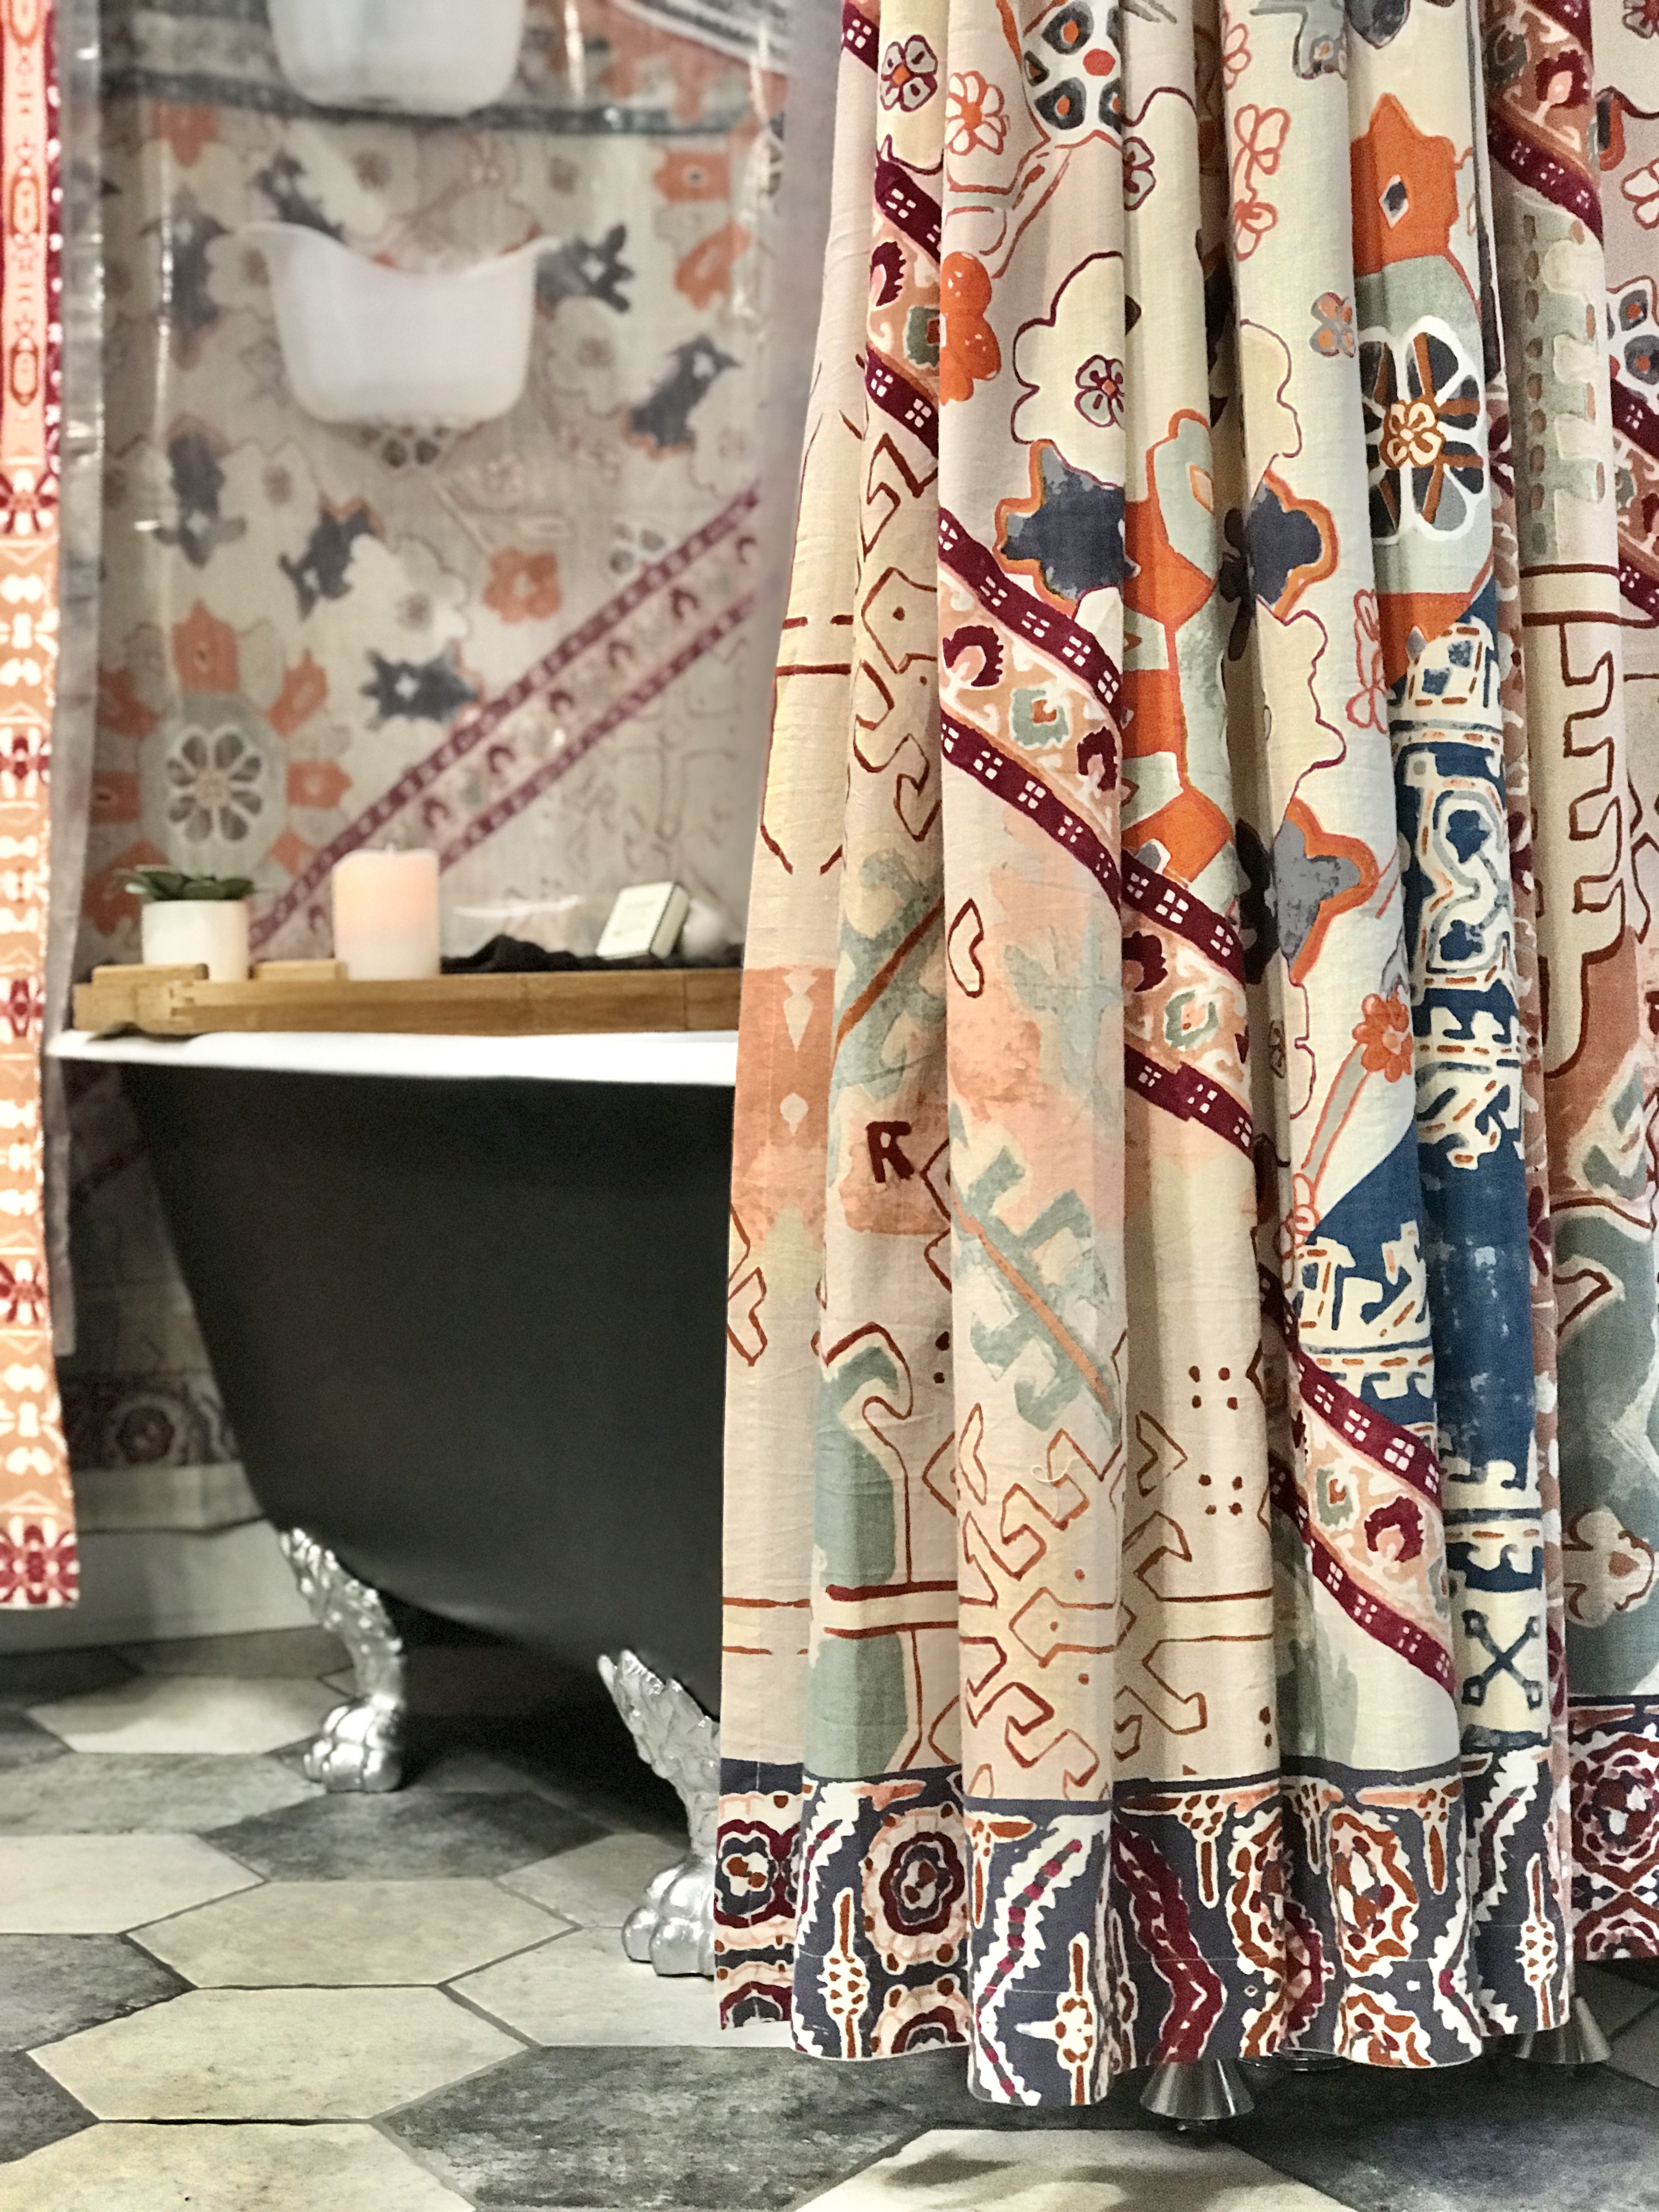
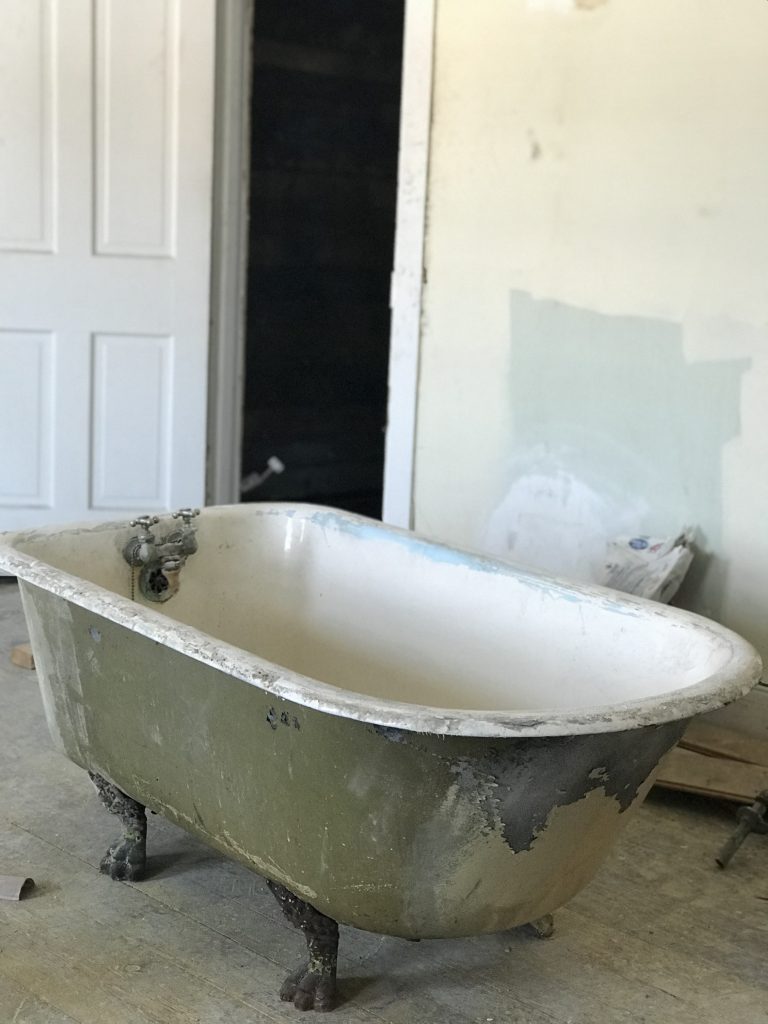
The tub. Oh man. I can’t believe it was boxed in! I did hire out refinishing the inside (David Gunn). Russ sanded the outside for me and I applied a couple of coats of primer and paint and gave those beautiful feet a fresh new look. Can you believe it was all originally hidden? it’s gorgeous!  

Before: 
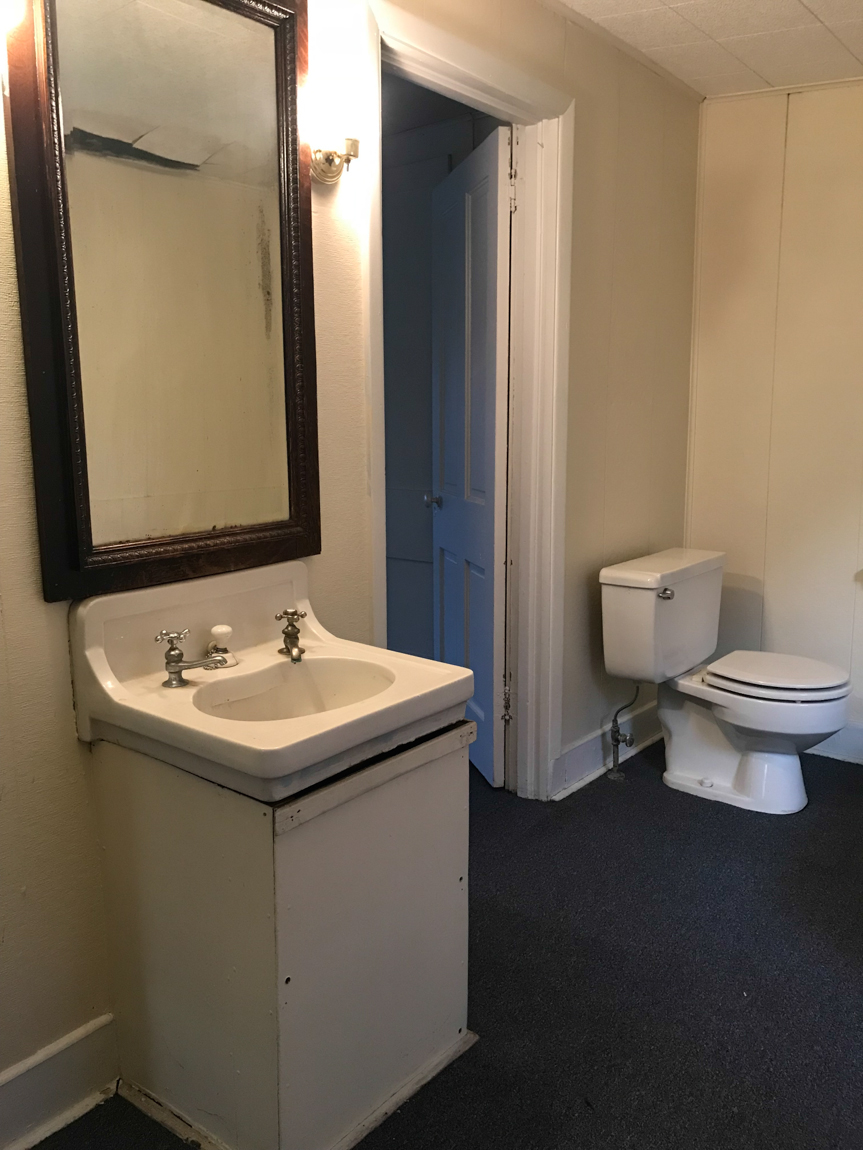
DIY craft studio // workshop - before room makeover @diyshowoff bathroom makeoverblue bathroom vanity bathroom towel wall storage airbnb apartment bathroom makeover suite thyme airbnb apartment bathroom makeover suite thyme Before:DIY craft studio // workshop - before room makeover @diyshowoff bathroom demoBefore:DIY craft studio // workshop - before room makeover @diyshowoff  airbnb apartment bathroom makeover suite thyme Before:DIY craft studio // workshop - before room makeover @diyshowoff DIY craft studio // workshop - before room makeover @diyshowoff Demo time: bathroom makeover in progress A work in progress: bathroom renovation bathroom makeover bathroom makeoverPretty original wood plank wall becomes a feature:Sealing a wood plank shiplap wall with shellac #helloredreno @diyshowoff #ad Sealing a wood plank shiplap wall with shellac #helloredreno @diyshowoff #ad Sealing a wood plank shiplap wall with shellac #helloredreno @diyshowoff #ad Sealing a wood plank shiplap wall with shellac #helloredreno @diyshowoff #ad Sealing a wood plank shiplap wall with shellac #helloredreno @diyshowoff #ad Time for new tile floor!!!bathroom floor prep for tile San Francisco hexagon tile floor wood plank wall grouting tile floor hexagon bathroom tile and wood plank wallairbnb apartment bathroom makeover suite thyme airbnb apartment bathroom makeover suite thyme
Before:DIY craft studio // workshop - before room makeover @diyshowoff DIY craft studio // workshop - before room makeover @diyshowoff airbnb apartment bathroom makeover suite thyme bathroom makeover bathroom decorBefore:DIY craft studio // workshop - before room makeover @diyshowoff DIY craft studio // workshop - before room makeover @diyshowoffbathroomcloset Demo time: bathroom makeover vintage bathroom charm bathroom makeover A work in progress:bathroom renovationbathroom renovation bathroom makeoverKeeping the brick exposed and sealed…vintage brick exposed brickBeautiful new tile floor and vanity…hexagon floor tile blue vanity hexagon tile floor with shiplap wall airbnb apartment bathroom makeover suite thyme

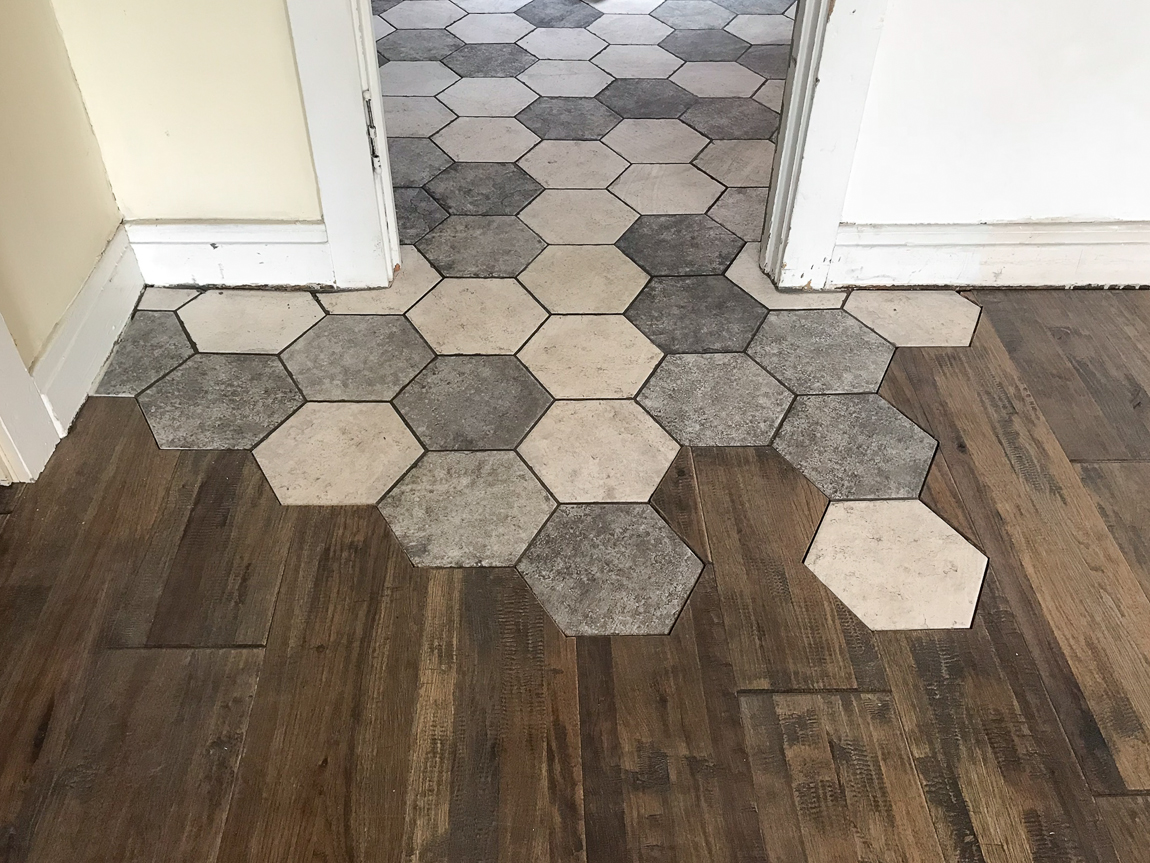
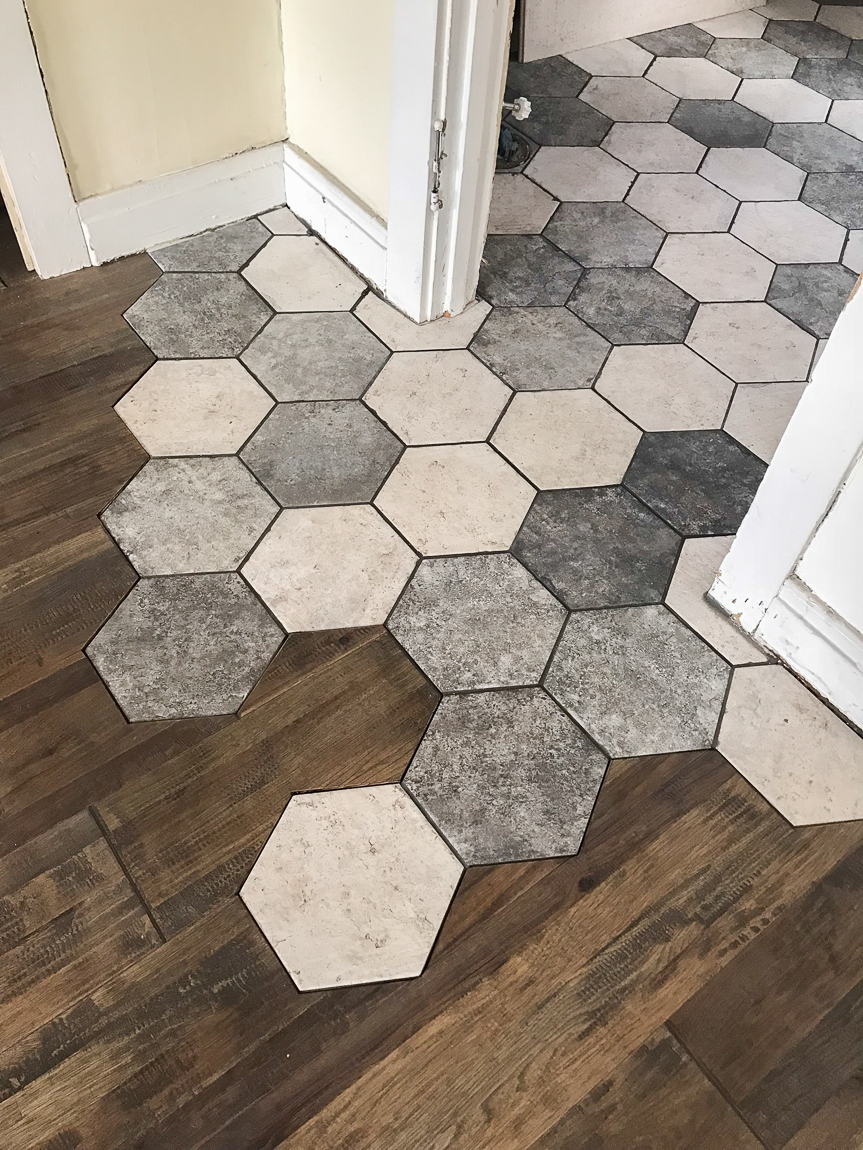
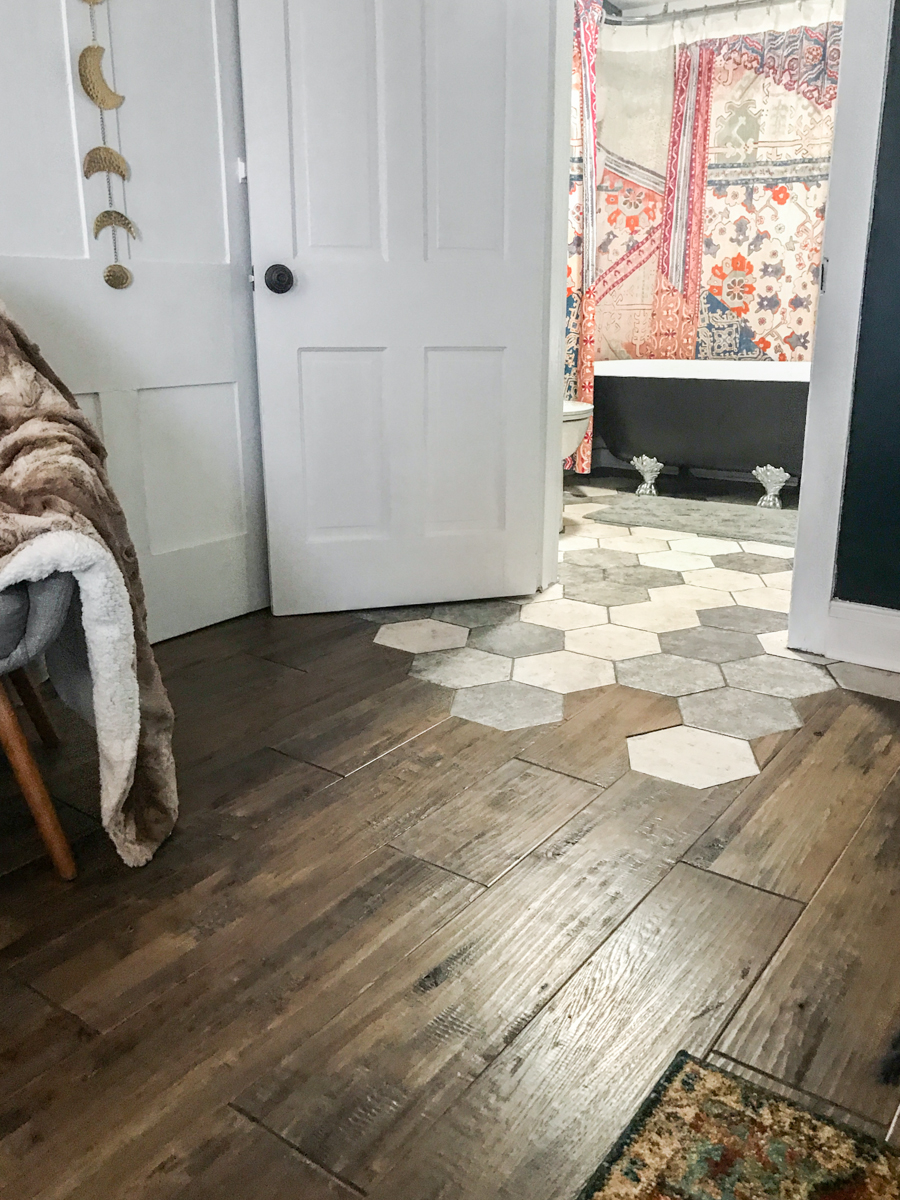
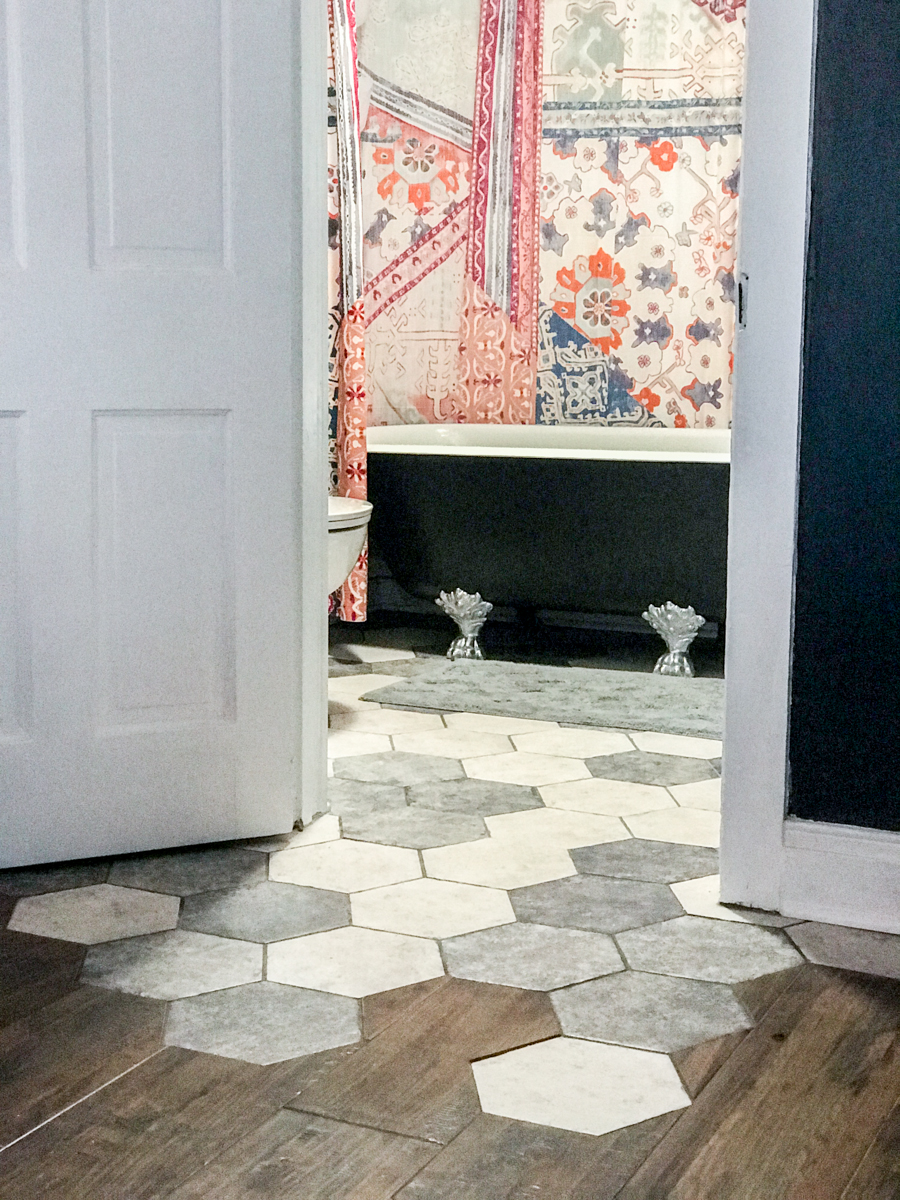
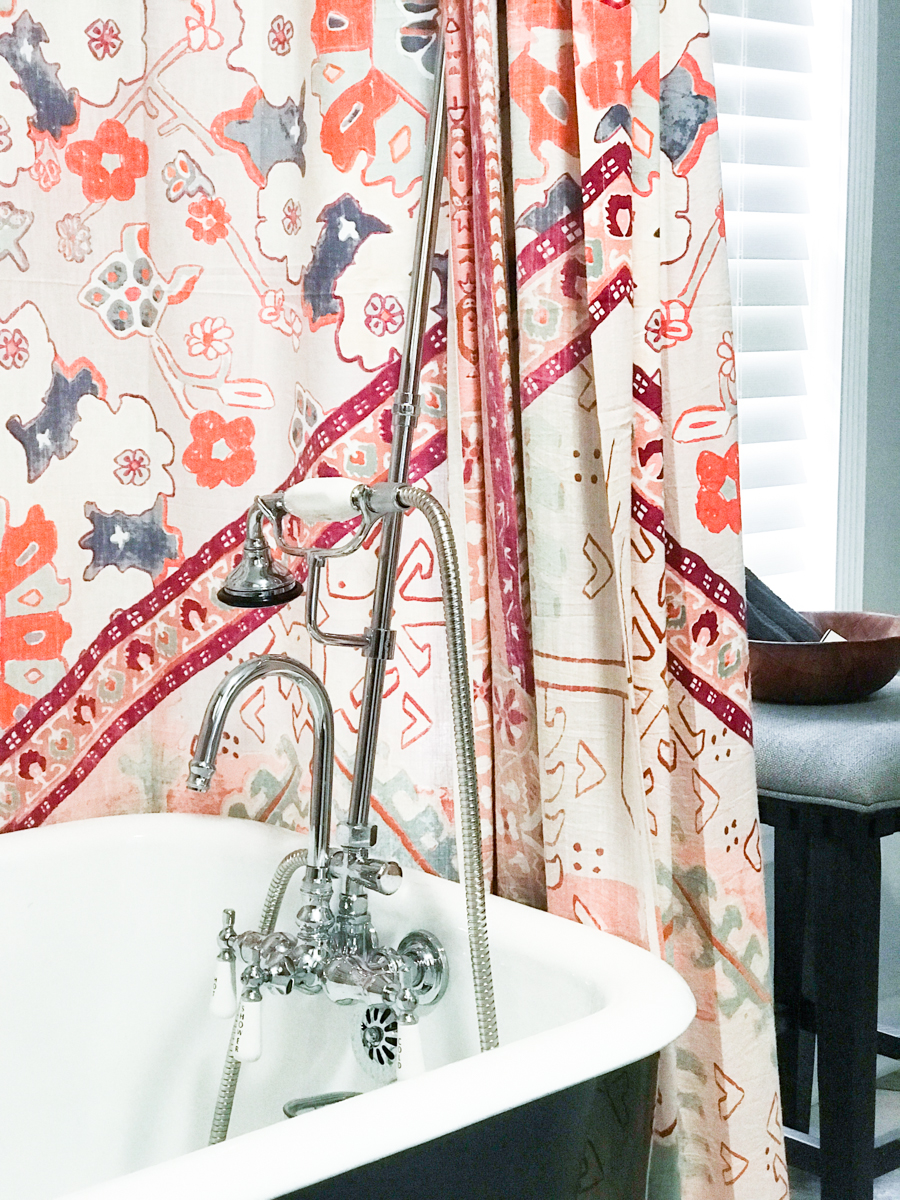
Before:DIY craft studio // workshop - before room makeover @diyshowoffTime for demo:clawfoot tub DIY bathroom renovation bathroom makeoverCleaning up:bathroom renovationbathroom renosub floorNew hexagon tile flooring spills into the hardwood from bathroom to bedroom. LOVE the creative freedom to do something different so much! hexagon bathroom tile and wood plank wall hexagon tile to hardwood transition hexagon tiles meet hardwood Shaw San Francisco tile Monterrey Grandview hardwoodairbnb apartment bathroom makeover suite thyme airbnb apartment bathroom makeover suite thyme airbnb apartment bathroom makeover suite thyme anthropologie boho rise shower curtain clawfoot tubVintage clawfoot before:bathroom makeover bathroom makeoverclawfoot tub makeover airbnb apartment bathroom makeover suite thyme airbnb apartment bathroom makeover suite thyme anthropologie rissa shower curtain clawfoot tub
Whew! What a LONG hard job! But what a beautiful transformation! I have yet to soak in that tub but it’s on my list of things to do this weekend! 

Share your thoughts! 

What do you think? Quite a difference from before to after, right? Ready for a relaxing get-away?

Next up:

Things left to do: build a shed door for out back (I did create a beautiful small seating area … I’ll share a few pictures of that next). I also need to build a door for a sliding barn style door between the bedroom and kitchen/dining/livingroom area. But other than that, it’s pretty much done! All decorated and furnished from dishes to bed linens, great amenities and attention to detail. I’m so proud of how my vision came together and look forward to hosting LOTS of guests! Let the bookings begin! 

More about #helloredreno

You can book Suite Thyme if you’re traveling to the western PA area! I’d love to meet you! The building has so much historical charm. It’s about one block from our town’s Main Street. The bus stop is literally steps away. There’s an antique shop nearby. There are breweries, the YMCA, shops, restaurants, salons, florists, candy/coffee shop, holiday parades and festivals within walking distance. So fun! If renovation from blah to ahhhhh is your thing, come and check it out in person!

Ready to book a stay away at a home-suite-home for a Suite Thyme? Book Suite Thyme! Mention DIYShowOff and we’ll include a special gift with your stay. 

So subscribe and be reminded of updates as the renovations progress! I’ll share before and after photos, projects underway and updates, plans and design boards, sources and links as they relate as well as fun events going on in and around the downtown area. I’ll be using a specific hashtag on social media to keep things all neat and tidy and organized.

#helloredreno and #suitethyme

I welcome your thoughts and ideas! And as always, thanks for your encouragement and support and for sharing in my joy and vision! 

The #helloredreno project diary:

Project Diary Entry #1 – Hello Red Reno!

Project Diary Entry #2 – Efficiency Apartment

Project Diary Entry #3 Color Passive Paint

Project Diary Entry #4 – Full Bathroom Demo Day

Project Diary Entry #5 – Sealing A Wood Plank / Shiplap Wall

Project Diary Entry #6: Bathroom Flooring

Project Diary Entry #7: Sealing Brick

Project Diary #8: Hardwood Floors

Project Diary #9: Carpeted Stairs

Project Diary #10 Vinyl Floor Tiles

Project Diary #11 – Living Room Before & After

Project Diary #12 – Christmas at the Studio

Project Diary #13 – Wallpaper Mural

Project Diary #14 – Entryway, Stairs & Landing Before & After

Project Diary #15 – Apartment Living Room Before & After Reveal

Project Diary #16 – Dining Nook & Coffee Bar

Project Diary #17 – Apartment Kitchen Reveal

Project Diary #18 – Boho AirBnB Bedroom

Project Diary #19 – Bathroom Before & After Makeover

Project Diary #10 Vinyl Floor Tiles

Featured

Finally! I know. It’s been a while since the last update. Lots of work! There is something to report in the #helloredreno series, a bit of progress that includes beautiful new vinyl floor tiles and walls in a back entry and main floor restroom area for the workshop. I’m still working on final details like getting a sink/vanity installed, trim work, some fun DIY projects and decor but I just can’t wait to show you this beautiful flooring! 

shaw fairmount sweetbriar flooring

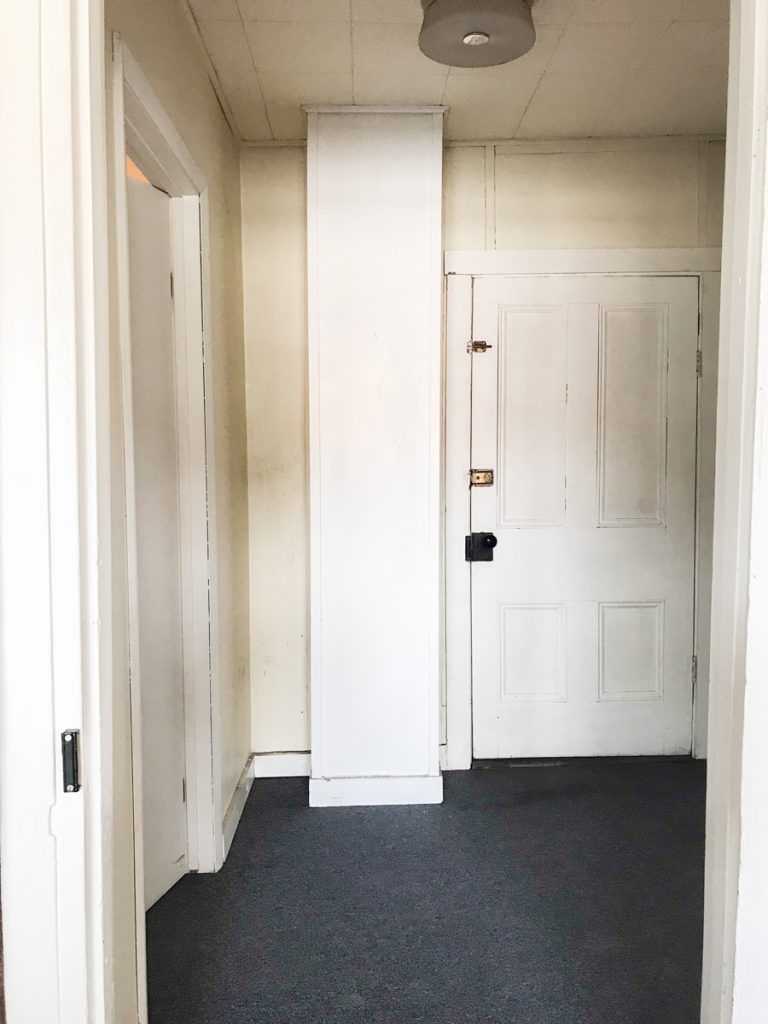
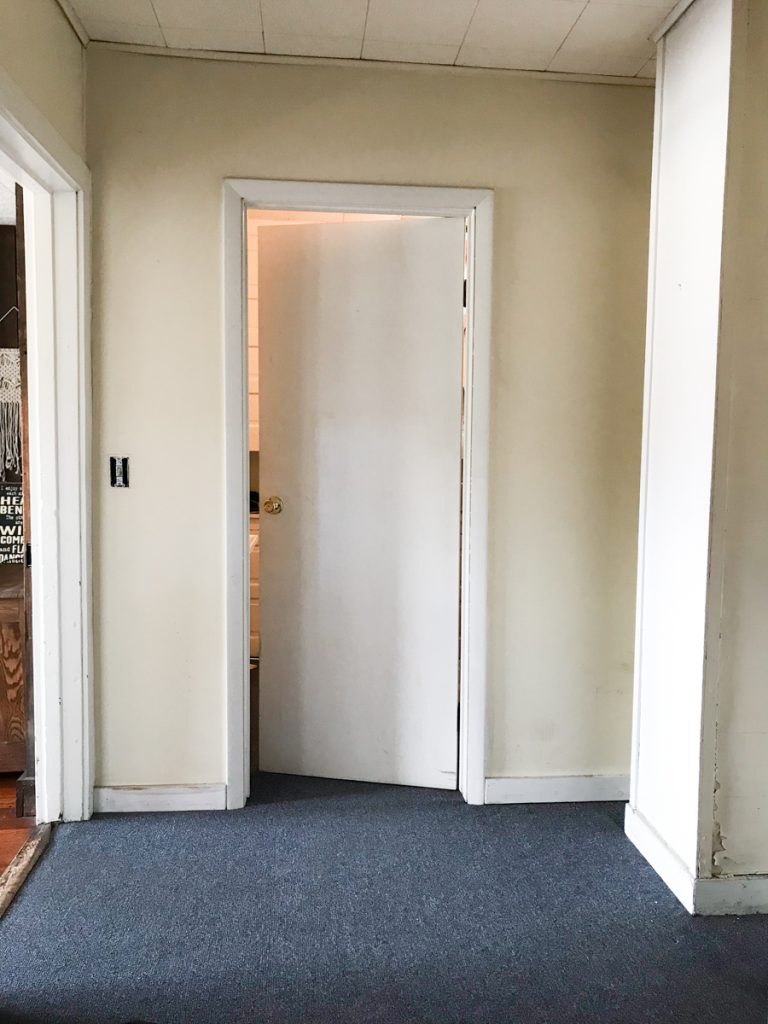
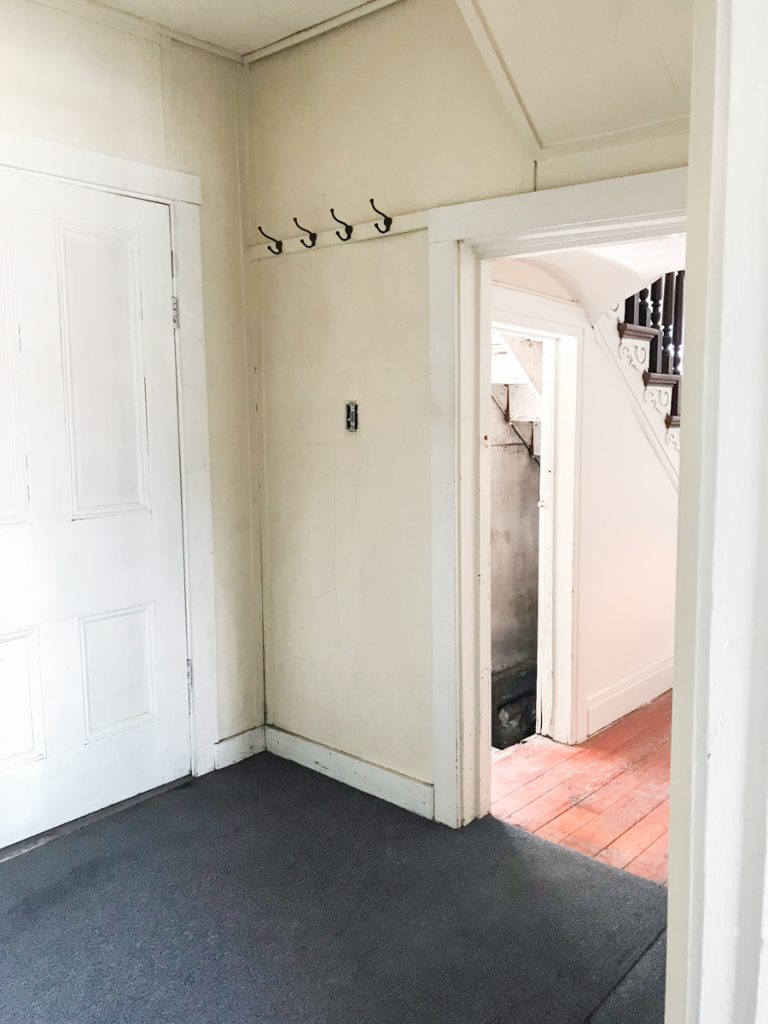
Back Story // Before: 

Real quick: the “painted cardboard” walls were removed to reveal very dirty lathe? I’m not sure but it was filthy. Oh and the ceiling tiles are gone as well! We installed some insulation and my sweet Mr. DIY guy put up some fresh new drywall. Side note: It was a very verbally colorful experience since nothing is square in this 100  year old building but thank goodness it’s done! Now Let’s get the the before shots from when it just changed hands from the previous owner to us…

back entryway – everything was so dirty

backroom before

back entryway looking into the main {half} bathroom area

coatroom before

back entryway and what we call the hobbit door (watch your head!) leading to the basement stairs, front door and staircase

back entry before

bathroom before

DIY craft studio // workshop - before room makeover @diyshowoff
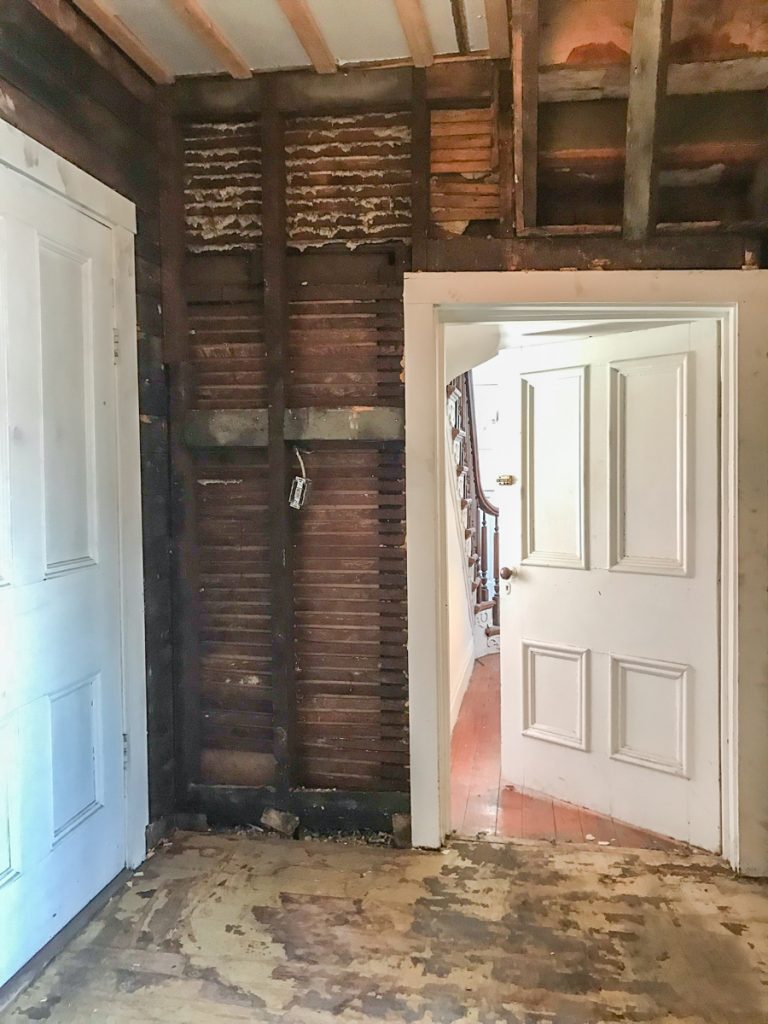
bathroom before ownership

DIY craft studio // workshop - before room makeover @diyshowoff
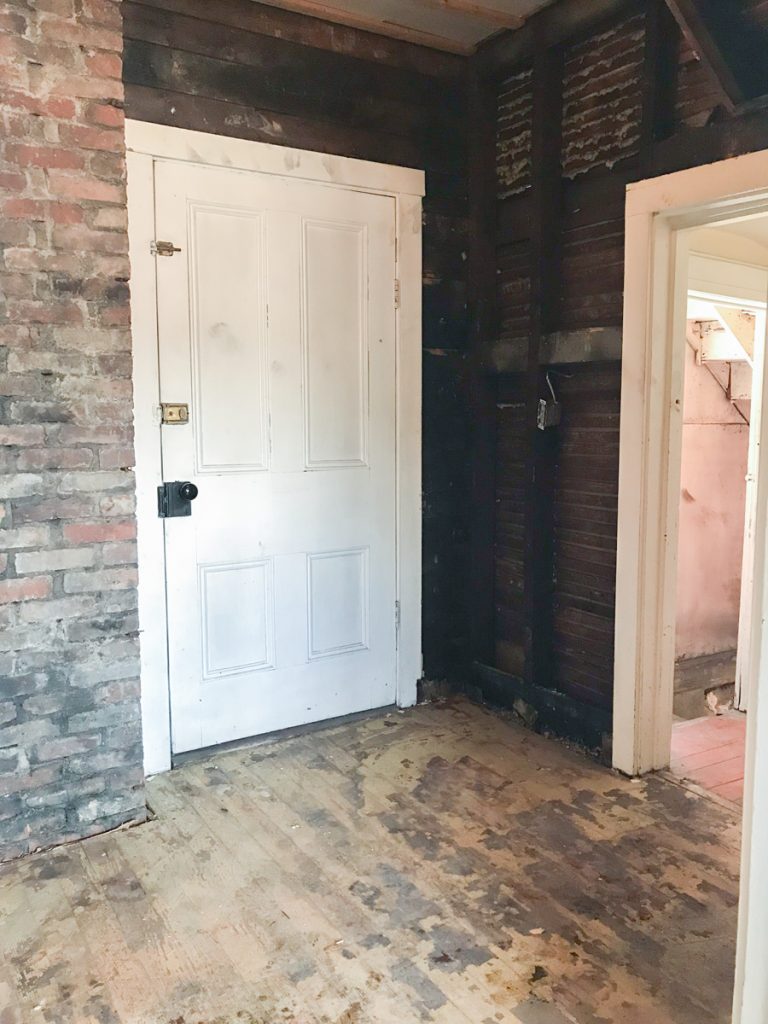
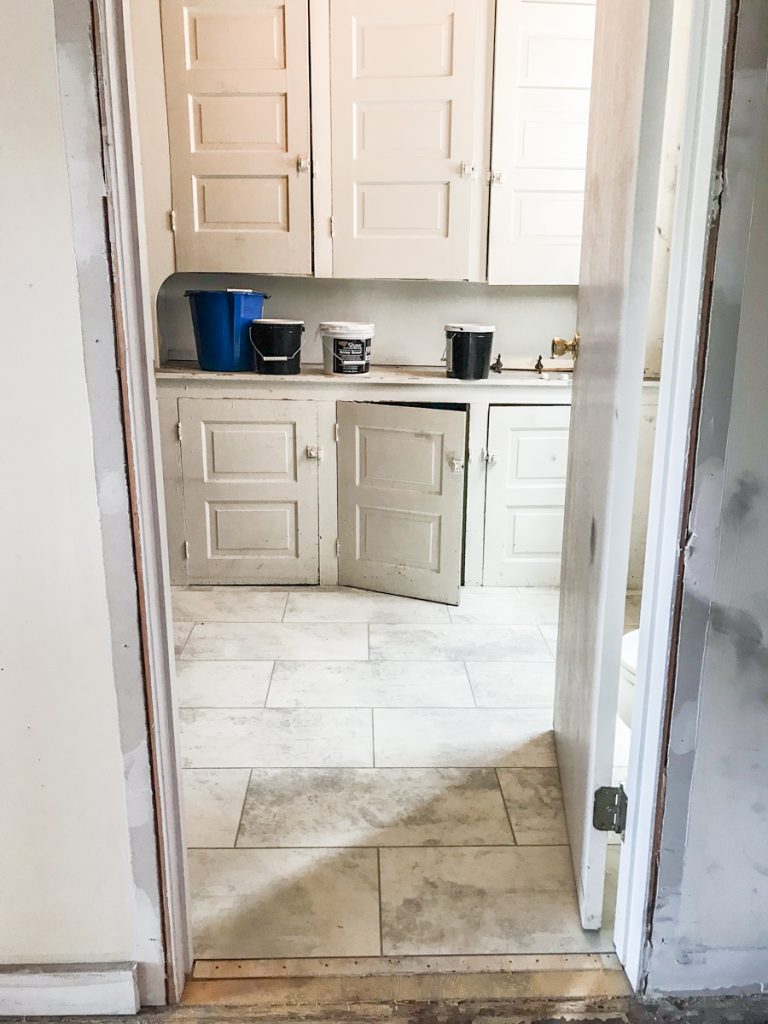
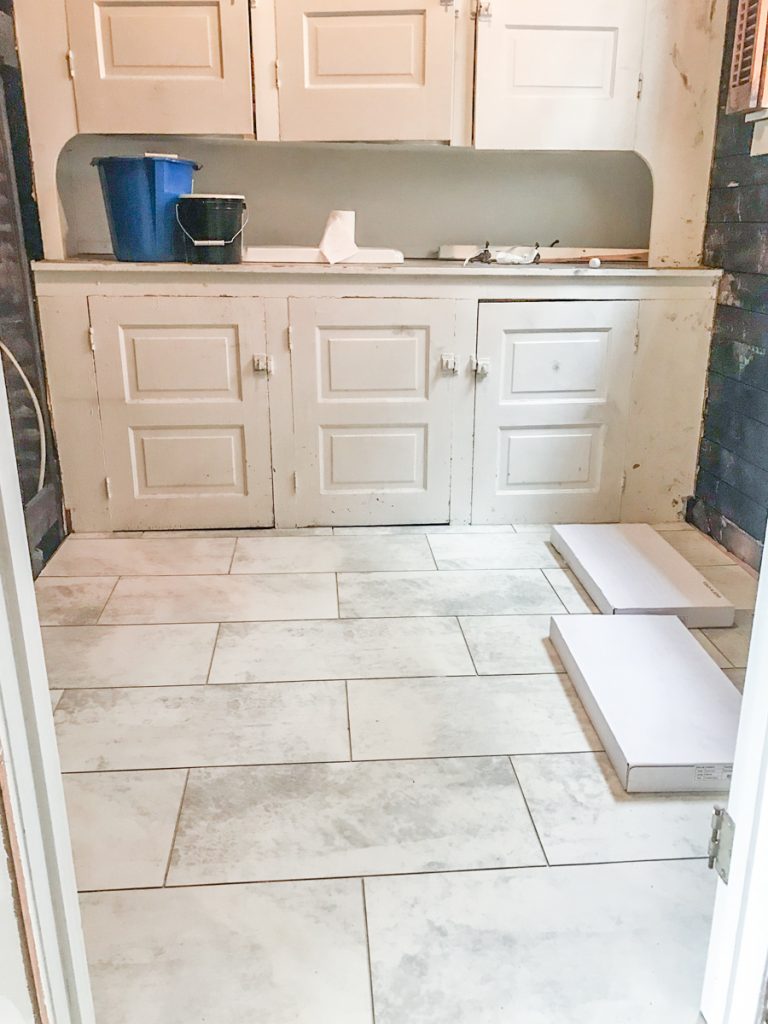
bathroom before – those cabinets were from the original kitchen over 100 years ago!

DIY craft studio // workshop - before room makeover @diyshowoff
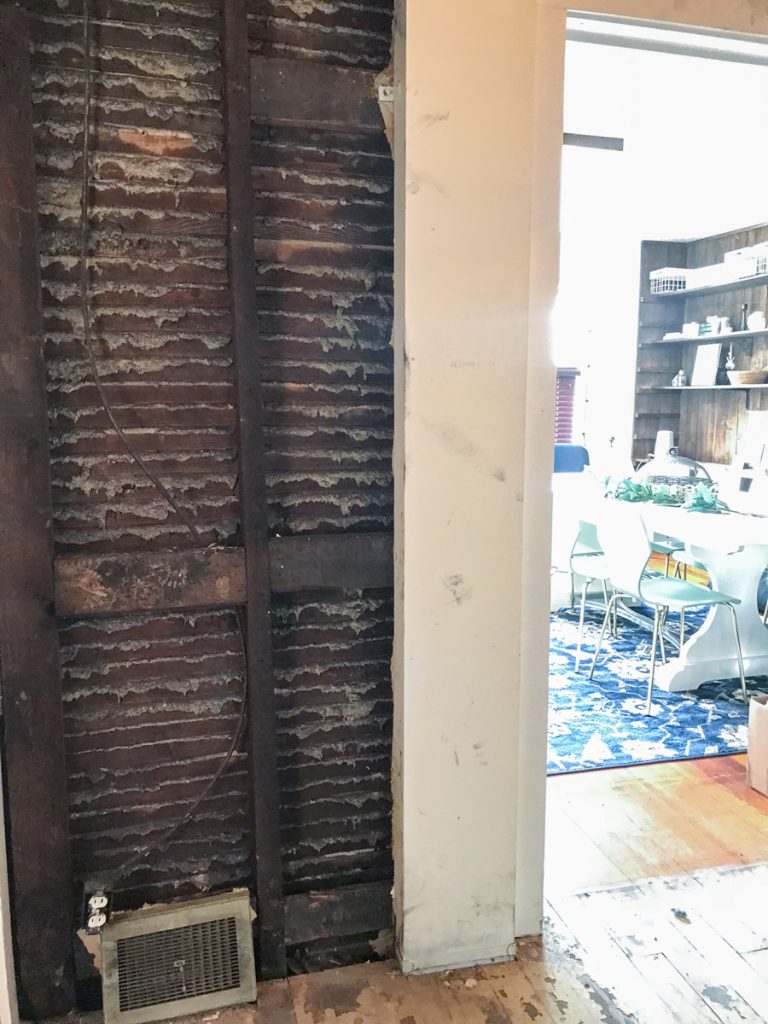
Okay, the floor before had blue industrial carpeting (in.a.bathroom!, you guys!). ::gag:: That definitely had to come out!  Good bye flimsy walls. Good bye ceiling tiles. Good bye carpet! Good bye!

Demo day: 

Behind those walls? SO much black sooty dirt. It was everywhere! Fingerprints for months! 

diyshowoff demo day demoday

We kept the original pine floors throughout the rest of the main floor. 

studio renovationlathe before drywall

Product Choice: 

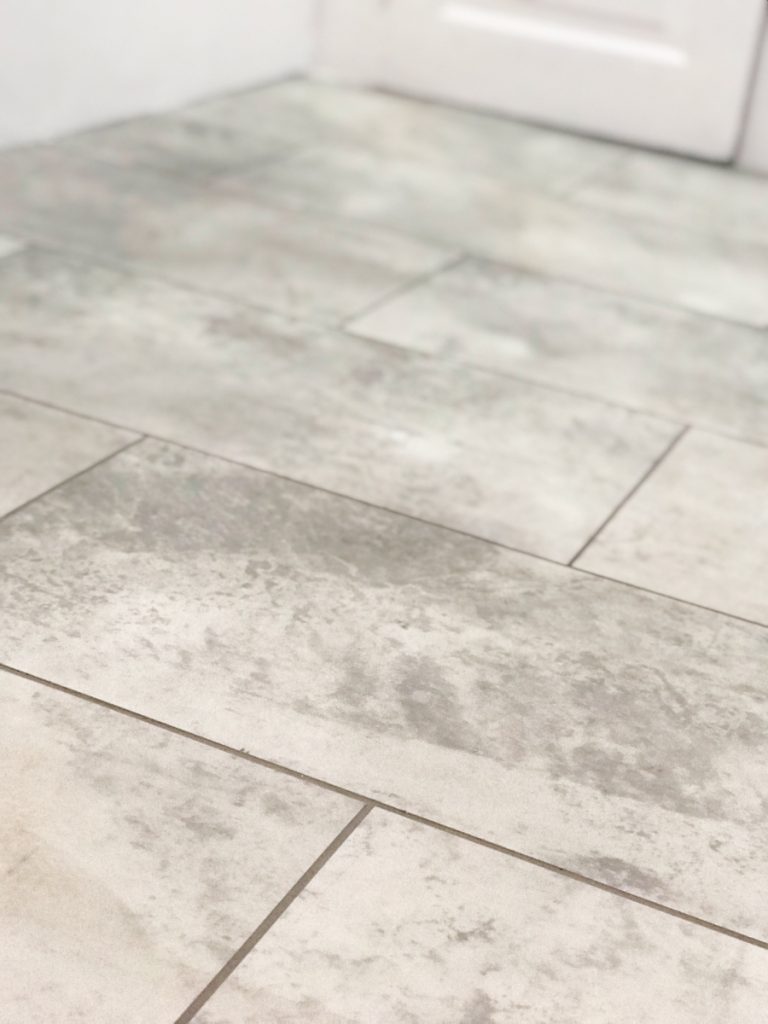
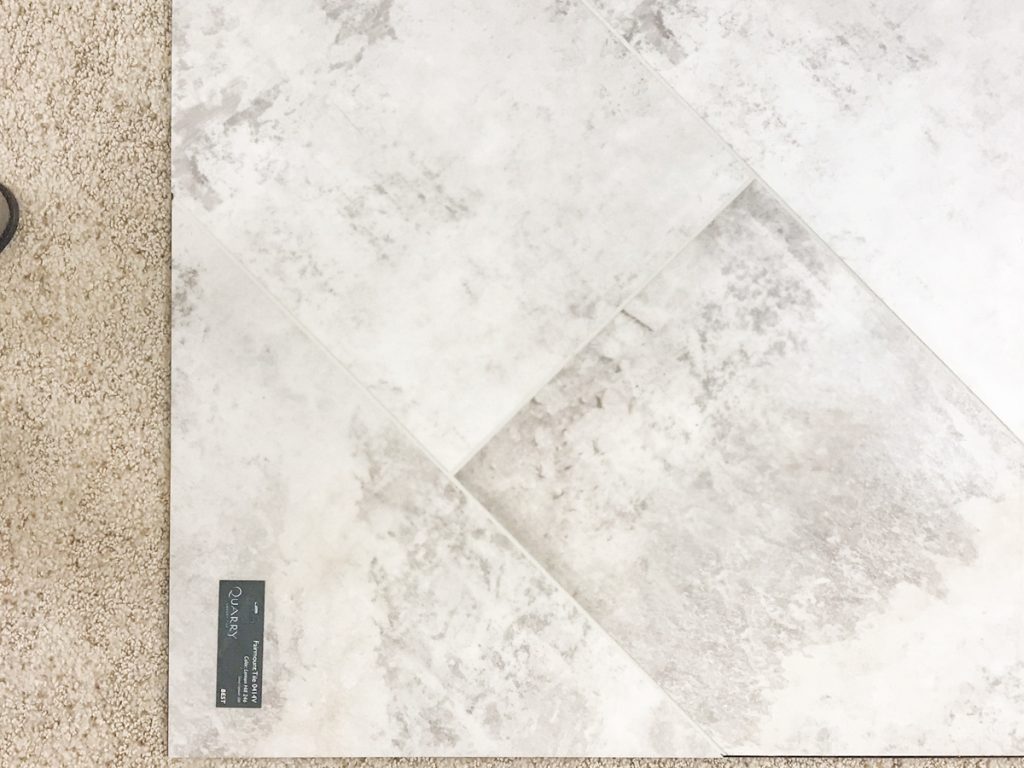
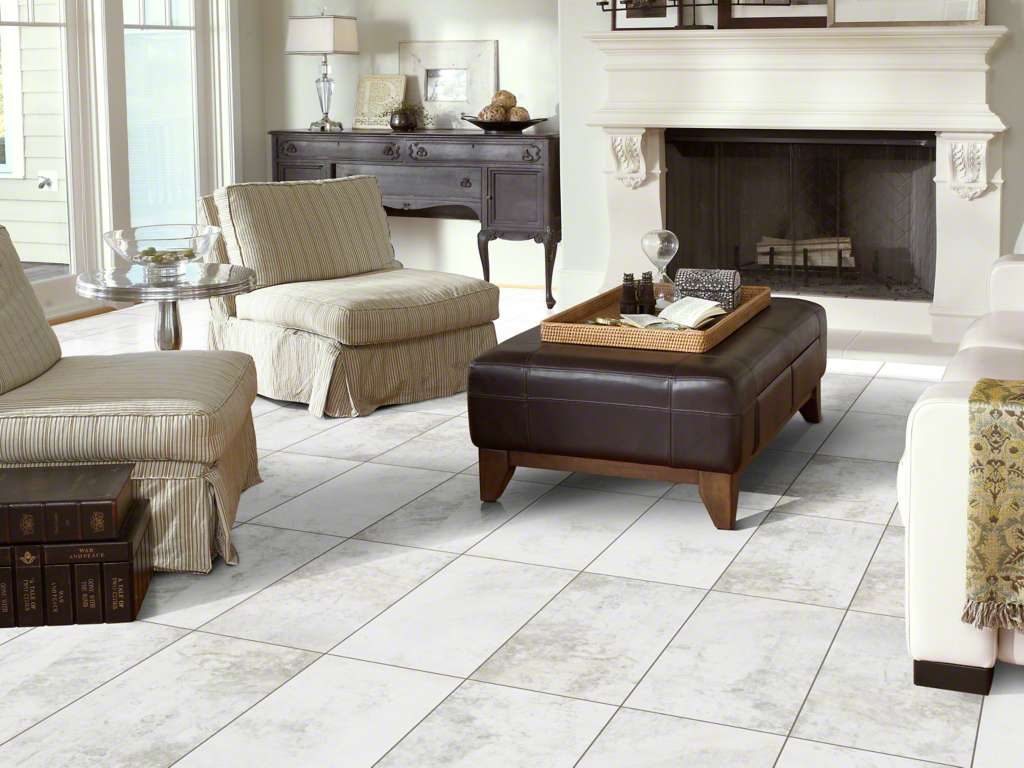
I chose these gorgeous grouted vinyl tiles for their durability, beauty and warmth – a perfect choice for this space. It’s a product from the Shaw Fairmount collection. Design is “Sweetbriar”.  

Fairmount Sweetbriar

fairmount sweetbriar

From the Shaw inspiration gallery: 

Shaw Fairmount Sweetbriar

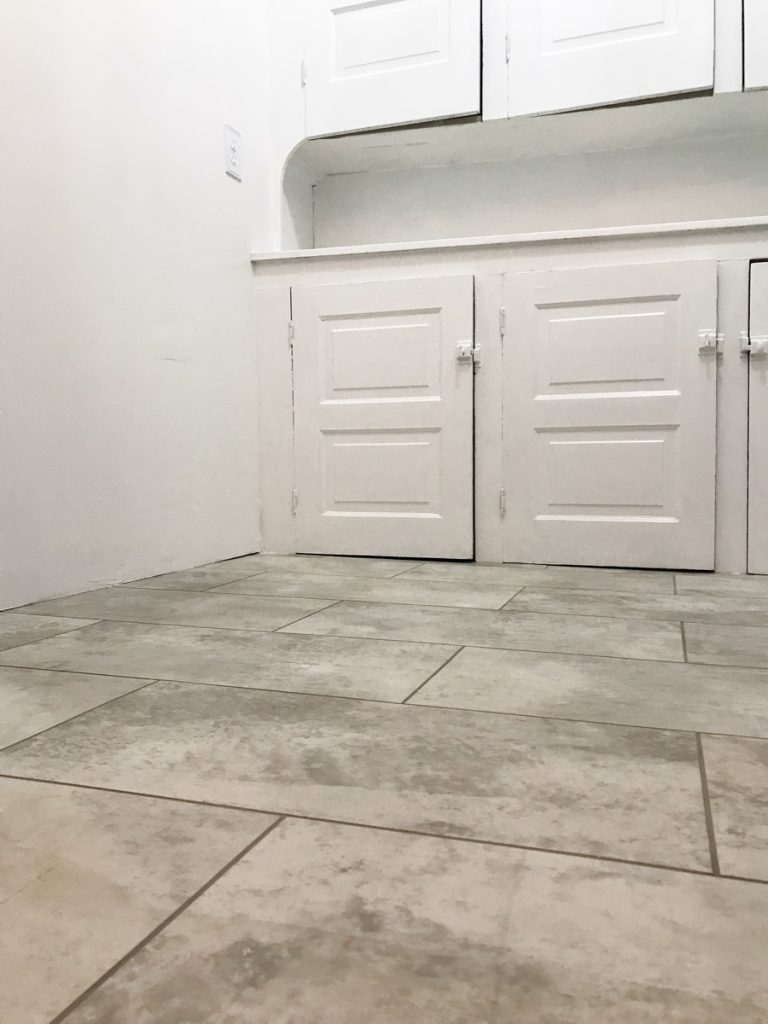
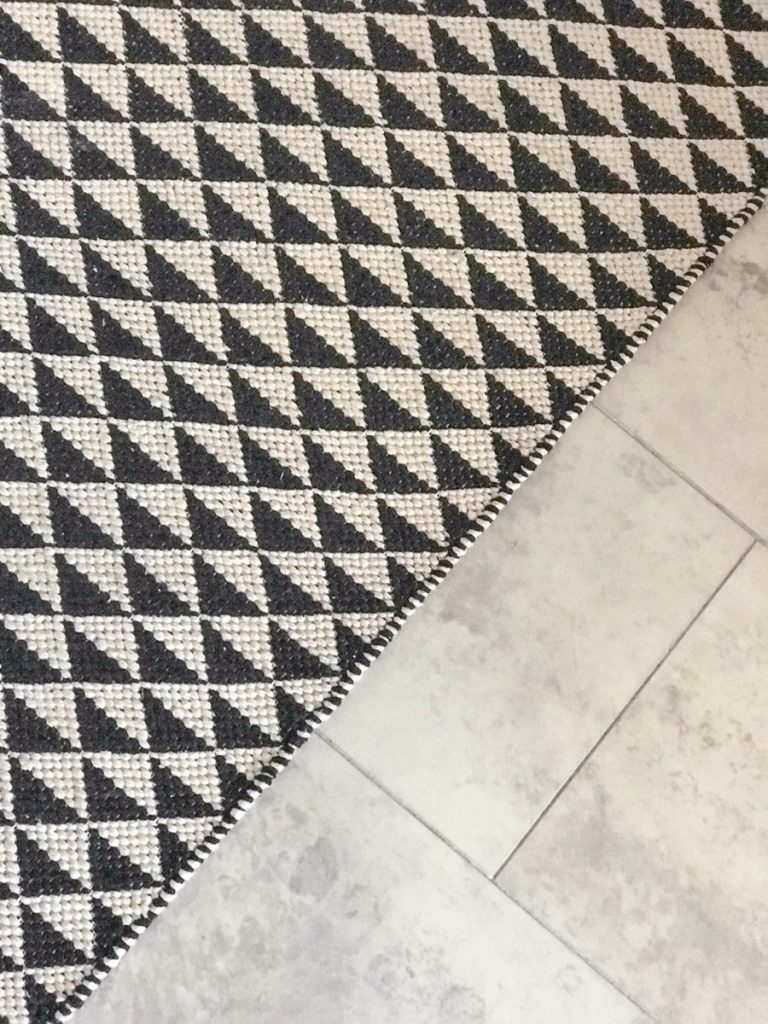
Fairmount is a 12×24 rectangle vinyl tile. I love the color variation and that it’s super resilient! And boy can we ever attest to that! 

Installation: 

Mike, a subcontractor with A&S Carpet in Allison Park, PA utilized a glue-down installation in a brickwork pattern. The fun part? This product can be installed with or without grout! How cool is that? I went with the grouted installation. 

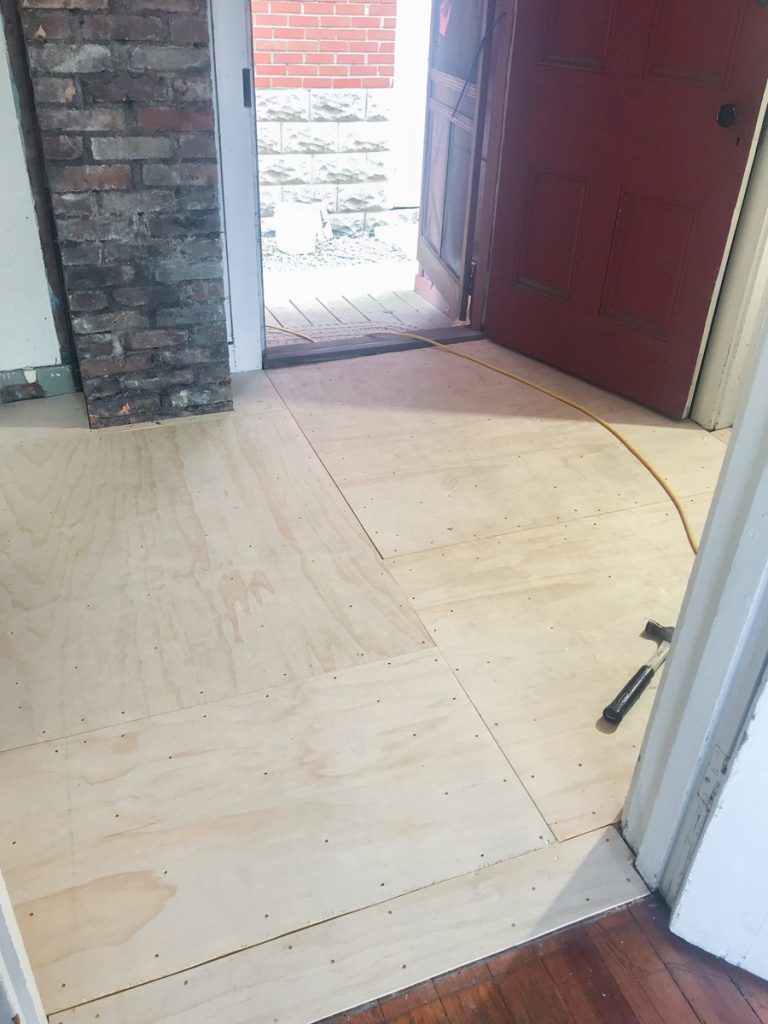
subfloor bathroom renovation See how the flooring was installed before the walls? When I say this floor is durable, I speak from experience! More on that below. vinyl floor tile installation

Progress // After:

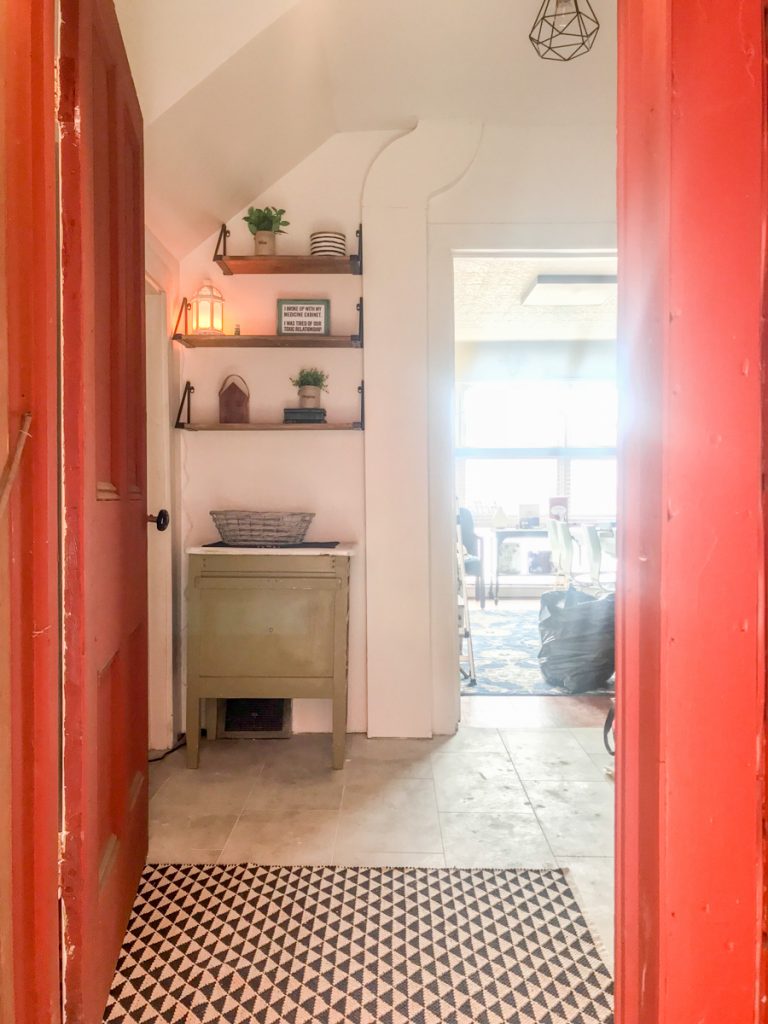
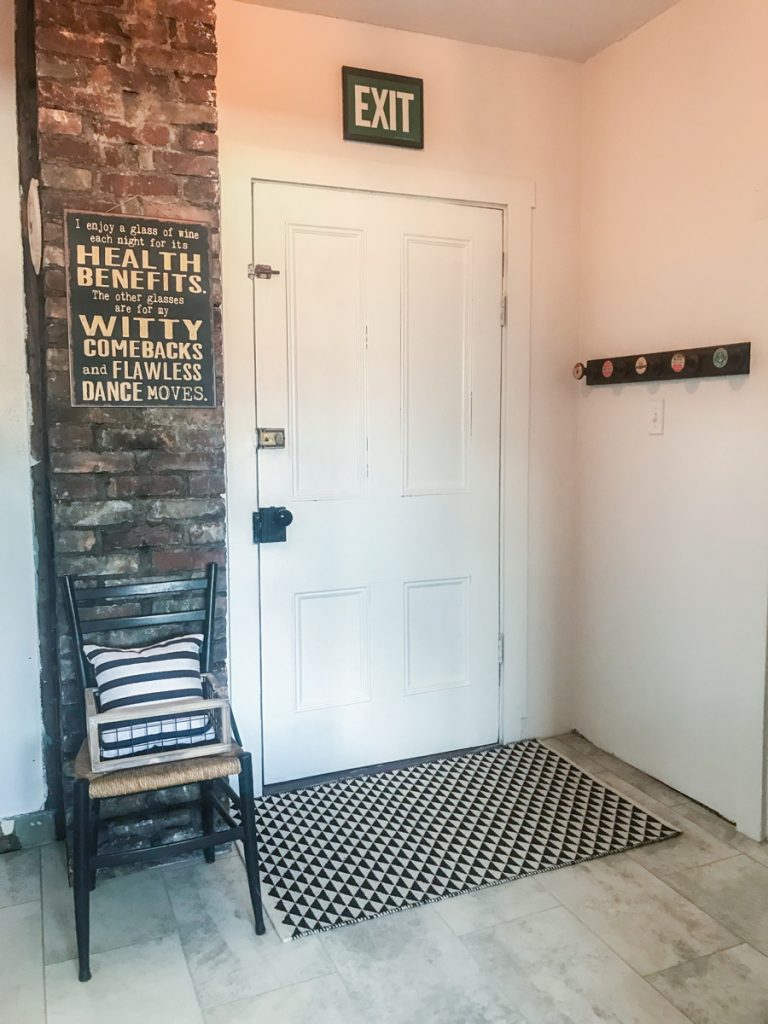
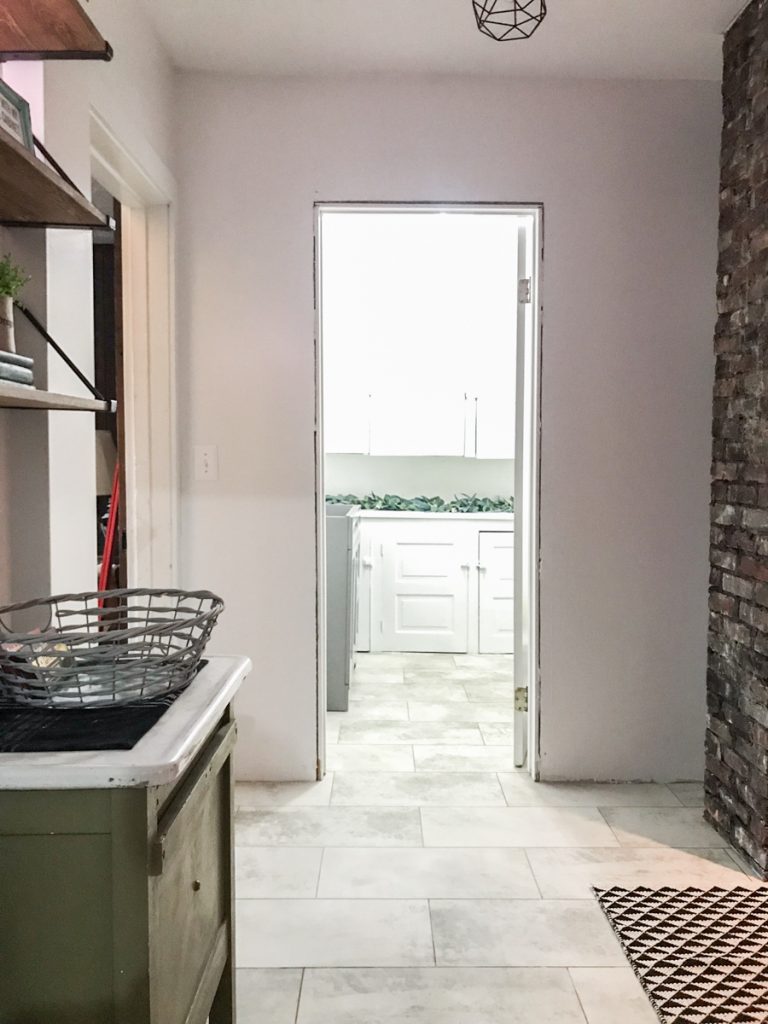
Since it’s not fully completed, I don’t have true reveal photos just yet but here are some sneak peeks. This space is a back entryway which will also house a small beverage station, built in wine storage and a place to hang coats. 

shaw fairmount sweetbriar flooring

view through the back door 

beverage station

back room

fairmount sweetbriar vinyl flooring

And this is the main floor restroom for the studio/office/workshop. I love the durability and warmth of the vinyl tile, especially since we may be working with glass…a harder surface wouldn’t have been as forgiving or functional in that case so this softer surface was a pretty and wise choice. 

fairmount sweetbriar vinyl tile flooring fairmount sweetbriar flooring

So, what do you think? Isn’t it gorgeous? If you’re choosing a vinyl flooring for it’s warmth, durability and beauty, you’re going to want to add this to your list of options for sure!

fairmount sweetbriar flooring shawstyleboard

Stay tuned for a completed reveal of these two spaces! 

Care and Maintenance:

vinyl floor care

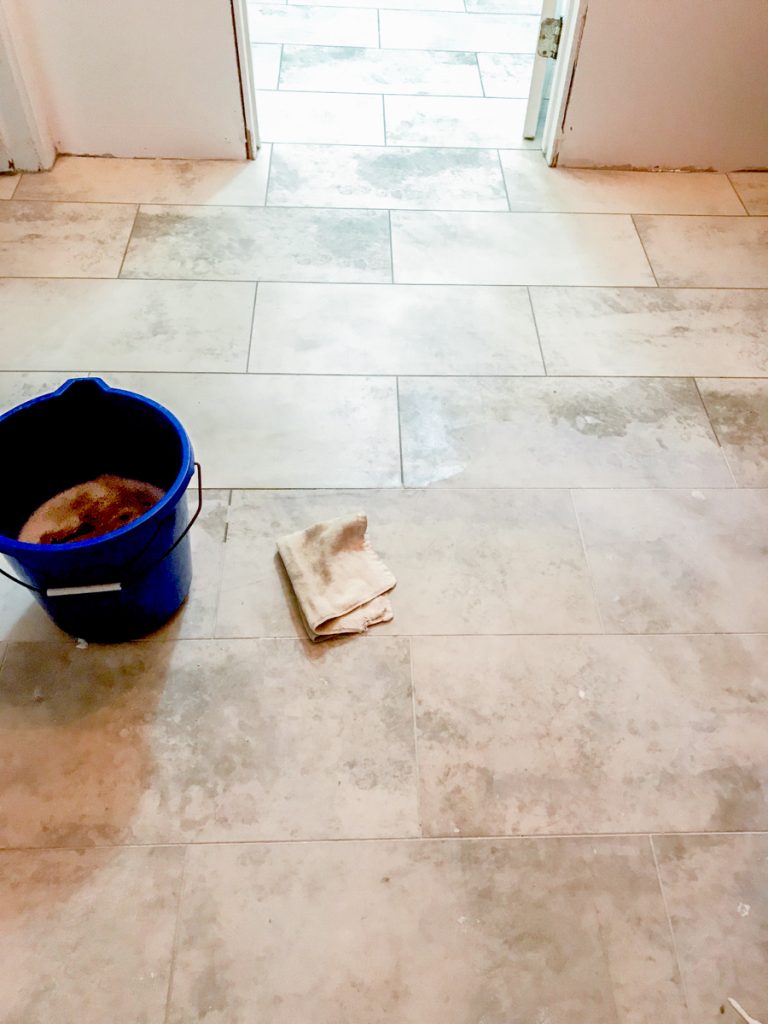
How do I know this floor is durable and the right choice? Because of timing, the flooring was installed prior to the walls, so you can just image the mess (drywall mud and dust, caulk, paint, dirty shoes, tools, renovation, etc.). It stood the test of time and workers! All of that grime and dirt, dragging ladders, tools, supplies and drywall, all that comes along with renovating, the behind the scenes not so pretty stuff. And despite my warnings, I didn’t see a drop cloth in sight! 

No worries! When I reached out to Shaw, they provided me with some great vinyl floor cleaning tips: 

Proper care will help protect and maintain the appearance and performance of your Shaw resilient floor!. A care program consists of key areas: 1) Preventive maintenance; 2) routine maintenance; and 3) spot and spill removal.

1) Preventative Maintenance

Always protect floors when moving heavy objects to prevent permanent scratches and tears.
Walk-off mats should be used at all externally facing entrances to absorb soil and moisture.

2) Routine Maintenance:

Daily removal of dirt and dust is important to prevent particles from abrading the surface of resilient floors.

Sweeping, dust mopping and vacuuming are recommendations to remove soil particles that can result in scratches and worn appearances. IMPORTANT: Do not use vacuums with rotating beater bars on hard surfaces.

Periodic wet cleaning will be necessary to help maintain the floors appearance.

3) Spot and Spill Removal

Absorb wet spills as quickly as possible by white paper or cloth towels.

Recommended by Shaw: Use Shaw’s R2X® Hard Surface cleaning products or products formulated for vinyl floor cleaning.

Remember: The most effective part of any floor maintenance program is the simplest: sweep, dust mop, or vacuum your Shaw resilient flooring daily, or more frequently if needed.

Next up on the renovation: 

Baseboards and door trim, a fun door DIY to dress up the cheap hollow bathroom door, light fixtures, sealing brick, a wine cubby and beverage station, decorating and then the reveal! Then we’ll be back in business!

The building has so much historical charm. It’s about one block from our town’s Main Street. The bus stop is literally steps away. There are breweries, the YMCA, shops, restaurants, salons, florists, candy/coffee shop, holiday parades and festivals within walking distance. So fun! If renovation from blah to ahhhhh is your thing, stay tuned!

So subscribe and be reminded of updates as the renovations progress! I’ll share before and after photos, projects underway and updates, plans and design boards, sources and links as they relate as well as fun events going on in and around the downtown area. I’ll be using a specific hashtag on social media to keep things all neat and tidy and organized.

#helloredreno

I welcome your thoughts and ideas! And as always, thanks for your encouragement and support and for sharing in my joy and vision! Watch for #helloredreno!


Project Diary Entry #7: Sealing Brick

Featured

Project Diary Entry #7: The bathroom makeover continues! We’re sealing an old original ‘decorative’ vintage brick chimney today!
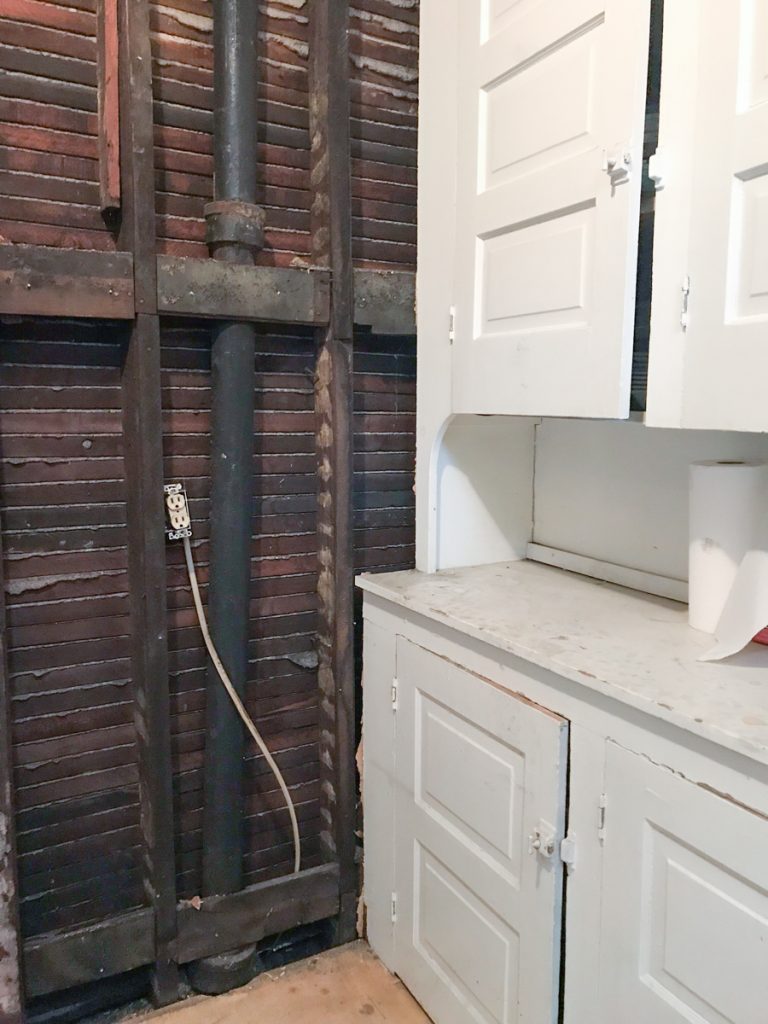
The full bathroom at the studio property I’m working on was completely covered in paneling or what my husband refers to painted cardboard. For real. What is that stuff?! Even the claw foot tub and pedestal sink was boxed in with the same material! Why?! 

Follow the before and after makeover journey —> #helloredreno
RockSolid Concrete Sealer
Before: 

Yikes! (And no worries, we did repair the roof. It was top priority and the very first project.) But seriously. That paneling. What the….?!
DIY craft studio // workshop - before room makeover @diyshowoff
Recap: 

We tore it all away! Oh my! You guys…I know it’s dirty but do you see the potential?

rustic bathroom makeover
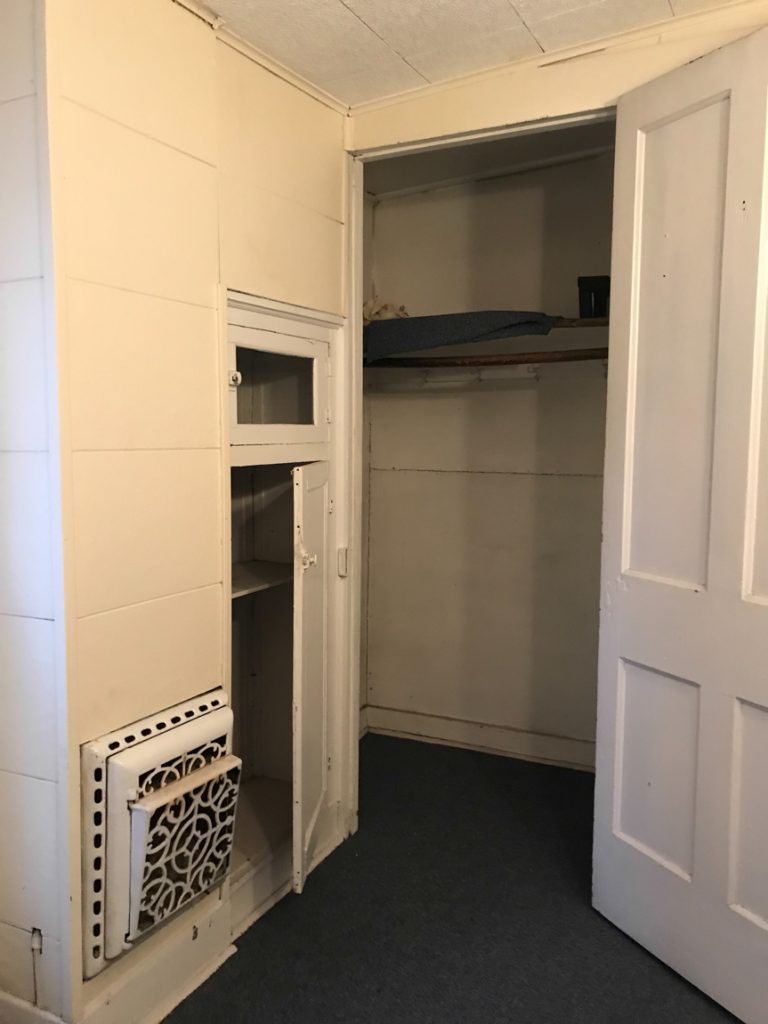
Included was this bump out beside a built in cabinet (another feature I love!)…

DIY craft studio // workshop - before room makeover @diyshowoff
which revealed an original brick chimney…

vintage bathroom charm

Rustic! Texture! A buried treasure! And just like making one of the gorgeous wood plank walls a feature of the bathroom by leaving it exposed…

shiplap wall with hexagon tile floor

I couldn’t bear to cover up all that gorgeous old brick. Know what I mean? It’s completely decorative and not functional but the texture and pretty color variations! Oh man! The old gas register is staying as well.  
decorative brick chimney

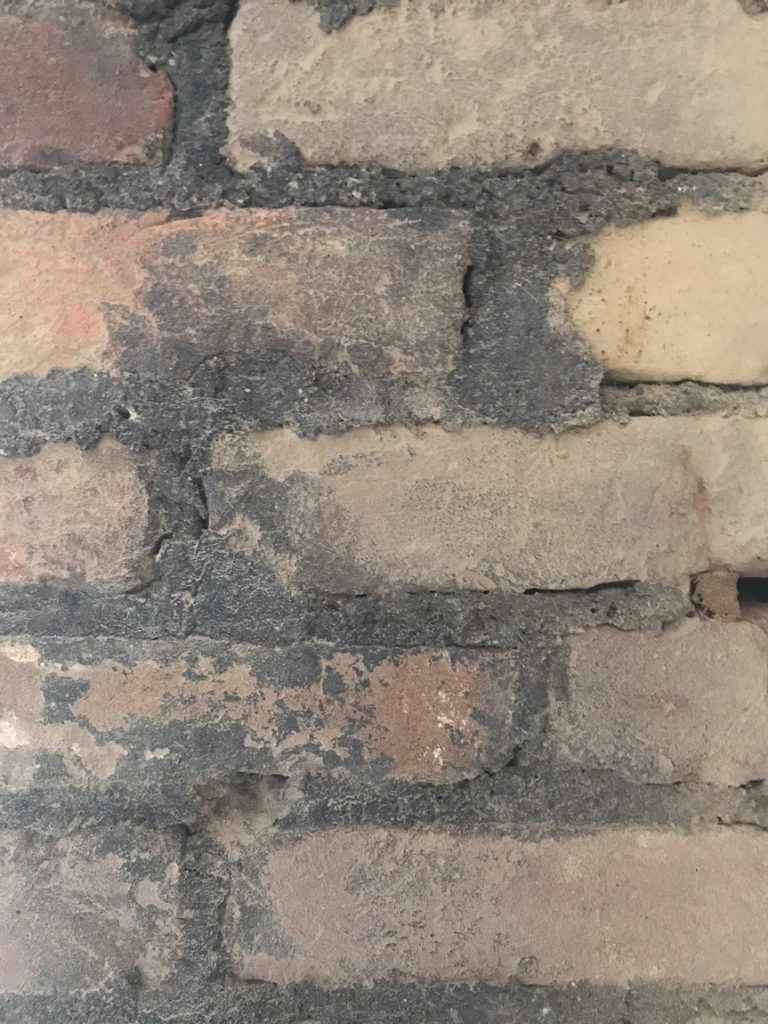
But it did have a dirty dull finish. Blah!

brick before

What I did:

  • We gave it a good scrubbing with a wire brush to remove all of the filth and crumbles. 
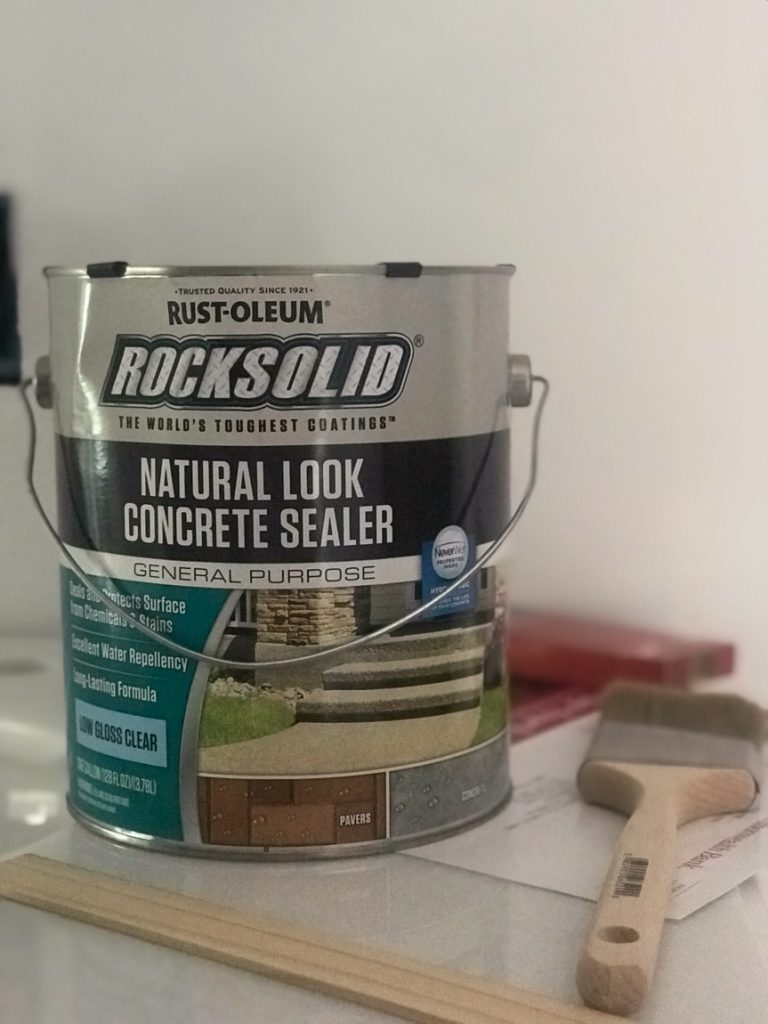
  • And after talking with the professionals at Rust-Oleum, I used the RockSolid Natural Look Concrete Sealer (low gloss clear).RustOleum Rock Solid Concrete Sealantj
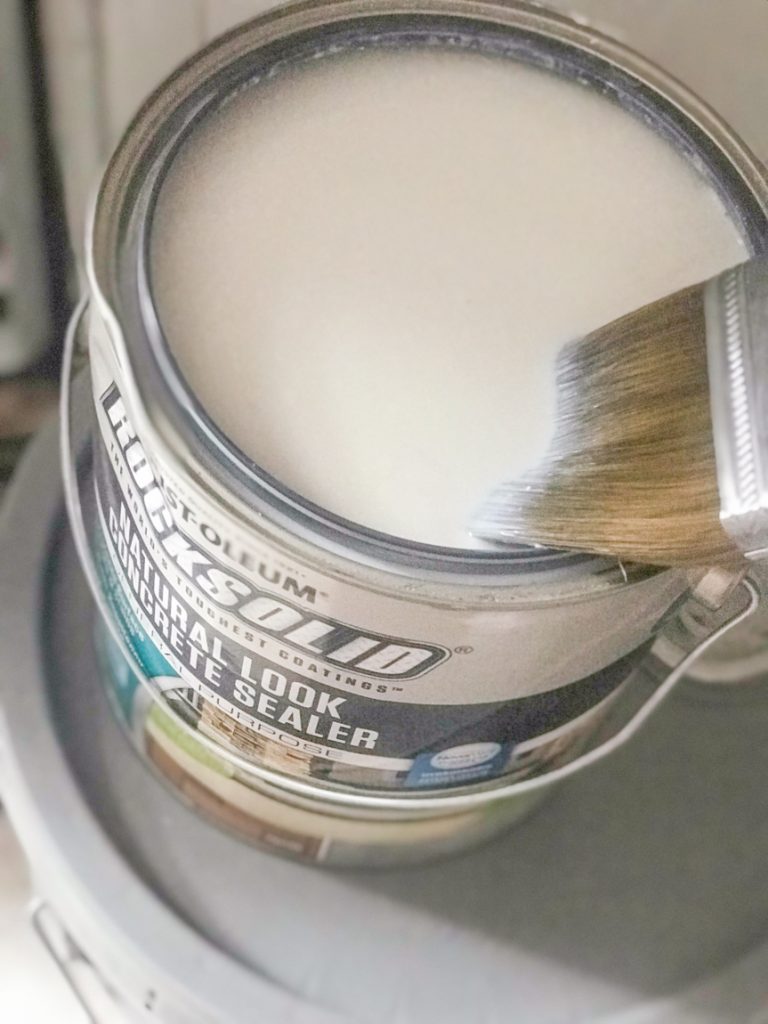
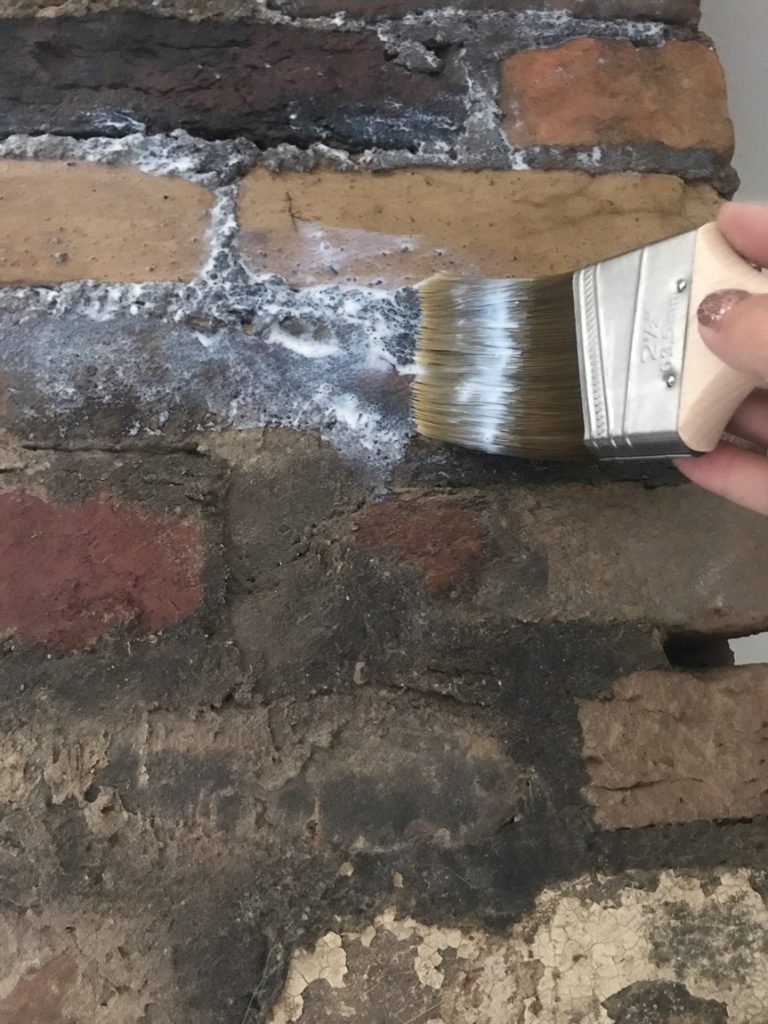
  • I simply applied it with a brush, making sure to get into all of the nooks and crannies. And watching for drips. I gave it one thorough coat and plan to do another. It’ll have dried several days by the time I get around to the second coat. Rust-Oleum Rock Solid Concrete SealerIt goes on white but dries clear.   sealing brick with brush
  • This product sealed it all in and provided a beautiful low gloss finish (nothing TOO shiny, not a high gloss or lacquered finish) that brought out the various vibrant colors and gave it a clean surface. It reminds me of an eggshell or satin finish. 

Conclusion:

So, this 114 square foot bathroom has a lot going on but I am in LOVE with all of the original charm. 

vintage brick

That floor though too! ::drool:: ::heart eyes:: 

exposed brick

More on that here—> Shaw SanFrancisco Hexagon Tile Flooring

What are your thoughts?

Do you embrace and work with the original old character or prefer removing or covering it for a clean slate? 

Next up on the bathroom remodel:

Paint, baseboards, {possible} vintage cast iron tub re-finishing, installing the toilet, vanity, sconce lights and my favorite part…decorating and the reveal! Oh. And probably cutting down 6 doors since re-doing the floors raised them. Not looking forward to that part but things are moving along. Stay tuned!

The building has so much historical charm. It’s about one block from our town’s Main Street. The bus stop is literally steps away. There are breweries, the YMCA, shops, restaurants, salons, florists, candy/coffee shop, holiday parades and festivals within walking distance. So fun! If renovation from blah to ahhhhh is your thing, stay tuned!

So subscribe and be reminded of updates as the renovations progress! I’ll share before and after photos, projects underway and updates, plans and design boards, sources and links as they relate as well as fun events going on in and around the downtown area. I’ll be using a specific hashtag on social media to keep things all neat and tidy and organized.

#helloredreno

I welcome your thoughts and ideas! And as always, thanks for your encouragement and support and for sharing in my joy and vision! Watch for #helloredreno!