DIY Birdie Garland and Fun in the Sun Blog Hop

It’s here! Summer! Perhaps not officially just yet but these warm months and longer days cheer my soul. I love summer! Let’s celebrate with a summer blog hop! Visiting from the beautiful summer bedroom at Town and Country Living? Welcome, friends! I’m so happy your here!

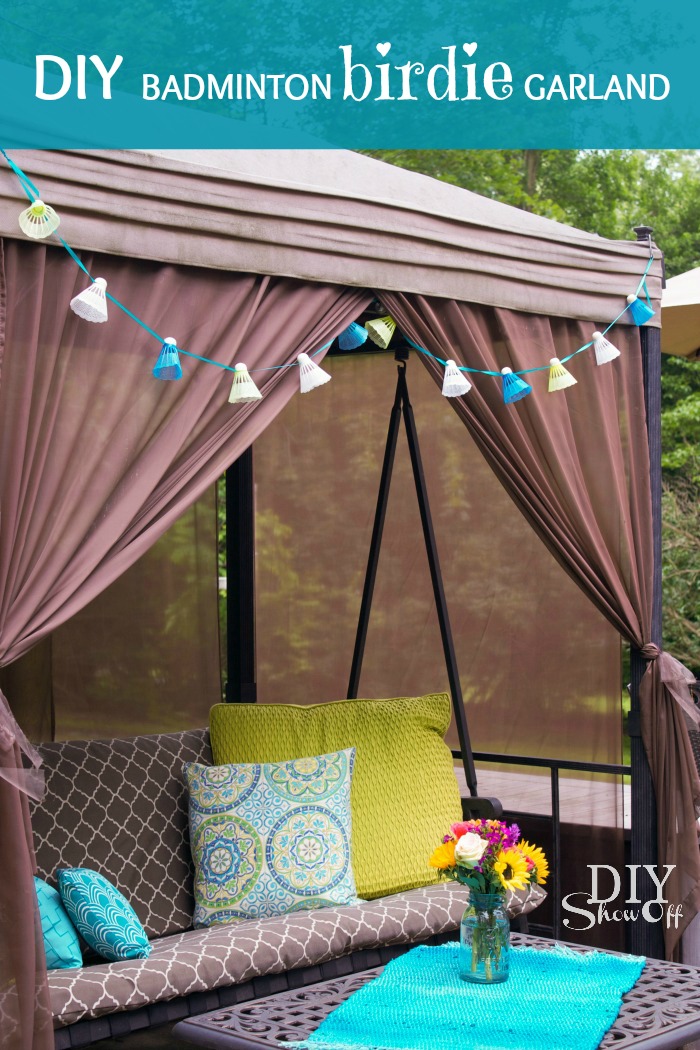
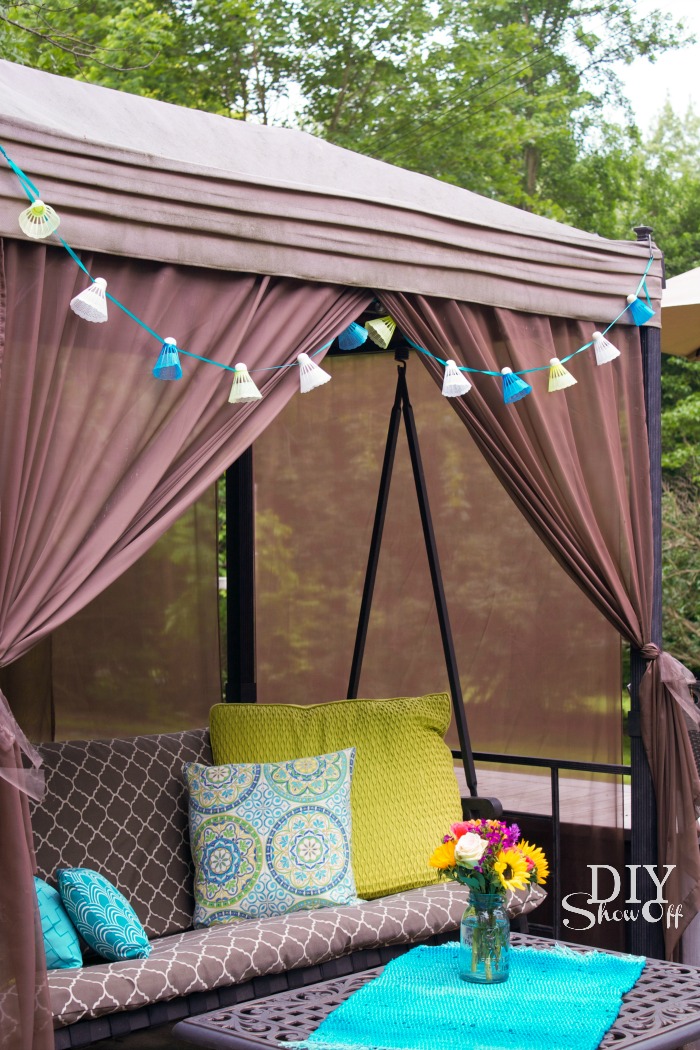
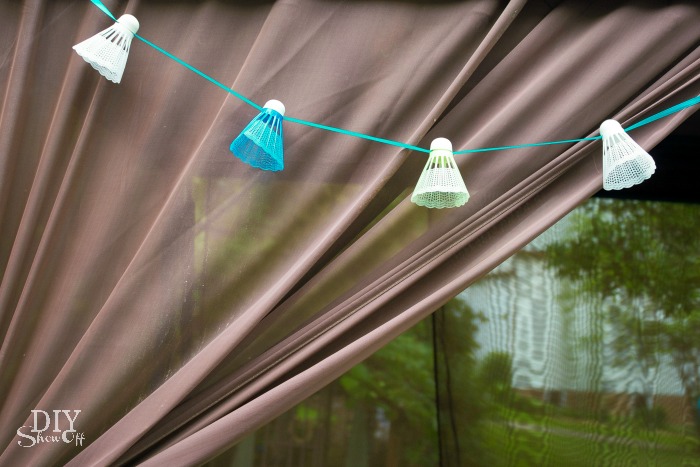
I’m participating with an easy summer DIY:  badminton birdie garland. 
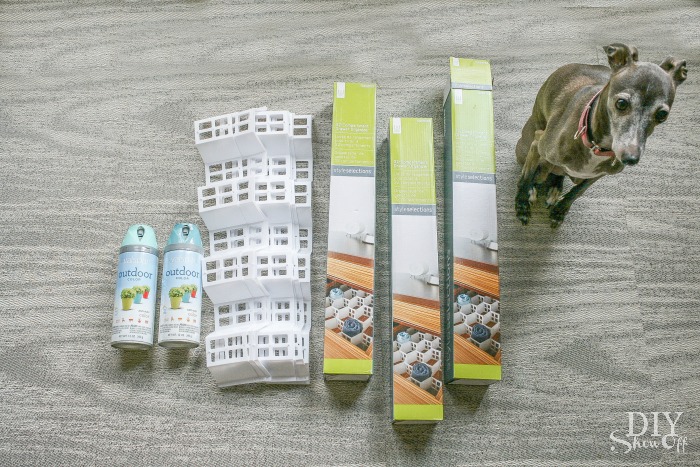
DIYShowOff birdie garland tutorial

Materials:

  • ribbon
  • plastic badminton birdies (check the dollar store!)
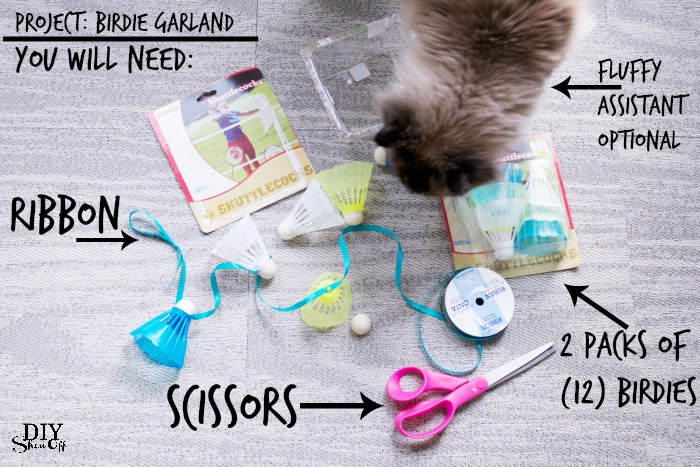
DIY birdie garland tutorial at diyshowoff.com

Tutorial:

1. While length of ribbon is still attached to spool, create a loop (for hanging) and knot. DIY birdie garland tutorial at diyshowoff.com

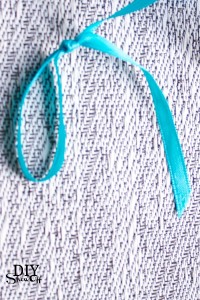
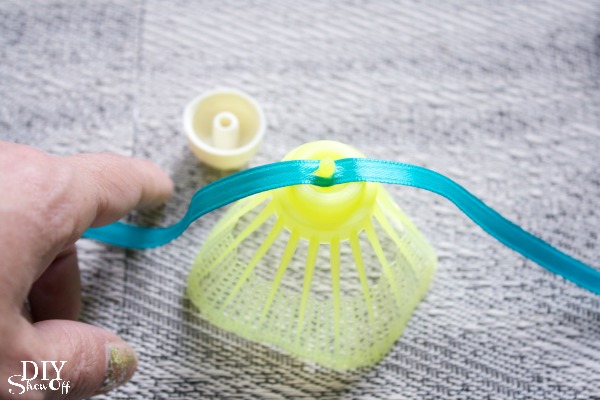
2. Remove caps off of all birdies (mine simply popped off).

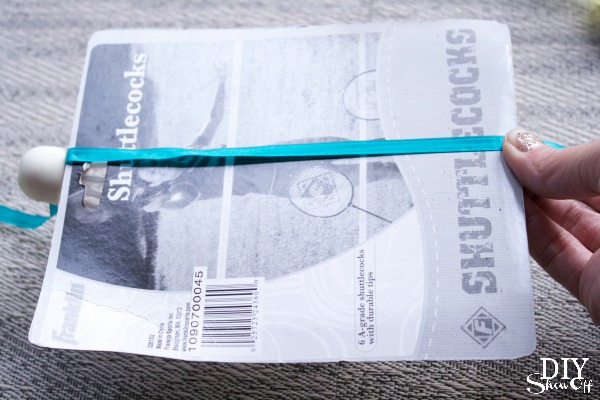
3. Using the package (or ruler) determine distance between each birdie (starting from the knotted loop).

DIY birdie garland tutorial at diyshowoff.com

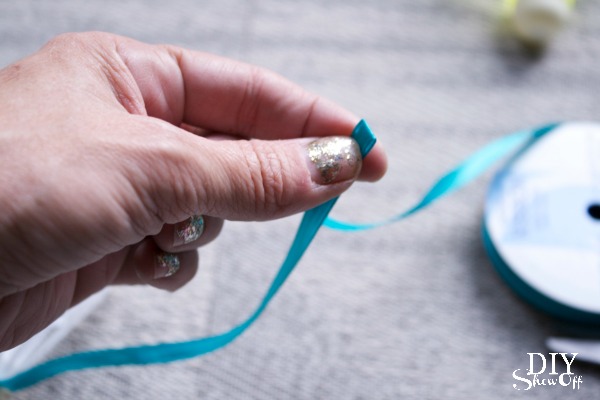
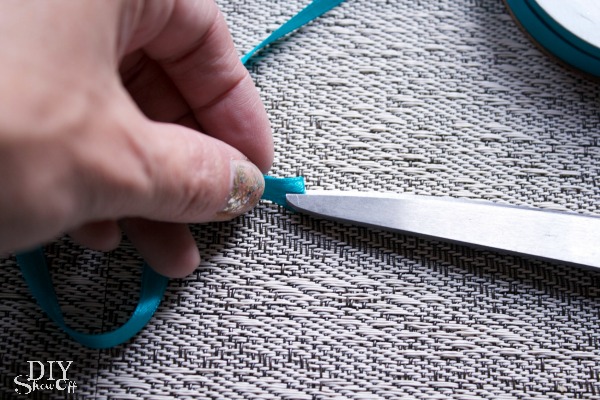
4. Fold ribbon and ‘snip’ with scissors your measured mark. Just a small snip will do.

DIY birdie garland tutorial at diyshowoff.comDIY birdie garland tutorial at diyshowoff.com

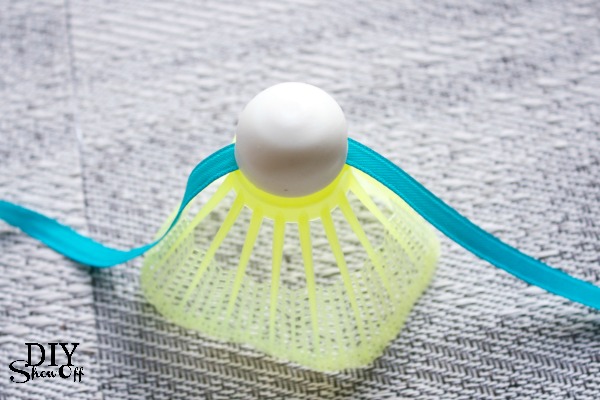
5. Place snipped area of ribbon over ‘peg’ on birdie top. 

DIY birdie garland tutorial at diyshowoff.com

6. Replace birdie cap. 

DIY birdie garland tutorial at diyshowoff.com

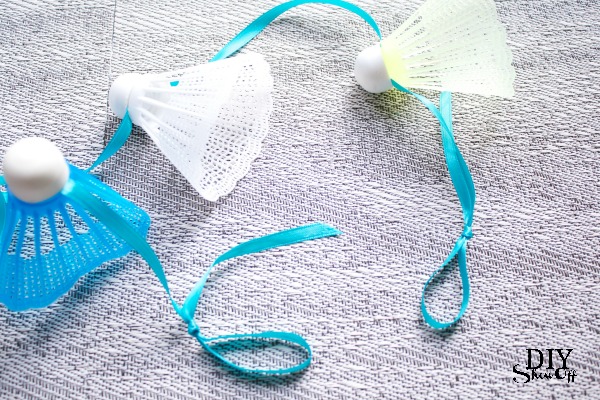
7. Repeat steps 3-6 using all of your birdies. 

8. Then simply measure same short ribbon distance one last time, add a few more inches. Cut ribbon, create a loop and knot for the end. 

DIY birdie garland tutorial at diyshowoff.com

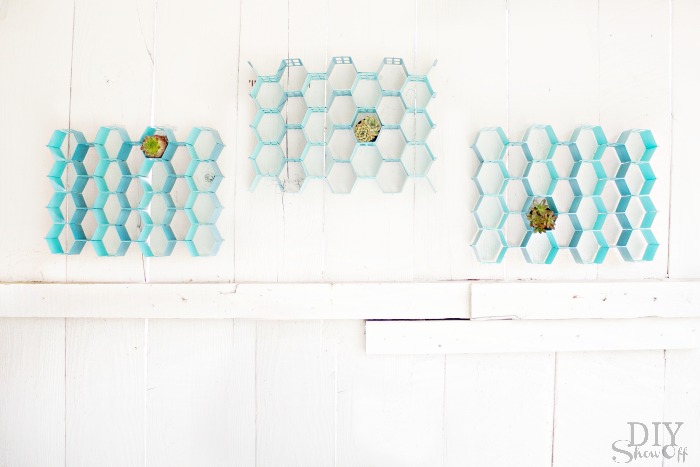
Hang! Summer outdoor family game themed. Super cute (easy and cheap too)! 

DIY birdie garland tutorial at diyshowoff.comDIY Birdie Garland / Summer Blog HopDIY birdie garland tutorial at diyshowoffHow to make a birdie garland at diyshowoff.com

Follow along the entire Fun in the Sun series by heading over to At the Picket Fence for some outdoor inspiration and by visiting the links below for summer recipes, crafts, projects, decor and more!

Fun in the Sun Blog Hop

Domestically Speaking

Debbie Doo’s

My Uncommon Slice of Suburbia

Setting for Four

Clean and Scentsible

Town and Country Living

DIY Show Off

At The Picket Fence

Cupcakes and Crinoline

Sand and Sisal

Fox Hollow Cottage

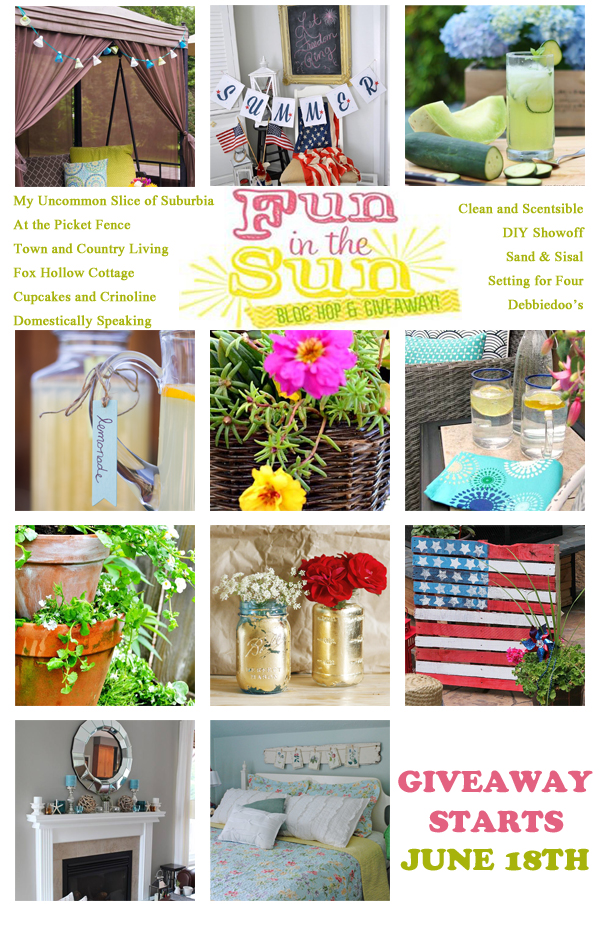
Don’t forget to come back tomorrow for a link up party and awesome cash giveaway! 

Fun in the Sun graphic

Refresh Outdoor Furniture

Give old wicker furniture a refresh with spray paint. Warmer temps mean outdoor living around here, how about at your home? Our outdoor wicker furniture is normally protected by a covered patio but after a couple of years, some of the paint is peel-y and it was looking a little dingy…

wicker furniture refresh at diyshowoff.com

What I did:

  • remove chipped paint and dirt
  • wash (pressure washer works nicely!) and dry
  • a couple of light coats of Rust-Oleum Universal (gloss white)

You’d never know these yard-sale mismatched pieces needed a little DIY TLC…

wicker furniture refresh at diyshowoff.com

You’re welcome to join us for some peace and picnic time! 

wicker furniture refresh at diyshowoff.com

Looking for more outdoor related DIY projects?

Check the DIYShowOff Project Gallery!

Easy DIY Indoor Outdoor Honeycomb Wall Art

As a member of the Lowe’s Creative Ideas team, I have the opportunity to participate in monthly DIY challenges. One of the themes for April is outdoor wall art. I just happen to have a bare outdoor wall. This easy DIY indoor/outdoor honeycomb wall art project is super easy and perfect for decorating an outdoor wall in our covered party patio area. 

easy DIY hexagon wall art at diyshowoff.com

 Materials I used:

hexagon wall art tutorial at diyshowoff.com

What I did:

I spray painted the pieces of the drawer organizers (not assembled) using Valspar Outdoor Spray Paint. I sprayed one side Peacock Blue and let dry about 6 hours then flipped and sprayed the other side Koi Pond and let dry overnight. 

Once the paint was dry, I assembled my pieces. The honeycomb-shaped organizers simply snap together. No tools required!

easy honeycomb wall art tutorial

Since I have 3 sets, I assembled two sets with closed ends and one with open ends (both options shown on pamphlet with instructions included in the box).

easy DIY hexagon honeycomb wall art

You could even leave them white = the only DIY is snapping them together! I hung mine using Command outdoor light clips. 

Face on: 

Easy DIY hexagonhoneycomb wall art tutorial at diyshowoff.comDIY honeycomb hexagon wall art at diyshowoff.comeasy hexagon wall art at diyshowoff.com

From the side:

honeycomb wall art tutorial at diyshowoff.comDIY honeycomb wall art at diyshowoff.comhex wall art at diyshowoff.com

From above: 

DIY hexagon wall art tutorial at diyshowoff.com

They’re very light weight so not ideal for displaying heavy items but a great way to add color, dimension and interest to an otherwise plain outdoor or even indoor wall. I tucked in a few succulents for now.

outdoor hexagon patio wall art at diyshowoff.com

My covered patio area still hasn’t been cleaned up for summer. I just grabbed some accessories for photo-staging. Pardon the leaves and dirt!

outdoor honeycomb patio wall art at diyshowoff.com

The outdoor hexagon/honeycomb wall art is going to look great on that back wall when the patio is cleaned up. See the patio when it IS ready for summer lounging and entertaining here.

barn patio makeover

LCI Spring

I received a Lowe’s gift card to complete this challenge. Opinion and above idea is 100% my own. More DIY ideas at Lowe’s Creative Ideas, follow Lowe’s on InstagramPinterest and sign up for the Creative Ideas magazine and app!  

More of my Lowe’s Creative Ideas challenges:

DIY hanging organizer - Pantone radiant orchidDIY Chalk Finish Paint Recipepipe shelving how toDIY foldable luggage rack tutorial DIYShowOfftire flower planter tutorial at DIYShowOffLCR dice game tutorial