Refresh Outdoor Furniture

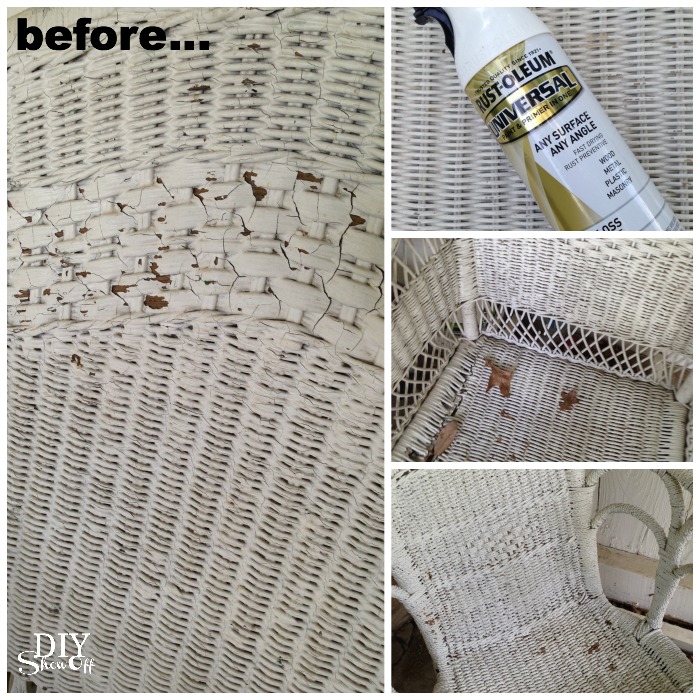
Give old wicker furniture a refresh with spray paint. Warmer temps mean outdoor living around here, how about at your home? Our outdoor wicker furniture is normally protected by a covered patio but after a couple of years, some of the paint is peel-y and it was looking a little dingy…

wicker furniture refresh at diyshowoff.com

What I did:

  • remove chipped paint and dirt
  • wash (pressure washer works nicely!) and dry
  • a couple of light coats of Rust-Oleum Universal (gloss white)

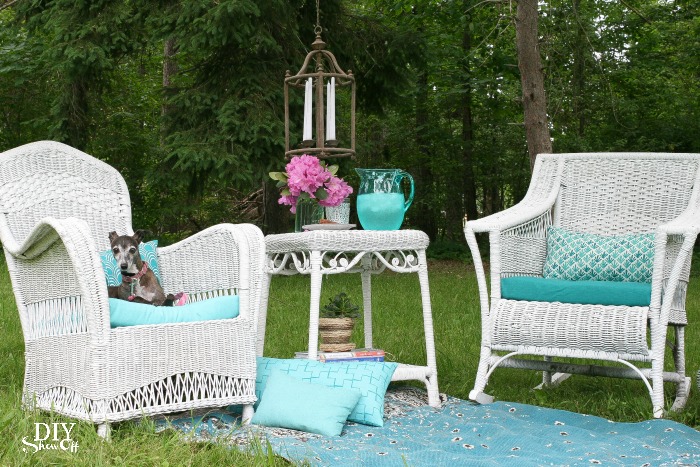
You’d never know these yard-sale mismatched pieces needed a little DIY TLC…

wicker furniture refresh at diyshowoff.com

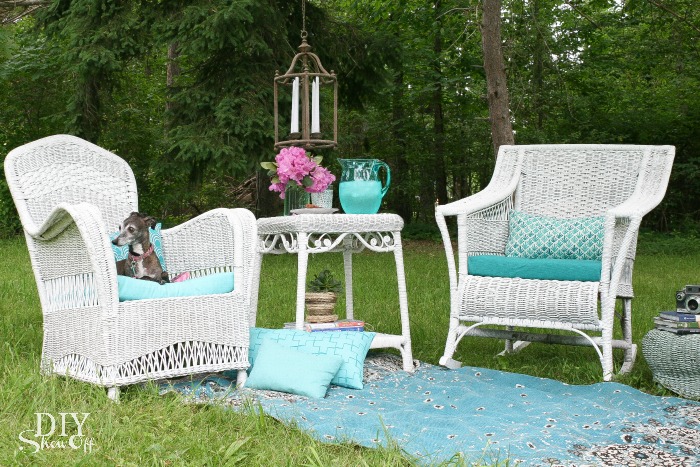
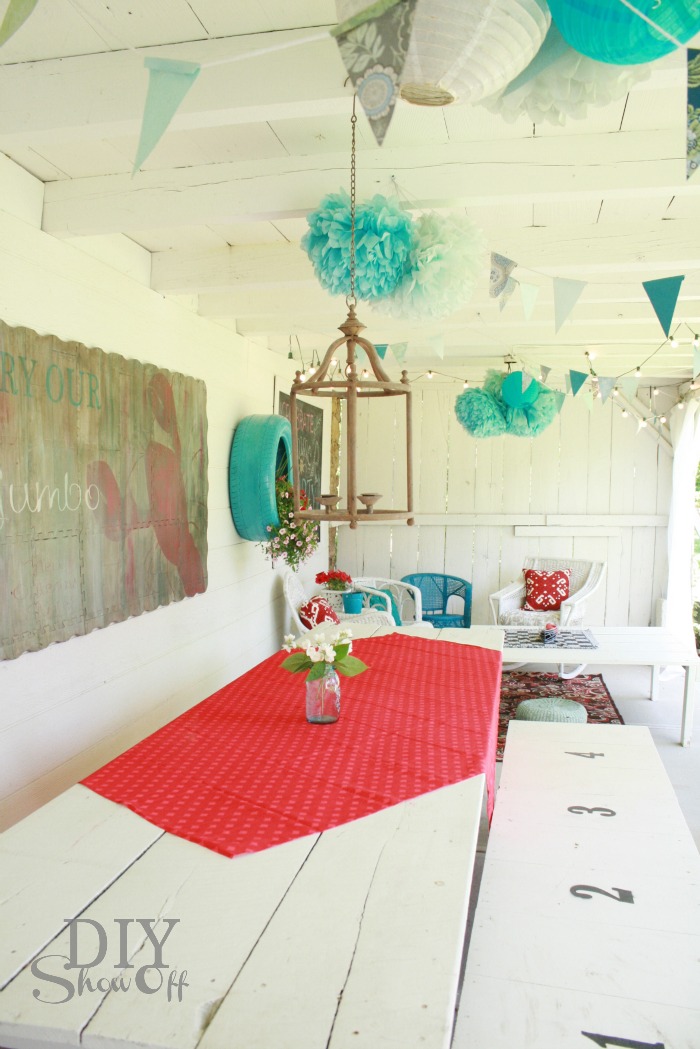
You’re welcome to join us for some peace and picnic time! 

wicker furniture refresh at diyshowoff.com

Looking for more outdoor related DIY projects?

Check the DIYShowOff Project Gallery!

Easy DIY Indoor Outdoor Honeycomb Wall Art

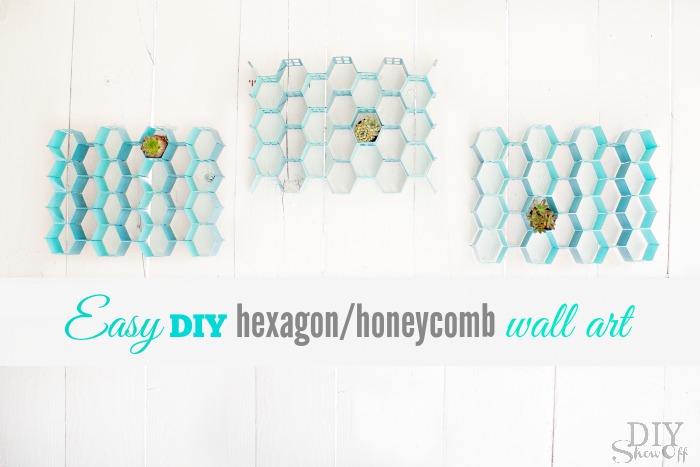
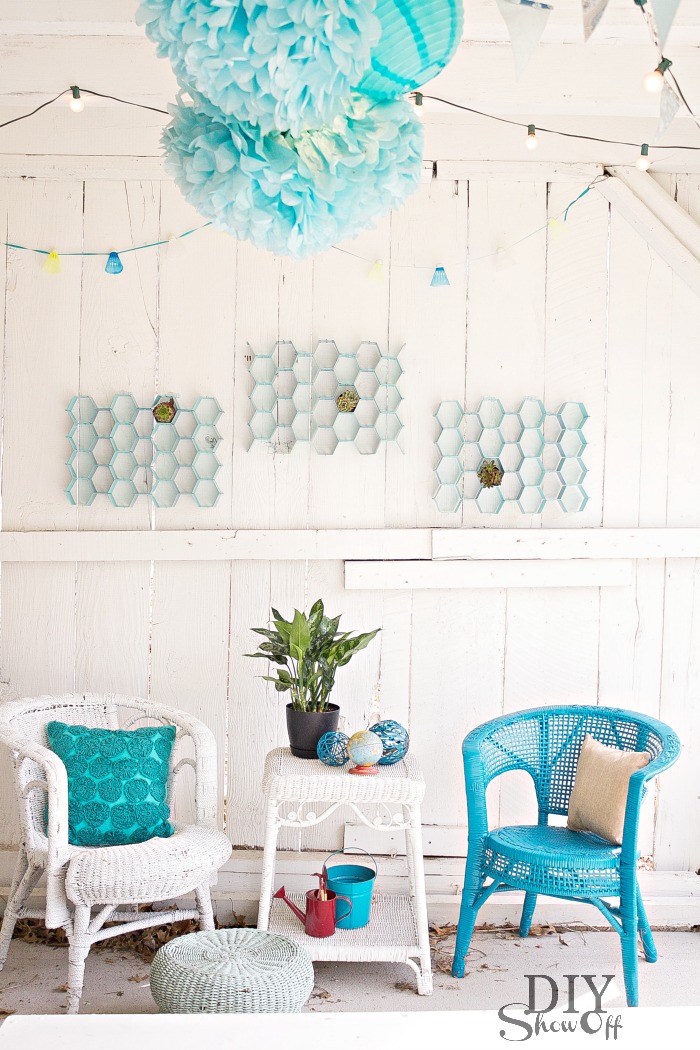
As a member of the Lowe’s Creative Ideas team, I have the opportunity to participate in monthly DIY challenges. One of the themes for April is outdoor wall art. I just happen to have a bare outdoor wall. This easy DIY indoor/outdoor honeycomb wall art project is super easy and perfect for decorating an outdoor wall in our covered party patio area. 

easy DIY hexagon wall art at diyshowoff.com

 Materials I used:

hexagon wall art tutorial at diyshowoff.com

What I did:

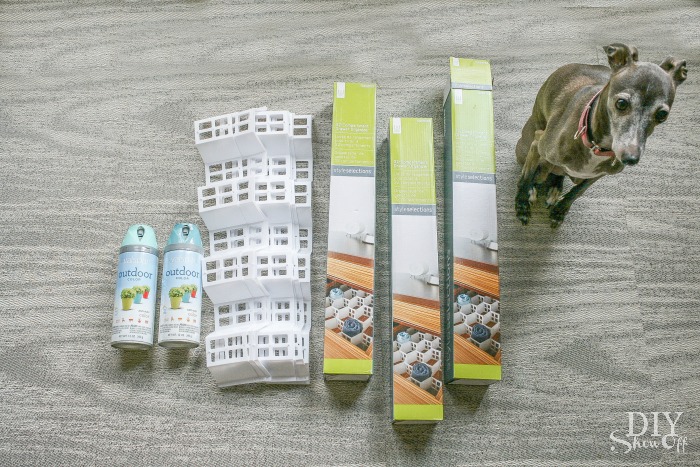
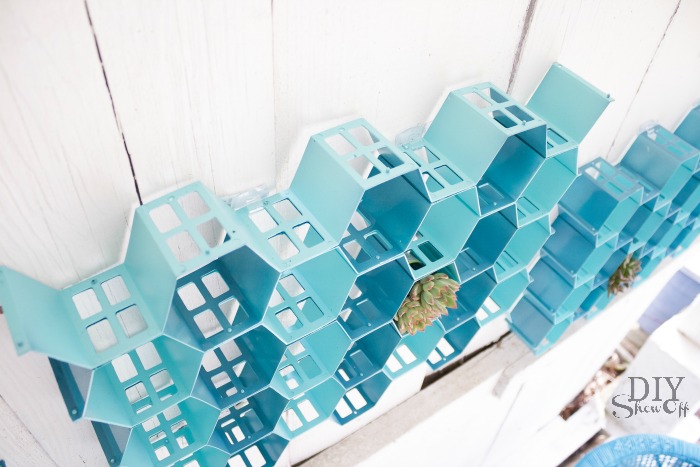
I spray painted the pieces of the drawer organizers (not assembled) using Valspar Outdoor Spray Paint. I sprayed one side Peacock Blue and let dry about 6 hours then flipped and sprayed the other side Koi Pond and let dry overnight. 

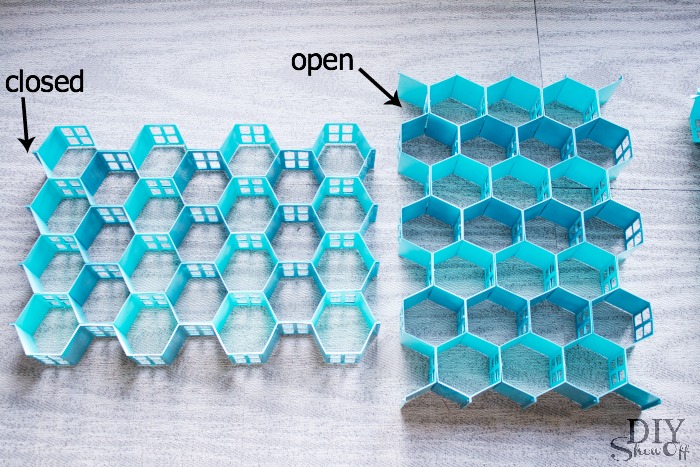
Once the paint was dry, I assembled my pieces. The honeycomb-shaped organizers simply snap together. No tools required!

easy honeycomb wall art tutorial

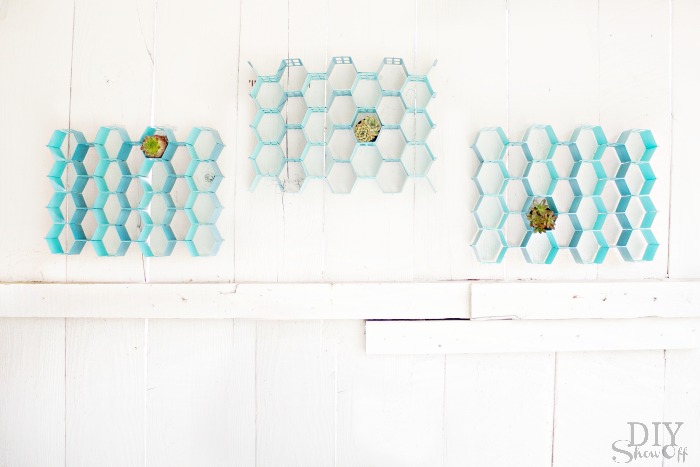
Since I have 3 sets, I assembled two sets with closed ends and one with open ends (both options shown on pamphlet with instructions included in the box).

easy DIY hexagon honeycomb wall art

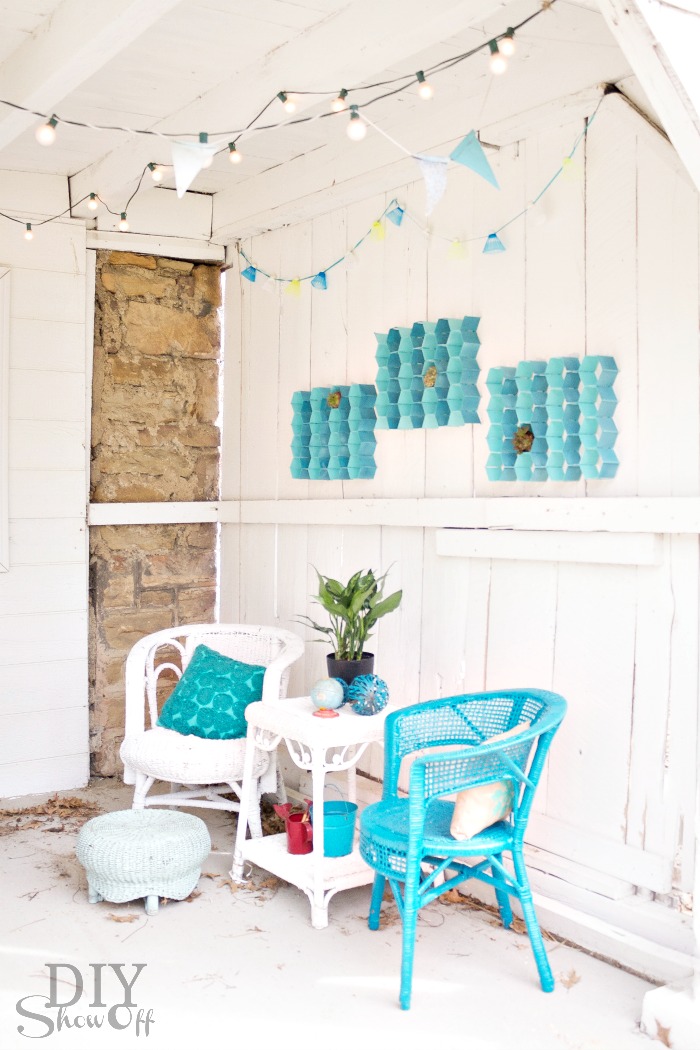
You could even leave them white = the only DIY is snapping them together! I hung mine using Command outdoor light clips. 

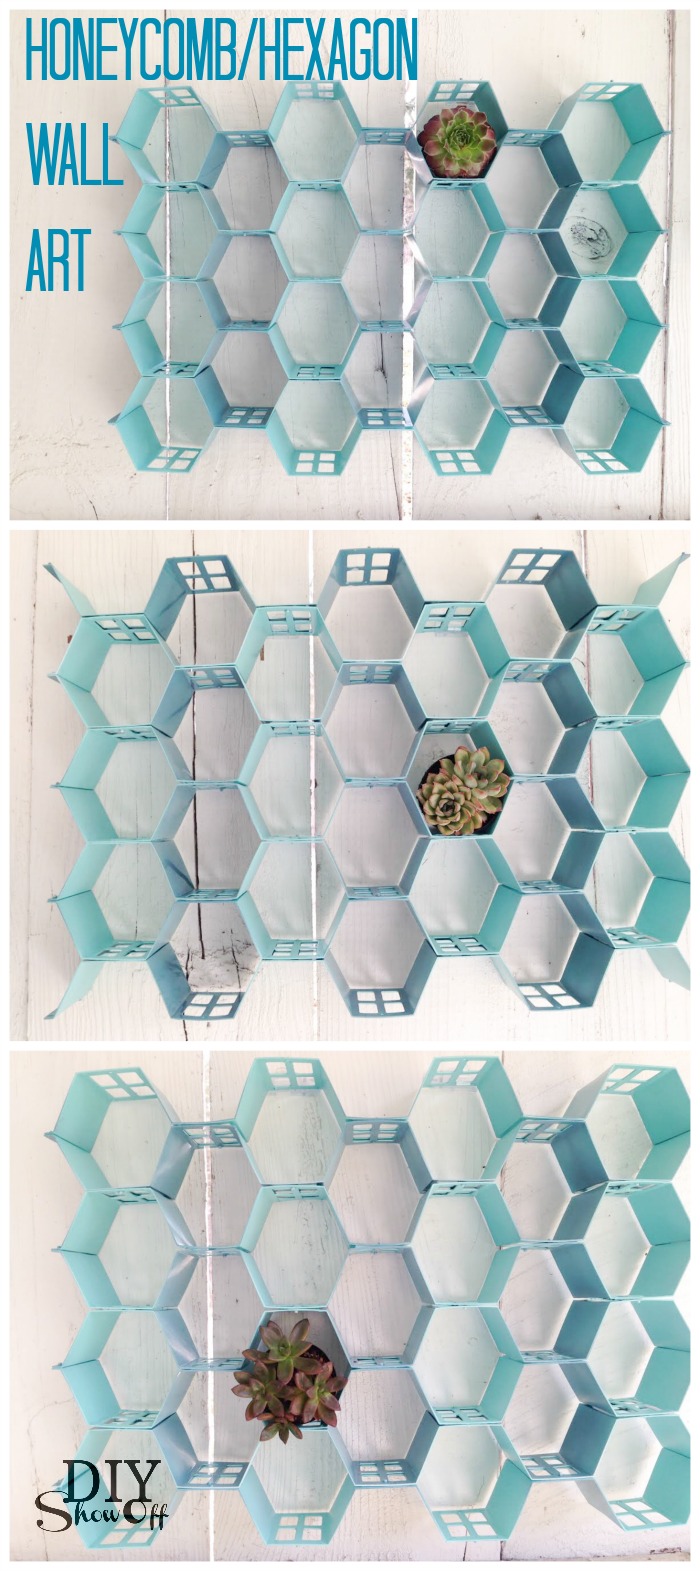
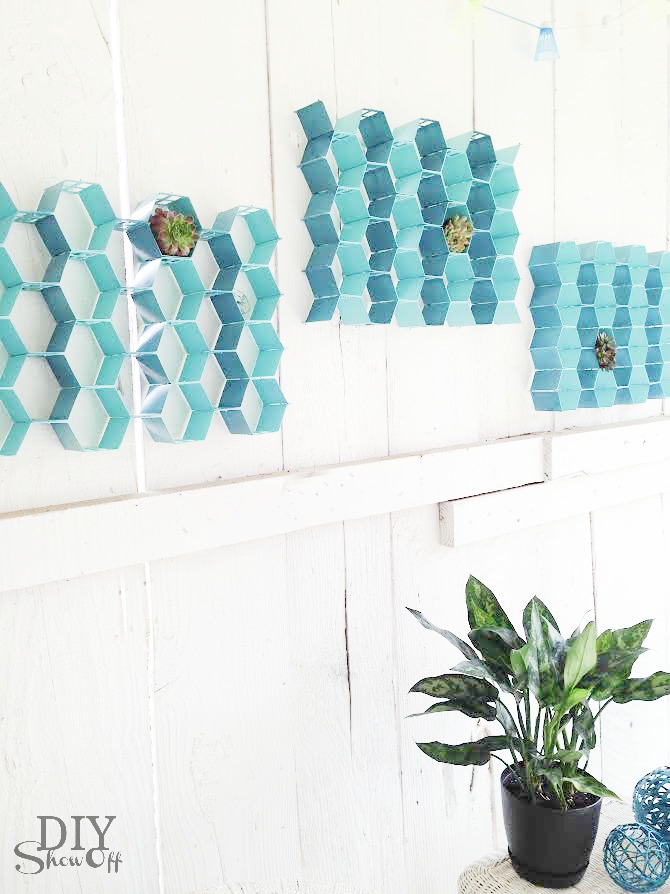
Face on: 

Easy DIY hexagonhoneycomb wall art tutorial at diyshowoff.comDIY honeycomb hexagon wall art at diyshowoff.comeasy hexagon wall art at diyshowoff.com

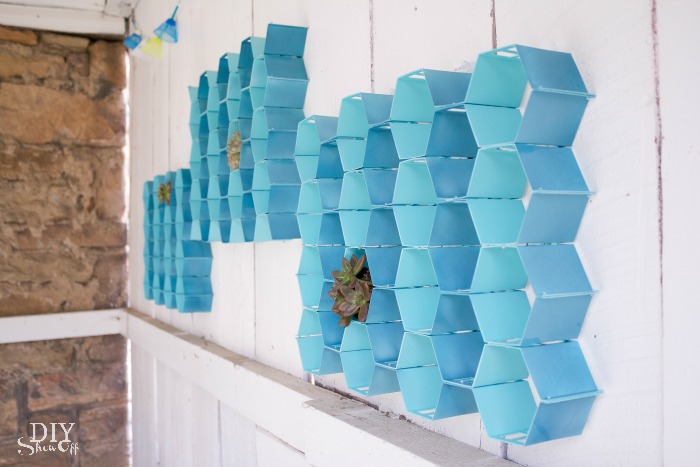
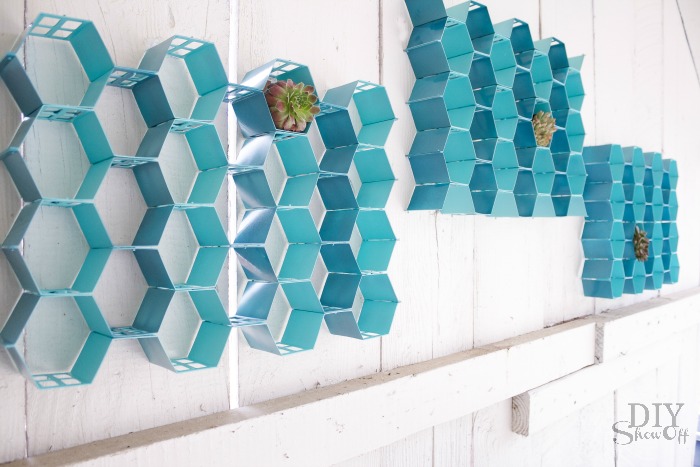
From the side:

honeycomb wall art tutorial at diyshowoff.comDIY honeycomb wall art at diyshowoff.comhex wall art at diyshowoff.com

From above: 

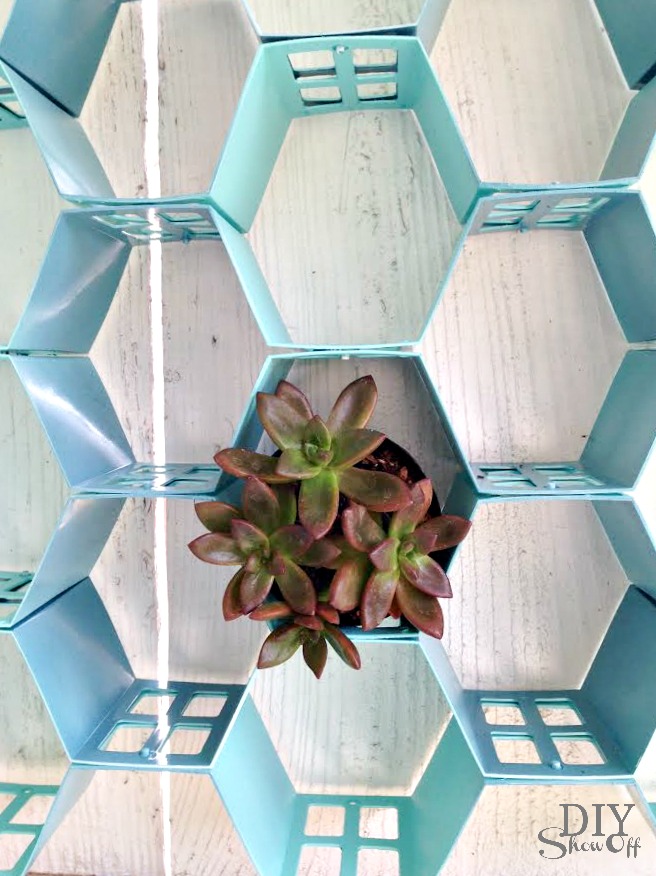
DIY hexagon wall art tutorial at diyshowoff.com

They’re very light weight so not ideal for displaying heavy items but a great way to add color, dimension and interest to an otherwise plain outdoor or even indoor wall. I tucked in a few succulents for now.

outdoor hexagon patio wall art at diyshowoff.com

My covered patio area still hasn’t been cleaned up for summer. I just grabbed some accessories for photo-staging. Pardon the leaves and dirt!

outdoor honeycomb patio wall art at diyshowoff.com

The outdoor hexagon/honeycomb wall art is going to look great on that back wall when the patio is cleaned up. See the patio when it IS ready for summer lounging and entertaining here.

barn patio makeover

LCI Spring

I received a Lowe’s gift card to complete this challenge. Opinion and above idea is 100% my own. More DIY ideas at Lowe’s Creative Ideas, follow Lowe’s on InstagramPinterest and sign up for the Creative Ideas magazine and app!  

More of my Lowe’s Creative Ideas challenges:

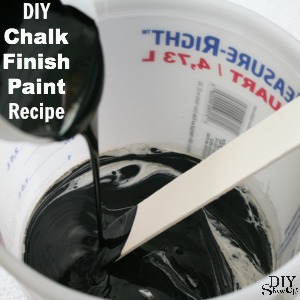
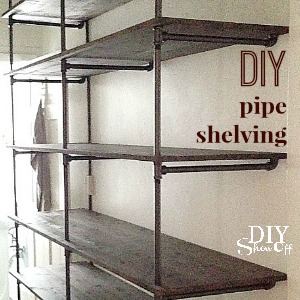
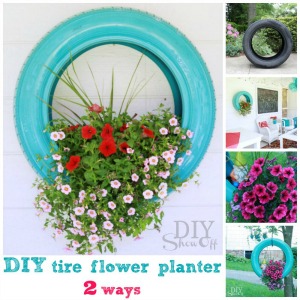
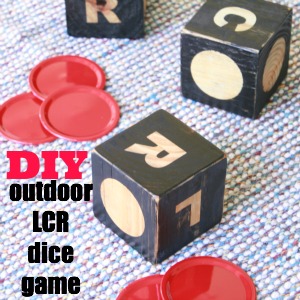
DIY hanging organizer - Pantone radiant orchidDIY Chalk Finish Paint Recipepipe shelving how toDIY foldable luggage rack tutorial DIYShowOfftire flower planter tutorial at DIYShowOffLCR dice game tutorial

Grape Arbor Gazebo Makeover

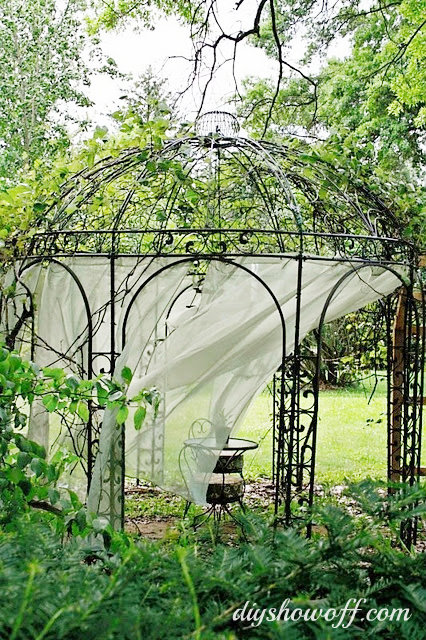
The grape arbor gazebo has been a work in progress for years. DIY takes patience sometimes, my friends. Especially when you’re working as time and money allow. I can’t tell you how GOOD it feels to have it complete!Grape Arbor Gazebo Makeover
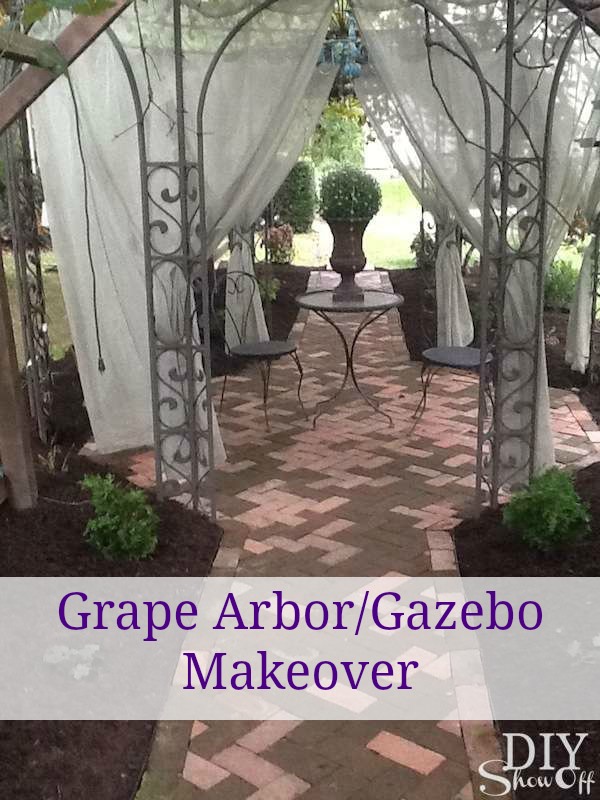
Let’s start at the beginning. When we purchased our home, we loved the grape arbor’s size and maturity.
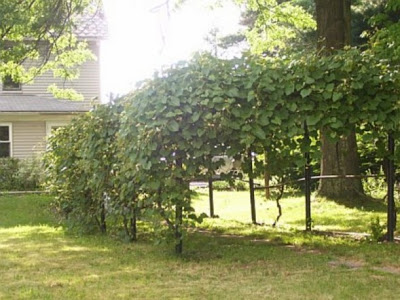
 grape arbor before

See those poles? Very, very rustic and home to some critters even…hello!chipmunk
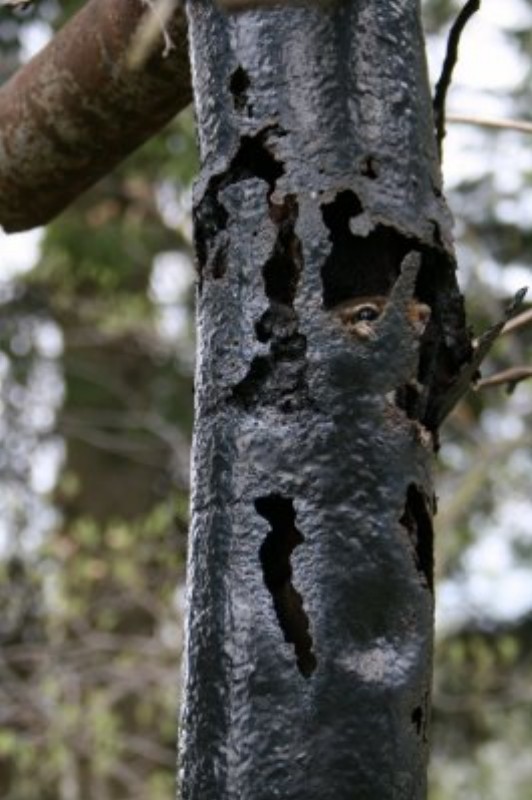
As much as I love rustic and as cute as it looks in the picture below, it felt like a tetanus shot just waiting to happen not to mention, 6’2″ Mr. DIY had to duck to walk beneath it. 

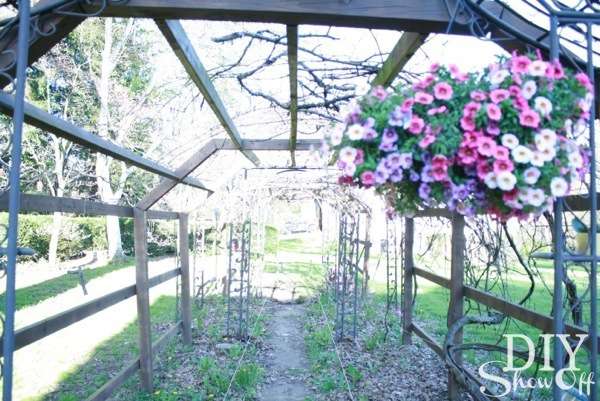
So the rebuilding process took place. Most of the roots to the vines are on the one side. We sort of ‘peeled’ those back one section at a time while a gazebo was installed in the center and more study wooden frame was built on each side. 
 
Mr. DIY and family {thanks, Butch!} built up the new wood structure around the old rusty iron skeleton, lifting and shifting the grapes in the process before removing the old iron poles. 
 
Rebuilding can be stressful but the grapes survived! Maybe they were even a little grapeful (haha!) for the home makeover. 
 
 
Beautiful! But then all that gorgeous-ness didn’t go with the overgrown messy underneath. 
grape arbor gazebo
And that’s where this summer’s DIY project of installing a recycled brick patio and path came into play. 
grape arbor path before
 
See the recycled brick patio and walkway tutorial for more details about the transformation and steps Mr. DIY took to install it with his own two hands. Great job, honey! xoxo
DIY brick patio
 
Once he finished the brick patio and walkways, it was time for some landscaping. I didn’t know where to start. I was so overwhelmed with the size, the work that it would involve. Plants intimidate me. So, the decision was made to hire professionals for weed clean up, planting, edging and mulching. 
 
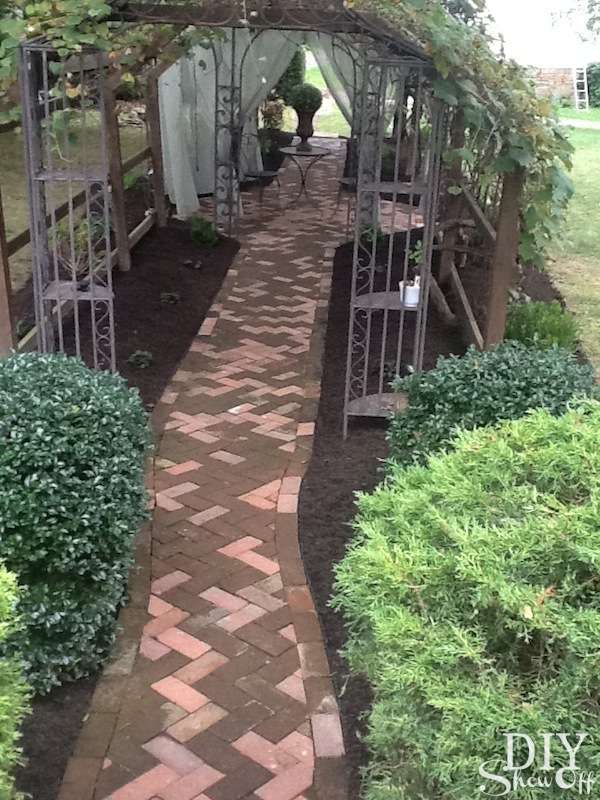
The view from our kitchen French doors: 
recycled brick walkway
Worth every penny. 
recycled brick walkway
Wow! It was a treat to watch what a team of 5-6 landscaping professionals with the right tools can accomplish in 3 hours. Yes. I said ‘three hours’. This would have taken me months of backbreaking labor. My back hurts just thinking about it. 
recycled brick walkway
Now I feel like I can maintain this area, plant more, decorate. And just enjoy every square inch. 
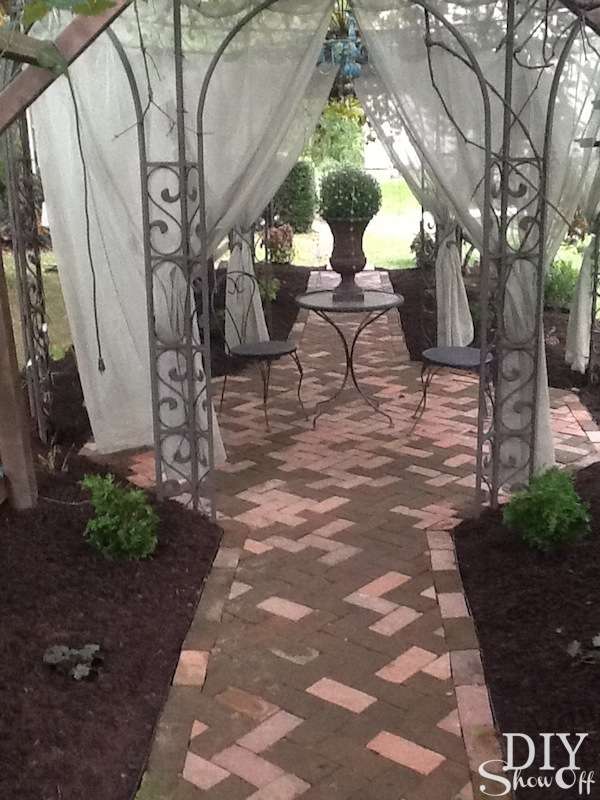
recycled brick patio
Isn’t it pretty? So romantic. So quiet and peaceful. 
recycled brick walkway and patio
 
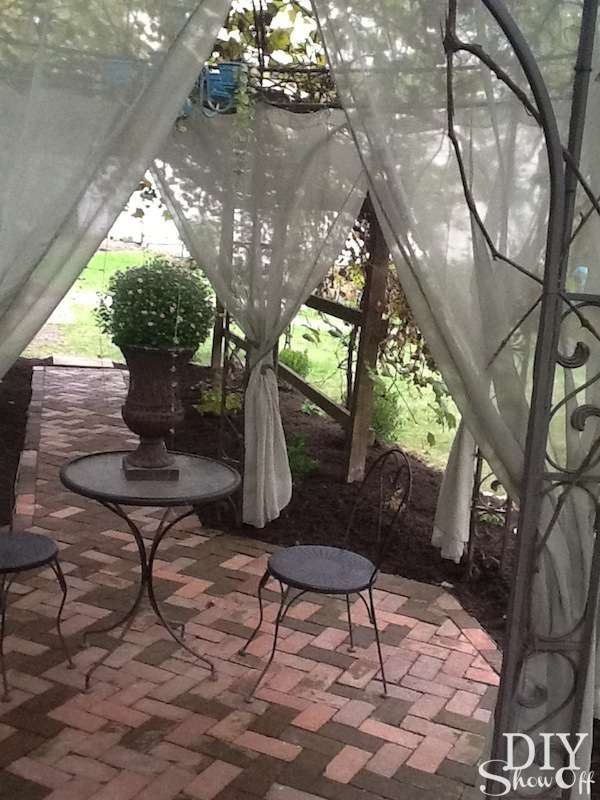
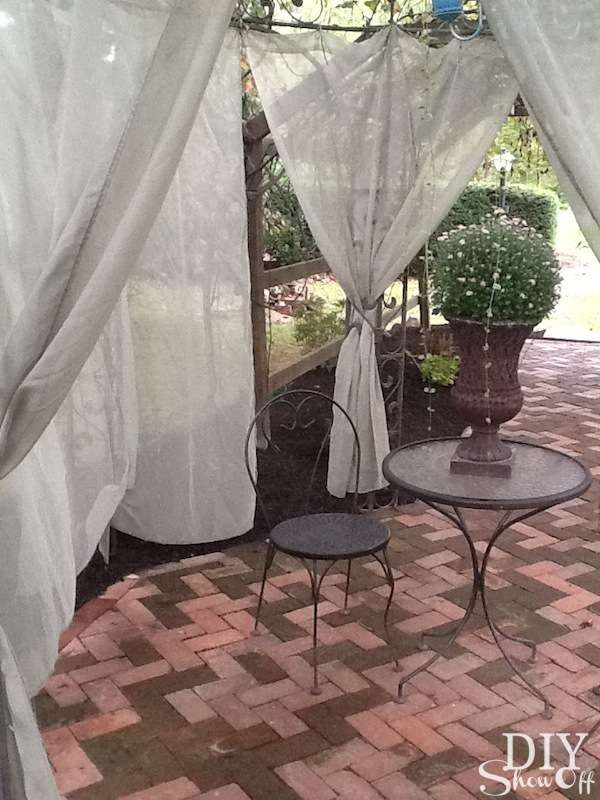
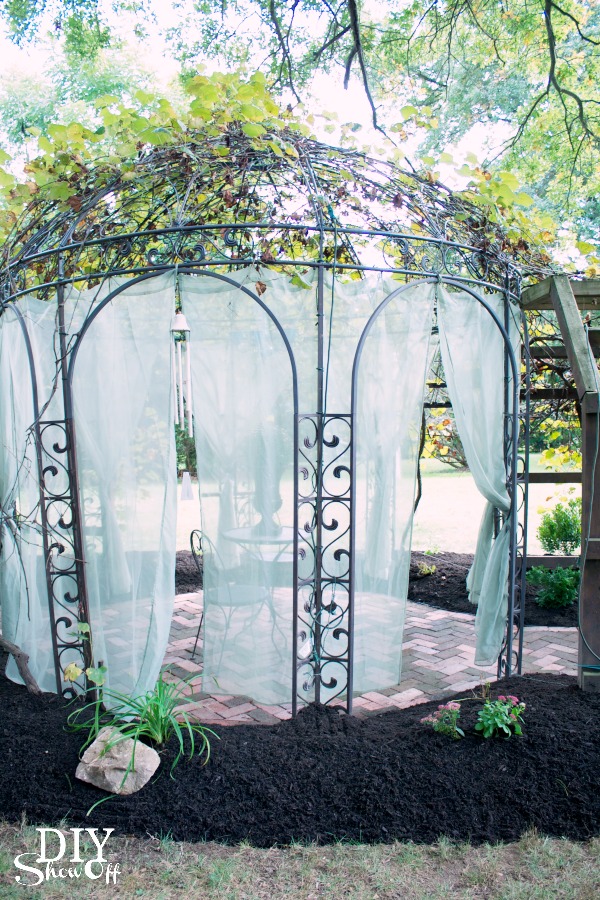
I’ve been window-shopping for furniture and ideas but will likely wait until spring. I’ve had the sheer drapes for years but this year, they look the best they ever have. 
DIYShowOff gazebo
 
grape arbor gazebo reveal
And scary… {ghost tutorial}
DIY ghost tutorial
haha!
 
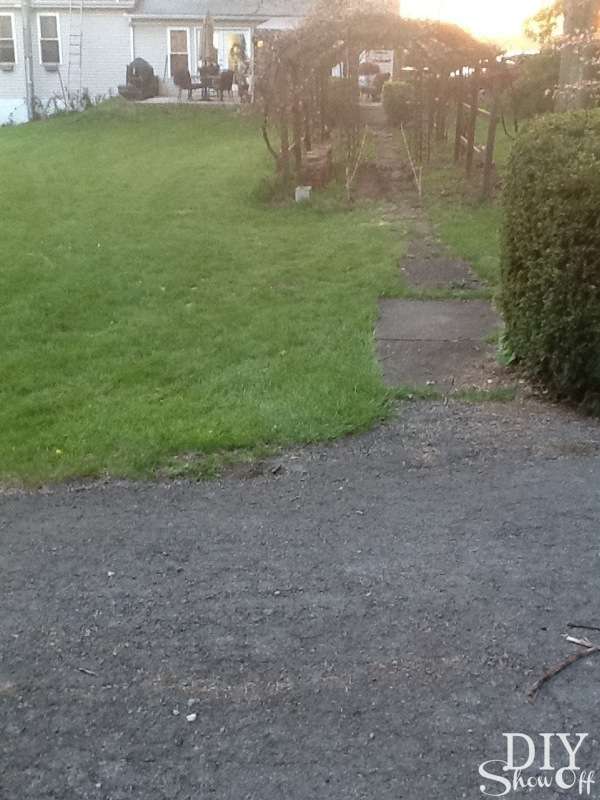
The back yard before…
backyard before
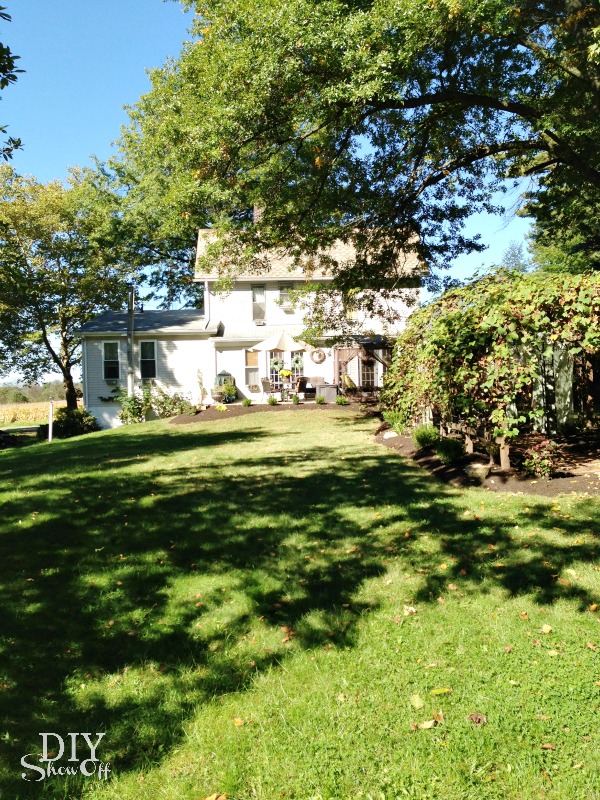
The back yard now…
backyard after
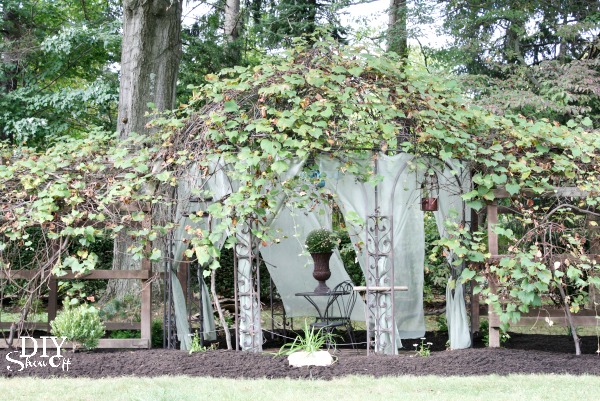
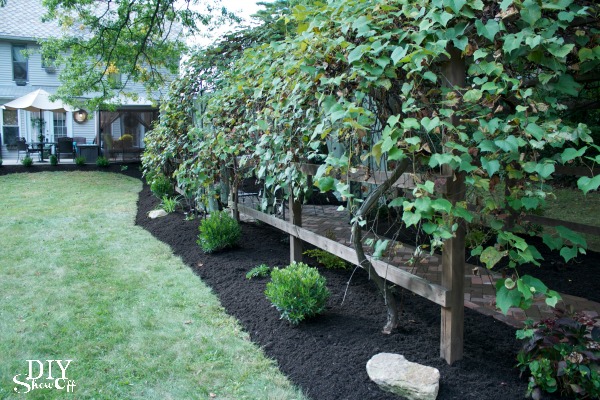
Grape arbor now.  
grape arbor
I can’t wait for the plants to fill in. I’ll be adding a few here and there this week too. Maybe something that will come up in the spring.
 
Now when you visit, we have a place to talk and catch up. Weather permitting. DIY brick patio
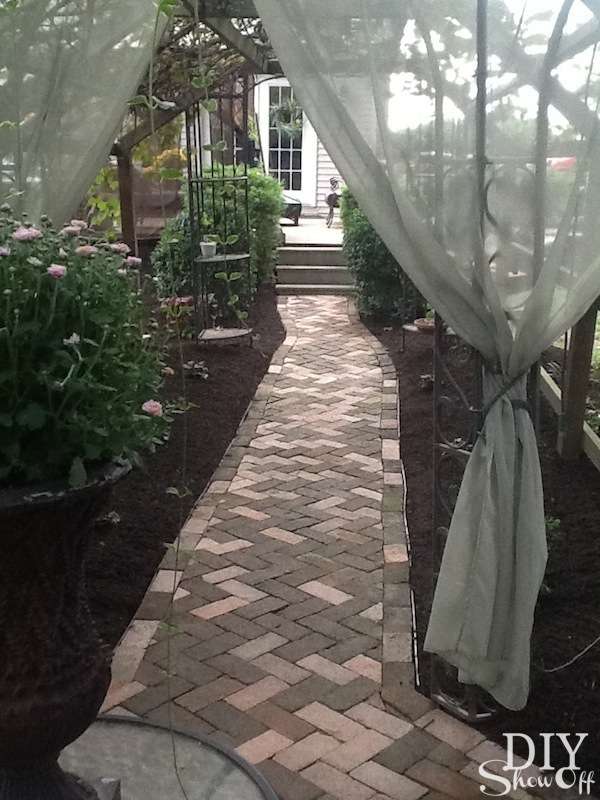
 
Do you have a special outdoor area at your home?