How do Painted Faucets Hold Up?

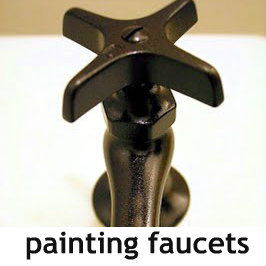
Nearly four years ago, I painted the faucets in our budget friendly guest bathroom makeover. You can see how I painted them here

painting-bathroom-faucets

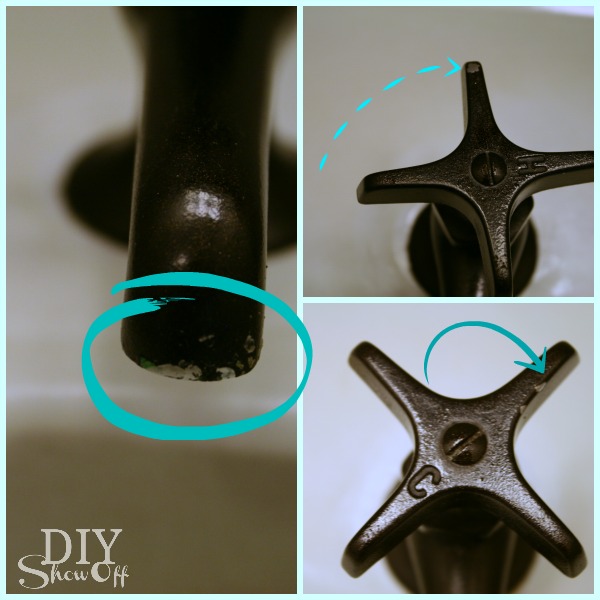
Do I regret it? Not one bit. Has it held up? For the most part. Here is how they look four years later…

painted faucet durability

These faucets are in a guest bathroom that gets used every day however it’s not heavy use. And I learned after taking this picture that the spout was even less chipped than shown. That’s mostly dried toothpaste. Oops. 

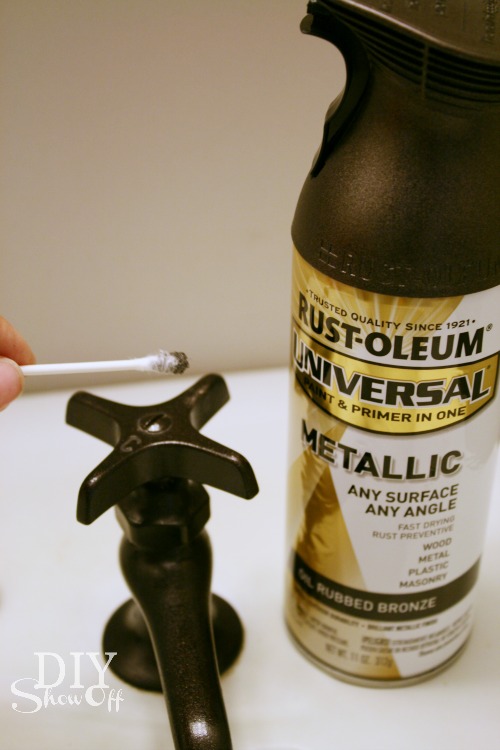
The fix: Since my paint is not flaking, I sprayed Rustoleum’s Metallic Oil Rubbed Bronze onto a styrofoam plate (until I got a “puddle” of paint). Then I used a Q-Tip to touch up the paint.

painted faucet touch up

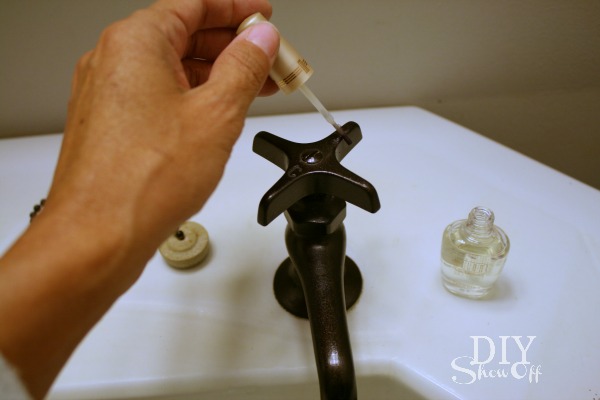
Once that was dry (a few hours), I sealed the touch ups with clear nail polish.

touching up painted faucets

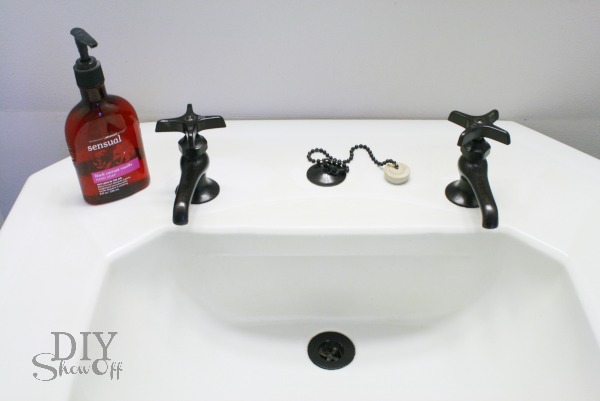
Good as new!

DIY painted faucets 

Guest ready once again…

painted faucets

For us, painting the faucets updated the old vintage pedestal sink and kept the cost of our bathroom makeover down. Finding separate hot and cold faucets with their own spout was a challenge so painting the faucets worked for us. I do have to say…it’s rather odd having one spout for cold and one spout for hot. There’s no dilly-dallying washing hands under the hot spigot…ouch! Filling the sink is the only option for “warm” water. Strange, isn’t it?

And in case you’re wondering, the painted floor has held up well too!guest bathroom

See the entire before and after: Bathroom Reveal.

Full painting faucets tutorial: painting-bathroom-faucets

Summer Home Tour

Welcome to the Summer Tour of Homes Day 2! If you’re following along and just popped over from visiting Emily’s gorgeous home at Decor Chick, welcome guests!

Summer Tour of Homes

I’m so excited to participate in Day 2 of the Summer Tour of Homes hosted by Gina at the Shabby Creek CottageIt’s my favorite time of year! Longer days for productivity and lots of DIY.
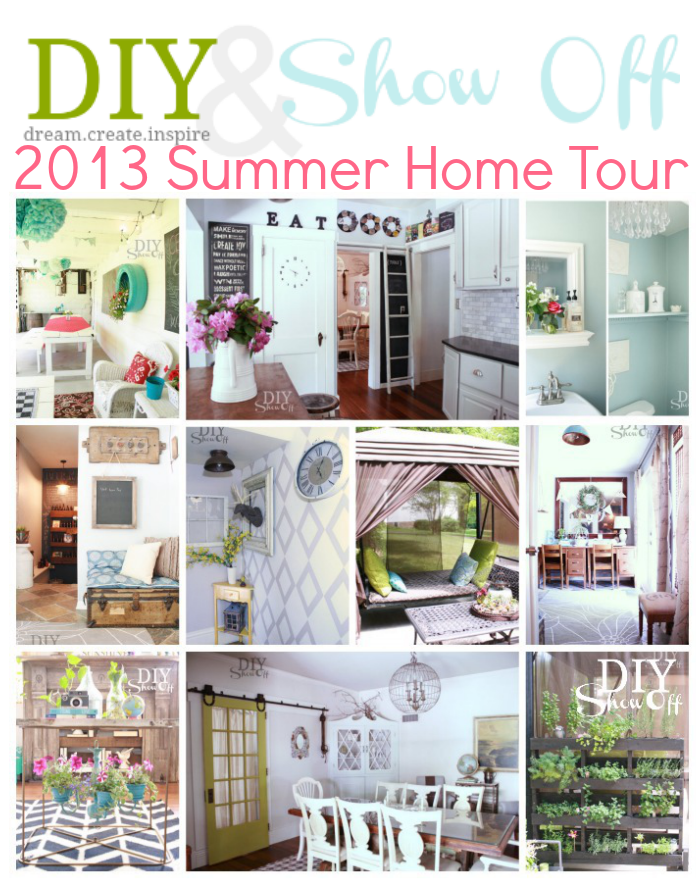
DIYShowOff Summer Home Tour

Are you ready for LOTS of pictures? I hope so! summer chalkboard
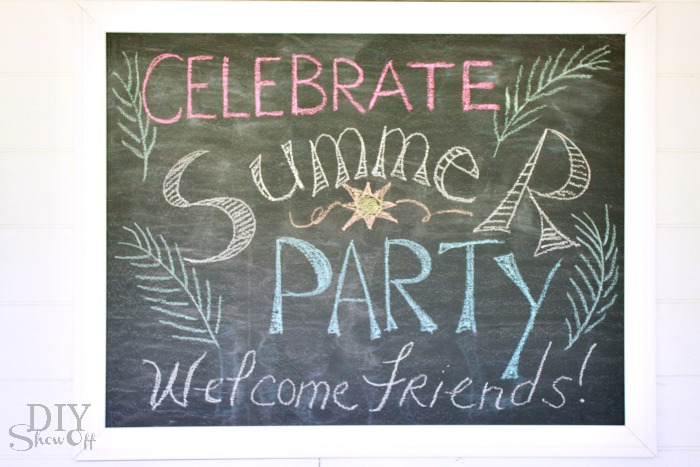
Most of our summer is spent outdoors. We do a lot of summer entertaining, hosting BBQs and family cook-outs. So making our outdoor areas pretty is where our tour begins…
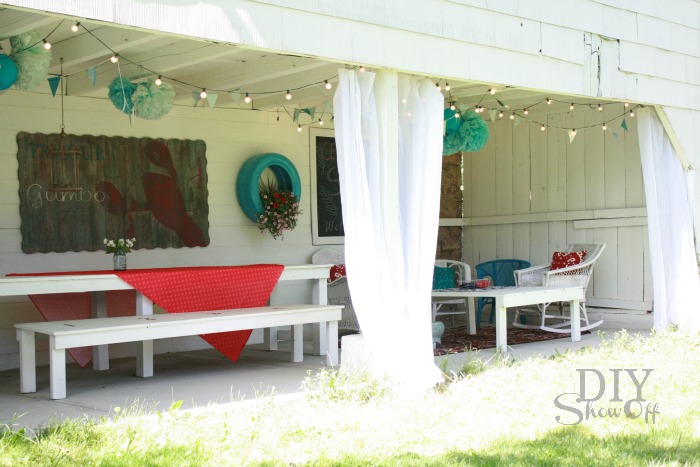
barn patio

We have a bank barn which we use for storage (much like a huge garage), but the bottom part opens up into our BIG party gathering space in the summer where we can set up volley ball in the yard and sit around a bon fire.

teeny tiny scary before picture…
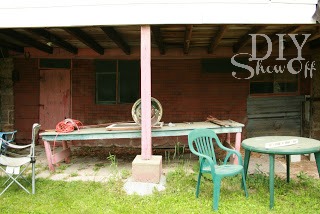
barn before

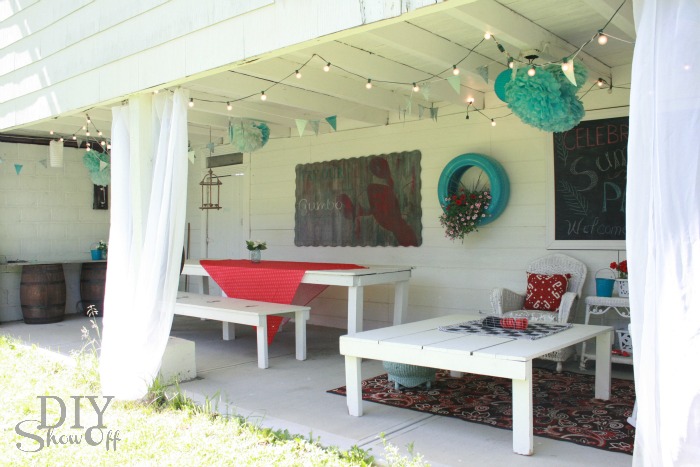
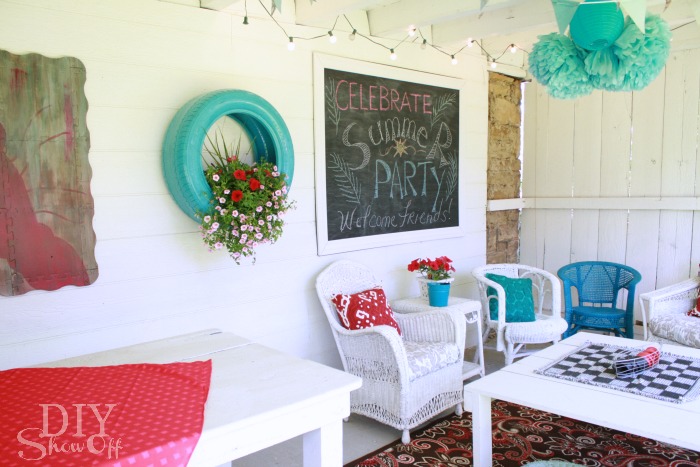
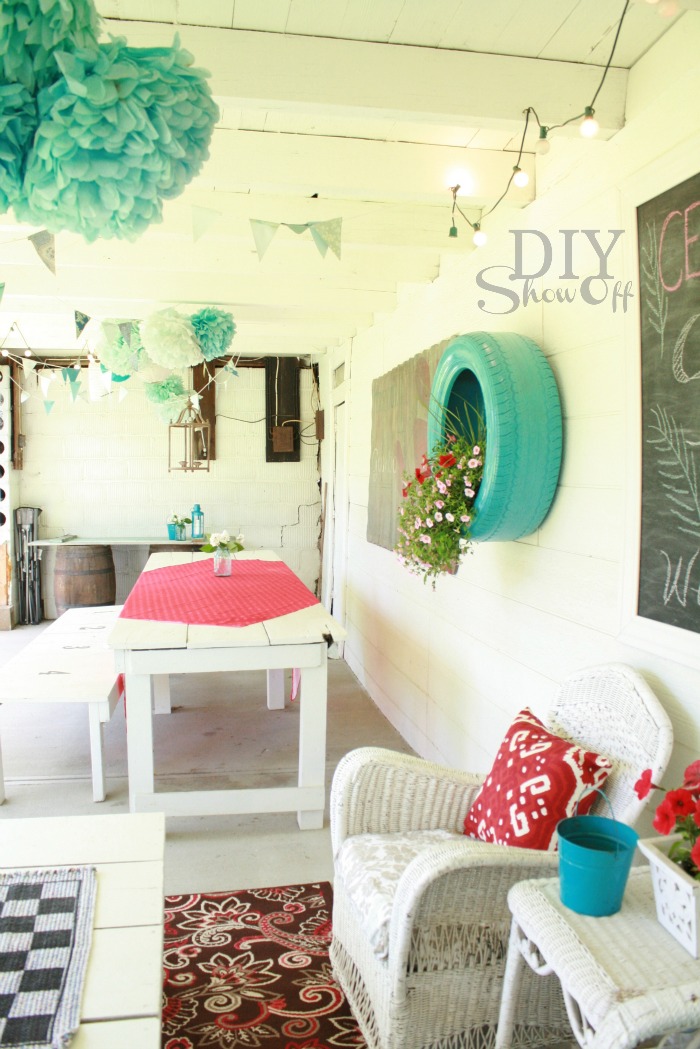
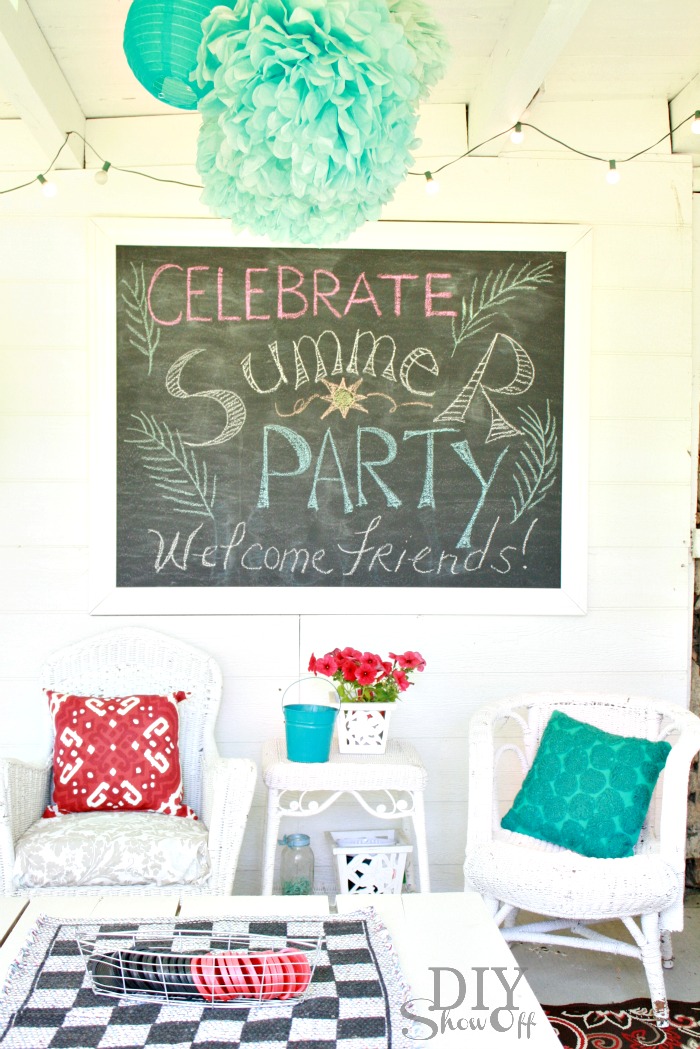
The barn patio area provides a covered space for setting up a picnic buffet for entertaining or a quiet place for relaxing. Improvements are still on the DIY ‘to-do’ list but you can see it’s a big improvement already. This area has been a great location for grad parties, a co-ed baby shower BBQ, a fashion photo shoot, family reunions, picnics and cook outs.
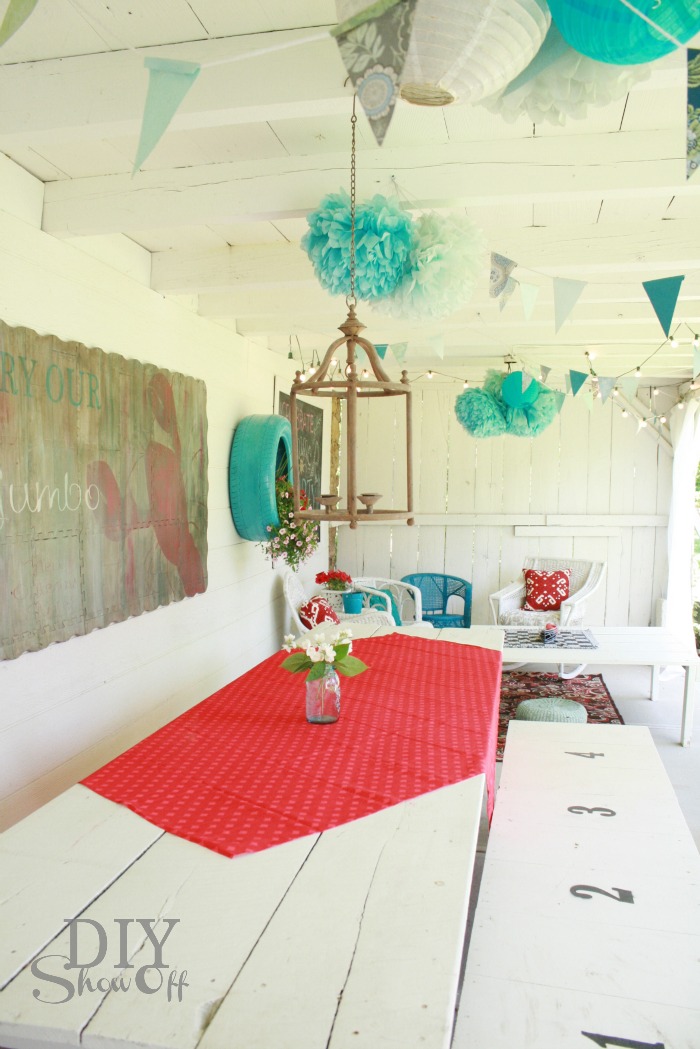
barn patio makeover

outdoor entertaining

outdoor living

party patio

barn party patio

red and turquoise patio

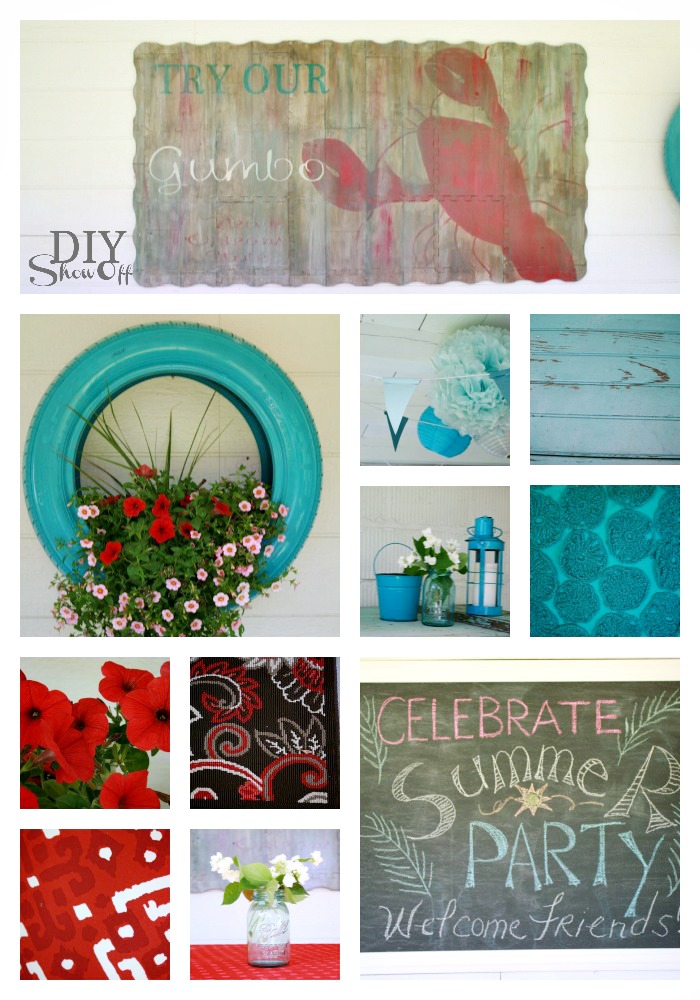
Sources: DIY painted foam playmat art tutorial, tire planter tutorial coming soon, DIY tissue paper poufs and banner, old weathered door/barrel buffet, spray-painted accessories (Rustoleum Lagoon), turquoise crocheted accent pillow (Target), red petunias, outdoor area rug (Better Homes & Gardens, WalMart), red accent pillows (Target), blue mason jar vase, red outdoor fabric table cloth (Kmart), DIY framed chalkboard. 

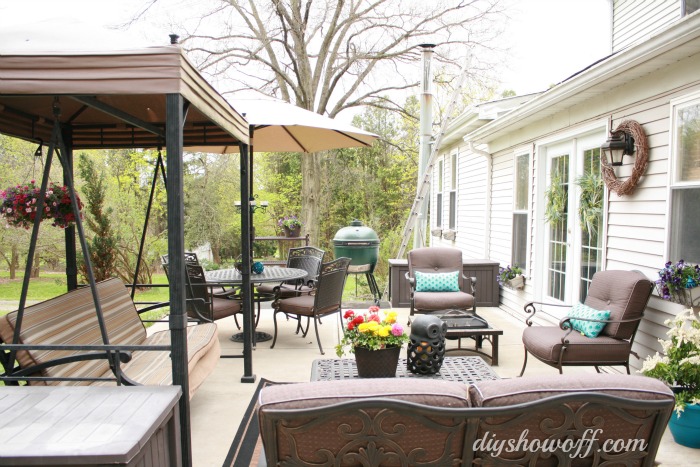
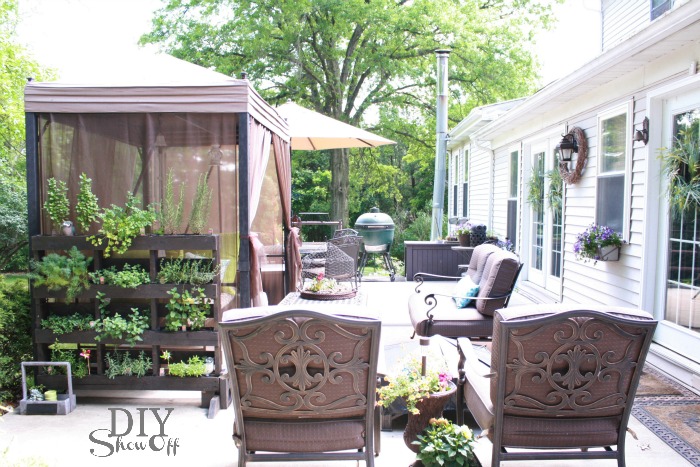
The patio off the back of our home also got a mini-makeover last month with some cleaning, refreshening accents with some spray paint, some re-arranging, flowers and a few new decorative touches…

(see the before the patio and installation)

before
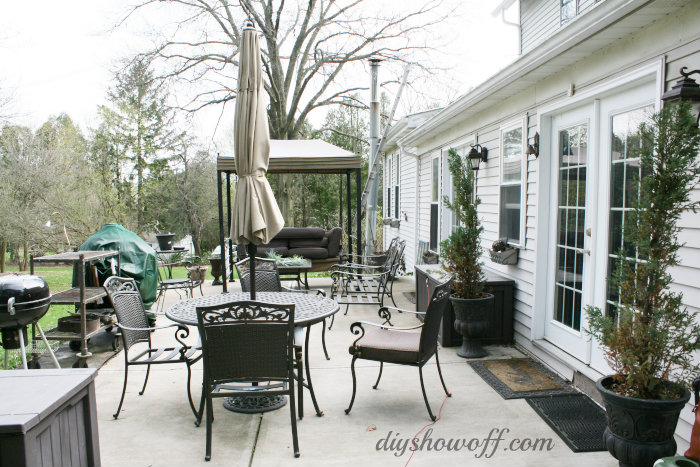
patio-before

patio makeover

patio-makeover

patio makeover

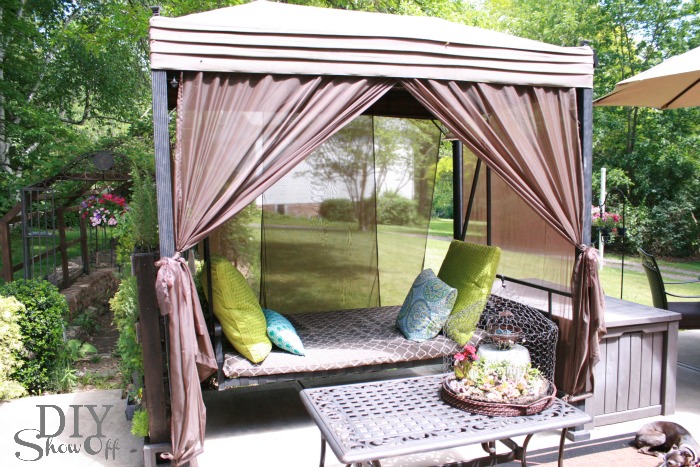
The patio swing was looking a little tired and inspired an outdoor swing/daybed makeover patio daybed

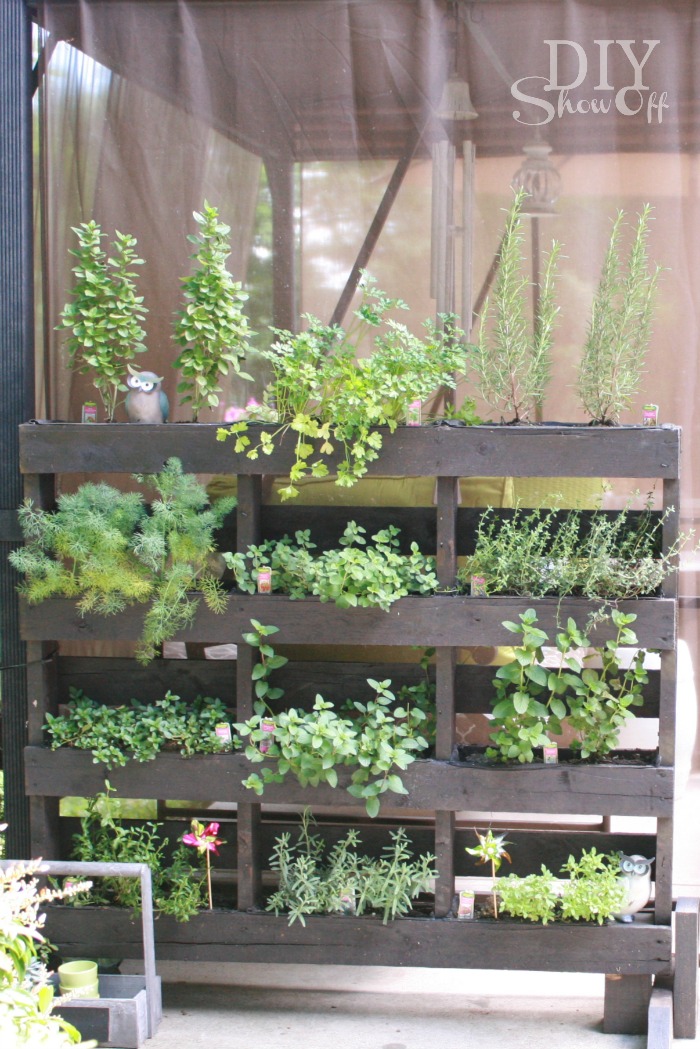
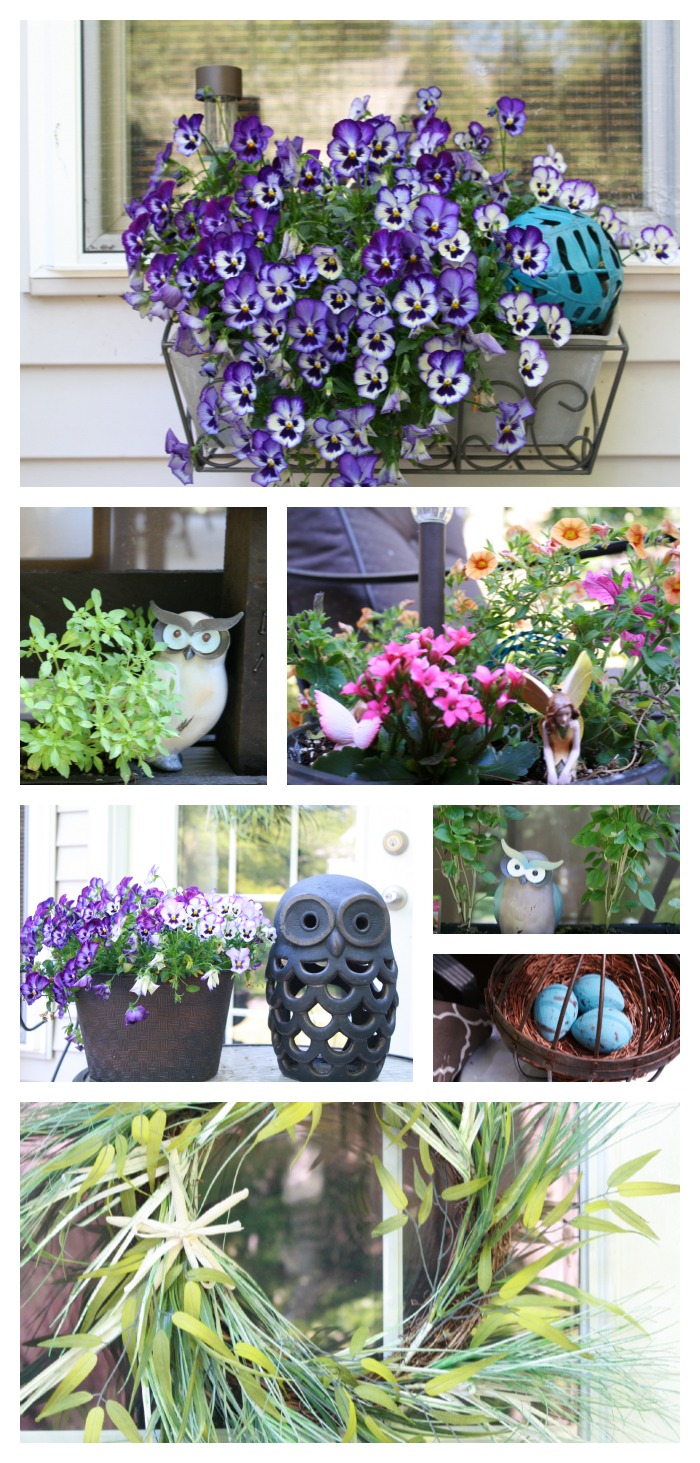
My hubby’s favorite hobby is cooking and having fresh herbs near the French doors to the kitchen is convenient. Decorative and functional with our free standing pallet herb garden

free standing pallet herb garden

patio accents

One of the things I loved about the property when we purchased our home was the mature huge grape arbor. It was very rickety but the grapes were plentiful…

before
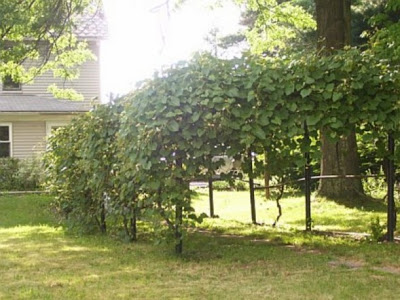
grape arbor before

We rebuilt the framing and added a gazebo to the center…
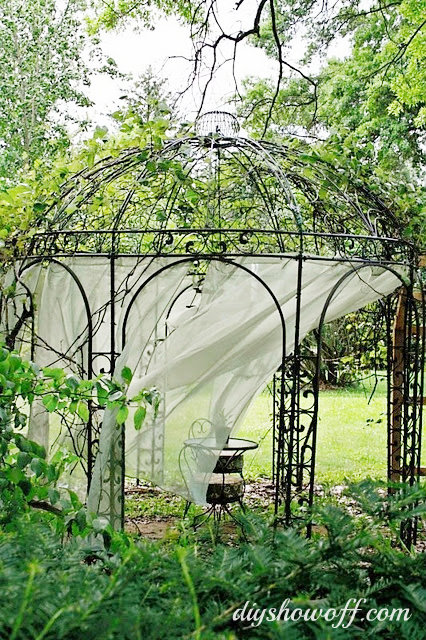
grape arbor gazebo

This year we’re recycling a pile of old bricks for a paved walkway and seating area underneath the gazebo (more on that coming up this summer). Again, a work currently in progress, but check out those vines! LOVE!
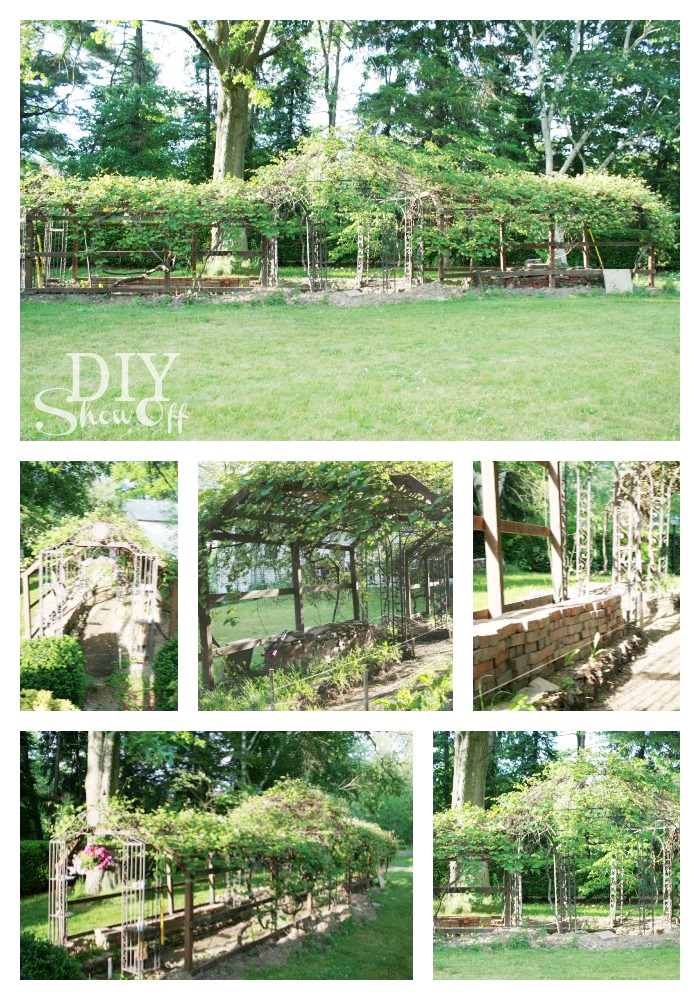
grape arbor gazebo

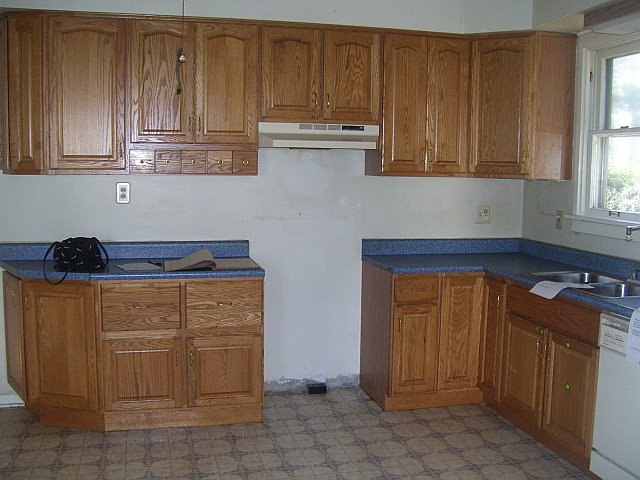
It’s been a while since I’ve done a home tour. Things are mostly the same with some rearranging but here are some most recent pictures. Our house before was down right disgusting and scary but we saw past that to the potential…location, charm, character, size. But definitely a true fixer upper. 

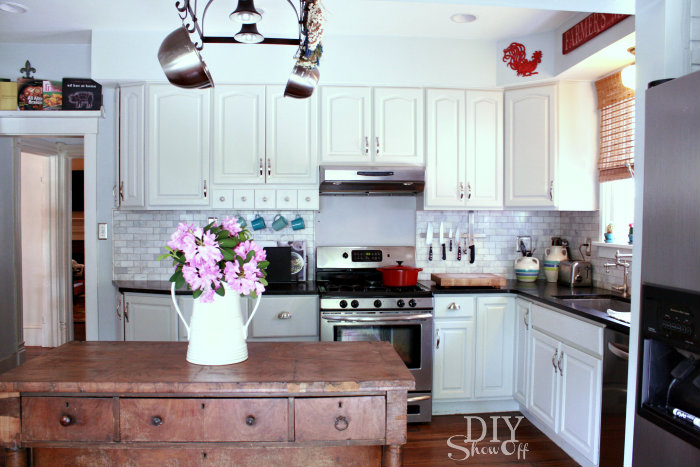
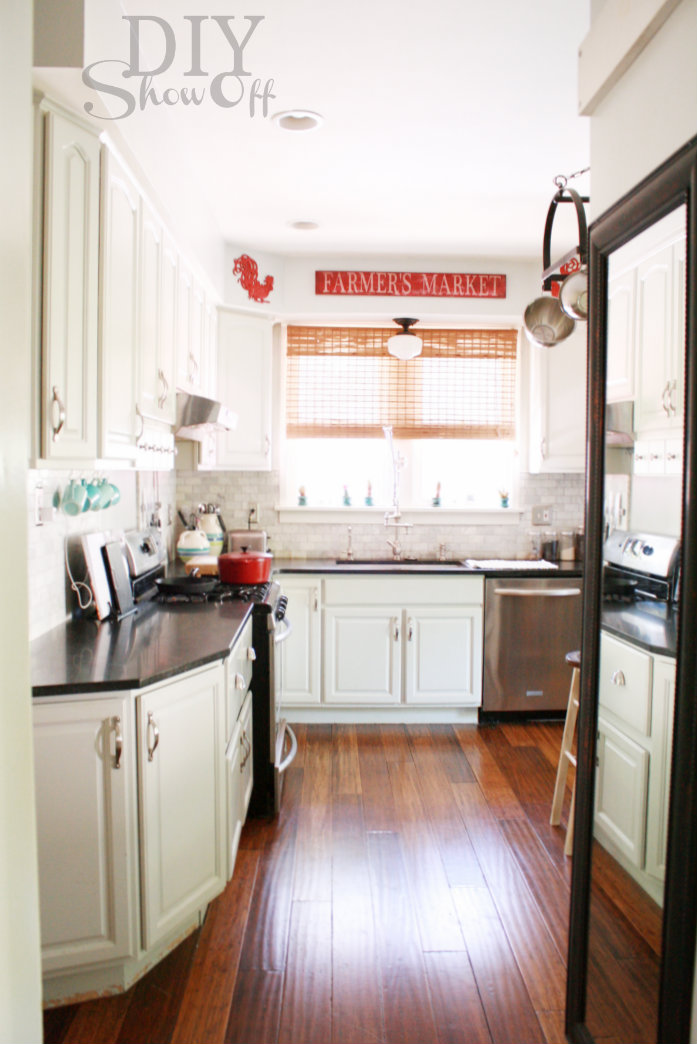
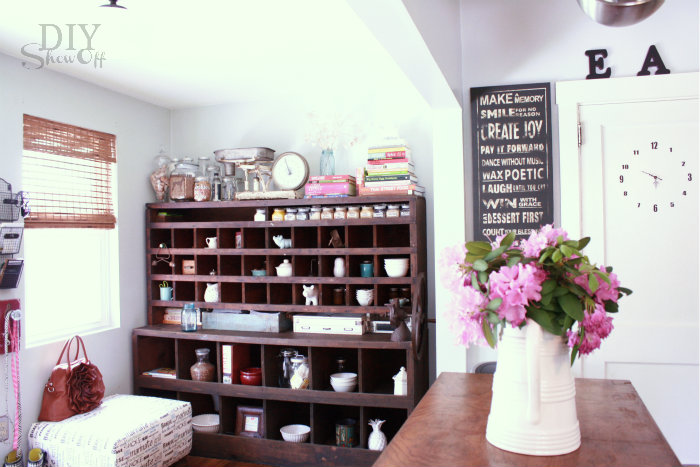
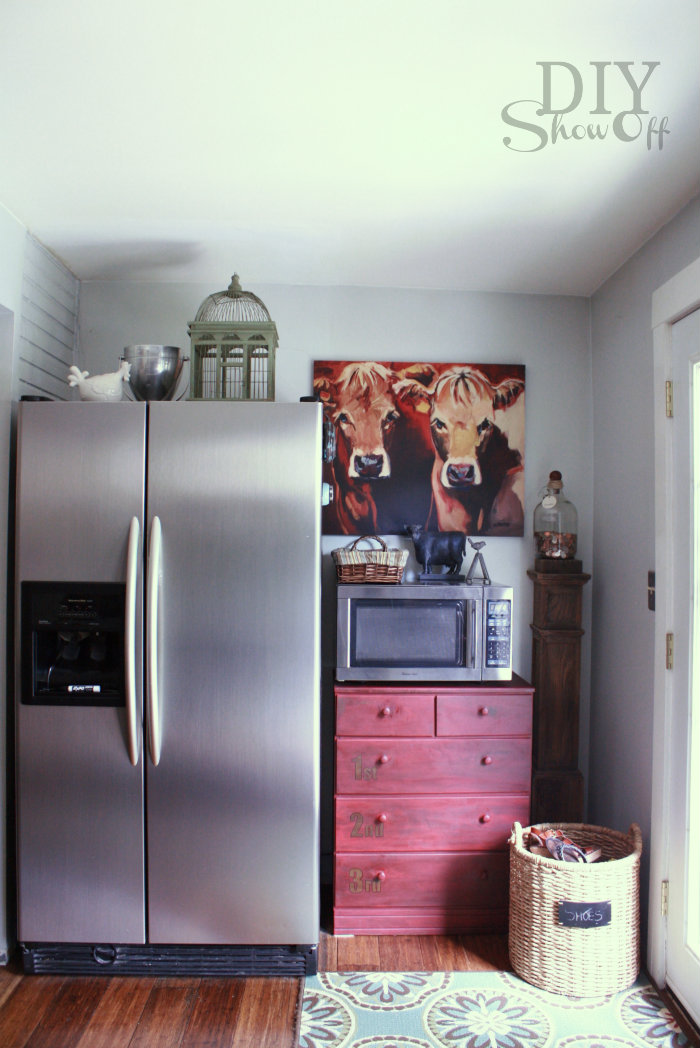
kitchen (links to kitchen before/after, more pictures, DIY door clock tutorial, spice loft, sliding ladder, marble subway tiled backsplash how-to, painting cabinets, cook book library, etc.)
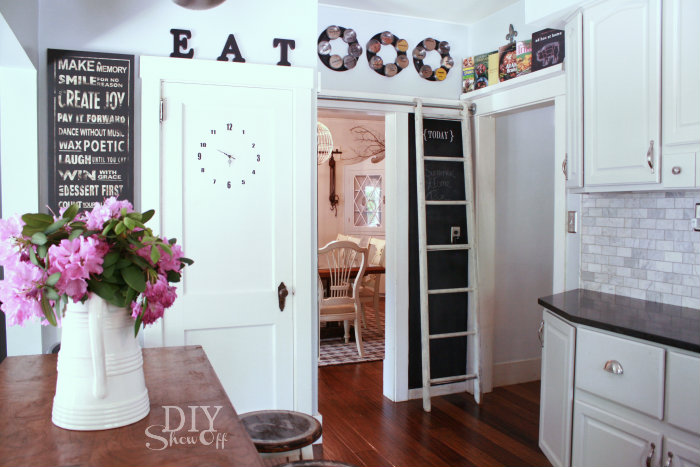
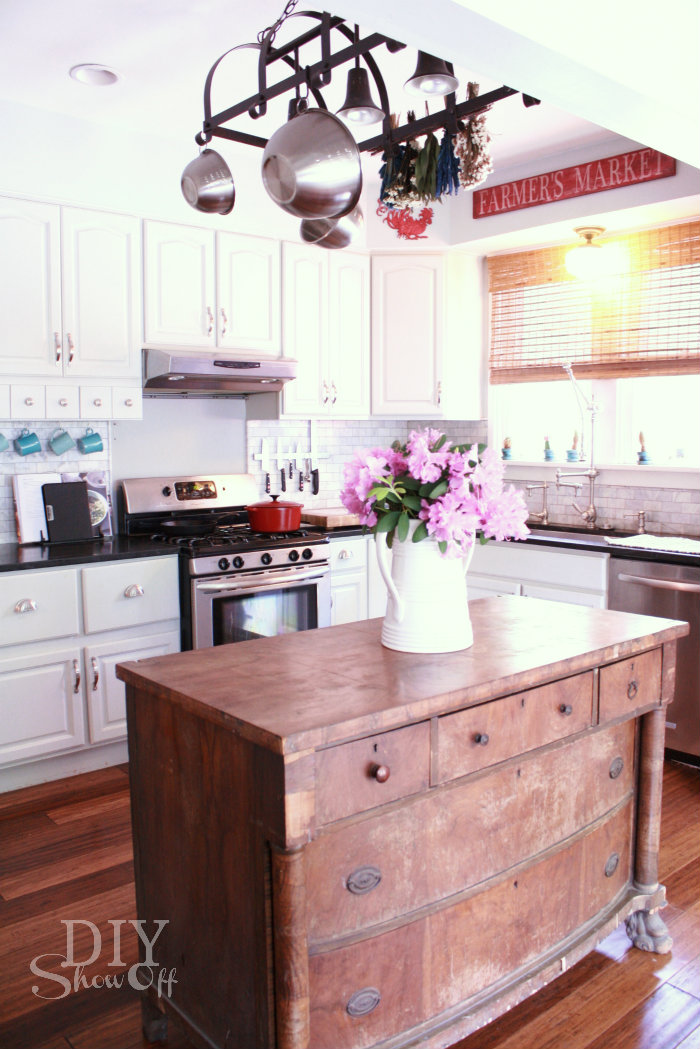
farmhouse kitchen makeover

kitchen tour

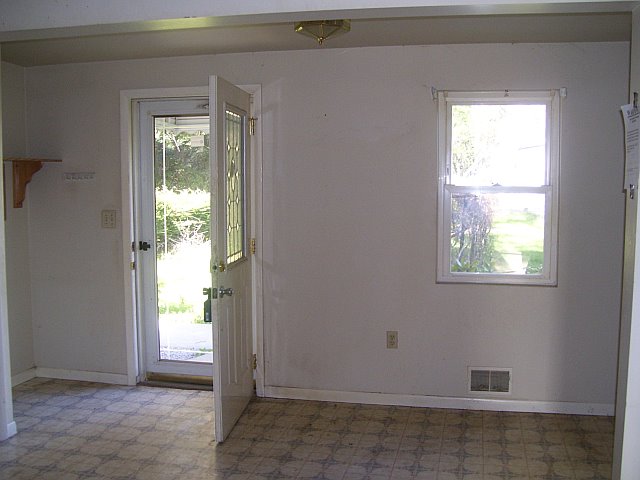
before

kitchen before

 after…

farmhouse kitchen

farmhouse kitchen tour

eclectic farmhouse kitchen

eclectic kitchen tour

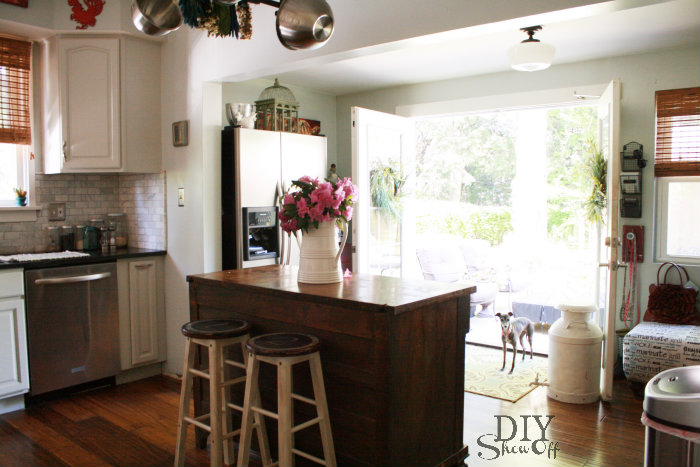
The French doors lead right to our patio. It’s so convenient for entertaining and hosting BBQs. The sun sets on the other side of the house so evenings are shaded and comfortable. Perfect for alfresco summer dining. 

before…
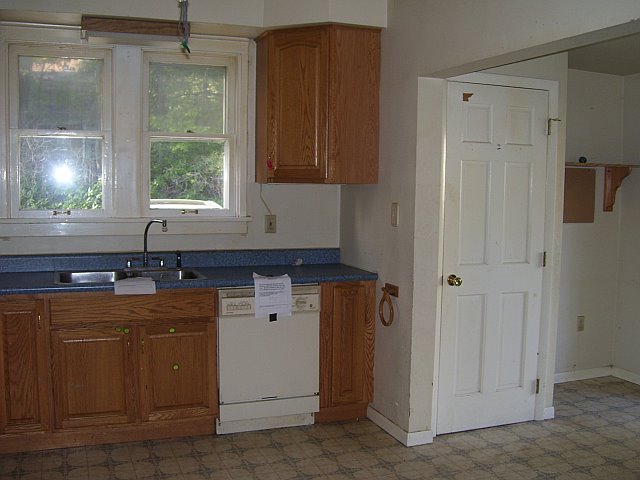
farmhouse kitchen before

farmhouse kitchen before

now…DIYShowOff kitchen tour

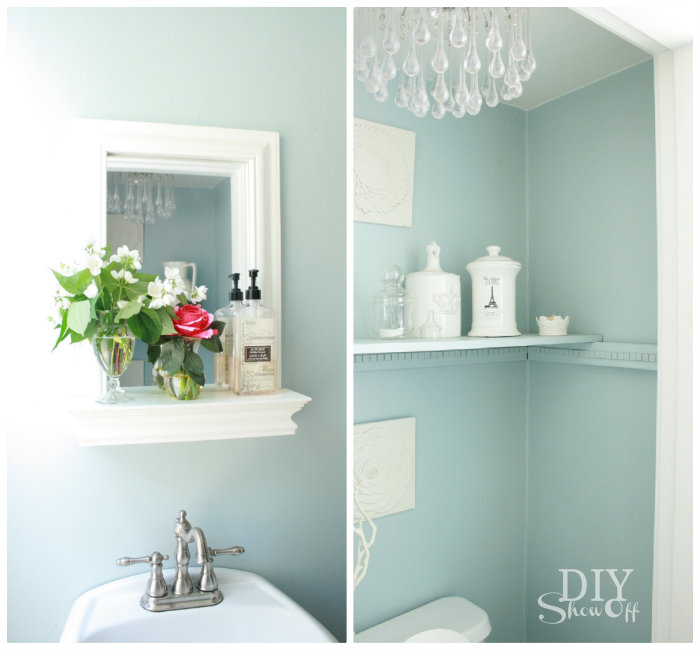
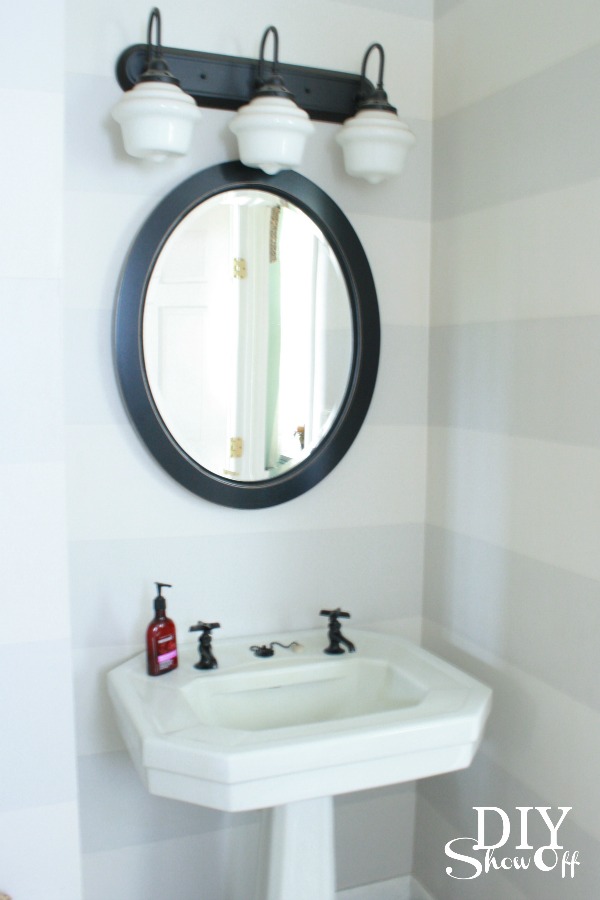
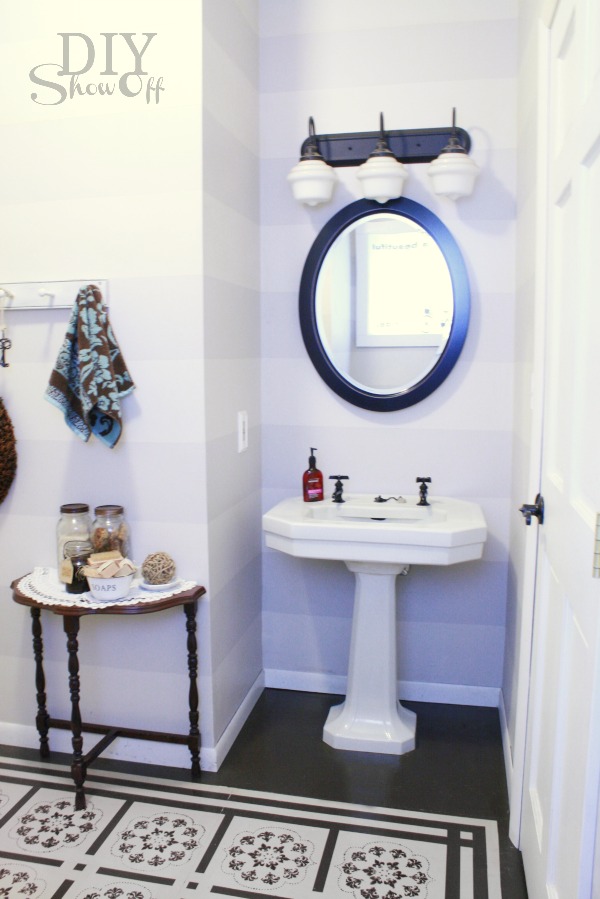
powder room before and after

powder room

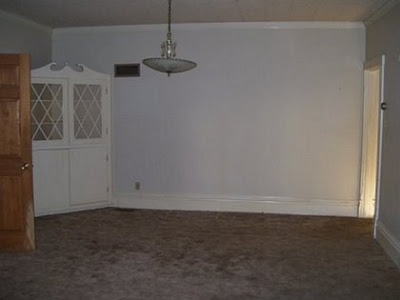
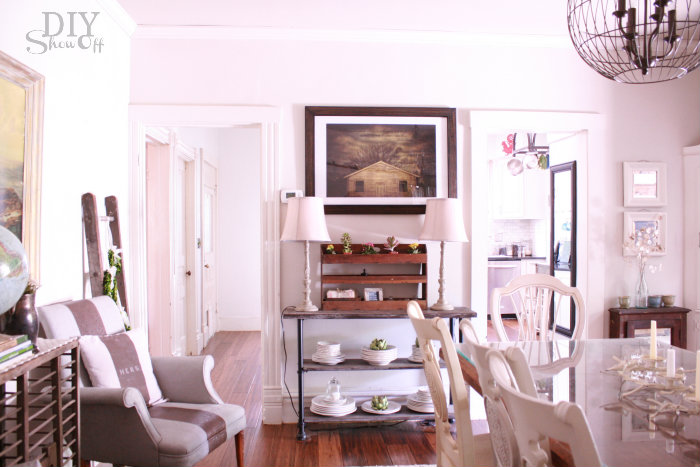
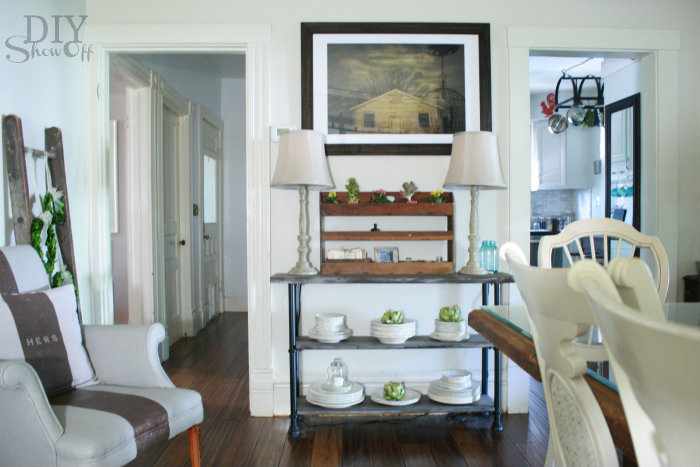
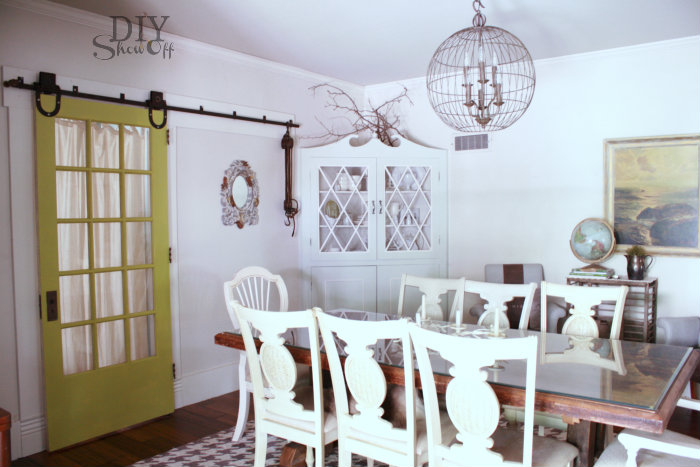
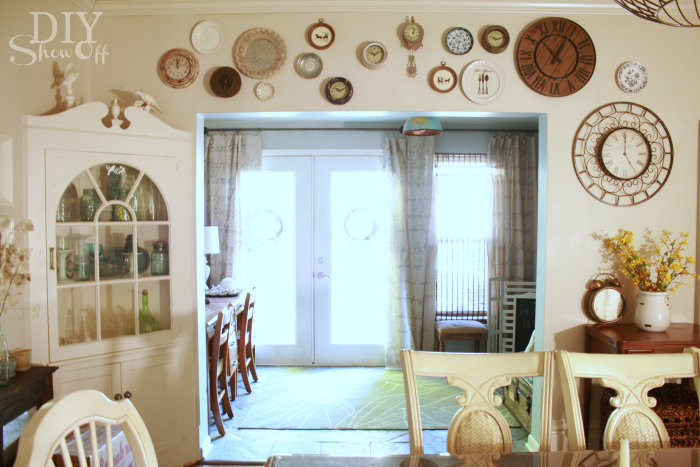
dining room

before

dining room before

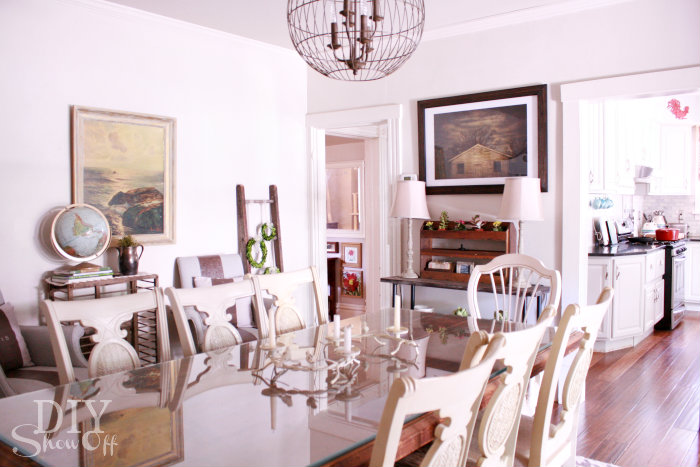
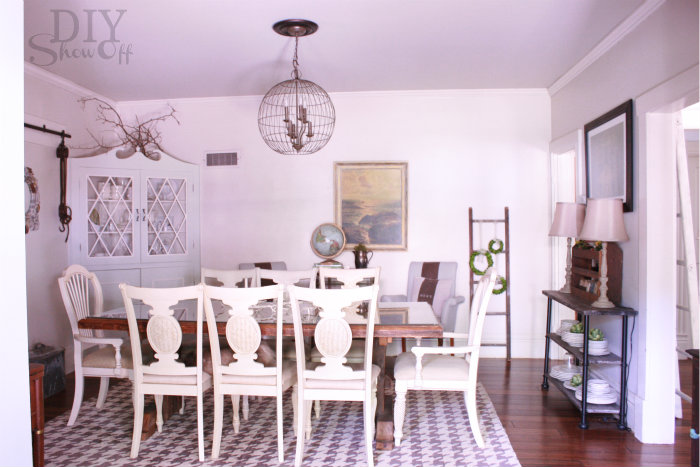
now…

diningroom tour

diningroom makeover

DIYShowOff diningroom

farmhouse dining room

eclectic dining room

DIYShowOff dining room

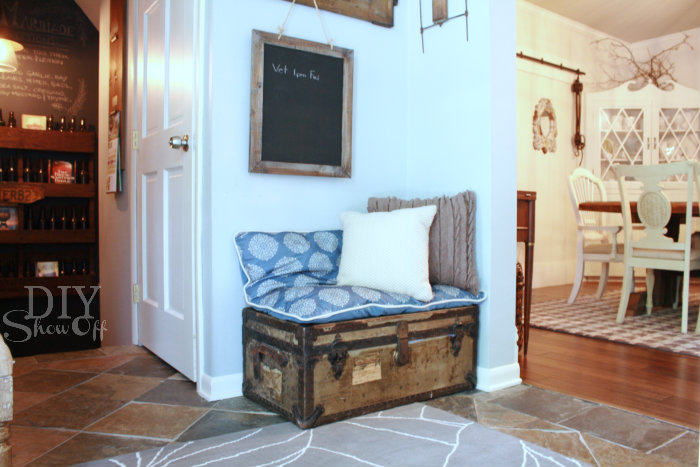
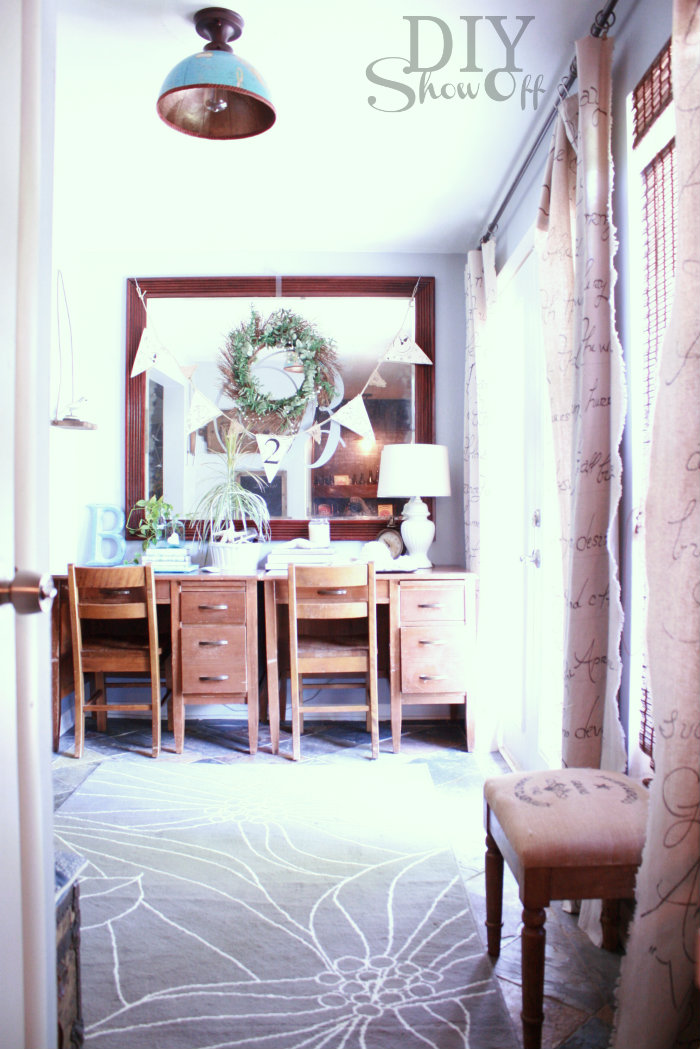
I’m always re-arranging the sitting room. It’s gets a makeover about once a month. It’s an ever changing multi-functional space. Sometimes it’s a sitting room, sometimes a dining area or mudroom.

before
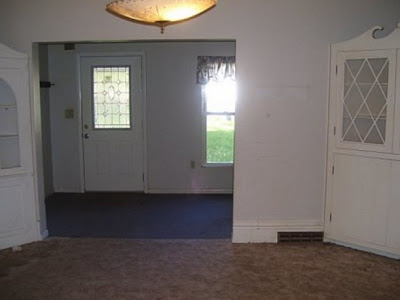
sitting room before

This month, it’s a small office/work space…
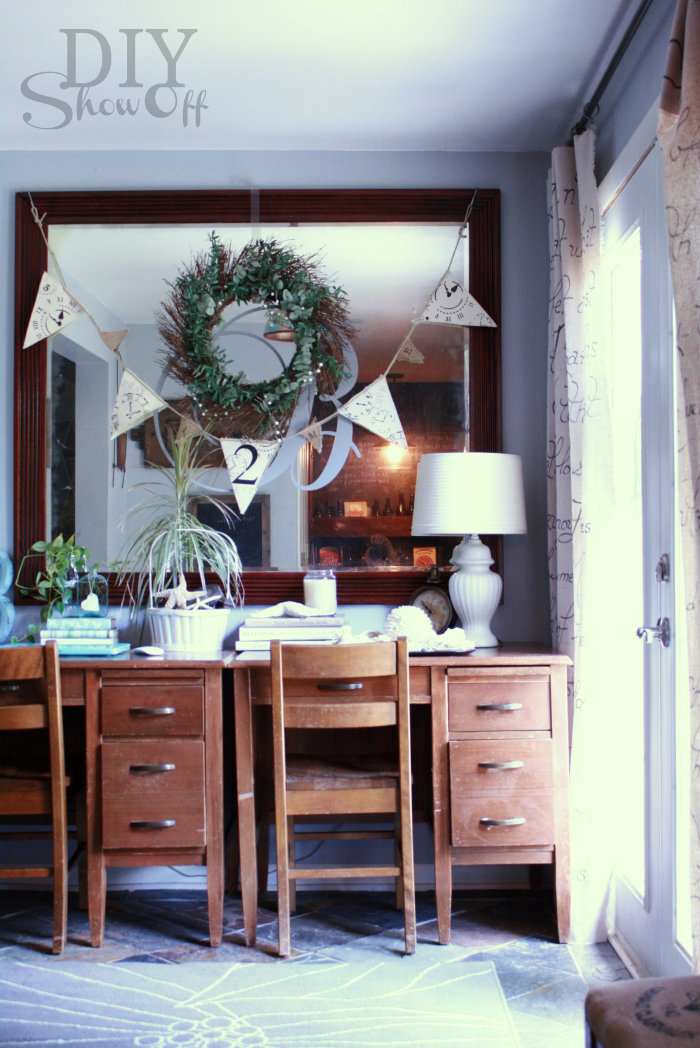
office space eclectic hallway DIYShowOff Home Tour sitting room

DIY: no sew script drop cloth curtains, wall mounted pallet shelf, French doors, slate floors, pet gate, globe light fixture cover.
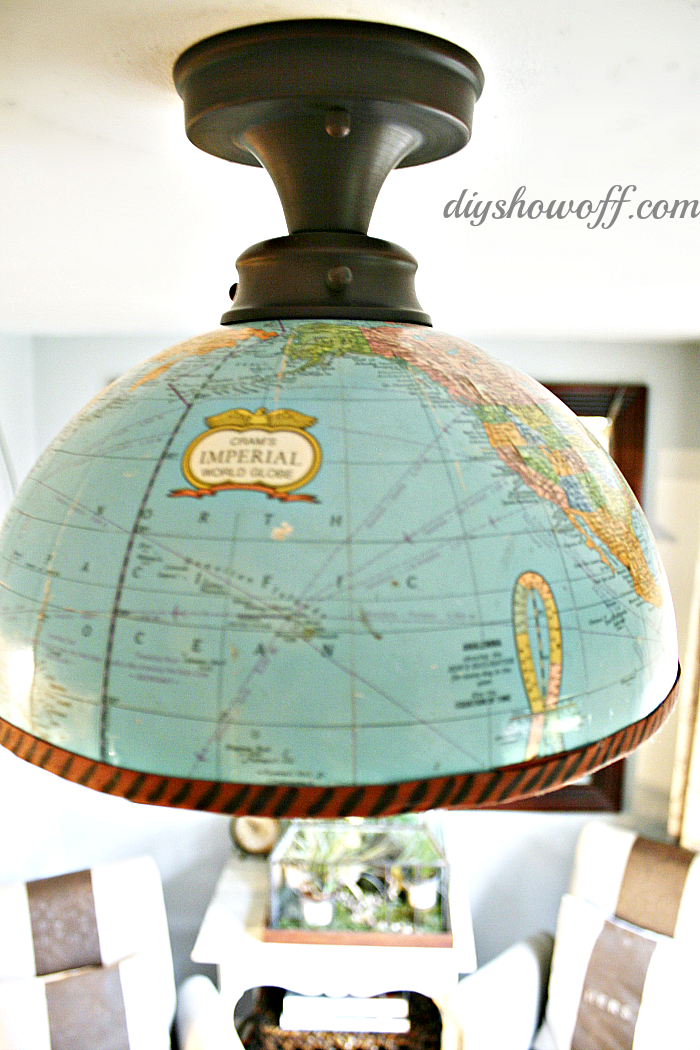
half-globe-light-cover

Our stairway landing hasn’t changed at all. I just love it the way it is. For now.
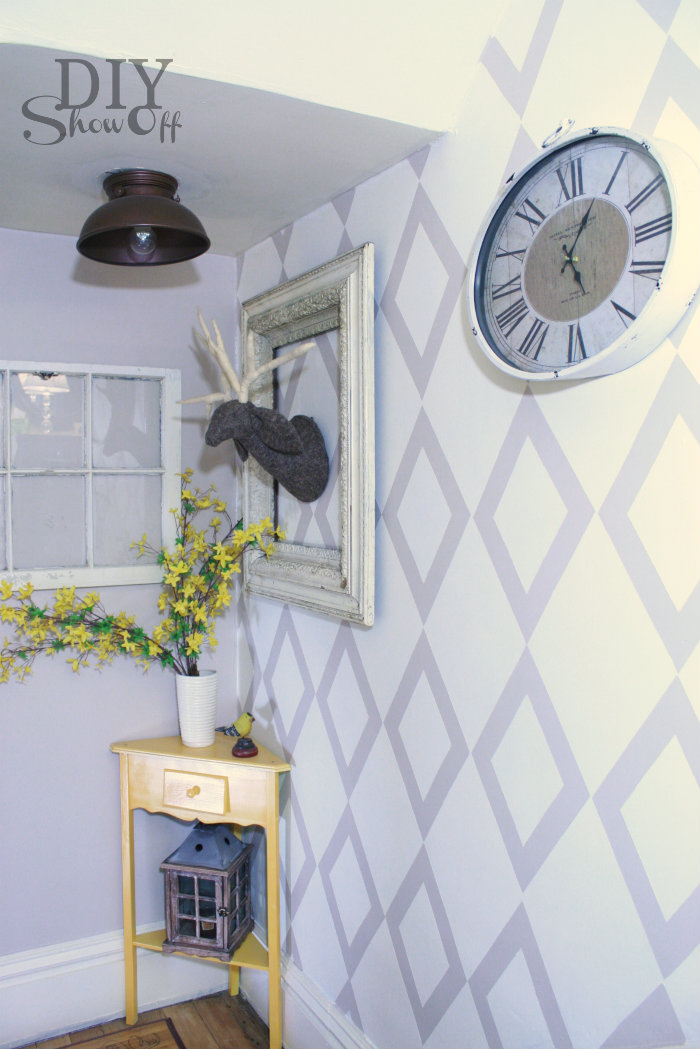
stair landing

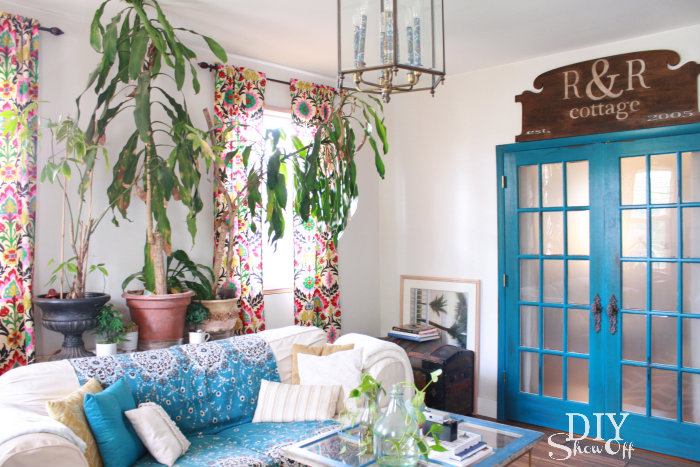
And the family room is still a work in progress so these are a bit of a reveal since I haven’t shared little things in this room before, but fun DIY art and lots of color adds a touch of summer…
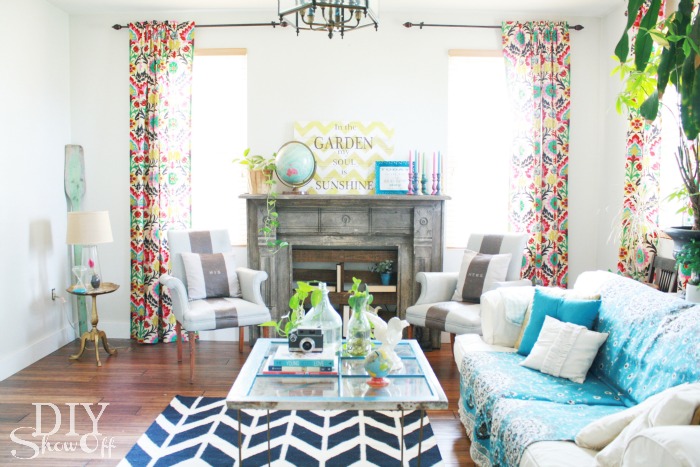
family room

Still a lot of DIY planned for this room!
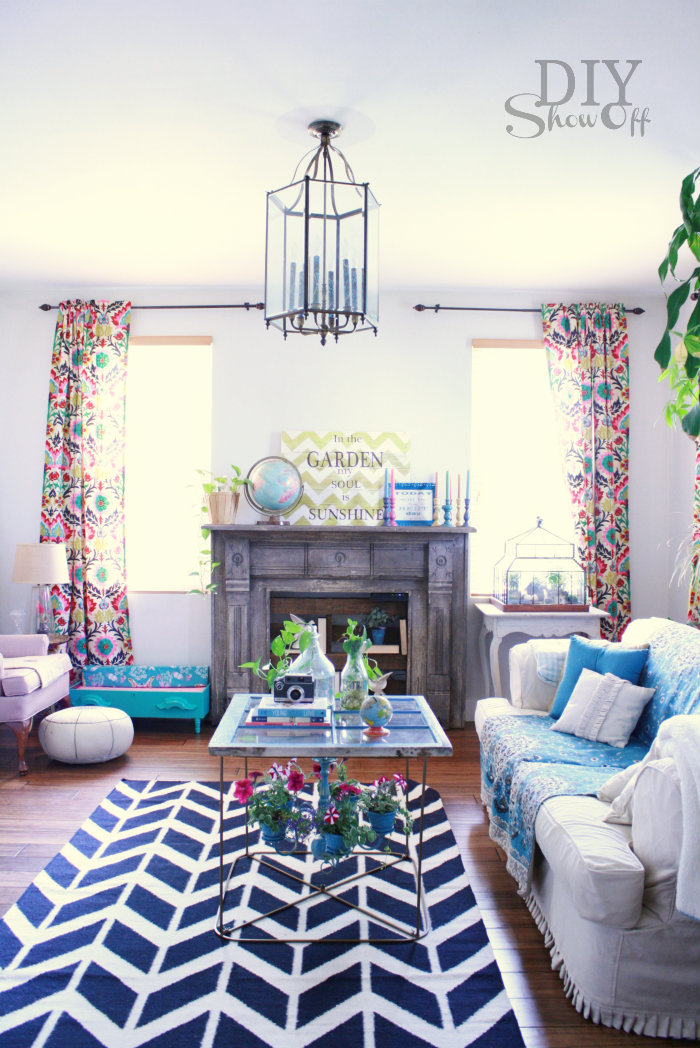
DIYShowOff family room tour.jpg

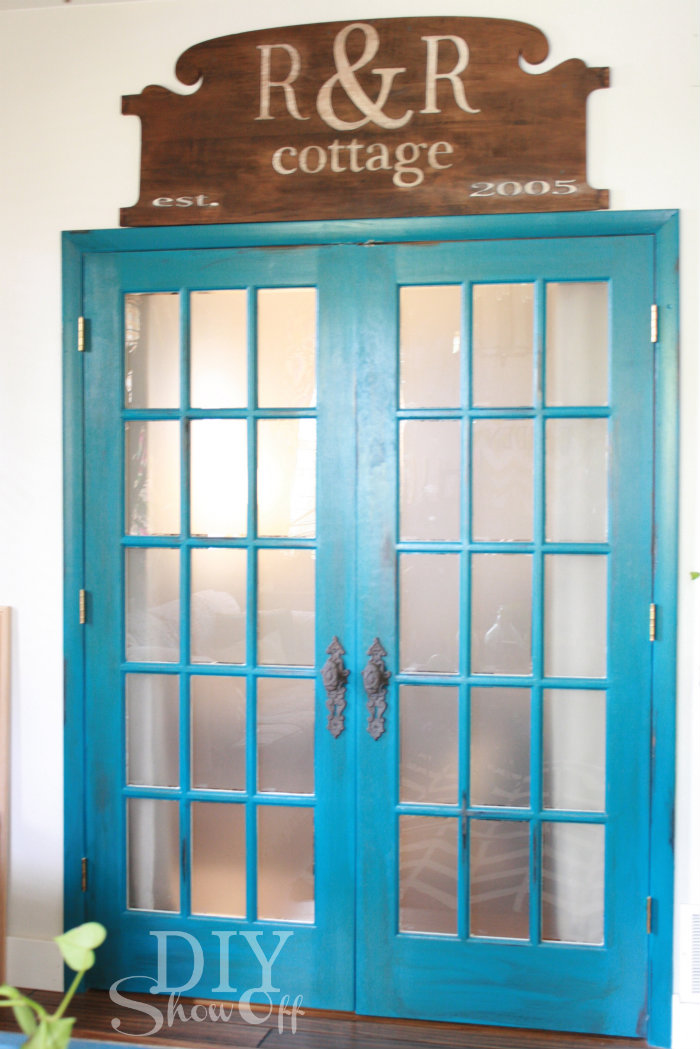
headboard door pediment tutorial

turquoise french doors.jpg

family room accents.jpg.jpg

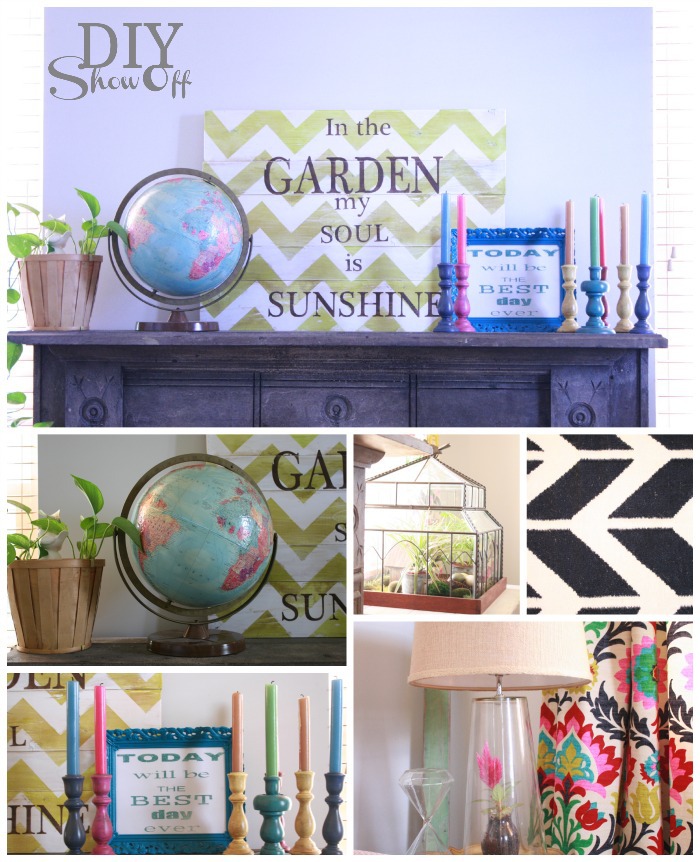
DIY chevron garden sign, painted thrift store candlesticks, Today will be the Best Day sign, DIY curtains (fabric is Waverly Santa Maria Desert Flower), window/chandelier coffee table, and a DIY chandelier planter tutorial coming soon.
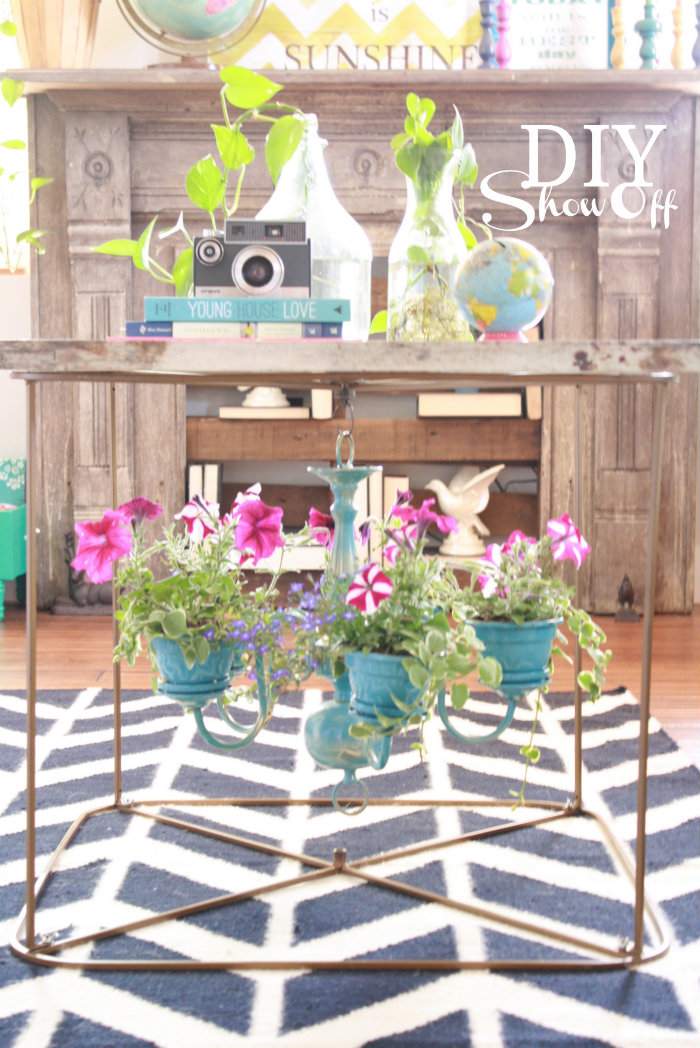
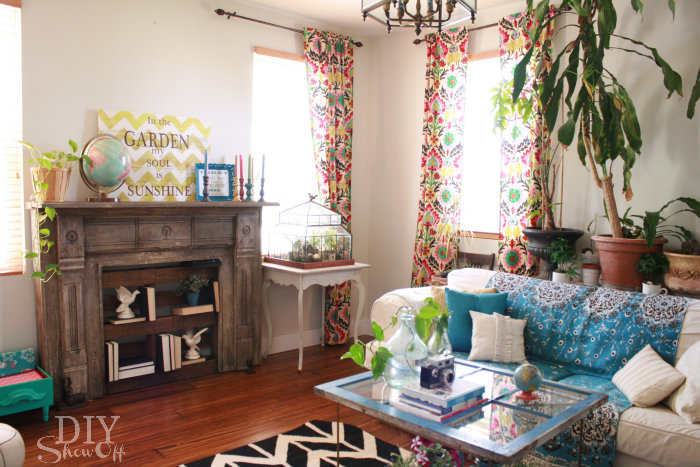
chandelier planter.jpg

eclectic family room makeover.jpg

free standing fireplace surround with pallet shelving faux fireplace with pallet shelving
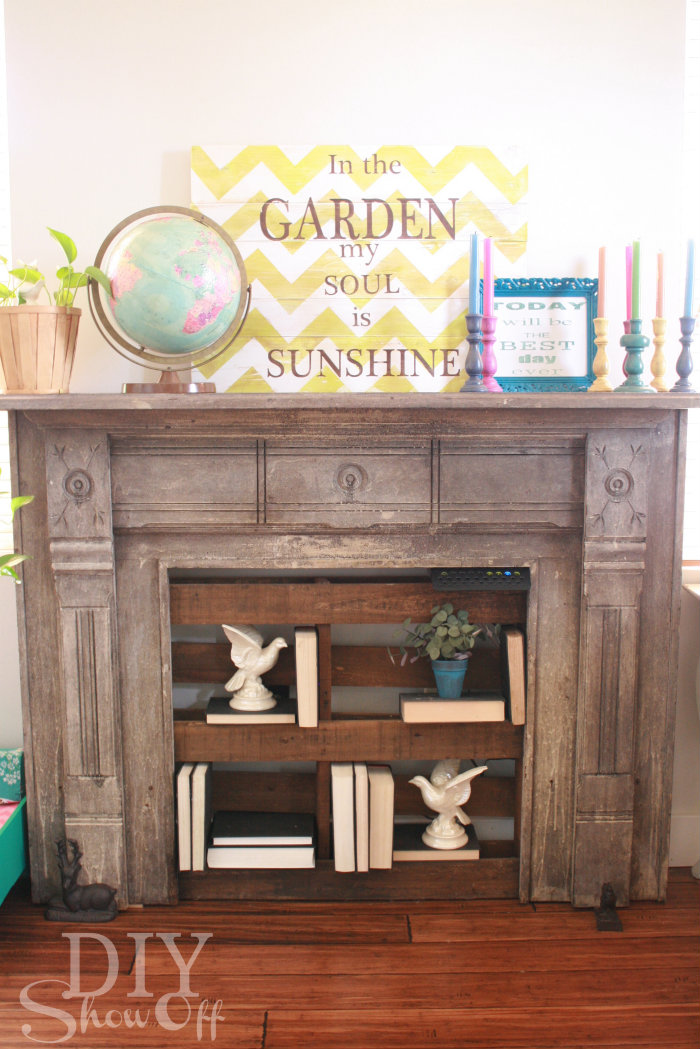
eclectic family room tour.jpg

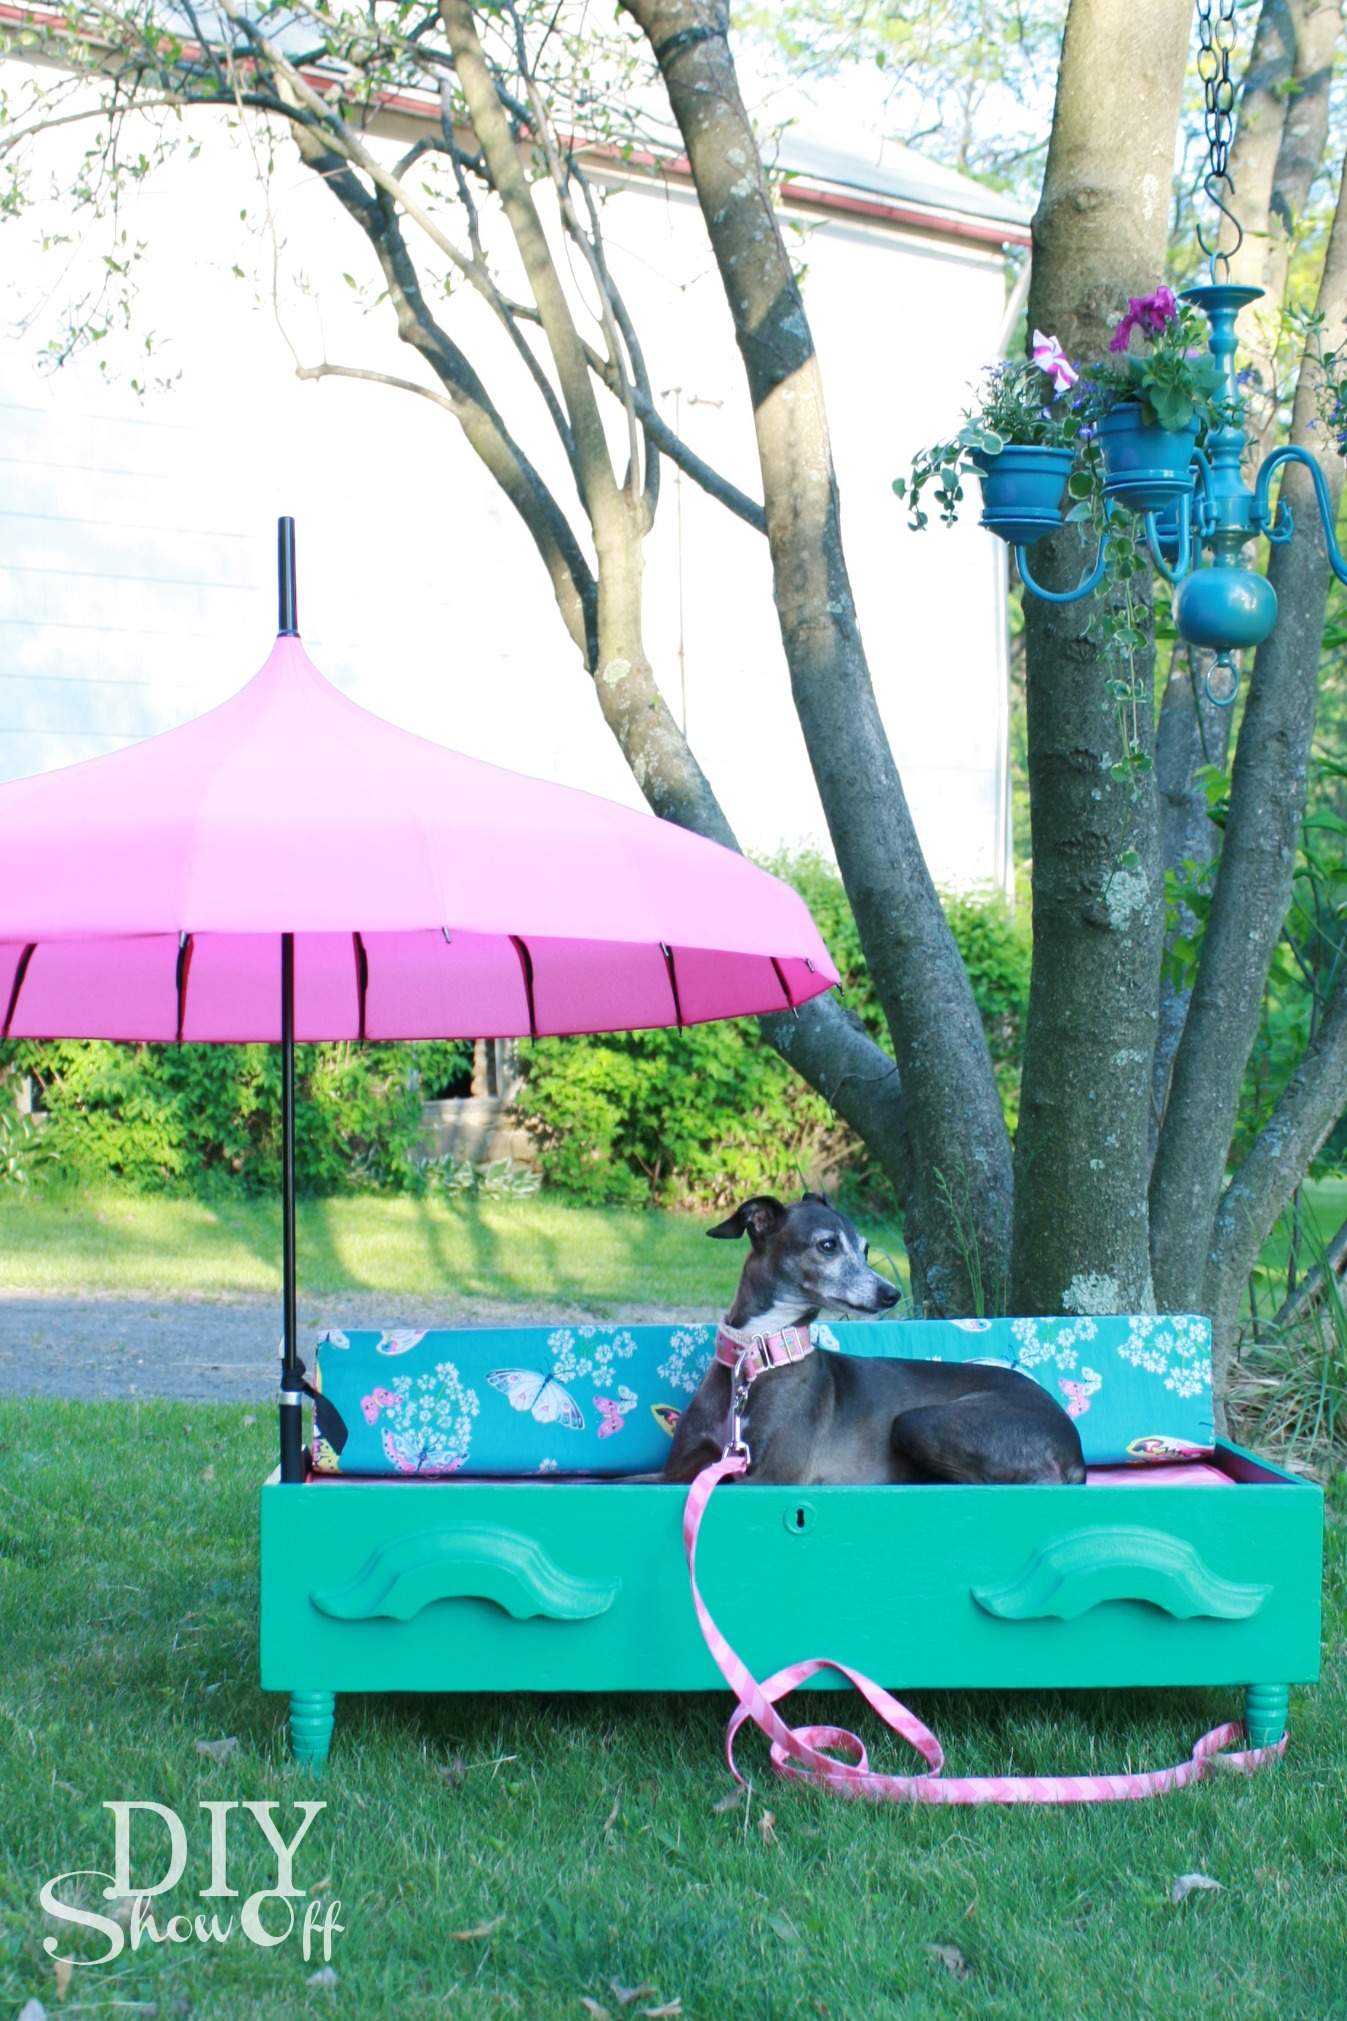
Last but not least, even CocoRosie, our Italian Greyhound, enjoys the summer weather with her shaded dog bed

DIY shaded dog bed

Whew! Lots to see, right? Thanks for sticking around if you made it through it all! You can see more room by room before/after and DIY at the DIY Show Off Home Tour

Are you all set for summer? Don’t forget to link up your summer home tour on Friday, June 7th at the Shabby Creek Cottagesummer-tour-of-homes-schedule

DAY 1 (June 3rd)

2 – The Nester @ Nesting Place
3 – Mandi @ Vintage Revivals
5 – Ashley @ The Handmade Home
6 – Kristin @ The Hunted Interior
 

DAY 2 (June 4th)

1 – Beckie @ Infarrantly Creative
3 – Chris @ Just a Girl
4 – Brooke @ All Things Thrifty
5 – Karen @ The Graphics Fairy
6 – Emily @ Decor Chick
7 – Roeshel @ DIY Show Off
 

DAY 3 (June 5th)

1 – Melissa @ The Inspired Room
2 – Wendy @ The Shabby Nest
3 – Donna @ Funky Junk Interior
4 – Marianne @ Songbird
7 – Brittany@ PrettyHandyGirl
 

DAY 4 (June 6th)

1- Rhoda @ Southern Hospitality
2- Traci @ Beneath My Heart
3-Stacy @ Not Just a Housewife
4-Jen @ Jennifer Rizzo
5-Lindsay @ Makely Home
6-Sandra @ Sawdust Girl
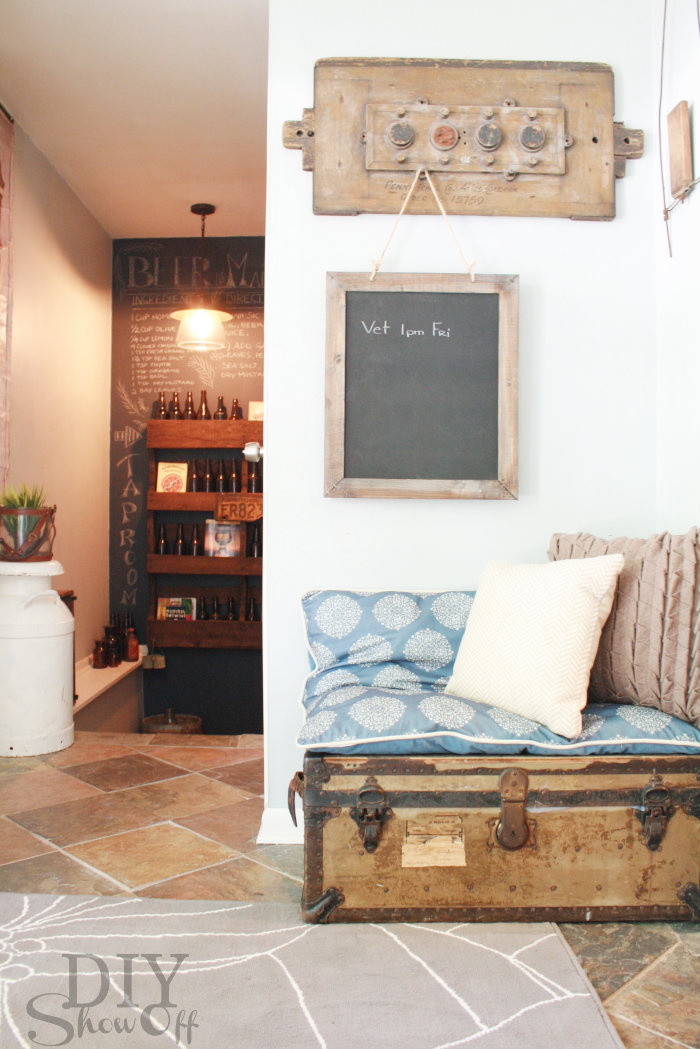
DIY {wall mounted} Pallet Shelf
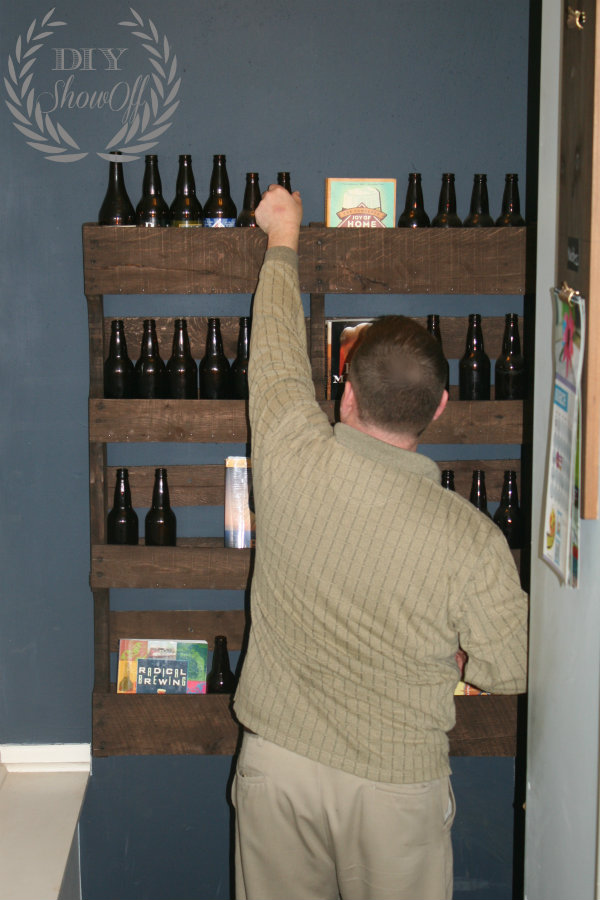
Mr. DIY’s hobby isn’t DIY {it’s mainly mine and I take full advantage of his muscle power}. He does have several hobbies including cooking (lucky me!), grilling on his Big Green Egg (lucky me again!) and home-brewing. Not my thing…but I do think being a ‘beer-chemist’ is kinda cool and he enjoys it. Hey, those hobbies are DIY in a way.
homebrew

The problem: Supplies and materials are often scattered in the basement, hiding in built-ins in the dining room, sitting around in the kitchen driving me crazy or just ‘lost’ sparking a lot of temper tantrums and wasting precious free time on the hunt for supplies. And when he finally has a free weekend to cook up a recipe, he’s often searching for empty bottles, caps, hops, grains, what-nots and tools-of-the-trade. Or more often, “I” become detective in the search because I’ve probably stowed something away where it doesn’t below in an effort to de-clutter. Oops!

The solution: Making the space in the open basement stairwell an organized home brew supply station, library, storage area with a fun rustic/industrial vibe. Everything in it’s place, easy to find.

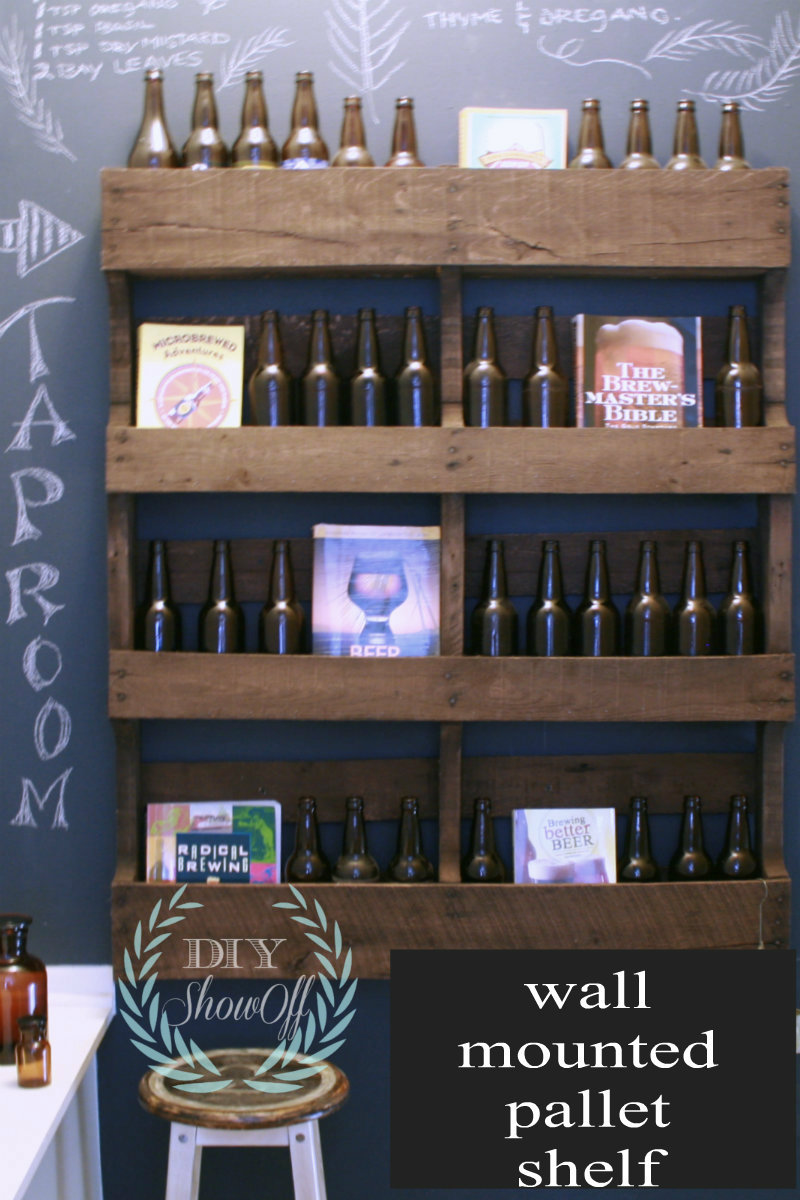
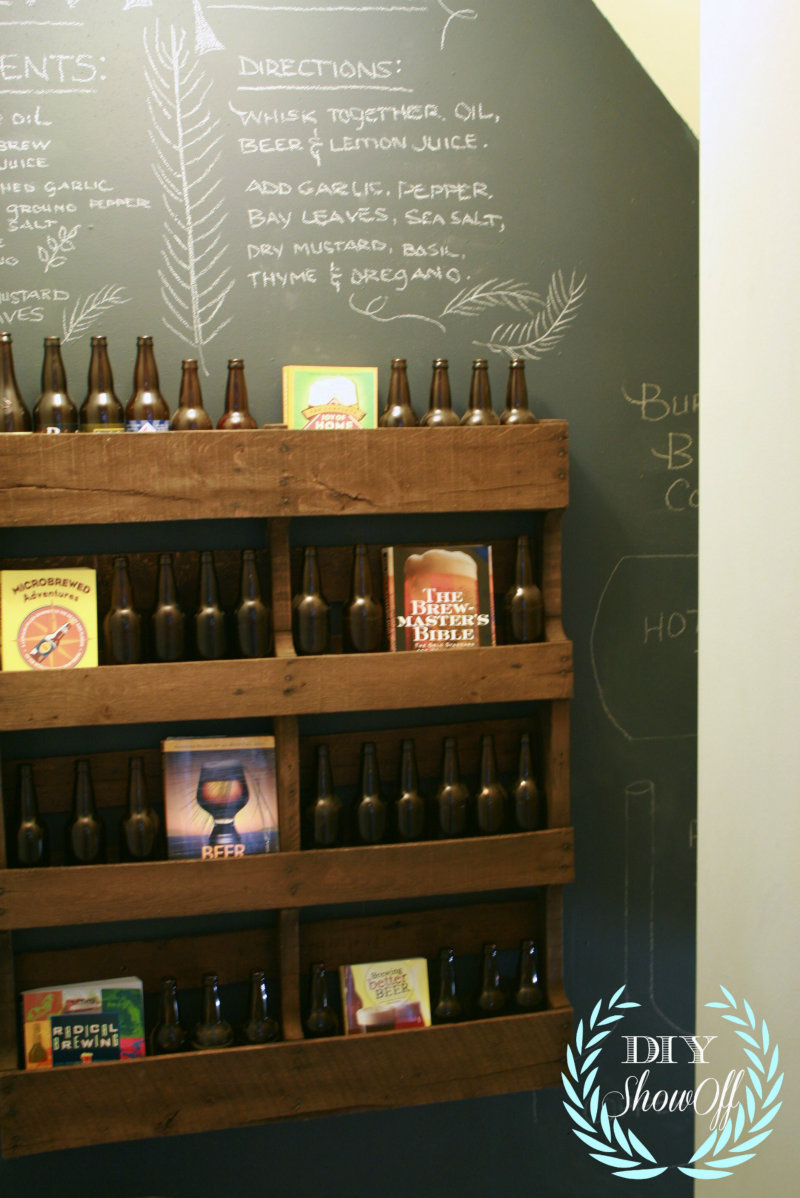
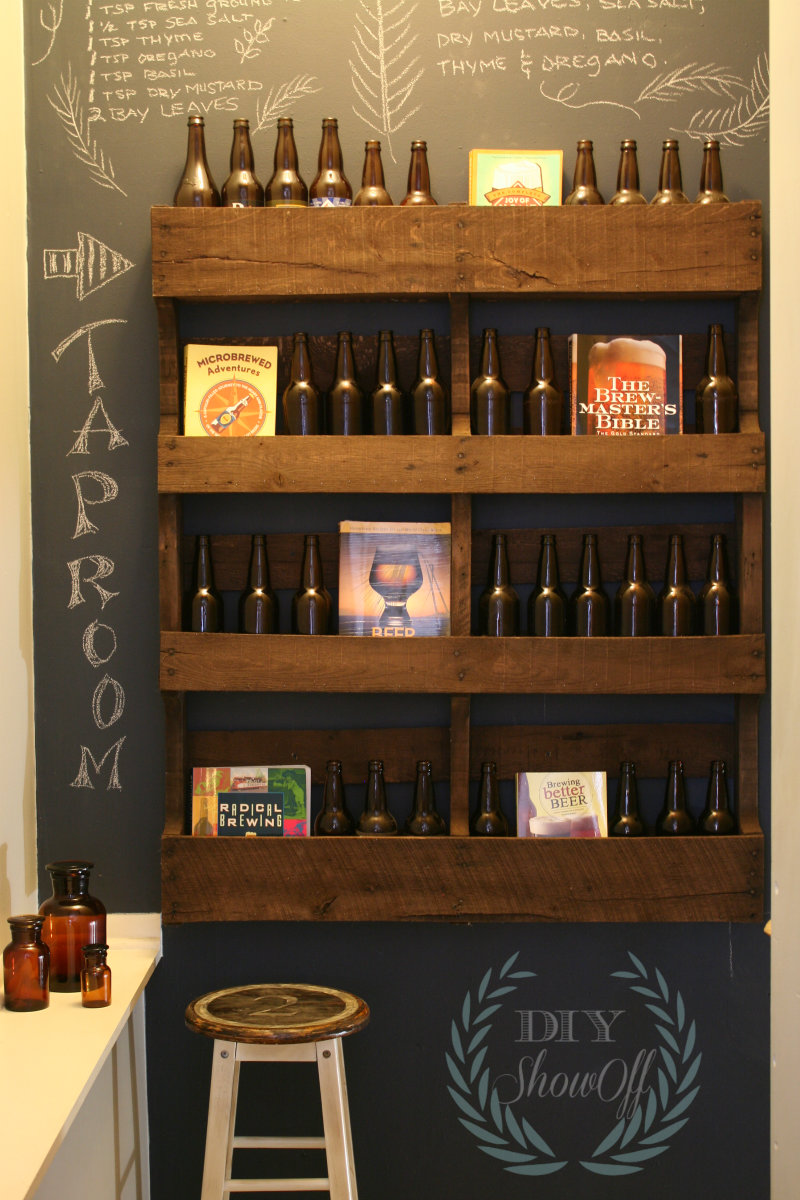
We’re starting with a wall-mounted pallet shelf for holding an empty bottle collection. The bonus: {I love that this project is all about making his hobby more enjoyable and it inspired us to work together as a team, a date night or two at Lowe’s.}

diy-wall-mounted-pallet-shelf

Materials:

  • Pallet 
  • Three 1 x 3 x 4 pine wood planks
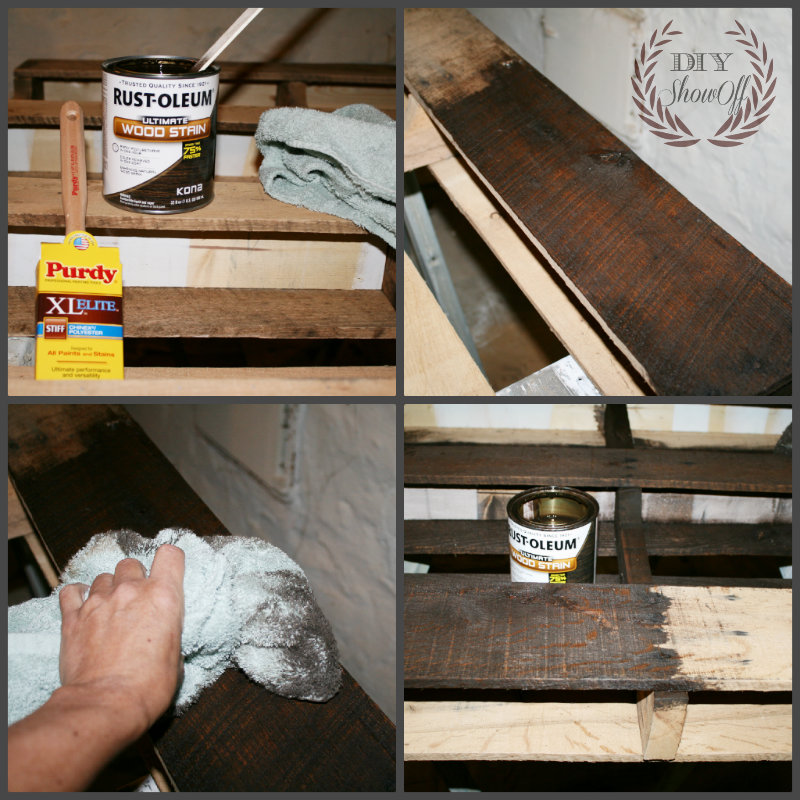
  • Rustoleum’s Ultimate Wood Stain (color: Kona)
  • Rustoleum Polyurethane (matte finish)
  • 2 Purdy 2.5 inch angled paint brush for stain/poly
  • Rags
  • Hanging Hardware (wall anchors, screws, toggle bolts)

Tools we used:

  • Crow bar
  • Hammer
  • Nail gun (finishing nails)
  • Saw
  • Dremel Multi-Max (sanding)
  • Drill (hanging)

DIY Pallet Shelf Tutorial

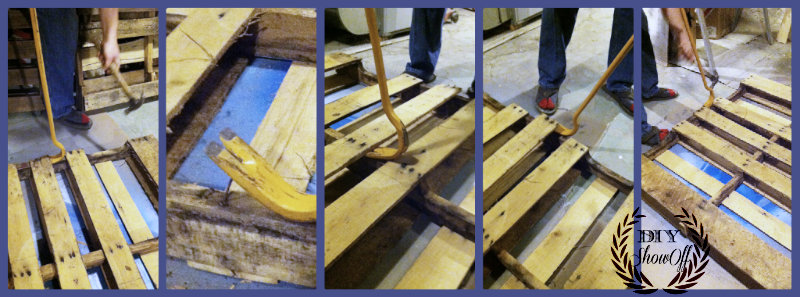
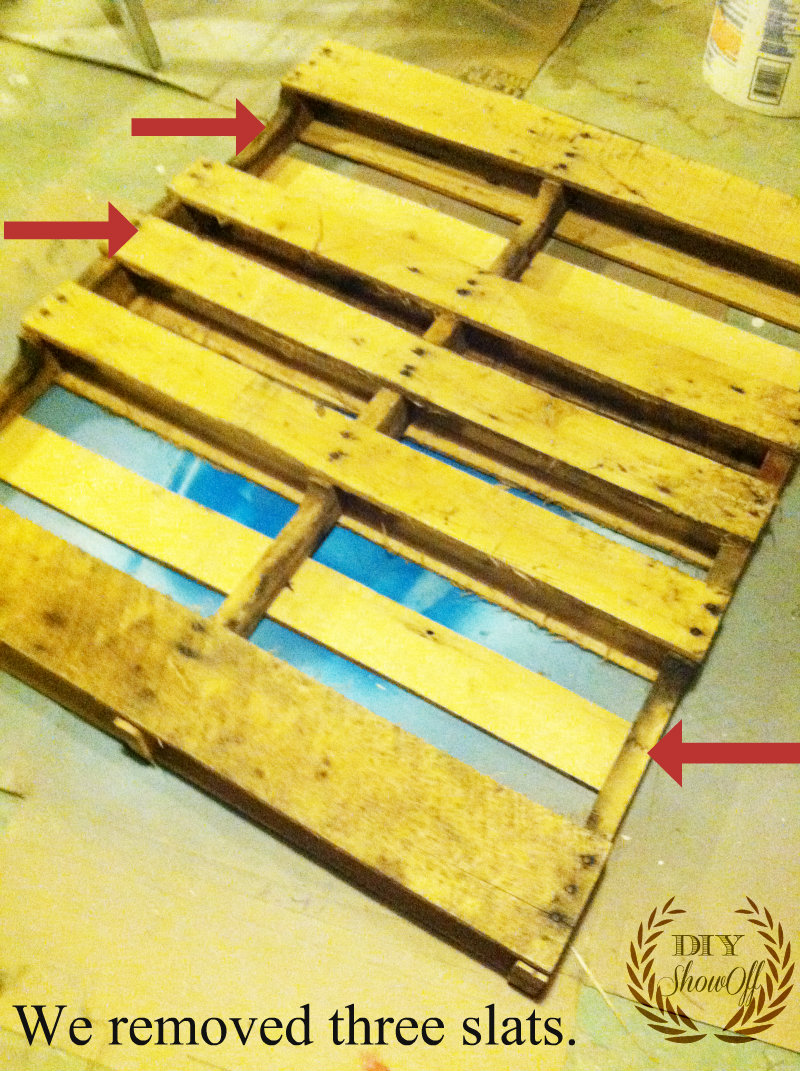
1. After we found the perfect pallet (tips about working with pallet wood from Funky Junk Interiors), we decided to use the back of the pallet as the front of the shelf and removed 1 plank using a crow bar and hammer. {How about those wool socks with flip flops? He’s all mine, ladies!}

prying-pallet-wood

pallet-before

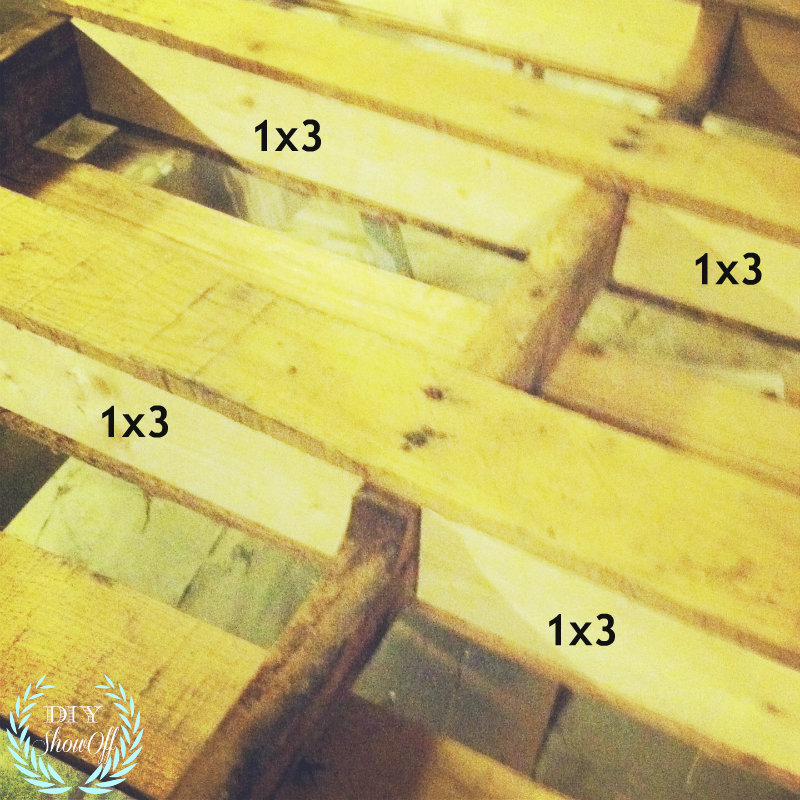
2. Measure and cut the 1 x 3 x 4’s to fit between the front and back pallet planks to create “shelves”.

diy-pallet-shelf

3. Position the 1 x 3 shelf bottom into place. We used a level to ensure shelf bases weren’t crooked. Some places were a little tricky and needed hammering into place or lifting the old pallet plank a tad with a crow bar, while positioning the 1 x 3 into place.

pallet-shelves

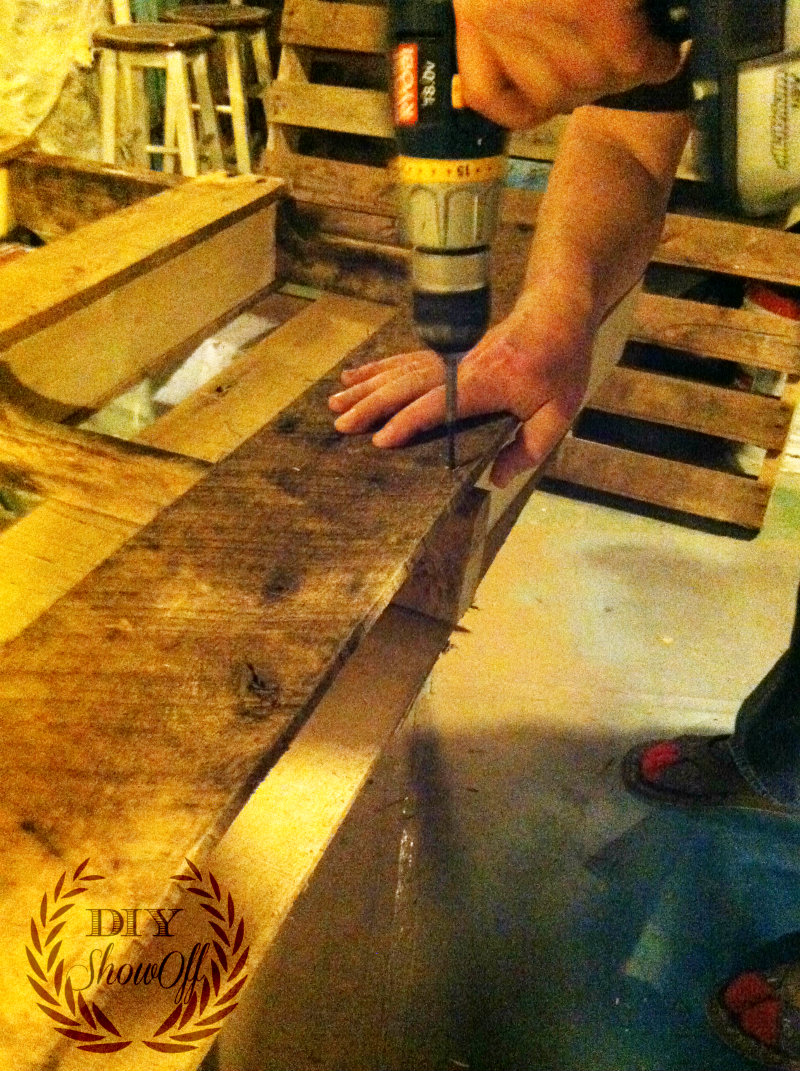
4. A finishing nail gun (and a good eye for lining up the nails in the 1 inch area) secures the shelf bottom to the sides of the individual shelves. {Forgot pictures of the nail gun step…it’s just so much fun!}

We added a few screws to some of the pallet face-boards to tighten things up.

diy-pallet-shelf

5. Sand all sides and splinters.

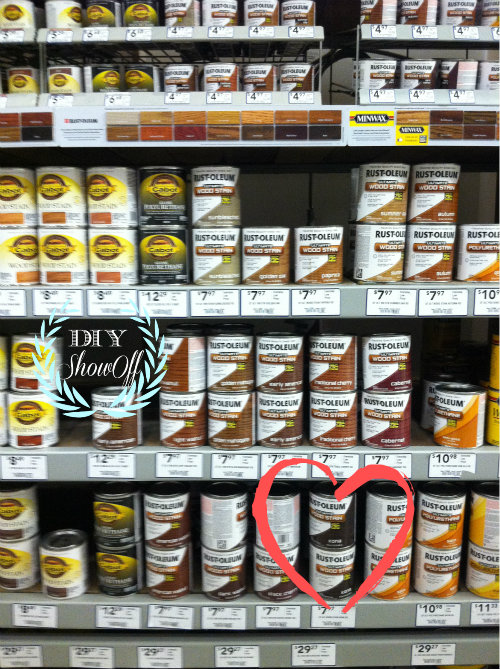
6. Stain. I used Rustoleum’s Ultimate Wood Stain.

rustoleum-ultimate-wood-stain

Brush on in the direction of the wood grain. Wipe away in the same direction with a rag. Rustoleum Wood Stain dries fast! {Not shown: I did wear latex gloves to avoid stained hands.} Isn’t this rich dark brown gorgeous? It’s called “Kona”. Love it!

staining-pallet-shelf

7. About an hour later, I was ready to seal the stained wood. Using the same technique, I applied Rustoleum’s Polyurethane and let it dry for 24 hours.

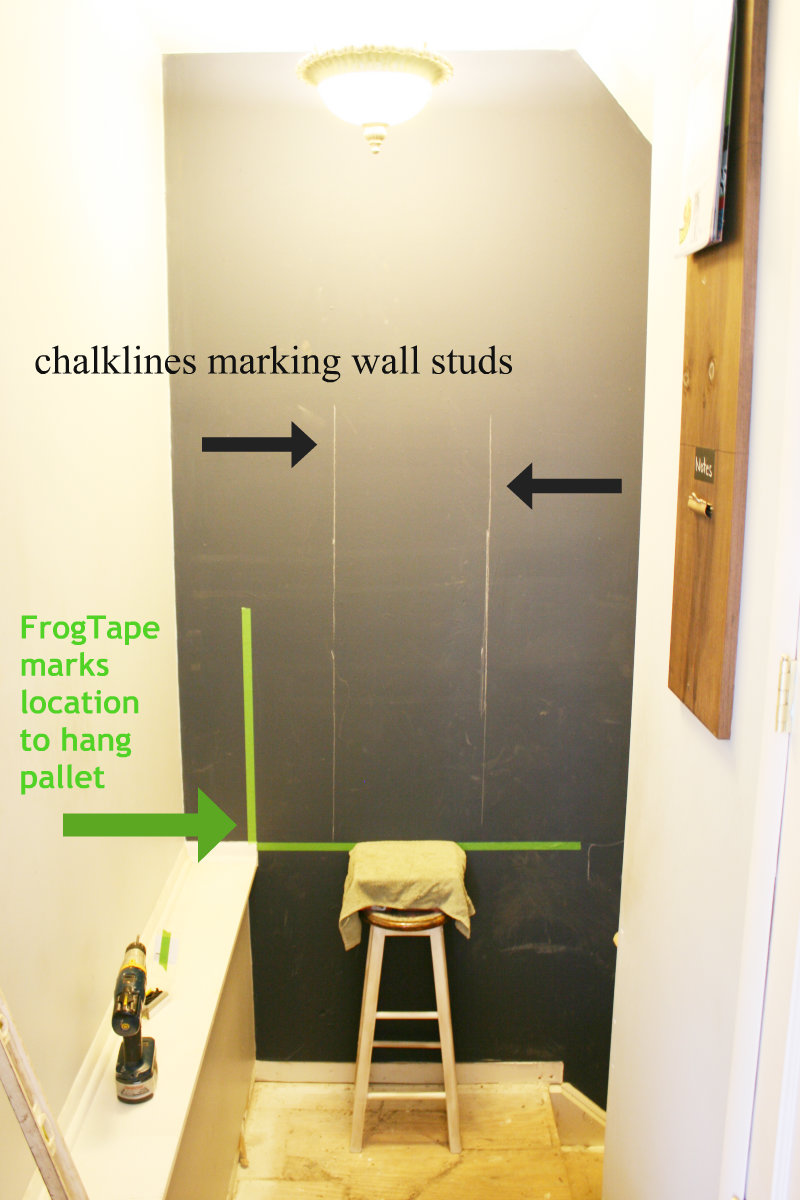
8. Hang! I used FrogTape for marking the area we wanted the pallet shelf to hang.

hanging-pallet-shelf

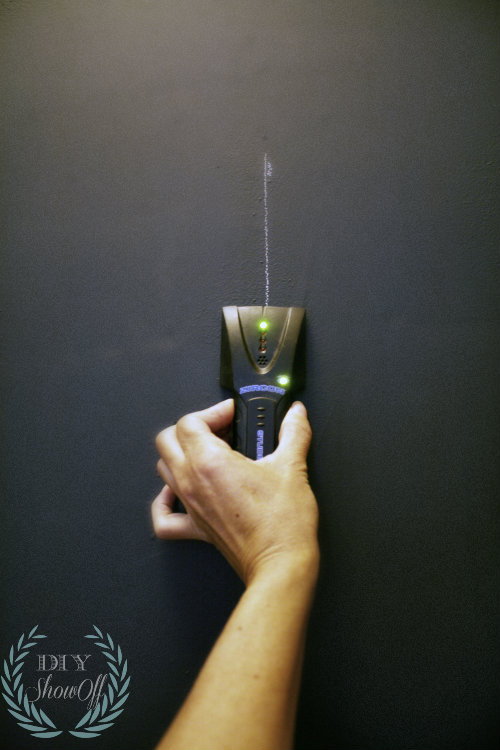
I marked the studs with a chalk line.

finding-wall-stud

Wall color: homemade chalkboard paint using Benjamin Moore Hale Navy.

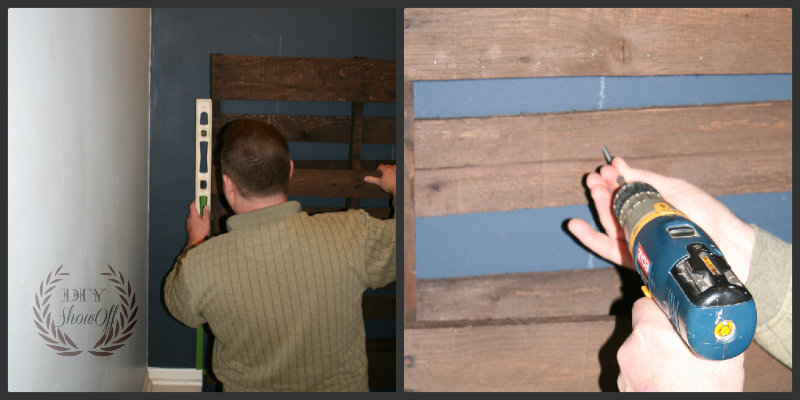
We used 6 drywall screws {screwed into the wall studs} to secure our pallet shelf to the wall.

hanging-diy-pallet-shelf

I have to say, he doesn’t always see my vision, but once things are put into action and start coming together, he loves it! He spent about 30 minutes styling his new pallet shelf, stepping back and re-arranging it over and over. Success! And just like completing one DIY project leads to more, this little pallet shelf inspired a lot more creative ideas for his home brew supply space/beer library. Keeping things organized so stay tuned!

styling-diy-pallet-shelf

Organized, right? What do you think?

diy-pallet-shelf

The plan: A place for everything and more DIY:

  • A DIY light fixture.
  • Built-in shelves on the wall above the ledge for supplies.
  • Ladder for reaching high shelves.
  • Slate tiled stairs and landing.
  • More inspiration: laboratory/brewery/library Pinterest board.

homebrew-organization

Ps. DIY dates inspire daydreaming and communication (sometimes the occasional fight with the opportunity to make up too!). Do you enjoy working on DIY projects with your spouse? Do little projects inspire bigger dreams?

Linking up to Thrifty Decor Chick’s Before/After party and Project Inspired.

Spring 13 Blogger Badge Subscribe Banner Version

*Disclaimer: I’m a new member of the Lowe’s Creative Ideas Creators and Influencers network! I received a Lowe’s gift card to complete this project for a spring cleaning/organization challenge. Each month I’ll have the opportunity to participate in a themed DIY challenge however the tutorial images, instructions and opinions are my own. 

*This is a sponsored post brought to you by FrogTape. The opinions are completely my own based on my own experience.

 FrogTape Blog Squad