Accent Wall Before and After

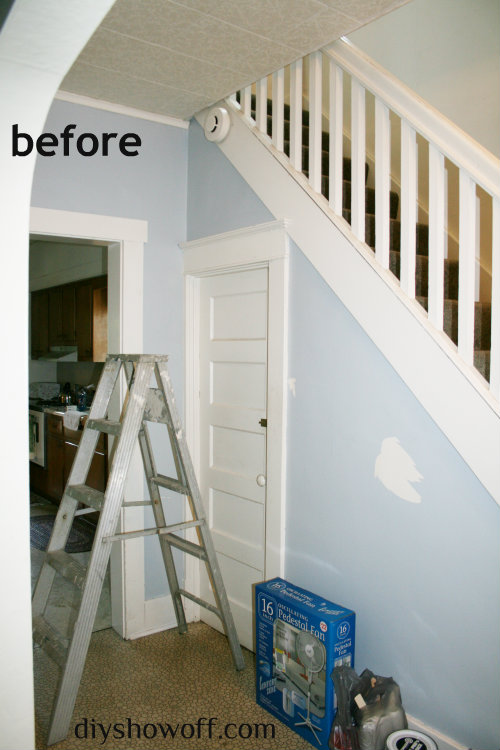
Patti (my youngest sister) is renting but has permission from the landlord to paint…and to be creative about it too. The entryway wall before had peeling paint…

wall-before

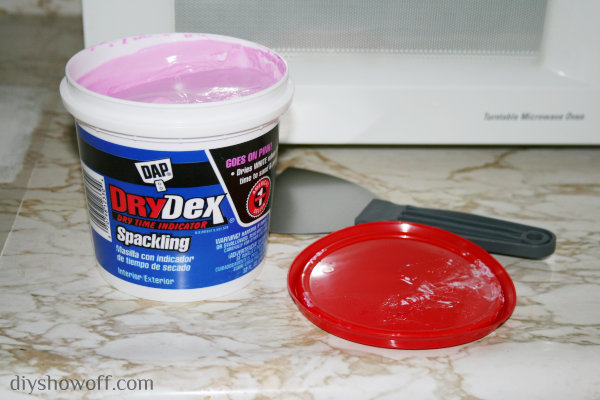
I scraped and sanded until we had a smooth finish. Holes and cracks were patched using DAP’s DryDex (spackling that goes on pink, dries white) and sanded.

dap-drydex-spackling

The walls got a coat of primer and a base coat in a neutral light gray color.

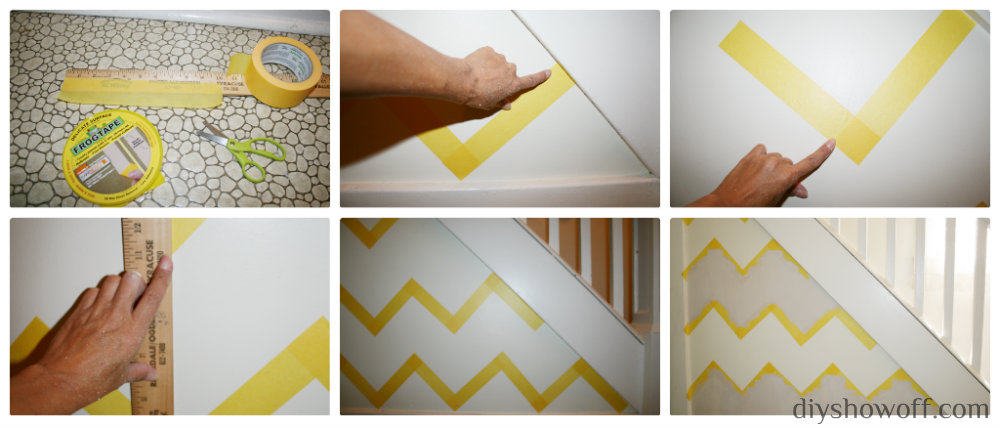
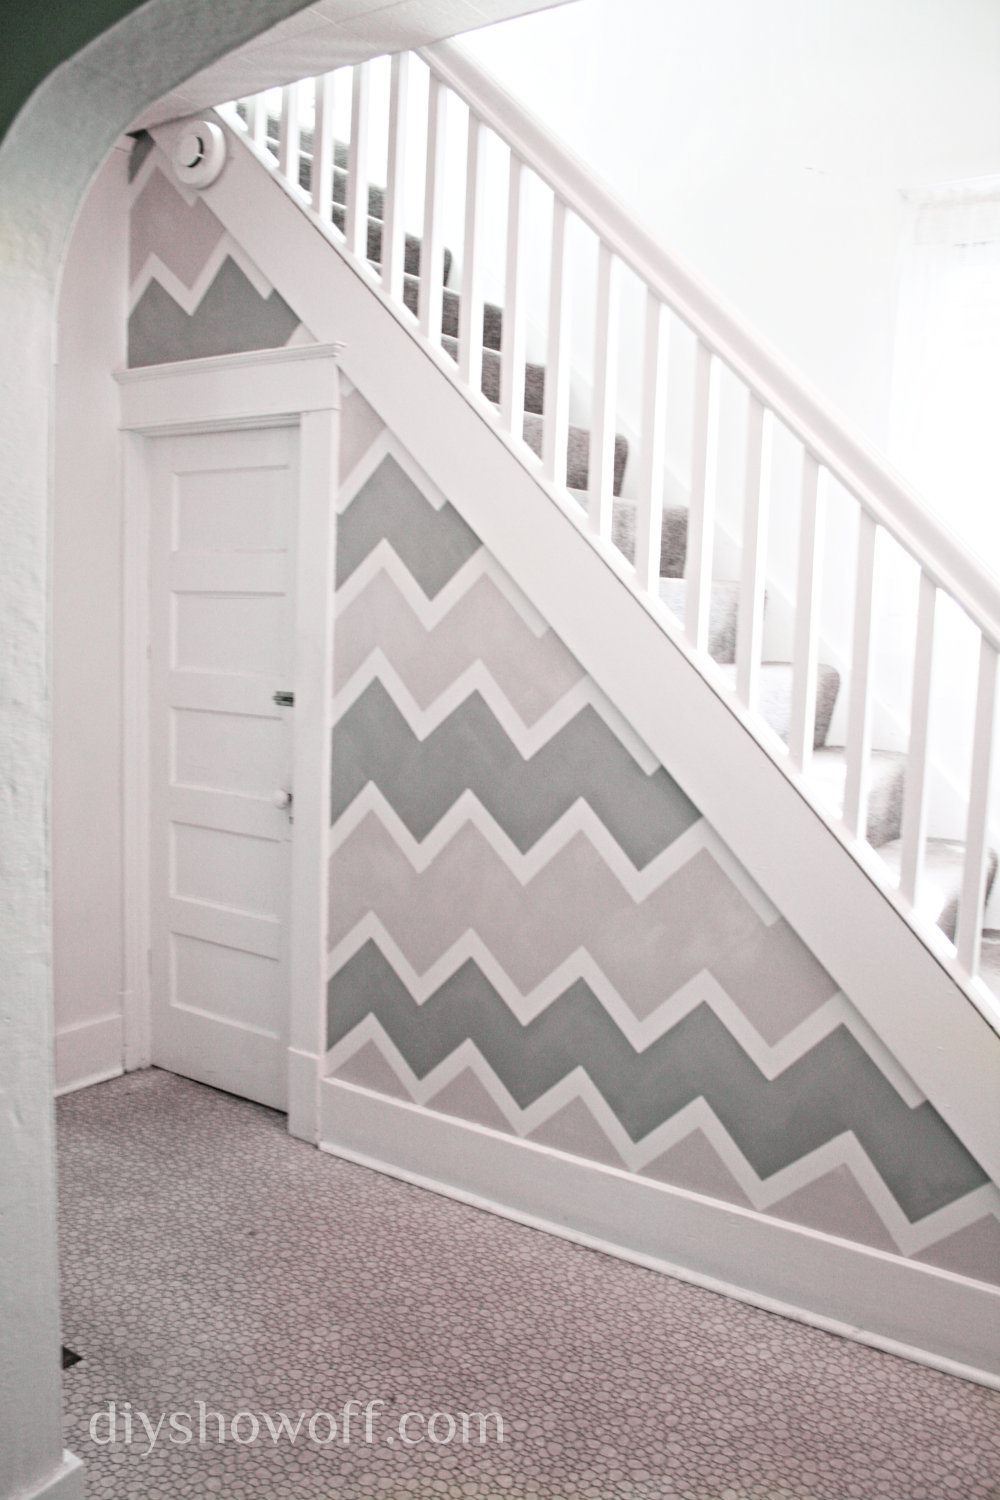
Using FrogTape Delicate (the yellow painter’s tape with PaintBlock Technology, safe for freshly painted walls) the next day, I created a chevron/zigzag pattern.

accent-wall-tutorial

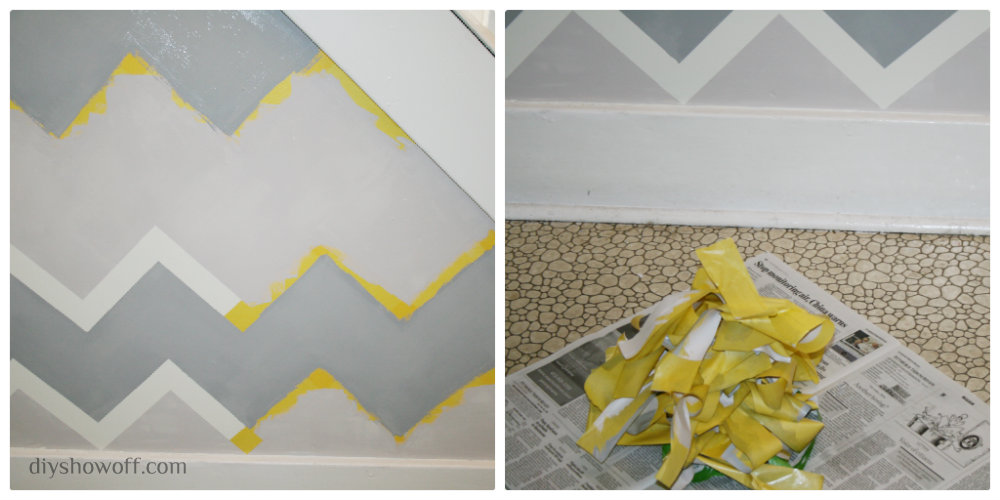
Then painted the zigzag stripes alternating a left-over darker gray paint and left-over gray-beige paint (the color under the tape is a lighter gray).

As soon as I were finished painting the second coat (while it was still wet), I removed the FrogTape Delicate.

removing-FrogTape

Next up cleaning the dingy vinyl floor and decorating.

After (paint is still drying):

accent-wall-after

Patti just happens to work part time for a thrift store so she gets first dibs on all of the eclectic treasures (and has a good eye for what can be transformed). Lucky girl! If it was me, I’d never get out the door with a paycheck. I’d be trading those dollars for thrift store goodies!

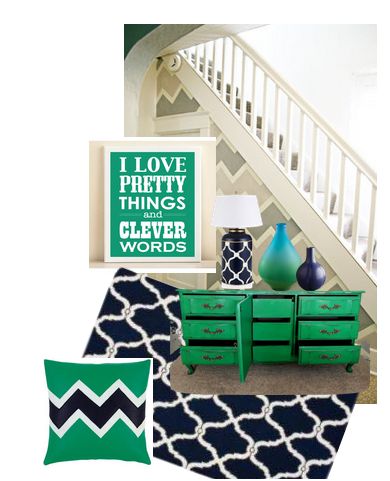
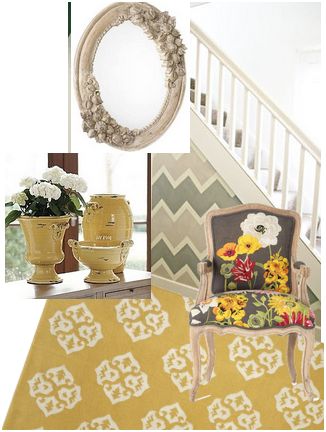
Even though the wall now sports a busy pattern in 3 colors, the colors are neutral enough to work in some fun colorful accents and patterns. {All accessories found on Polyvore.}

teal, gold & gray

teal-gray-entryway

 coral, black & gray

coral-gray-entryway

emerald & navy

navy-emerald

gray & mustard

gray-mustard

Looking forward to seeing what she does, how about you? Which color(s) do you like?

This is a sponsored post brought to you by FrogTape. The opinions are completely my own based on my own experience.

 FrogTape Blog Squad

Pantry Makeover Prep and #ReadyDoneClean Giveaway

This giveaway is now closed. And the winner is…winner1

winner2

Congratulations, Jessica! I’ll send you an email to get your mailing information!

We’ve been using an enclosed porch as a temporary pantry ever since we removed a closet from our kitchen but with warmer weather approaching, it’s going to need to be moved inside for better temperature control. So, it’s time to start considering a pantry makeover.

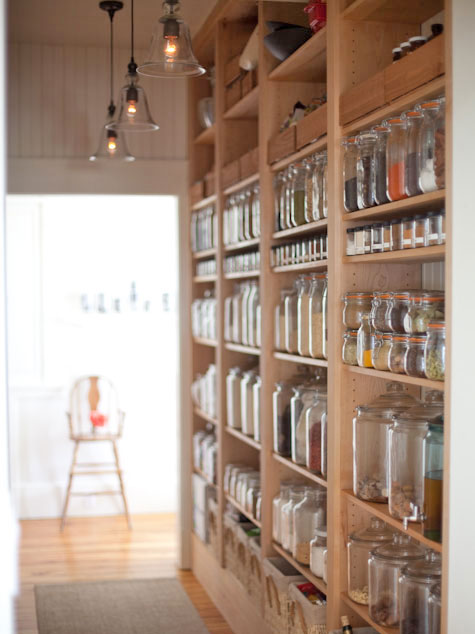
Inspiration: I have had this open pantry image from Emerson Made saved in my inspiration files forever.

Emerson Made open pantry

via Apartment Therapy

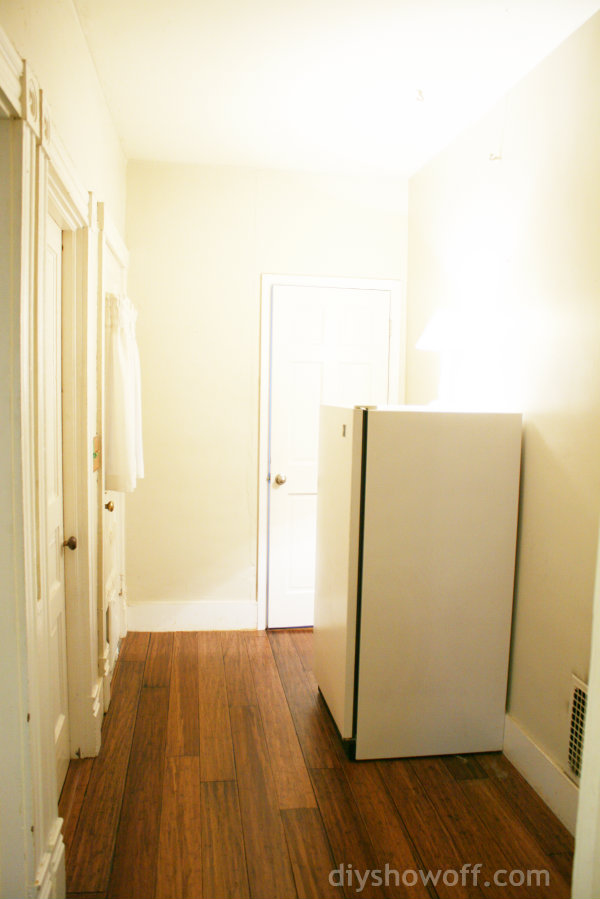
The ideal spot is the ‘room’ behind this back wall in the kitchen… farmhouse kitchen

It’s wider than a hallway and sits between our kitchen and living room and has FIVE doorways. Time to make the most of what has always been a waste of space. The freezer will be relocated to the basement.

open pantry before

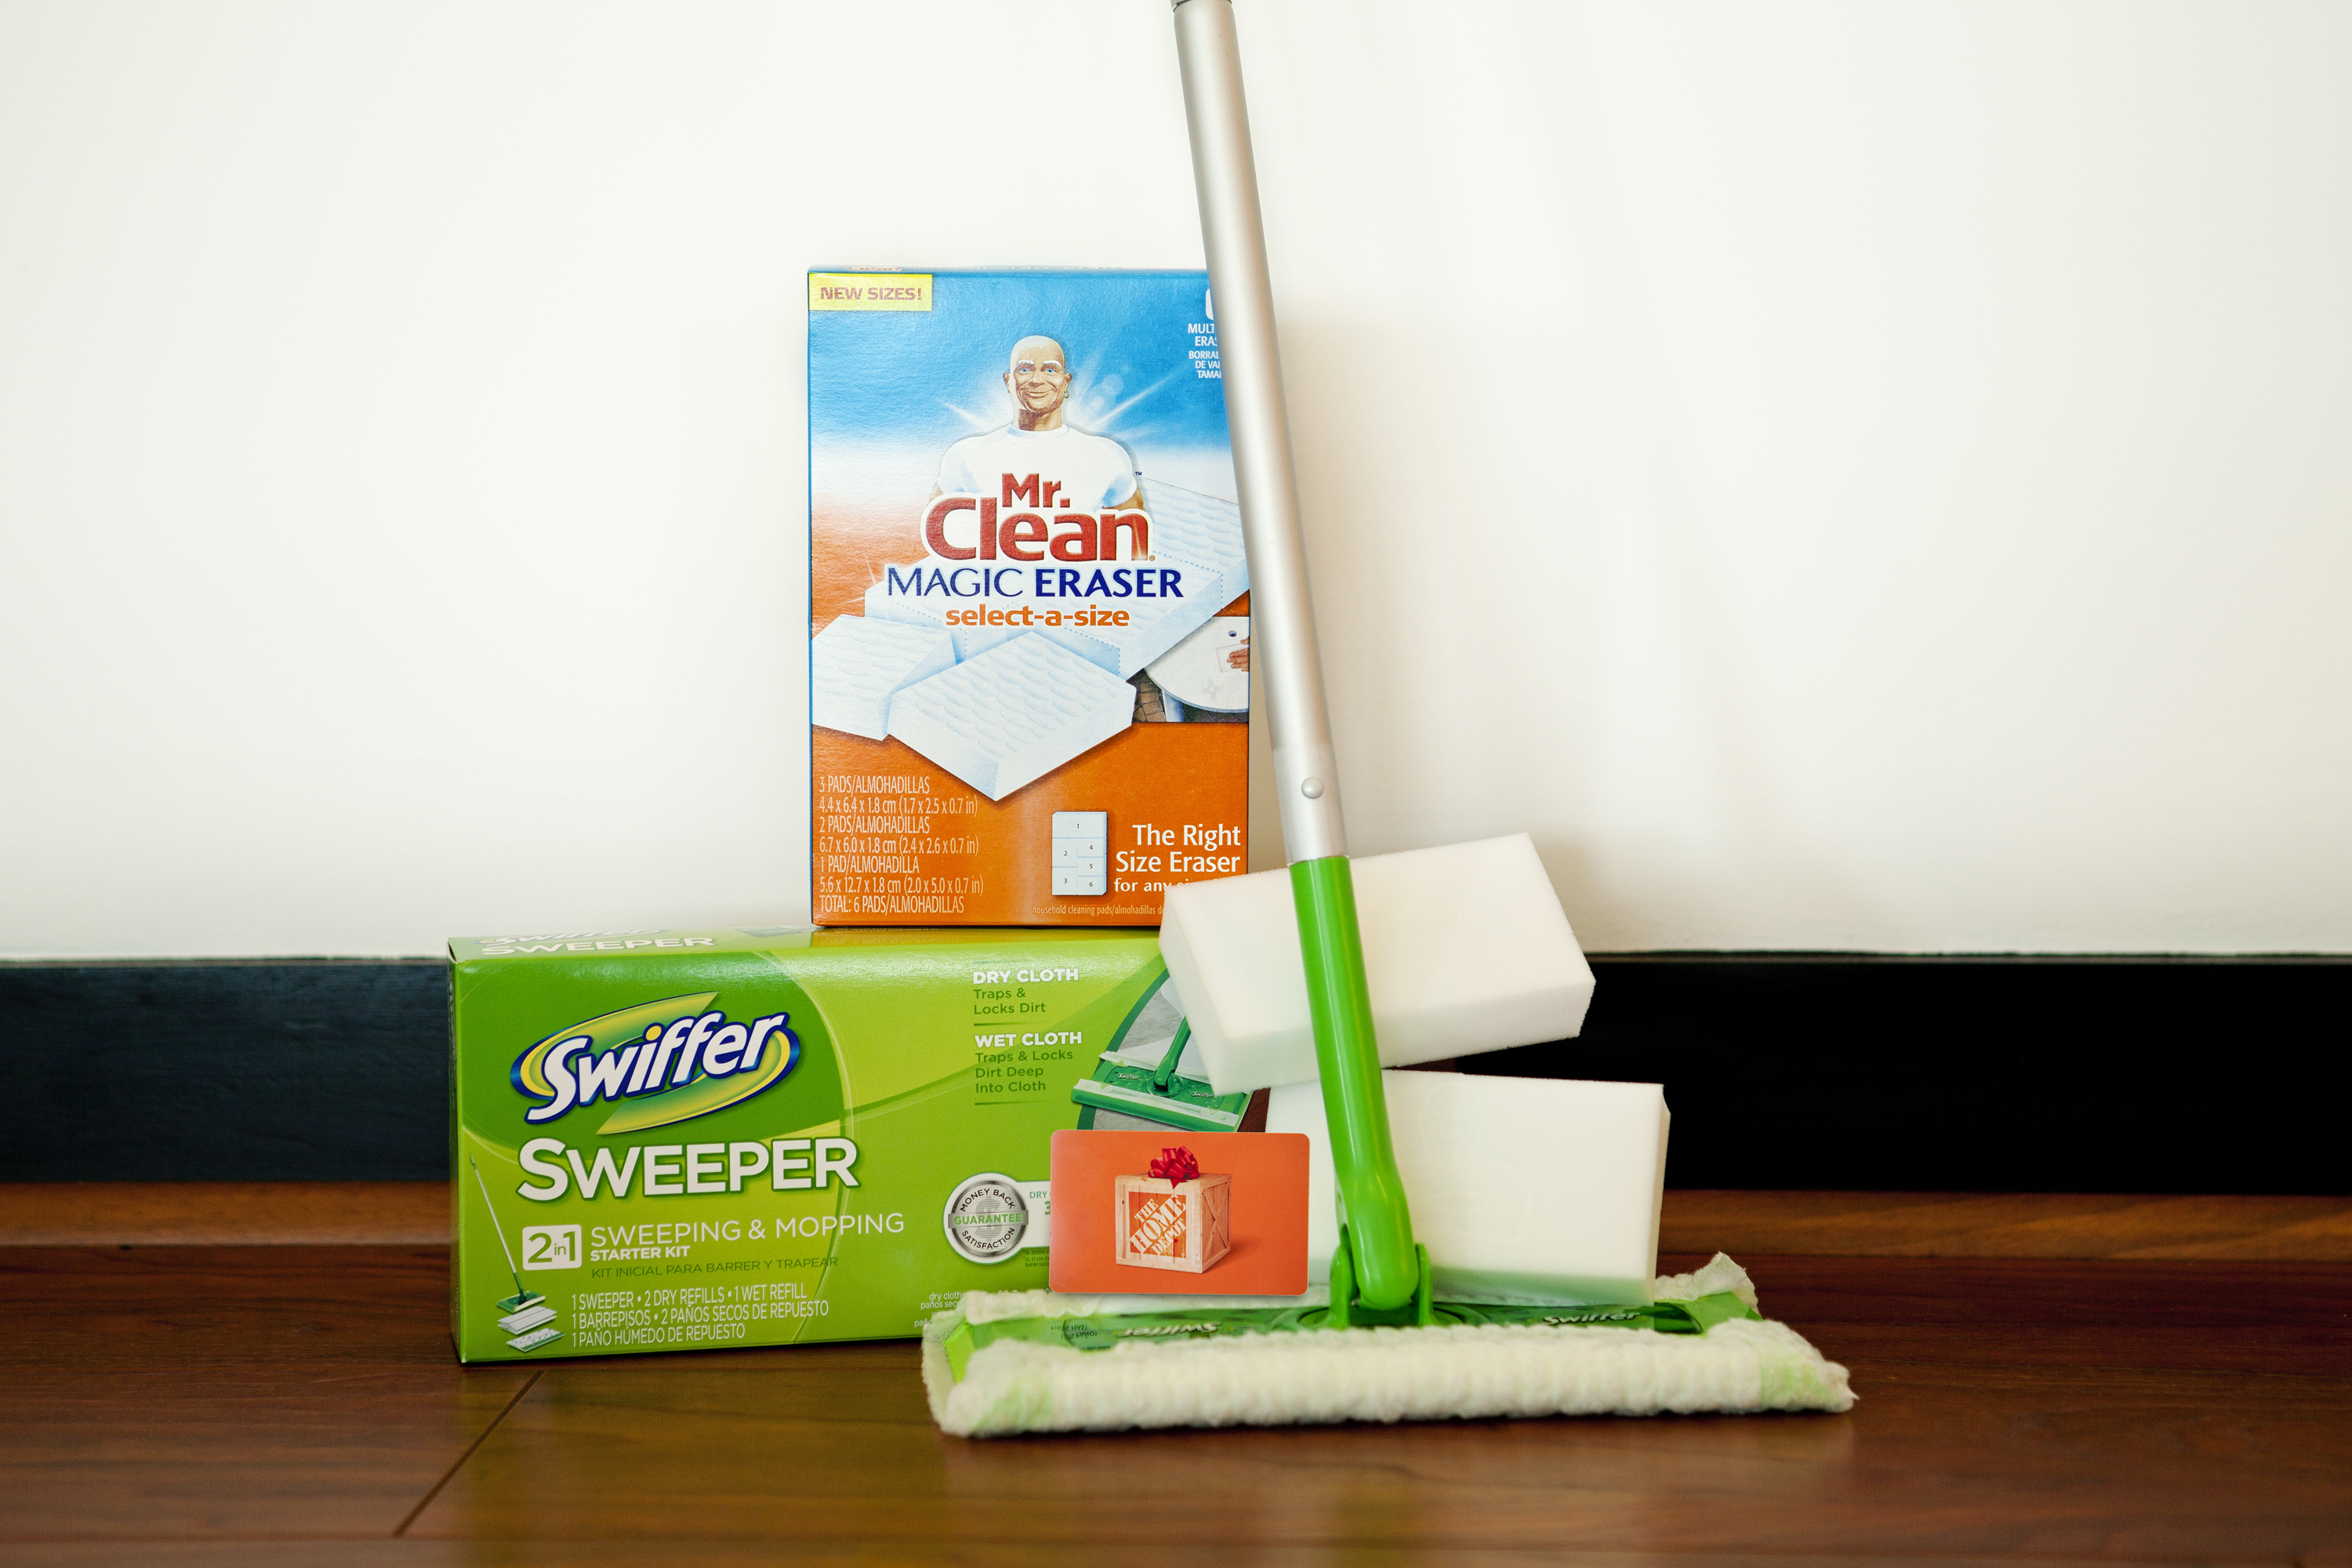
The first step in prepping for painting is to examine the walls and fill any holes, cracks or imperfections with spackling, letting it dry and sanding smooth. My Swiffer Sweeper is handy for cleaning up the spackling dust.

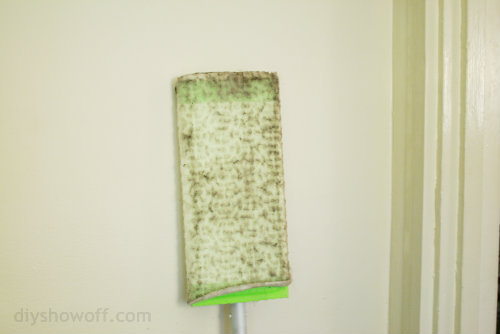
Then time for a little clean up. This area is so dark and un-used, meaning it often gets overlooked even though we walk through here nearly every day. Cleaning up before painting is important. Ever get cobwebs on your wet paint brush? No fun. A Swiffer Sweeper with a dry sweeping cloth works really well by attracting dirt and dust from virtually any surface, including walls, ceiling and baseboards with it’s 360 degree swivel head. With the long Swiffer Sweeper handle, I don’t even need a ladder to dust the 9 foot ceilings and corners.

I DO clean so I’m embarrassed by the dirt that accumulated in this dark, unused space. Yikes! This is just from the ceiling, walls and trim above 5 door frames. It’s not something you’ll want to paint over.

dirt and dust

I can’t believe it took cleaning this room for me to actually see the dirt. Gross! Next prepare for painting by taping off trim. Then paint!

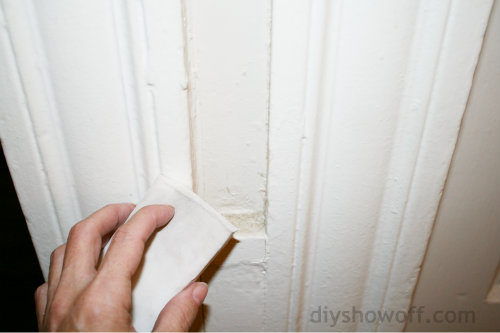
After painting, I use my Magic Eraser. It’s is so powerful that it removes more grime per swipe than the leading all-purpose bleach spray cleaner, and it has no harsh chemicals. I seriously have a basket full of Magic Erasers. With a husband who loves to cook, I use them all.the.time. for cleaning up spills and drips on white kitchen cabinets too.

magic eraser clean up

It’s going to feel so good to use this space, for it to be lighter and organized! I can’t wait!

You can find all of your painting supplies, including the Swiffer Sweeper and Mr. Clean Magic Eraser, at the Home Depot near you. Be sure to visit Paint Like a Pro at HomeDepot.com for a paint calculator and more great DIY painting and tips.

Home Depot P&G Prize Pack

Ready to paint?

Get ready. Get done. Get clean. Giveaway

#readydoneclean-giveaway

DIY Painting #ReadyDoneClean Prize Pack:

  • Swiffer Sweeper
  • Mr. Clean Magic Eraser Original
  • $50 The Home Depot gift card

(1) entry per person: Simply leave a comment below describing your next paint project to enter to win.  Giveaway starts today and ends March 1, 2013. Open to US and Canadian residents. Winner will be chosen randomly and announced shortly after.

*This review and giveaway is sponsored by The Home Depot and Proctor & Gamble, however opinion is my own and these are products I do purchase and use even when not sponsored. Read more about the DIY Show Off disclosure here

Tips for painting a herringbone patterned accent wall

Apartment progress!

Herringbone Accent {on textured} Wall

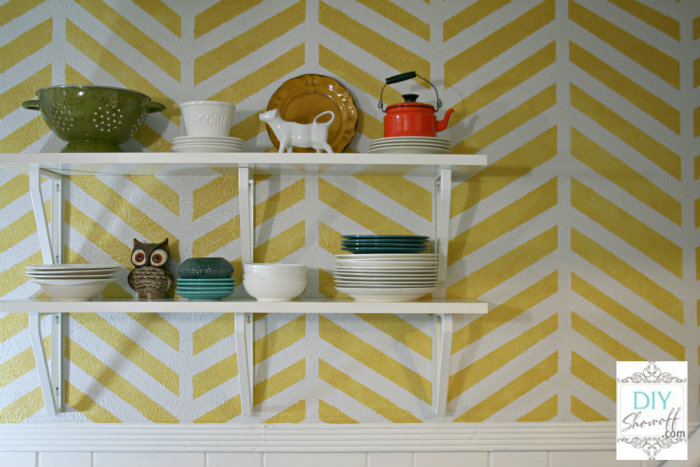
I’ve shown sneak peeks of the apartment renovation progress and you’ve likely seen the herringbone-like accent wall in the kitchen area…

painted accent wall

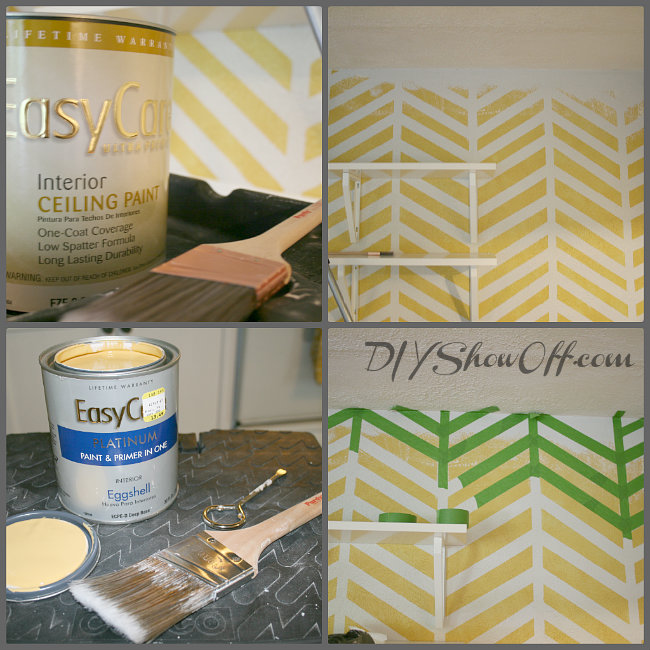
Base paint color: True Value Easy Care – Baby Elephant (soft neutral gray) & Accent color: True Value Easy Care – Sweet Honey

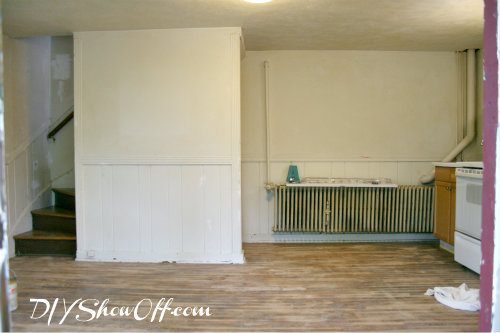
Since we own this rental space, I was able to get a little creative in adding a fun accent wall as a backdrop behind some open shelving. Before paint…

apartment walls before

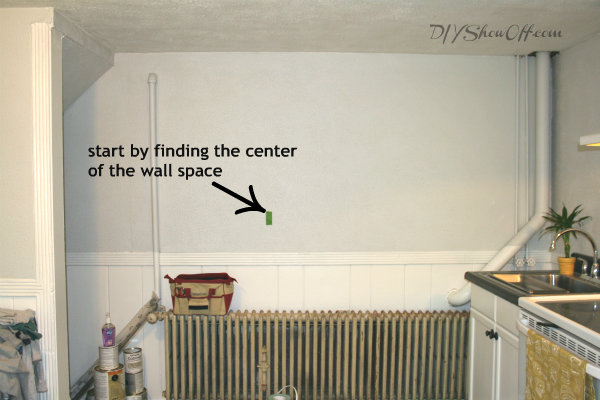
Yes…I have ‘plans’ for a DIY radiator cover but I must confess that I feel it’s a LOT ambitious and I’m scared. Working up the courage to give it a try sometime this month. Anyway, after paint {including painting kitchen cabinets and Rustoleum Countertop Transformations}:

find center of wall

The open wall space above the wainscoting was the perfect spot to display open shelving as a solution for more storage/organization in this tiny apartment. True Value’s Easy Care Platinum and FrogTape were all I needed to add some interest to a flat textured wall. The pattern also helps disguise the un-hidden pipes. I put together a quick tutorial video using my iphone {pardon the portrait orientation, poor quality…amateur videographer but working hard on getting better!} explaining how I achieved the herringbone pattern:

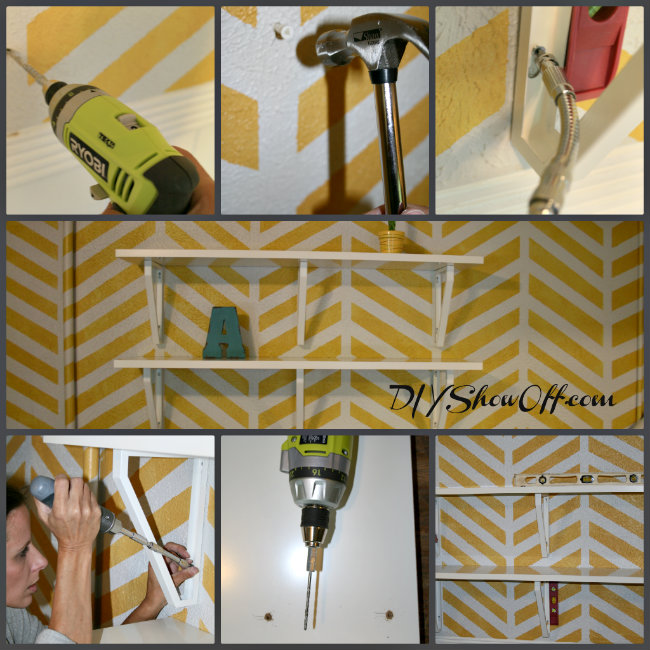
The wall was finished and I was so happy to be able to move forward on the renovation! Shelves are budget friendly Ekby shelving and brackets from IKEA… IKEA Ekby

{installation was super easy using the Master Mechanic Swift Driver!}

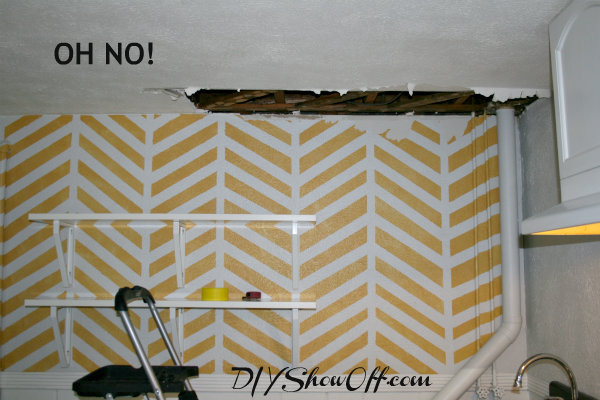
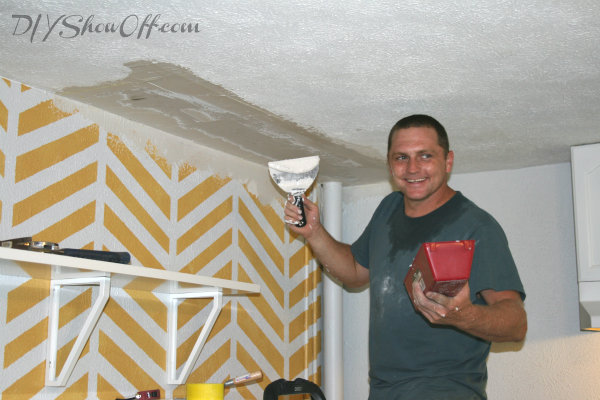
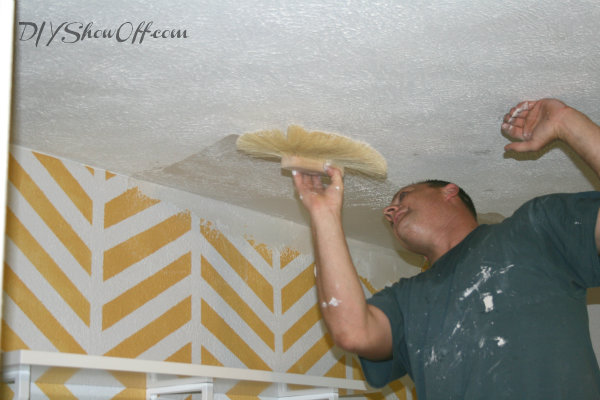
Woo hoo! painted accent wall And just when I felt super good about a little DIY success, something went wrong upstairs with the plumbing. The joys of DIY… upstairs plumbing leak I was just too exhausted and heartbroken to deal with it. My Mr. DIY fixed the plumbing issue in the bathroom above and Bri’s boyfriend, Steve, saved the day by patching the ceiling below. patching ceiling textured ceiling and I set about touching up the paint… touching up paint Now, all done for real… herringbone accent wall If you missed it yesterday, I shared the hardwood floors before/after refinishing:

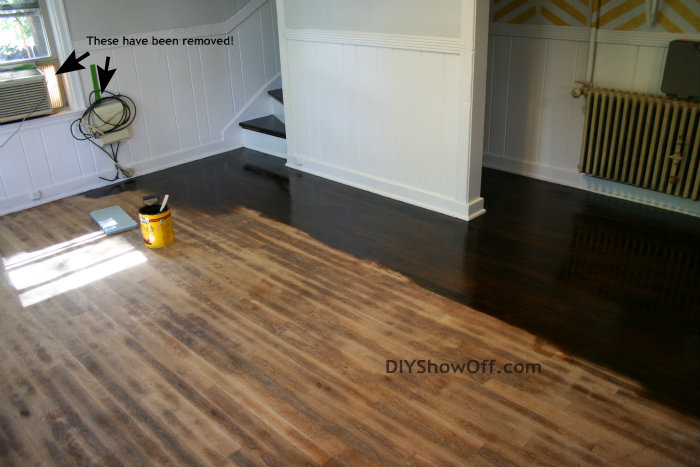
staining hardwood floors

More apartment renovation, decorating and furnishing coming soon!

TDC Before and Afterbest diy

We were chosen by True Value to be one of the members of the 2012 DIY Squad. I have been compensated for the materials needed for my DIY projects. However, the thoughts and opinions expressed are completely honest and my own. I have not been paid to publish positive comments and no one has twisted my arm to participate.  This is a sponsored post brought to you by FrogTape. The opinions are completely my own based on my own experience.  FrogTape Blog Squad