DIY Spring Centerpiece

Spring is in the air! Add a touch of spring to your home indoors too with this quick spring-inspired project. 

spring twig centerpiece tutorial @diyshowoff 

I’ve been working on some products for Rust-Oleum (spring = welcome back spray painting season!!!) and wanted to share this with you too. I couldn’t have you thinking I’d abandoned the blog. I’m still here, still working. No worries. 

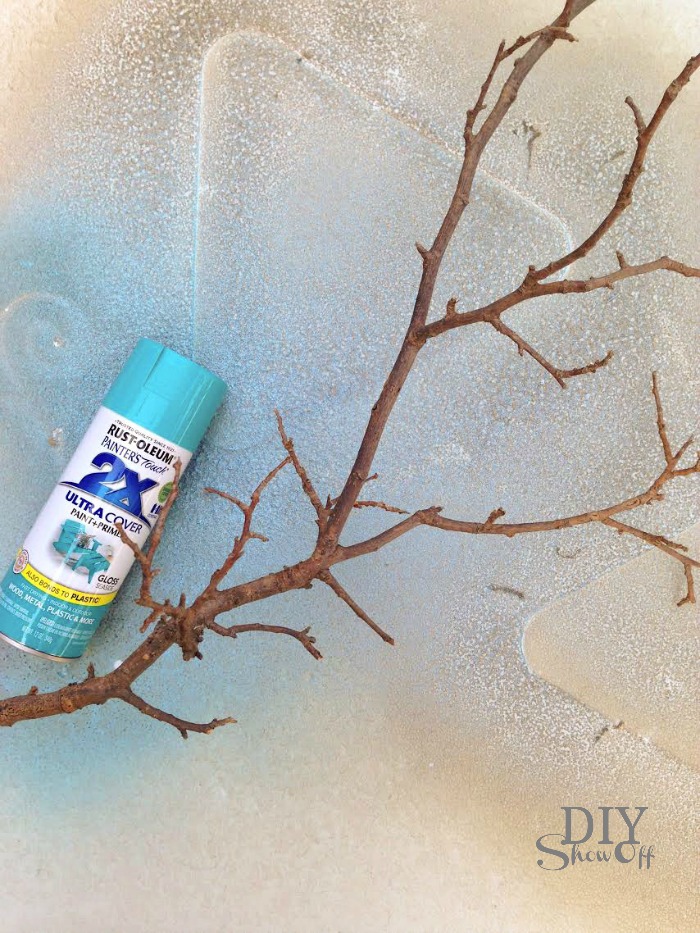
If you’re crafty and enjoy DIY, you likely have a can of Rust-Oleum already in your supply stash. Grab a branch or twig from the yard and get all spray paint happy with it. 

spring twig centerpiece tutorial @diyshowoff

I used Rust-Oleum Ultra Cover x2 (color/finish = seaside/gloss).

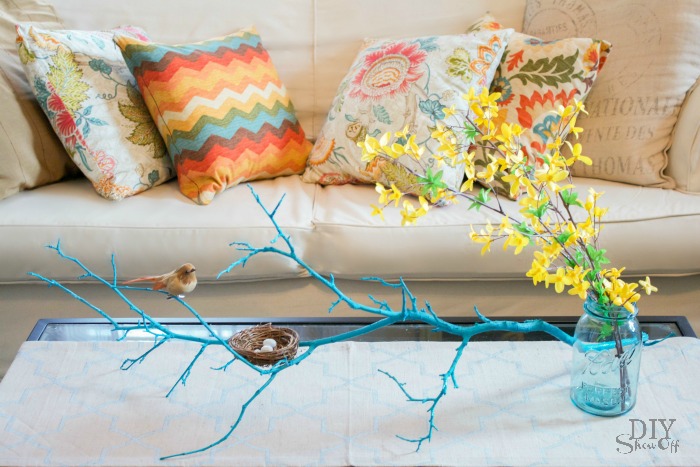
Once it’s dry, clip on a faux bird and settle a nest in the branches (hot glue if you’d like a little more security) and voila! A spring centerpiece in the time it takes for spray paint to dry. 

spring twig centerpiece tutorial @diyshowoff

Wishing you a weekend filled with spring happiness! 

spring twig centerpiece tutorial @diyshowoff

Easy DIY Personalized Easter Basket Liner

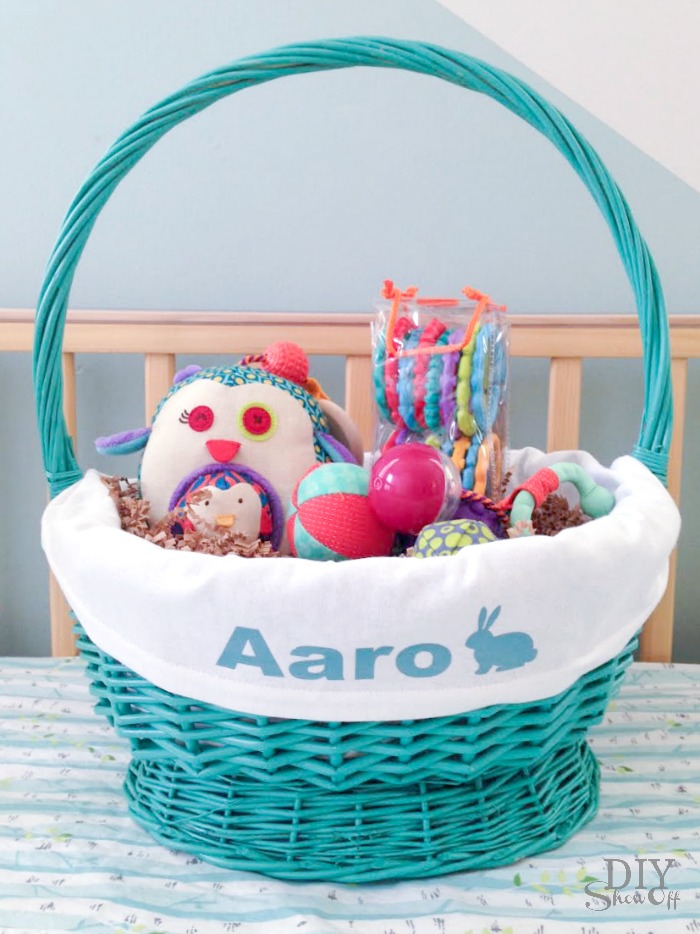
Happy Spring! With a new grand-baby in the family, I can’t help but get all giddy about making up an Easter basket this year. As you know, I love to personalize gifts and with just a t-shirt and a DIY iron-on vinyl, this liner is super easy to make! 
DIY personalized Easter basket liner tutorial @diyshowoff

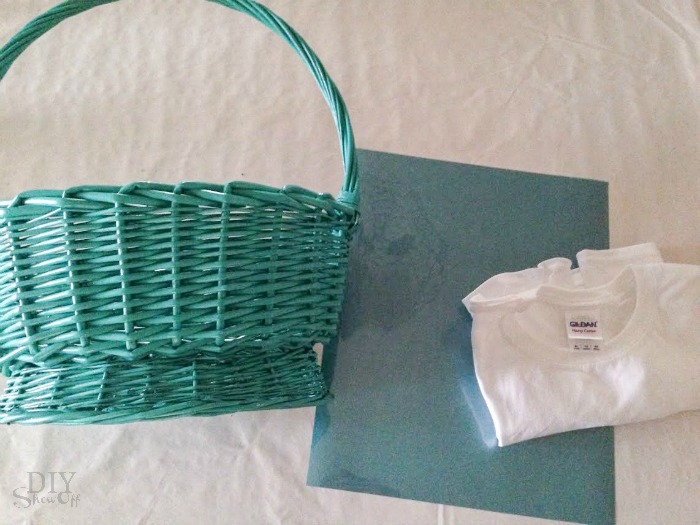
What I used:

personalized Easter basket liner @diyshowoff

What you’ll need: sewing machine, scissors, straight edge, computer/vinyl cutter, iron. 

What I did:

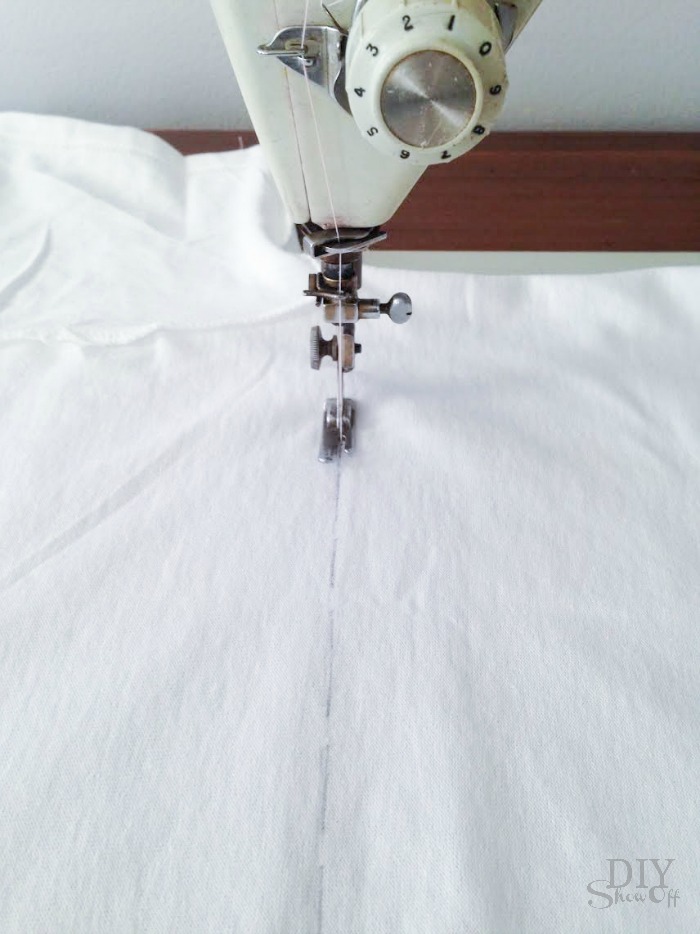
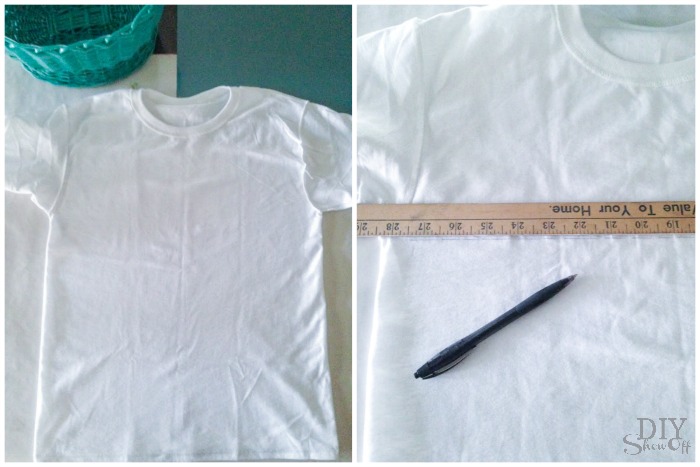
Lay inside out t-shirt flat and using a straight edge, draw a line beneath the t-shirt arms. This is the sewing guide…simply a straight line. 
personalized Easter basket liner @diyshowoff

Sew along the line. 

personalized Easter basket liner @diyshowoff

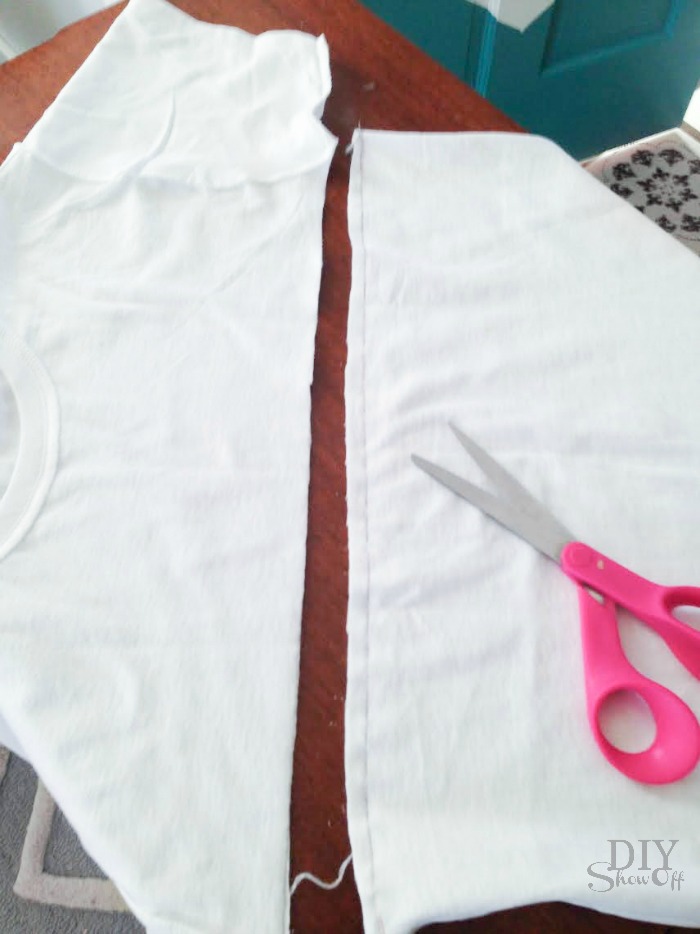
Then cut straight across above the sewn line (right below the armpits of the t-shirt). 
personalized Easter basket liner @diyshowoff

Flip right side out. 

Place the seam inside of the basket and fold the edges of the t-shirt over the basket to create a liner. Measure how much room you have horizontally and vertically to get an idea of your iron on design’s size. I kept mine under 2″ high by 7″ wide. 

personalized Easter basket liner @diyshowoff

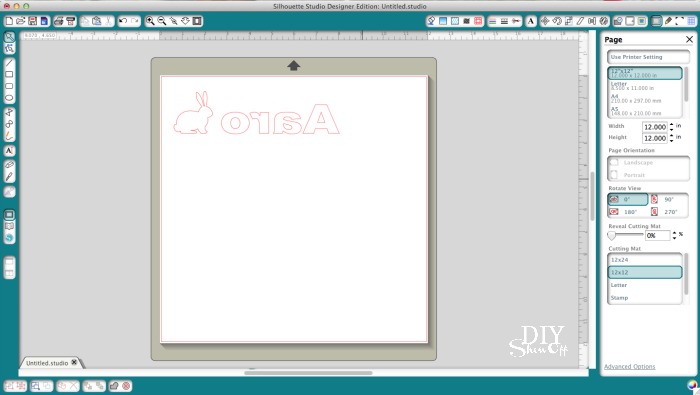
Using the Silhouette Design Studio software, I created a graphic with name and a cute little bunny shape. 
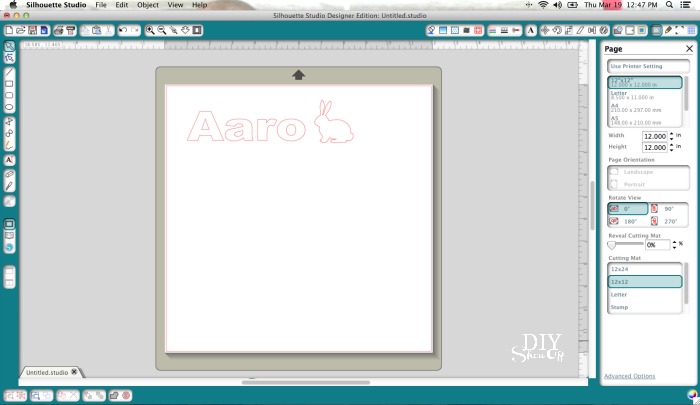
personalized Easter basket liner @diyshowoff

You’ll need to mirror the text and image by right clicking and selecting “flip horizontally”. 
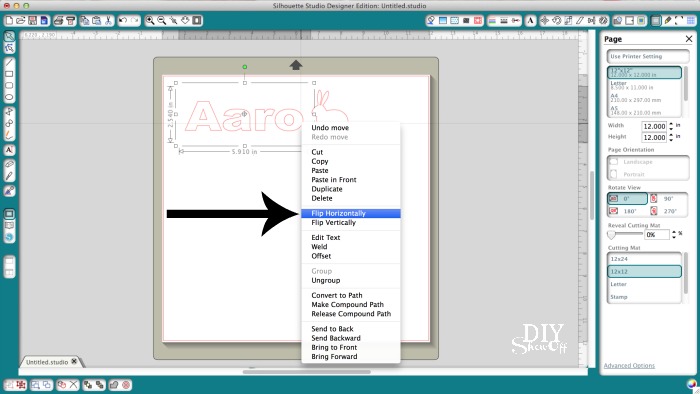
personalized Easter basket liner @diyshowoffpersonalized Easter basket liner @diyshowoff

Double check the size. (One sheet of iron-on vinyl is going to make a LOT of decals!) 

personalized Easter basket liner @diyshowoff

Load vinyl into the machine shiny side down. The shiny side is actually the transparent cover. Vinyl is the matte side (facing up). 
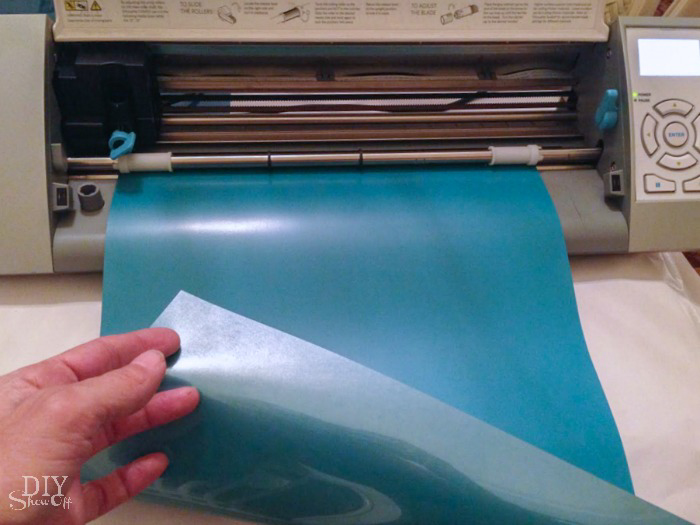
personalized Easter basket liner @diyshowoff

Send the design to ‘cut’. Adjust setting for heat transfer material and “cut”.
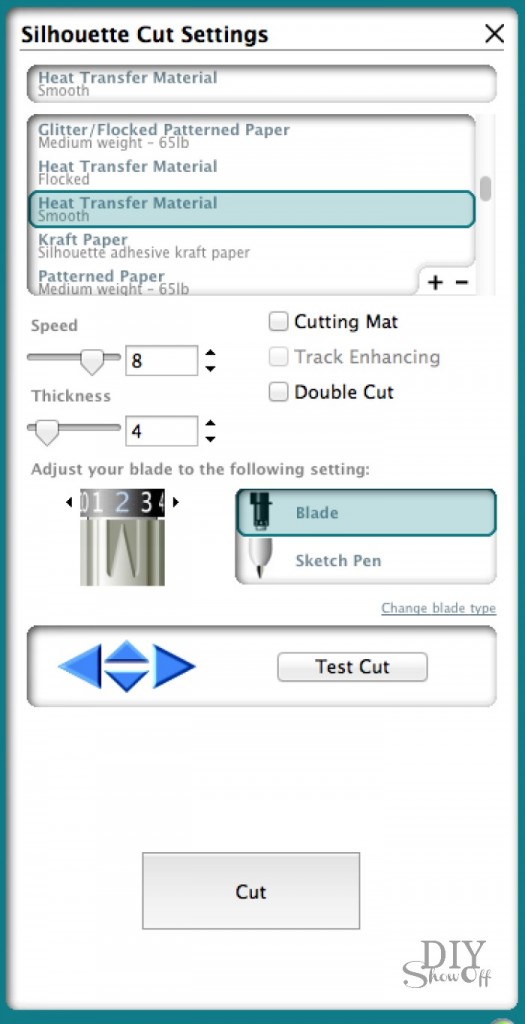
personalized Easter basket liner @diyshowoff

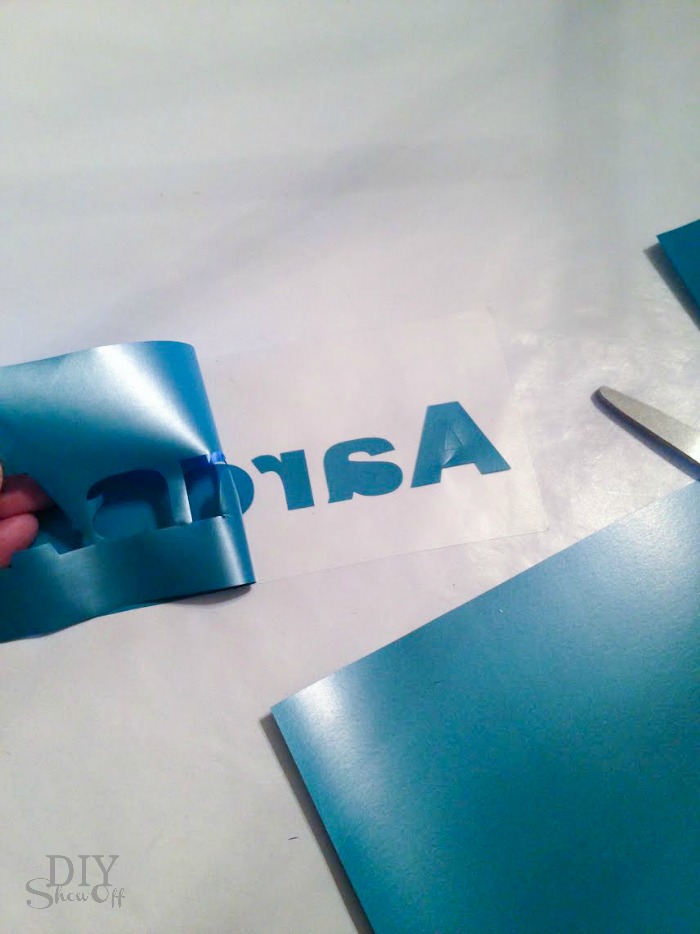
When cutting is complete, remove vinyl from machine. Trim to a manageable size. 
personalized Easter basket liner @diyshowoff

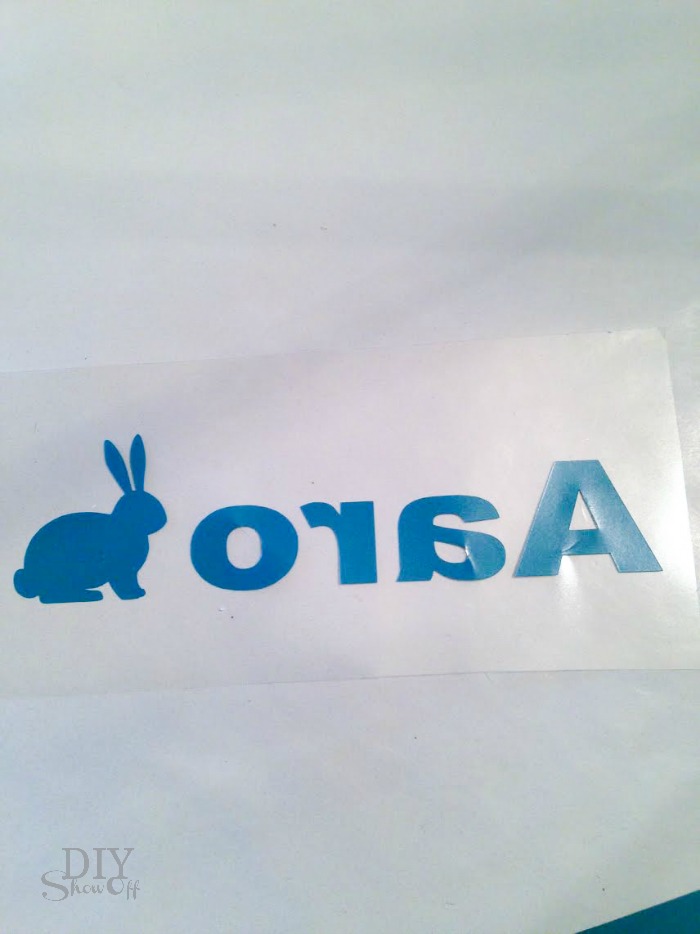
Weed away the excess vinyl. The decal will show a backwards design on the transparency. 
personalized Easter basket liner @diyshowoff

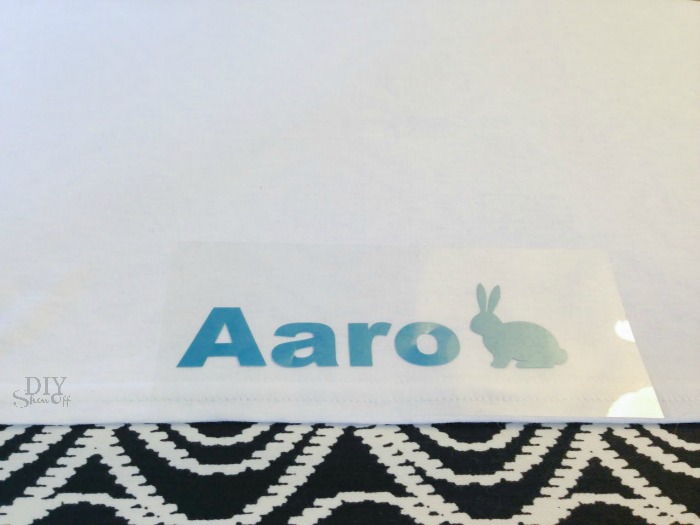
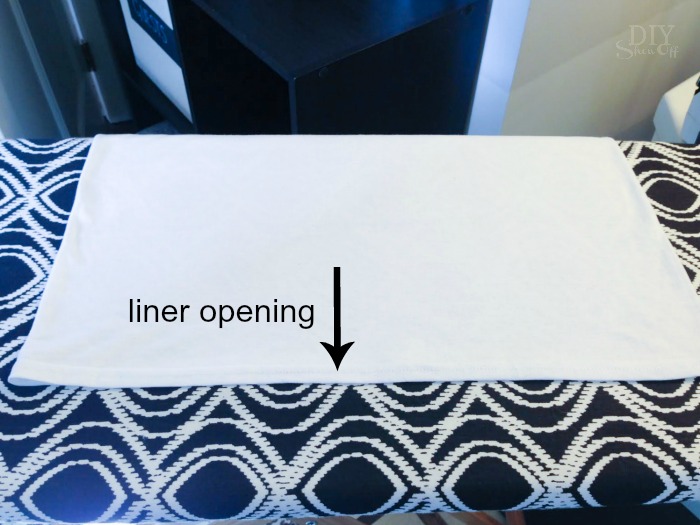
Smooth out the t-shirt liner with the open end facing you. Place the iron on decal towards the bottom, centered. 
personalized Easter basket liner @diyshowoffpersonalized Easter basket liner @diyshowoff

Cover with a cotton cloth (or the scrap t-shirt material) and iron according to instructions that came with the iron on vinyl.

personalized Easter basket liner @diyshowoffpersonalized Easter basket liner @diyshowoff

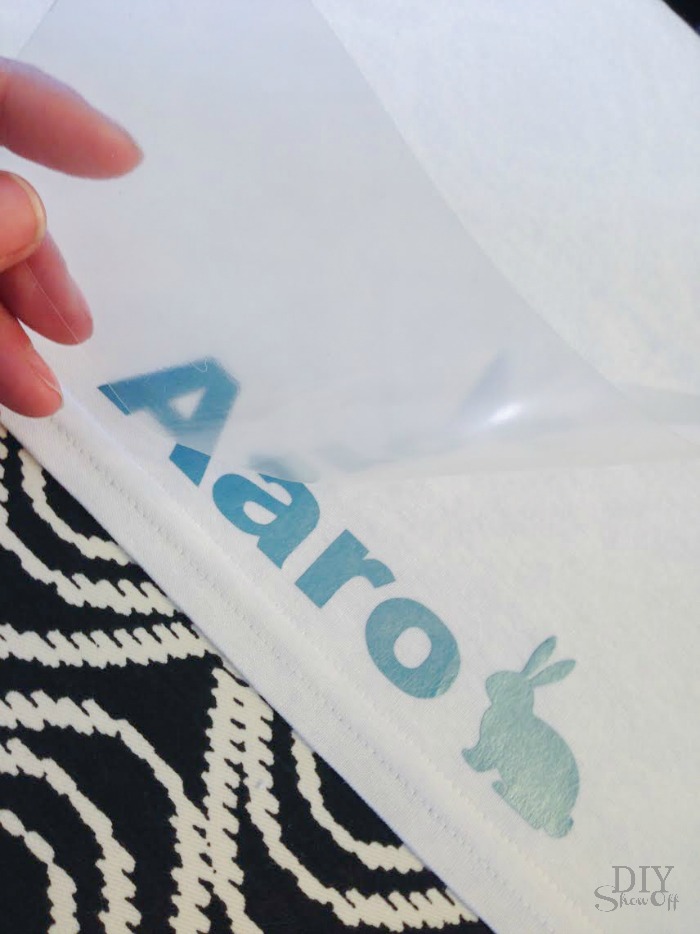
Carefully remove the transparency film. 
personalized Easter basket liner @diyshowoff

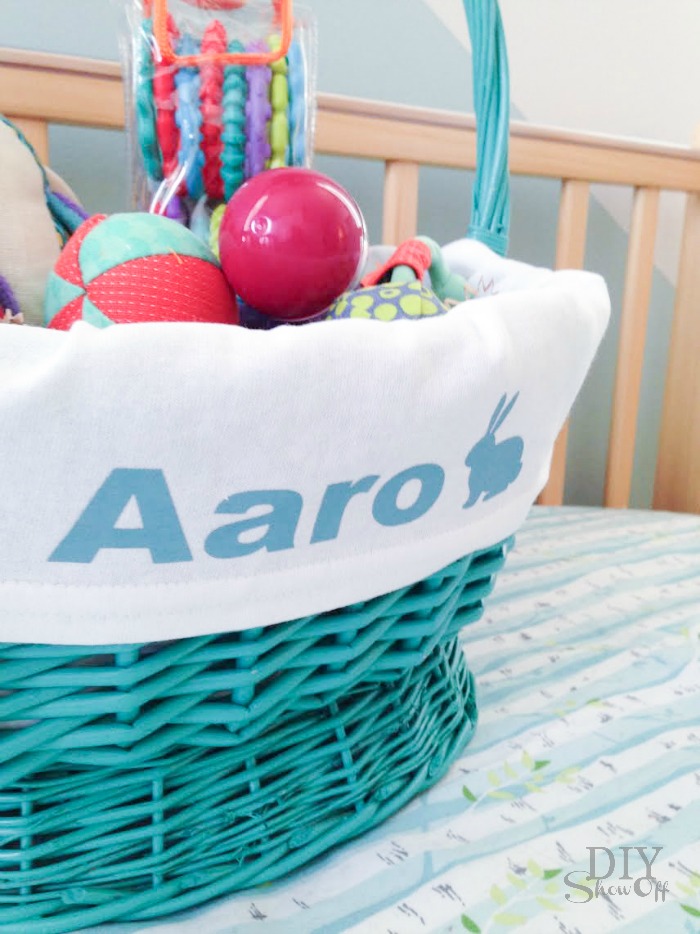
Line the Easter basket and fill. Easy, right? Cute too! 

DIY personalized Easter basket liner tutorial @diyshowoffDIY personalized Easter basket liner tutorial @diyshowoff

It’s actually a pretty easy DIY project for any time of the year, any basket or to personalize a gift basket for any occasion.
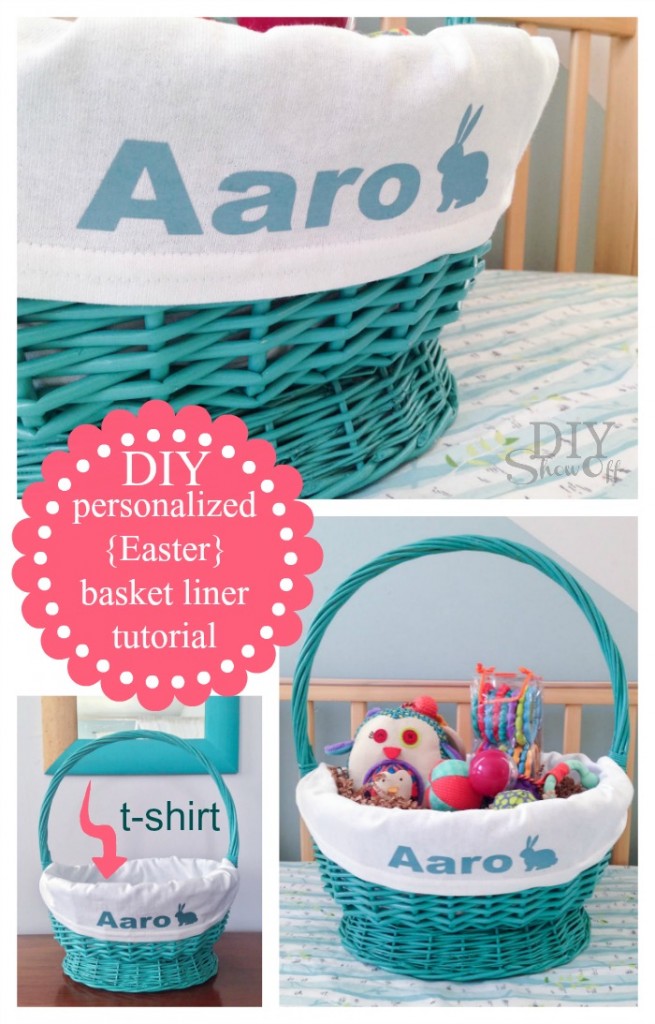
DIY personalized Easter basket liner tutorial @diyshowoff


More Easter DIY ideas

DIY warm cool aromatherapy snuggle bunnies @diyshowoff #essentialoilsdip-dyed-easter-egg-tutorialDIYShowOff Easer succulent garden


*This post is sponsored by Happy Crafters. Tutorial, experience and opinion is my own. I love the products and the prices are affordable. Check out all the supplies at Happy Crafters for great prices, products and inspiration for your next project. 

HClogopngsmall

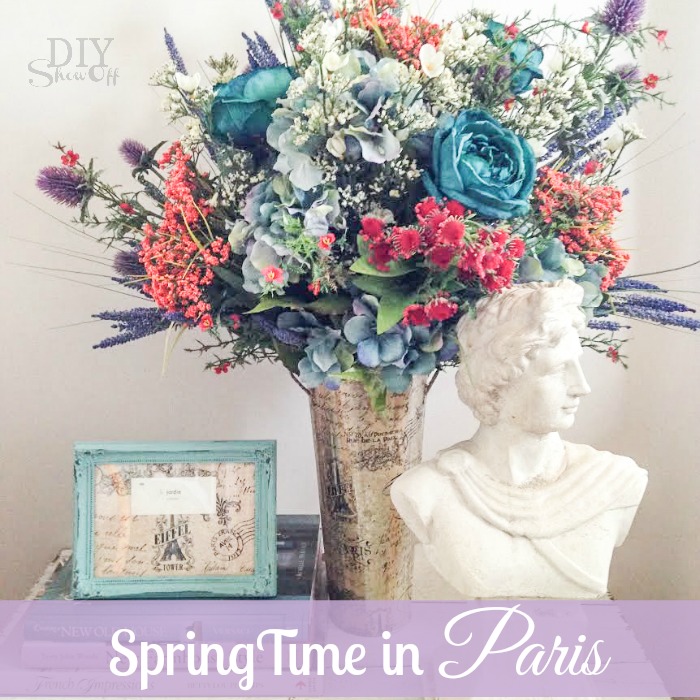
Springtime in Paris vignette {Enter to win a trip to Paris!}

#springtimeinparis #michaelsmakers @diyshowoff

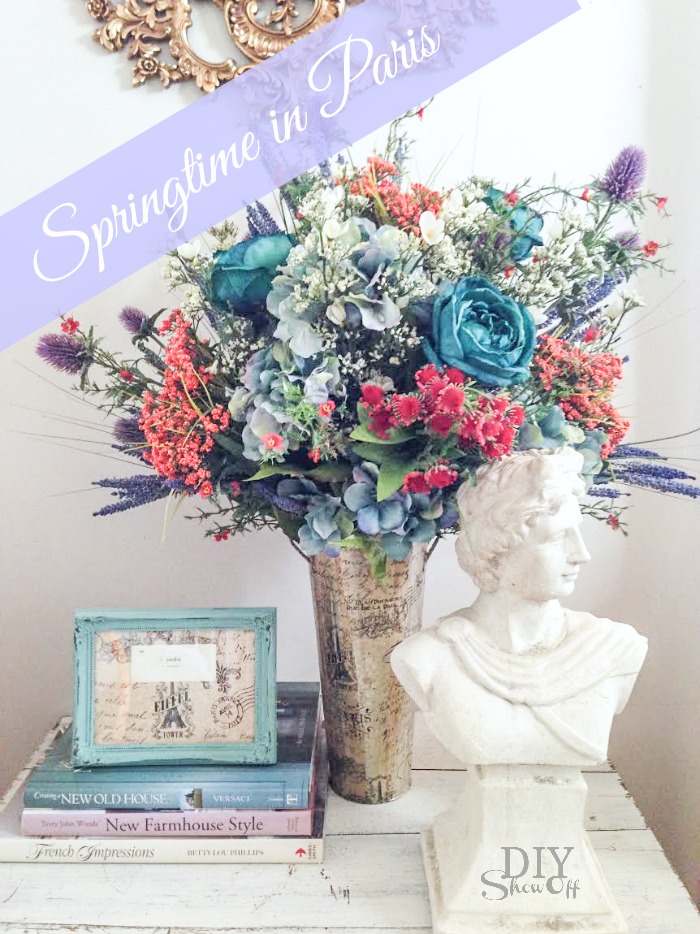
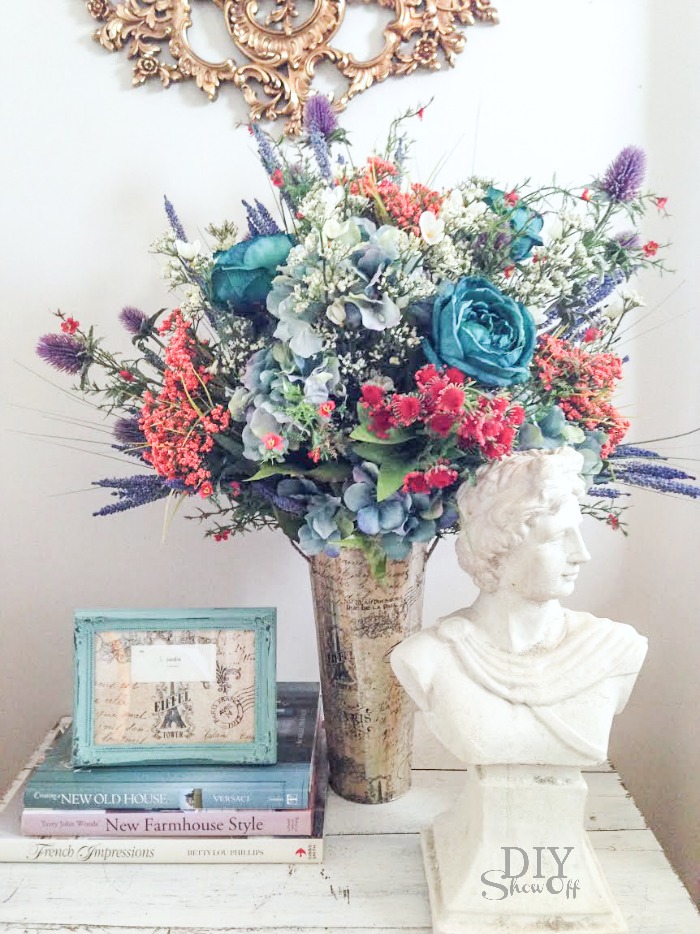
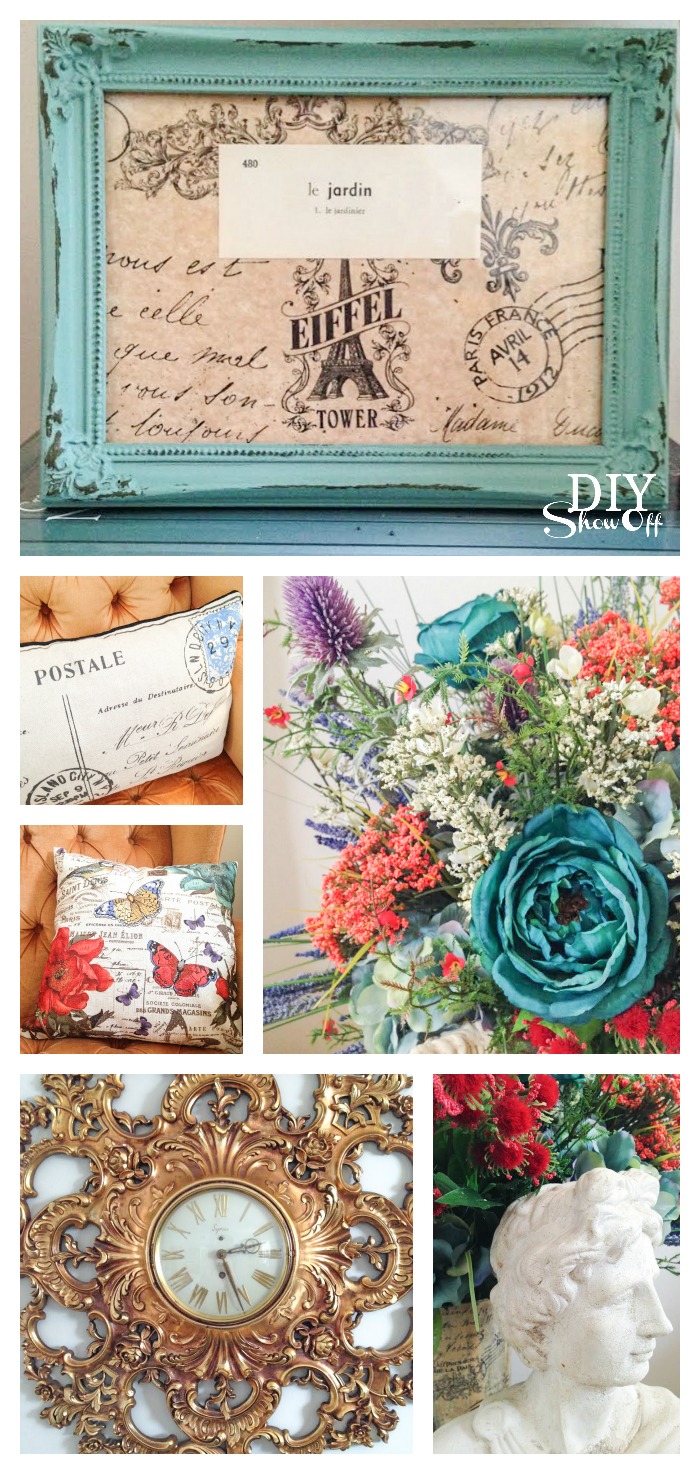
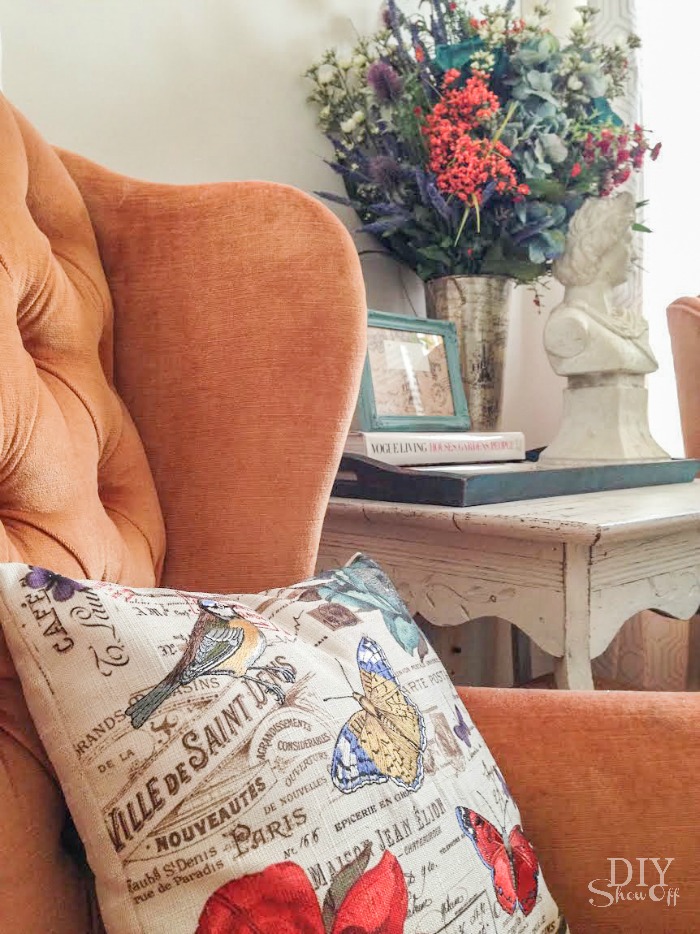
I sure wish it was springtime in western PA but until that day arrives (hopefully sometime in the very near future), I’m enjoying the Michael’s Makers March challenge: “Springtime in Paris”. I paired pretty French script pillows with a pretty DIY springtime arrangement in a decoupaged French script vase with matching frame to bring a little “Springtime in Paris” to our home. 

decoupage vase @diyshowoff #SpringTimeinParis #michaelsmakers

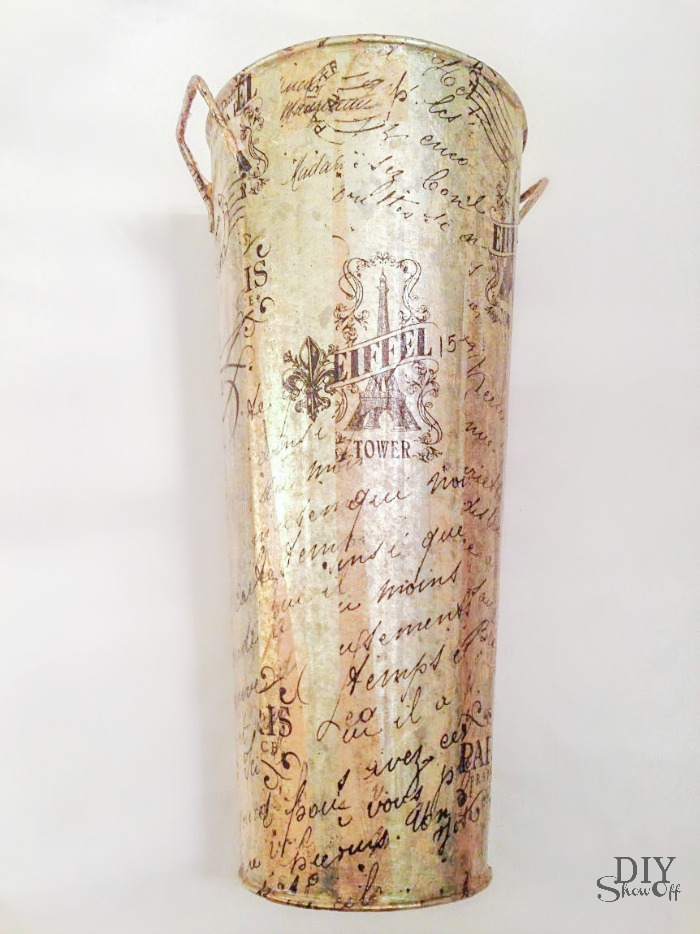
decoupaged tin vase and floral arrangement

Supplies:

Shop Home Decor and Floral at Michaels

  • tin vase
  • decoupage
  • French printed tissue paper
  • foam paint brush

40% Off Any One Regular Price Item

This Week's Coupon at Michaels.com

How to:

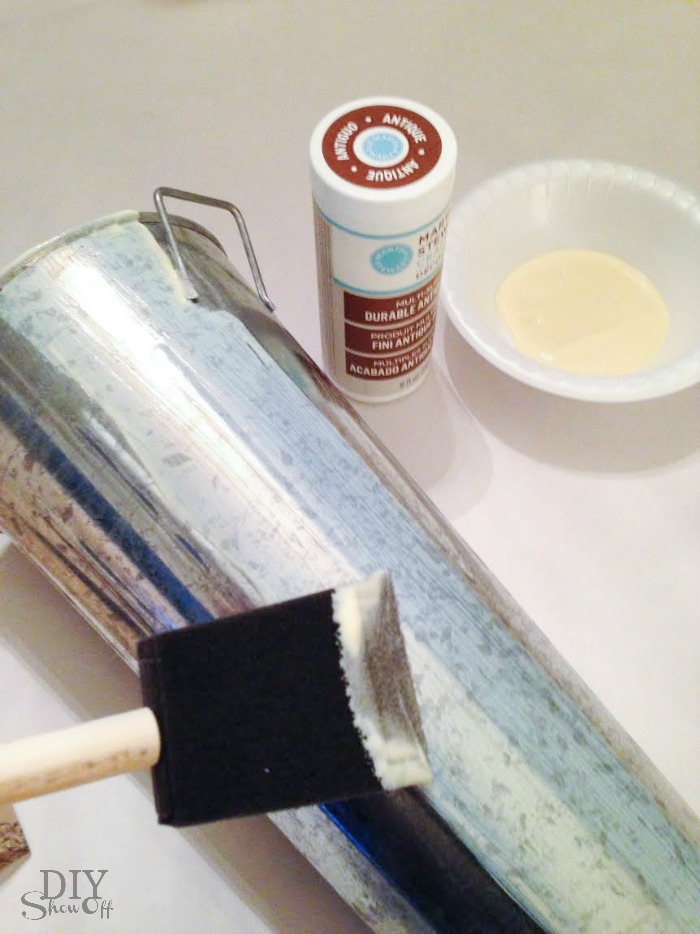
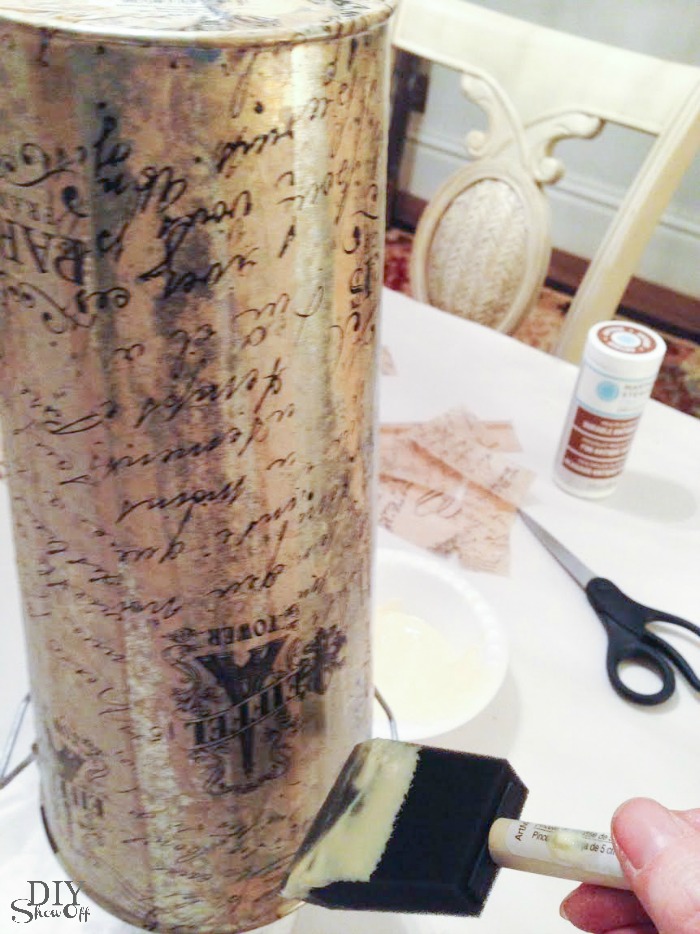
Working in sections. Brush on a coat of decoupage.

decoupage vase @diyshowoff #SpringTimeinParis #michaelsmakers

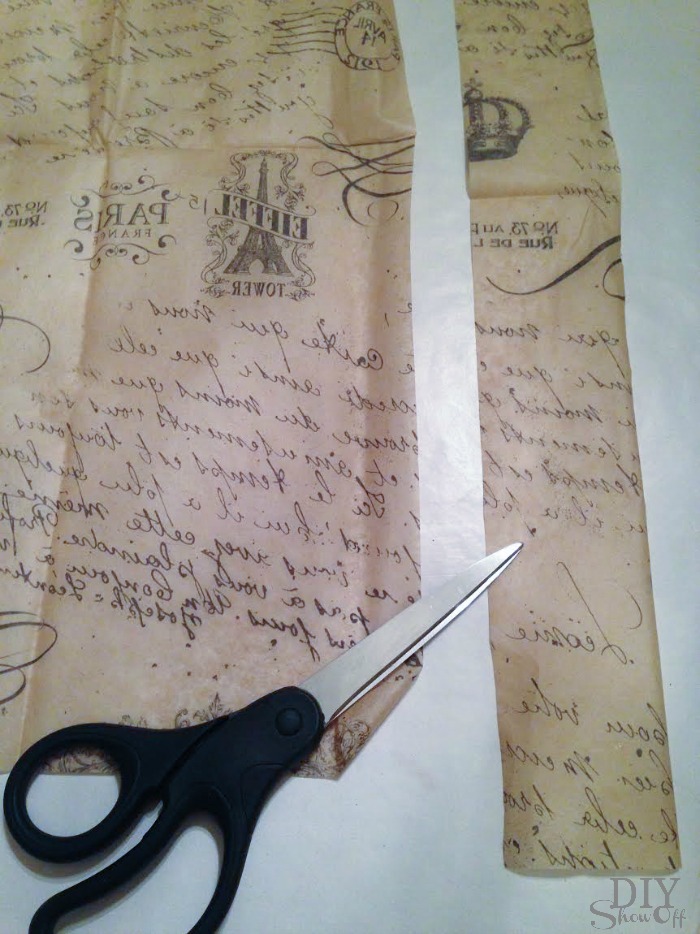
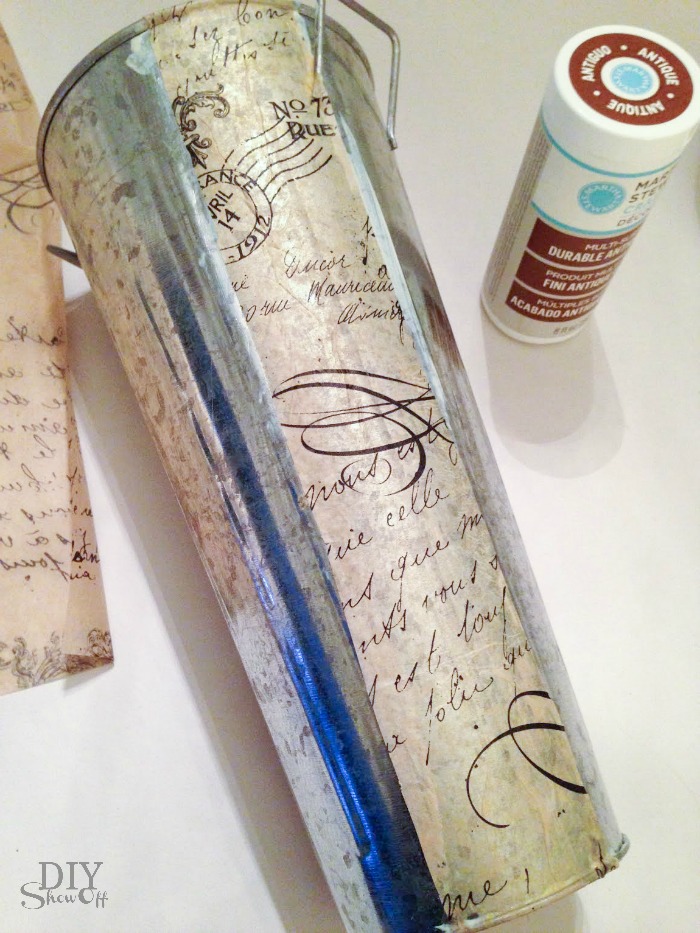
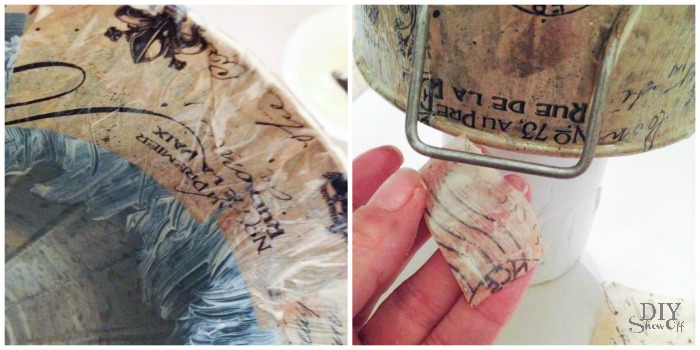
Due to the shape of my tin vase, I applied strips of tissue paper in layers.

decoupage vase @diyshowoff #SpringTimeinParis #michaelsmakers


Apply one strip to the wet decoupage, smoothing out the wrinkles (carefully to avoid tearing the tissue paper) then move on to the next section and repeat.  decoupage vase @diyshowoff #SpringTimeinParis #michaelsmakersdecoupage vase @diyshowoff #SpringTimeinParis #michaelsmakers
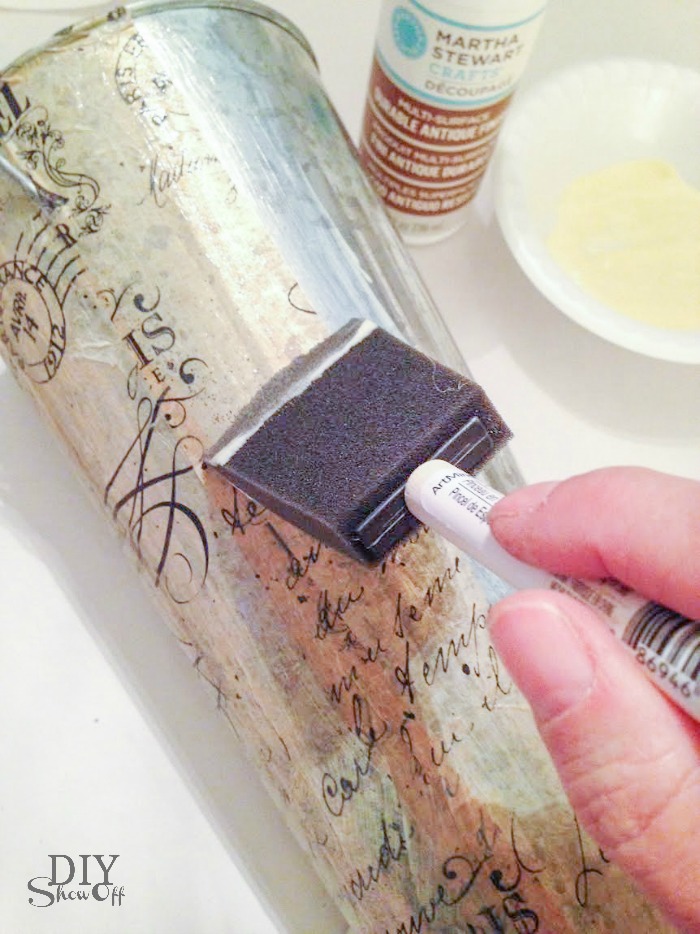
Once the entire vase is covered, brush on another coat of decoupage. You can repeat and add more decoupage layers if you want. The more layers, the better protection. 

decoupage vase @diyshowoff #SpringTimeinParis #michaelsmakersdecoupage vase @diyshowoff #SpringTimeinParis #michaelsmakers

Let dry. The metallic sheen shines through. Love that happy surprise!

decoupage vase @diyshowoff #SpringTimeinParis #michaelsmakers

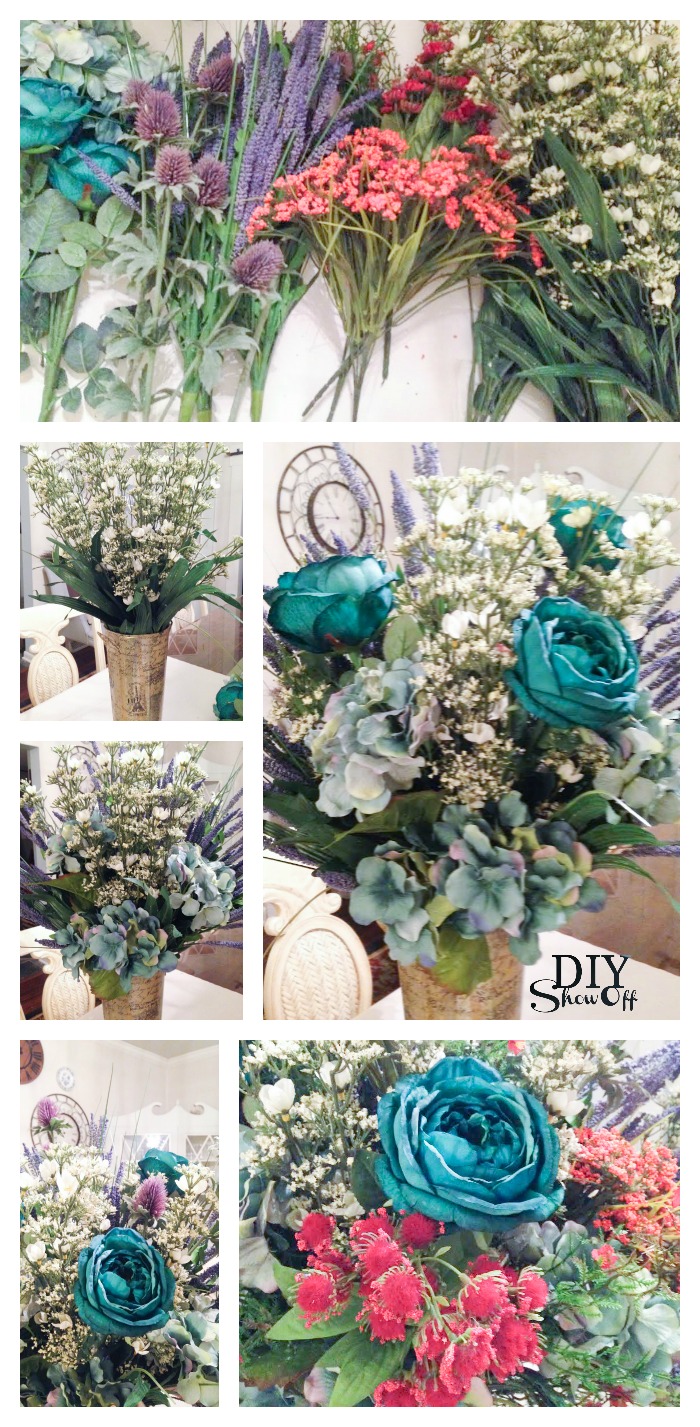
Now arrange your favorite spring time florals. I love this collection of faux teals, oranges and purples with greenery.

decoupage vase @diyshowoff #SpringTimeinParis #michaelsmakers

Gorgeous! Spring is right around the corner!

decoupage vase @diyshowoff #SpringTimeinParis #michaelsmakers

I added a bit of tissue paper and French language flash card to a frame {le jardin = garden}, some things from around the house and pillows (also available at Michael’s) to complete my Springtime in Paris vignette. 

decoupage vase @diyshowoff #SpringTimeinParis #michaelsmakersdecoupage vase @diyshowoff #SpringTimeinParis #michaelsmakersdecoupage vase @diyshowoff #SpringTimeinParis #michaelsmakers

See more Springtime in Paris inspiration from these sweet blog friends:


#springtimeinparis #michaelsmakers @diyshowoff

·       Now it’s your turn!  That’s right, you can enter to win the trip of a lifetime to Paris too. How? By creating your own Parisian-inspired art, floral, baking or paper crafting project and uploading a photo to www.paris.michaels.com through March 31. You can also share your project on social using #SpringtimeInParis #Contest

·       What do you win? A four-night trip for two to Paris, 1,000 euros, a VIP tour of the Louvre, private classes including sketching, floral arranging, baking and more!

·       If you need a little Paris inspiration to get you started, take a look at some of the Springtime in Paris projects on Michaels.com.

Disclaimer: As a member of the Michael’s Makers blog team, I received a Michael’s gift card to complete this craft challenge.