{Hospital} Bedside Table Makeover

One of the Lowe’s Creative Ideas challenges for September is furniture makeover…

Hospital Bedside Table Makeover tutorial

I just happened to score this little thrifty treasure from the thrift store…

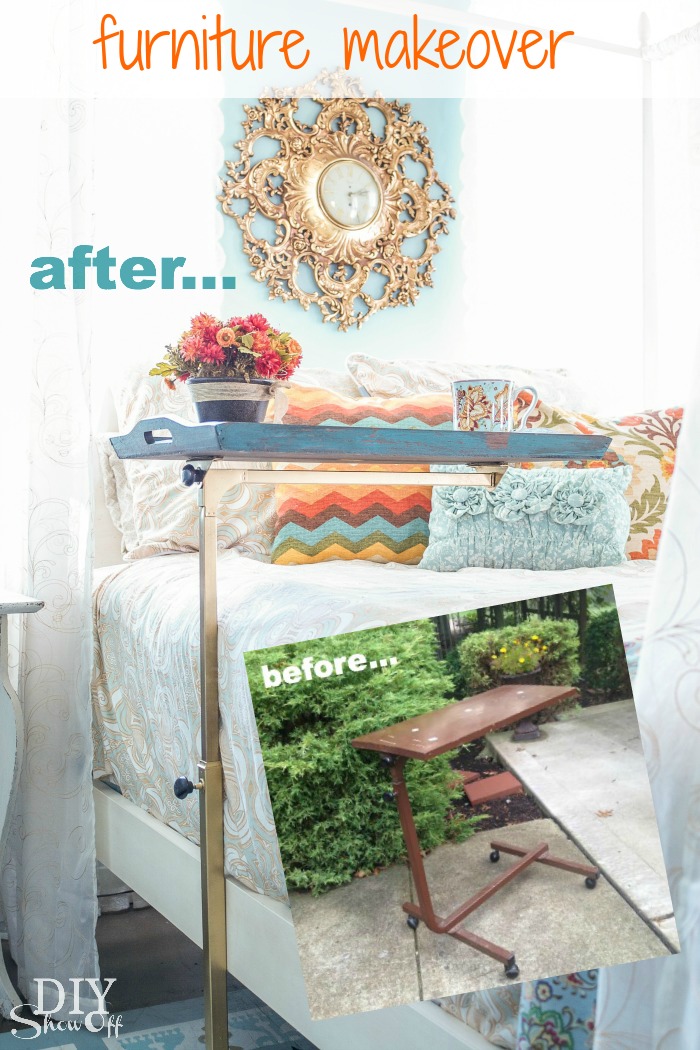
hospital bedside table DIY makeover

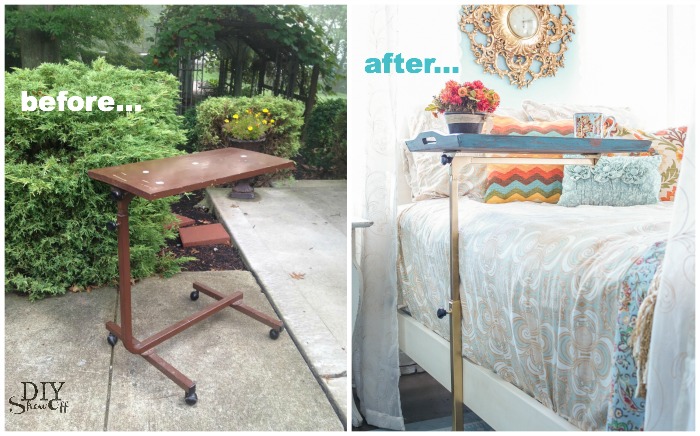
for the low, low price of $3.99! A cute {hospital} bedside adjustable table in need of some TLC. 

I gave it a good cleaning then disassembled the parts. 

After taping off the casters, I gave it a few light sprays with a metallic gold spray paint. 

hospital bedside table DIY makeover

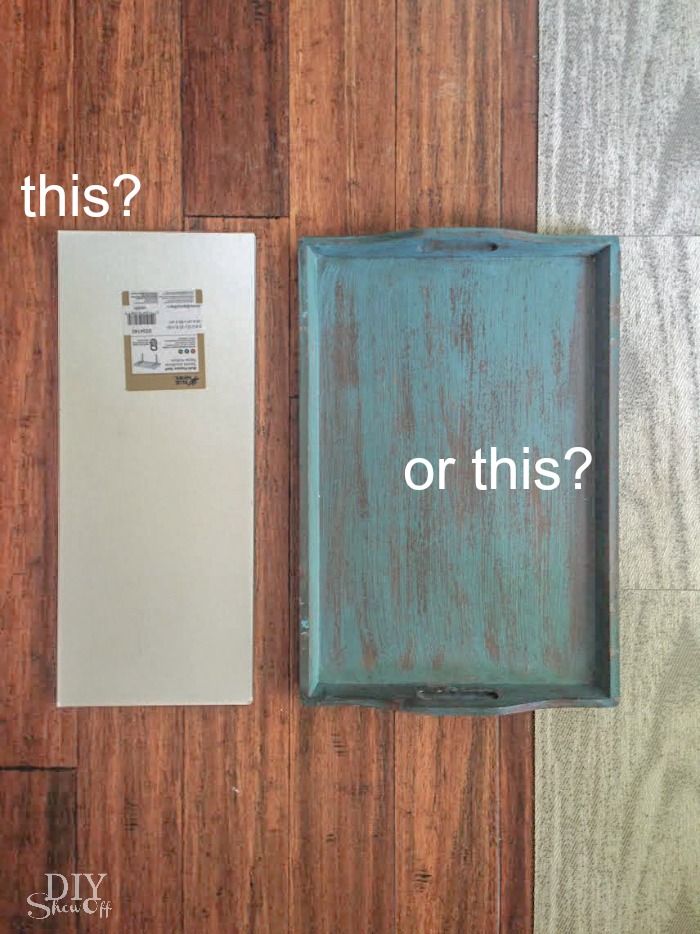
Once that was dry, I went back and forth on making a decision on the tray part. A shelf board would work. So would a serving tray. 

hospital bedside table DIY makeover

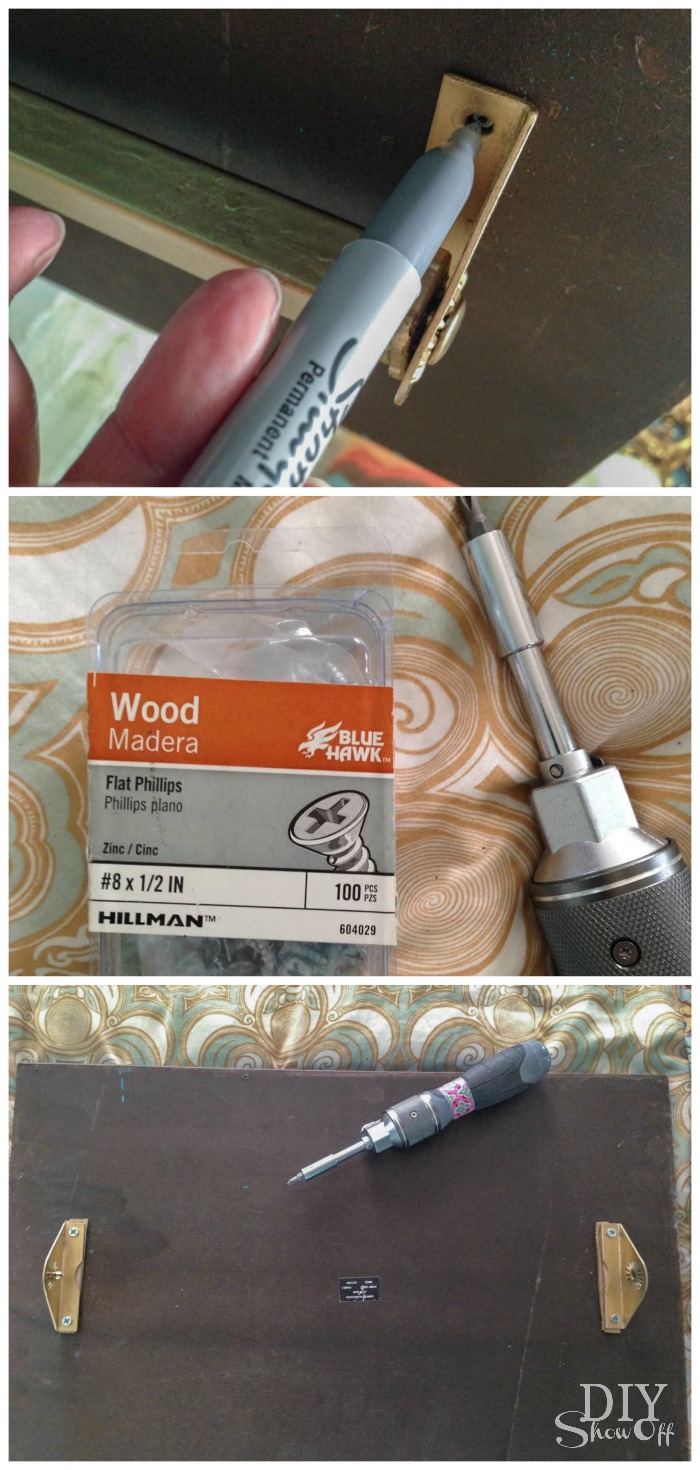
I went with the serving tray. I reassembled and used smaller wood screws to attach the tray to the frame. 

hospital bedside table DIY makeover 

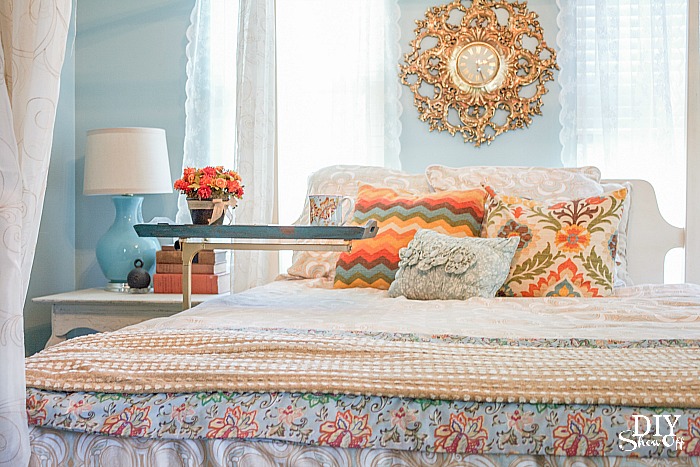
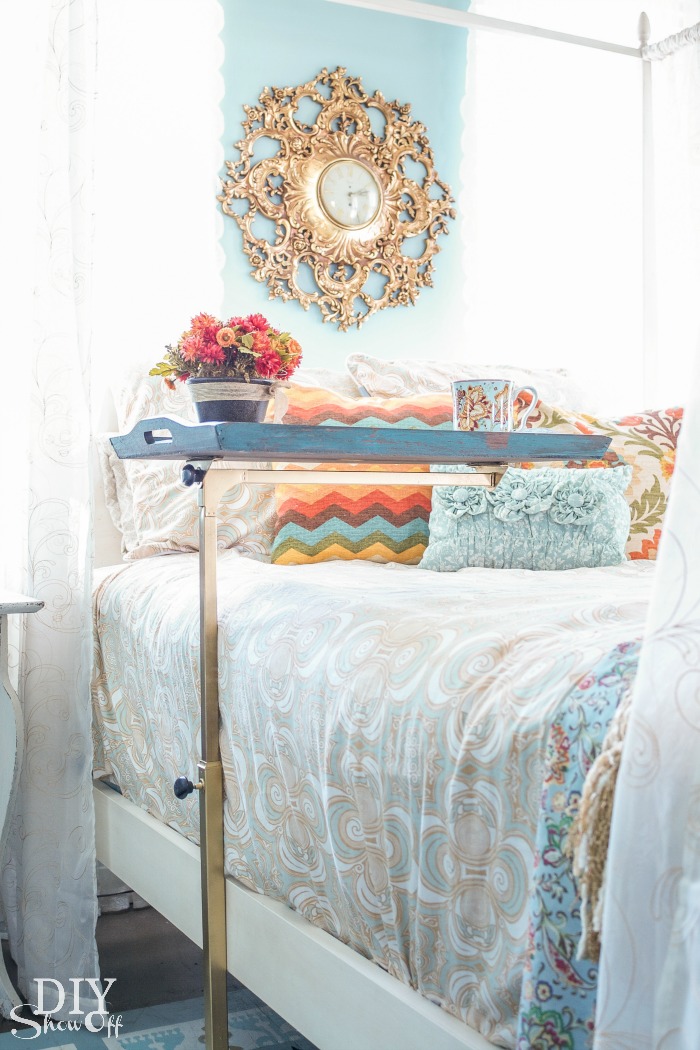
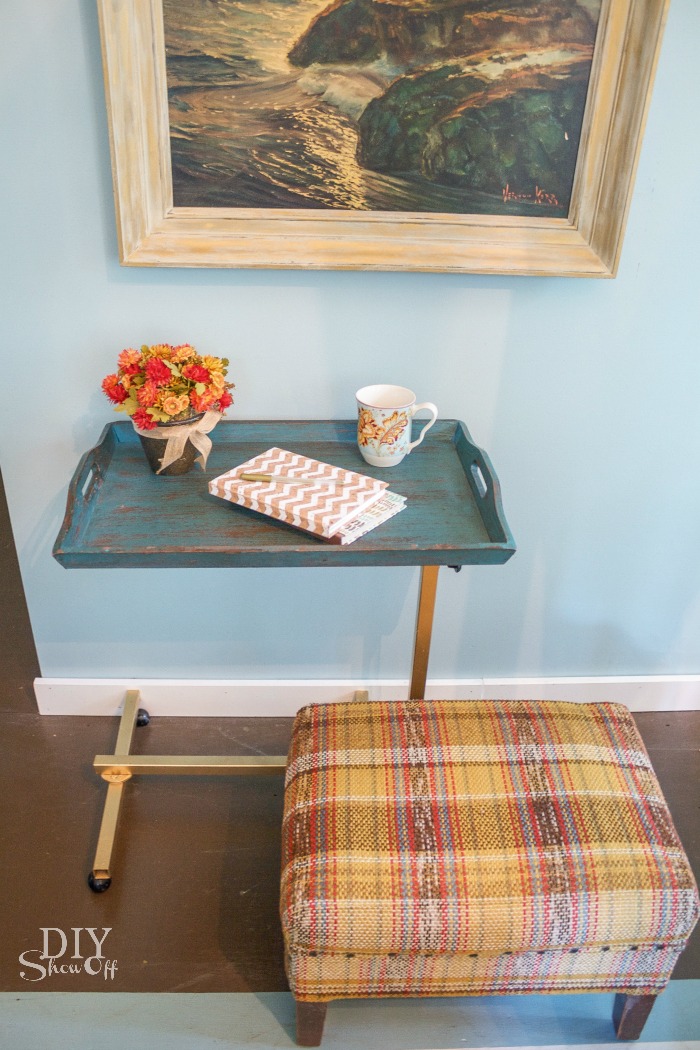
Now it’s a convenient bedside accessory…

Hospital Bedside Table Makeover tutorialHospital Bedside Table Makeover tutorial 

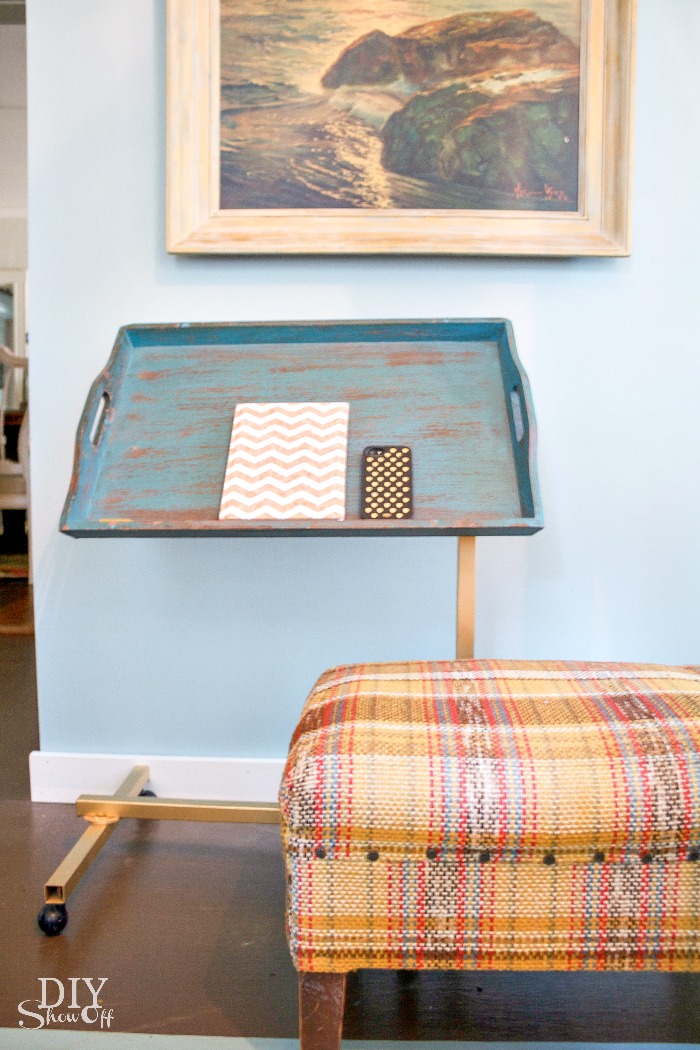
I liked that it has a lip since the tray tilts forward. Great for holding a book or tablet. 

Hospital Bedside Table Makeover tutorial

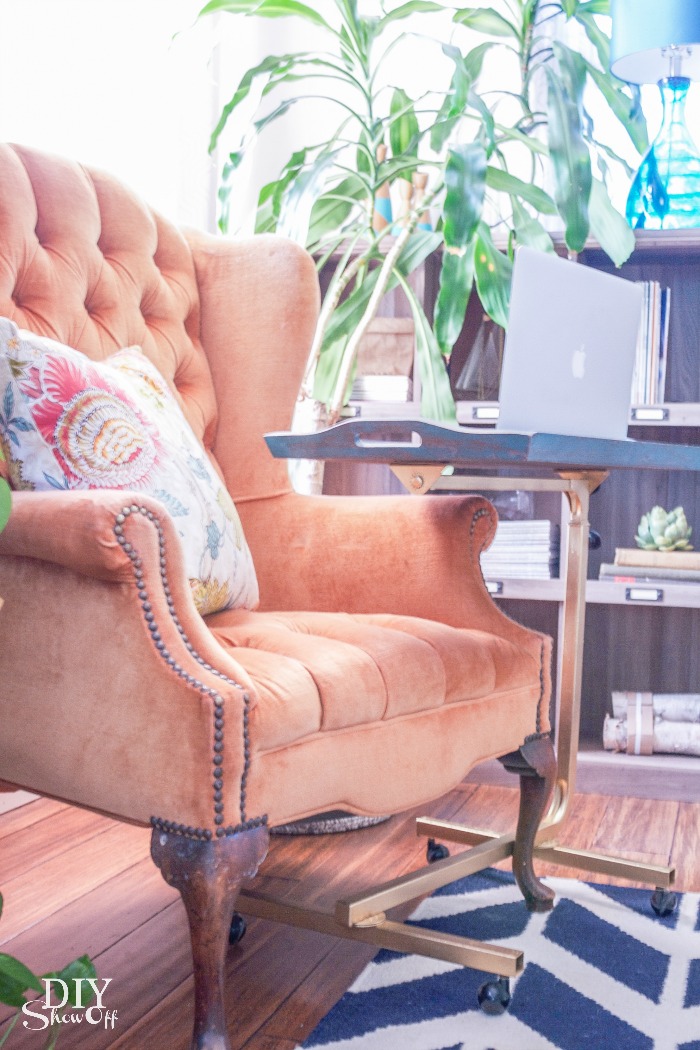
Adjust to the table top position for a portable desktop, breakfast in bed or bedside, chair side or couch side table.

Hospital Bedside Table Makeover tutorial

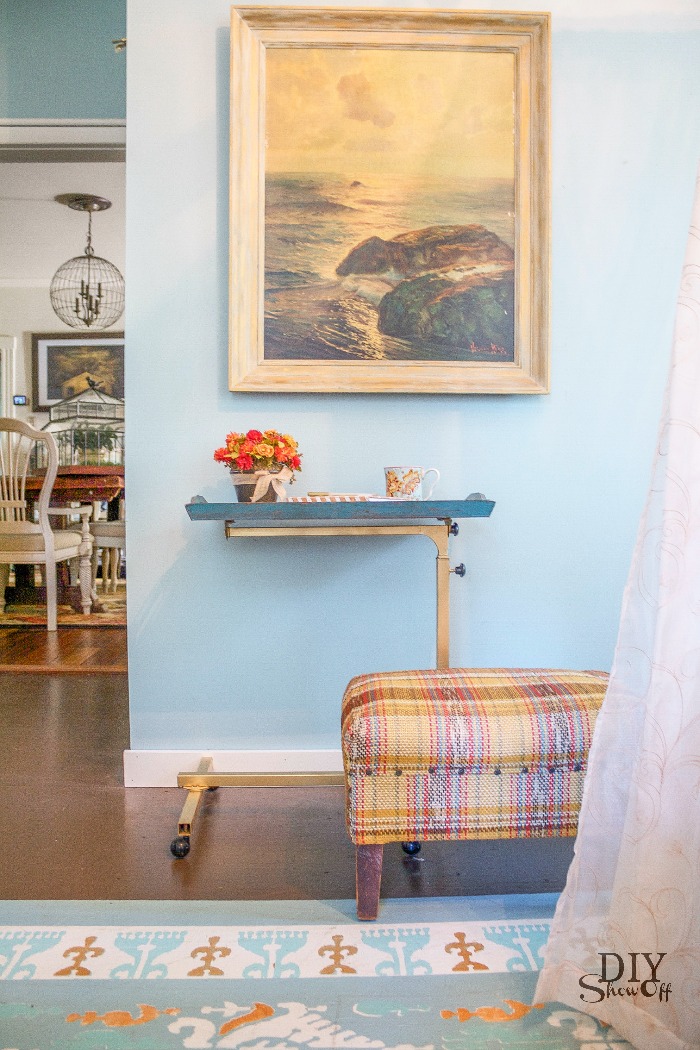
Makes for a pretty side table too…

Hospital Bedside Table Makeover tutorialHospital Bedside Table Makeover tutorial

What’s your latest thrift store, estate sale, flea market find? 

Hospital Bedside Table Makeover tutorial

Fall LCI

I received a Lowe’s gift card to put towards this challenge. Opinion and above idea is 100% my own. More DIY ideas at Lowe’s Creative Ideas or follow Lowe’s on Instagram, Pinterest and sign up for the Creative Ideas magazine and app.


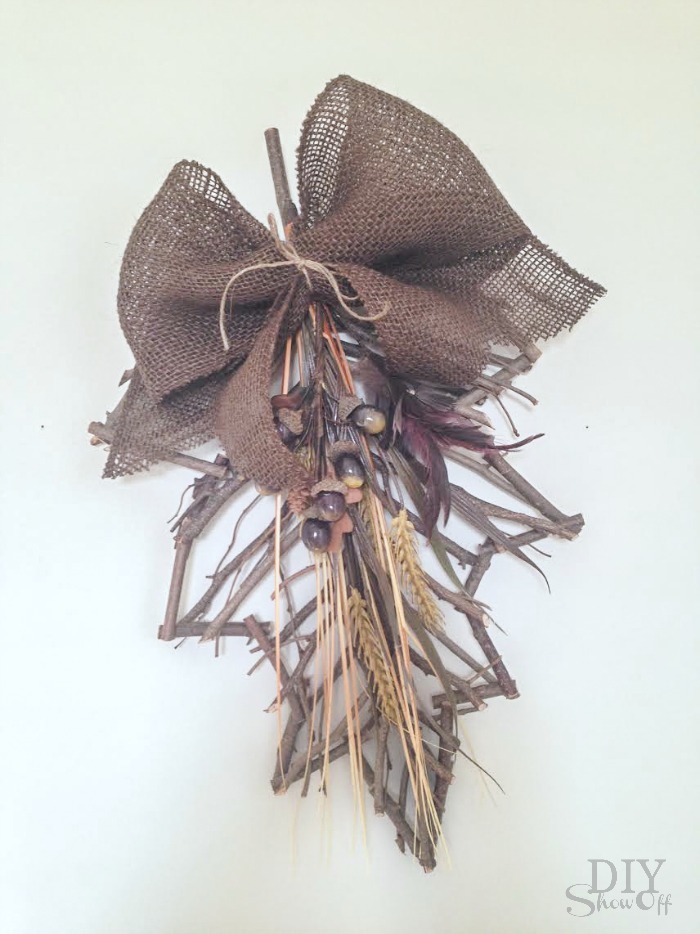
DIY Fall Door/Wall Decor Craft

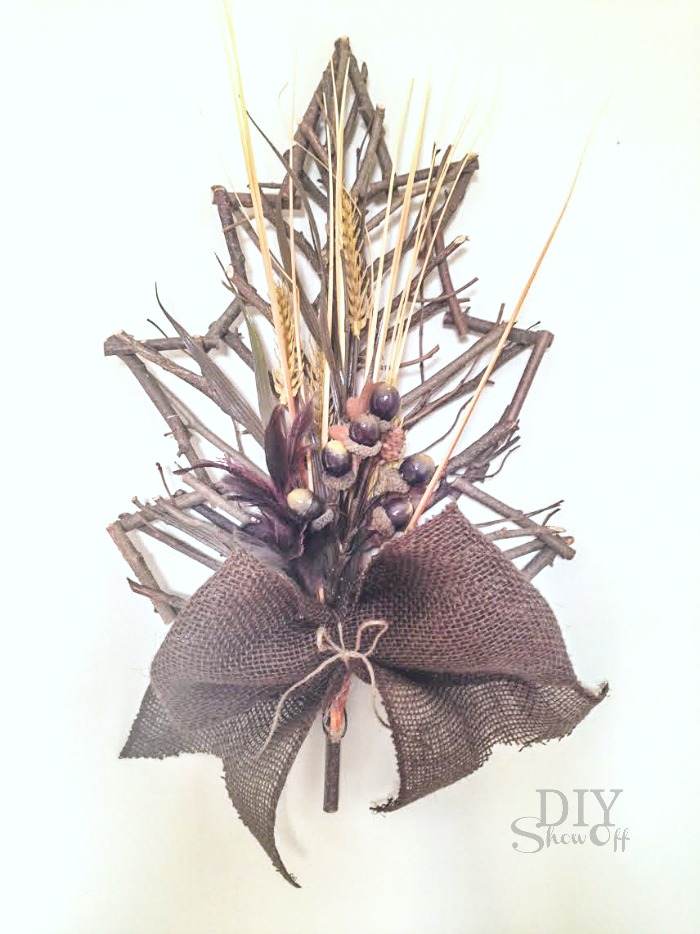
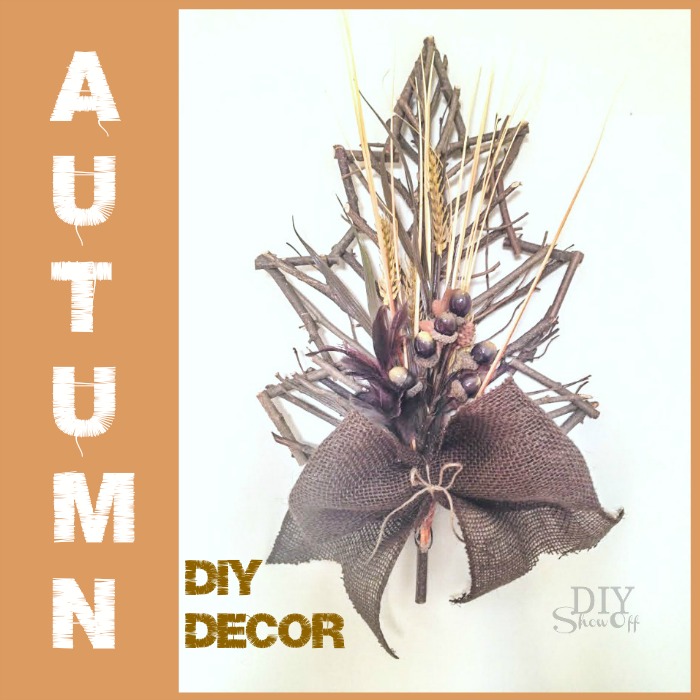
Fall is in the air! The upcoming baby shower theme will be “woodland”. Perfect for the fall season, don’t you think? So I made up a few of these twig leaf door or wall decor crafts for prizes. And just in time to participate in the Autumn Abound Fall Blog Hop (more on that below)!

autum DIY decor - diyshowoff.com

Materials:

  • Twig/stick leaf form from the craft store (you could even make your own) or grapevine wreathes, etc. 
  • Fall floral pics including faux acorns, wheat, leaves, feathers 
  • Hot glue 
  • Burlap ribbon
  • Twine 
  • Twist tie or floral wire

Tools: wire cutters, scissors, hot glue gun

Time: approx. 10 minutes

What I did:

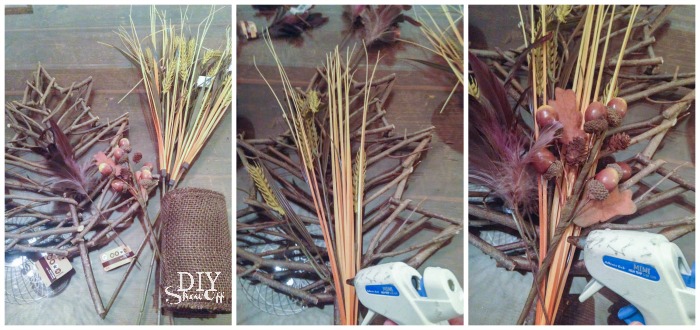
Simply assemble in layers and secure each embellishment with hot glue. DIY Fall Decor Craft at diyshowoff.com

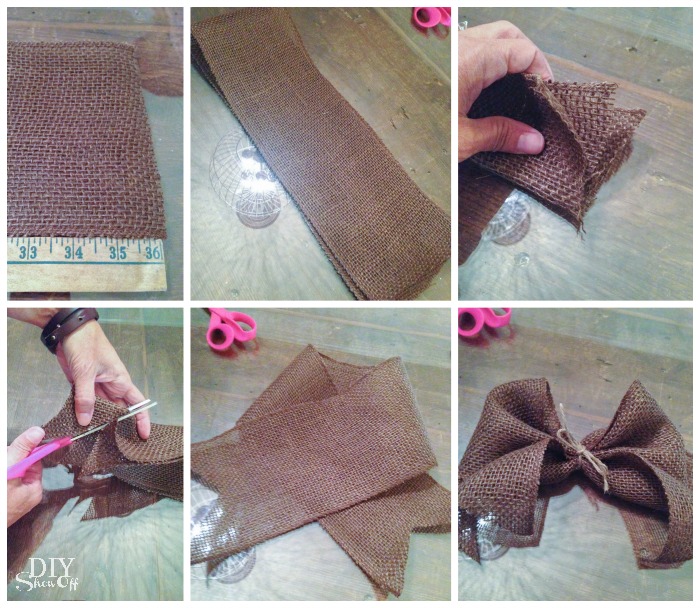
Cut a 36″ piece of burlap. Fold and snip the ends. Lay flat and overlap ends. Tie a knot/bow using twine to gather and finish the burlap bow. Secure to arrangement using hot glue. 
DIY Fall Decor Craft at diyshowoff.com

Use a twist tie to assist with hanging. 

I think that was the easiest tutorial ever! If I can do it, so can you! 

DIY Fall Decor Craft at diyshowoff.com


They’d look great used as a centerpiece too. Or hang the opposite direction…

DIY Fall Decor Craft at diyshowoff.com

More on a woodland themed baby shower coming soon!

 Autumn Abounds

But today you’re going to want to follow the Autumn Abounds blog hop for more fall inspiration!

Domestically Speaking
My Uncommon Slice of Suburbia
At the Picket Fence
Setting for Four
Stone Gable
Cupcakes and Crinoline
Town and Country Living
Sand and Sisal
Yesterday on Tuesday
Clean and Scentsible
Debbie Doo’s
DIYShowOff
French Country Cottage

Then stop back tomorrow to link up your own fall related blog posts and to enter to win an awesome cash prize!

Fall Linky Party

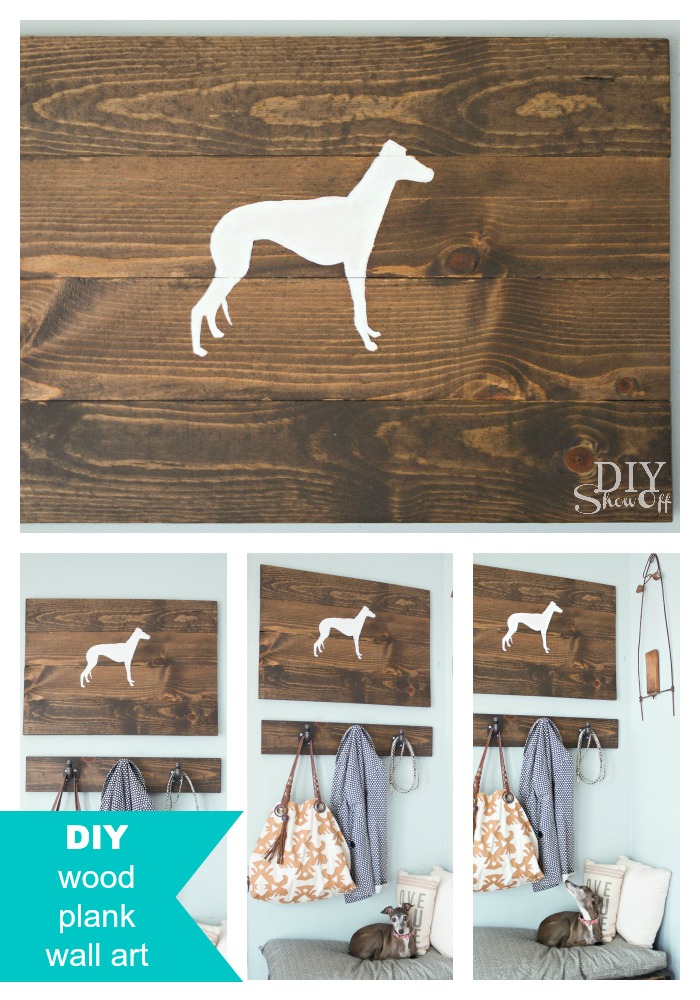
Silhouette Scrap Wood Wall Art

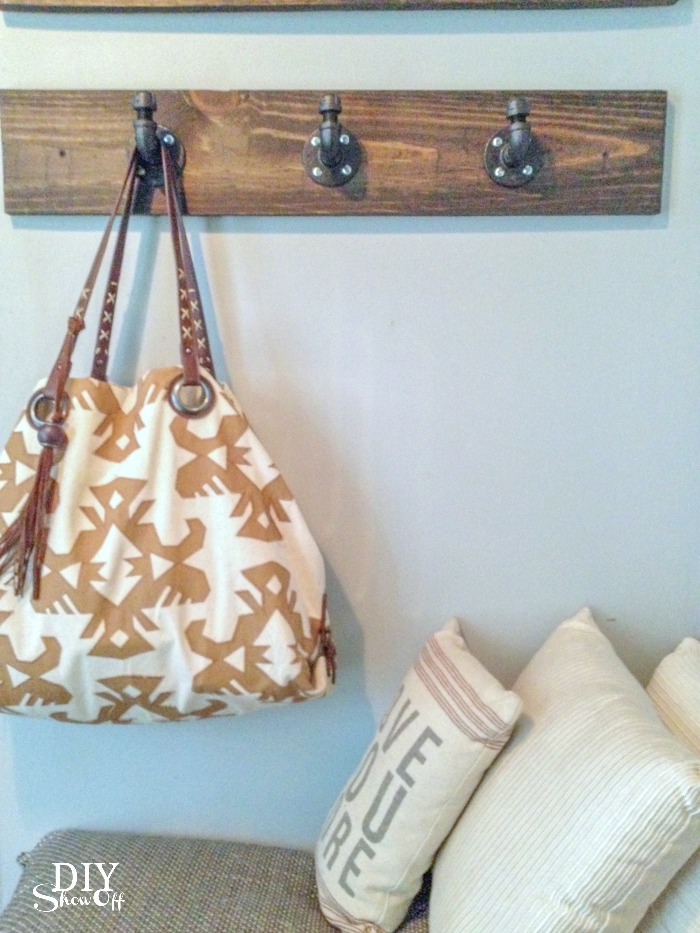
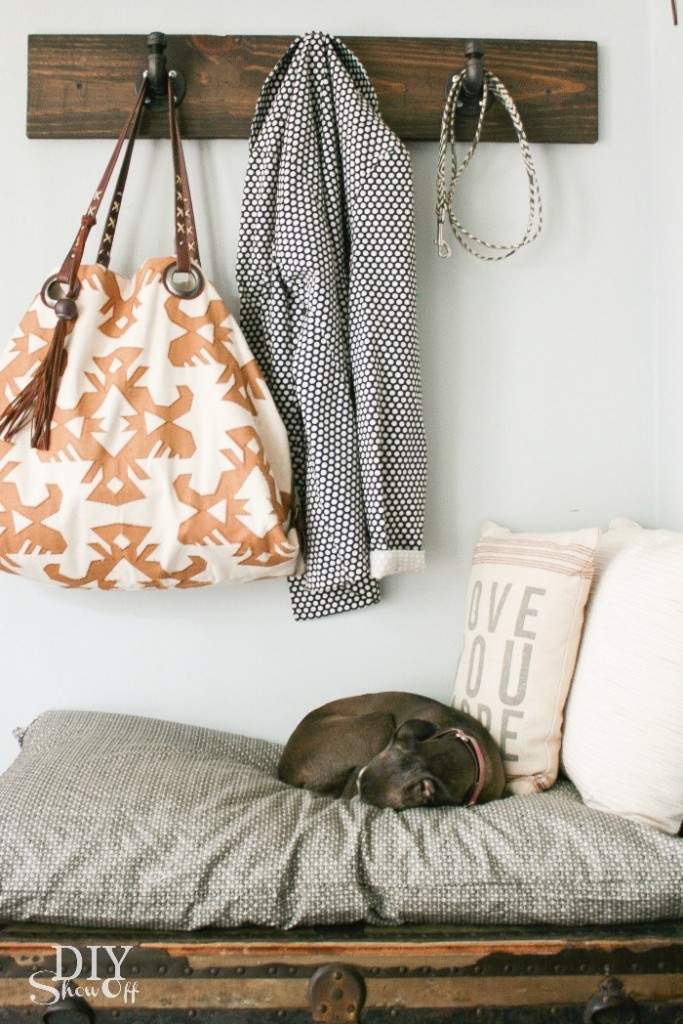
I recently shared the DIY coat rack we’re now utilizing in our sitting room above a vintage trunk used as a bench…

DIY pipe coat hooks @diyshowoff

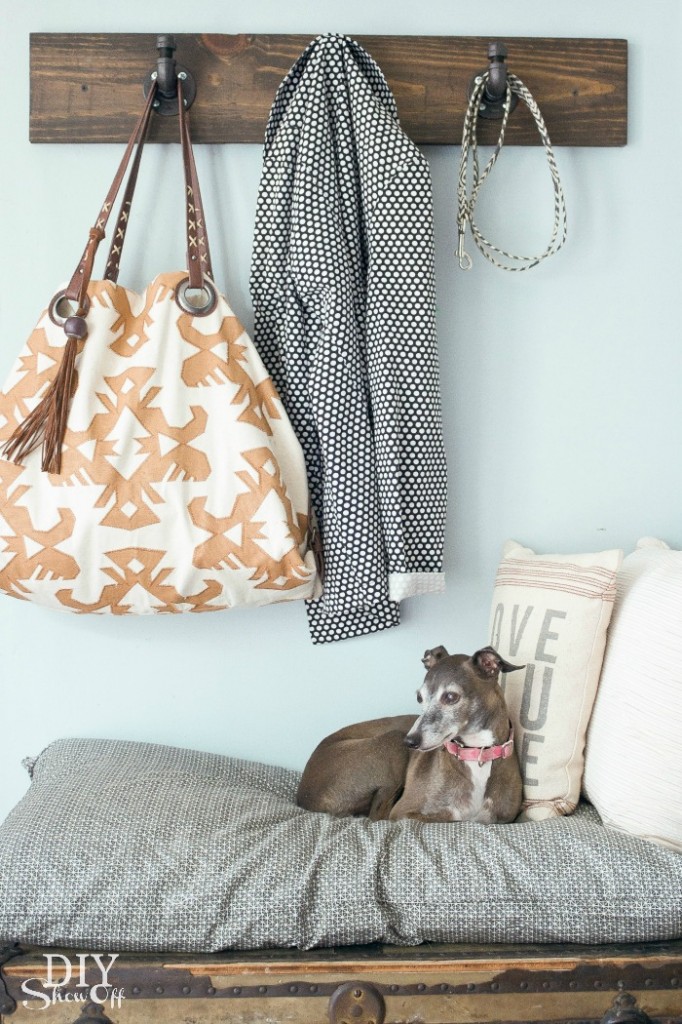
See who loves to rest here? It’s a tiny little Italian greyhound named Rosie…

DIYShowOff Coat Rack and Sign

One more picture. She’s just so stinkin’ cute!

DIYShowOff Coat Rack and Sign

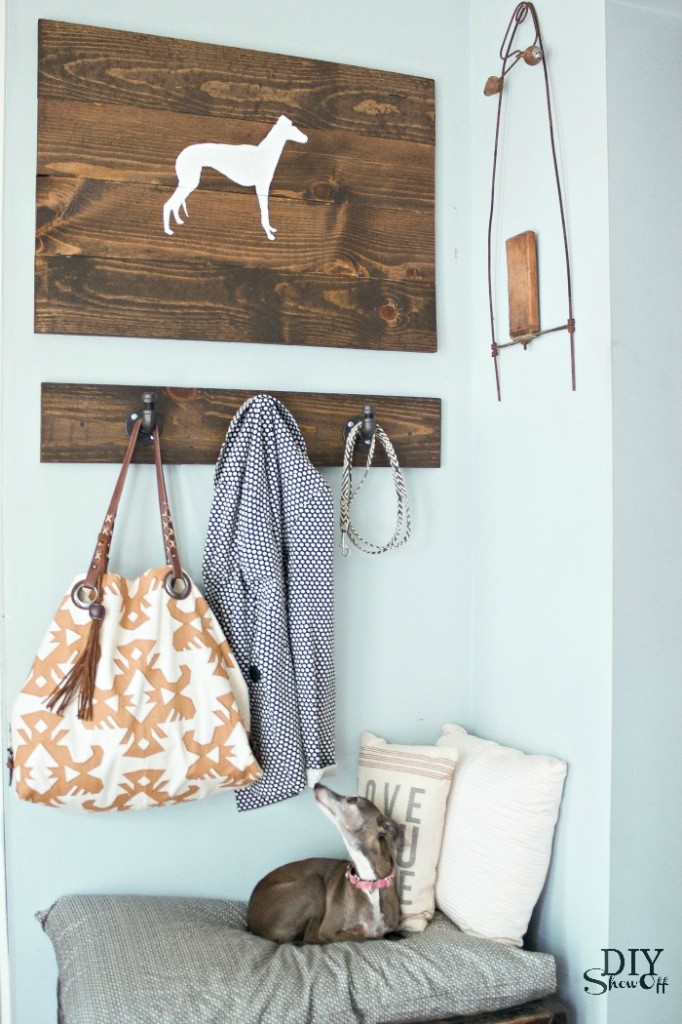
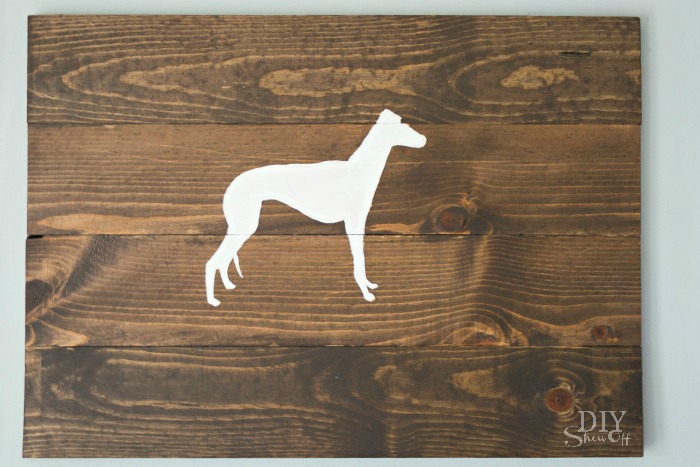
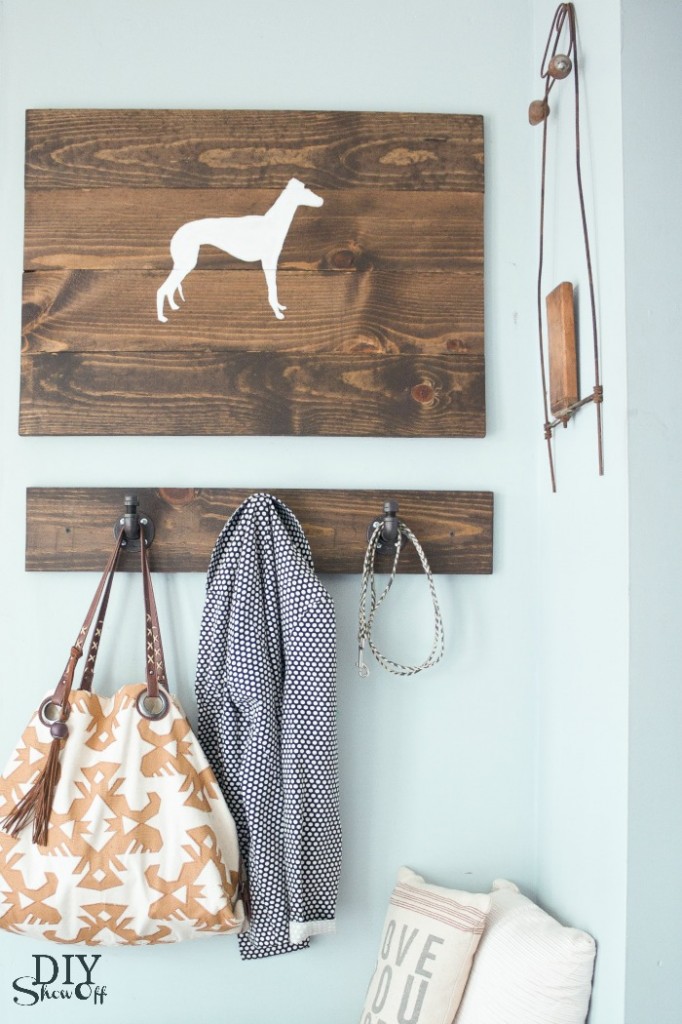
and I’m loving this scrap wood turned silhouette art placed above it. Rosie approves!DIYShowOff Wood Plank Wall Art

Materials I used:

  • scrap 1 x 6 pine boards 
  • RustOleum Ultimate Wood Care (kona)
  • RustOleum Ultimate Polyurethane
  • Gorilla wood glue
  • picture hanging hardware
  • vinyl decal (I used a greyhound shape)
  • white acrylic craft paint

What I did:

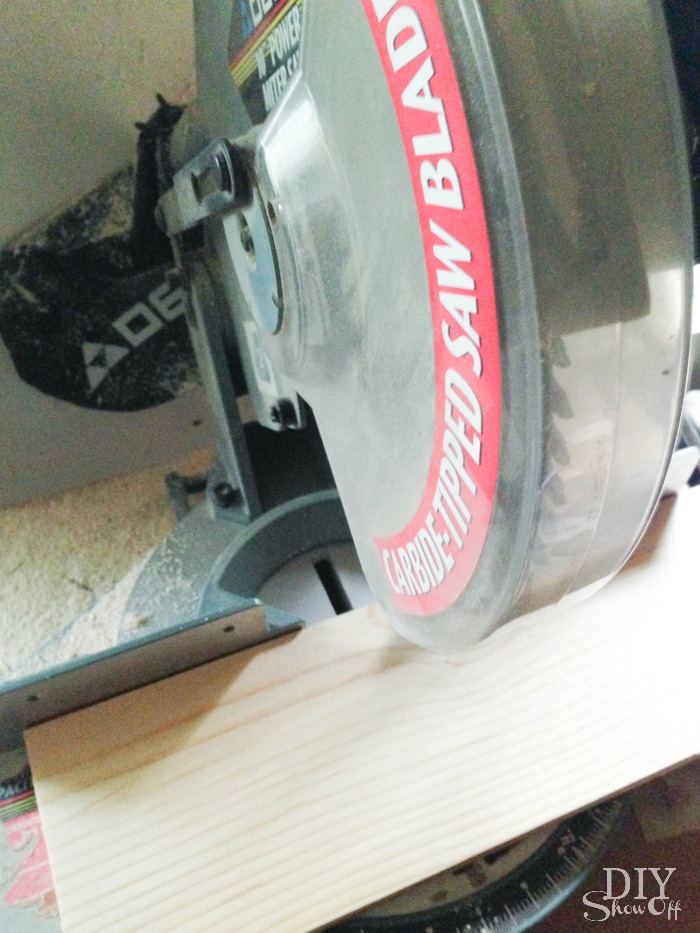
I cut my pine boards so that they all measured the same 30 inches long then sanded the edges. 

DIY wood plank sign tutorial DIY wood plank sign tutorial

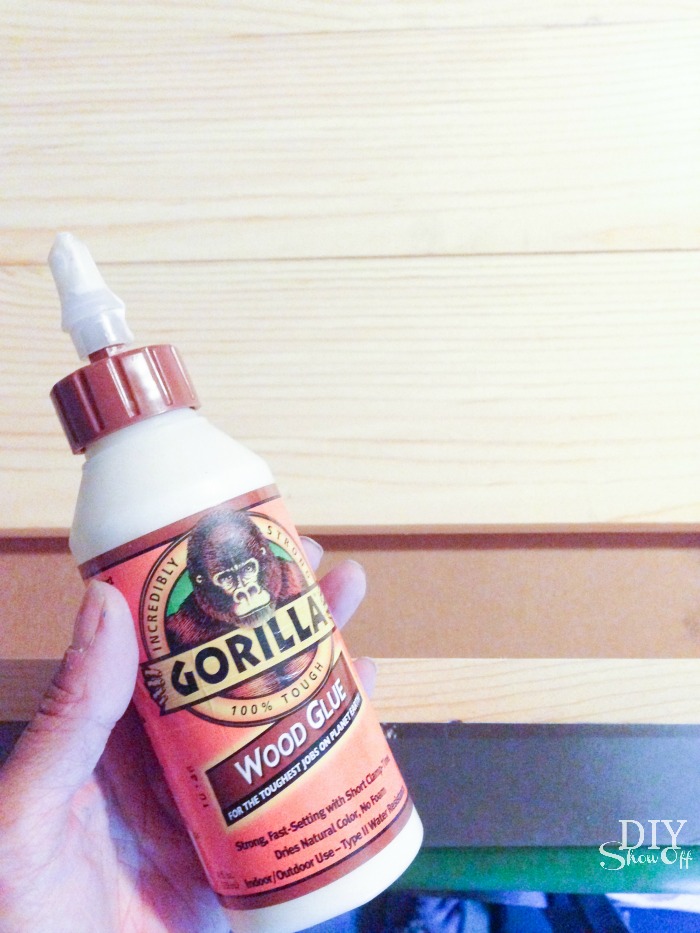
Next I used wood glue and clamps to create a large wood plank canvas. Let dry. 

DIY wood plank sign tutorial

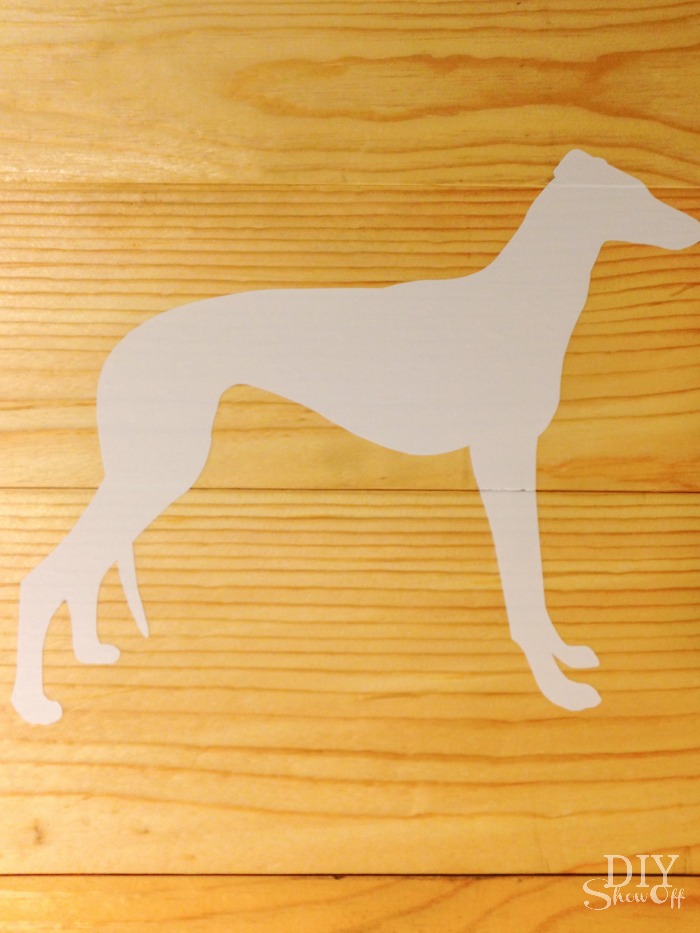
I applied my vinyl decal to the center of my wood canvas, burnishing the edges using my thumbnail. 

DIY wood plank sign tutorial

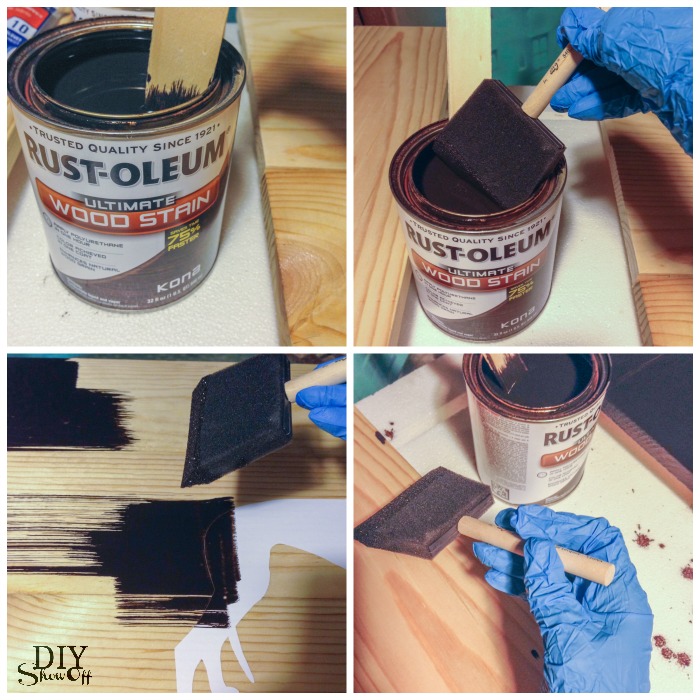
Then using a foam brush, I applied the stain in the same direction as the wood grain.

DIY wood plank sign tutorial

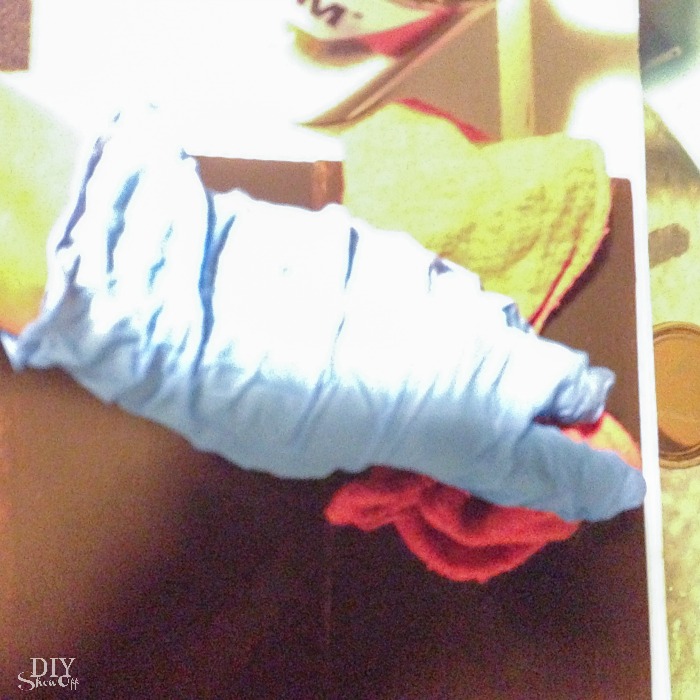
After a few minutes, I wiped away the excess stain, again in the direction of the wood grain, with an old rag. Let dry one hour.

DIY wood plank sign tutorial

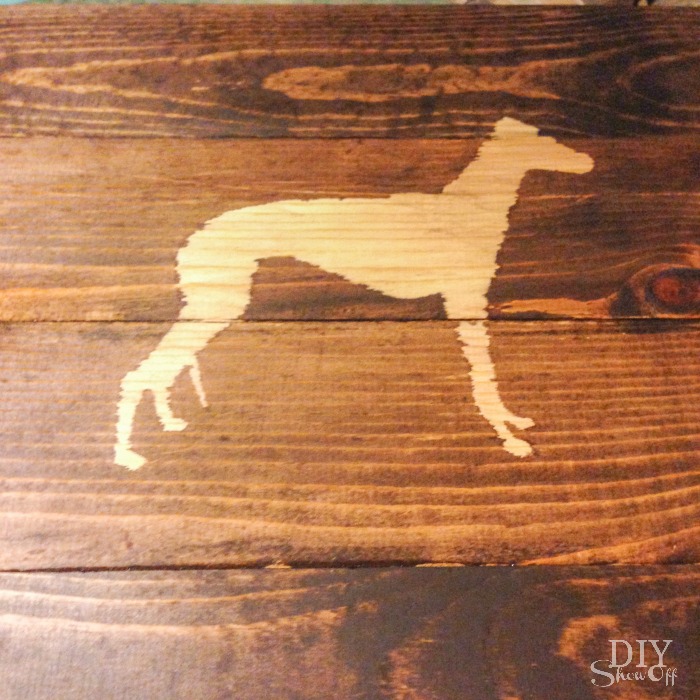
Then I removed the vinyl decal. I was hoping that there wouldn’t be any seeping but there was. No problem! Change of plans. Sometimes DIY doesn’t always go according to plan. 

DIY wood plank sign tutorial

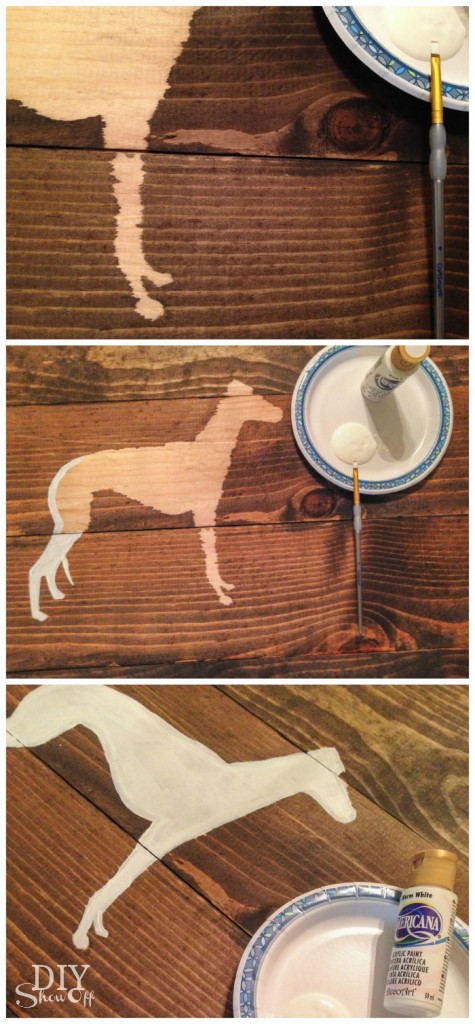
I used a small craft paint brush and white acrylic craft paint to fill in the unfinished portion of the greyhound stencil. Let dry.

DIY wood plank sign tutorial

I then applied a coat of the polyurethane over the stain, brushing on in the direction of the wood grain. Add picture hanging hardware to the back and hang to display.

DIYShowOff Wood Plank Wall Art

Perfect complimentary wall art for above the coat rack. 

Wood Plank Wall Art @diyshowoff

Wood Plank Wall Art @diyshowoff