Silhouette Scrap Wood Wall Art

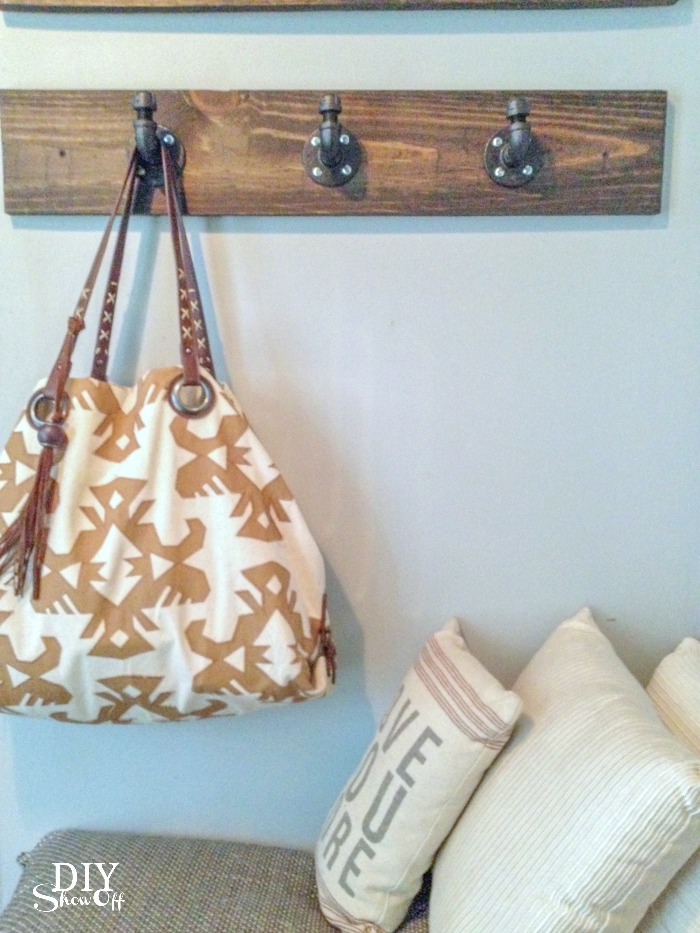
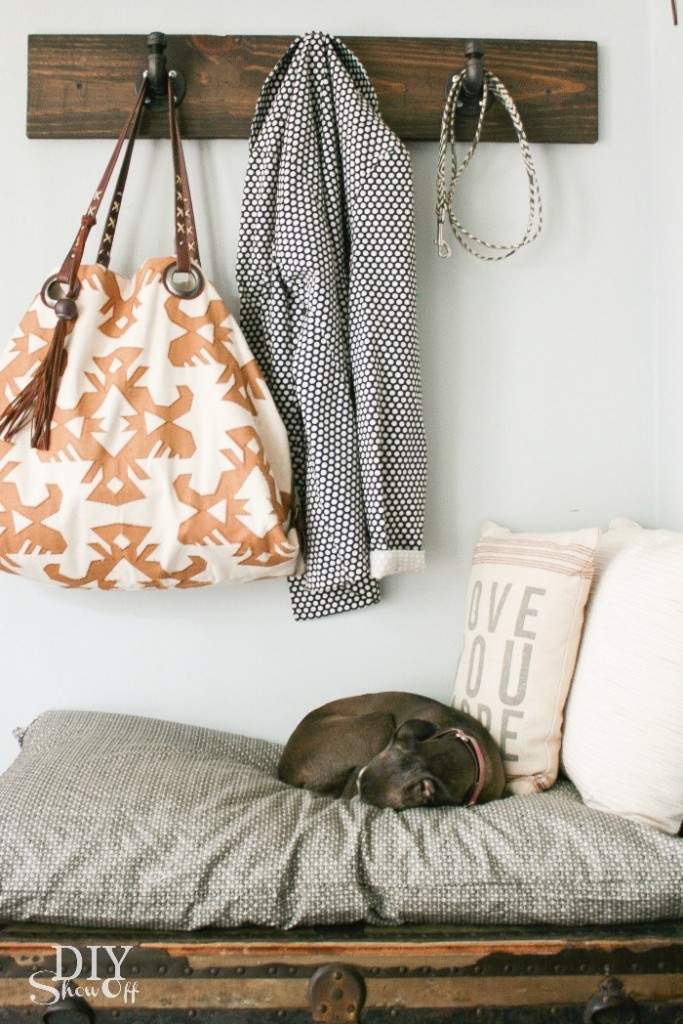
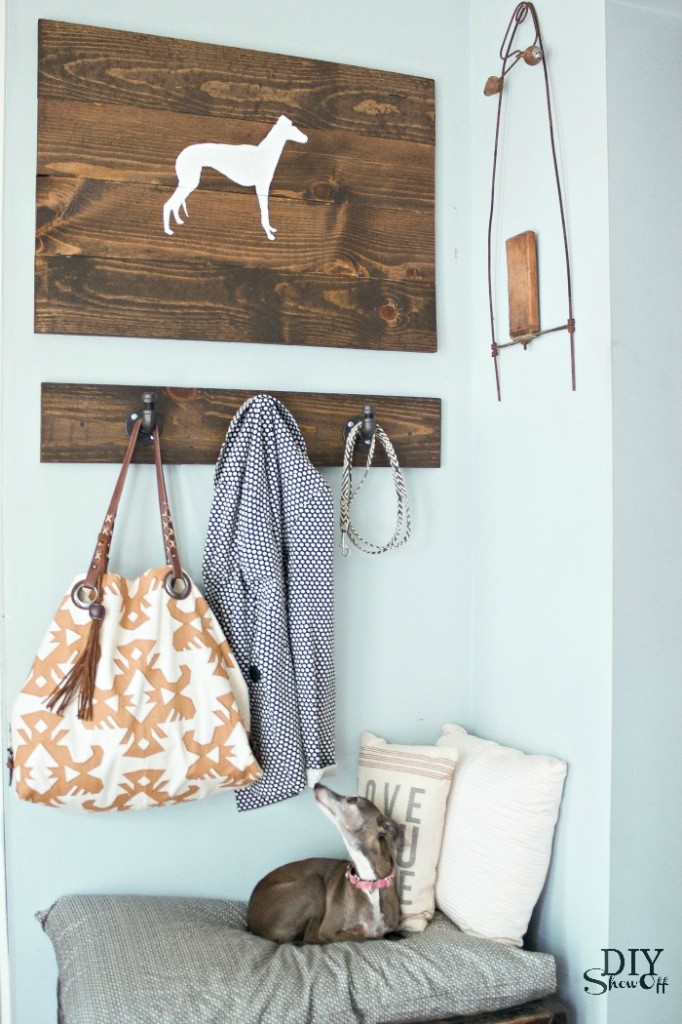
I recently shared the DIY coat rack we’re now utilizing in our sitting room above a vintage trunk used as a bench…

DIY pipe coat hooks @diyshowoff

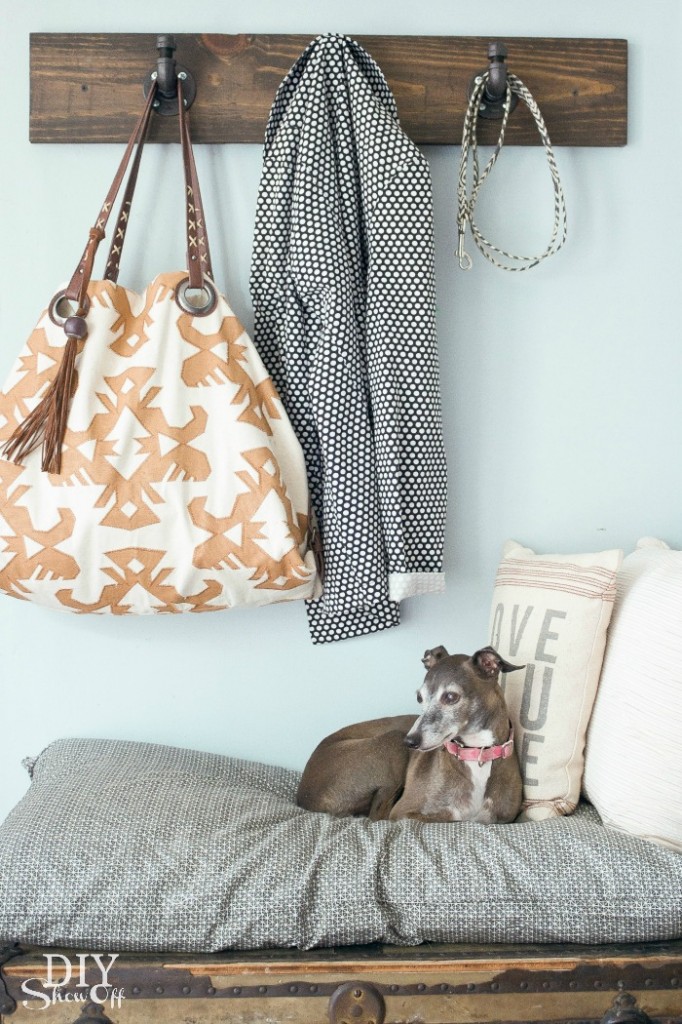
See who loves to rest here? It’s a tiny little Italian greyhound named Rosie…

DIYShowOff Coat Rack and Sign

One more picture. She’s just so stinkin’ cute!

DIYShowOff Coat Rack and Sign

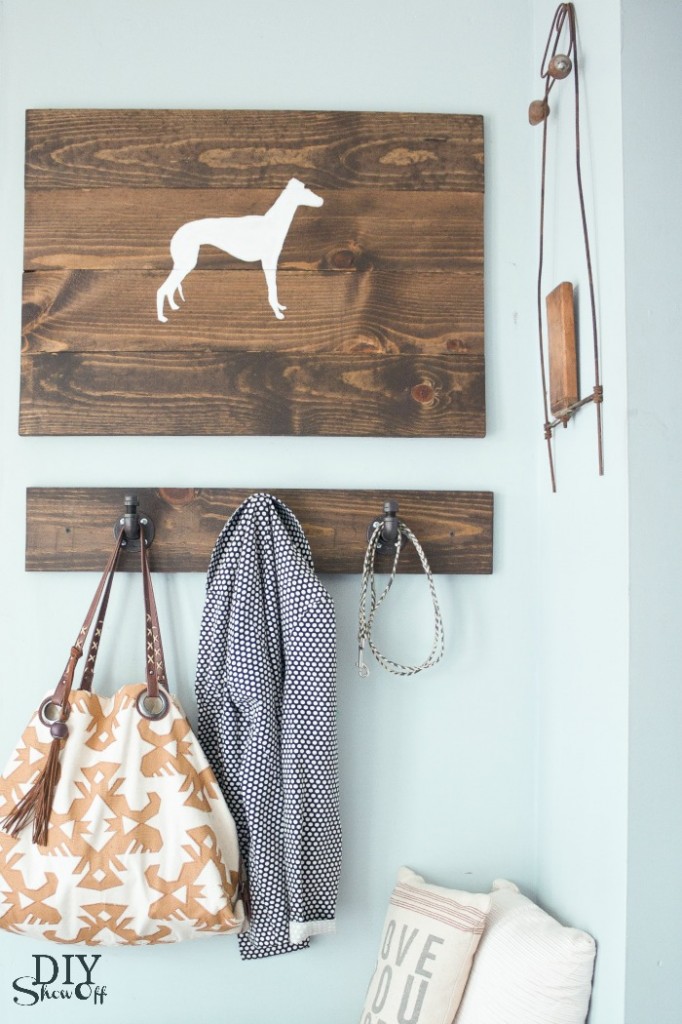
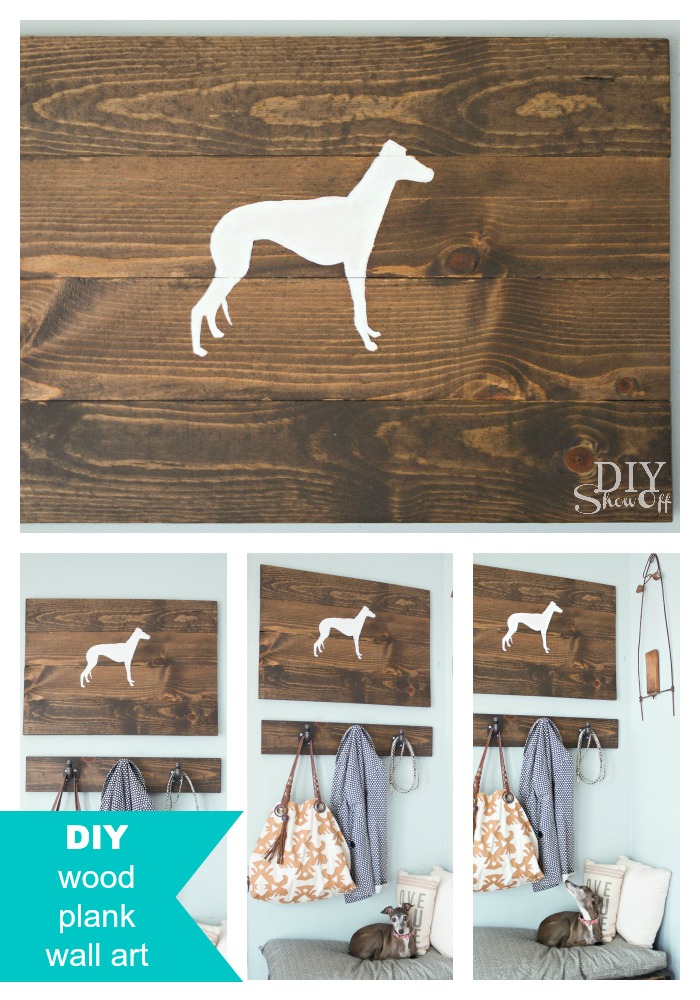
and I’m loving this scrap wood turned silhouette art placed above it. Rosie approves!DIYShowOff Wood Plank Wall Art

Materials I used:

  • scrap 1 x 6 pine boards 
  • RustOleum Ultimate Wood Care (kona)
  • RustOleum Ultimate Polyurethane
  • Gorilla wood glue
  • picture hanging hardware
  • vinyl decal (I used a greyhound shape)
  • white acrylic craft paint

What I did:

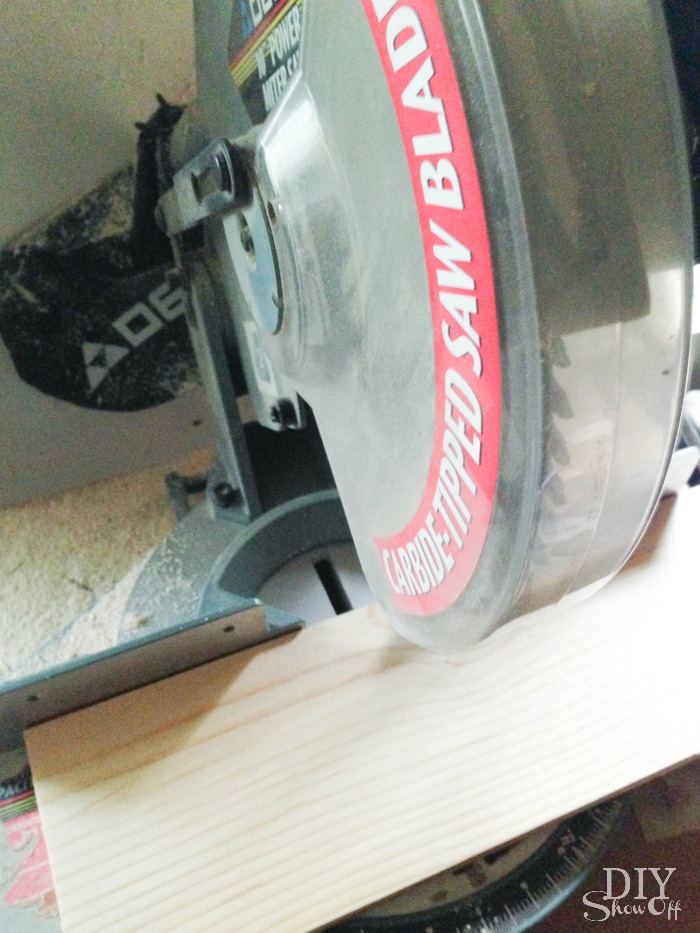
I cut my pine boards so that they all measured the same 30 inches long then sanded the edges. 

DIY wood plank sign tutorial DIY wood plank sign tutorial

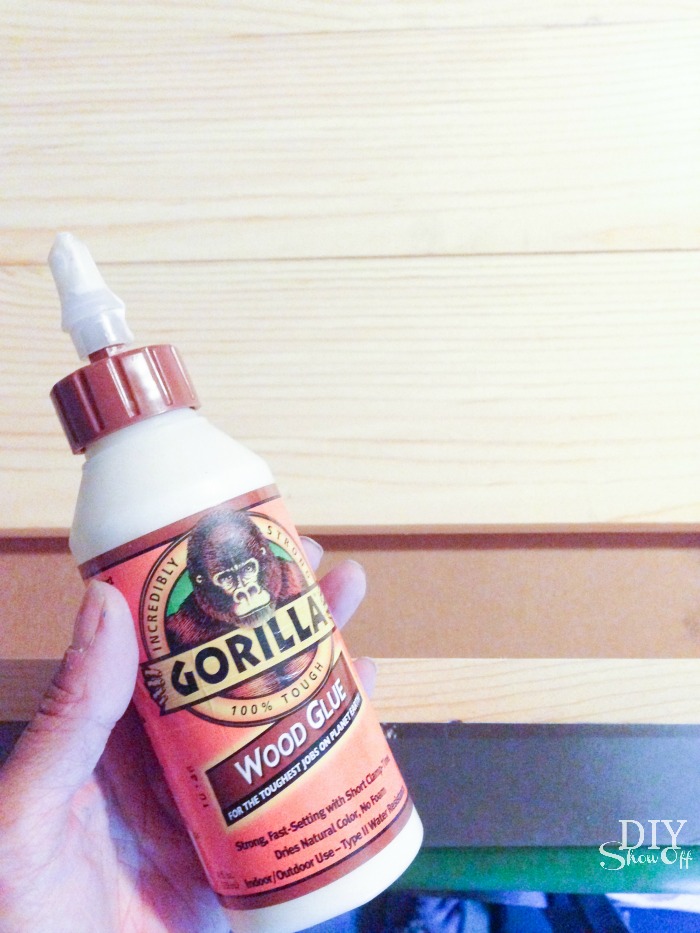
Next I used wood glue and clamps to create a large wood plank canvas. Let dry. 

DIY wood plank sign tutorial

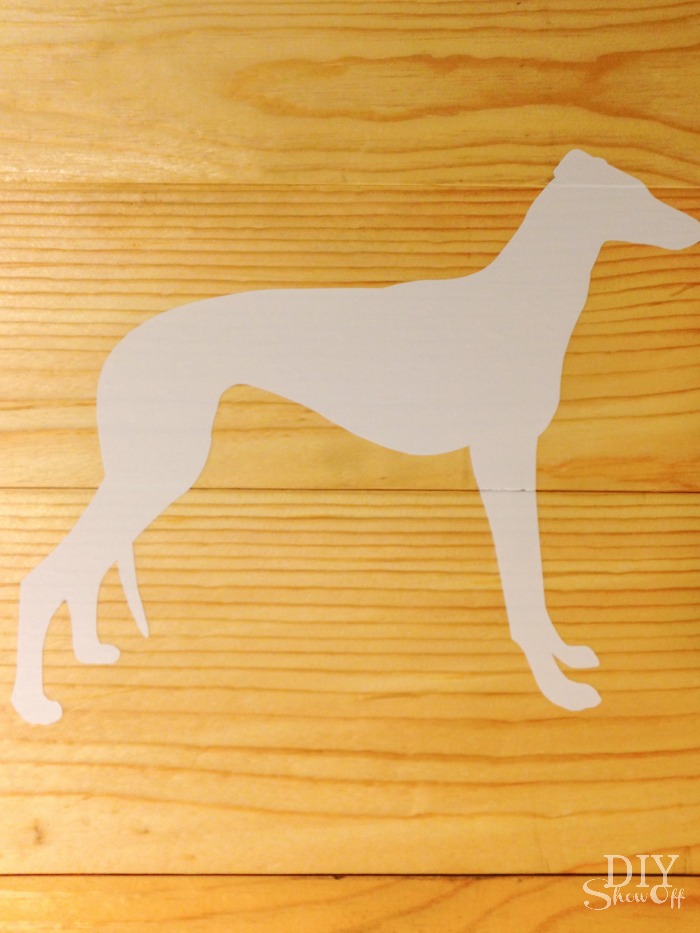
I applied my vinyl decal to the center of my wood canvas, burnishing the edges using my thumbnail. 

DIY wood plank sign tutorial

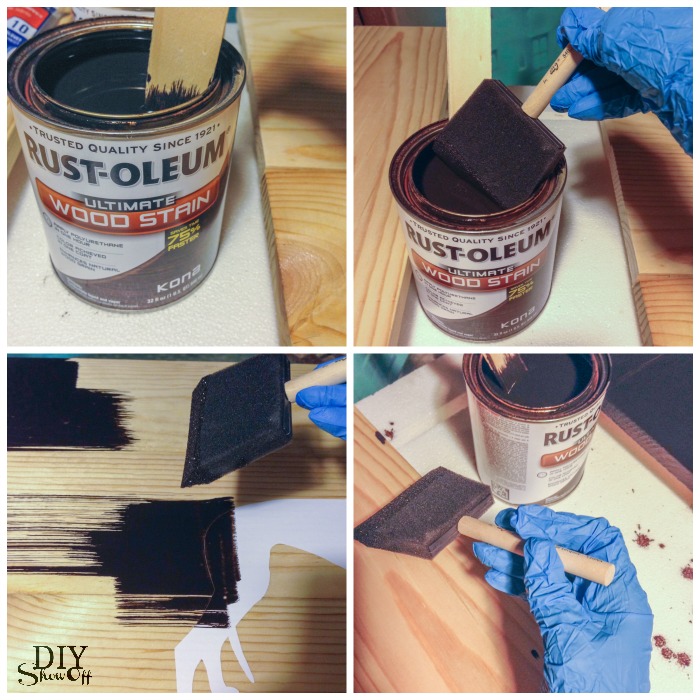
Then using a foam brush, I applied the stain in the same direction as the wood grain.

DIY wood plank sign tutorial

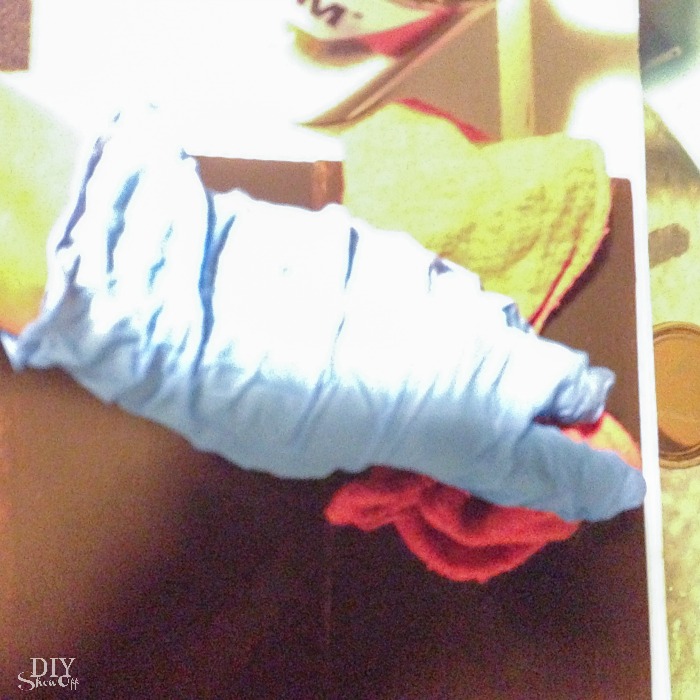
After a few minutes, I wiped away the excess stain, again in the direction of the wood grain, with an old rag. Let dry one hour.

DIY wood plank sign tutorial

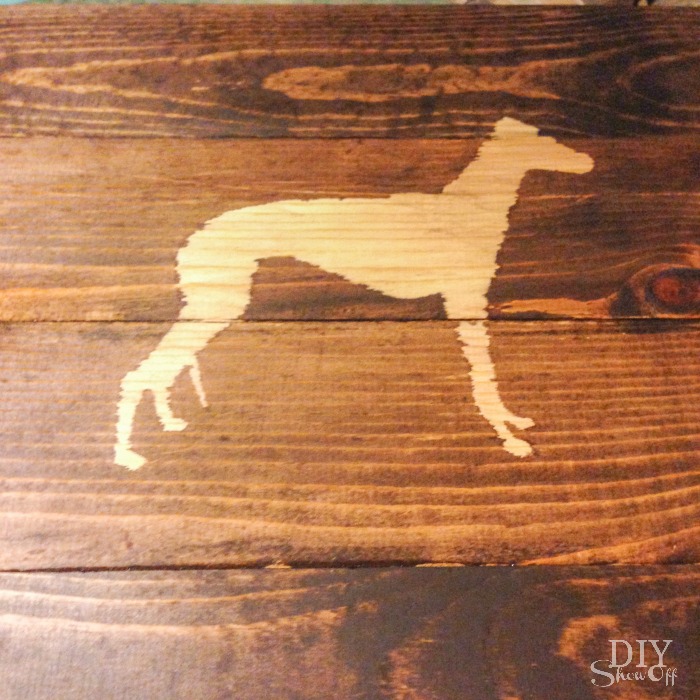
Then I removed the vinyl decal. I was hoping that there wouldn’t be any seeping but there was. No problem! Change of plans. Sometimes DIY doesn’t always go according to plan. 

DIY wood plank sign tutorial

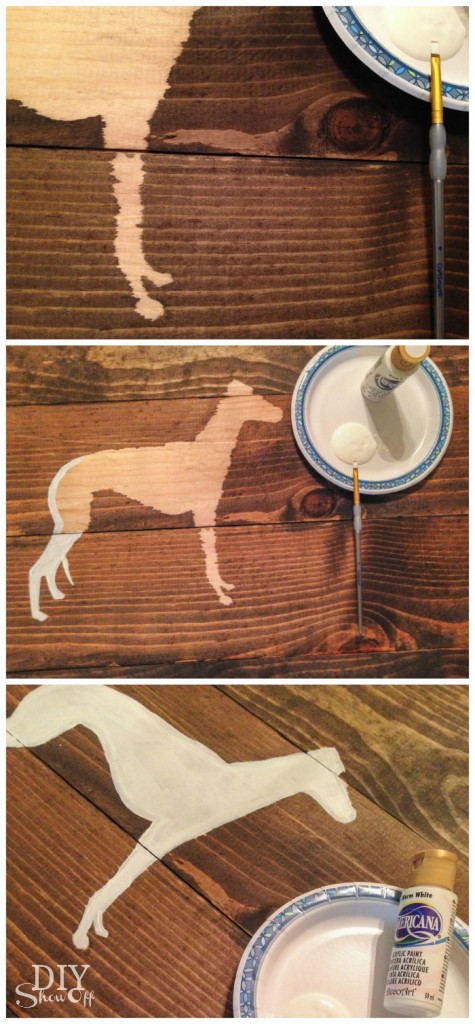
I used a small craft paint brush and white acrylic craft paint to fill in the unfinished portion of the greyhound stencil. Let dry.

DIY wood plank sign tutorial

I then applied a coat of the polyurethane over the stain, brushing on in the direction of the wood grain. Add picture hanging hardware to the back and hang to display.

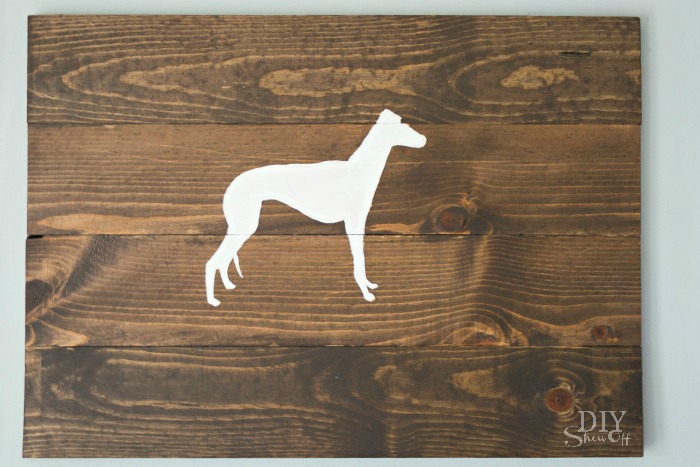
DIYShowOff Wood Plank Wall Art

Perfect complimentary wall art for above the coat rack. 

Wood Plank Wall Art @diyshowoff

Wood Plank Wall Art @diyshowoff

DIY Hanging Organizer (for peg hooks)

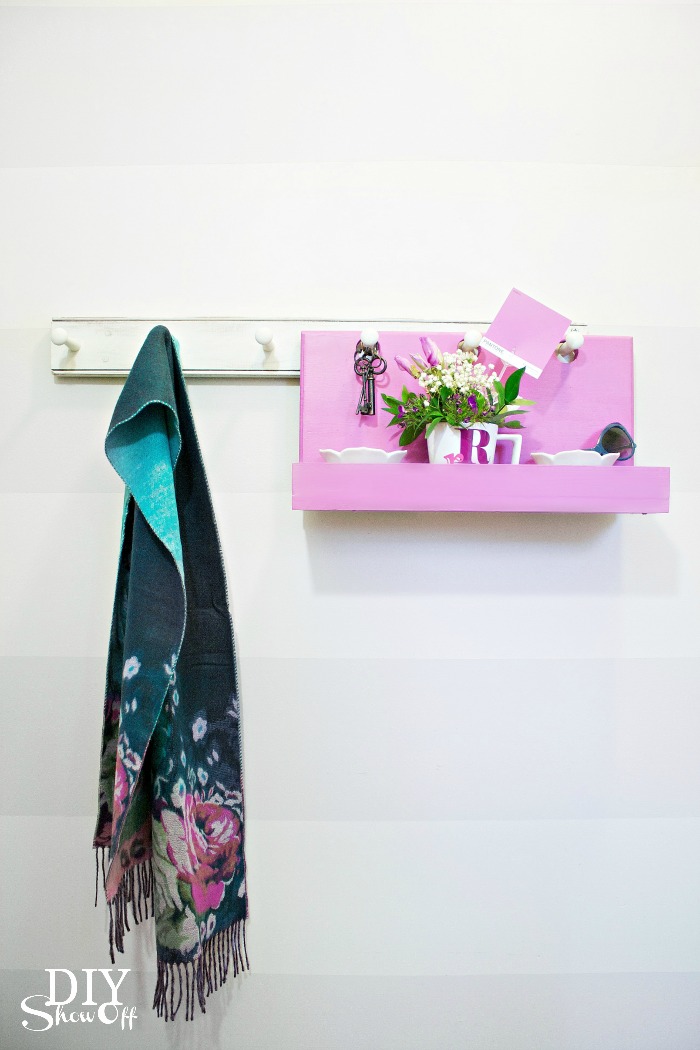
How do you add a fun pop of color to an otherwise neutral room? Try Pantone’s Color of the Year for something you may not normally choose. The Lowe’s Creative Idea March challenge was to use Valspar’s Radiant Orchid. Just a small touch adds elegance to my white and gray space. 
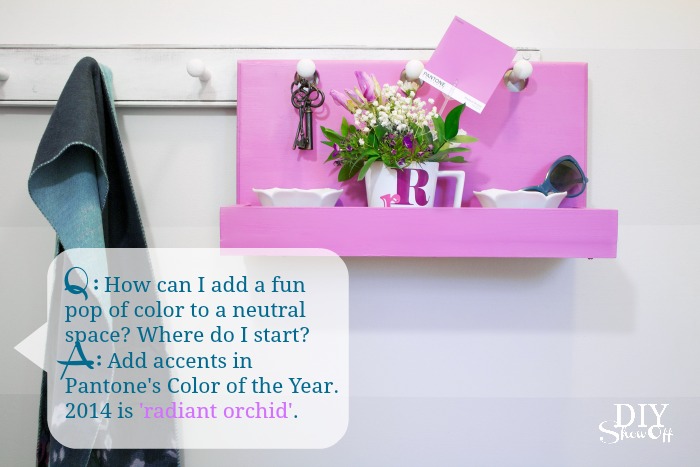
Pantone Color of the Year Radiant Orchid

Inspired by PB’s Gabrielle system, I created a wooden peg hook organizing caddy from scrap wood. 
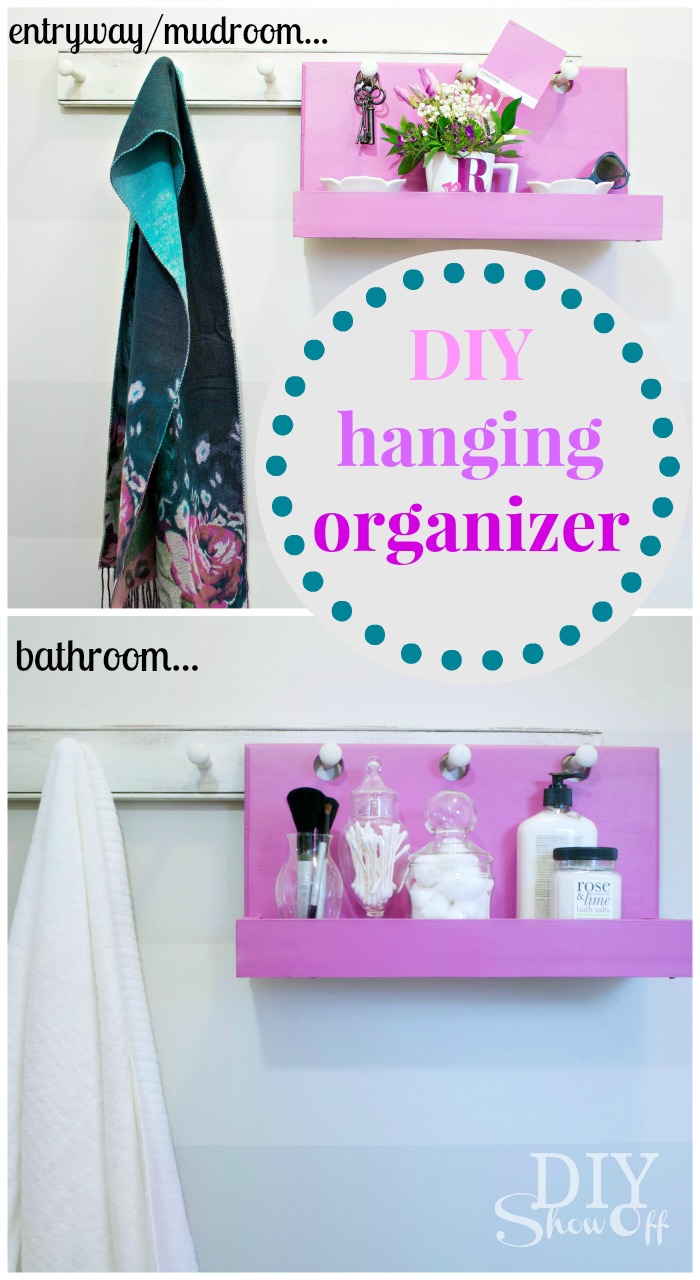
DIY Hanging Organizer Tutorial

Materials I used: Most of my wood was purchased at Lowe’s and is left over from previous projects with the exception of the .50 yard sale find piece shown below. Adjust measurements according to your own needs or scrap wood measurements. Inexpensive pine works well for this project.

  • 1″ x 10″ x 18 1/2″ (back)
  • 1″ x 6″ x 18 1/2″ (bottom)
  • 1″ x 2″ x 4″ (sides)
  • 1″ x 2″ x 18 1/2″ (front)
  • 1″ deep (or however thick your peg hook rack is)  x 1″ tall  x 6″ wide (back stop piece)
  • Gorilla Wood Glue
  • 1 1/2″ wood screws
  • Wood filler
  • Valspar Radiant Orchid 

What I did:

Mark the center top of the back piece of wood. Hold up to a peg on your coat rack, lining the center with the center of a peg. On the wood, mark the center of each peg placement.
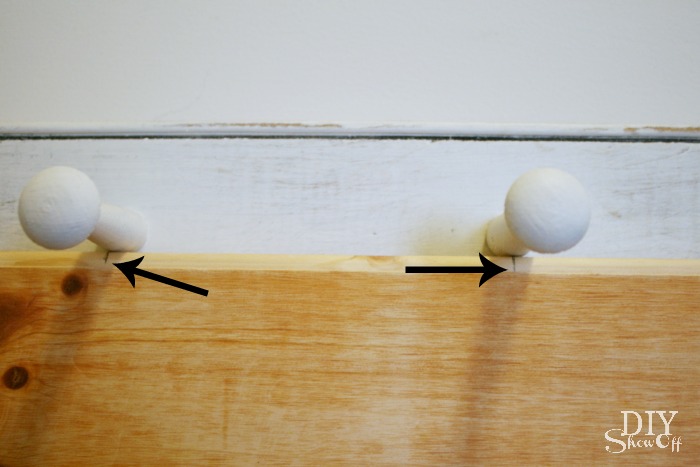
DIY peg hook caddy tutorial

Decide which hole saw bit is just a little bigger than the pegs. 
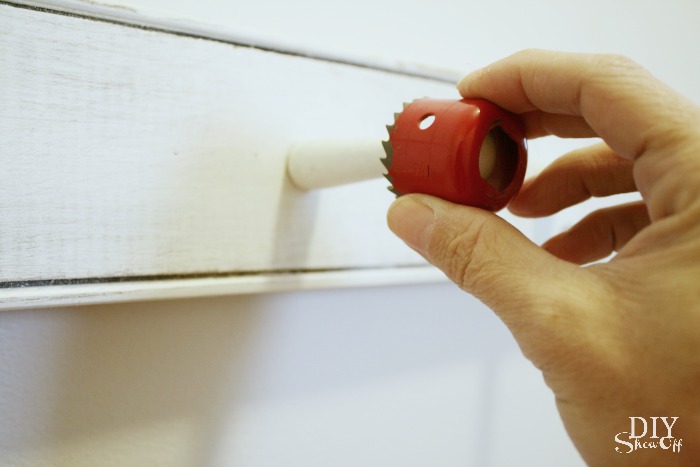
DIY peg hook caddy tutorial

You’ll want your holes to be near the top end. I used a ruler to measure down about 2″ from the top and a level to make a cross mark to show the center of each hole. Drill tiny pilot holes where the pencil marks meet.
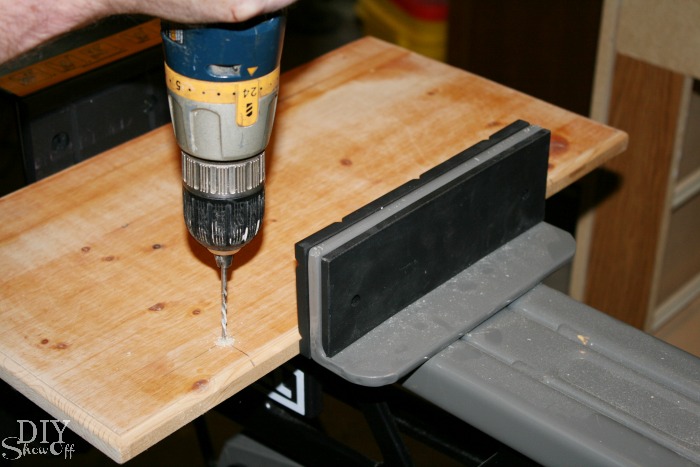
DIY peg hook caddy tutorial

Attach the hole saw bit to your drill and using the pilot hole as a guide for the center drill bit, drill/cut holes. I think our hole saw bit is a little dull so the back side of my wood is splintered. (Thankfully no one will see that side!)
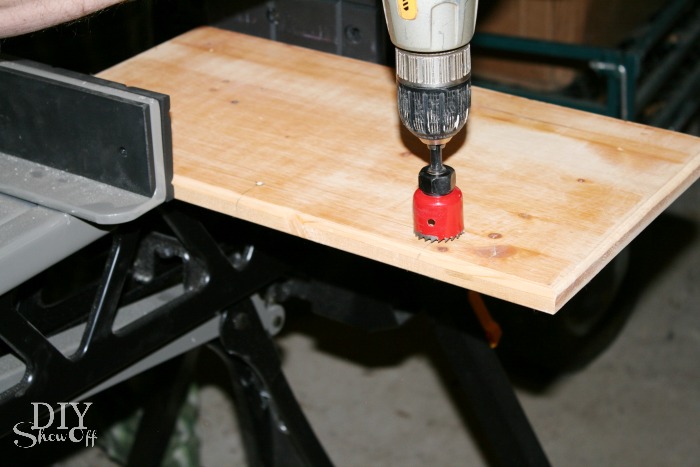
DIY peg hook caddy tutorial

Sand and wipe clean all wood pieces. Hang on pegs to ensure holes line up.
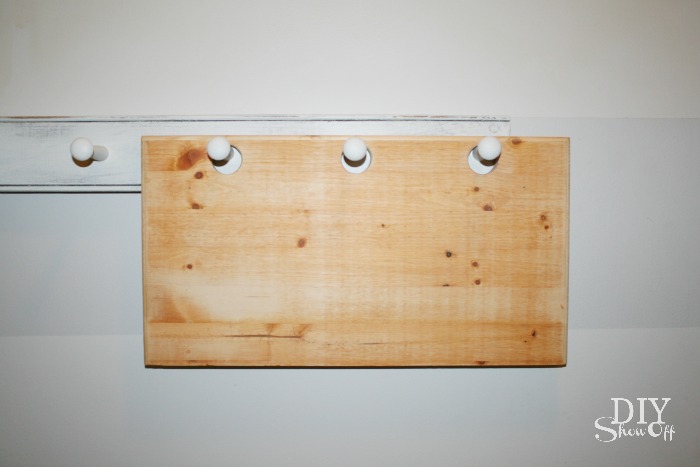
DIY peg hook caddy tutorial

Using wood glue, wood screws and clamps, assemble your caddy and let dry. I attached my screws from the bottom and back so they weren’t seen but you could also countersink screws, fill and sand.
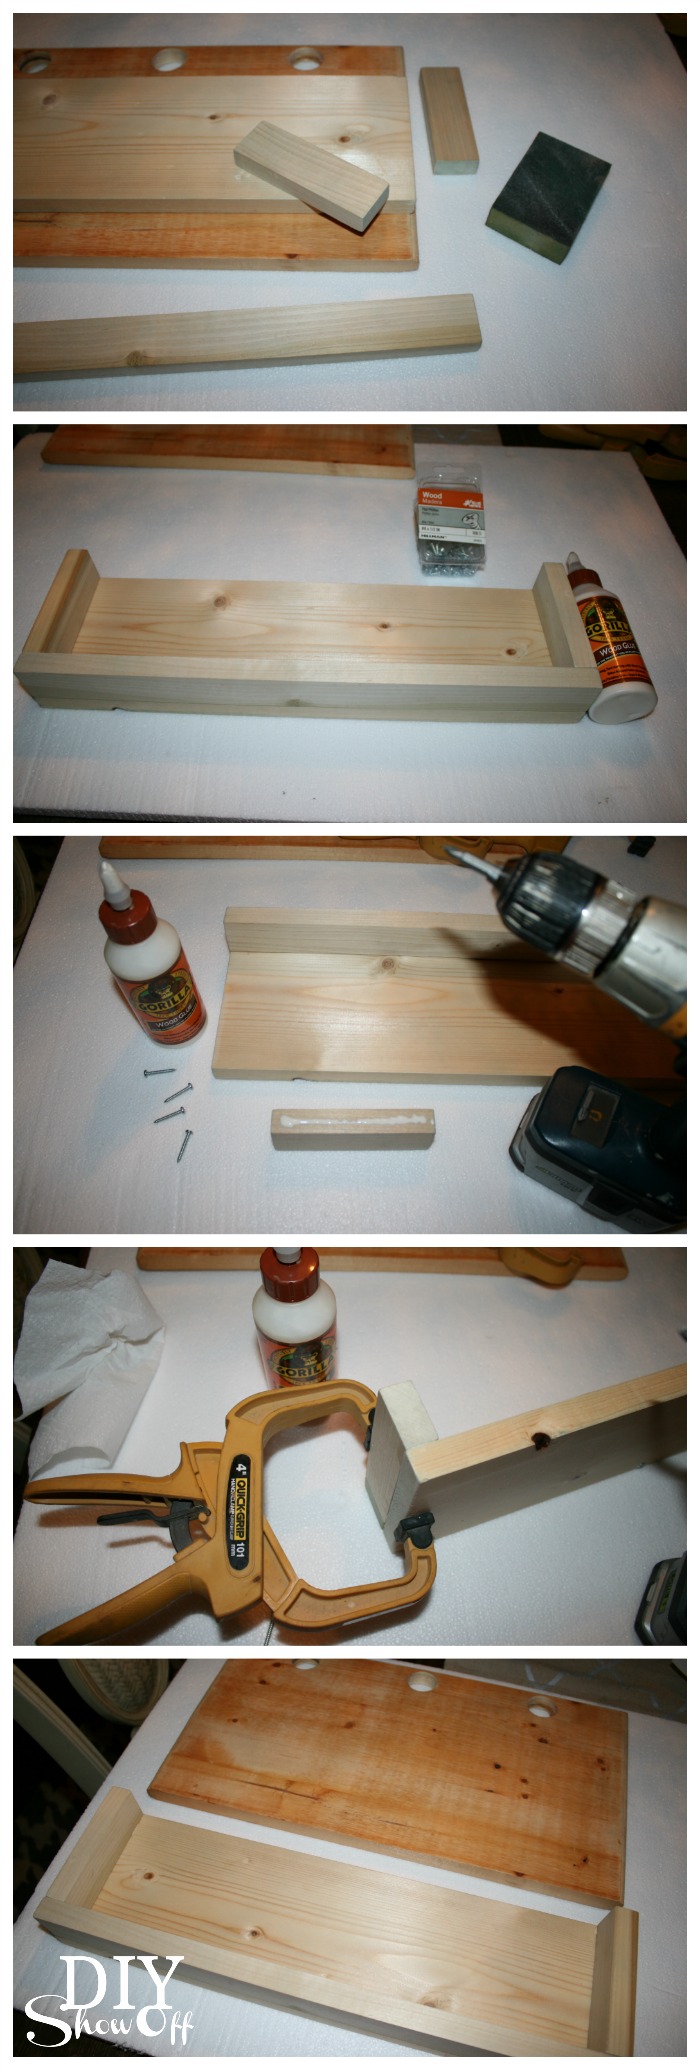
DIY peg hook caddy tutorial

I thought that was it for the construction until I tested it hanging on my peg hooks. Oops, front heavy. Using just wood glue and a clamp, I attached the back stop piece to the center bottom of the back. This ensures that the caddy will hang level.
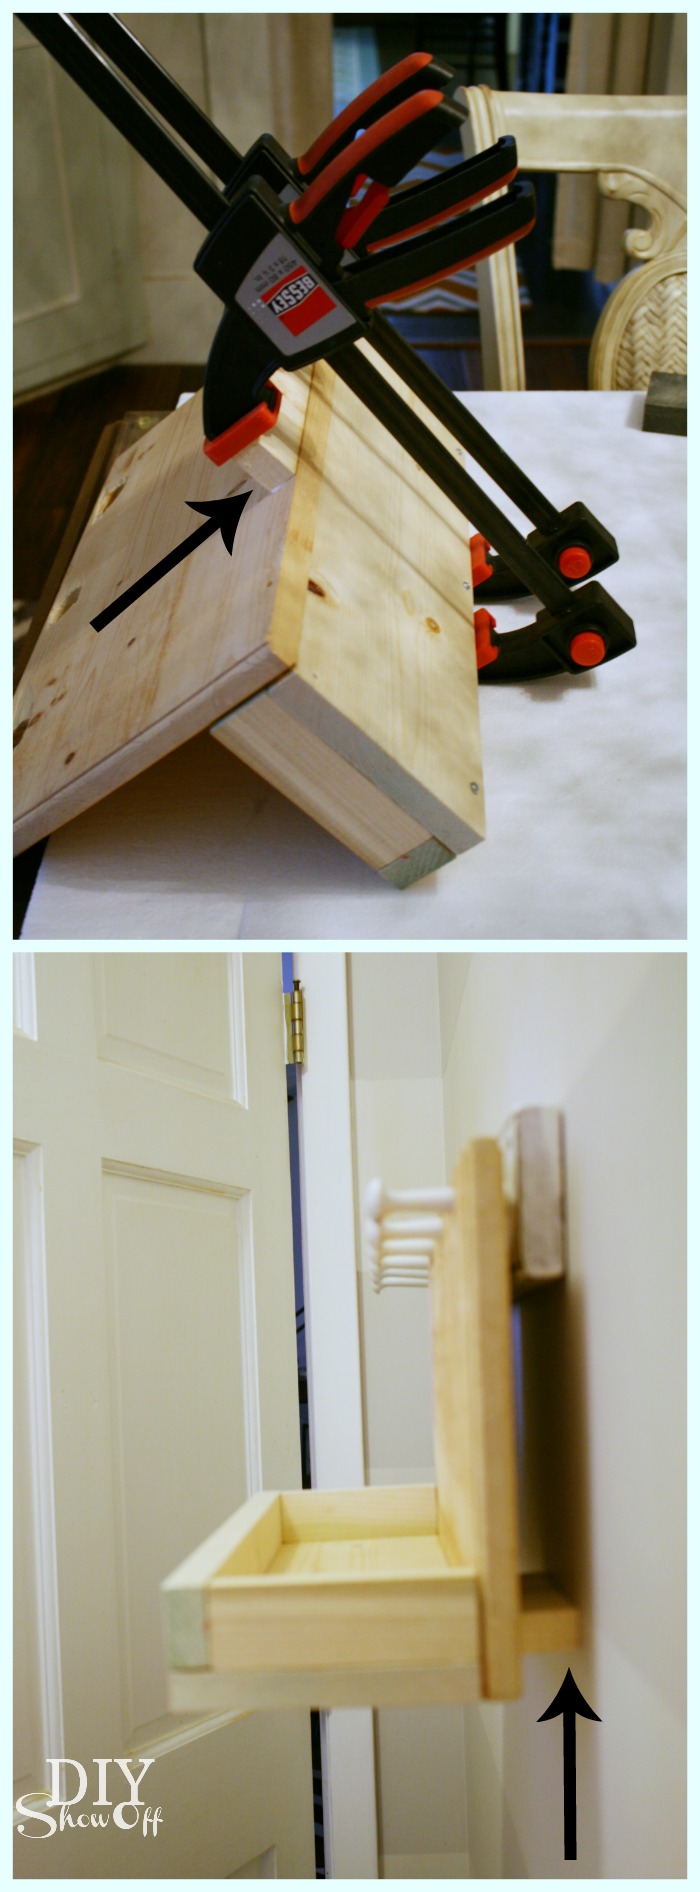
DIY peg hook caddy tutorial

Using wood filler, fill all seams and cracks. Let dry, sand smooth and wipe clean. 
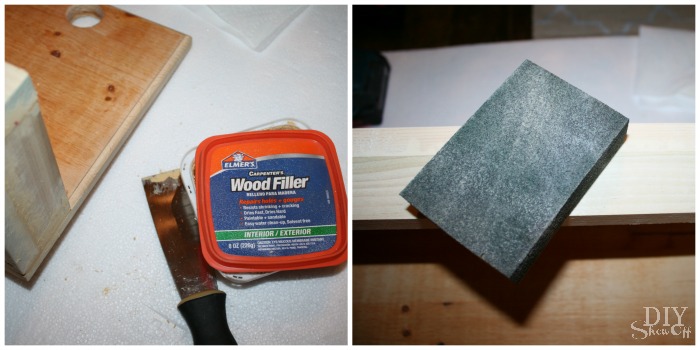
DIY peg hook caddy tutorial

Paint the entire wood caddy. Mine took two coats. Radiant Orchid wouldn’t have been my first choice but it’s growing on me and it’s nice to do something bold and fun for a change. I love the Valspar sample size paint…more than enough and perfect for adding colorful accents. Down the road all it takes is a new coat of a different color to re-freshen things up. 
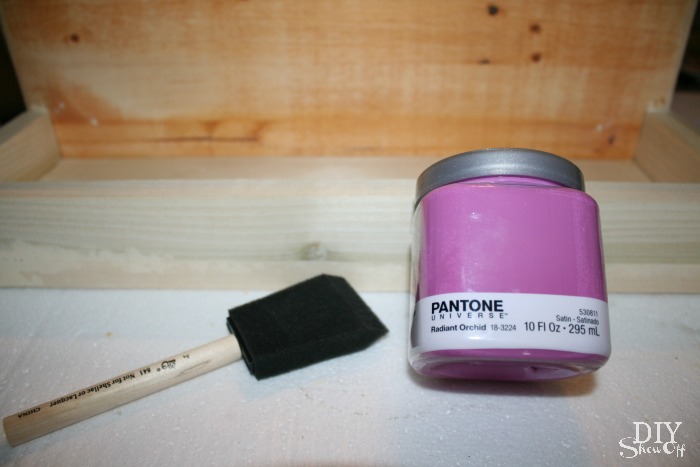
DIY peg hook caddy tutorial


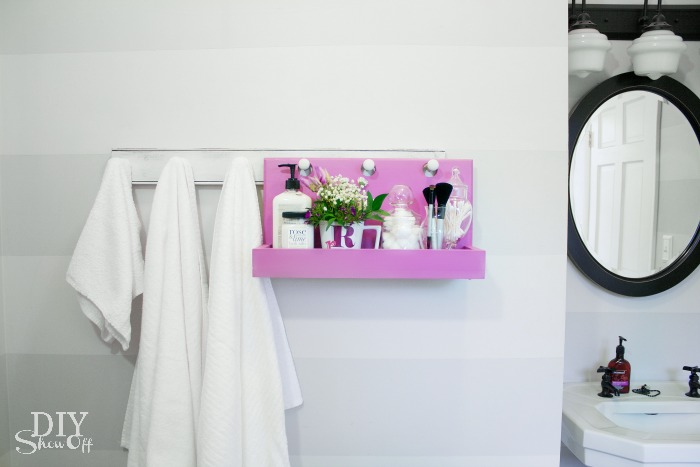
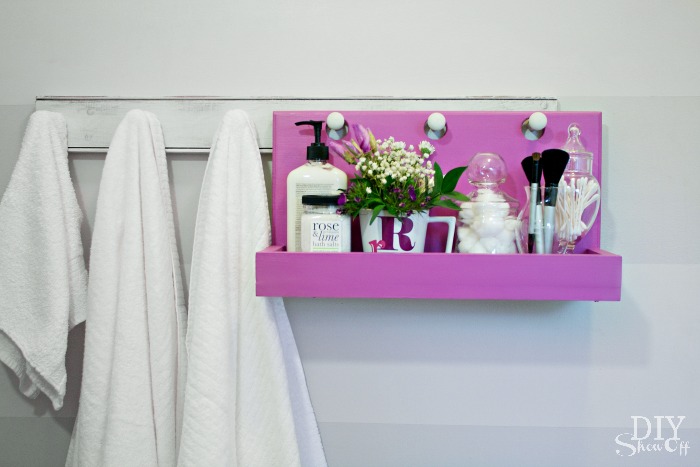
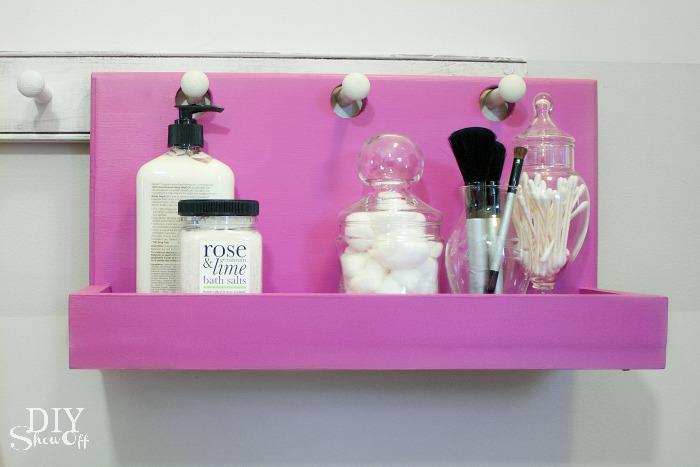
Now I have a shelf/tray for decorative items, toiletries in the bathroom
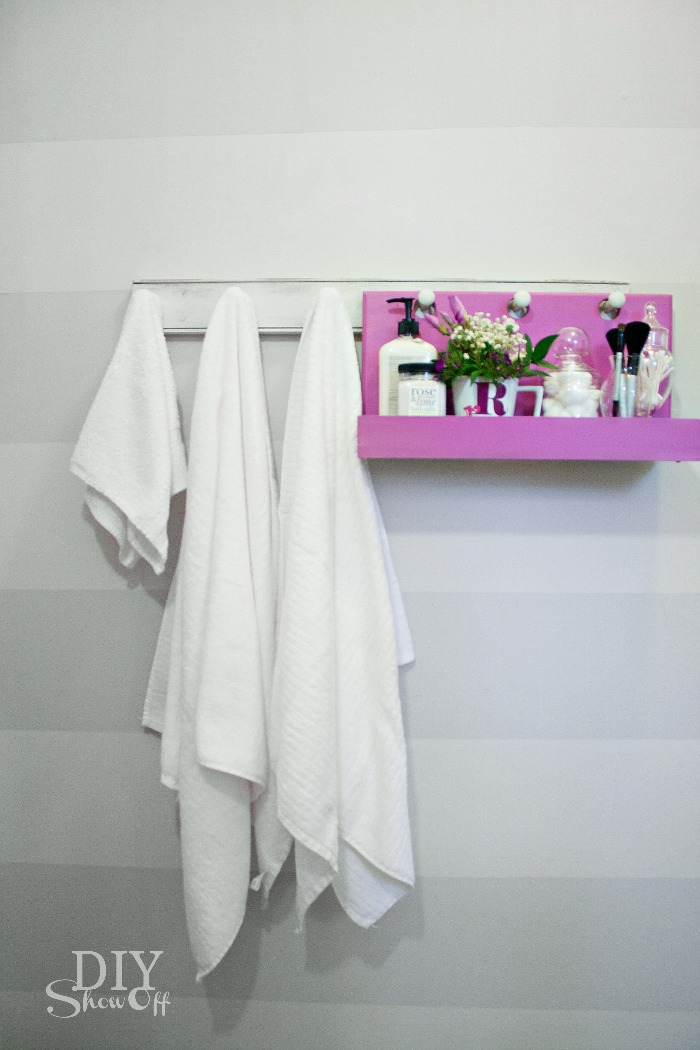
bathroom organization - DIY peg hook hanging shelf

DIY hanging peg hook organizer

hanging peg hook organizer

bathroom peg hook hanging organizer

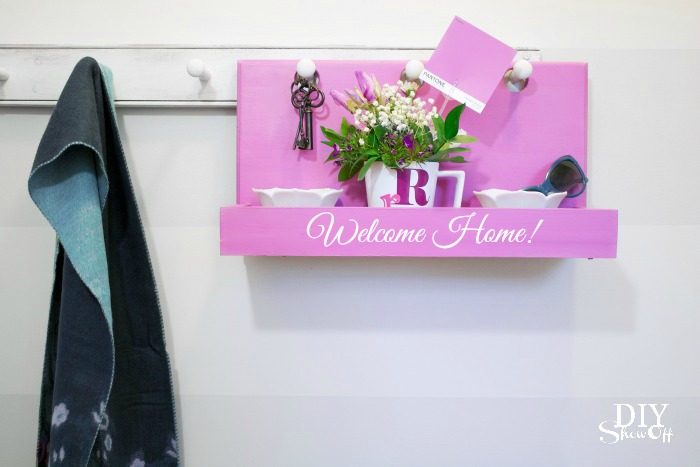
Great for keys, wallet, sunglasses, change, cell phone near the door in the mudroom or entryway. 
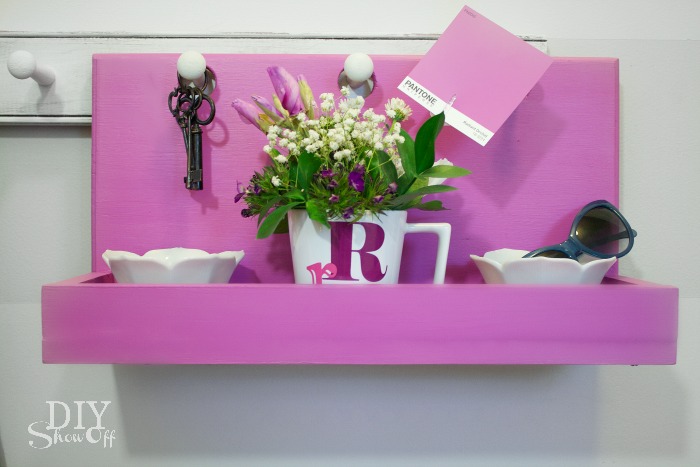
Peg Hook Hanging DIY Organizer

DIY peg hook mudroom entryway organizing hanging caddy

PB inspired peg hook shelf caddy organizer

My peg hook is located in my bathroom but I’d really love to have something like this near the door as well. How about you? 

More DIY ideas at Lowe’s Creative Ideas, follow Lowe’s on InstagramPinterest and sign up for the Creative Ideas magazine and app!    

LCI

*Disclaimer: As a member of the Lowe’s Creative Ideas Creators and Influencers network, I received a Lowe’s gift card to complete this challenge. As always, all ideas and opinions are in my own words. The blog post above is what worked for me. Results may vary. Remember to work in a well-ventilated area and to take the proper safety precautions.
Ana White ~The Handbuilt Home {giveaway}

Note: This giveaway is now closed. Winner is Bre! Congratulations! Bre has been contacted by email. Winner was selected randomly using the PickGiveawayWinner WP plug in.

DIY Blog Crush: As a long time DIY blogger, I’m no stranger to Ana White’s awesome DIY building talent. This girl has some crazy awesome DIY skills!

Ana White with daughter, Grace

Her beautiful DIY furniture plans have been sitting on my ‘to-do’ list for years as I work up the courage to actually try building something. I’ve conquered my fear of power tools, but the idea of actually building something from scratch has been a little daunting. When Ana’s new book was recently released, I knew I had to have it and pre-ordered it right away! Guess what. It’s here!

Designer Furniture for a Fraction of the
Retail Cost? Yes, You Can Build That.

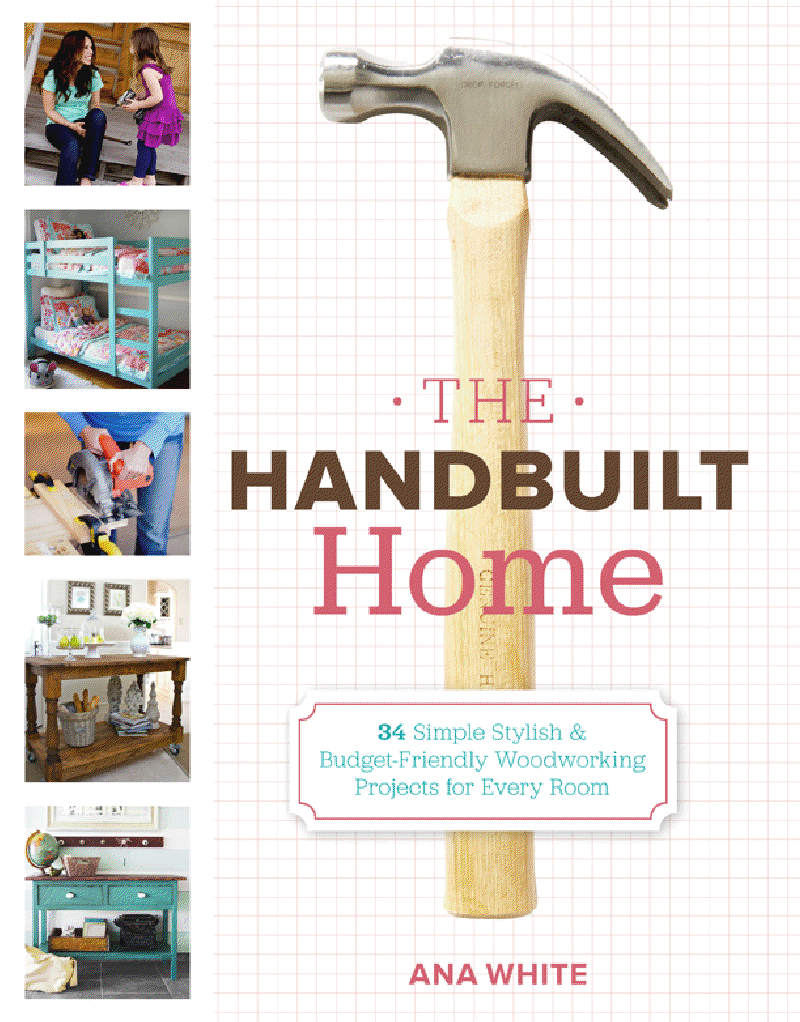
The Handbuilt Home shares 34 simple, budget-friendly woodworking projects! As if her blog isn’t inspiration enough, having a physical resource in my hand is motivation to just get over my fears already and just do it already!

{flip top storage bench plans}

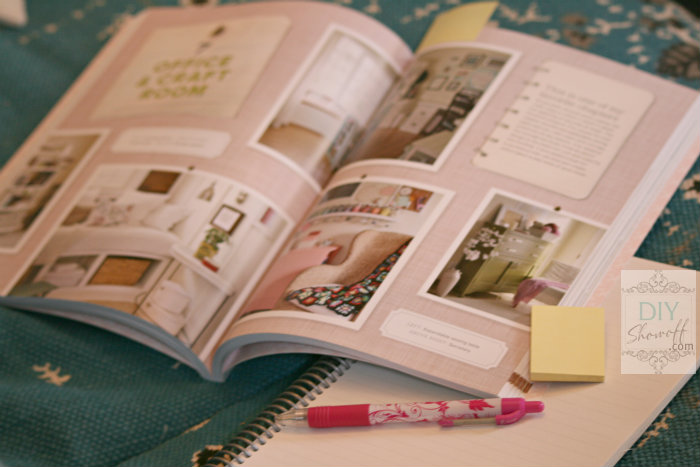
What I love most about the book? Not only does she share the details on how to build some gorgeous furniture, she also features some of our super talented DIY friends and shares their projects using her plans. How awesome is that?! So not only is the book filled with step by step ‘how to’ instructions, there’s some beautiful after shots created by DIY’ers we know. You can see a sneak peek of The Handbuilt Home here. I’m really enjoying going through and bookmarking things I love, adding ideas to my DIY notebook…
DIY handbuilt home book

Press Release: Forget IKEA hacks and glue guns. Ana White, a young homemaker, is revolutionizing the furniture building industry, designing DIY furniture plans that rival the styles of Pottery Barn and Crate & Barrel and cost 1/10 of the purchase price to make. Using basic tools and hardware store supplies, Ana’s THE HANDBUILT HOME teaches readers how to build everything from bookcases to beds to kid-friendly items and storage solutions, even if they don’t have any woodworking experience. And the best part? Building your own furniture means you can customize it for your home and save thousands of dollars off the cost of buying it. Packed with 34 of Ana’s favorite projects, THE HANDBUILT HOME includes easy-to-follow instructions, costs, time estimates, and plenty of helpful tips guide even the most amateur of carpenters through every project. As Ana likes to say, “If I can build it, so can you!”
Starstruck: I was lucky enough to meet Ana this year at the Haven conference and not only is she a DIY super star, she’s gorgeous and humble and real.

Roeshel and Ana WhiteSo, want to create unique, modern, one of a kind furniture for your home? You can get The Handbuilt Home here {affiliate link}:

I love having a library of DIY home improvement and decorating books at home…and so happy to add Ana’s to my collection.

and enter to win one too!

THE HANDBUILT HOME GIVEAWAY

Prize: 1 copy of Ana White’s new book, The Handbuilt Home

How to enter:

  • Leave a lovely comment for Ana. Have you ever built a piece of furniture? Was it an Ana White DIY furniture plan? Is there something you’d love to build yourself?
  • Share this giveaway and leave a comment about where you’ve shared the love.
    DIY Show Off - FacebookDIY Show Off - TwitterDIY Show Off - PinterestDIY Show Off - FeedDIY Show Off - HomeTalkDIY Show Off - G+

Giveaway starts today 11/2 and ends Monday, 11/5 midnight EST. Winner will be drawn randomly and announced shortly after. Open to US and Canada residents 18+ only. Good luck!