Colorblock Art

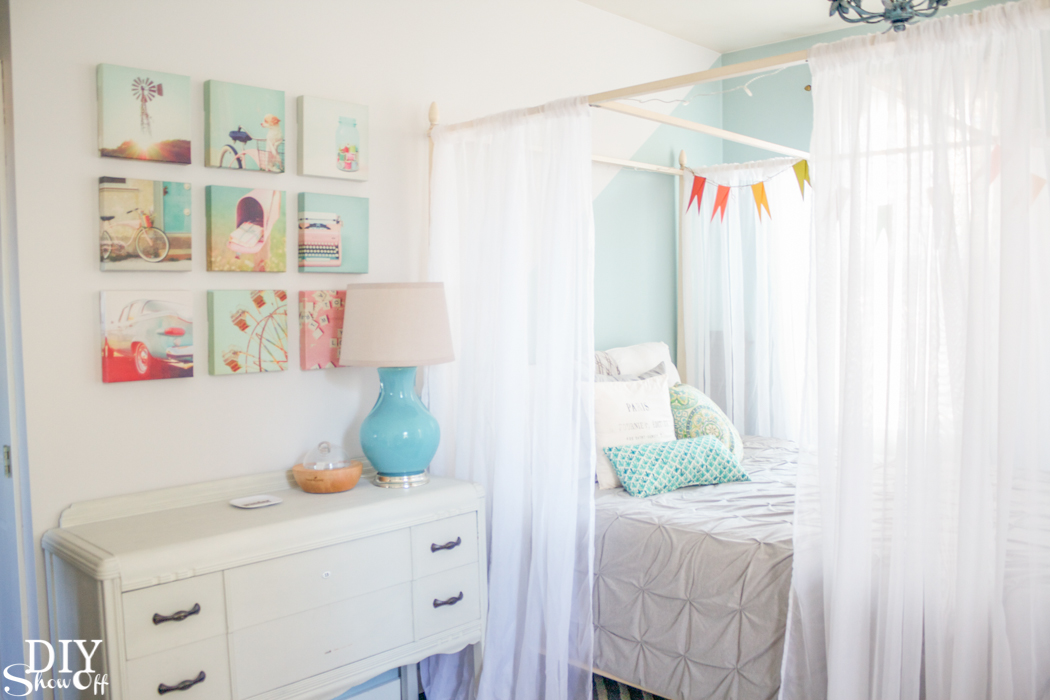
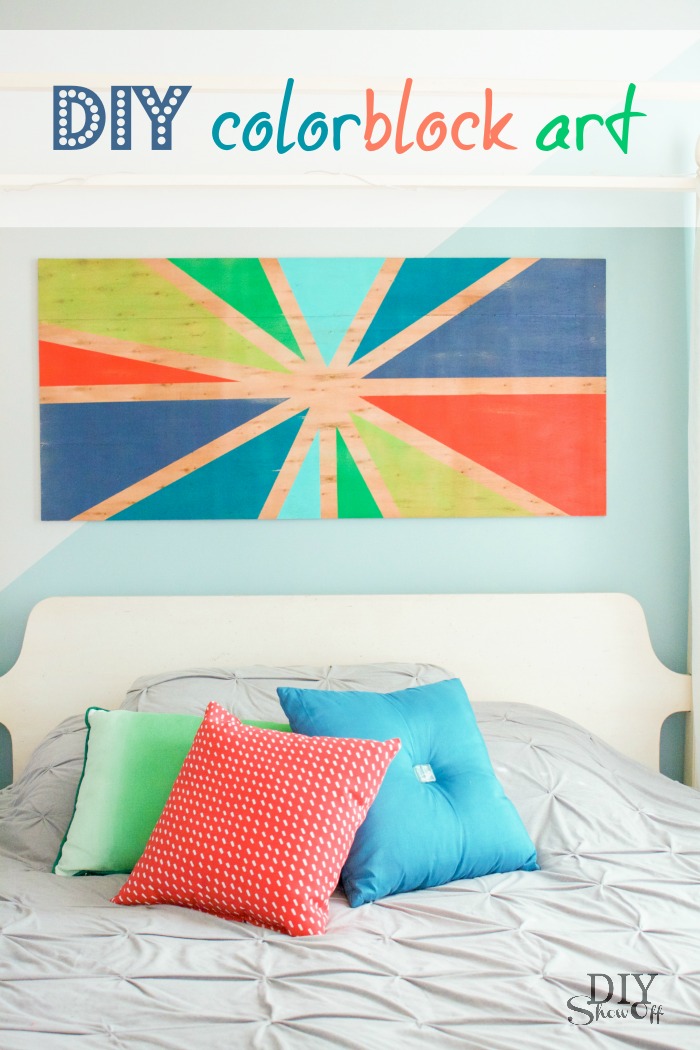
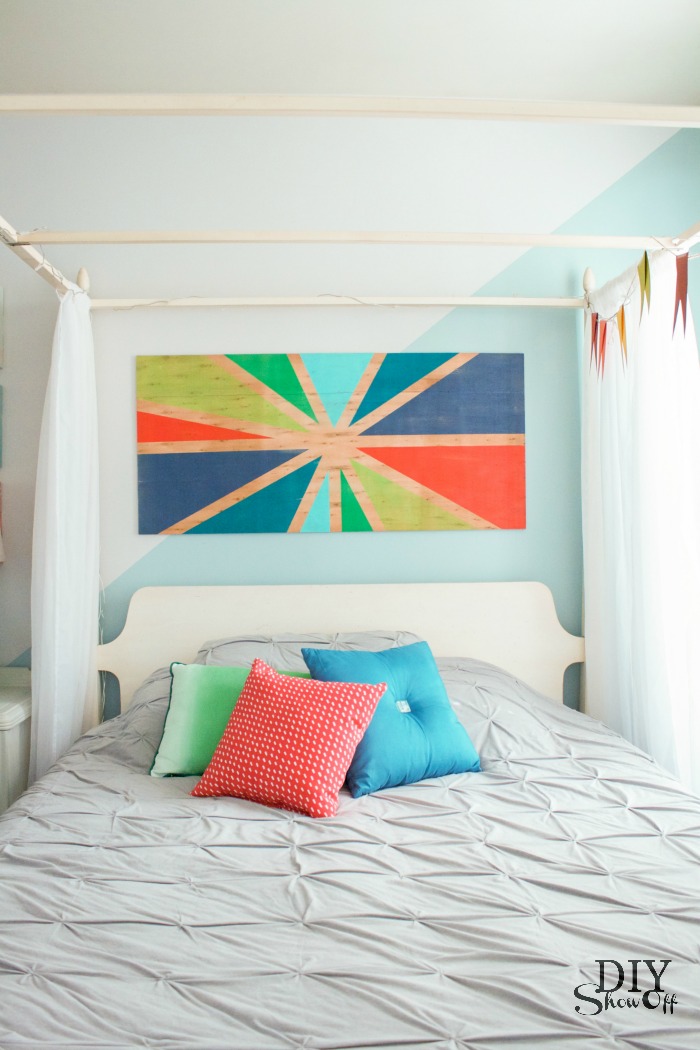
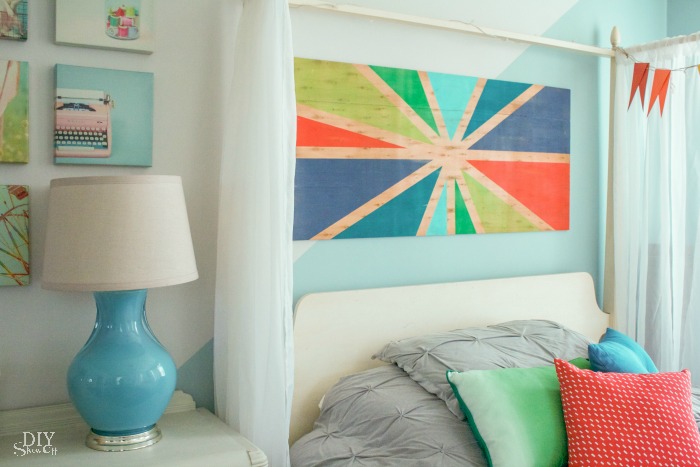
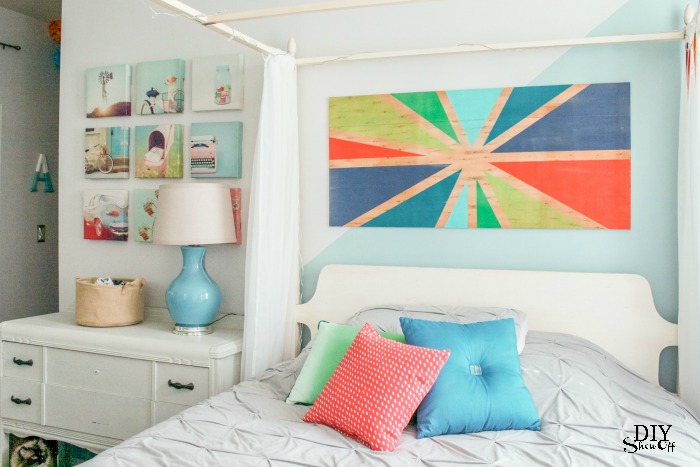
The area above the bed in the guest room was in need of a little something…

Guest Room/Nursery reveal @diyshowoff

I didn’t photograph the area in my guest room/nursery reveal closely because it was bare. But not anymore…

DIY color block sunburst wall art tutorial @diyshowoffI grabbed:

  • 48 x 22 inch plyboard (recycled from shipping packaging but available at the hardware store too)
  • FrogTape® MultiSurface
  • paint

Since my board was stored in the basement, I cleaned away the dust. 

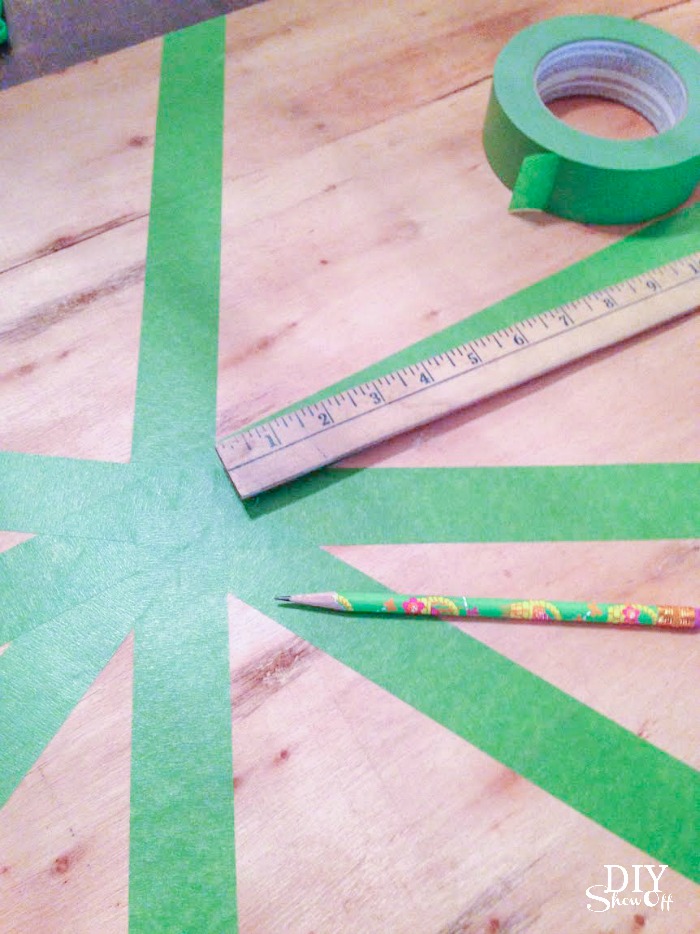
Then measured and marked the center of my board. 

DIY color block sunburst wall art tutorial @diyshowoff

Next I applied FrogTape to create a sunburst design, starting from the center marking. I just placed my pieces randomly. 

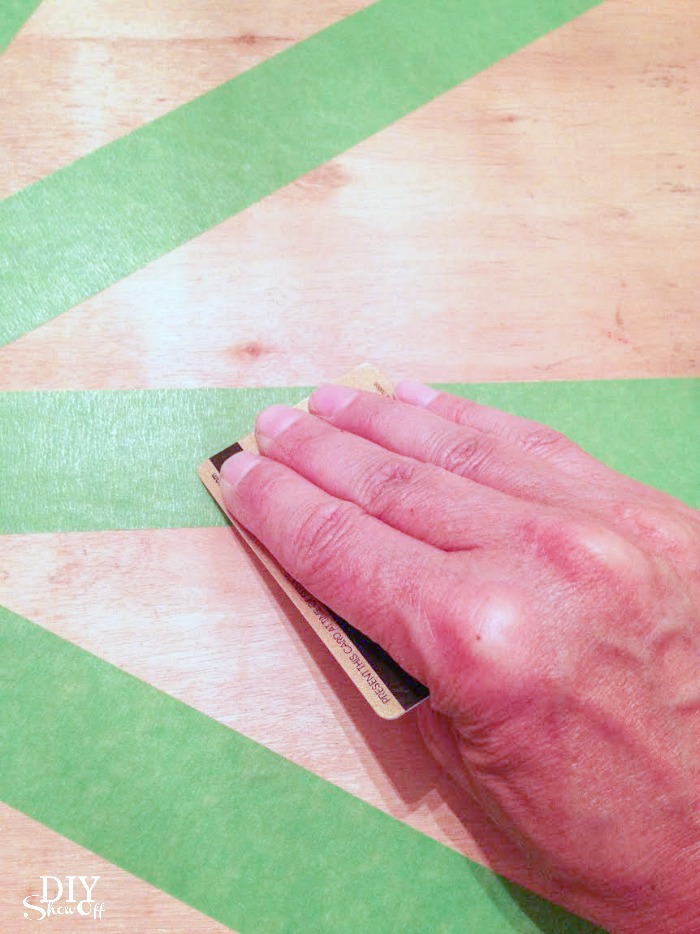
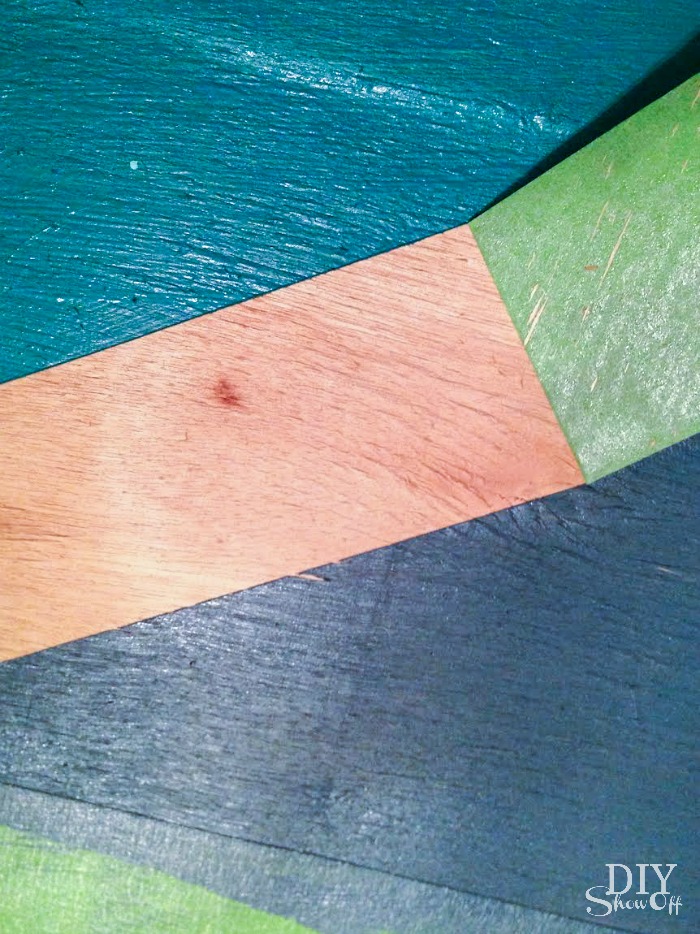
Using a gift card, I burnished the edges of the tape to get clean crisp lines. 

DIY color block sunburst wall art tutorial @diyshowoff

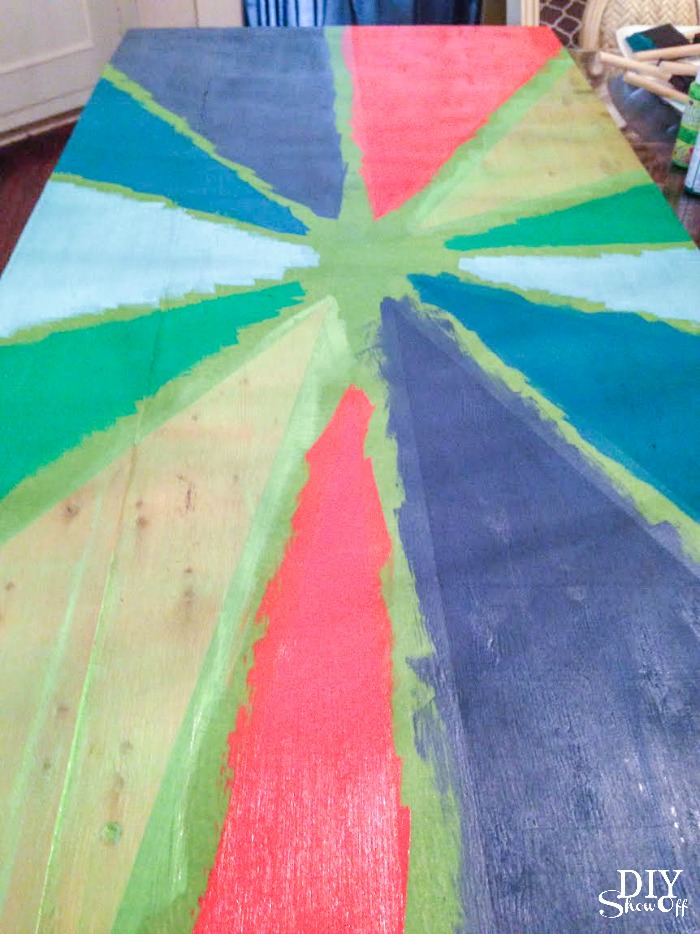
Then painted each area, applying paint in the direction of the wood grain with a foam brush. 

DIY color block sunburst wall art tutorial @diyshowoff

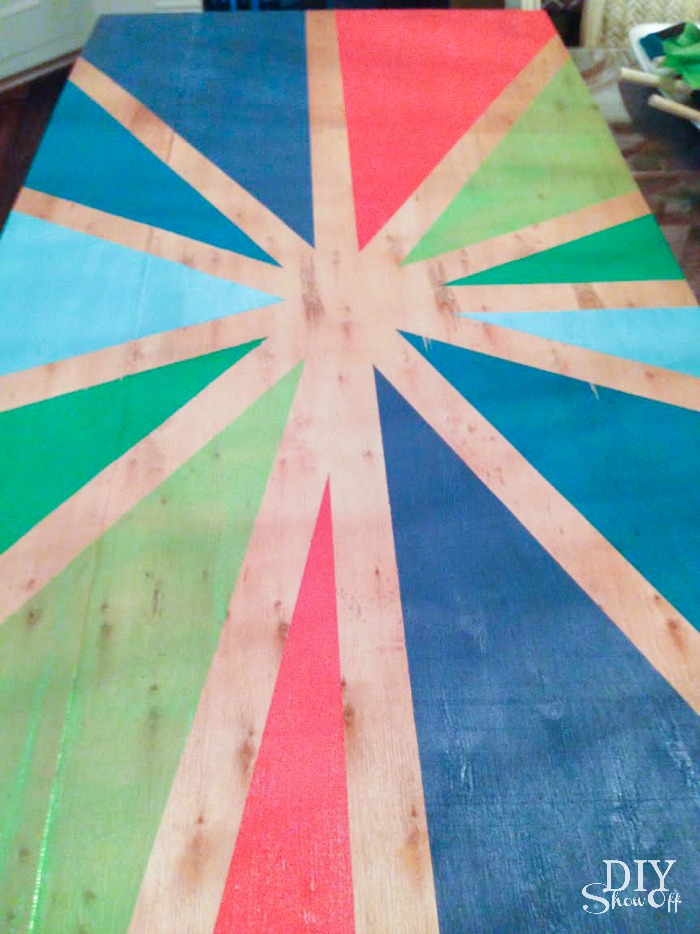
While paint was still wet, I carefully removed the Frogtape then let my painting dry. 

DIY color block sunburst wall art tutorial @diyshowoffDIY color block sunburst wall art tutorial @diyshowoff

Add picture hanging hardware or use velcro hangers to display the masterpiece! It fills the space nicely and adds pops of color. Fun! A great way to add a big statement for little cost. 

DIY color block sunburst wall art tutorial @diyshowoffDIY color block sunburst wall art tutorial @diyshowoffDIY color block sunburst wall art tutorial @diyshowoff

{notice the photobomber? lol!}

I’m not very “artistic” when it comes to painting but a geometric pattern is something anyone can do. Coordinate colors with your existing decor, make a big statement without breaking the bank. 

See more details on the diagonal wall paint, the chevron/colorblock door and guest room/nursery makeover

easy diagonal wall paint design tutorial @diyshowoffcolor block door makeover @diyshowoffcombined guest room nursery reveal @diyshowoff 

*I received compensation to complete this project for using FrogTape® products. All opinions, projects and ideas are based on my own experience.

 FrogTape Blog Squad

Red White & Blue DIY

Looking for some last minute patriotic, 4th of July DIY ideas? Here are some past projects and red, white & blue DIY highlights/round-ups from the DIYShowOff archives:

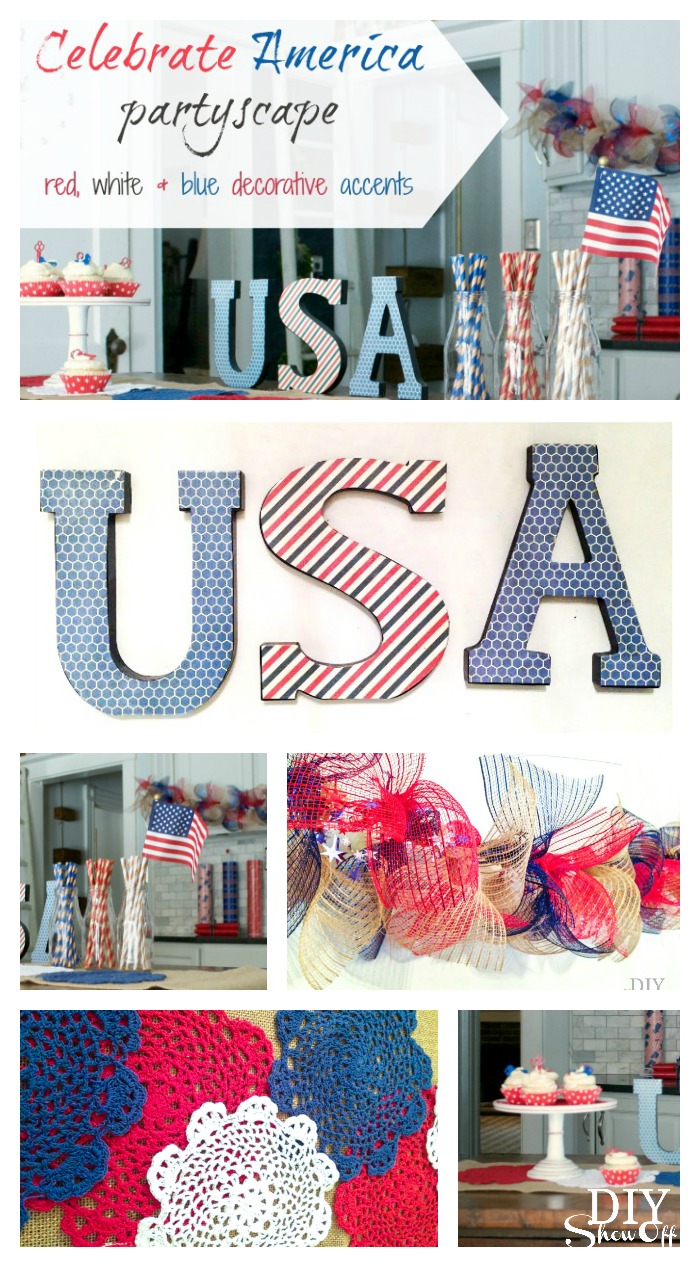
Celebrate America

red white and blue decorative accents @diyshowoff Celebrations Challenge #MichaelsMakers

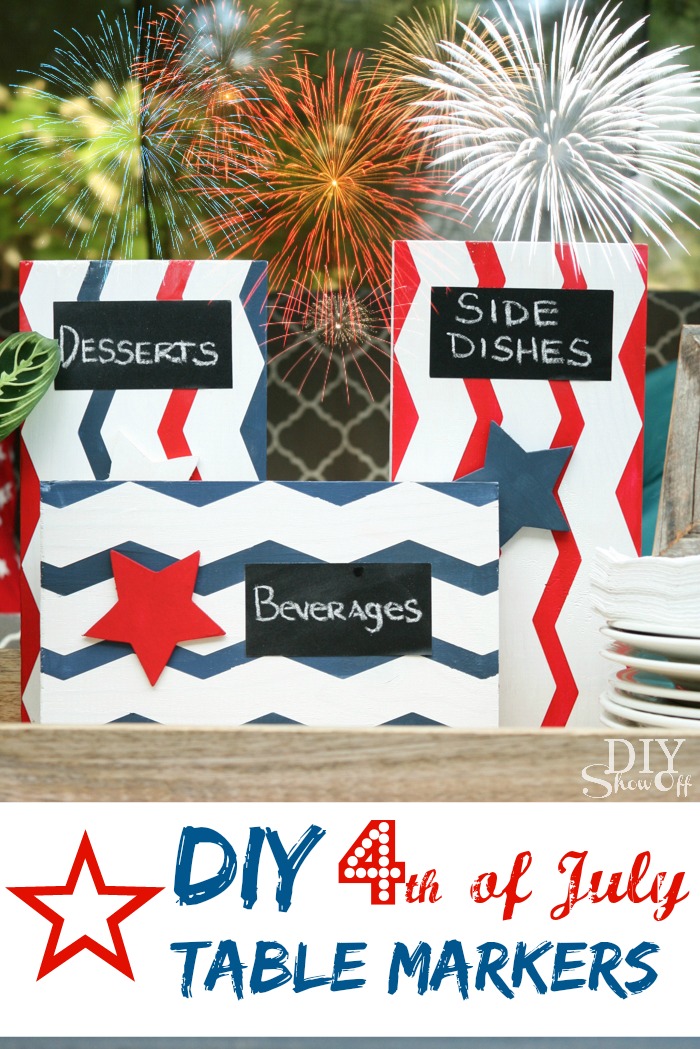
red, white and blue table markers

DIY red, white and blue table markers at diyshowoff.com

this Independence Day round-up from 2014

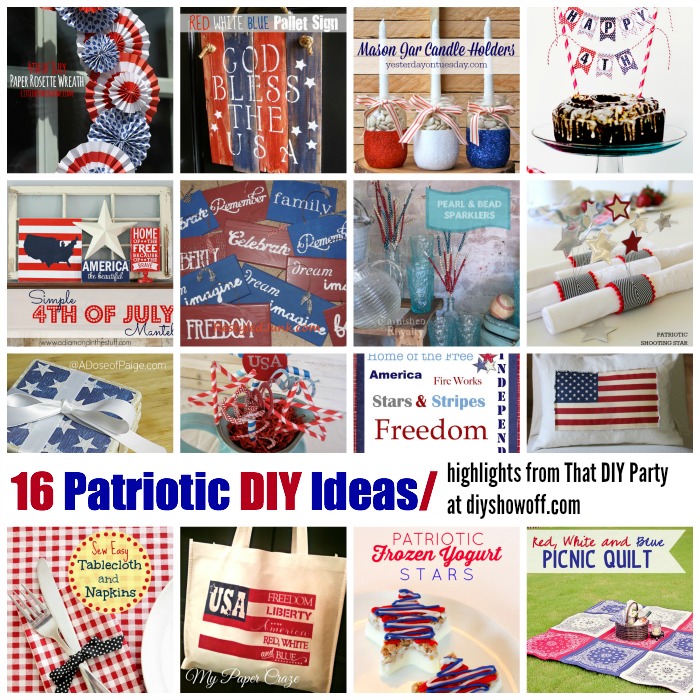
16 Patriotic 4th of July DIY highlights from That DIY Party at diyshowoff.com 

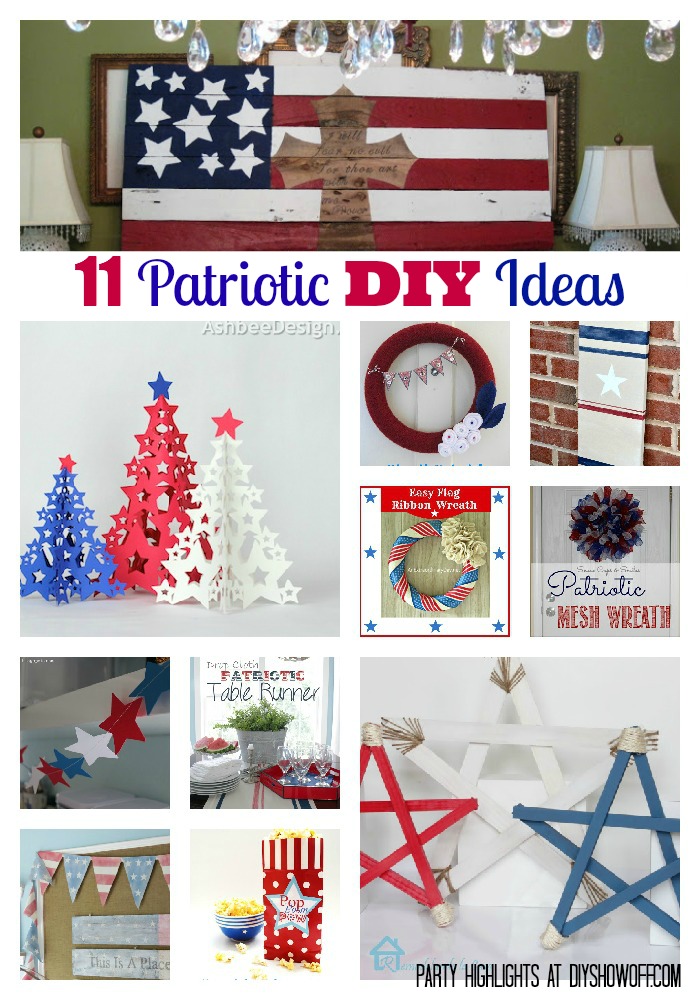
and this collection of 4th of July DIY highlights from 2013

11 Patriotic DIY Projects

Happy Celebrating, USA friends! 

follow the DIYShowOff patriotic Pinterest Board for more ideas from 2015

Follow DIY Show Off’s board Patriotic DIY on Pinterest.

Got something red, white & blue DIY to share? There’s still time to link up to this week’s That DIY Party!

Snack Time Table Runner

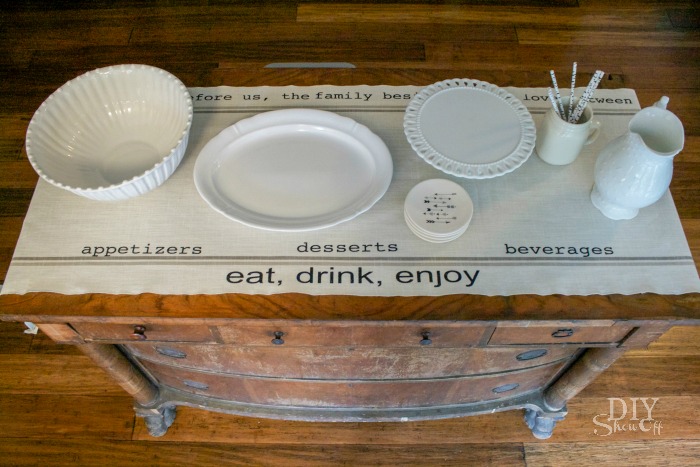
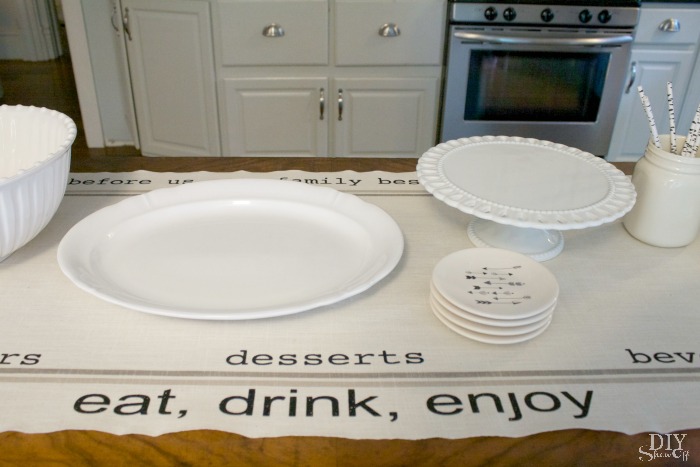
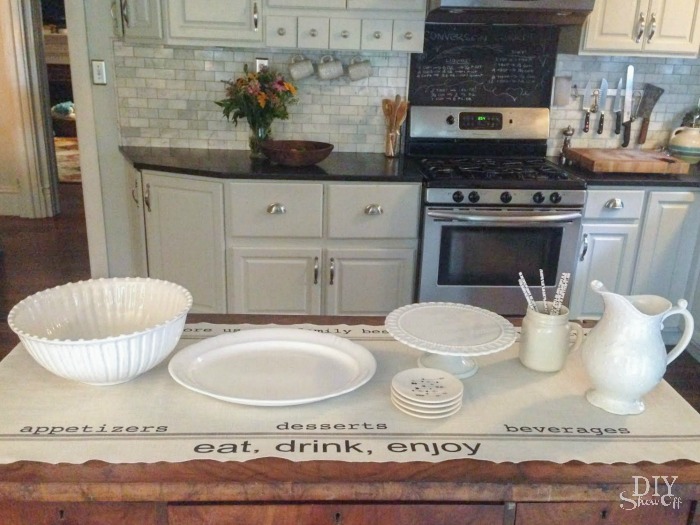
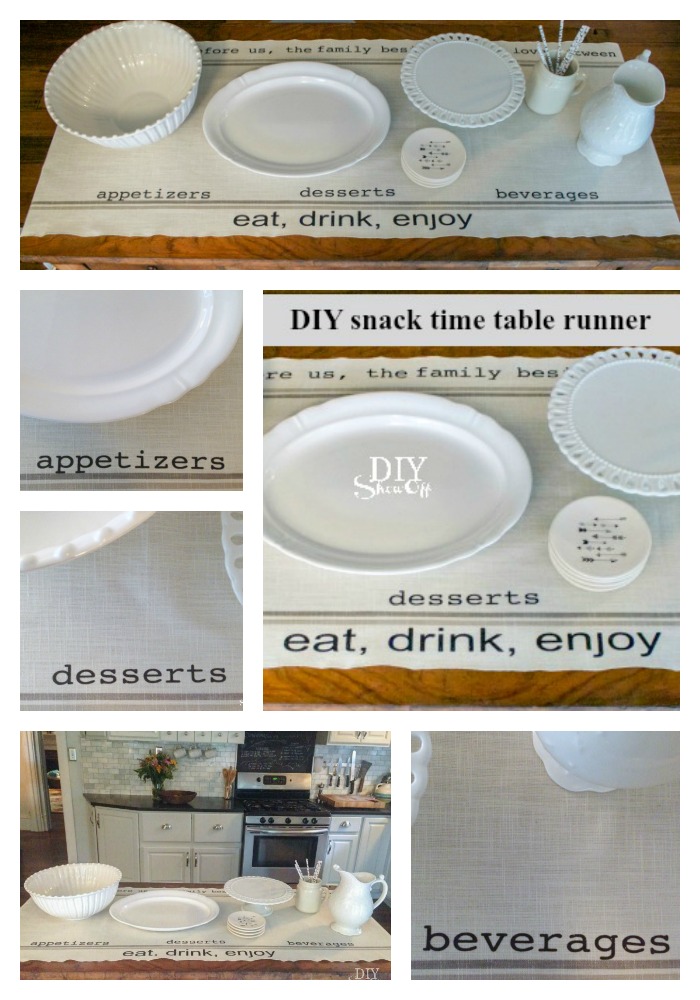
Serving up snacks for guests? Dress up the ‘buffet’ with a cute table runner. 

snack time table runner tutorial @diyshowoff

Materials I used: 

What I did: 

Wash, dry, iron and hem edges of toweling fabric to create a runner. I accidentally deleted the photos from this step…but the toweling only needs hems on the short sides. 

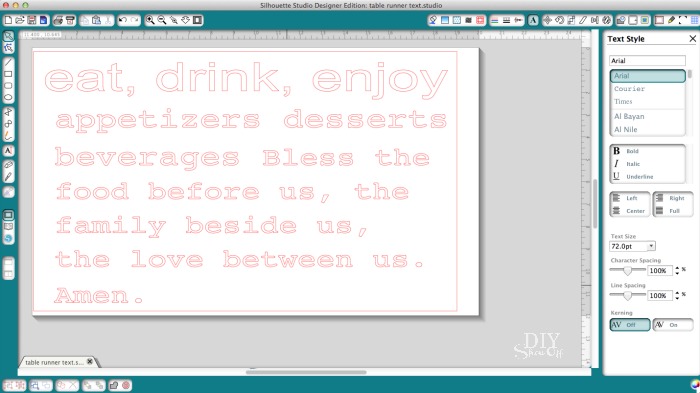
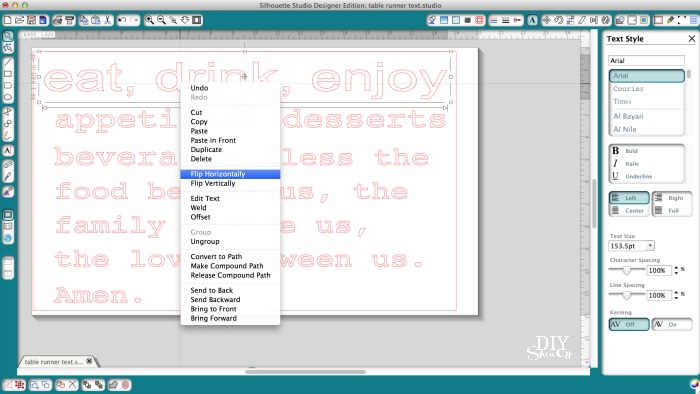
Create text using Silhouette Studio Designer software. 

snack time table runner tutorial @diyshowoff

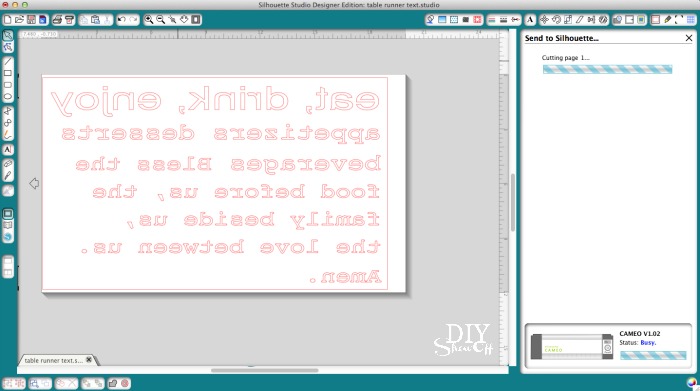
Important: flip/mirror text (right click and “flip horizontally”). 
snack time table runner tutorial @diyshowoff snack time table runner tutorial @diyshowoff

Adjust Silhouette blade settings for heat transfer in the “cut” screen.

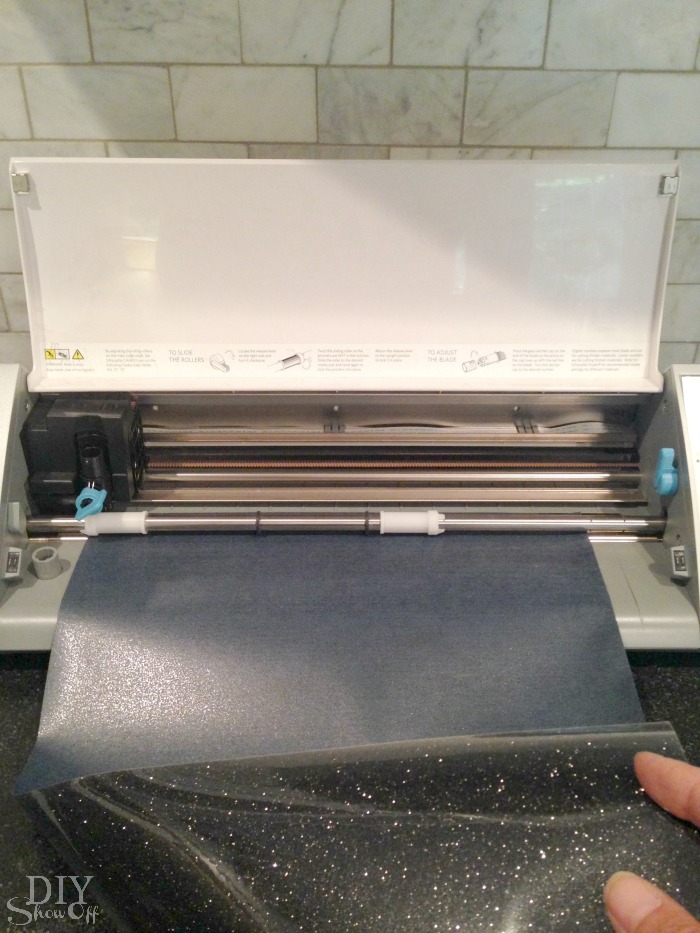
Load iron on vinyl into machine shiny/pattered/glittered side down and click “cut”.

snack time table runner tutorial @diyshowoff

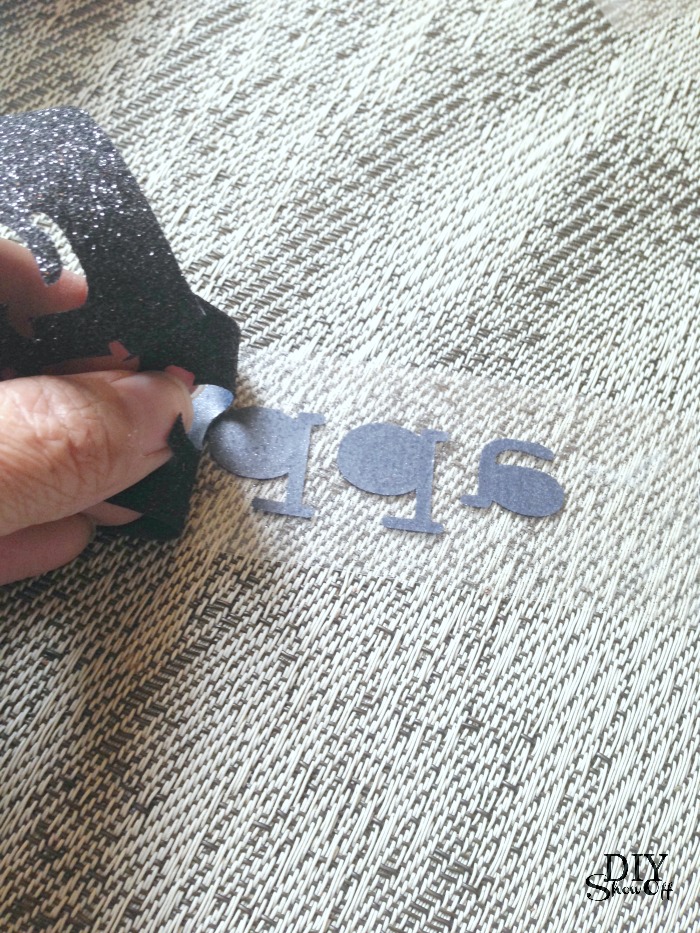
When complete, remove vinyl from machine and weed away excess iron on vinyl. Design/text will show backwards on the tacky side of a transparency. 

snack time table runner tutorial @diyshowoff

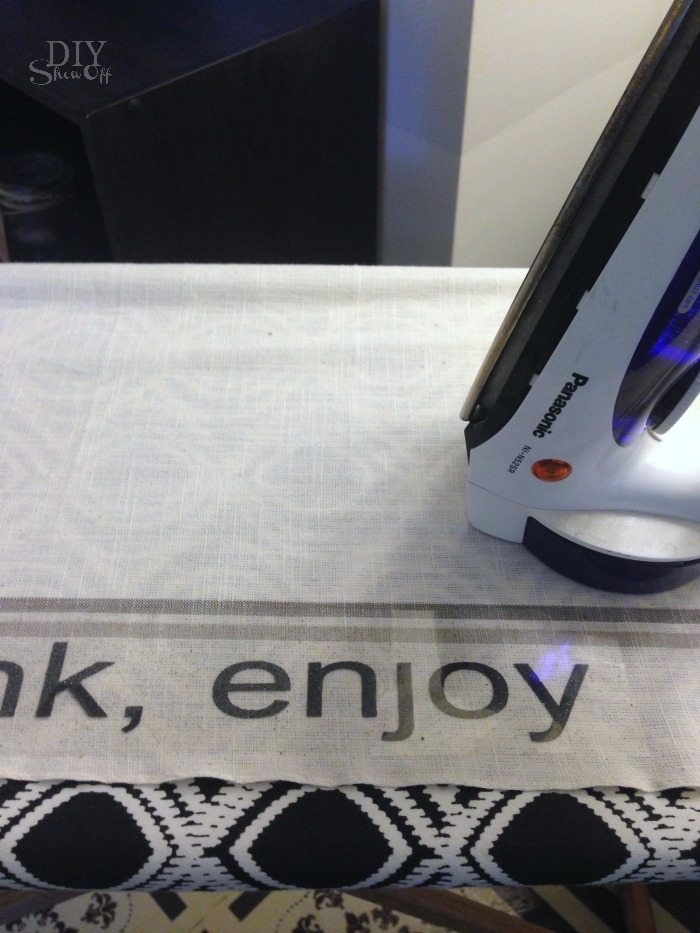
Place iron on decal with transparency onto fabric. Cover with scrap fabric and apply heat with iron on high setting for 20-30 seconds. snack time table runner tutorial @diyshowoff


snack time table runner tutorial @diyshowoff

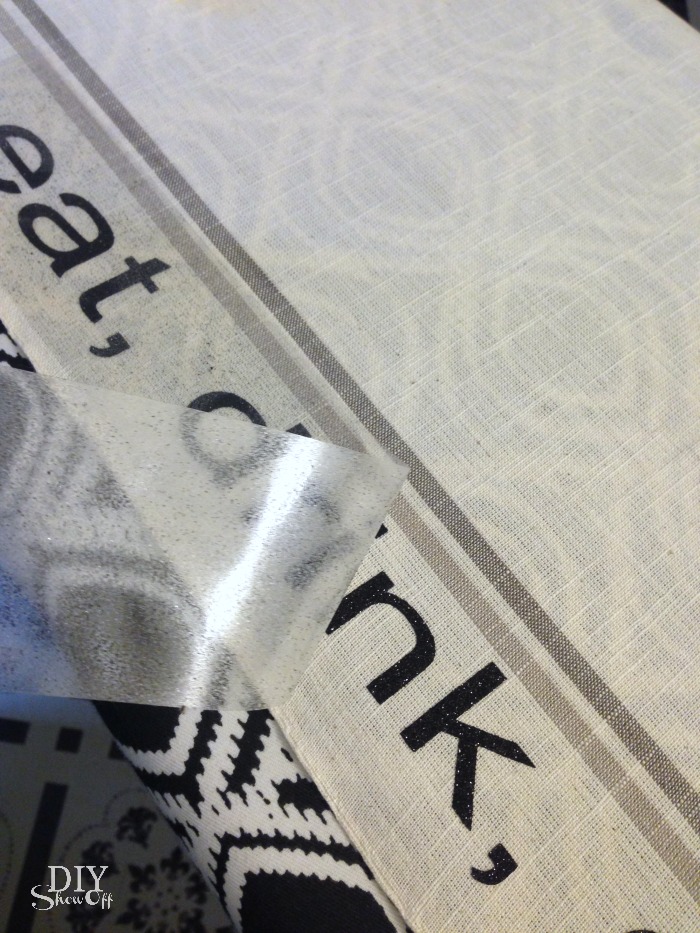
Pull away transparency. (If iron-on pulls up, replace transparency and repeat applying heat.)

snack time table runner tutorial @diyshowoff

After iron on decals are all placed, iron entire runner on the back side.

Perfect for adding a special touch to snacks for a small gathering. 

snack time table runner tutorial @diyshowoff snack time table runner tutorial @diyshowoff snack time table runner tutorial @diyshowoff snack time table runner tutorial @diyshowoff snack time table runner tutorial @diyshowoff snack time table runner tutorial @diyshowoff

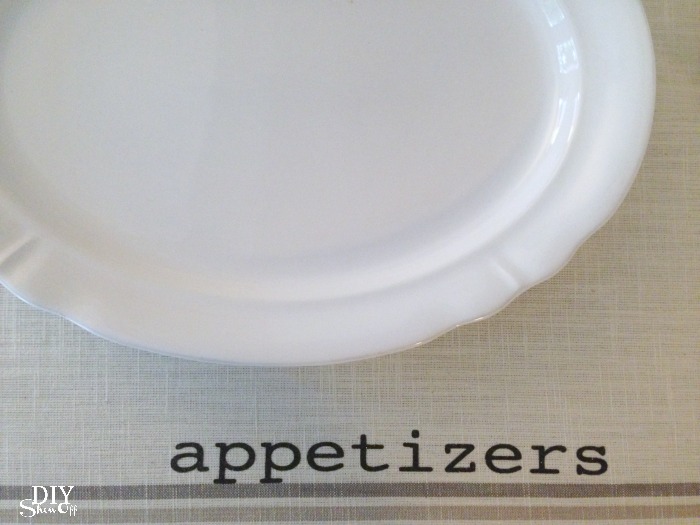
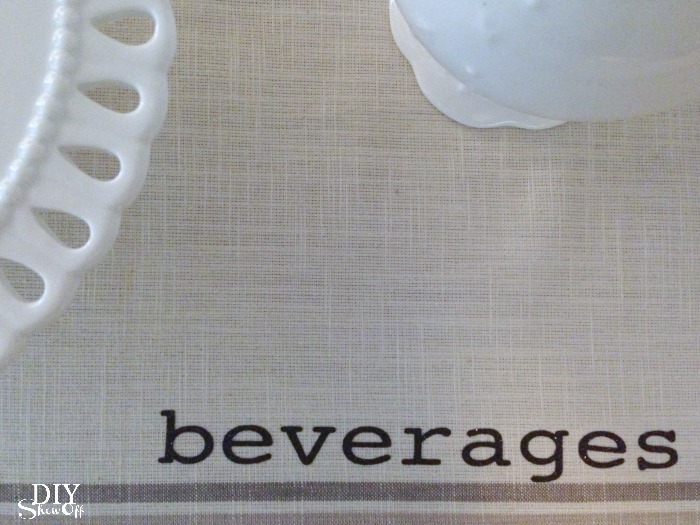
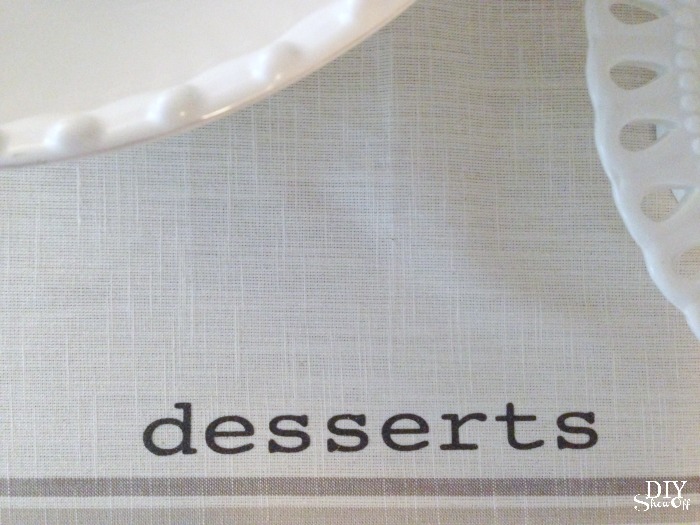
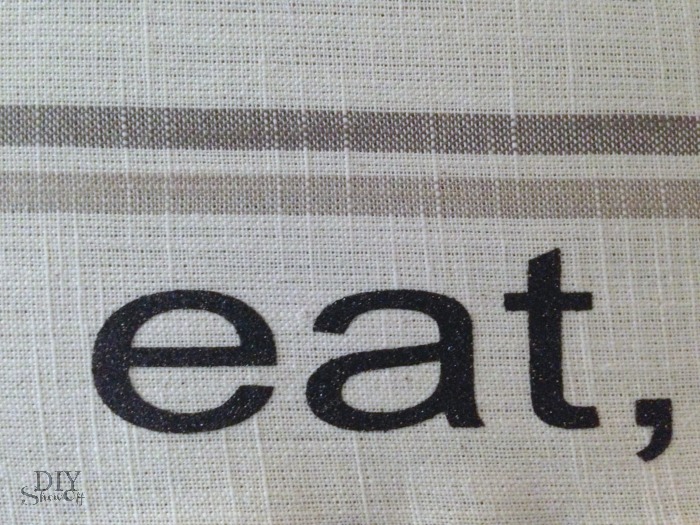
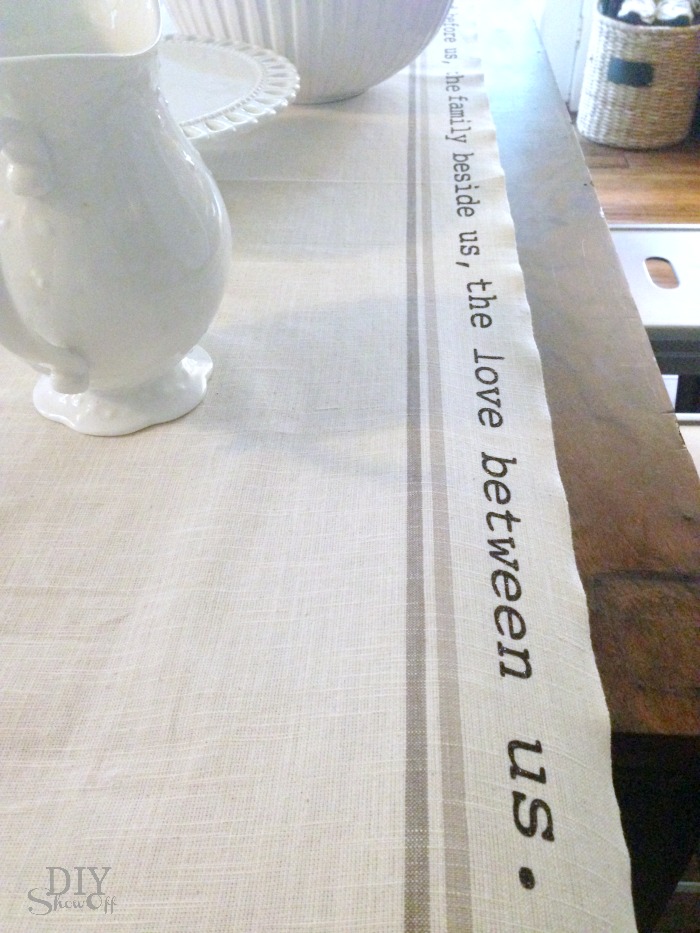
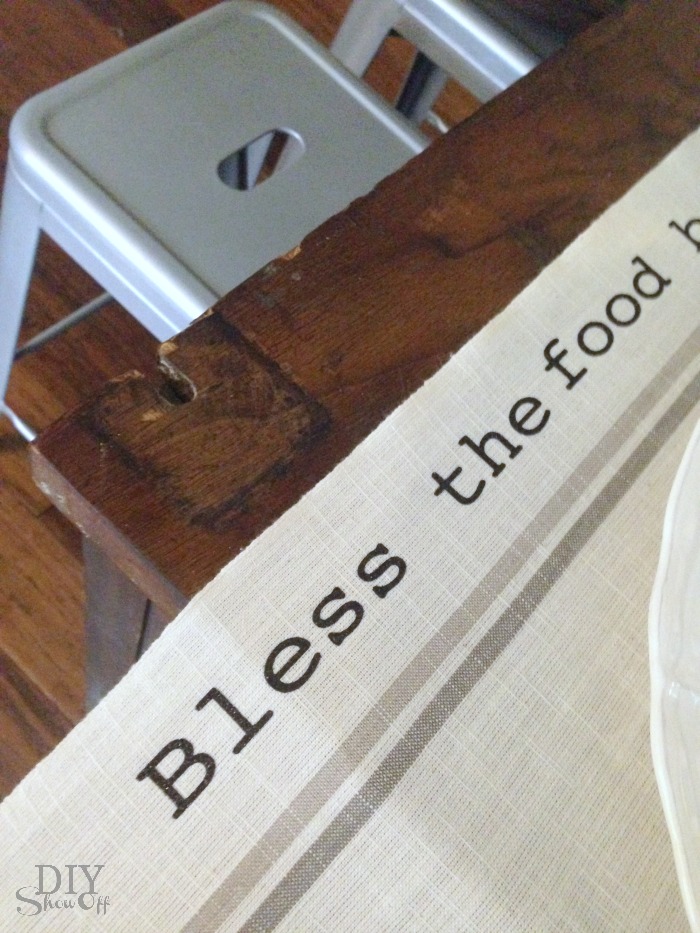
Cute display for appetizers, desserts and beverages displayed on our kitchen island.  snack time table runner tutorial @diyshowoff snack time table runner tutorial @diyshowoff snack time table runner tutorial @diyshowoff


snack time table runner tutorial @diyshowoff

*This post is sponsored by Happy Crafters and my last one. What a fun partnership – I’m in love with the products and they’re affordable too! Tutorial, experience and opinion are my own. Check out all the supplies at Happy Crafters for great prices, products and inspiration for your next project. 

HClogopngsmall