DIY Chocolate Candy Wedding Party Favor Gifts
Isn’t it funny where inspiration comes from? At times, it’s somewhere completely random or even unknown. I’m thinking the inspiration for these DIY chocolate candy wedding party favor gifts may have been handmade soaps or even those beautiful yogurt bowls I’ve seen on Instagram. To be honest, I’m not sure – I’ve done some searching and haven’t stumbled across anything similar.
I made these up as a hostess party gift/favor and got drafted to make up some bridal shower favors. So here’s my DIY tutorial for beautiful chocolate/candy melts. They are so easy! Some affiliate links included.
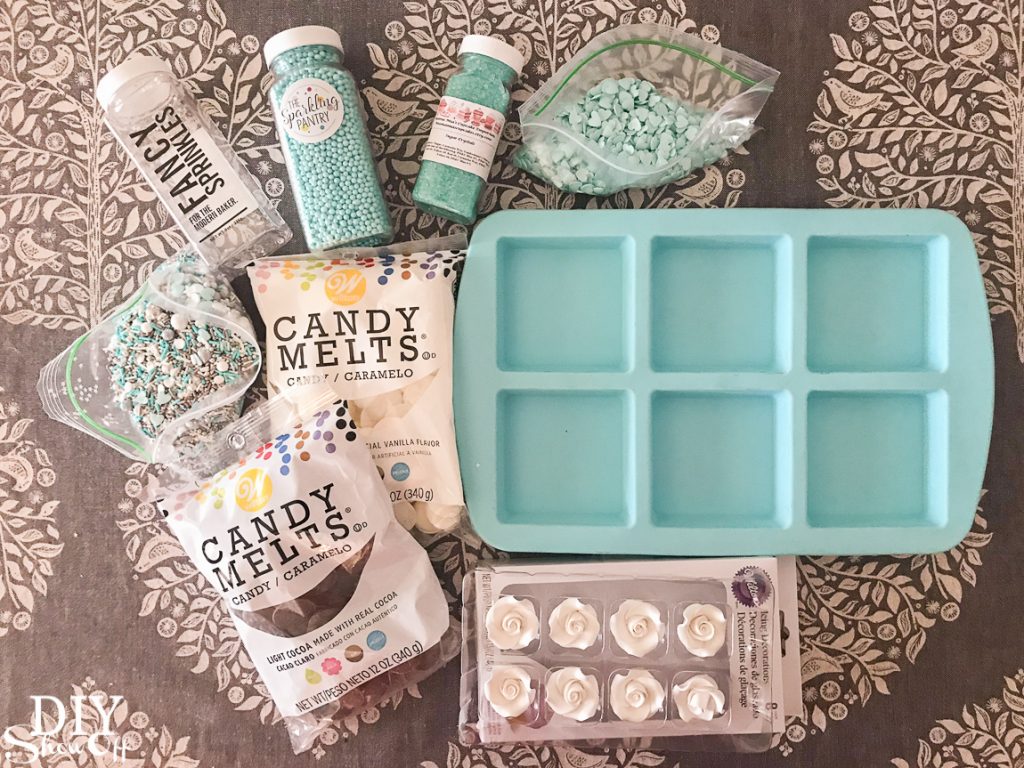
Supplies I used:
- THISsilicone mold
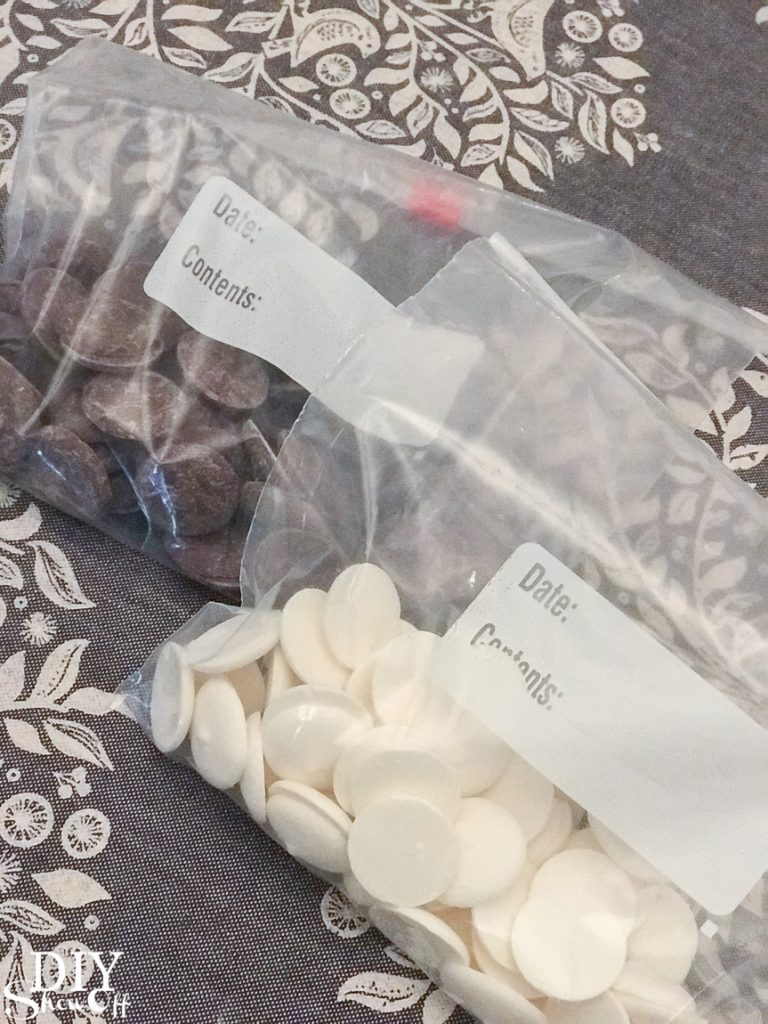
- candy melts (light cocoa and bright white shown)
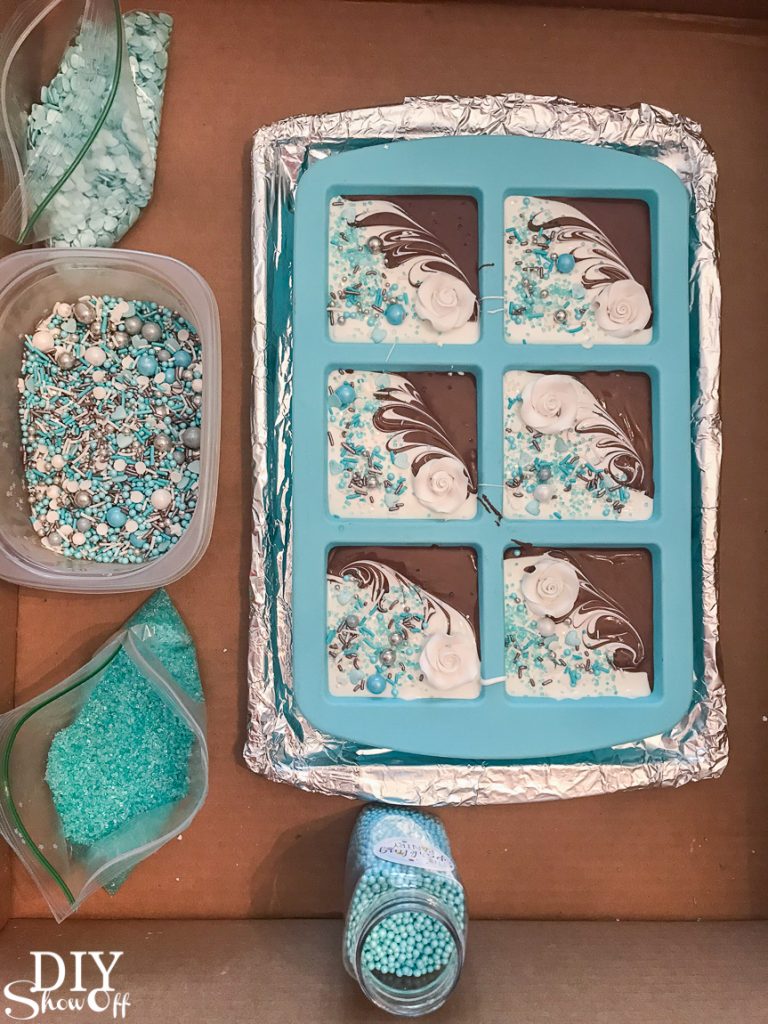
- sprinkles <— my favorite!
- decorations (icing roses)
- zip lock baggies
- skewer
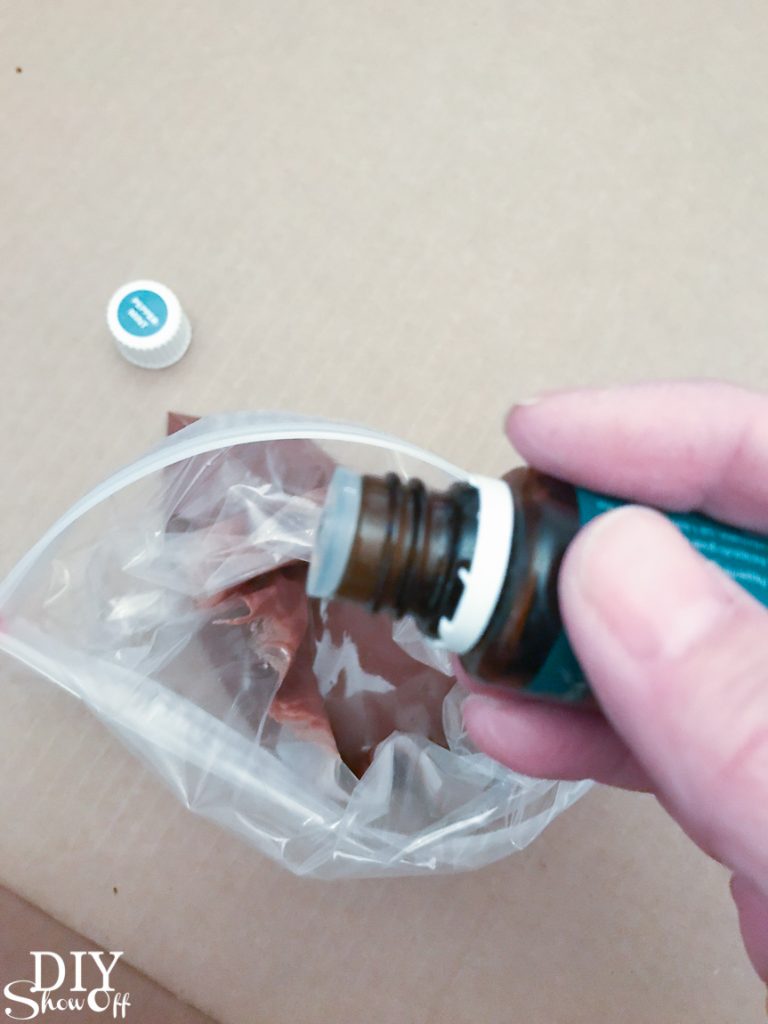
- Peppermint Vitality essential oil
- treat bags
- labels (Avery 5260)
Total Time: Approximately 30 min.
Serves: This silicone mold is a large size (3×3 inch). Two bags of melts makes 6.
What I did:
I transferred candy melts to quart sized baggy (I used two: light cocoa and white) and melted according to package instructions – either in the microwave or in a double boiler. My experience: I carefully set both bags (unzipped) into the microwave on ‘defrost’ for 50 seconds then checked and repeated and re-checked until melted. Instructions warn against overheating and I didn’t have any issue.
*Melted candy will be hot. Please use caution!
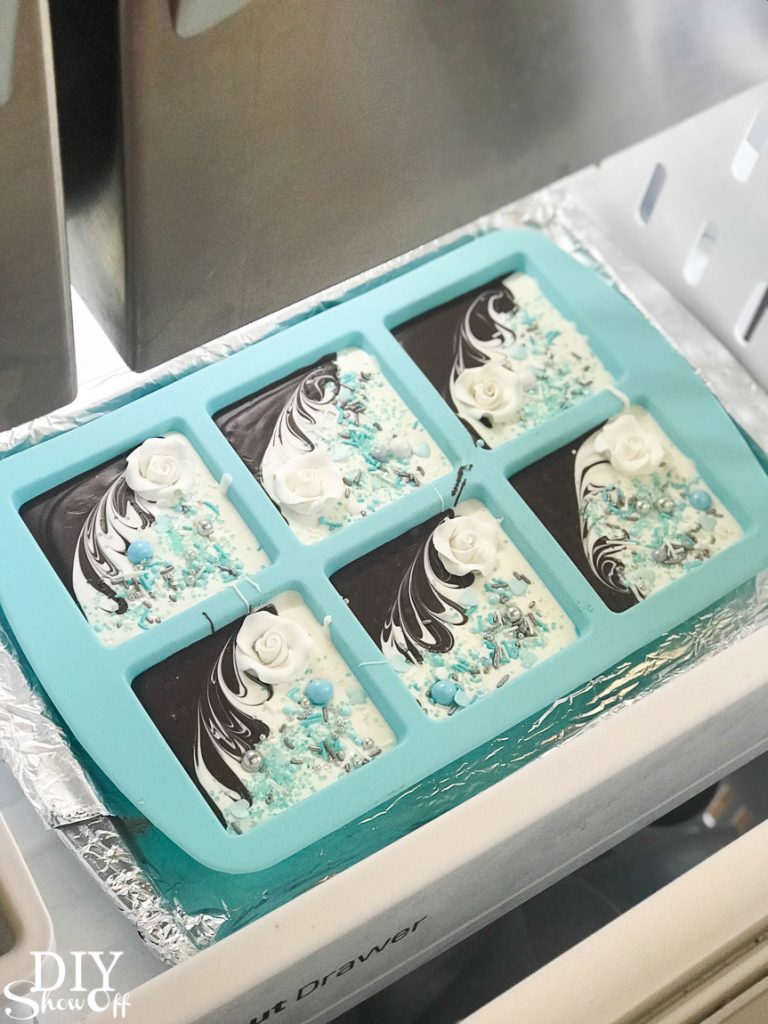
I set my silicone mold on a small cookie sheet (a tray or something that gives the mold support to be moved and that will fit into your freezer works).
Once my candy was melted, I added 2-4 drops of Peppermint Vitality essential oil to the melted white candy, zipped the bag and kneaded the baggy to mix. I didn’t do it with both colors, just one.
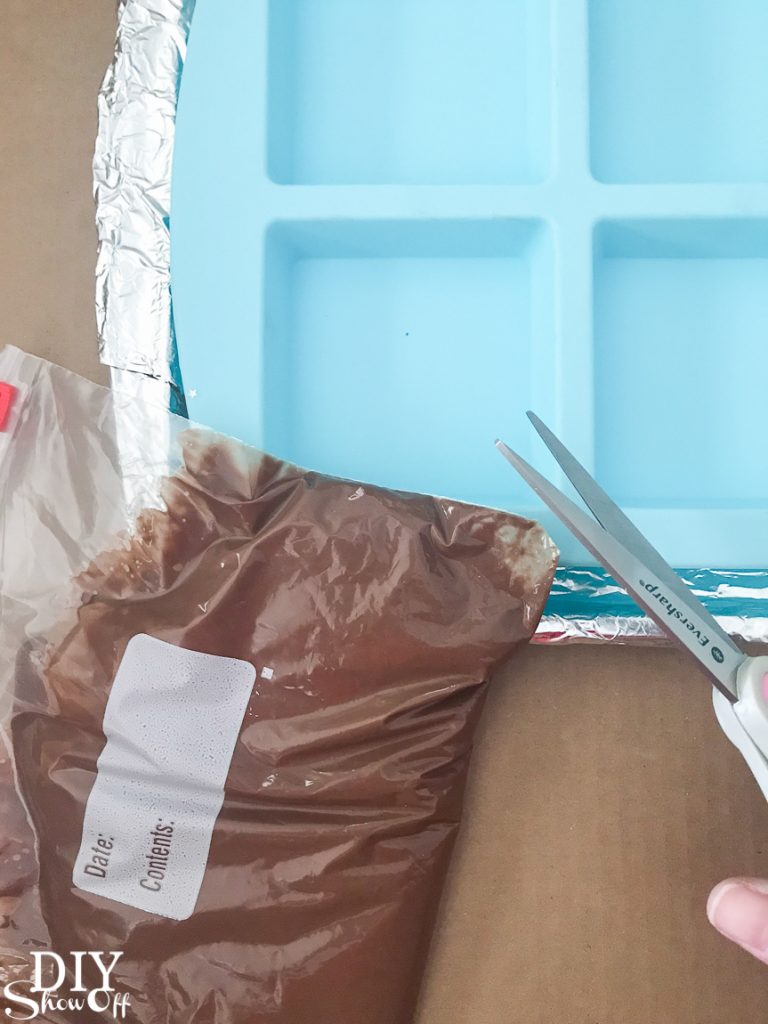
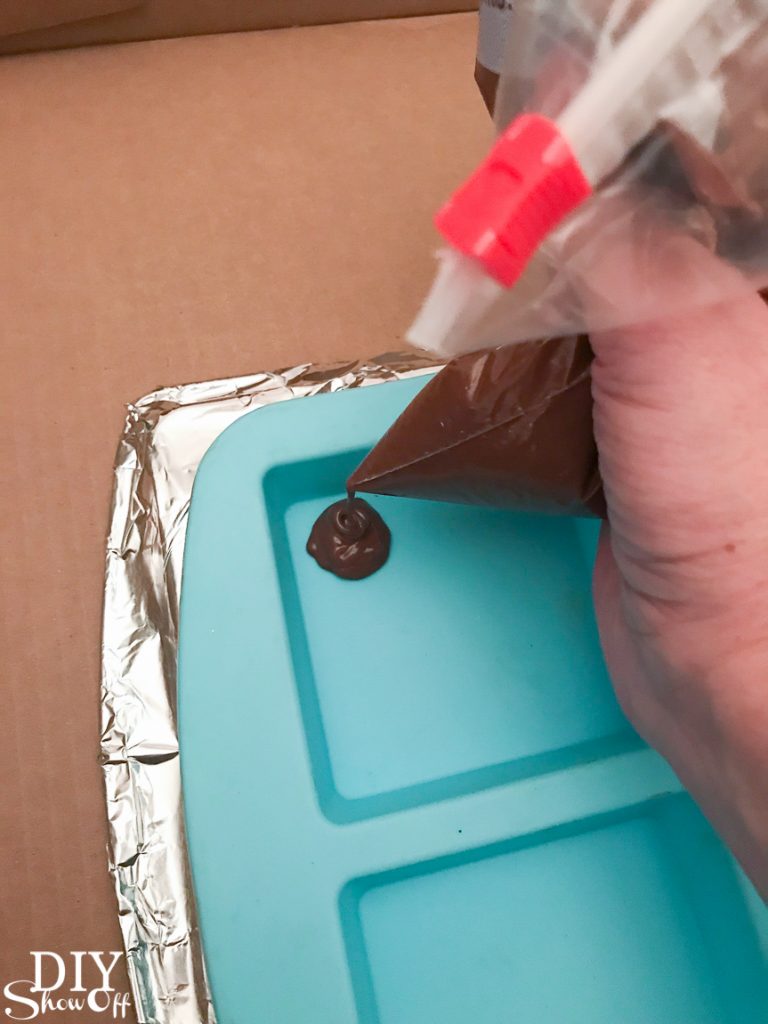
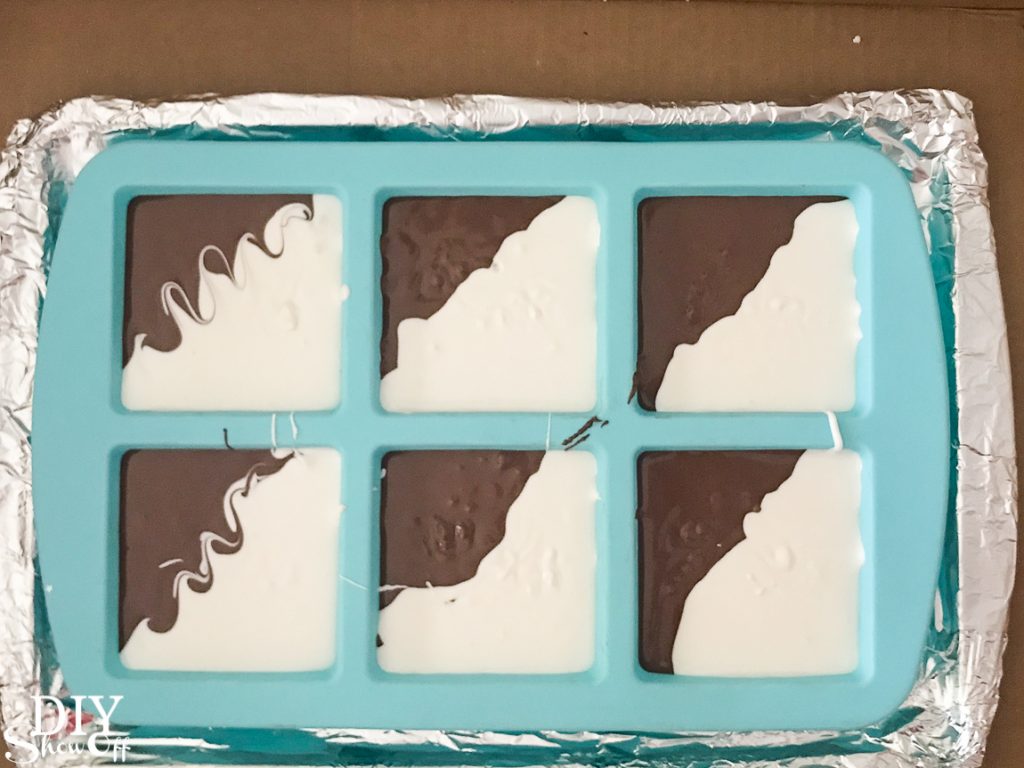
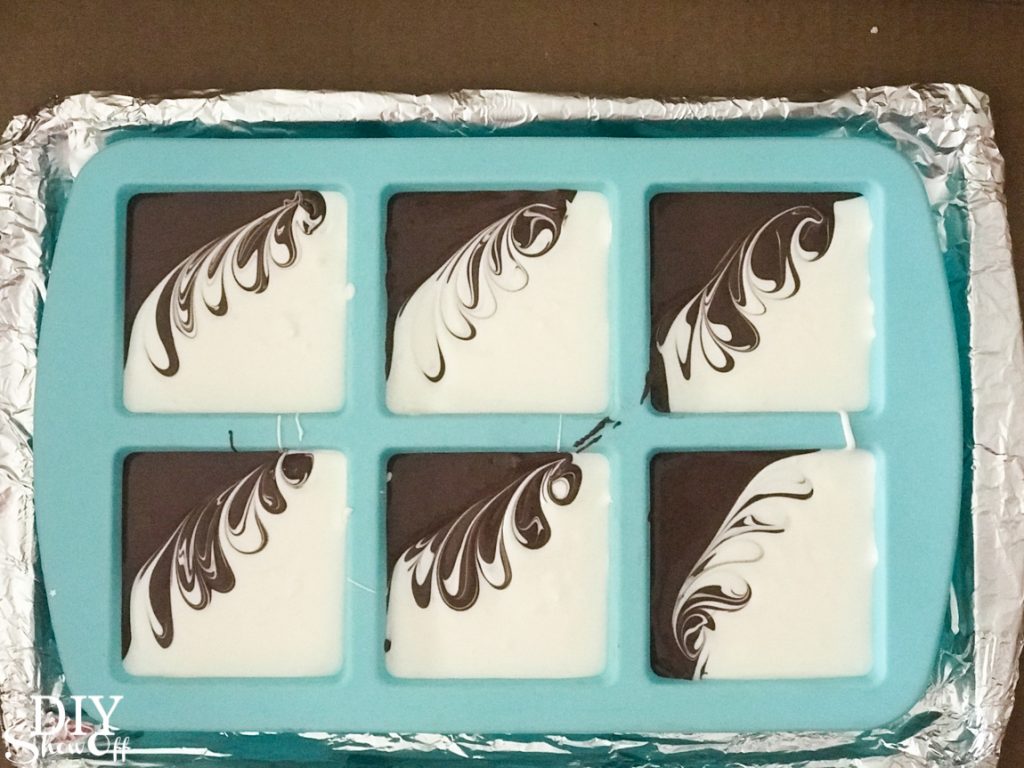
Then I snipped off a bottom corner of the baggy (very small snip!) with scissors and piped the candy into the silicone mold and repeated with the other color. I filled each silicone space with half and half of each candy into each square.
Next I gently shook/shimmied the mold to level the melted candy.
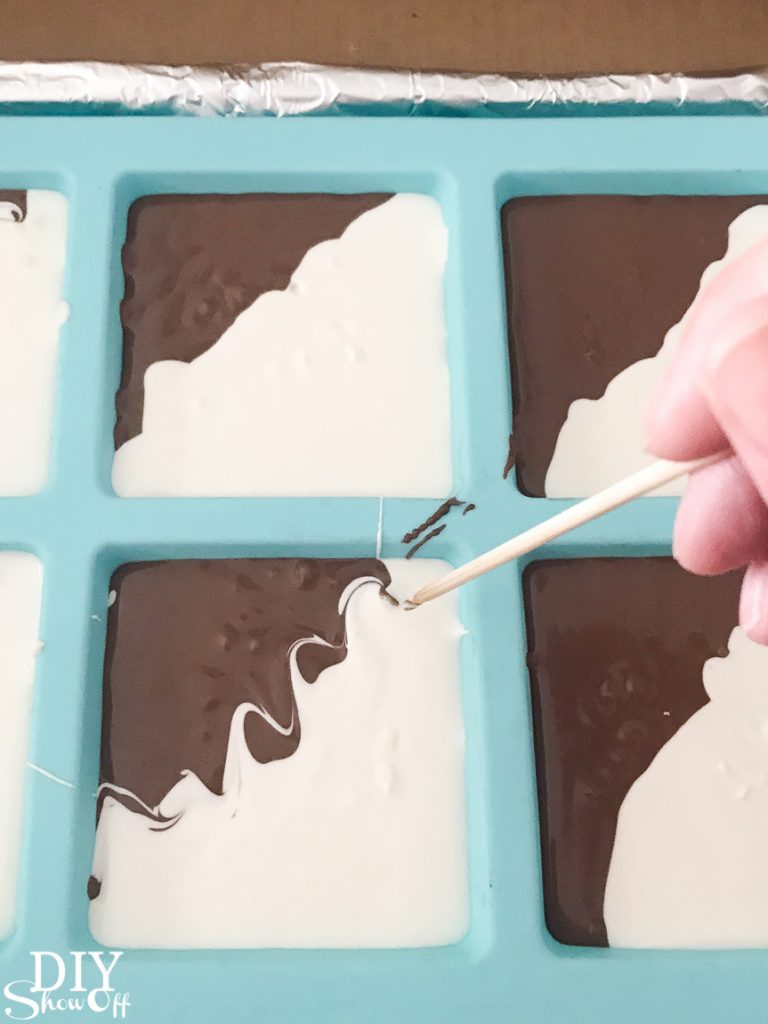
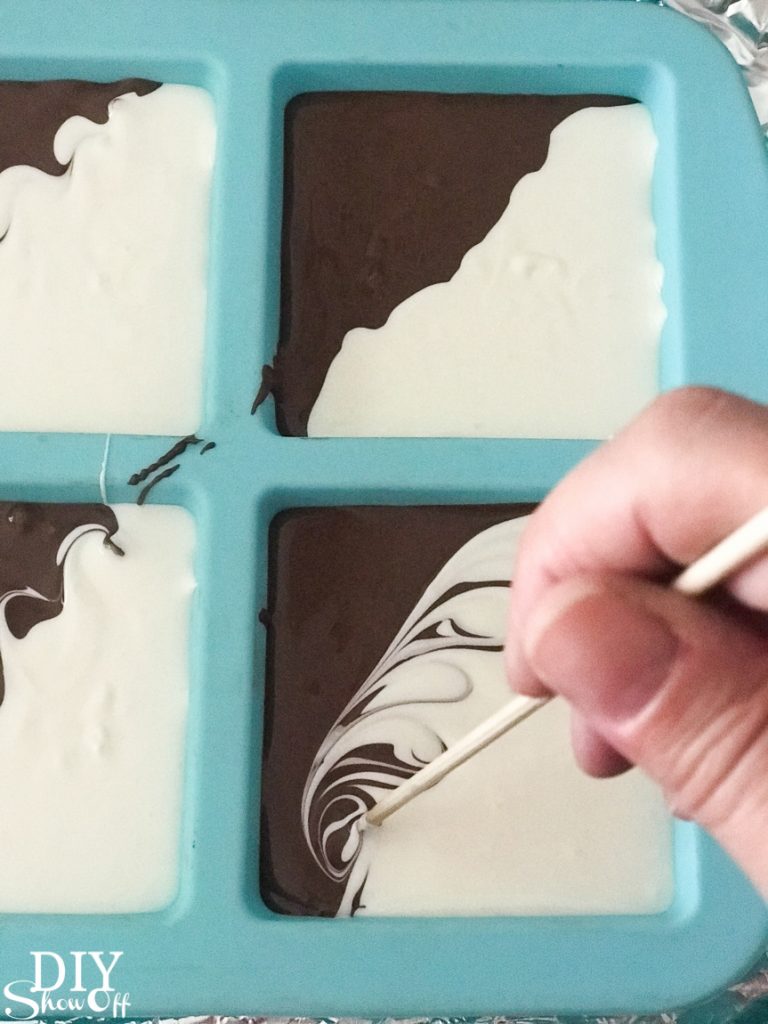
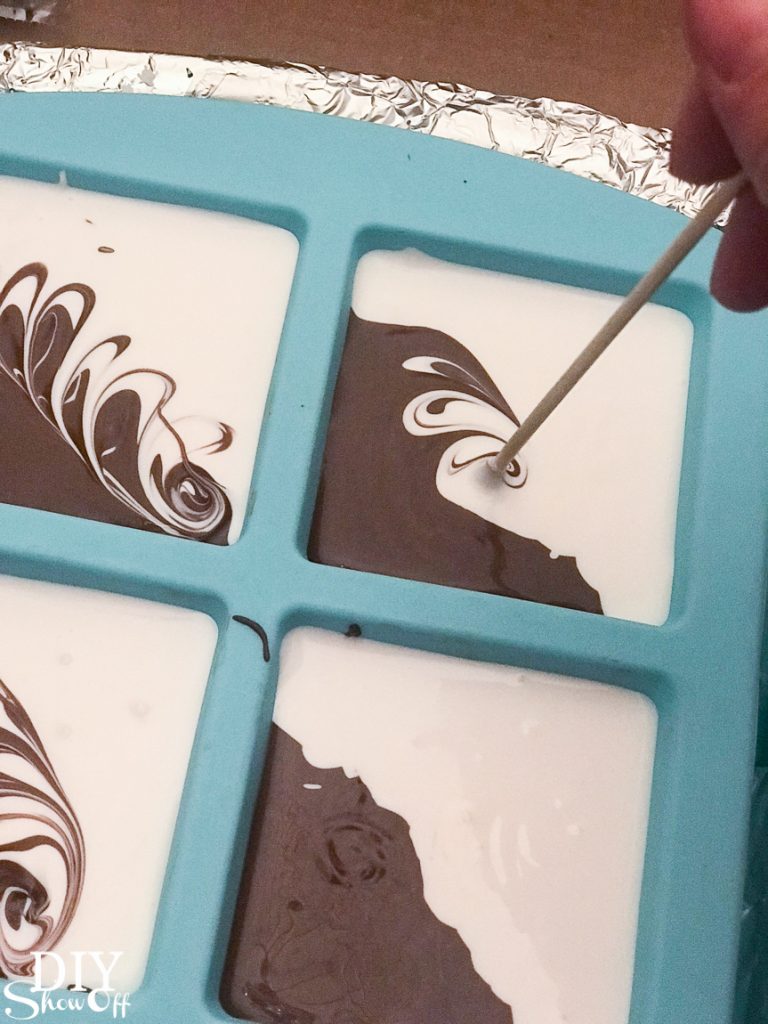
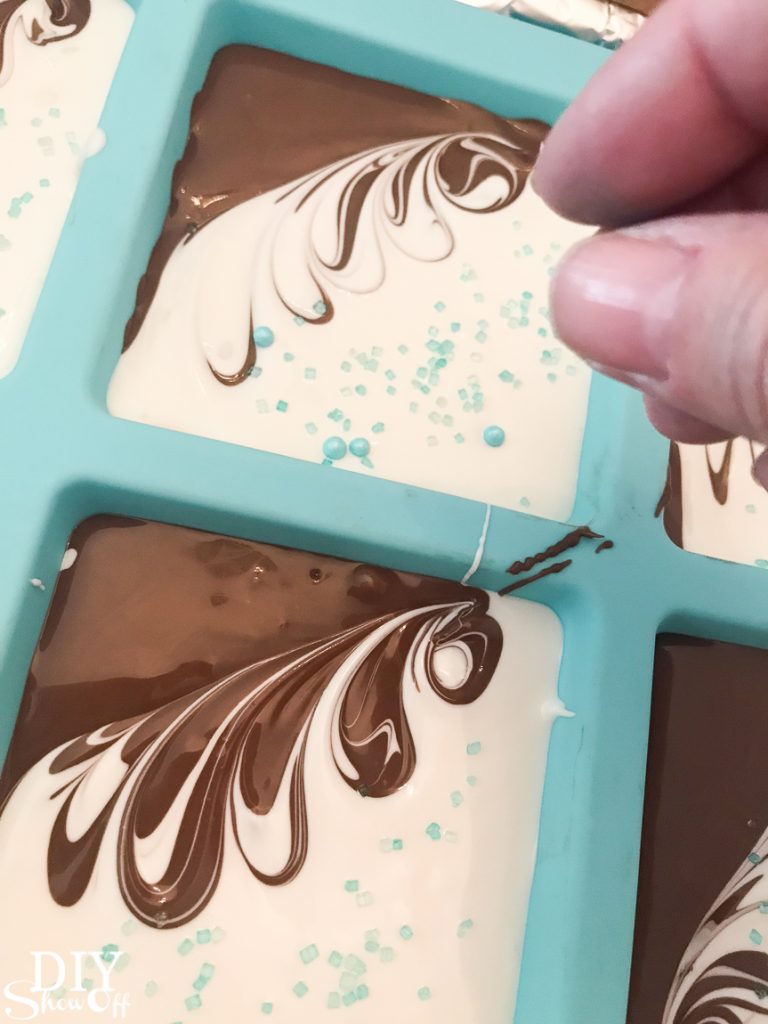
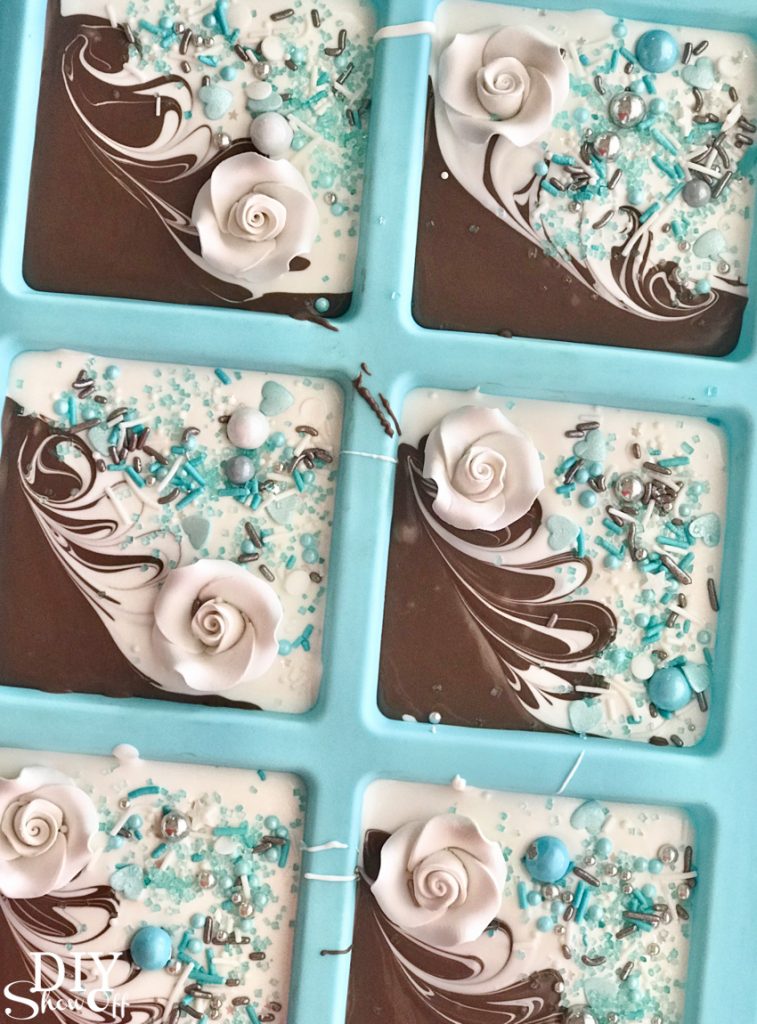
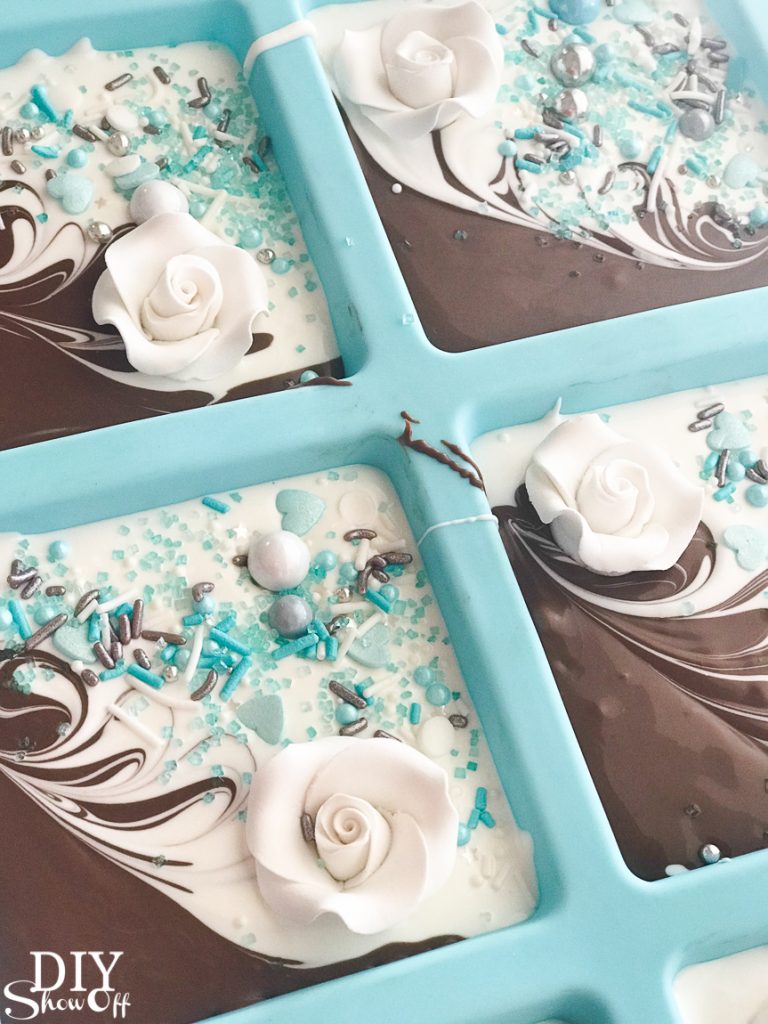
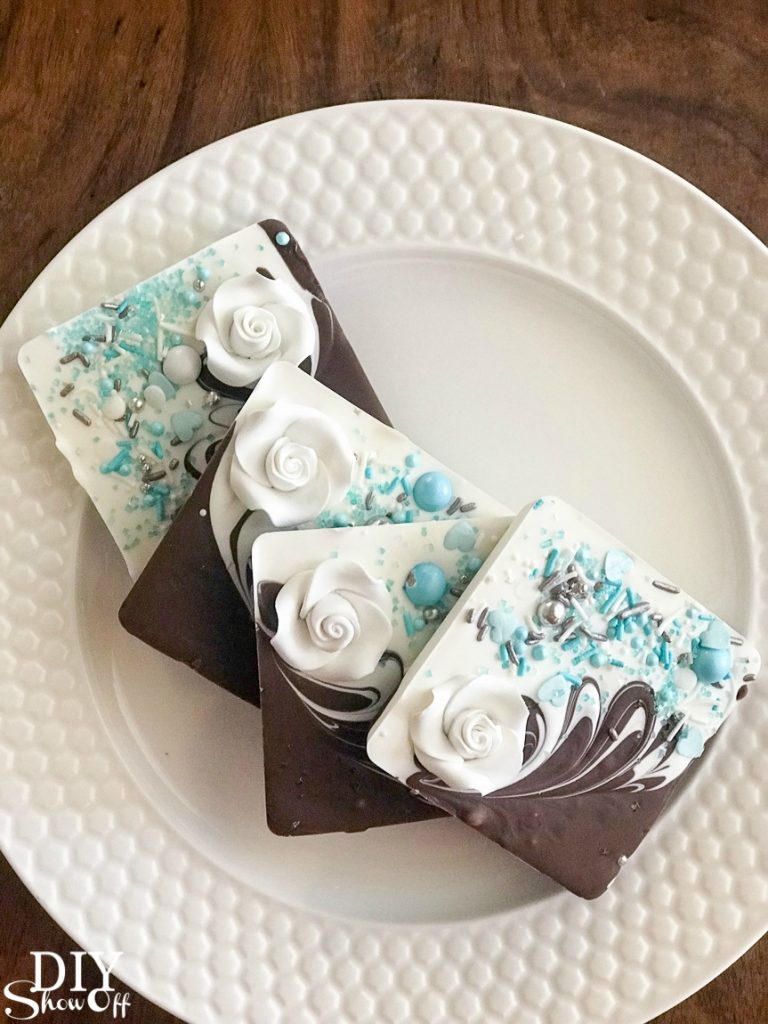
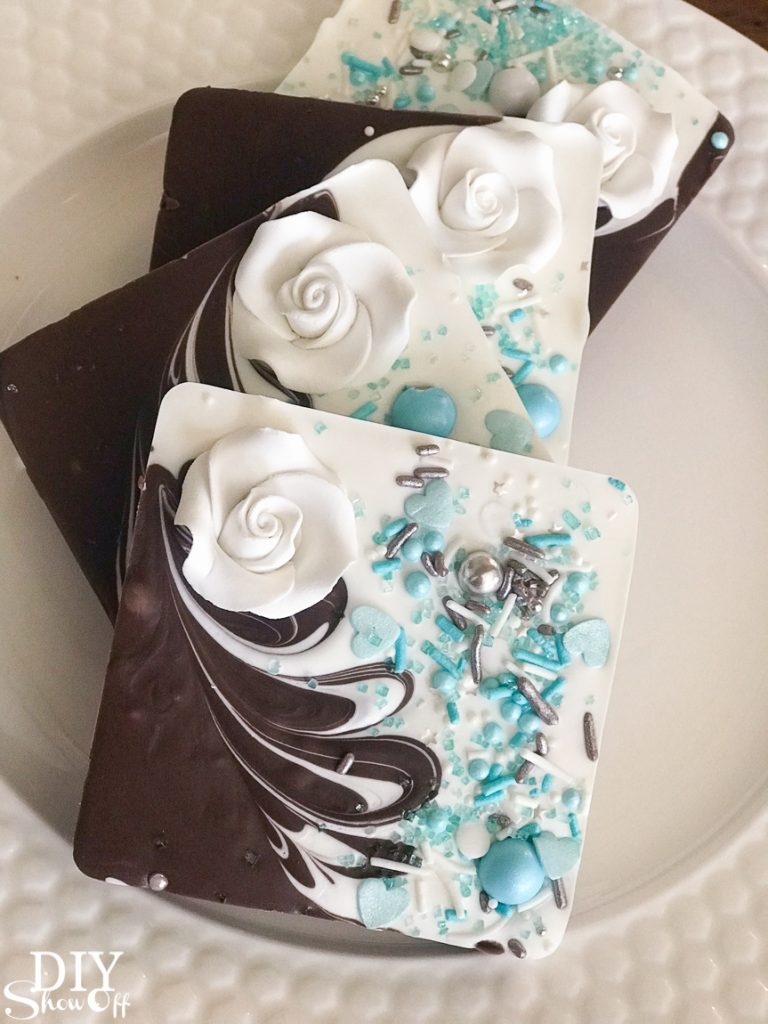
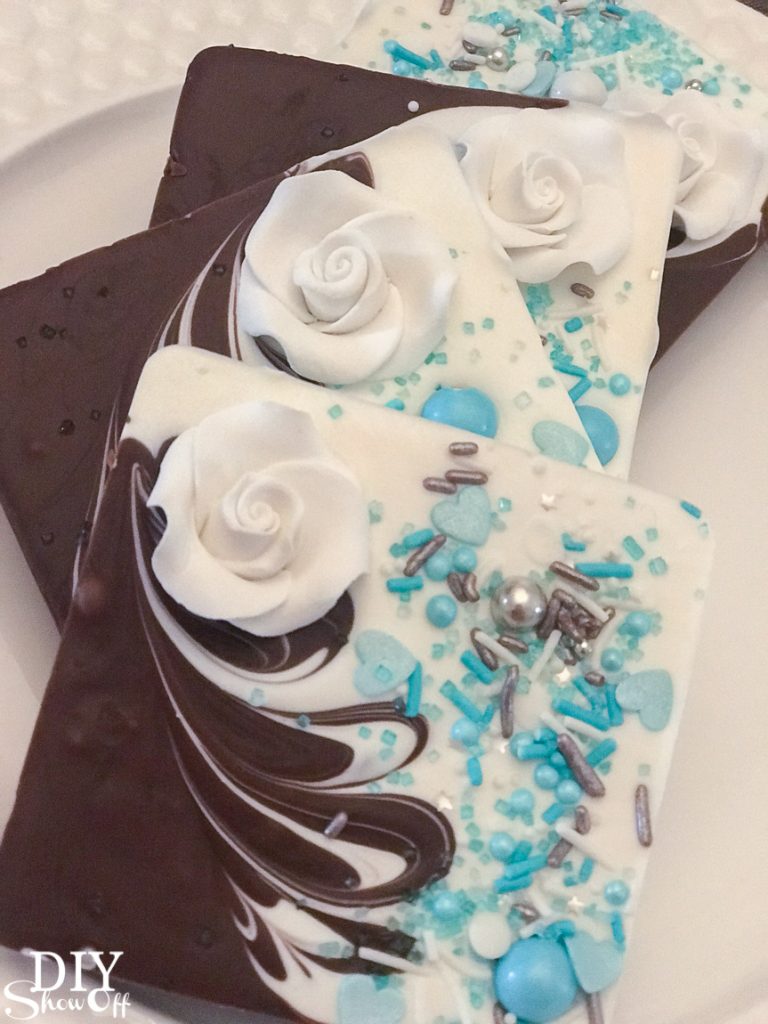
Using the skewer, while candy was still melted, I swirled the colors to create a beautiful unique design where the colors meet.
I am in LOVE with how each square is a unique and one of a kind design! I think this was my favorite step! I started out with just more of a zig zag but then discovered that the more swirly, the better.
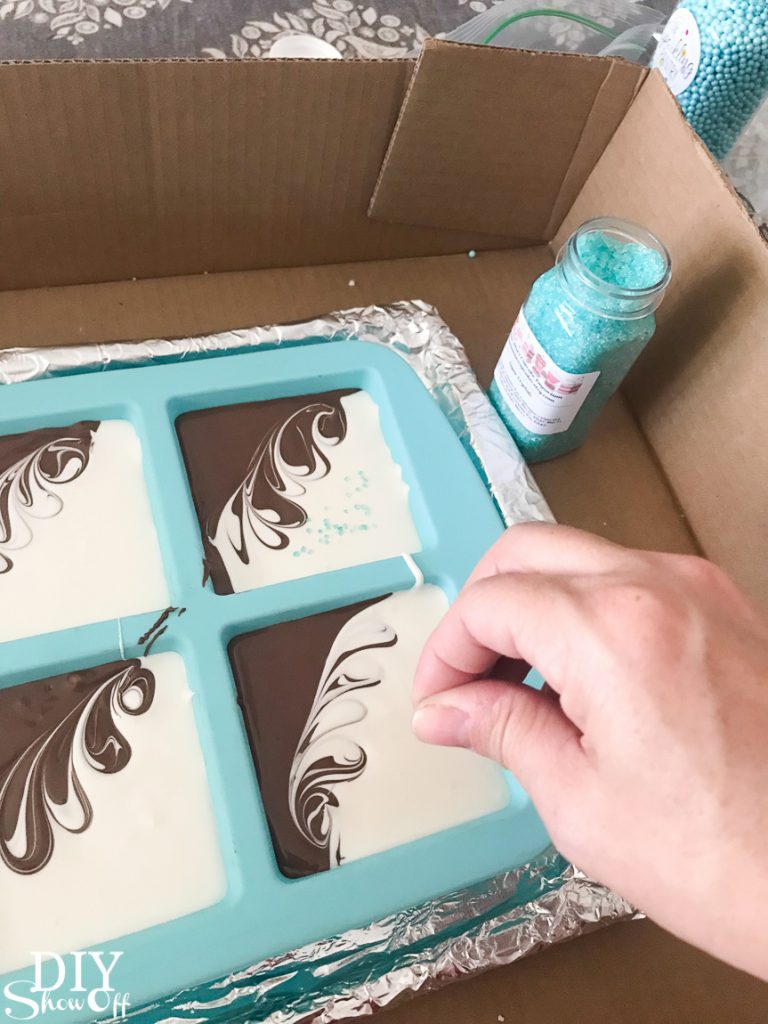
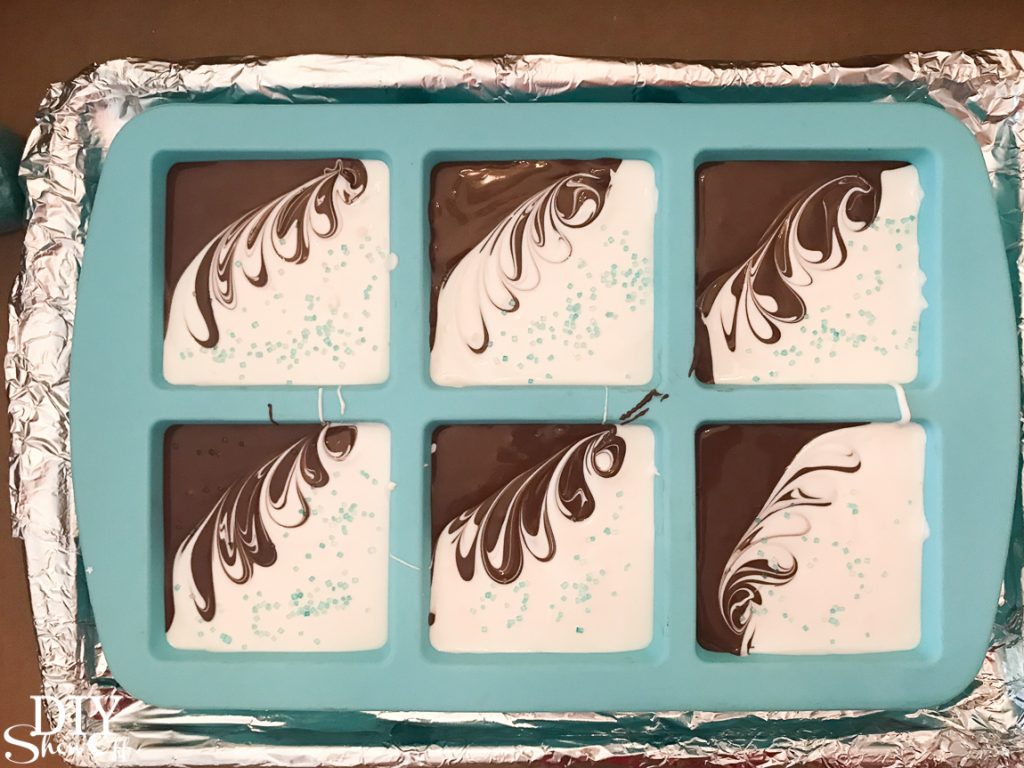
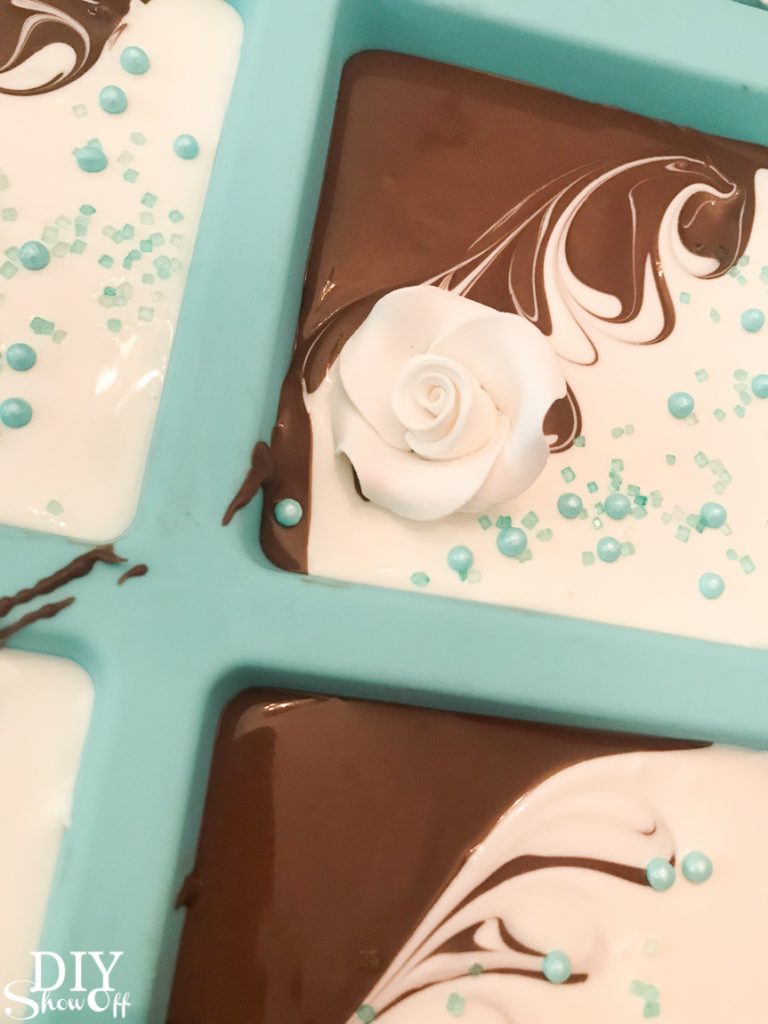
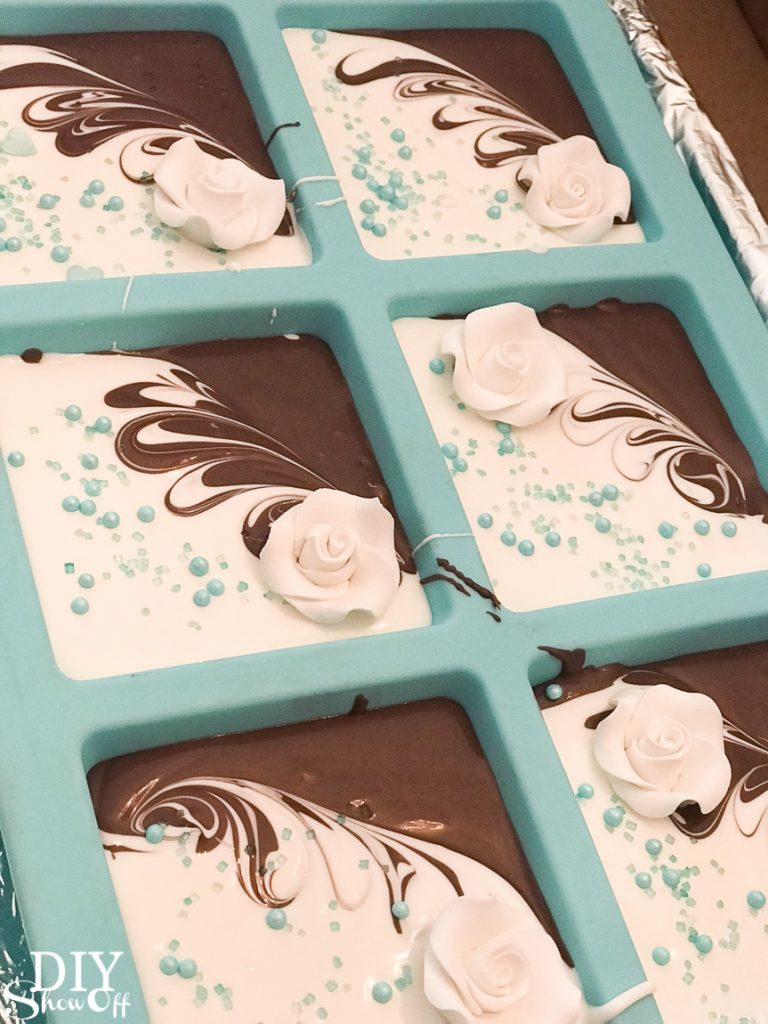
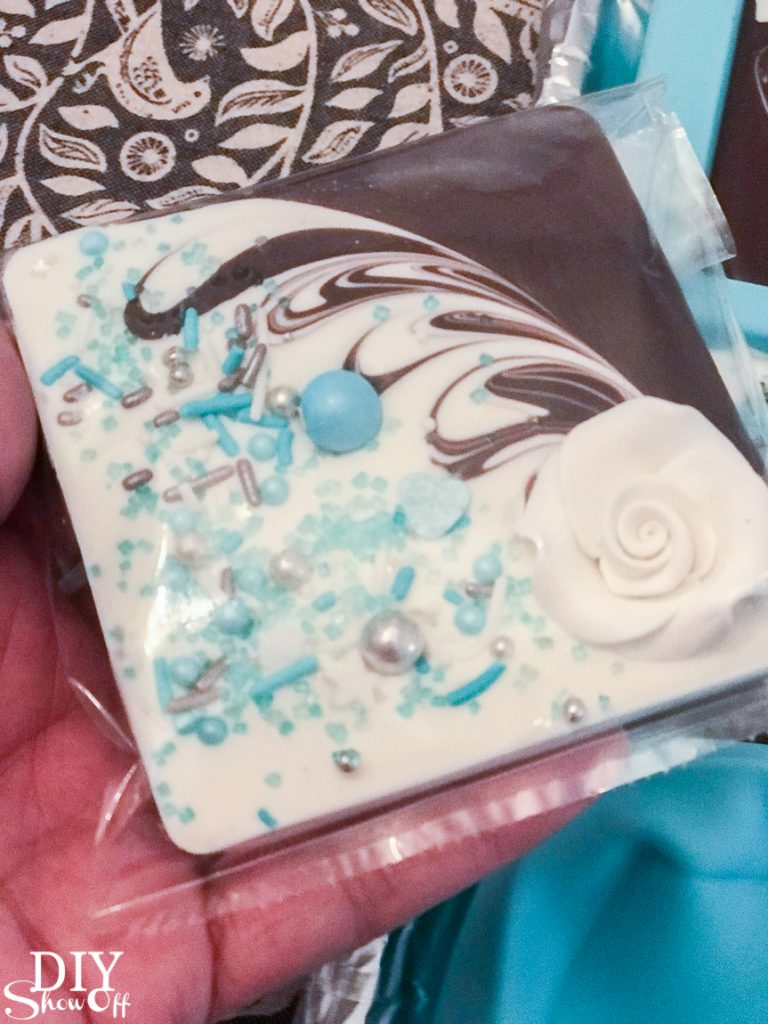
Then quickly decorated with icing roses, sprinkles, colored sugar, edible decorations, etc.
I placed the tray/silicone mold in freezer to set the candy. It didn’t seem to take long at all…probably about 15-20 minutes if that. Sometime I let it sit overnight if I got busy.
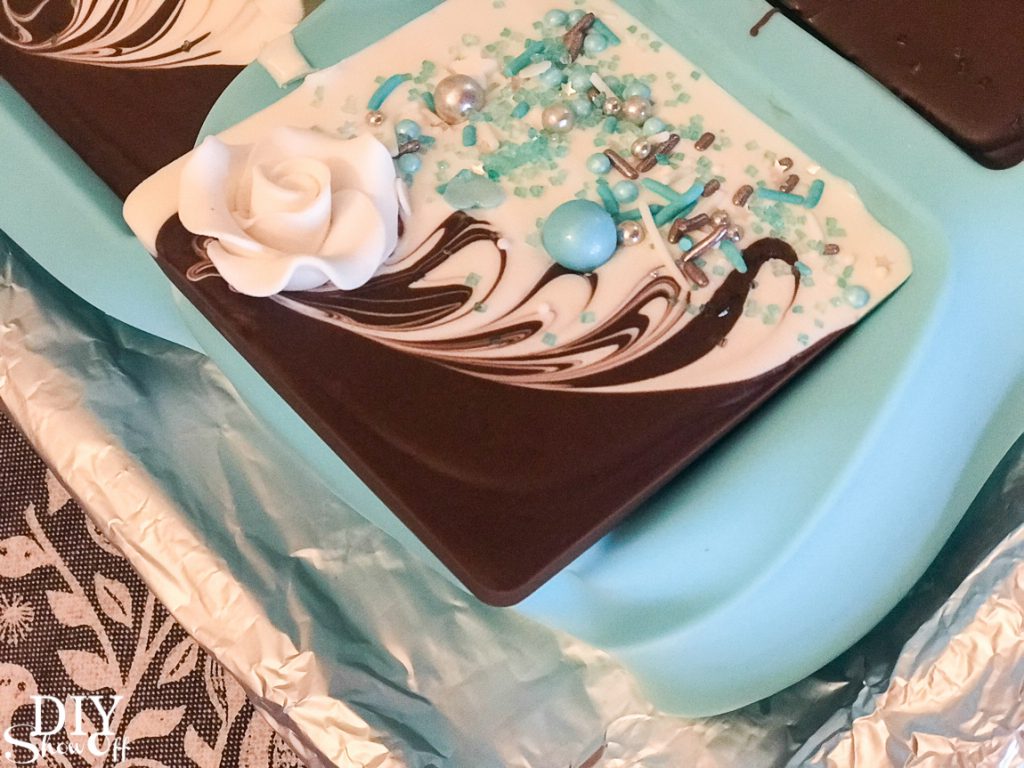
Then I removed them from freezer and carefully popped the bars out of silicone mold.
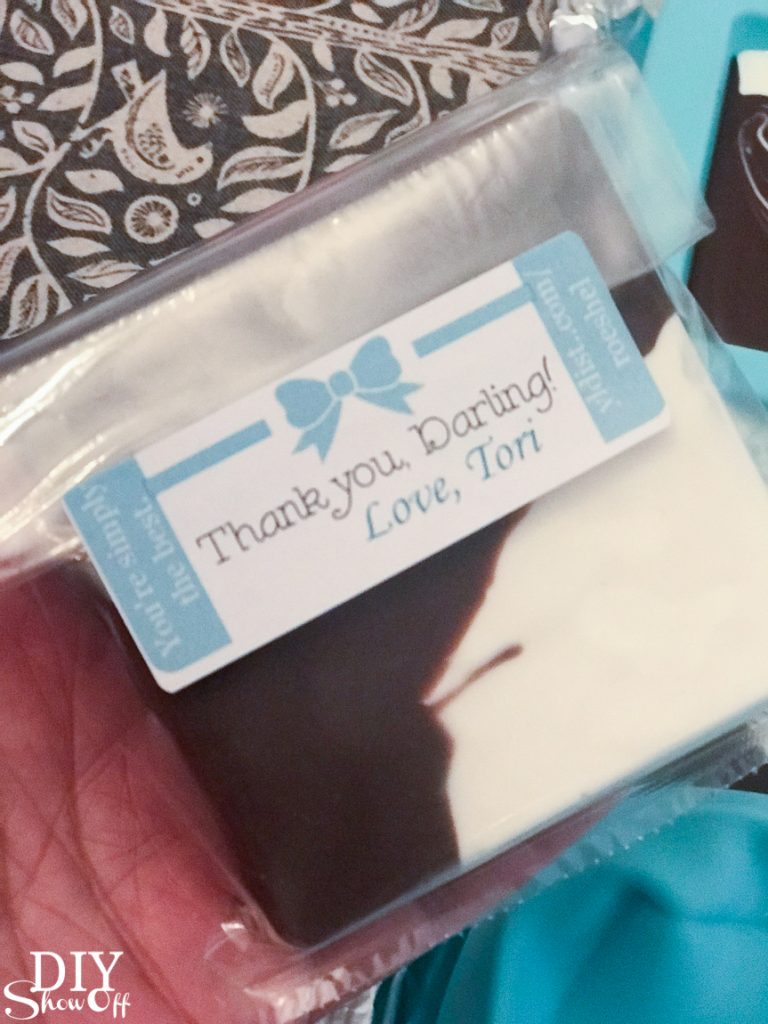
I placed them into a bag and secured with a personalized label.
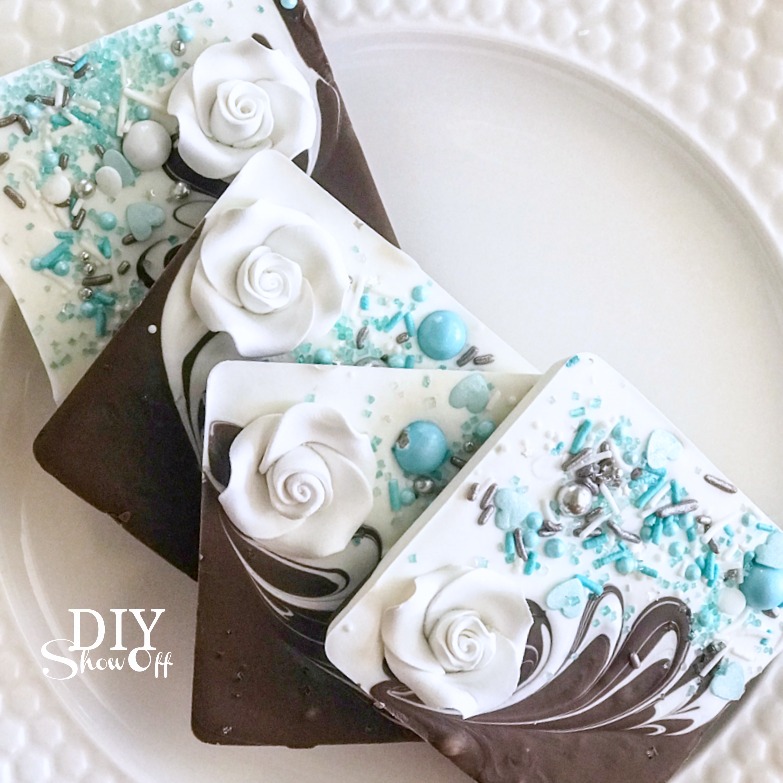
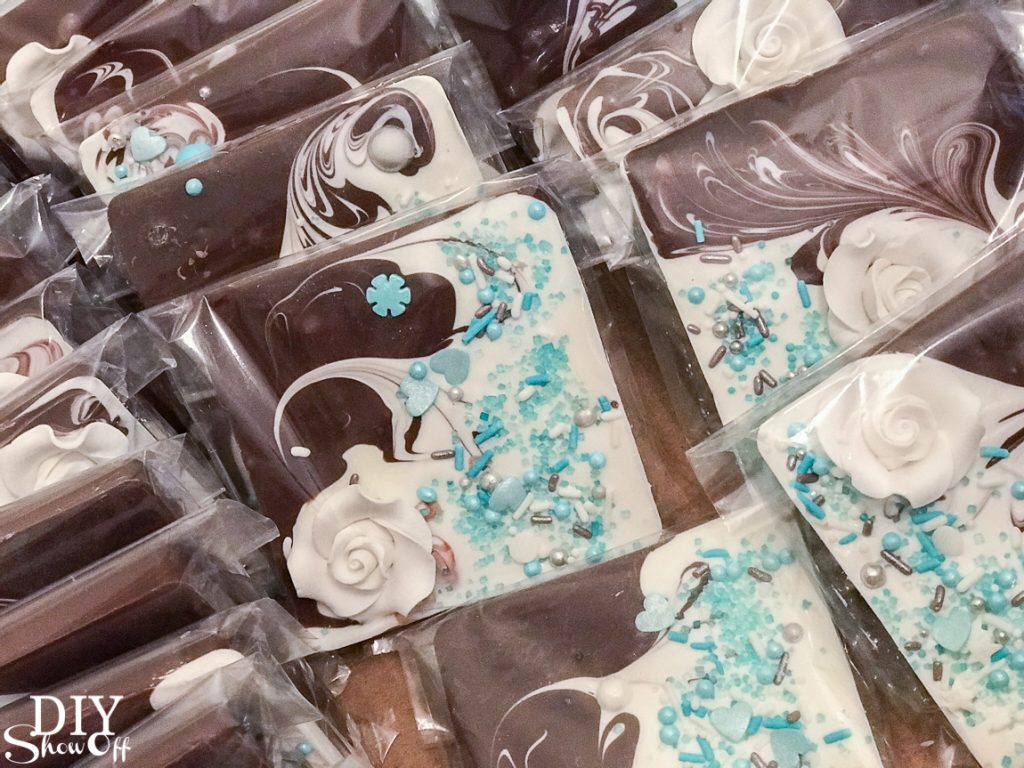
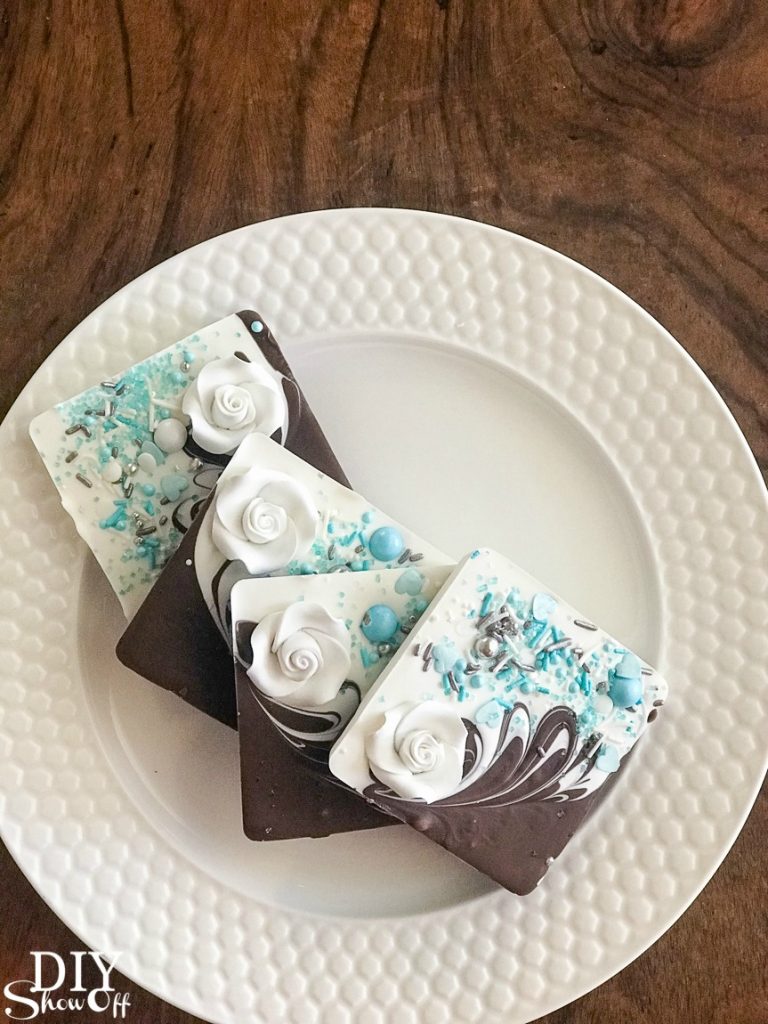
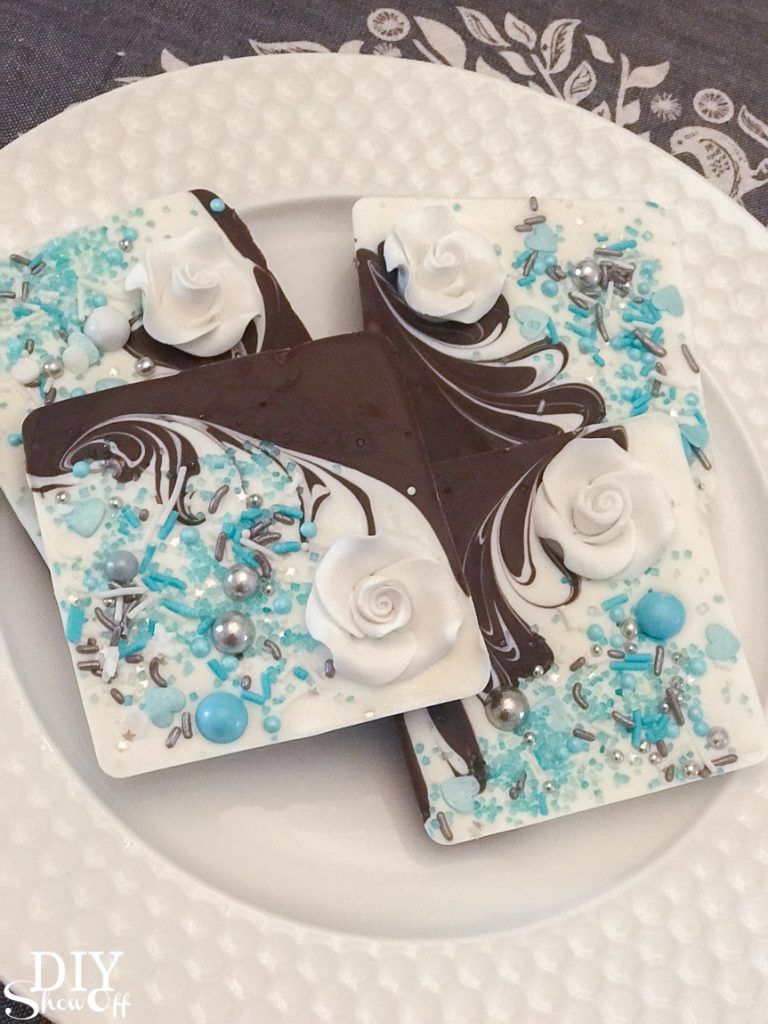
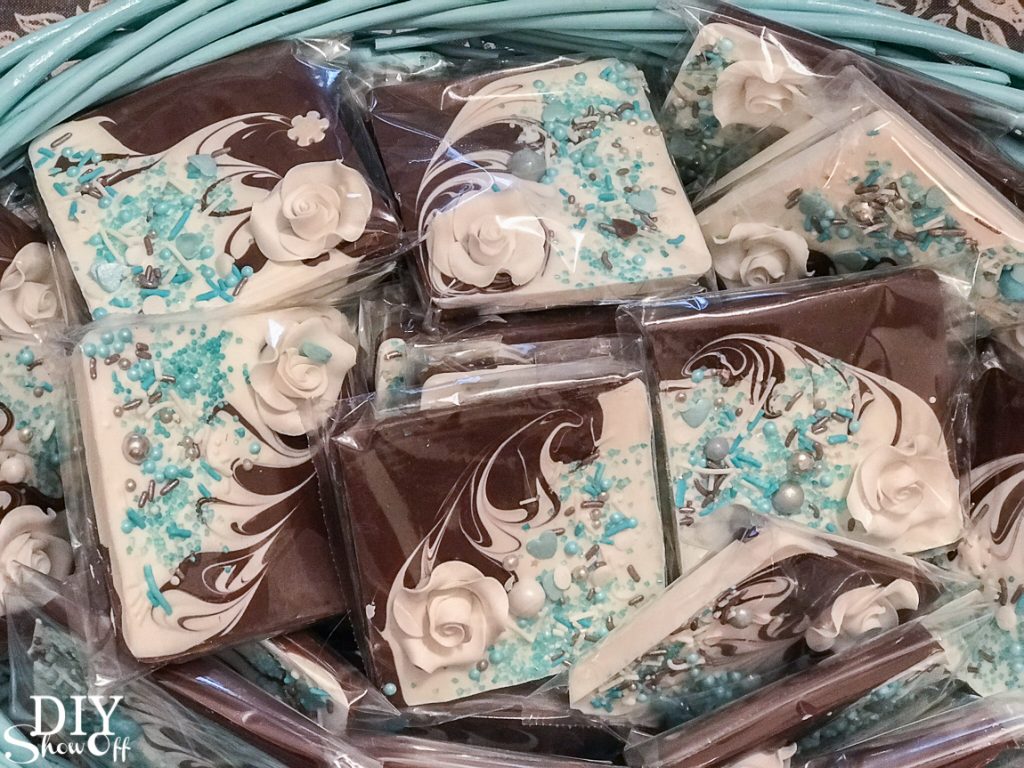
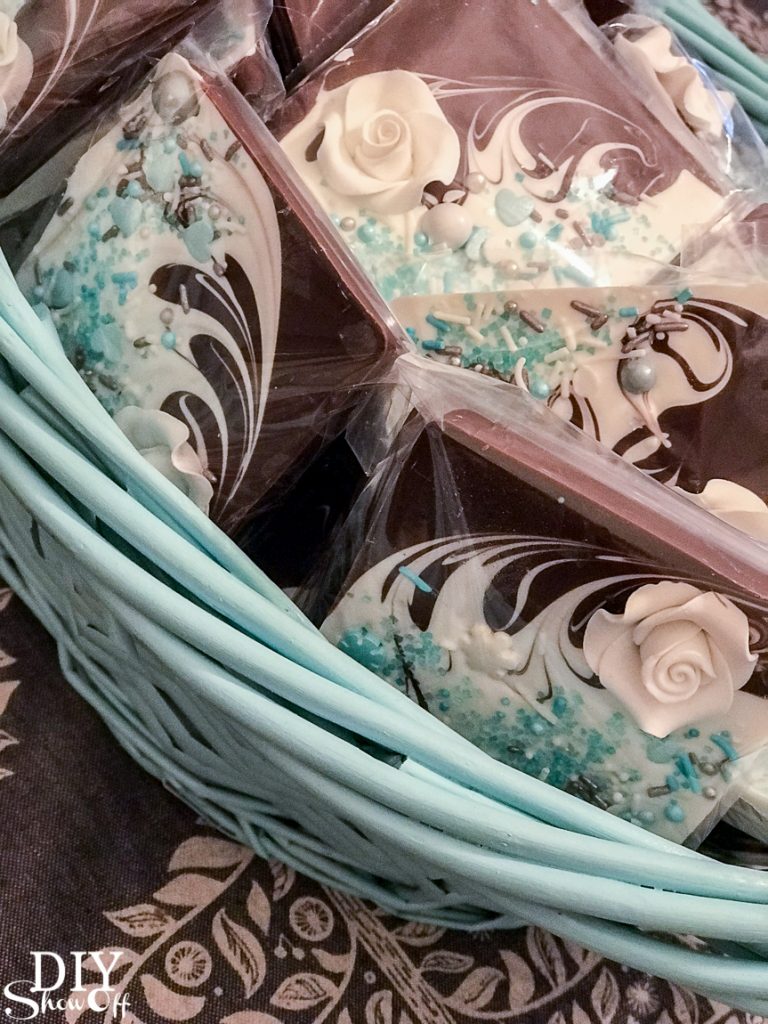
Beautiful! I love that each design is unique, don’t you? They’re so pretty, so professional and designer-looking but so easy to create! I can’t wait to make more!
So.many.photos! lol But I’m just so happy with how pretty they are!
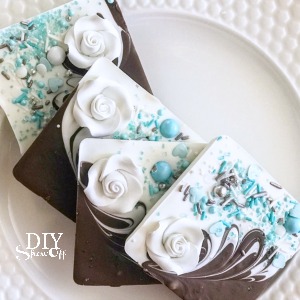
This batch was a “Breakfast at Tiffany’s” theme.
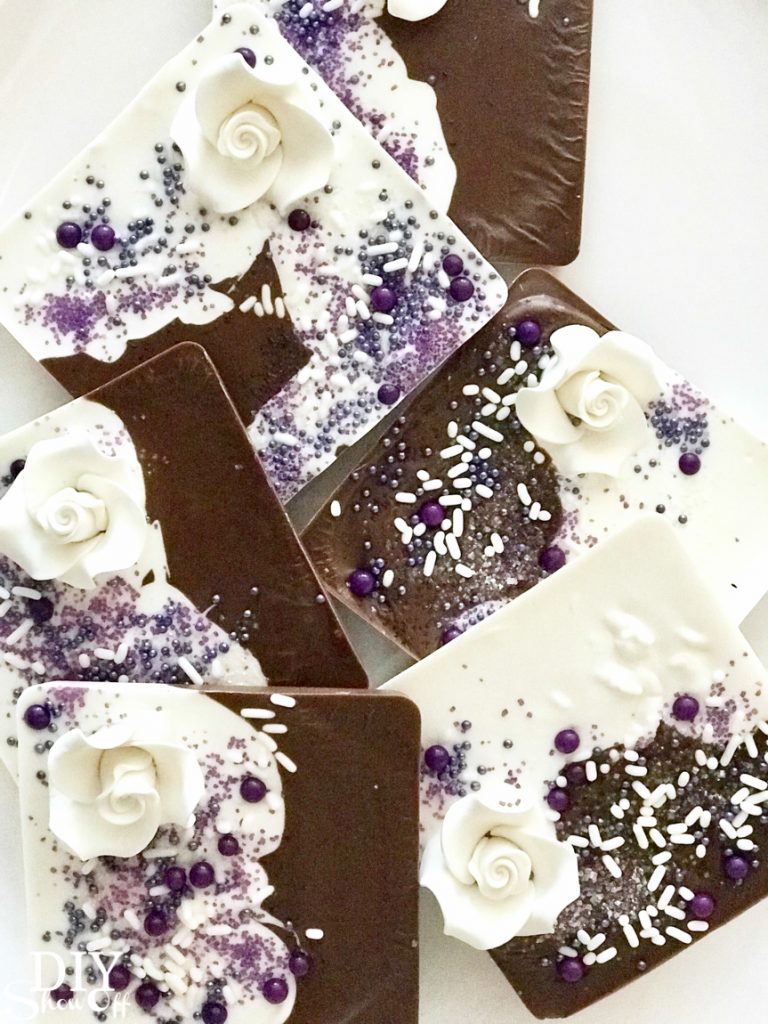
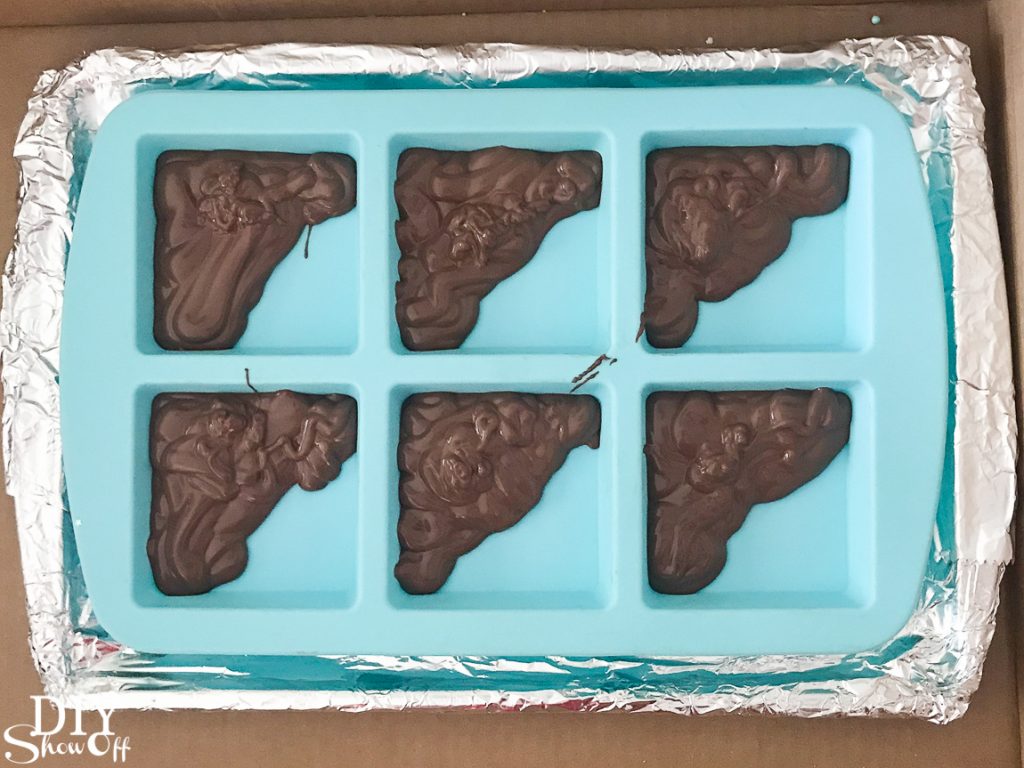
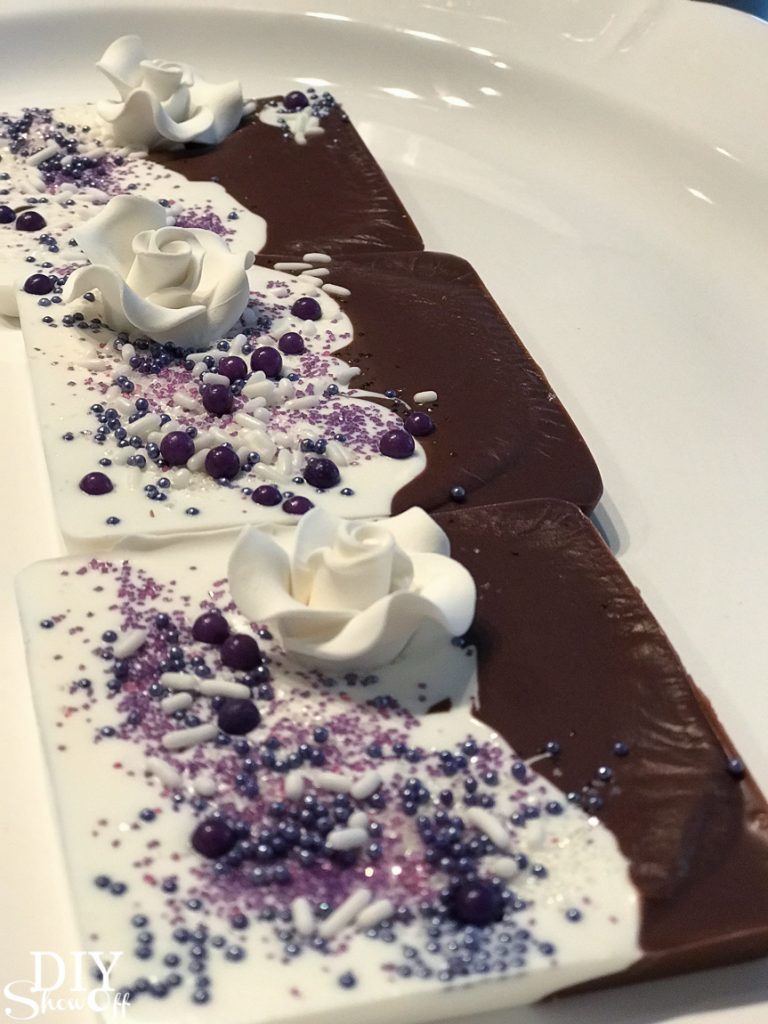
I whipped up 60-70 of these for a bridal shower but since you can personalize them with any candy melts (so many colors!) and any deco ratings (so many colors and shapes and ideas!), they’d work for not only bridal showers but for Mother’s Day, baby showers, wedding favors, party favors, hostess and teacher gifts, prizes, etc. I made a few every evening over a couple of weeks’ time. I gave a few out as essential oil infused door prizes and at Easter to my family too. I even had my grandson helping me decorate a few! Warning – not only are they a beautiful sweet treat, they’re so addicting to create! Here is the very first batch that started my madness (without the swirl technique)…Need more info on essential oils for dietary use? Read more about why I choose Young Living HERE. xo




These are beautiful!! Just curious if you have any idea the cost per treat.
Thanks, Heidi! The candy melts and icing roses = about $1.62 per treat. Then add in cost for sprinkles/essential oils/treat bag/label/etc. I’d guess around $2 for the 3×3 inch size.
These are absolutely gorgeous! Who would have thought they would be so easy to make. And I LOVE peppermint, so that just makes it all the better for me! Thanks for sharing this.
So easy to make, Diane! xo
Wouldn’t have thought something like this could be a (relatively) easy DIY. These could have a lot more uses than just wedding favors. Great to know about, thanks for sharing.
These are absolutely gorgeous and look so easy to make!! Going to have to try these for a special occasion.