How to make an heirloom jewelry wreath using brooches, charms, broken jewelry, earrings, etc.
It’s the time of year forshopping flea markets and estate sales this summer and you’ll likely see lots of costume jewelry, brooches, charms, earrings, etc. – CHEAP! Vintage brooches are so pretty but they’re not something I’d wear on a regular basis. Although if you do this project, you’ll be tempted. and develop a new appreciation for these beautiful pins. Inspired by the recent trend of brooch bouquets, I loved the look of clustered jewelry.
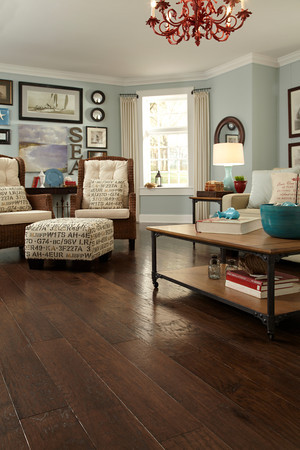
I have no need for a bridal bouquet, but a wreath – now that would add a pretty touch to home decor. I could see this in my future vintage inspired dressing room:
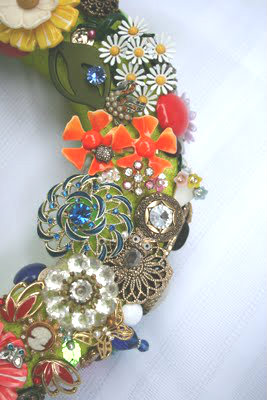
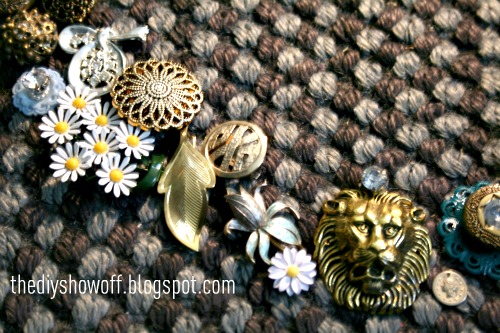
My wreath has a 10″ diameter and took over 100 pieces to get to the point pictured. Keep your eyes open at your thrift-hunting adventures and start collecting brooches, earrings, charms, costume jewelry, buttons, any small ornament. You might even have a few pieces lying around that you’d like to include for display rather than hiding away in a jewelry box. Brooches can get expensive. We set a limit of $1. Sometimes we’d go just a bit higher (no more than $3) if there was a pretty one we just had to have but for the most part, yard and estate sales proved to be .25 or 3 for $1. We also scoured the craft section in the thrift stores, scoring large baggies full of jewelry surprises. The local pawn shop/jewelry store gave us a good deal on costume jewelry too.
My daughter, Bri, and I both made wreaths. Mine is done in golds, silvers with a touch of white/blue/green. (Note: Choosing certain colors makes finding pieces a little more difficult.) Bri wanted lots of color and created a beautiful wreath using a variety of pretty mix of costume jewelry baubles.
Materials:
Assortment of brooches, earrings, charms, buttons, decorative pieces, etc.
Straight pins
Hot glue
Styrofoam wreath
Deco Art MagiKote – a mandatory step (see reasons below)
Krylon spray paint or Deco Art craft paints
Brooch Wreath Tutorial:
1.
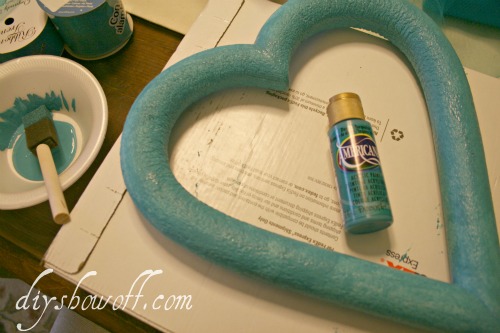
Apply Deco Art MagiKote to the Styrofoam wreath.
MagiKote has the texture of white paint. I love using foam brushes for craft projects.
Have a larger assortment on hand for crafts like the ones sold in bulk by
Rockler.
MagiKote aids in making Styrofoam a paintable surface by sealing the texture, otherwise paint hits the top edges but not the Styrofoam craters. MagiKote also makes for a better pin-able and glue-able surface. Brooches etc. get moved around a lot during placement. If it wasn’t for the MagiKote, there’d be a lot of Styrofoam crumbs and chunks falling out.
Let dry.
2. Paint the Styrofoam wreath form (a Styrofoam square would be cute too!). I used Krylon’s Brushed Metallic. Color: Champagne Nouveau. The MagiKote also creates a protective barrier so that my spray paint didn’t ‘melt’ the Styrofoam form.
I like that Krylon is quick, easy and fast drying. This sets a background for the pins. I painted my to blend…
Bri painted hers using Deco Art Gloss Enamels (Citron Green) to pop and coordinate with other colors in her room…
3. Layout a template to get an idea for placement, favorite pieces front and center. Side pieces can be smaller and aren’t viewed from every angle.
4. Start placement of biggest brooches and pieces including favorites.
5. Once you have the big pieces in place, fill in with smaller pieces. Open pins stick into the Styrofoam.
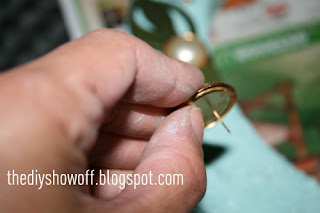
Earring posts make placement easy.Clip-ons are just as easy but use wire cutters if necessary to cut backings for easier “pinning”.
Use wire cutters to help when needed. Barrets, pins, earrings all have backing that can be used to secure to the styrofoam. Hot glue and straight pins will help too.
My wreath doesn’t use glue but occasionally I used colorful pins, so it can be disassembled if needed…a fun way to display jewelry that is worn or prevent keepsakes from being ruined.
6. Optional: Use a ribbon for hanging.
Here is my finished (almost – a few more brooches needed for the inside of the wreath)…
Bri’s wreath:
All finished! Well, almost. We still have some extra spaces to fill in as summer progresses and I’d like to fill in the inside as well…it’ll take some time. Fun for a game of “I Spy” too! What do you think?
What have you been doing this weekend?


