DIY Thanks Sign Tutorial

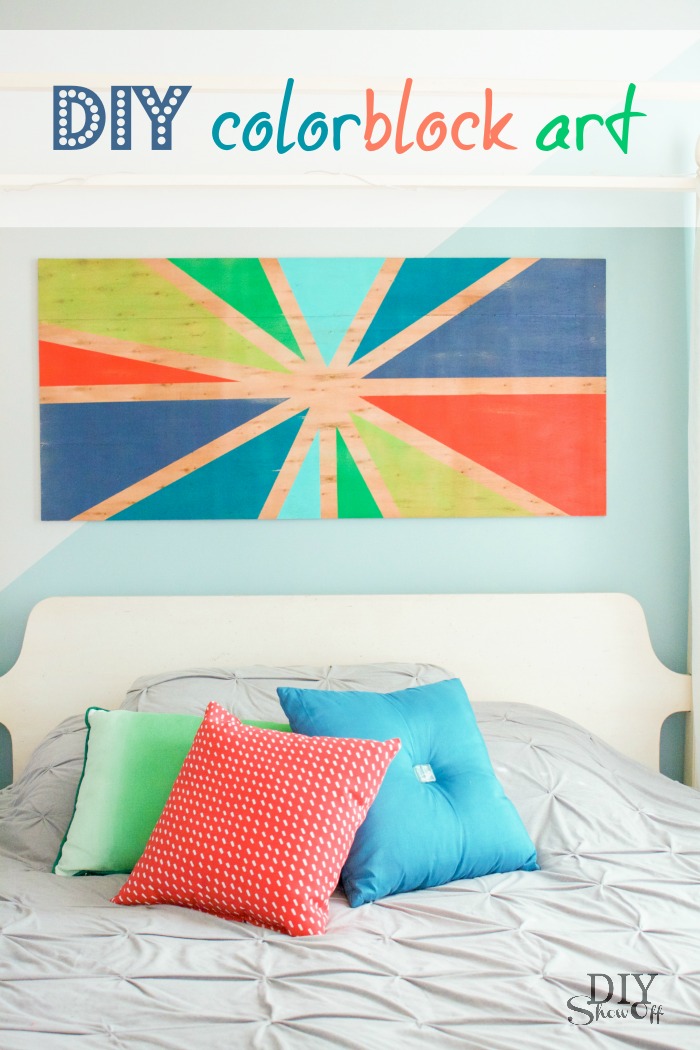
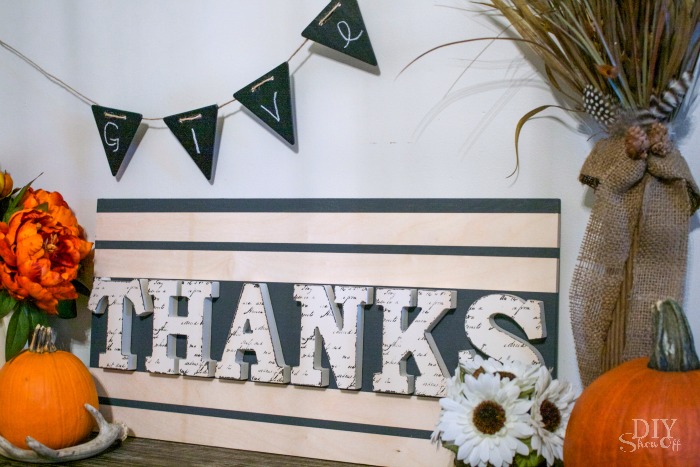
Happy Thanksgiving, friends! Hosting Thanksgiving dinner? It’s a bit late for this tutorial but there’s always filing it away for next year. Make up this easy sign to add the finishing touches on your Thanksgiving decor. 
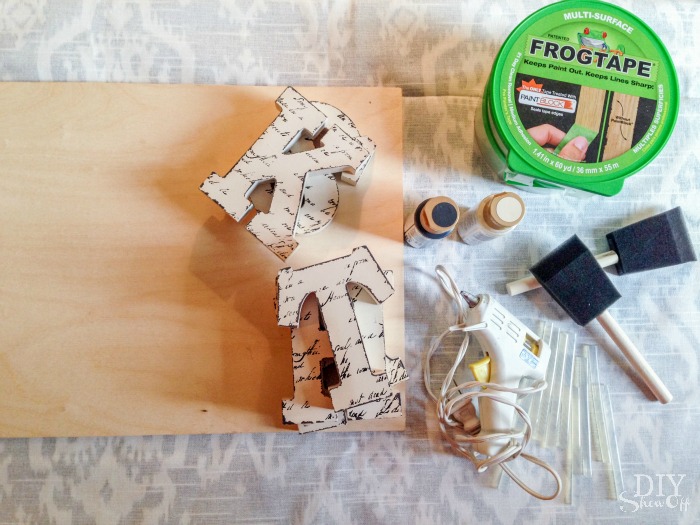
easy Thanksgiving sign tutorial @diyshowoff

What I used: 

  • 12 x 24 piece of plywood
  • FrogTape®
  • paint and foam paint brush
  • wooden letters
  • hot glue (or wood glue and clamps or screws)

easy Thanksgiving sign tutorial @diyshowoff

What I did:

1. Paint wooden letters if needed and let dry. Mine came from the craft store dollar section pre-finished. 

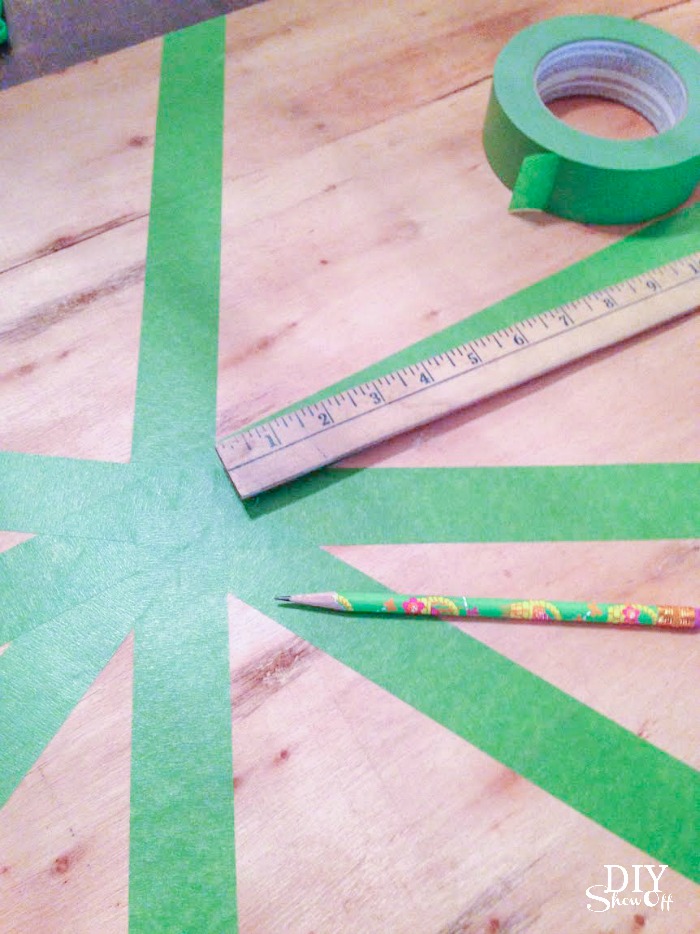
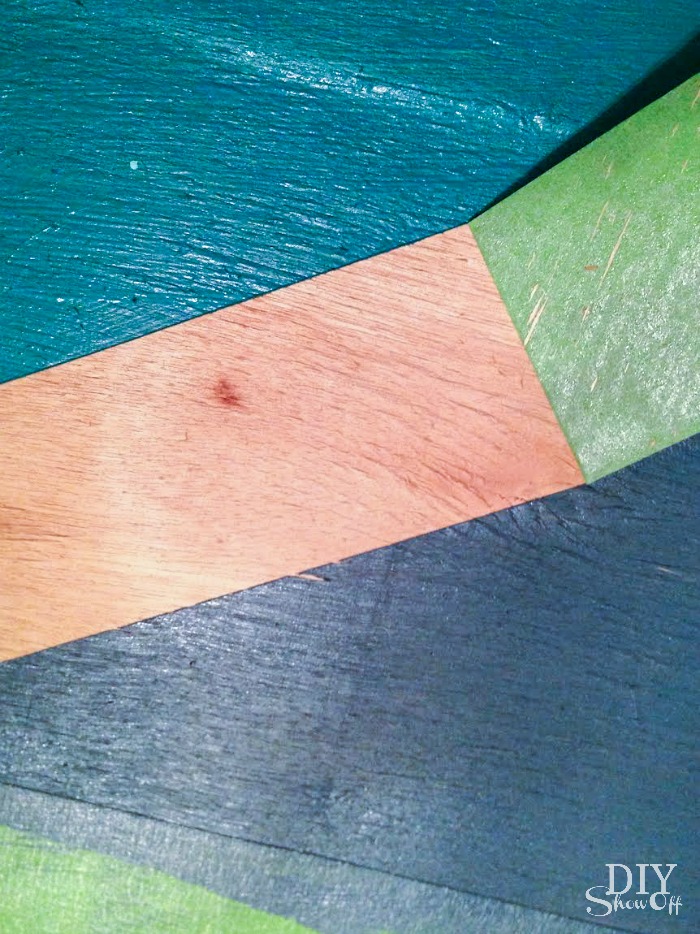
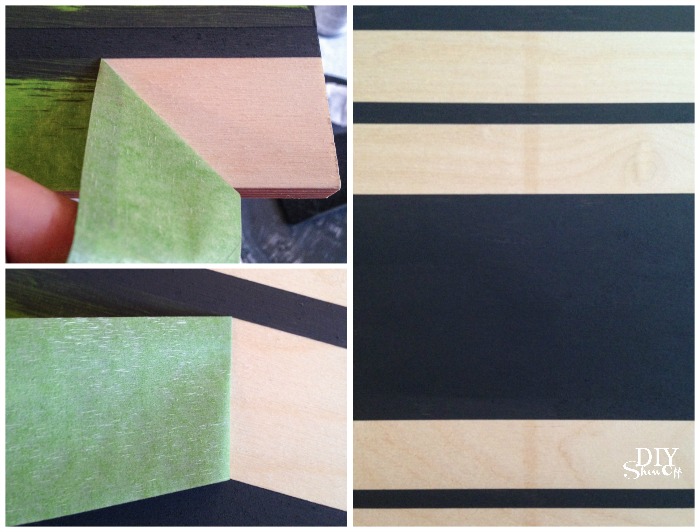
 2. I taped off stripes using FrogTape Multi-Surface. I made a larger stripe in the middle to create a darker background since my letters are lighter in color. 

easy Thanksgiving sign tutorial @diyshowoff

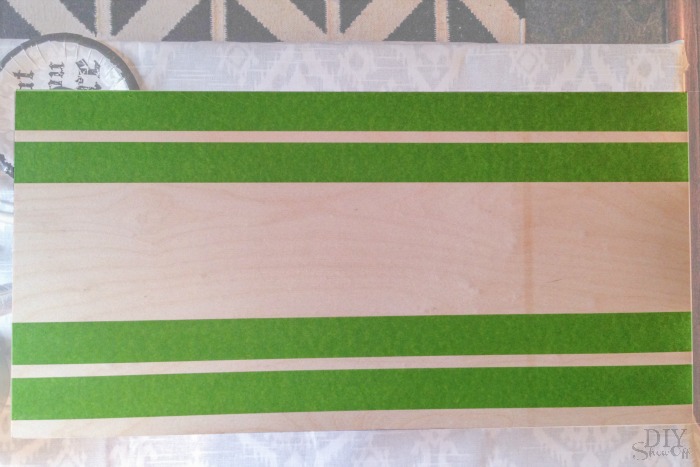
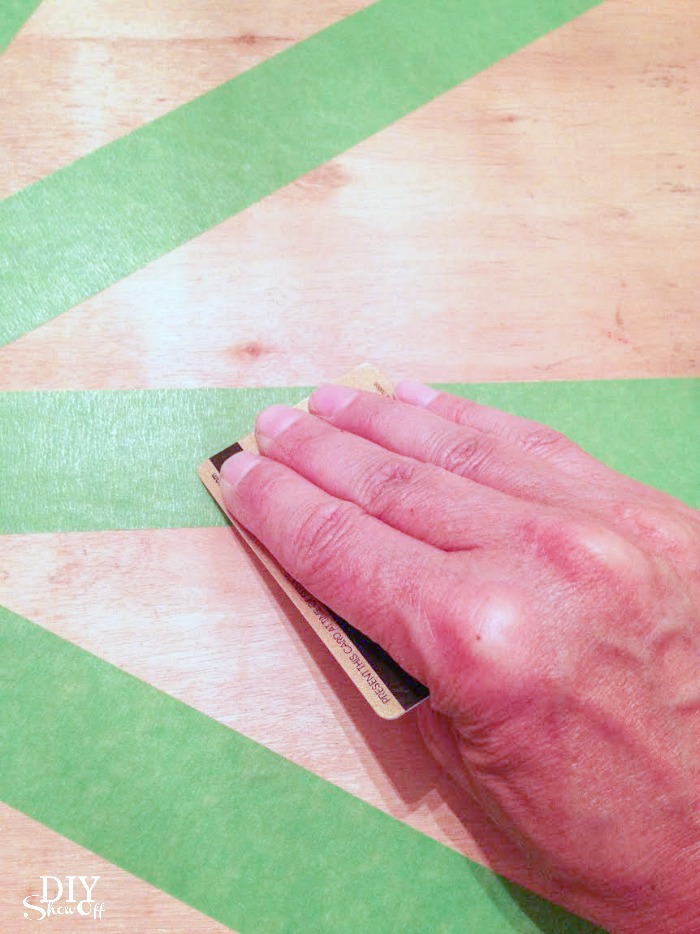
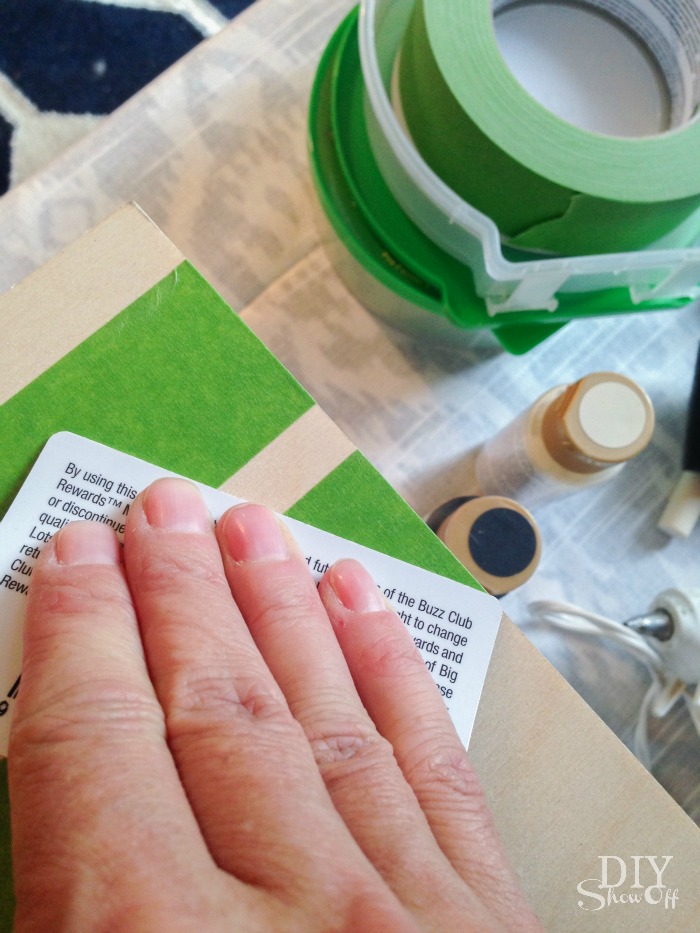
3. Using a plastic card, I burnished the edges of the tape to ensure crisp clean lines. 

easy Thanksgiving sign tutorial @diyshowoff

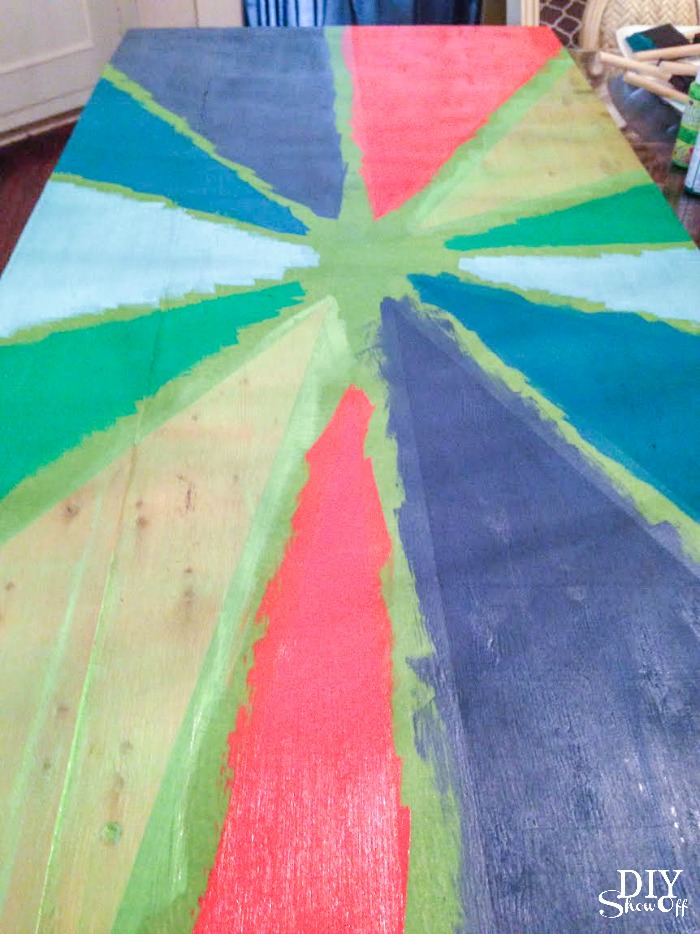
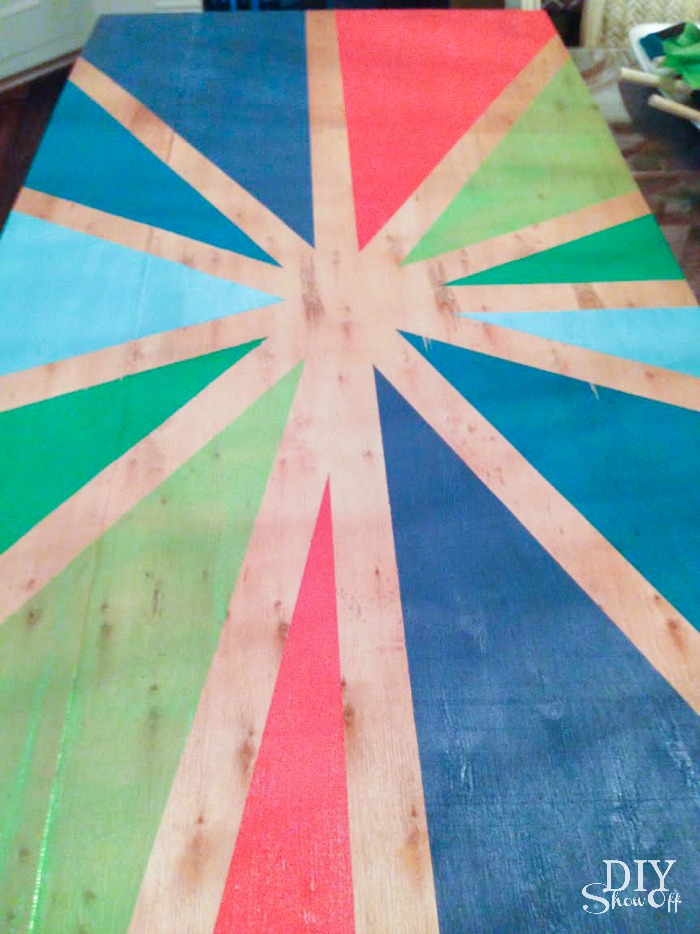
4. Next I applied a coat of paint. 

easy Thanksgiving sign tutorial @diyshowoff

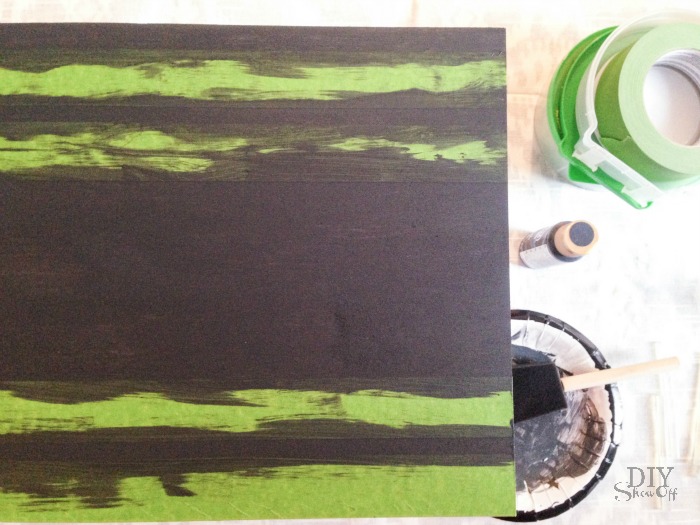
5. While paint was still wet, I carefully removed the FrogTape. Then let the paint dry. 

easy Thanksgiving sign tutorial @diyshowoff

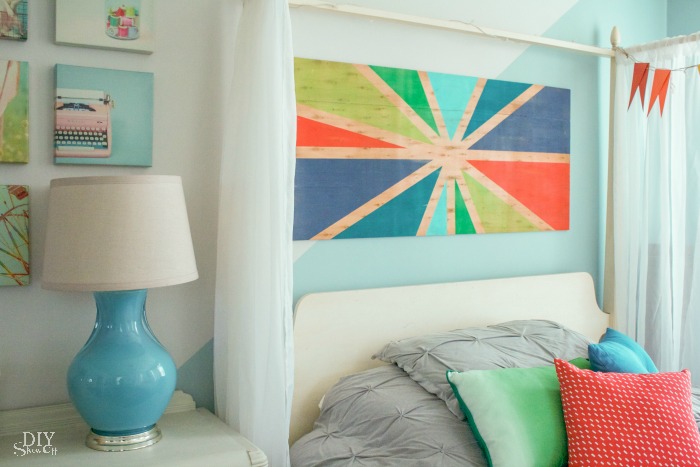
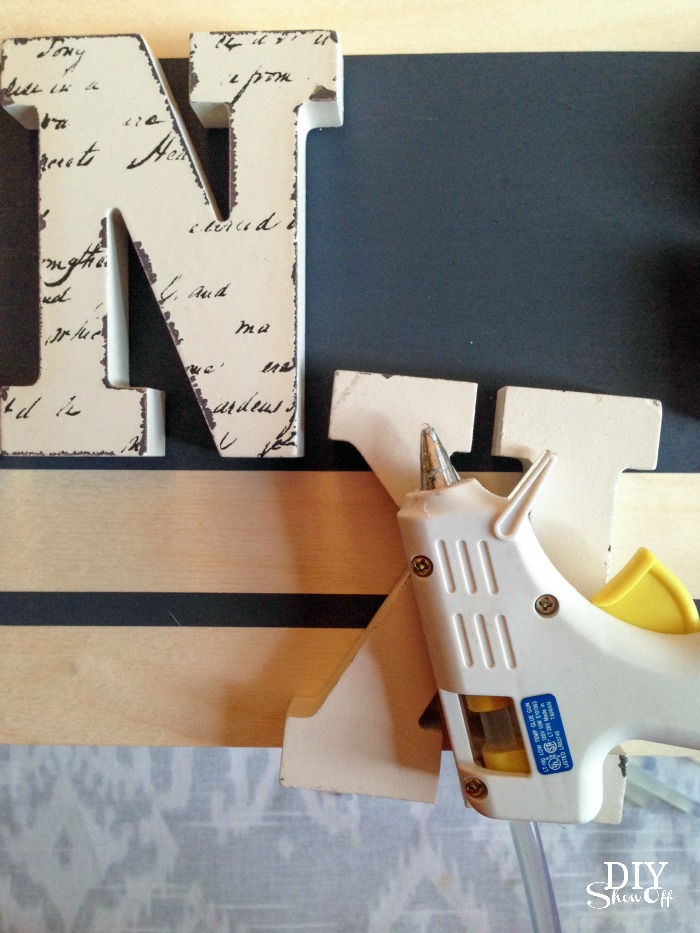
6. I secured my letters using hot glue. 

easy Thanksgiving sign tutorial @diyshowoff

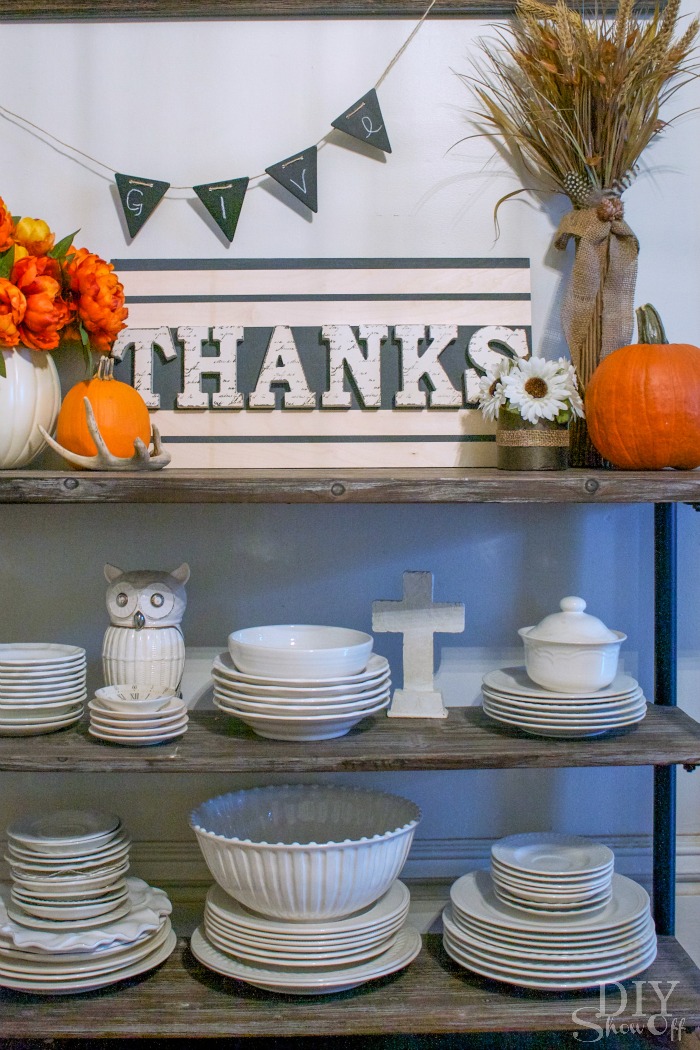
I love this quick and easy piece to add to my Thanksgiving vignette: 

easy Thanksgiving sign tutorial @diyshowoff

easy Thanksgiving sign tutorial @diyshowoff

*I received compensation to complete this project for using FrogTape® products. All opinions, projects and ideas are based on my own experience.

  FrogTape Blog Squad

Colorblock Art

The area above the bed in the guest room was in need of a little something…

Guest Room/Nursery reveal @diyshowoff

I didn’t photograph the area in my guest room/nursery reveal closely because it was bare. But not anymore…

DIY color block sunburst wall art tutorial @diyshowoffI grabbed:

  • 48 x 22 inch plyboard (recycled from shipping packaging but available at the hardware store too)
  • FrogTape® MultiSurface
  • paint

Since my board was stored in the basement, I cleaned away the dust. 

Then measured and marked the center of my board. 

DIY color block sunburst wall art tutorial @diyshowoff

Next I applied FrogTape to create a sunburst design, starting from the center marking. I just placed my pieces randomly. 

Using a gift card, I burnished the edges of the tape to get clean crisp lines. 

DIY color block sunburst wall art tutorial @diyshowoff

Then painted each area, applying paint in the direction of the wood grain with a foam brush. 

DIY color block sunburst wall art tutorial @diyshowoff

While paint was still wet, I carefully removed the Frogtape then let my painting dry. 

DIY color block sunburst wall art tutorial @diyshowoffDIY color block sunburst wall art tutorial @diyshowoff

Add picture hanging hardware or use velcro hangers to display the masterpiece! It fills the space nicely and adds pops of color. Fun! A great way to add a big statement for little cost. 

DIY color block sunburst wall art tutorial @diyshowoffDIY color block sunburst wall art tutorial @diyshowoffDIY color block sunburst wall art tutorial @diyshowoff

{notice the photobomber? lol!}

I’m not very “artistic” when it comes to painting but a geometric pattern is something anyone can do. Coordinate colors with your existing decor, make a big statement without breaking the bank. 

See more details on the diagonal wall paint, the chevron/colorblock door and guest room/nursery makeover

easy diagonal wall paint design tutorial @diyshowoffcolor block door makeover @diyshowoffcombined guest room nursery reveal @diyshowoff 

*I received compensation to complete this project for using FrogTape® products. All opinions, projects and ideas are based on my own experience.

 FrogTape Blog Squad

Outdoor Bistro Set Before and After

With summer right around the corner, it’s time to spruce up outdoor seating areas. The oil rubbed bronze of this bistro set matched everything nicely but it’s just so brown and tired. 

Before:

DIYShowOff Bistro Set Makeover before

Originally it was a $15 yard sale score, ivory and rusty. 

Wayyyyy before…

bistro set before @diyshowoff

Here it is better staged in our grape arbor/gazebo recycled brick patio/pathway reveal, but it gets lost…

recycled brick patio @diyshowoff


Here’s what I did:

Bistro Set Makeover @diyshowoff

Remove the glass top. A little sanding of the rusty spots, a good wipe down (Yes! That’s Young Living Thieves household cleaner)…

Thieves cleaner

and one can of Rust-Oleum Painter’s Touch Ultra Cover 2X in navy (don’t forget your mask)!, a day of dry time….

RustOleum Painters Touch Ultra Cover 2x

…then re-insert glass, top with a couple of homemade cushions and I’m loving the new pop of color.

After:

Bistro Set Makeover @diyshowoff Bistro Set Makeover @diyshowoff Bistro Set Makeover @diyshowoff

Much happier, isn’t it? Do you have some tired old boring outdoor furniture ready for a re-freshening?