Silhouette Scrap Wood Wall Art

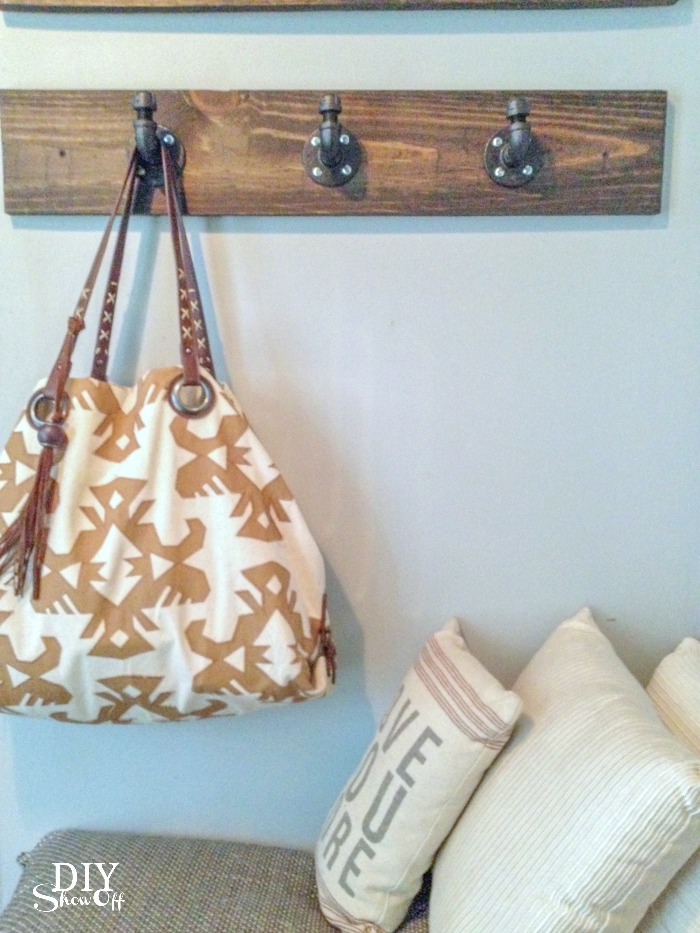
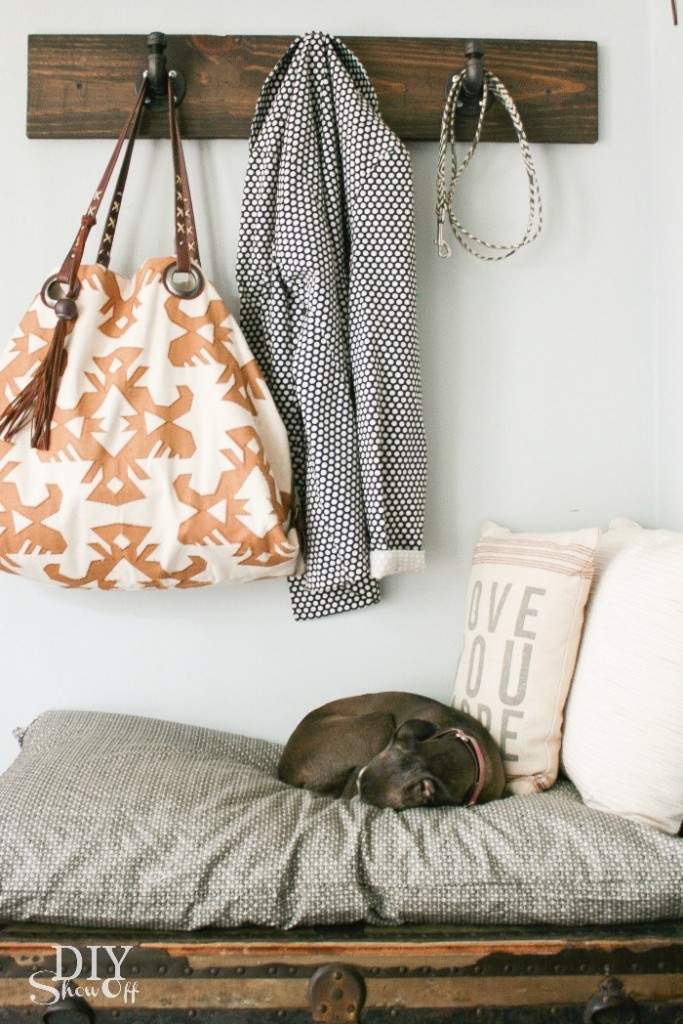
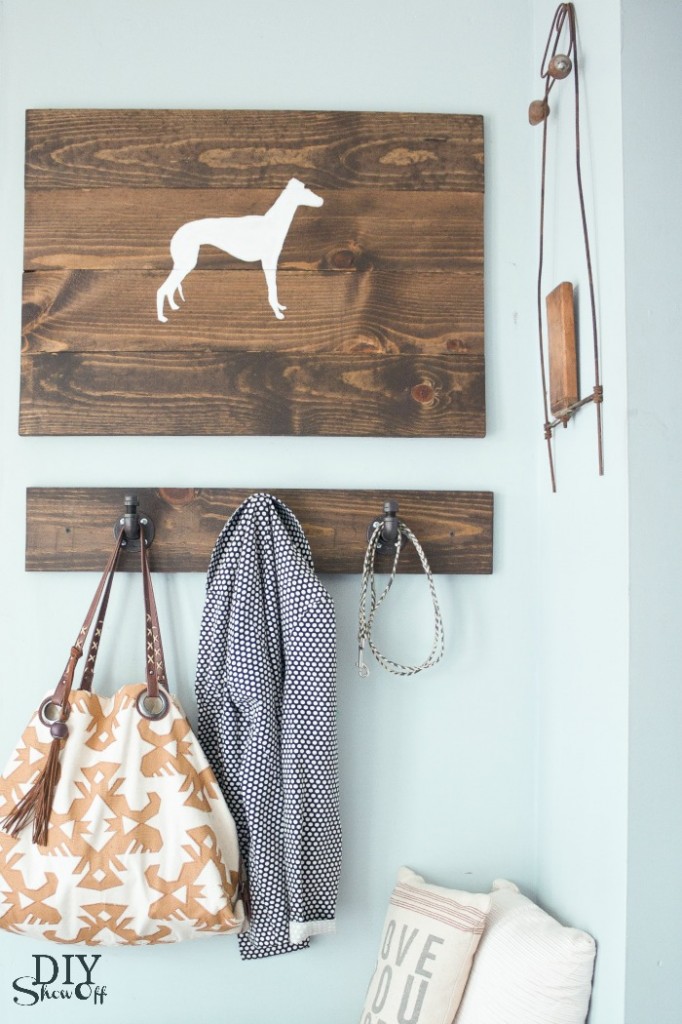
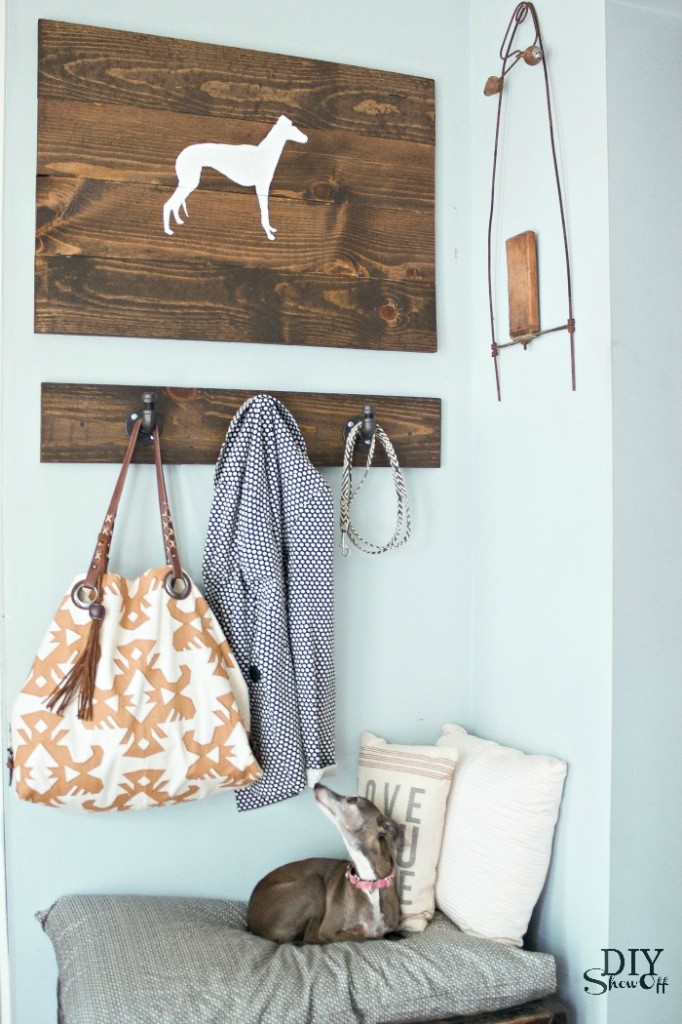
I recently shared the DIY coat rack we’re now utilizing in our sitting room above a vintage trunk used as a bench…

DIY pipe coat hooks @diyshowoff

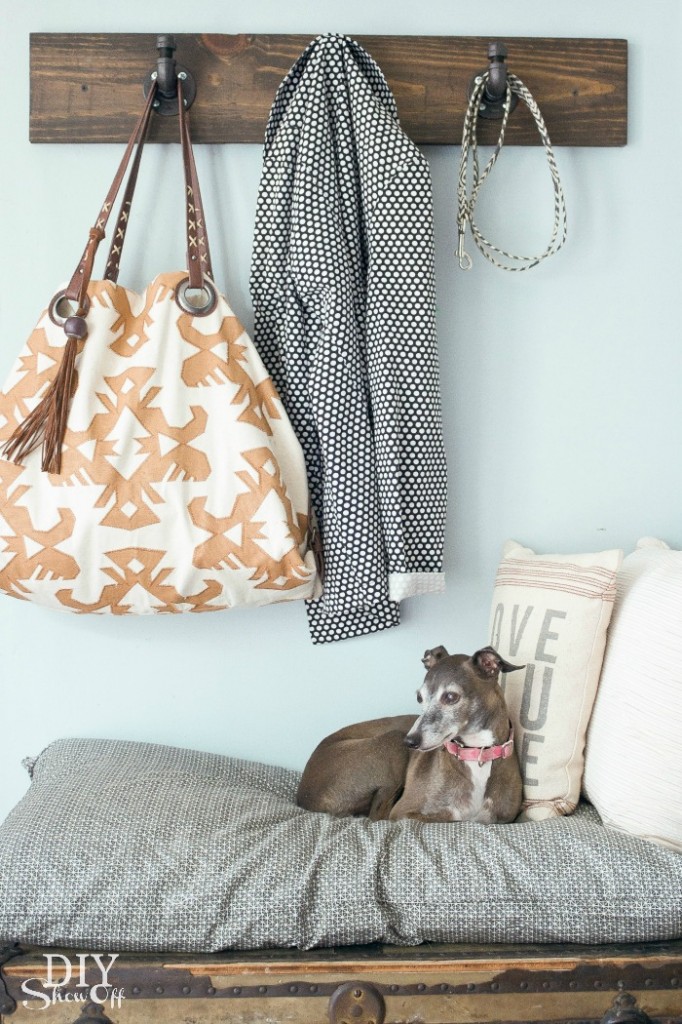
See who loves to rest here? It’s a tiny little Italian greyhound named Rosie…

DIYShowOff Coat Rack and Sign

One more picture. She’s just so stinkin’ cute!

DIYShowOff Coat Rack and Sign

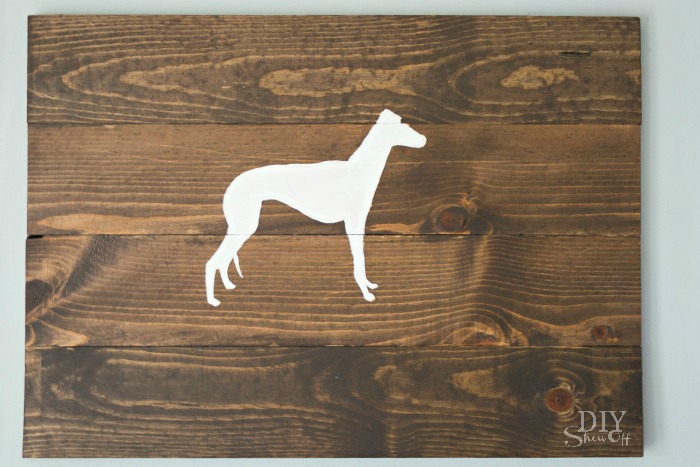
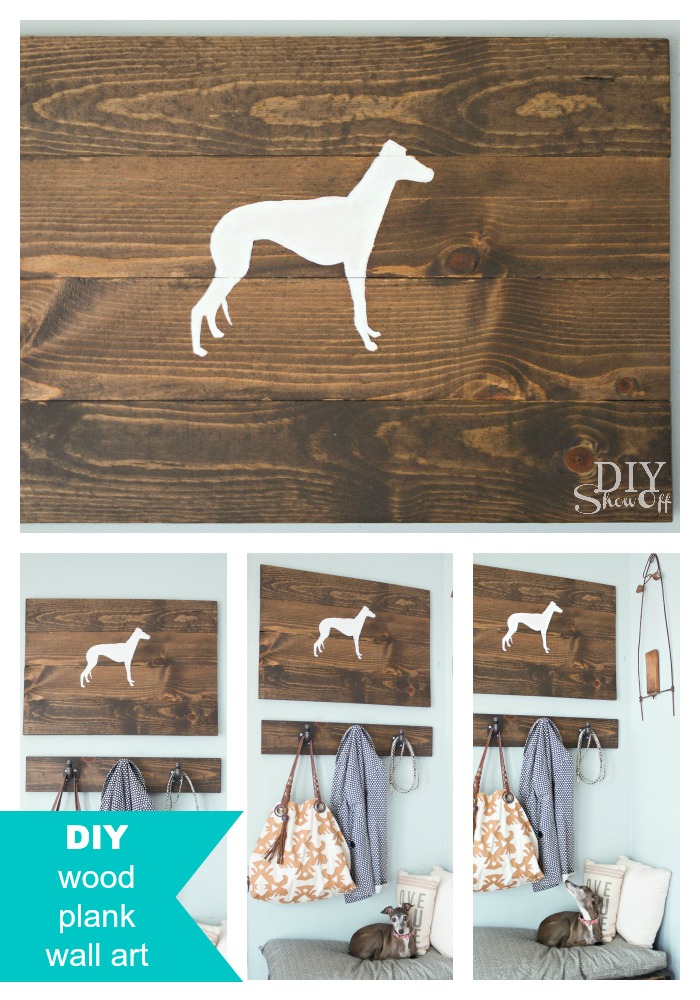
and I’m loving this scrap wood turned silhouette art placed above it. Rosie approves!DIYShowOff Wood Plank Wall Art
Materials I used:

  • scrap 1 x 6 pine boards 
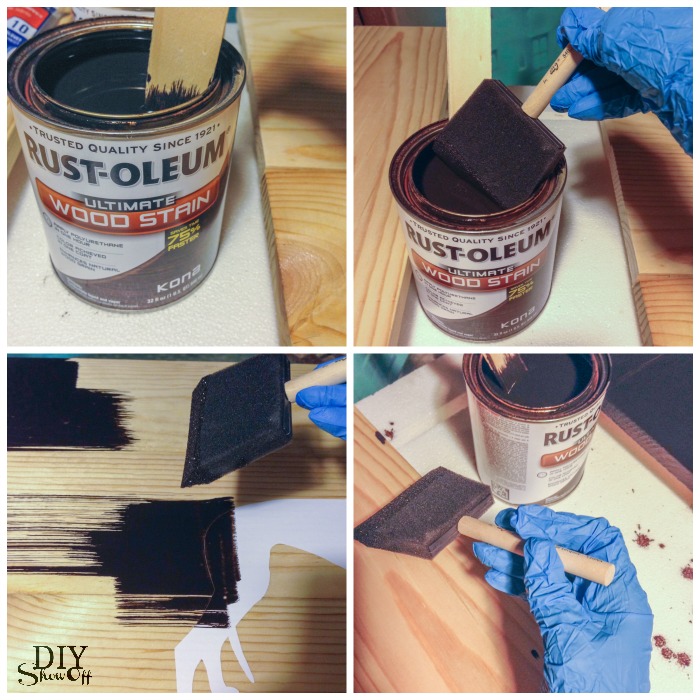
  • RustOleum Ultimate Wood Care (kona)
  • RustOleum Ultimate Polyurethane
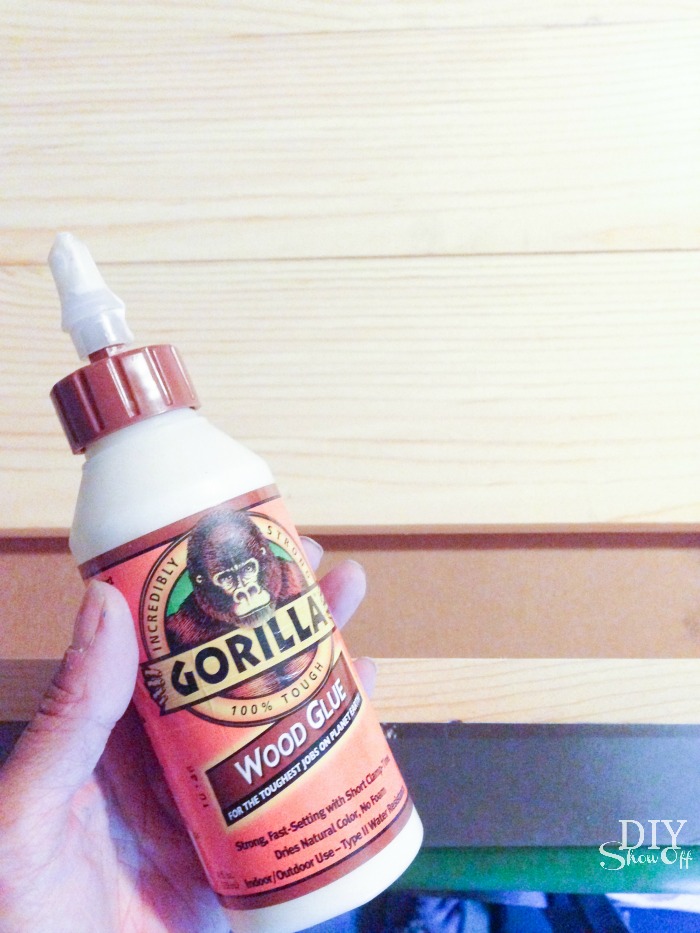
  • Gorilla wood glue
  • picture hanging hardware
  • vinyl decal (I used a greyhound shape)
  • white acrylic craft paint

What I did:

I cut my pine boards so that they all measured the same 30 inches long then sanded the edges. 

DIY wood plank sign tutorial DIY wood plank sign tutorial

Next I used wood glue and clamps to create a large wood plank canvas. Let dry. 

DIY wood plank sign tutorial

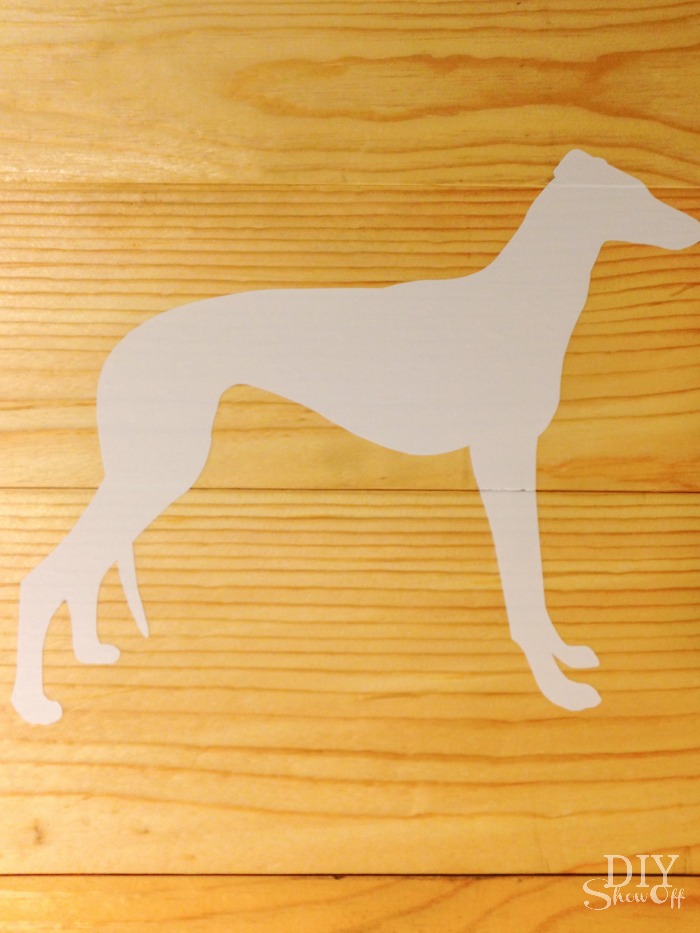
I applied my vinyl decal to the center of my wood canvas, burnishing the edges using my thumbnail. 

DIY wood plank sign tutorial

Then using a foam brush, I applied the stain in the same direction as the wood grain.

DIY wood plank sign tutorial

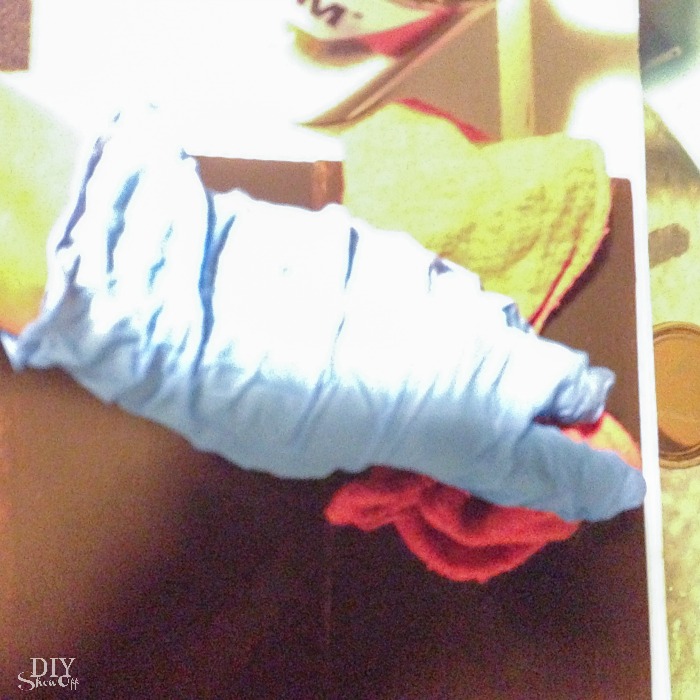
After a few minutes, I wiped away the excess stain, again in the direction of the wood grain, with an old rag. Let dry one hour.

DIY wood plank sign tutorial

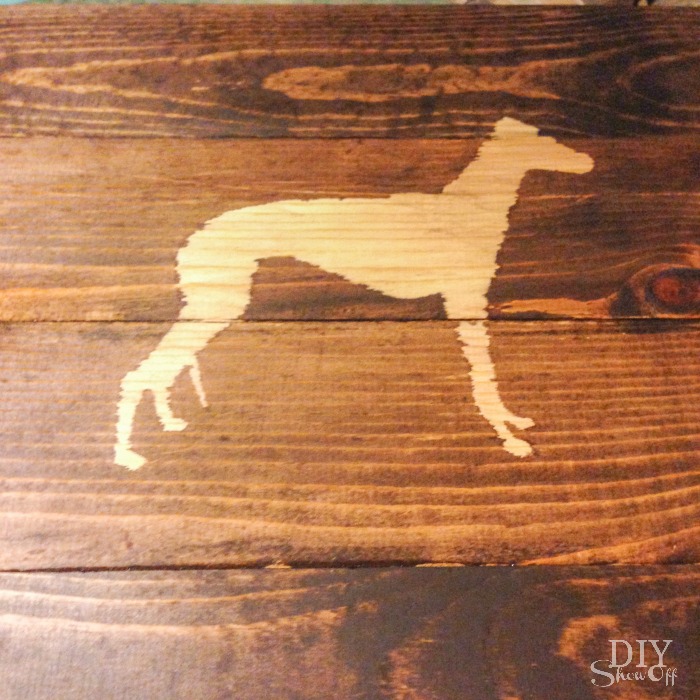
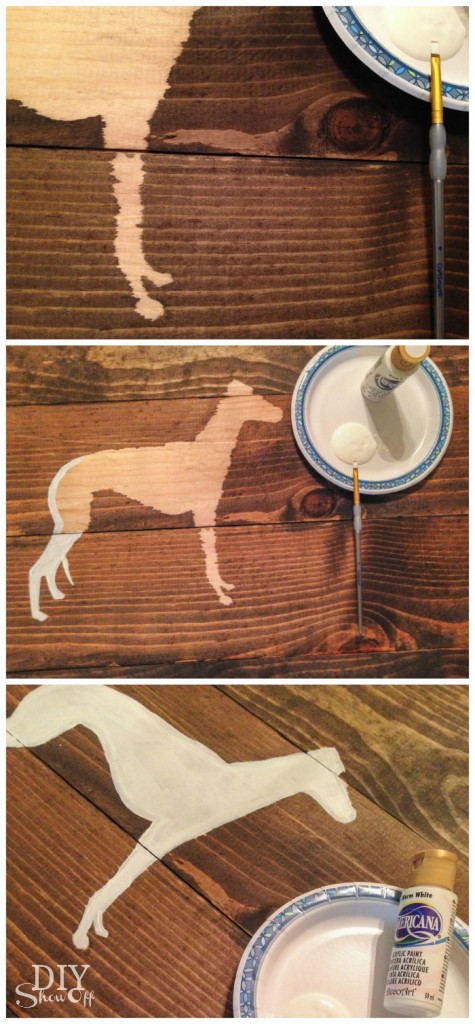
Then I removed the vinyl decal. I was hoping that there wouldn’t be any seeping but there was. No problem! Change of plans. Sometimes DIY doesn’t always go according to plan. 

DIY wood plank sign tutorial

I used a small craft paint brush and white acrylic craft paint to fill in the unfinished portion of the greyhound stencil. Let dry.

DIY wood plank sign tutorial

I then applied a coat of the polyurethane over the stain, brushing on in the direction of the wood grain. Add picture hanging hardware to the back and hang to display.

DIYShowOff Wood Plank Wall Art

Perfect complimentary wall art for above the coat rack. 

Wood Plank Wall Art @diyshowoff

Wood Plank Wall Art @diyshowoff

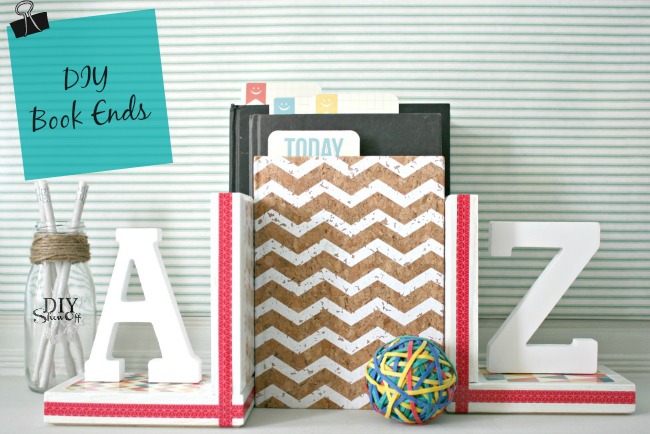
DIY Book Ends

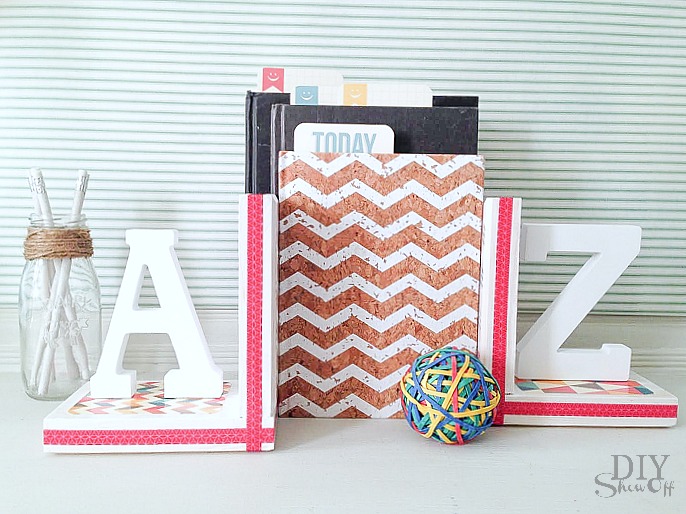
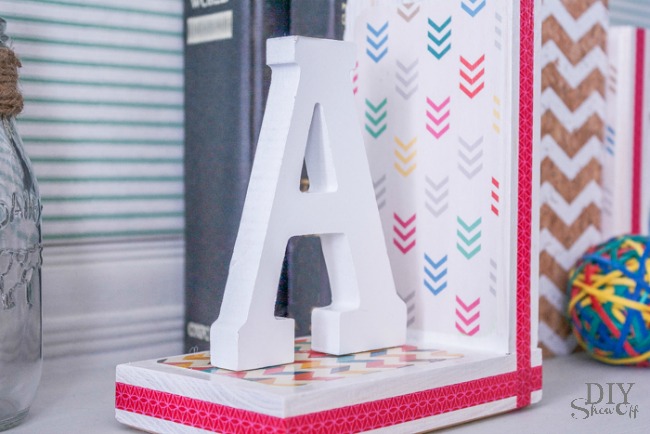
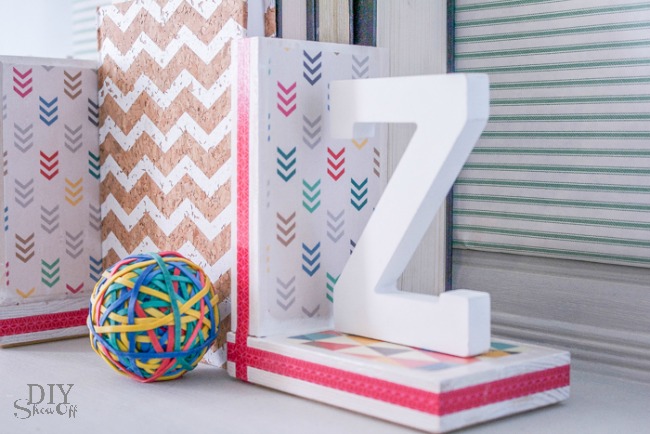
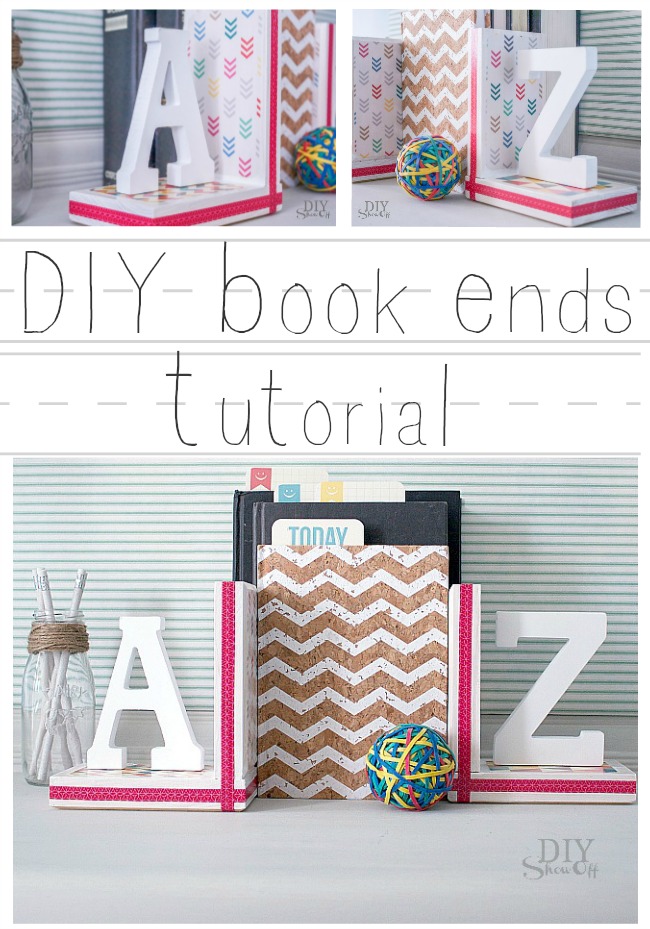
Back to school time! Time to restock the desk area for homework assignments and school projects. Add cute set of DIY book ends to perk things up. 

A to Z book ends tutorial @diyshowoff

As a part of the Michael’s Makers team, I have the opportunity to create a monthly themed project. This month’s challenge is “Back to School”. A bit of a ‘challenge’ when your nest is empty but these will work in grand-baby boy’s nursery too. 😉

What I used: 

  • 4  wood blocks 
  • wood glue and clamps
  • scrapbook paper and scrapbook cards
  • multi-surface acrylic craft paint and foam brush
  • gloss finish decoupage and foam brush
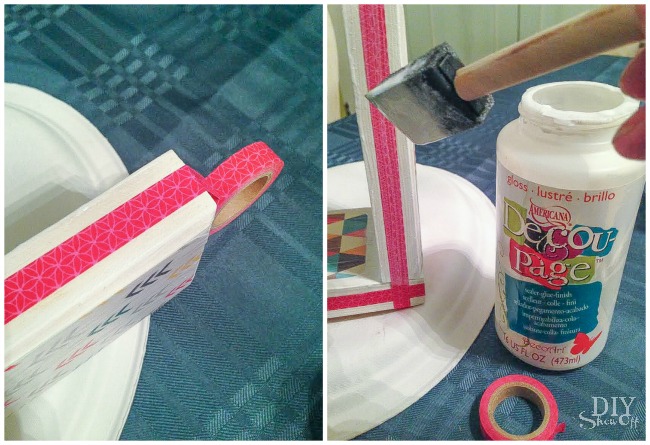
  • {thin} washi tape
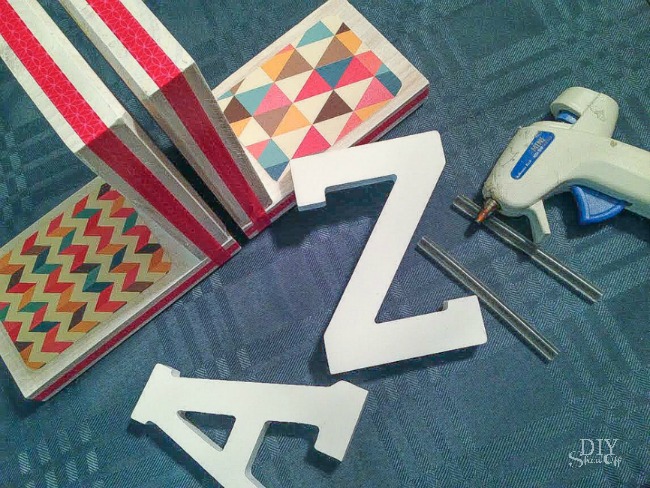
  • letter A
  • letter Z
  • hot glue gun & glue

DIY Show Off back to school book ends tutorial

What I did:

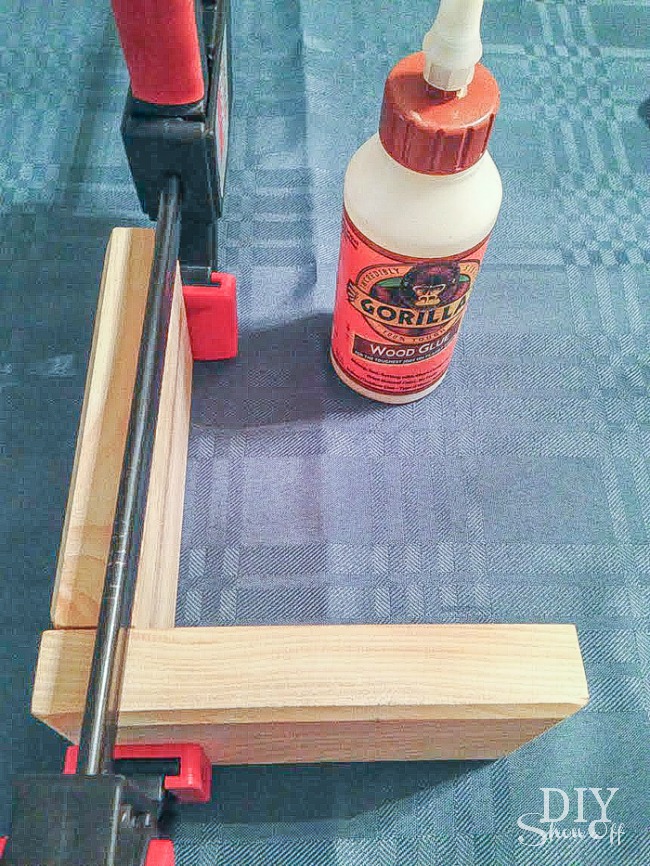
Start with applying a bead of wood glue to each block to create an “L” shape. Clamp, wipe away any excess glue and let dry. 

DIY Show Off back to school book ends tutorial #michaelsmakers

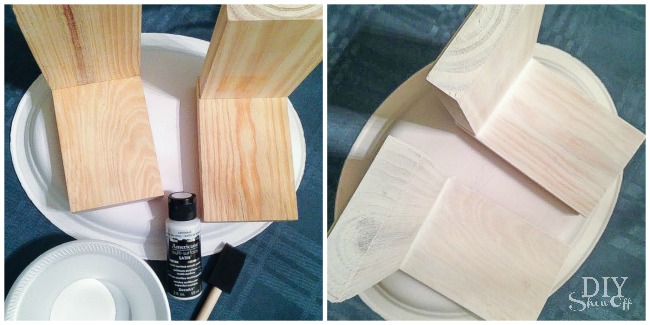
Once glue was dry, I removed the clamps and applied a ‘white wash’ look using a foam brush and multi-surface acrylic craft paint. I only applied one coat so that the wood grain still showed through. Let dry. 

DIY Show Off back to school book ends tutorial #michaelsmakers

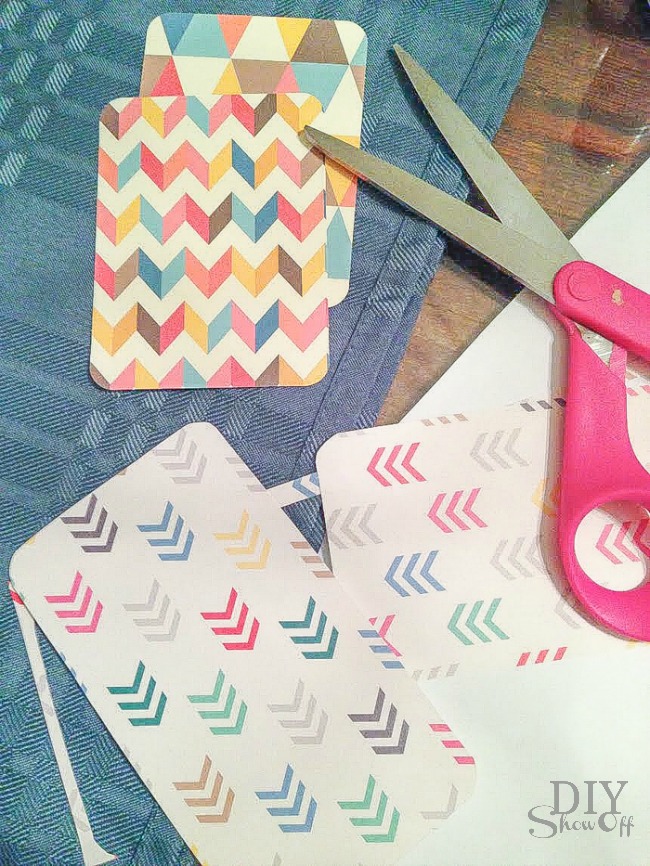
Cut scrapbook paper to size for inside of the “L” shape and the outside of the vertical wood piece. I used scrapbook paper and cute patterned scrapbook cards. 

DIY Show Off back to school book ends tutorial #michaelsmakers

Apply a coat of decoupage to one side at a time as a glue. Place scrapbook paper onto decoupaged surface. Smooth out air bubbles. Apply another coat of decoupage over the scrapbook paper, sealing it. I brushed on the decoupage in the same direction as the wood grain. Repeat decoupage + scrapbook paper to all sides. Decoupage will go on with a ‘milky’ look but dry transparent. 

DIY Show Off back to school book ends tutorial #michaelsmakers

Add washi tape to sides, smooth out bubbles/make sure it’s adhered. Apply a coat of decoupage to seal. *There’s also the option to apply the decoupage before the washi tape to act as a ‘glue’. 

DIY Show Off back to school book ends tutorial #michaelsmakers

Apply a second coat of decoupage to all surfaces. I let mine dry overnight. 

Attach wood “A” and “Z” using hot glue gun. Wouldn’t they be cute with succulent planters, plastic animals, vases, figurines instead too? 

DIY Show Off back to school book ends tutorial #michaelsmakers

Once hot glue sets, you’re good to go!

DIY Show Off back to school book ends tutorial #michaelsmakers

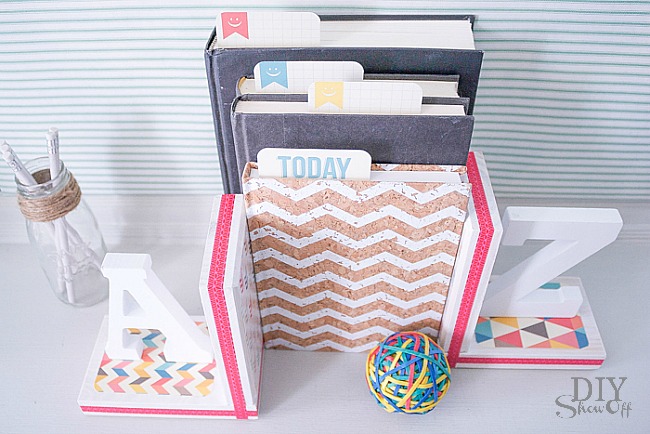
Ready for keeping school books within easy reach and an organized desk top. Useful, functional book ends that coordinate with your home office, library, reading room, craft room, nursery or homework station…love it!

DIY Show Off back to school book ends tutorial #michaelsmakersDIY Show Off back to school book ends tutorial #michaelsmakersDIY Show Off back to school book ends tutorial #michaelsmakers

See MORE ‘back to school’ crafts from these blog friends:

Teachers – It’s time to start planning for the new school year and Michaels has all of the ideas and supplies you need to create a one-of-a-kind classroom, plus you get a 15 percent discount on all classroom purchases!

In addition to the products available for teachers, parents and students can find organizational tools to keep on track throughout the year as well as project ideas to personalize school supplies

Check out Michaels’ Back to School Pinterest Board to find fun and creative project ideas to kick the year off right! 

As a member of the Michael’s Makers team, I receive a gift card to complete and share fun craft challenges.

Michaels.com: Your 24-hour Arts & Crafts Store


Glitter Iron On Vinyl Decal Tutorial

Many of you have asked how my sister is doing and guess what? She’s finally completely “all done” with her treatments! Hurray! Confetti & champagne! My hero! And my hero’s superpower is “hope”…

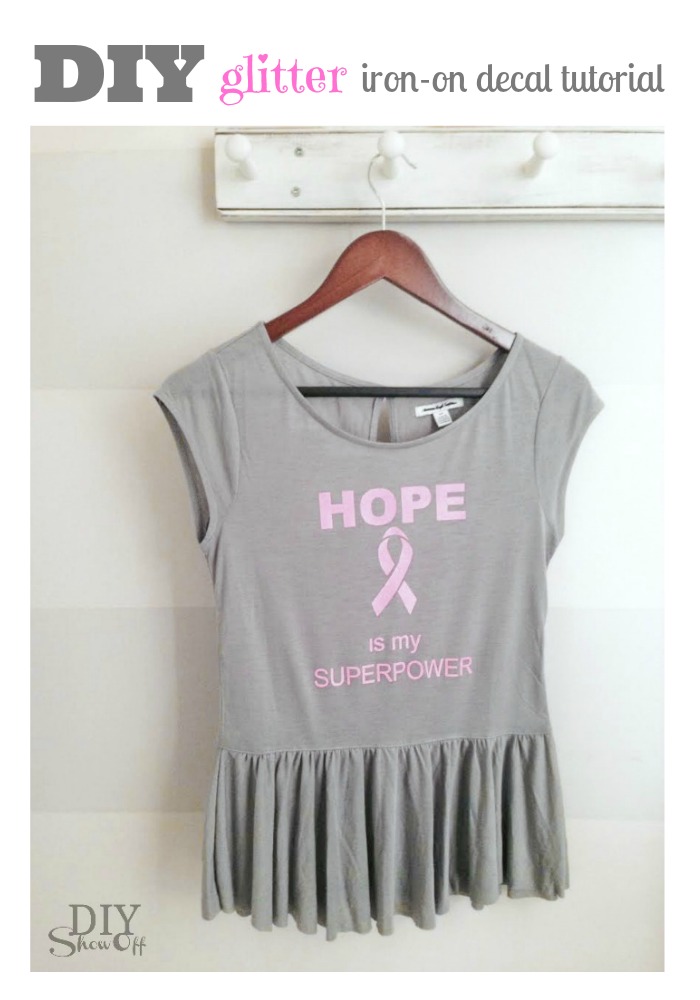
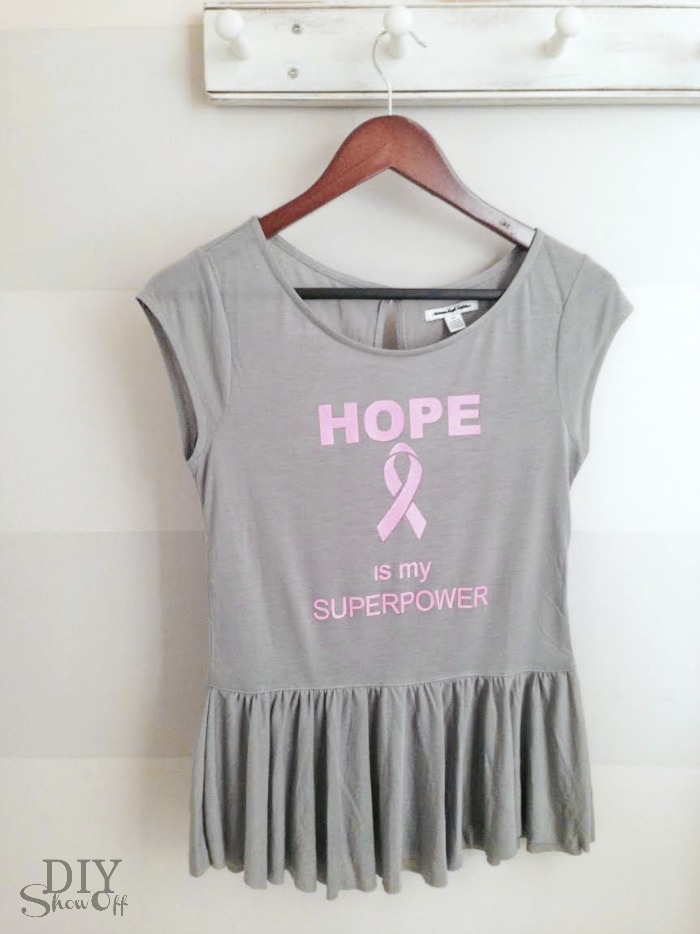
DIY glitter iron-on decal tutorial at diyshowoff…and like most heroic milestones, it’s an occasion for a celebration, right?! Right! Well, that’ll be coming up in just a few weeks when we celebrate her birthday with a super-hero themed “Bobbi-fest” but in the meantime, I whipped up a cute breast cancer survivor shirt. 

What I used:

What I did:

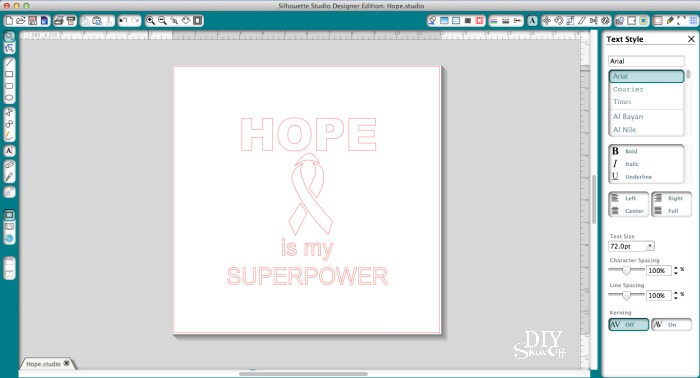
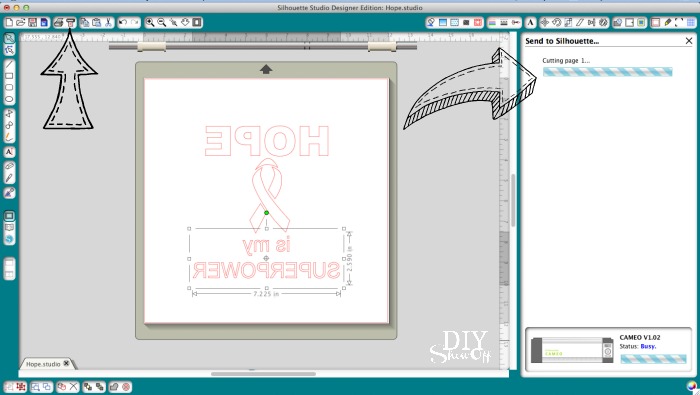
1. Using my Silhouette design studio software, I created a design using text and a breast cancer ribbon, keeping the overall size in mind for a good fit on the shirt. 

pink glitter iron on - hope is my superpower breast cancer shirt

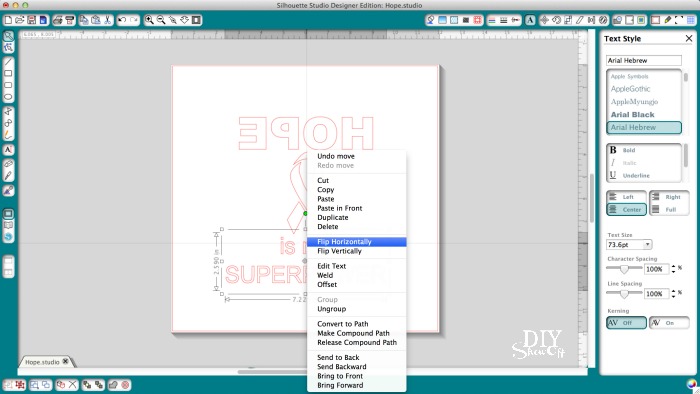
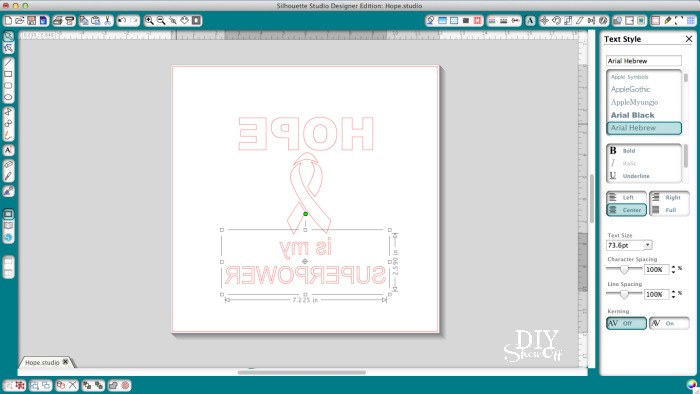
2. Right click each part of the design and choose “flip horizontally” to mirror the text and image. 

pink glitter iron on - hope is my superpower breast cancer shirt pink glitter iron on - hope is my superpower breast cancer shirt

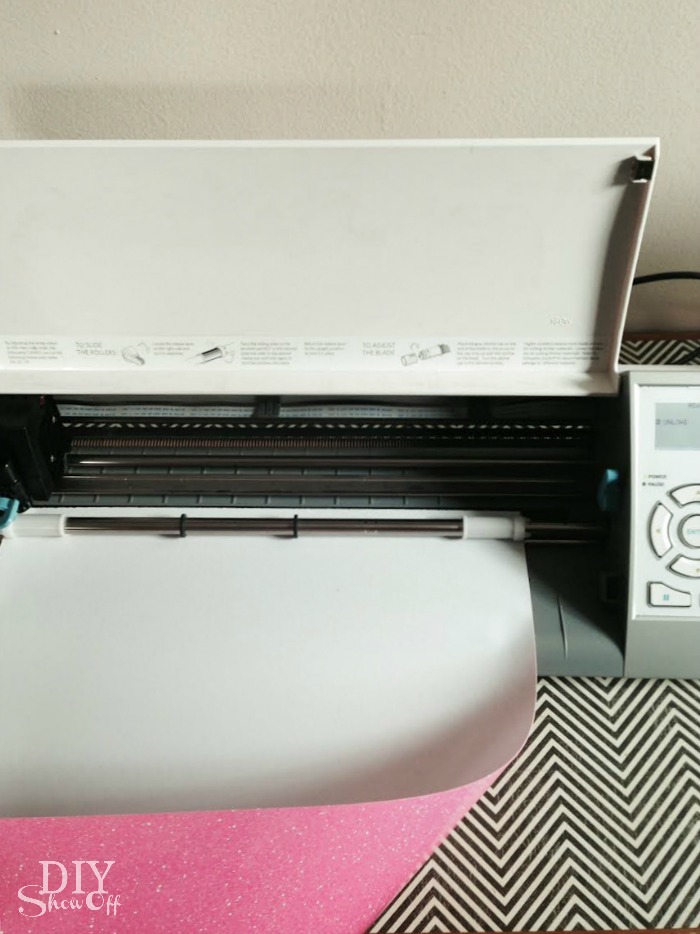
3. Load the vinyl shiny-side (pink glitter side) facing down into the vinyl cutting machine. 

pink glitter iron on - hope is my superpower breast cancer shirt

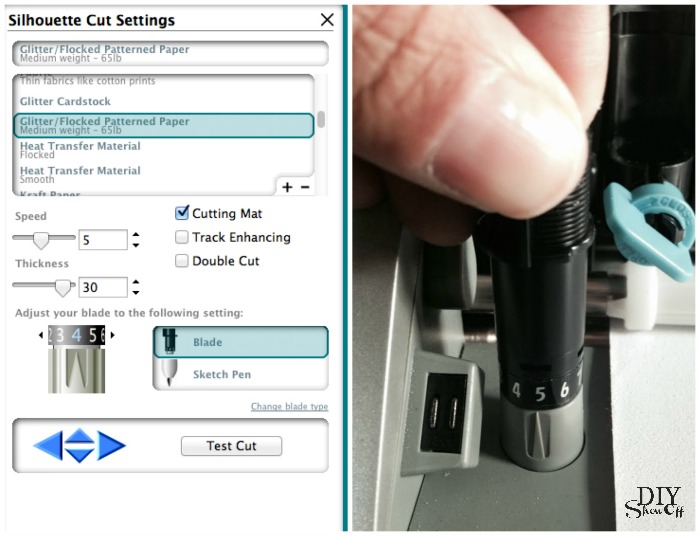
4. Choose glitter/flocked iron on adhesive from the drop down menu in the cut settings. Adjust blade settings. (Always do a test cut first to ensure the blade doesn’t cut too deep or too shallow.)

pink glitter iron on - hope is my superpower breast cancer shirt

5. Hit “cut”.

pink glitter iron on - hope is my superpower breast cancer shirt

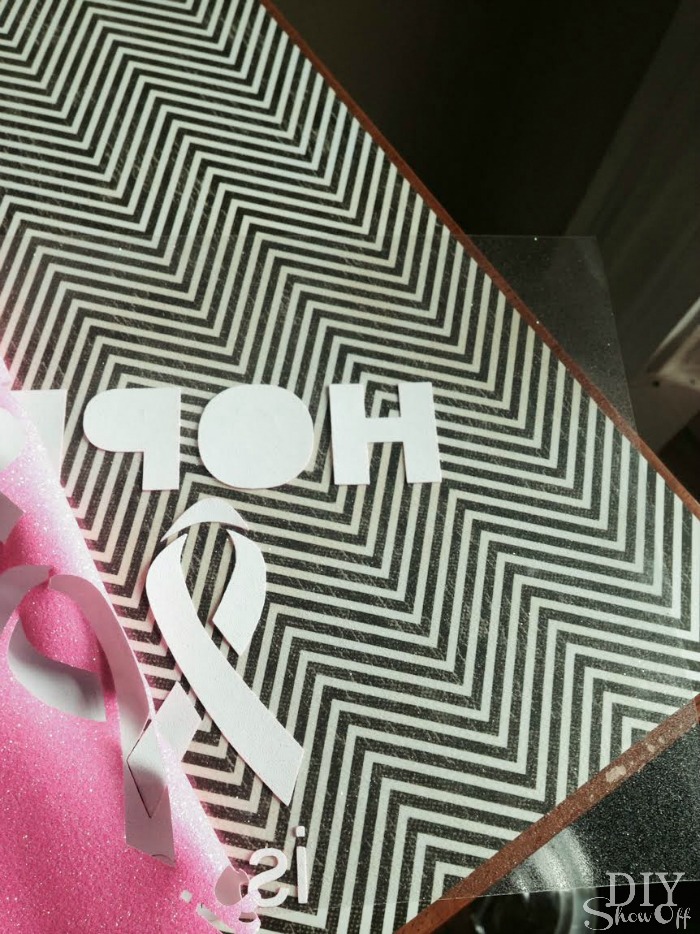
6. When cutting is complete, remove from machine and peel away excess vinyl. Weed away the vinyl surrounding the design. 

pink glitter iron on - hope is my superpower breast cancer shirt

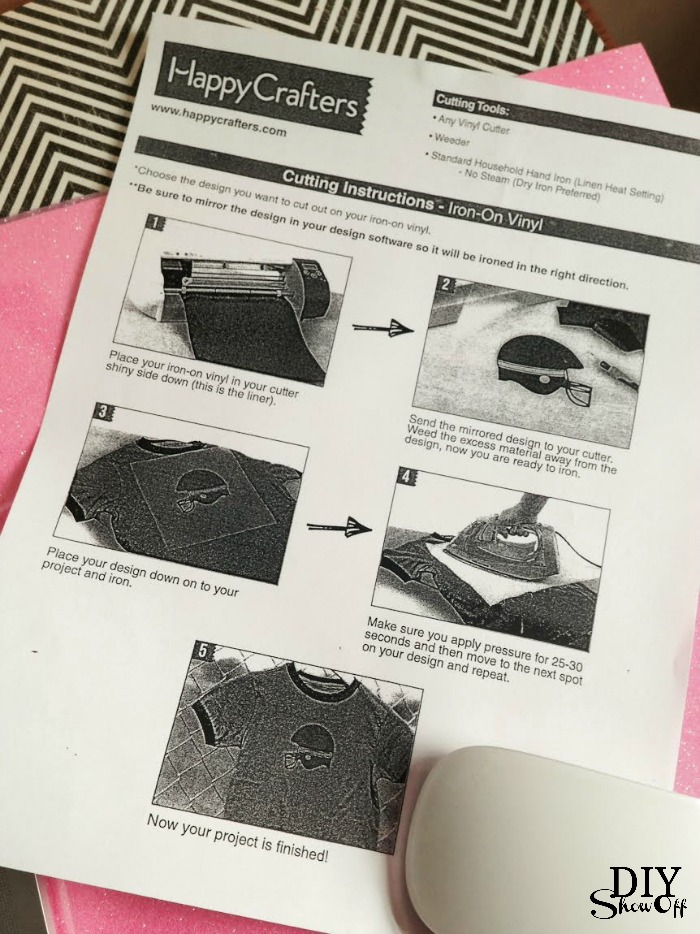
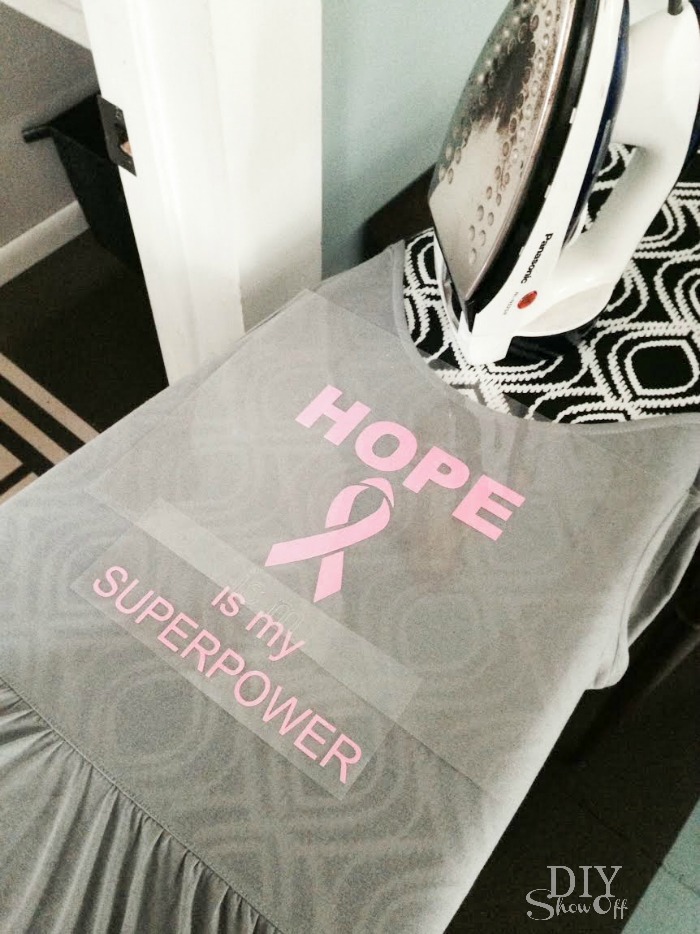
7. Following the iron on’s printed instructions, I laid out the shirt on an ironing board and smoothed out the wrinkles. Place vinyl onto shirt.

pink glitter iron on - hope is my superpower breast cancer shirt

pink glitter iron on - hope is my superpower breast cancer shirt

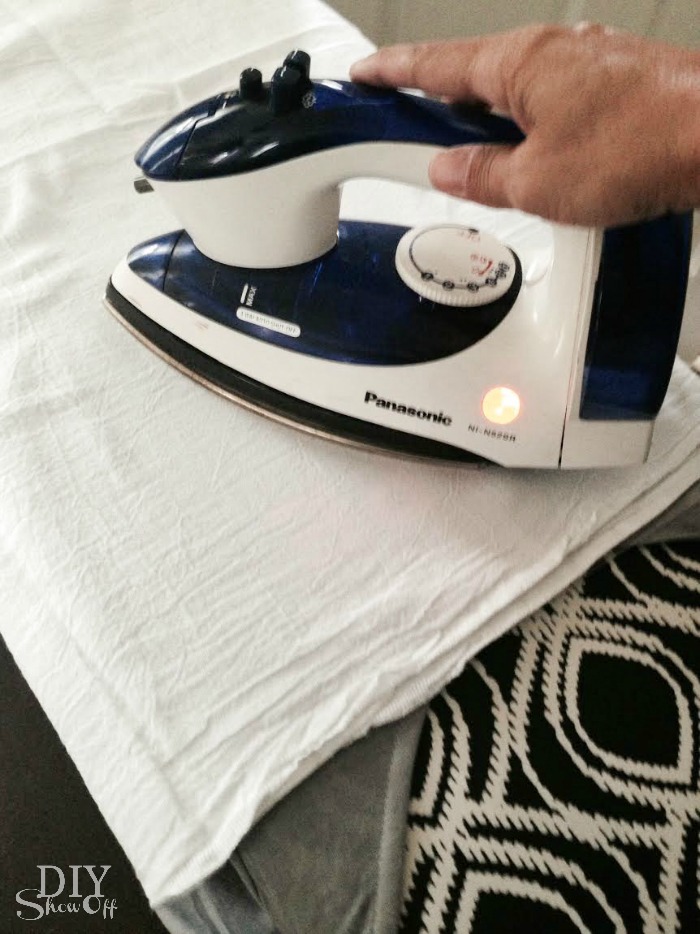
8. Cover with a cotton dish towel or cotton fabric and iron, applying pressure 25-30 seconds and then moving to the next spot on the design and repeating. I used the highest setting on my iron (no steam).

pink glitter iron on - hope is my superpower breast cancer shirt

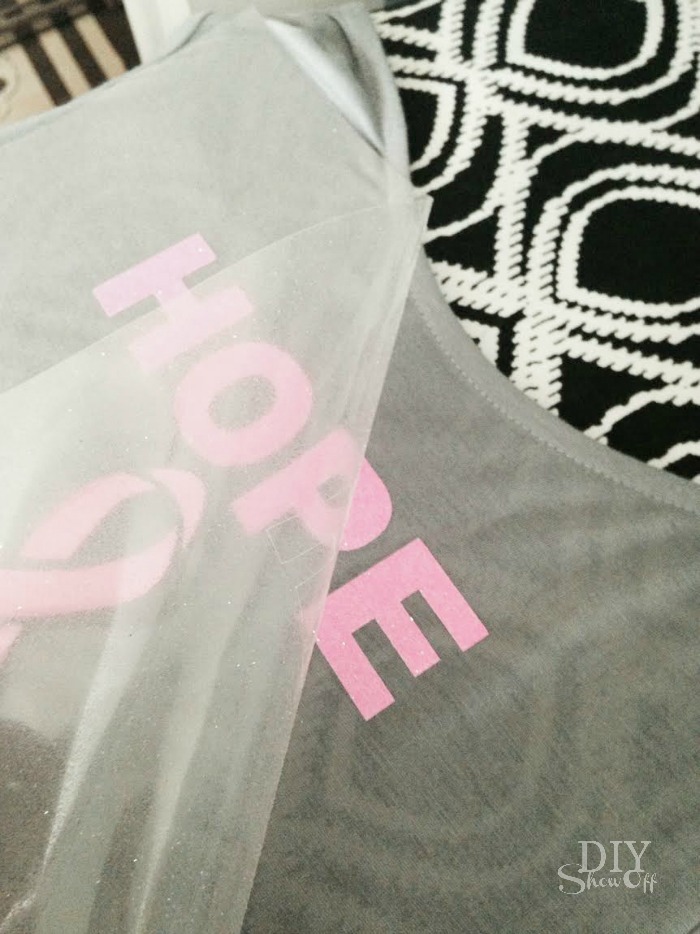
9. Slowly peel away the transparency. (If letters peel away too, repeating step 8, applying more pressure/holding a few seconds longer.)

pink glitter iron on - hope is my superpower breast cancer shirt

Ta-da!

Hope is my super power breast cancer iron on decal tutorial

Despite nausea and having tests done the same day, she agreed to model my handiwork. Isn’t she beautiful? {I love how despite not feeling 100%, she smiles. And how her hair is growing back with curls!}
breast cancer (hope is my superpower) - Bobbi at diyshowoff.com

Now that the treatment is behind her, she’s free to focus on recovering, building up strength and feeling better every single day. Thanks for your prayers! xoxo

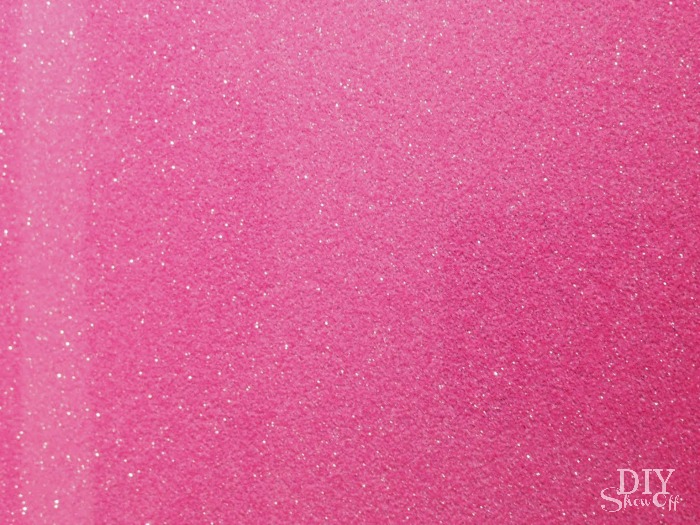
Glitter is so difficult to photograph. It’s a more uniform and sparkly than shown above. 

hope is my super power


party pink bling glitter iron on vinyl

*This post is sponsored by Happy Crafters. Tutorial, experience and opinion is my own.  Check out all the supplies at Happy Crafters for inspiration for your next project. 

HClogopngsmall