I have another post prepared, but I’ll share that treat with you sometime later in my next post. Make sure you check back because you won’t want to miss an awesome introduction. I promise it’s worth stopping back for.
But first,
I‘m digging around in the DIY archives tonight (so you may have seen this once already, but humor me and looky again, please?) and came up with this:
 W
Why?
Because, this, dear friends “I did this all by myself!”
Prepare yourself: Remember our house is an old farmhouse, a foreclosure – so the before pictures are a little frightening. Don’t say I didn’t warn ya! If I didn’t have the ability to see the potential…we would have been running the other direction.
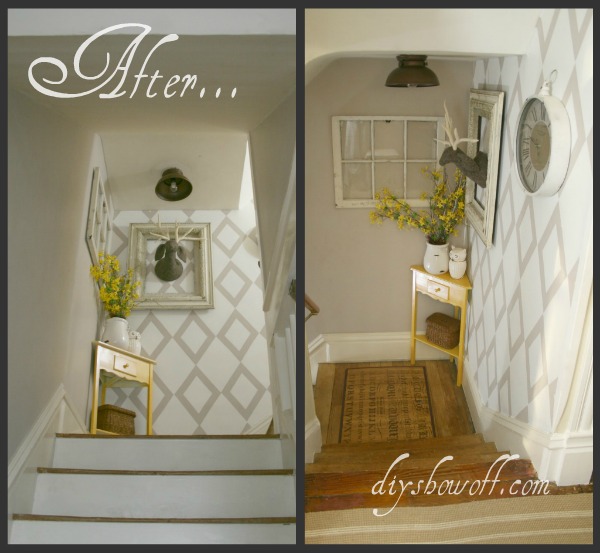
Let’s take a walk up my stairs beforehand and after turning the corner and a few more stairs, here is what it looked like before. Hairy Scary! I don’t even want to know WHAT that stain is. Hurry! Look past it. Bring your eyes up. The old baseboard trim is pretty, isn’t it? (And looky there – another bathroom that needs a makeover, wanna help?)
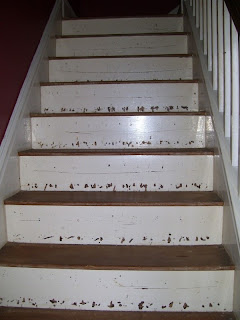
 Then, after the carpet was torn out, here we go up the gouged staircase…
 Staples. Tons of them. Not a riser-friendly project. 🙁
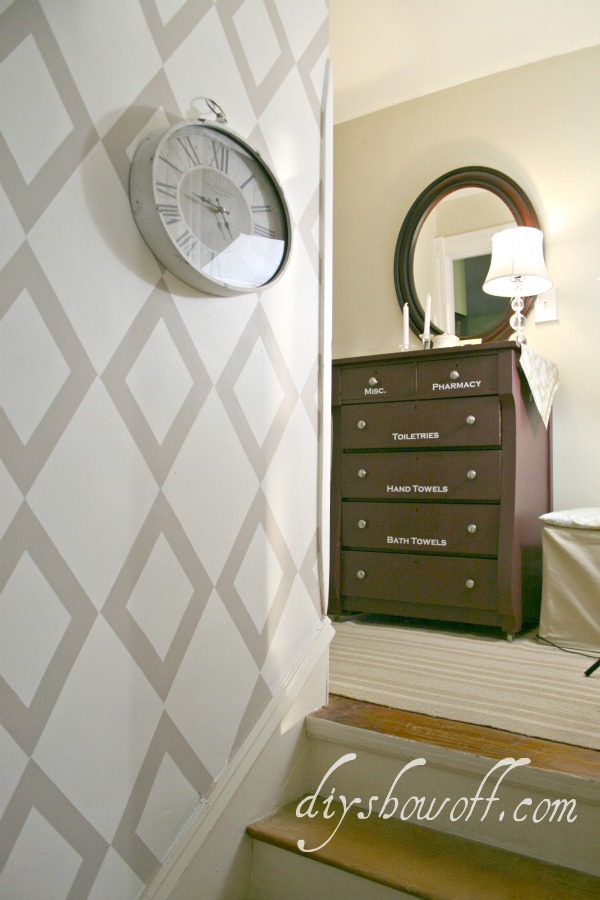
 And turning the corner at the top of the stairs. Look at that dresser. It’s about 50 years old. Yikes! It holds extra toiletry supplies and clean towels. (Yes, the hardwood floor was underneath that nasty carpet. Hurray!)
 Nice paint here, huh? What a mess!
 Also in this project is this little storage cube (before):
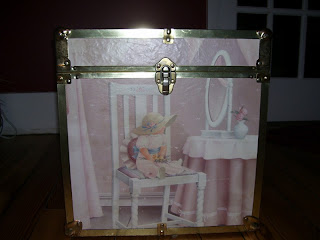 Cute…but full of memories and buried in a closet.
Now, let’s take that same path today after some sanding, woodfiller and paint:
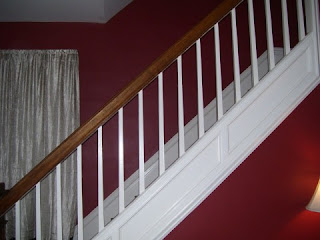
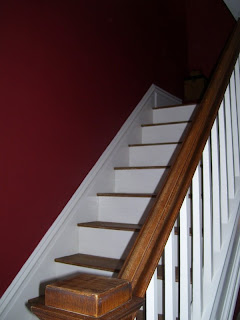 No fear of tetanus now on bare tootsies!
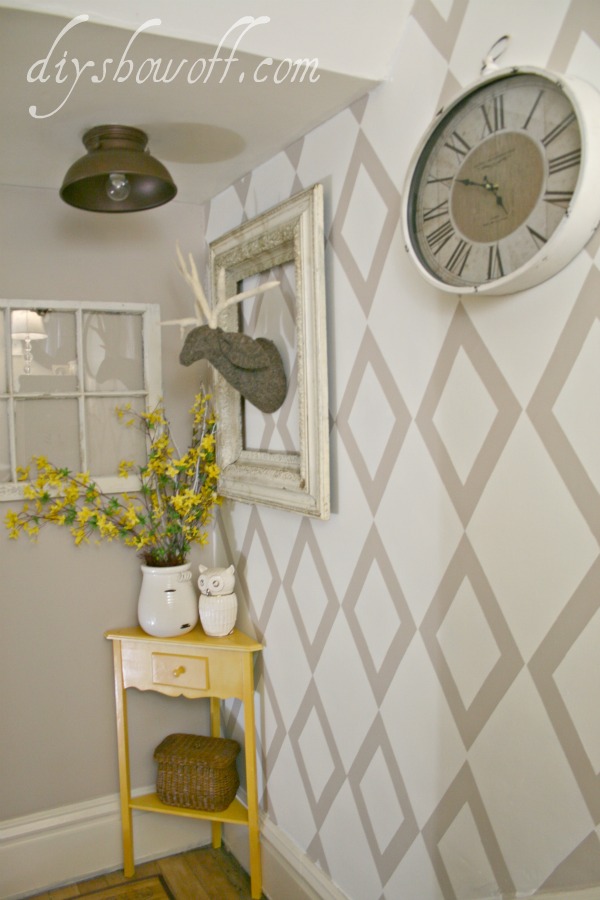
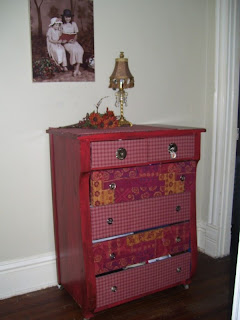
And this is the new landing. A little paint (Ralph Lauren mahogany) and new knobs give the dresser a cleaner and more modern look.
Again, before:
And now. Really – it’s the same dresser!
 Even the storage cube gets a magic makeover. I sewed a cover and cushion. All covered and pretty. Perfect for sitting to put on socks or piling up clean towels to be put away. (Hey, clean laundry making it up the stairs is a rare accomplishment. Don’t judge…I did put it away for the photo shoot.)
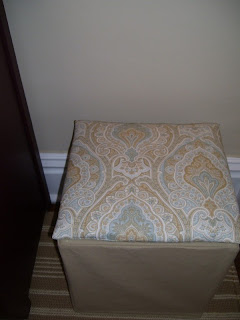
I also sewed a table runner to help protect the top since a lot of things accumulate here too. This is where I leave my daughter’s lunch money and she leaves me notes.
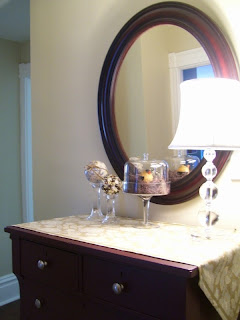


 The spheres on the glass candle holders are styrofoam.
1. Mod Podge and vintage looking scrapbook paper then tied with twine.
2. Buttons and pins with a few decorative brads thrown in (buttons are secured with straight pins). AND no more hunting in the junk drawers for a button!