Silhouette Double Sided Adhesive

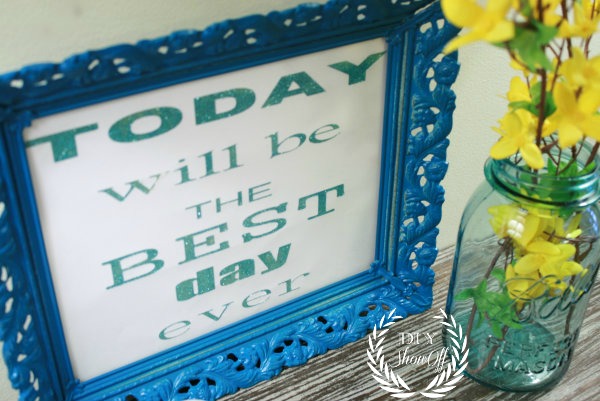
“Today will be the best day ever” … what a great quote to start each morning. Using Silhouette’s double sided adhesive, I now have a pretty glittery reminder that each day is a blessing. glitter-sign

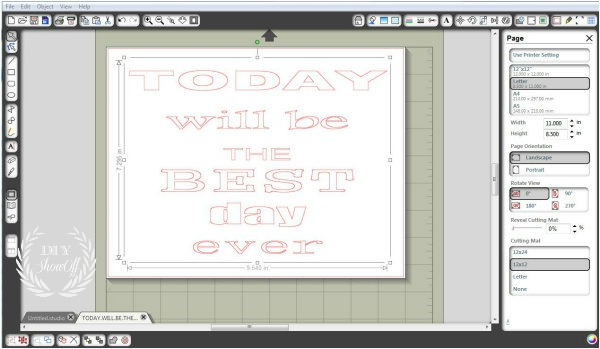
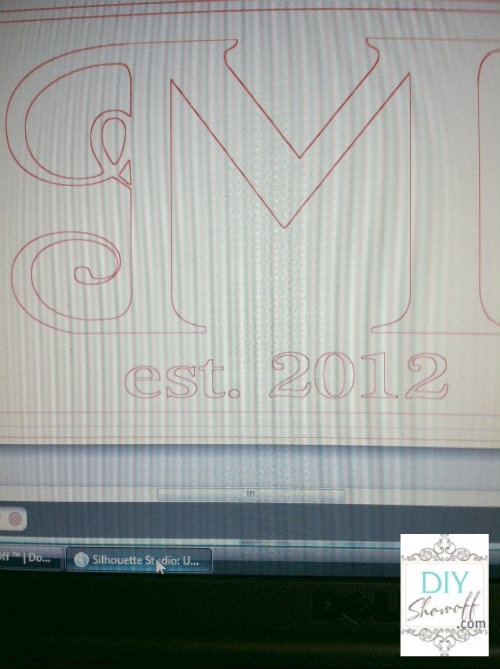
I started by placing my text on a template in the Silhouette studio…Silhouette Studio

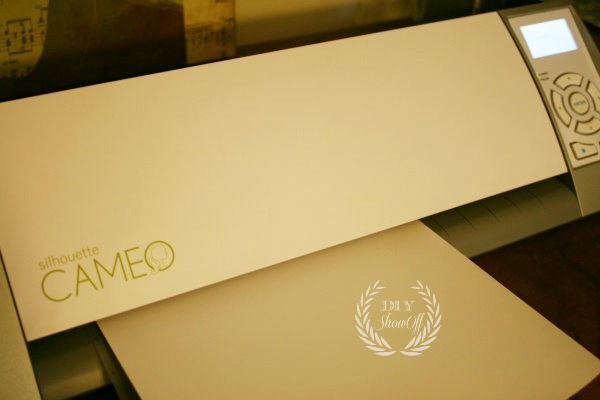
then simply loaded my paper/mat into my Cameo, adjusted my settings for cutting and sent it to cut….silhouette-cameo

What’s cool about the double sided adhesive paper is you remove the backing, press on the letters just like stickers, then remove the top white sheet, leaving transparent SUPER tacky tape in your perfect shape or text.

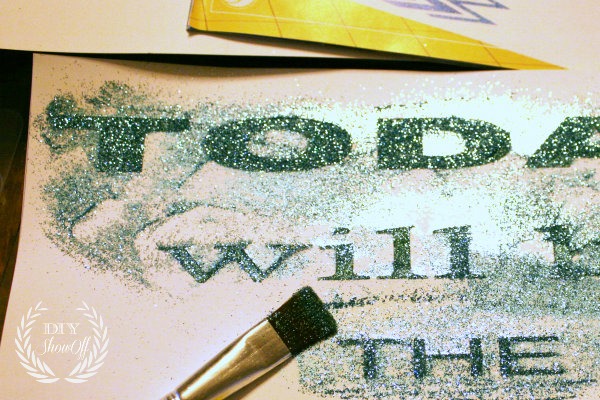
The Silhouette Double Sided Adhesive kit comes with glitter and flocking. I chose the pretty turquoise glitter and brushed it into place…applying-glitter

It’s super-fine and a bit of a chore to clean up but the result is awesome! I loved watching my transparent letters glitter, shine and come to life.

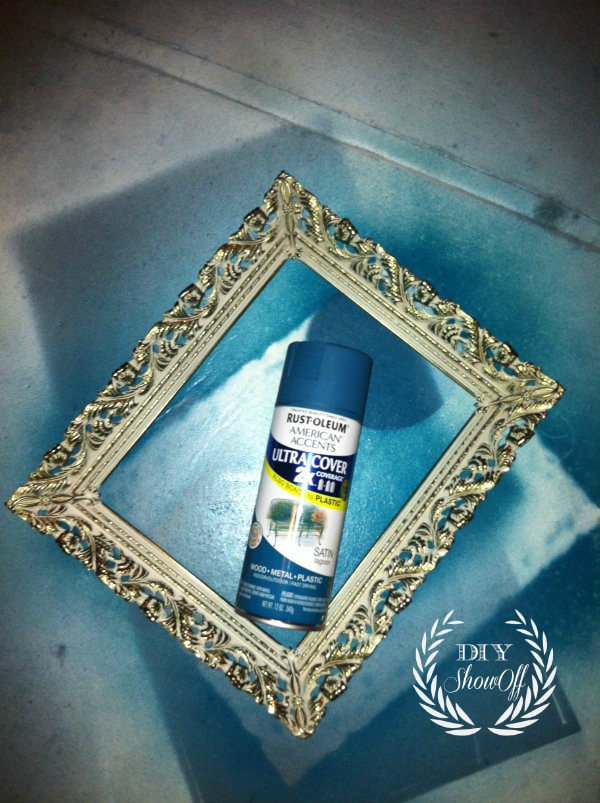
Then I snagged an old thrift store frame. gave it a coat of Rust-Oleum spray paint in “lagoon”…lagoon-frame

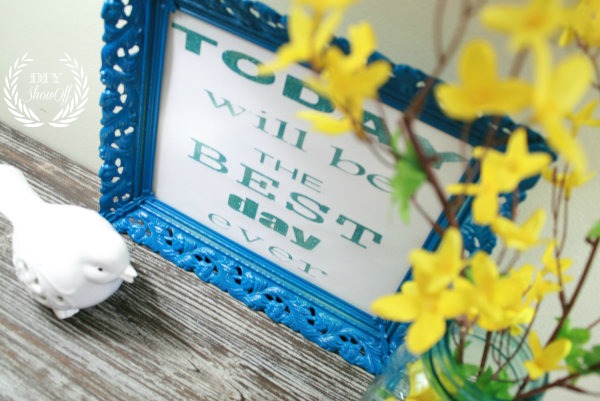
and framed my new glittery print:diy-print

Doesn’t it just make you happy to read it…like seeing those words help start the day off on the right foot.today-will-be-the-best-day-ever

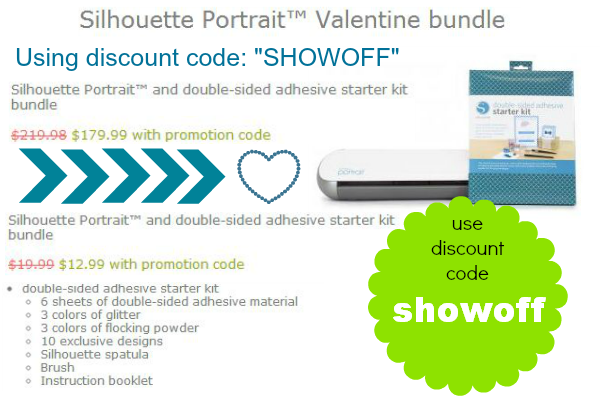
I use my Silhouette Cameo all.the.time. Don’t have one yet, want to try the double sided adhesive starter kit or TONS of other fun cutting projects? Simply use the code “SHOWOFF” at Silhouette America before the end of the day TODAY! (2/14) for an awesome discount. {Sorry for the late notice this time but by ordering now you can have it in time to create a really cute Pottery Barn inspired Happy Easter banner…that’s my plan!!}silhouette-deal

Chevron Reindeer Games sign tutorial

DIY Chevron Reindeer Games Sign 
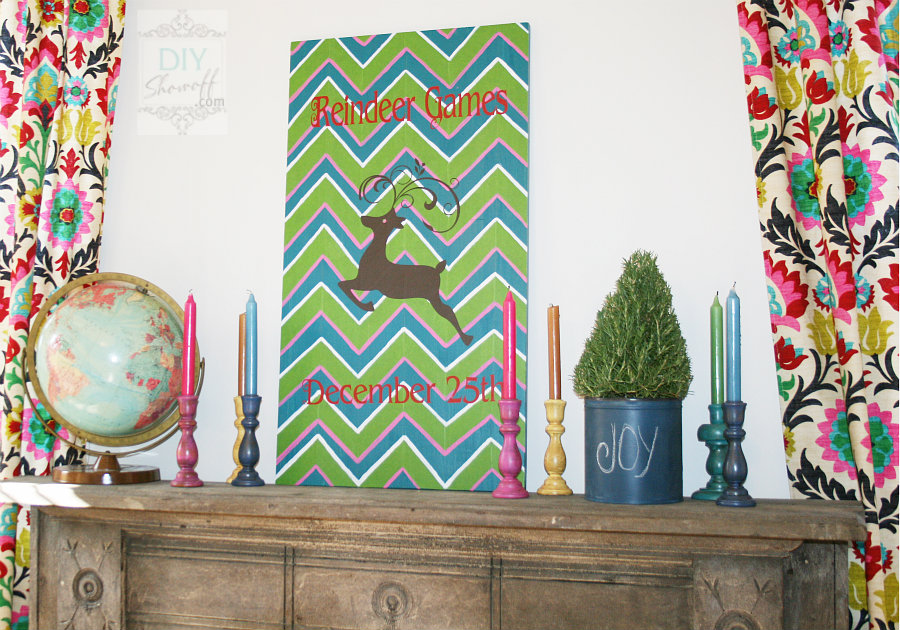
DIY colorful Christmas chevron reindeer games sign

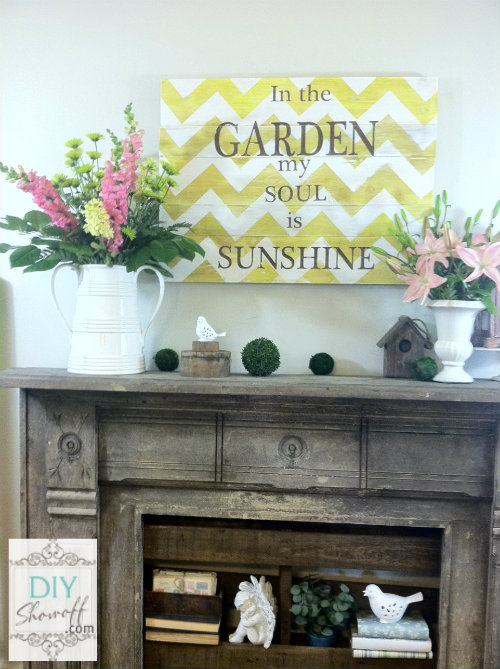
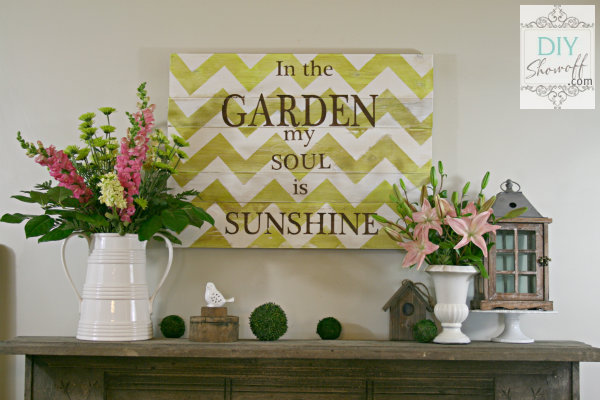
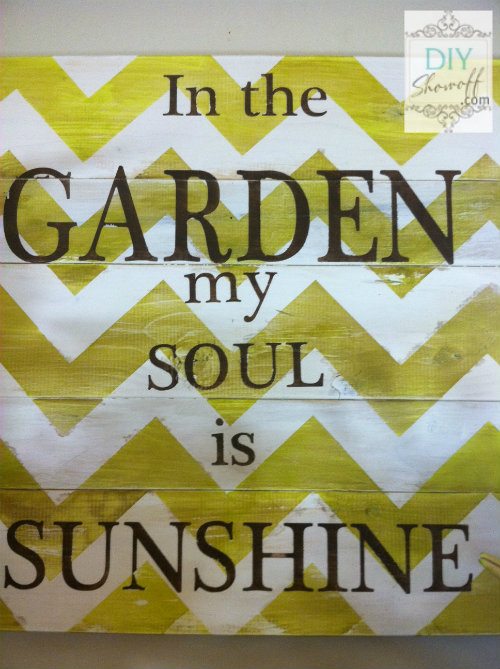
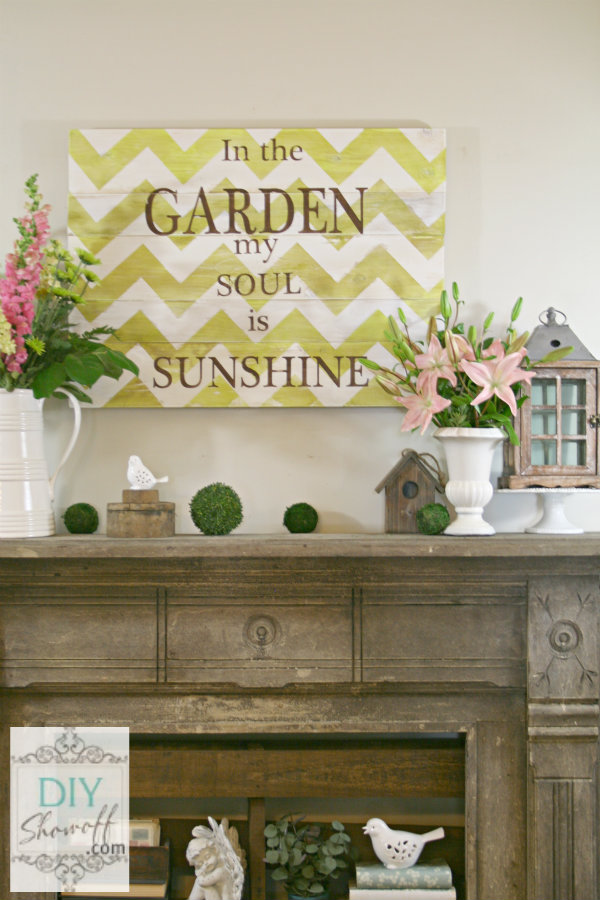
It’s officially time for Christmas decorating in our home! I know! By blogging standards, I’m late to the game. With a family room makeover in progress, it’s at a point where plans for completion can be put on hold until after the holidays and I can still decorate that room to be pretty once I put away the ladder and some tools. I really loved the chevron garden sign I made for summer {here}. I decided I wanted to create a fun colorful Christmas sign incorporating some of the fun colors in the fabric I chose for the curtains.

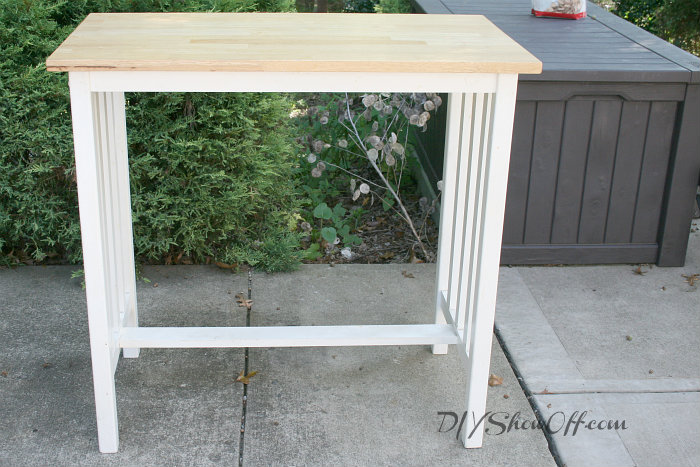
Remember the tabletop I replaced on the kitchen bar for the apartment? {If not, you can see my post on my DIY wood plank kitchen bar top.} Time to recycle it! I knew it’d be a great material for a DIY sign one of these days. Tabletop to holiday decoration. Why not? To prep for making a sign, I scuffed up the finish with sandpaper and gave it a coat of left over teal paint and let it dry. I’ll call it my “canvas”.

This is what the top looked like before:
kitchen island before

Tips for creating a chevron pattern using FrogTape:

It’s hard to explain how to create a chevron pattern words/pictures {next time I’ll do a video} but some tips:

My first row is measured. 5″ strips of FrogTape.
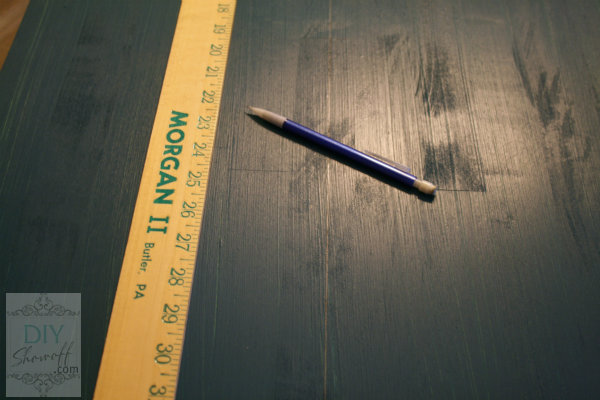
DIY chevron Christmas Reindeer Games sign

Depending on how it would line up, I creased the edges of the tape (non-sticky side) to create a line for cutting.
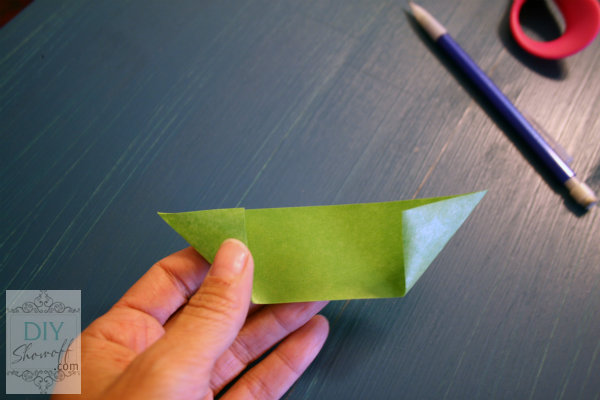
DIY chevron Christmas Reindeer Games sign

Cut on fold.

DIY chevron Christmas Reindeer Games sign

I placed the angled side on my center pencil line and cut the bottom flush with the bottom of the canvas and smoothed it into place.
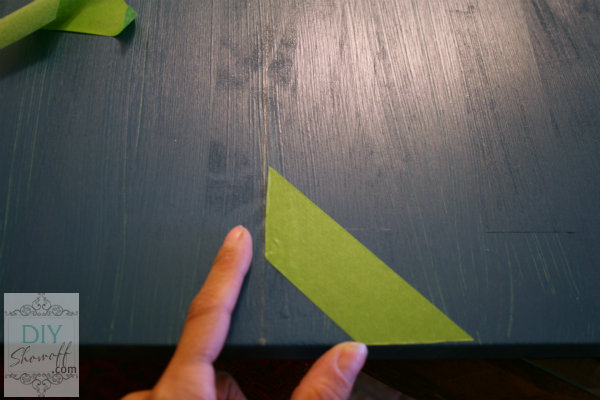
DIY chevron Christmas Reindeer Games sign tutorial

I drew vertical lines with my pencil from the peaks and “v’s” of my first chevron row.
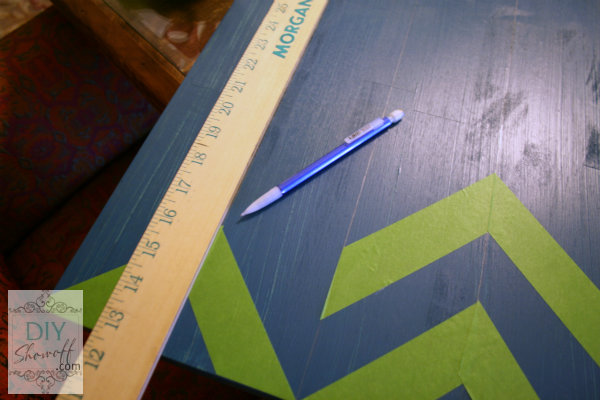
DIY chevron Christmas Reindeer Games sign tutorial

Once my first line was in place, I used a piece of FrogTape for spacing, I worked from the center out by placing another longer piece of tape angled from the center pencil line down to the right pencil line.
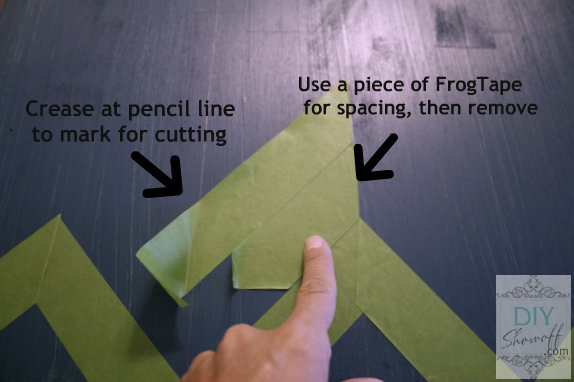
DIY chevron Christmas Reindeer Games sign tutorial

Then I pulled up a corner and folded it on the pencil line so I would know where to cut. Most of the time, the pencil transferred to the sticky side of the tape, creating a cutting guide.
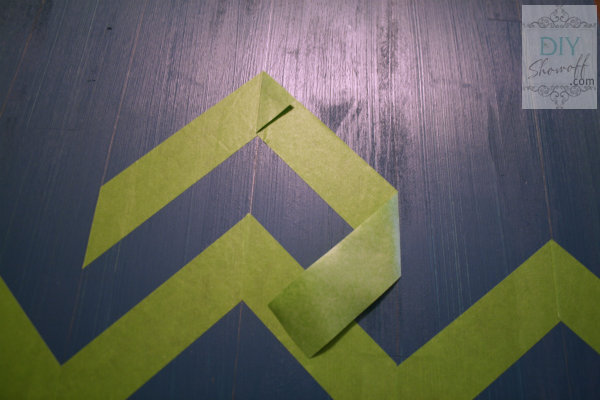
DIY chevron Christmas Reindeer Games sign tutorial

I repeated those steps until I reached the top and finished.

I used pink and white craft paint to add more color.
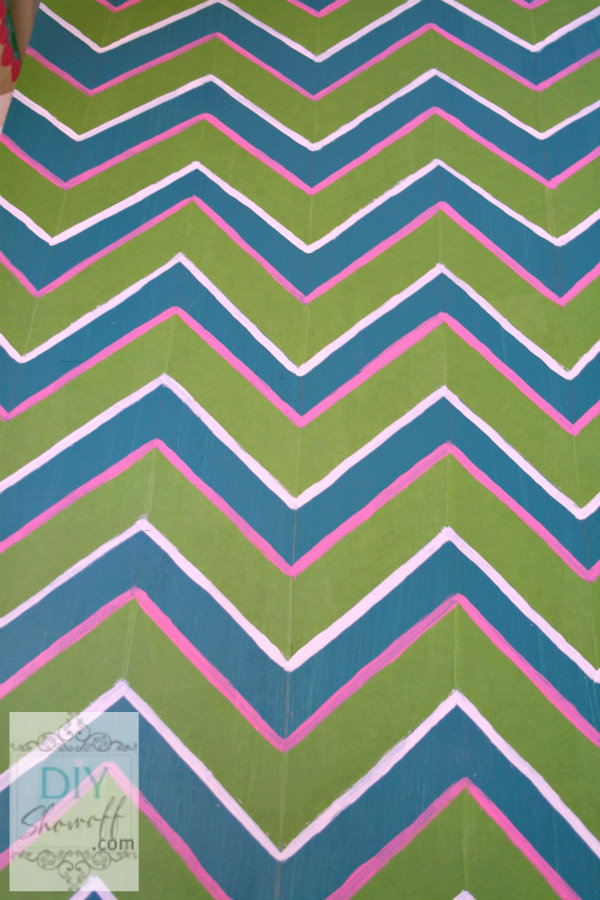
DIY chevron Christmas Reindeer Games sign tutorial

My plan was to paint the blue area showing green and peel away the FrogTape, but I decided to keep the FrogTape in place. {Paint colors: Benjamin Moore Pacific, DecoArt Pretty in Pink “Hope Pink” and Americana Warm White, Green is FrogTape}

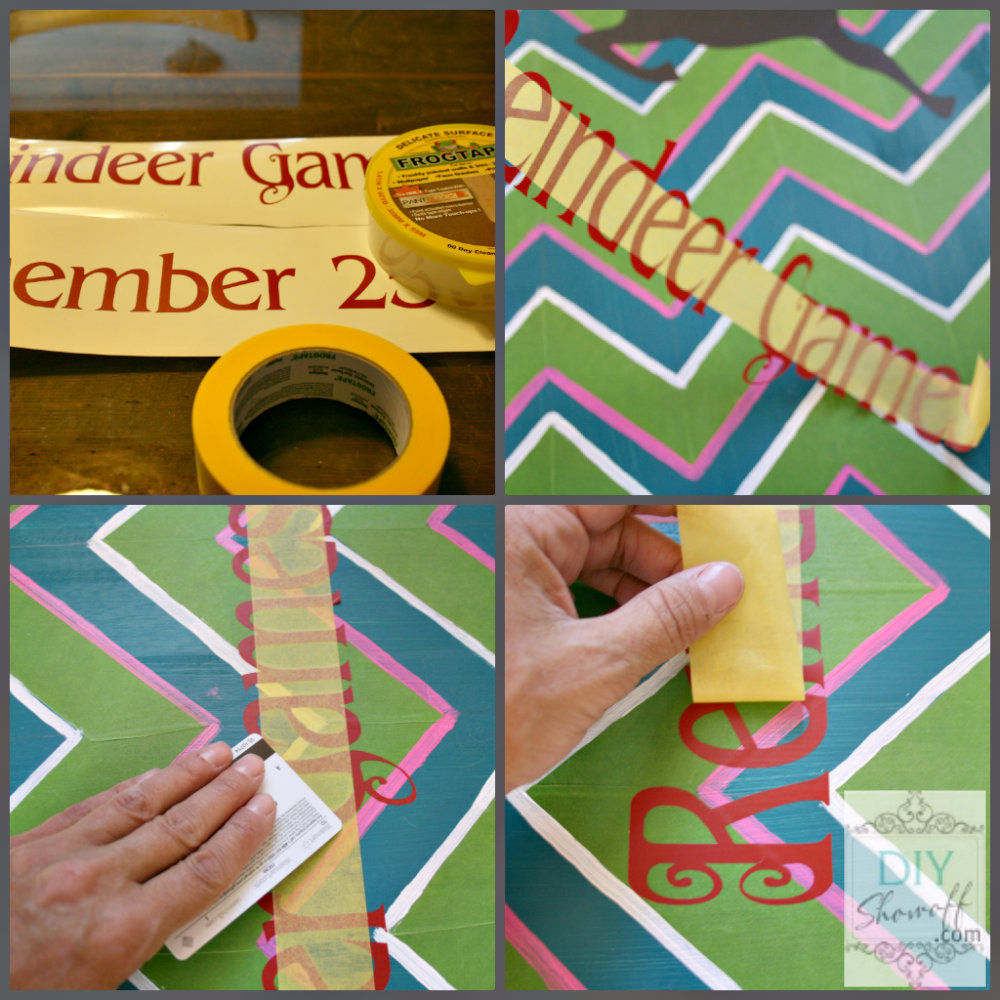
Using my Silhouette Cameo, I chose a reindeer from the online store and my Cameo cut it out {brown vinyl}. I created my letters for “Reindeer Games December 25th” using the software and chose the premium dark red vinyl and LDI Fancy Font. I peeled away the negative vinyl (the parts that are not the design) and applied my transfer paper. I made sure the transfer paper was secure by rubbing with a credit card.
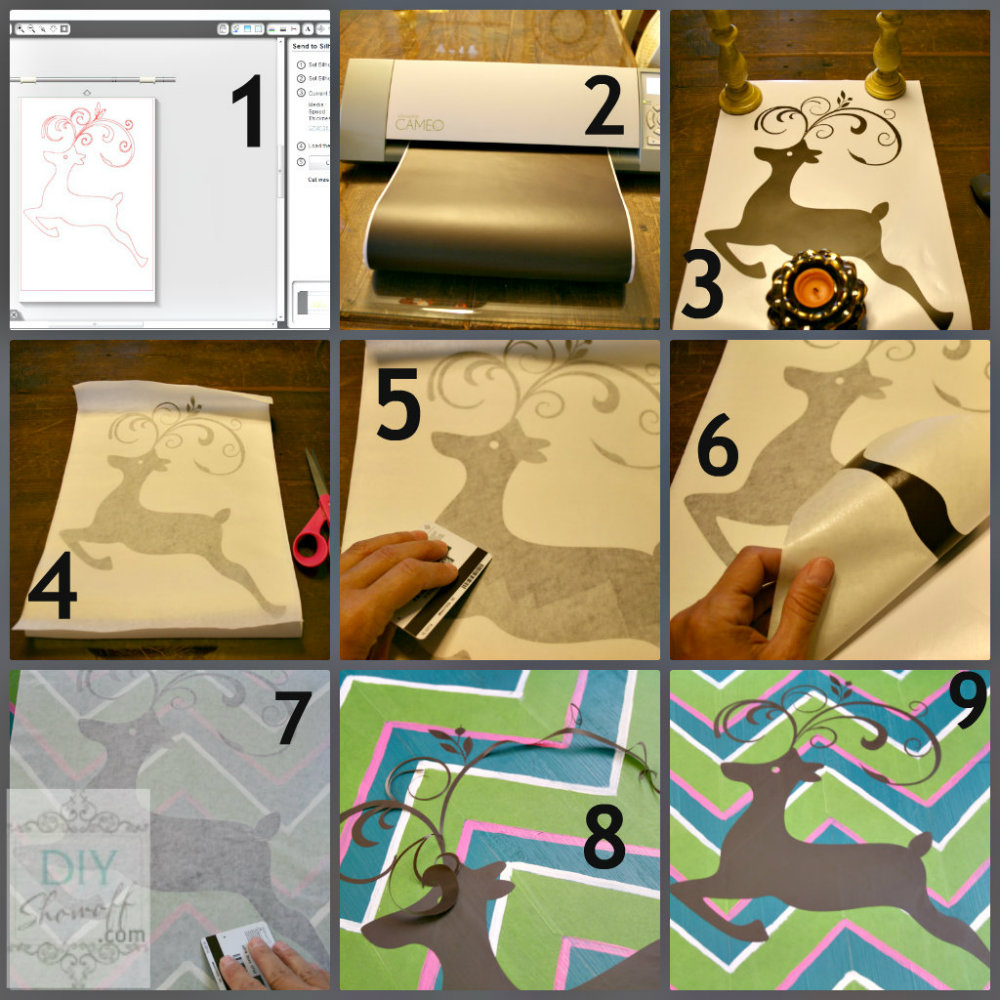
DIY chevron Christmas Reindeer Games sign tutorial

Peel away the backing {the vinyl is transferred to the tacky transfer paper} and place on canvas. Rub the design with a credit card to get it to stick and peel away the transfer paper. In my case, all of the design wasn’t transferring, so I had to be careful and some of my reindeer was applied just as I would a sticker.

I followed the same steps for my lettering, however, knowing that the transfer paper was tricky for my project, I chose to use Delicate Surface FrogTape (the yellow tape) to help transfer my letters. This worked a little easier than applying by hand like stickers and kept my lettering evenly spaced and level.
DIY chevron Christmas Reindeer Games sign tutorial

I haven’t had time yet, but since I have FrogTape and vinyl on my sign, I’m going to seal everything with a coat or two of ModPodge. Ta-da!

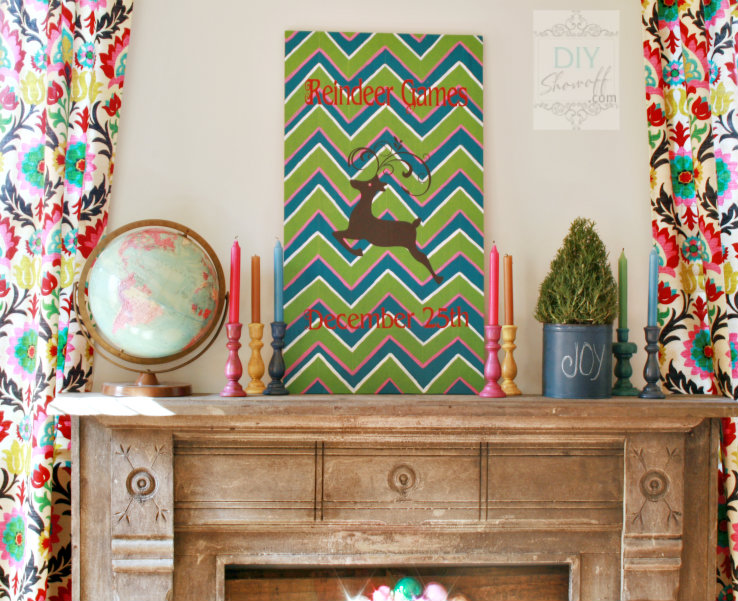
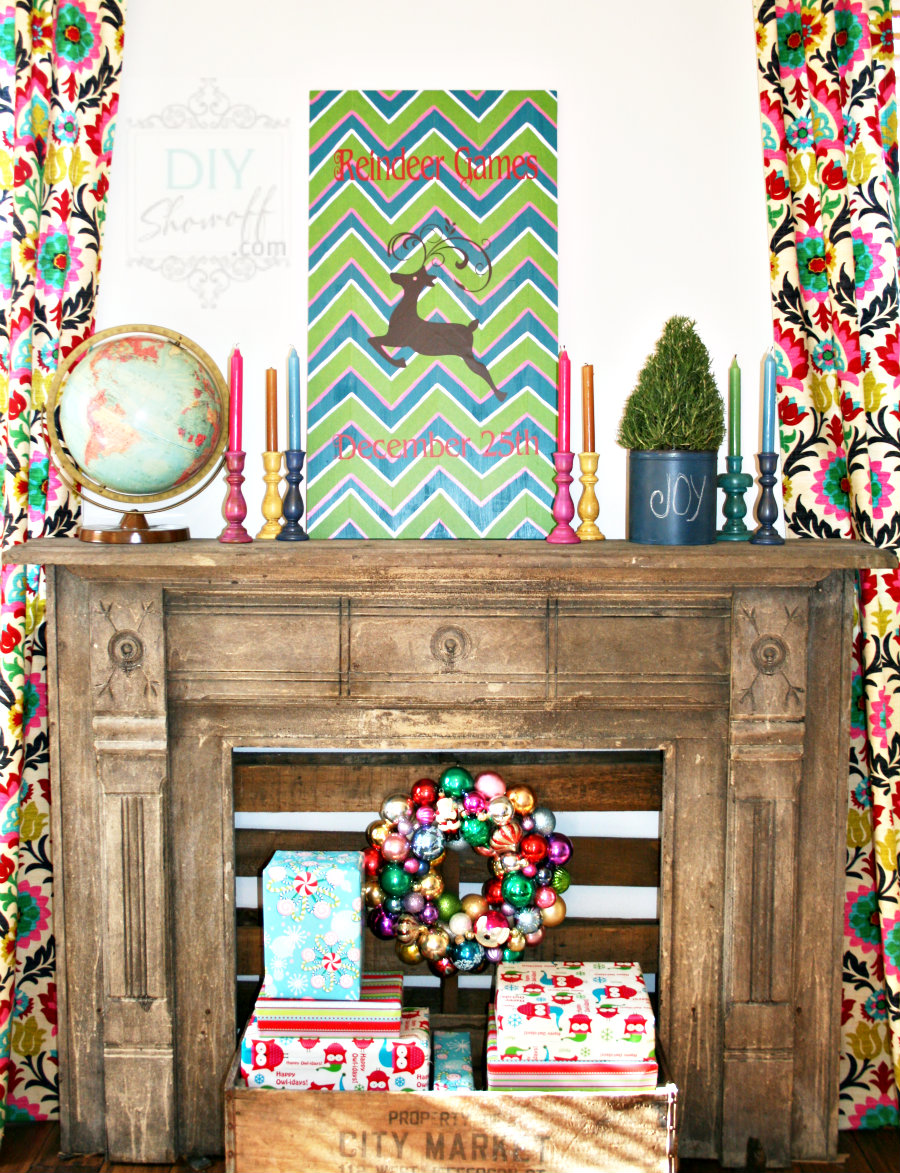
Colorful Christmas DIY reindeer sign tutorialNon-traditional. Colorful. Fun. I love it. It fits in perfectly with my eclectic colorful family room.
DIY chevron Christmas Reindeer Games sign

What do you think? I just sort of quickly staged for photos so I could share this today. I’ll be re-arranging, re-decorating. In fact, this mantel is even moving to another wall. More on the family room renovation and Christmas decorating coming soon.
colorful Christmas decor

I will attach a saw tooth hanger to the back and hang and rearrange but…I wanted to get this done to share and to tell you something important:


*I was not compensated for my review but I did receive vinyl and I participate in the Silhouette America affiliate program and will earn a percentage of sales when you use the code “SHOWOFF” for your purchase. This is a sponsored post brought to you by FrogTape. The opinions are completely my own based on my experience. Results may vary. 

FrogTape Blog Squad

Party time:

52 Mantels

DIY Show Off DIY Holiday Highlightsshabby creek cottageThe Shabby NestWeekend Bloggy Readingchristmas-linky-parade-button-songbirdHome Stories A2Z

Songbird & Cottage Magpie
 

How to make an established/monogrammed sign {bridal shower gift}

I’ve always wanted to make an established sign as a gift and a recent bridal shower was the perfect occasion.

How to make an established/monogrammed sign.

Materials:

  • Wood 18 x 9 x 1
  • TransTint Dye (Dark Walnut or Dark Mission Brown)
  • Craft Paint (gray and white)
  • Stencil (I used a vinyl stencil I created with my Silhouette Cameo)
  • Spray Lacquer
  • Sawtooth picture hanger

Tutorial:

I sanded down a pretty piece of wood then died it with my favorite color of TransTint Dye from Rockler a long time ago as part of my participation with the DIY Club. I seriously love this product. A little goes a long way and I can control the color – just add water. I also love that I can let the unused portion sit on a shelf. Water evaporates and I can just add water to re-use the unused portion. I’ve used it on many projects and have so much left!

transtint dye

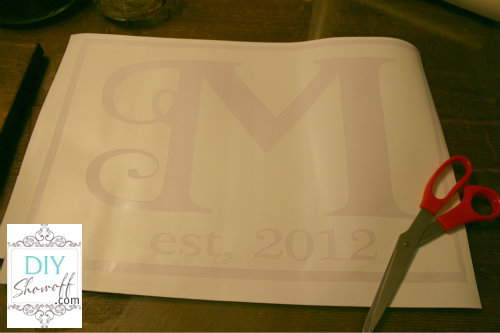
Using my Silhouette Cameo, I designed and cut out a monogram, border and last name vinyl stencil. {Be sure to measure the sign and create a border/design that fits within those measurements.}

Silhouette Cameo

I peeled off the letters and used the “negative” part of the vinyl as a stencil. Placing it straight was the hardest part. Holding it up to the light and cutting straight lines using the guide on the back of the vinyl was helpful.

Silhouette Cameo vinyl monogram

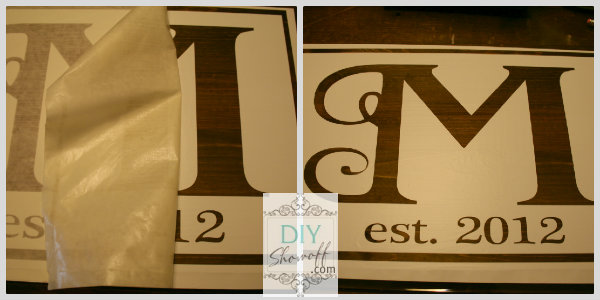
I pulled away the wax paper, applied the vinyl stencil and made sure it was all good and stuck by rubbing the design with a credit card.

DIY vinyl

Slowly peel away the backing…

DIY sign tutorial

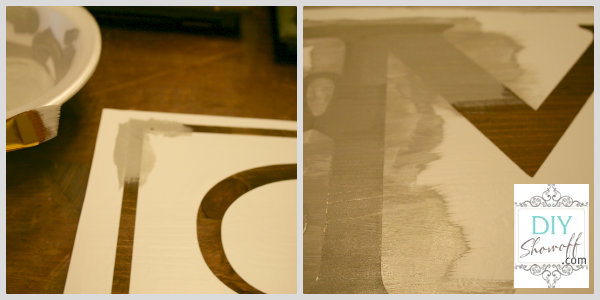
Next I painted the border, monogram and “established 2012” using gray acrylic craft paint. I gave it a few coats.

DIY painted sign

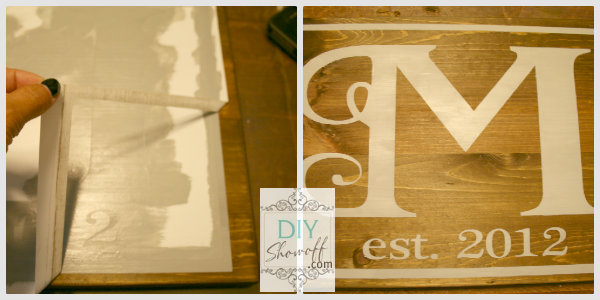
I’m impatient, so I let it dry a few minutes then peeled away the vinyl. Then I let it dry fully.

DIY monogram sign

I created another vinyl stencil of the last name and cut it out using my Silhouette Cameo. Once the first paint was dry, I followed the same steps to apply the last name stencil. I placed the name in the center of the sign and used white paint.

DIY gift sign

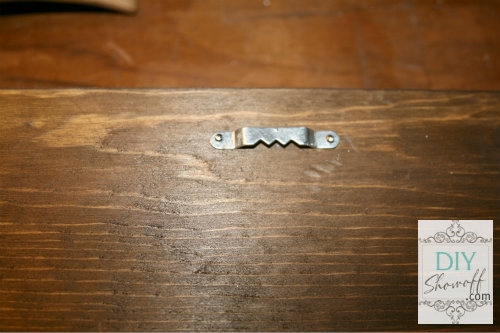
Let dry. Last step is to attach a hanger to the back {make sure the nails/screws aren’t bigger than the depth of the wooden sign!}. I also gave my sign a coat of spray satin matte lacquer.

sawtooth sign hanger

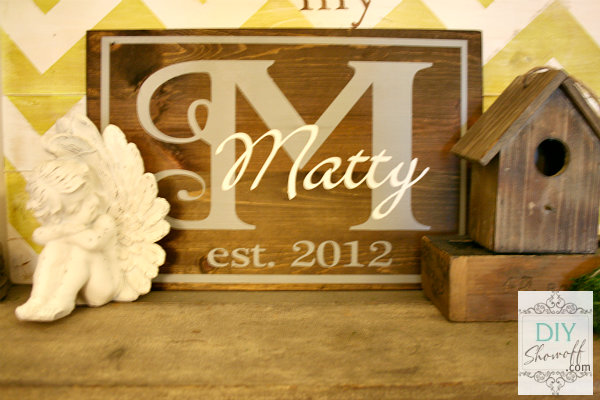
Ta-da! I personalized gift:

DIY established monogram sign

{So sorry about the low light/poor quality pictures! Ugh! I didn’t realize until pictures were uploaded after the gift was given.}

What do you think?

Wish me luck today. I’m heading to the apartment (enlisting the help of my 19-year-old nephew) to tackle my first attempt to sand hardwood floors!

Enjoy the weekend!

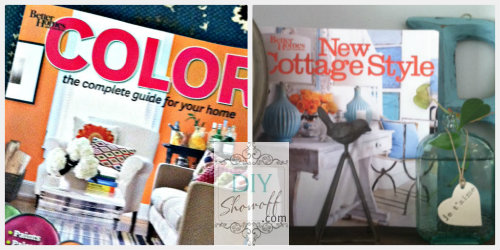
OH! It’s the LAST CHANCE TO ENTER THE BETTER HOMES & GARDENS “Color Guide” and  “New Cottage Style” decorating book giveaway. Need some inspiration? Stop over to enter to win!

BHG Decorating Book Giveaway

bhg.book.collage

Disclaimer: I created the above project using some supplies I’ve received in the past for previously sponsored projects. Opinion is my all mine based on my experience.

DIY Show Off - FacebookDIY Show Off - TwitterDIY Show Off - PinterestDIY Show Off - Feed