Project Diary Entry #5 – Sealing a Wood Plank / Shiplap Wall

Featured

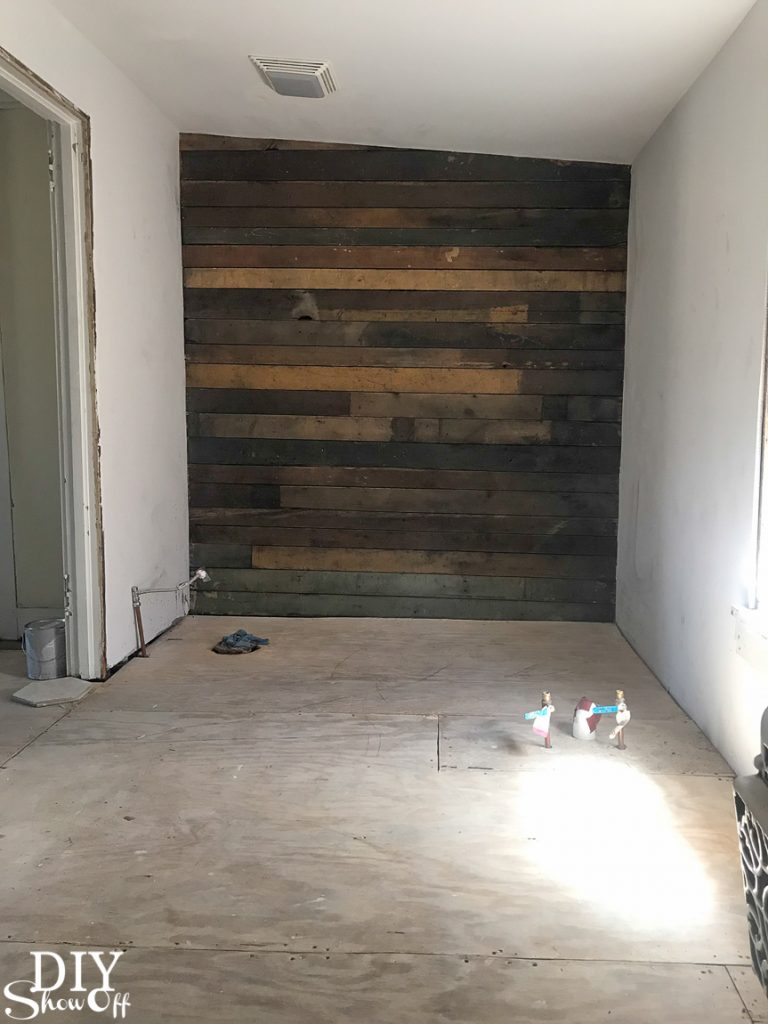
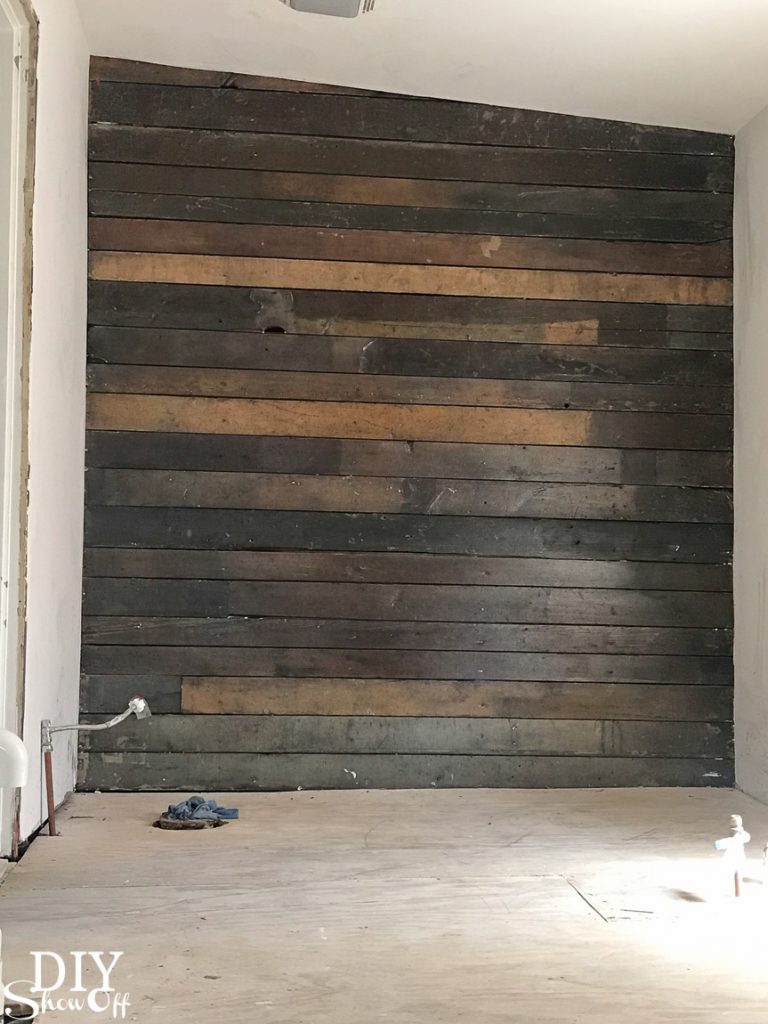
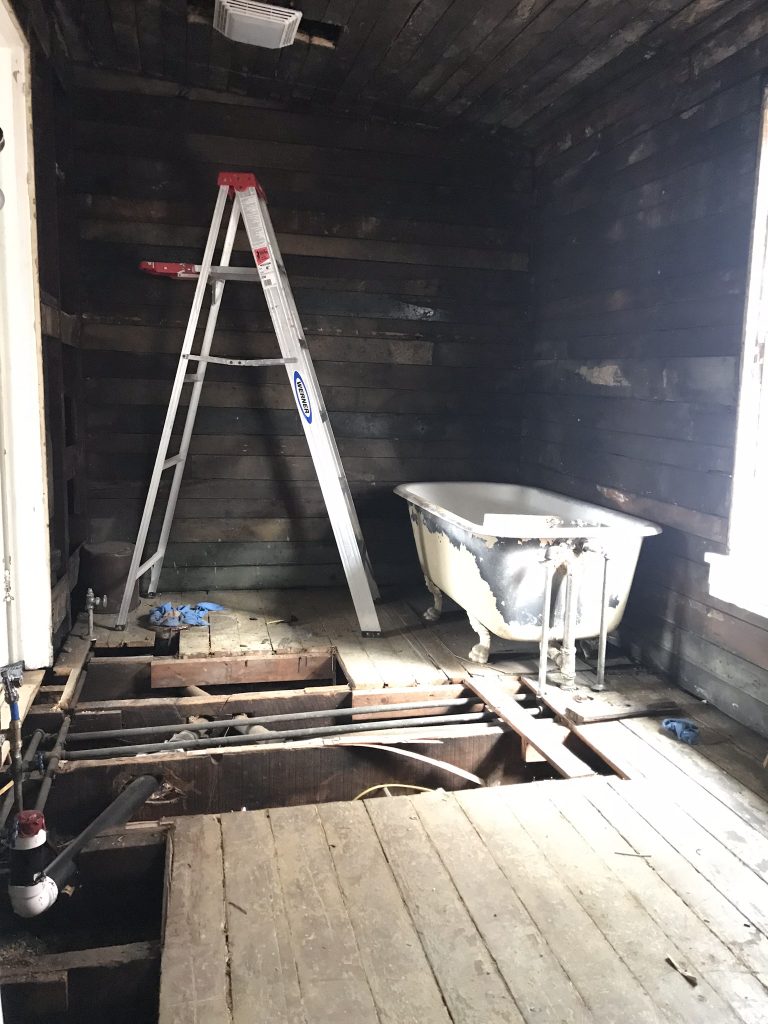
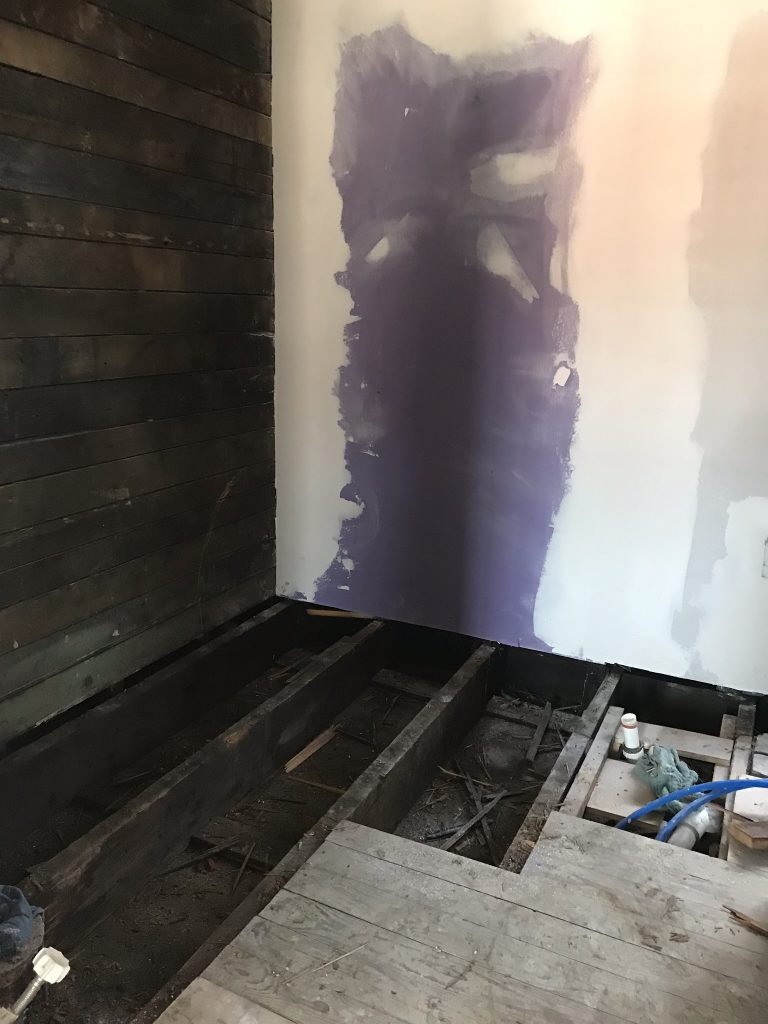
::Snooze:: Okay, not much to report as work and progress on the studio renovation has been slow the past month. The renovation has sort of been on hold for a few weeks while we await our turn on a possible tile installation schedule after we leveled the floor (as you can kind of see in the progress photos below). In the meantime, I sealed the wood plank shiplap wall. 

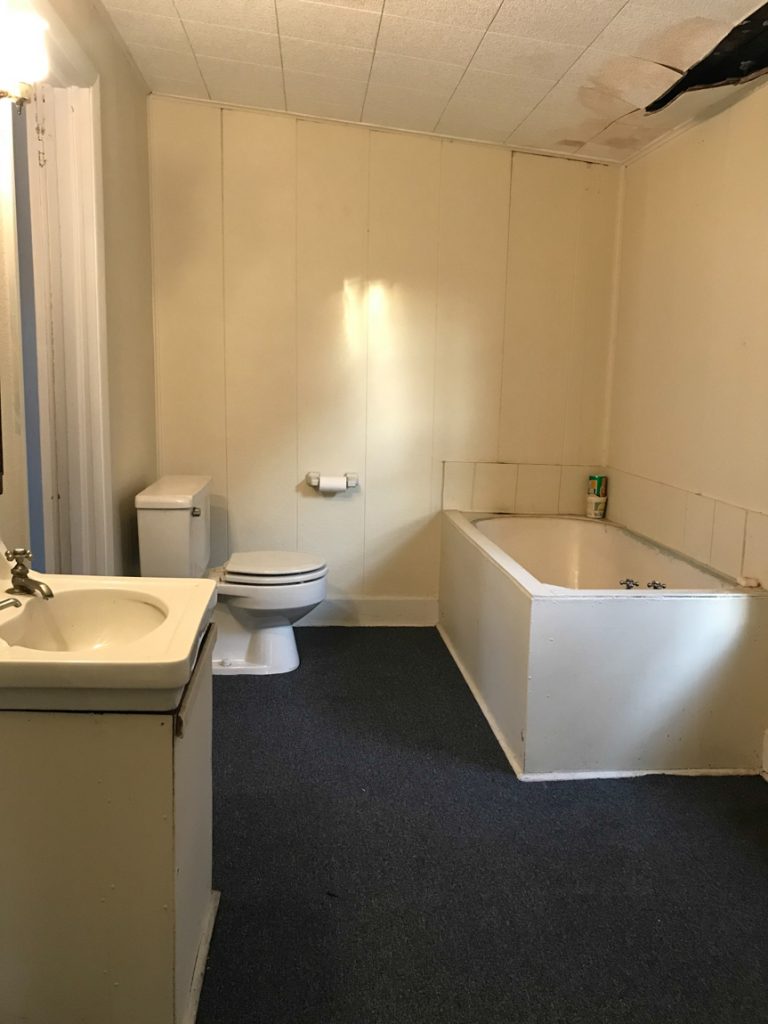
Bathroom before:

DIY craft studio // workshop - before room makeover @diyshowoff

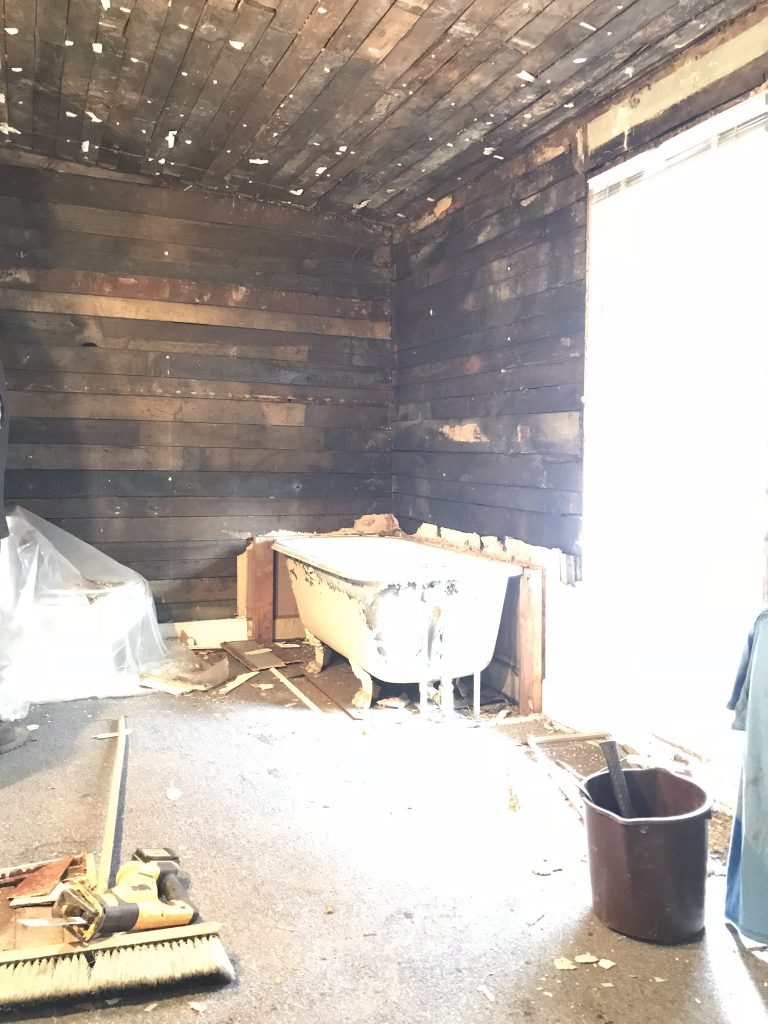
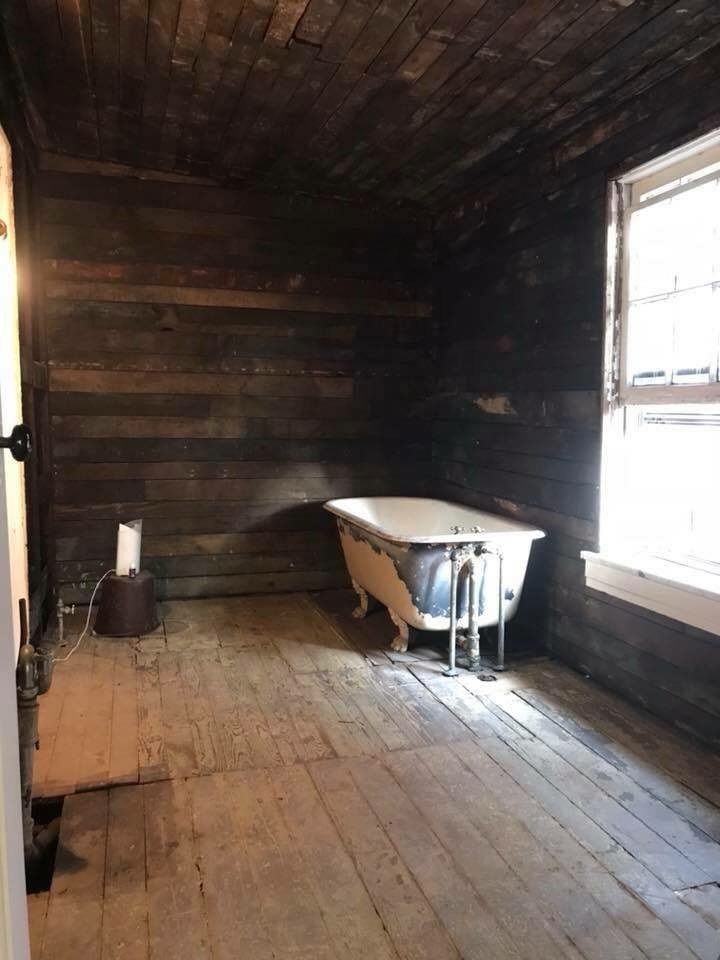
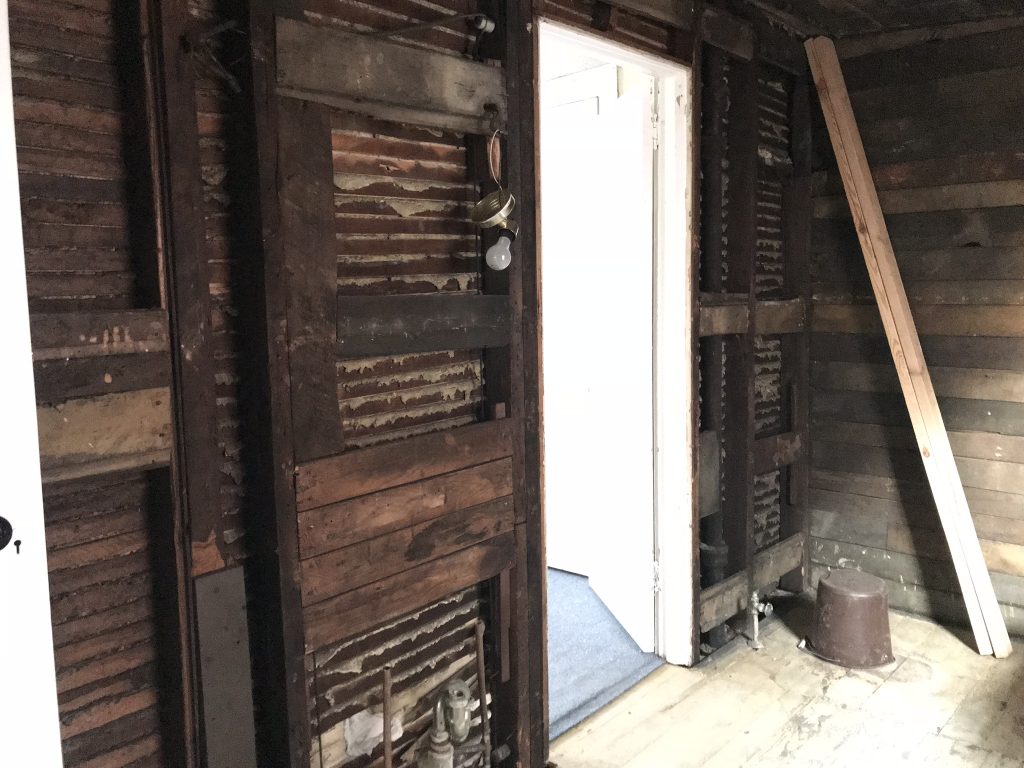
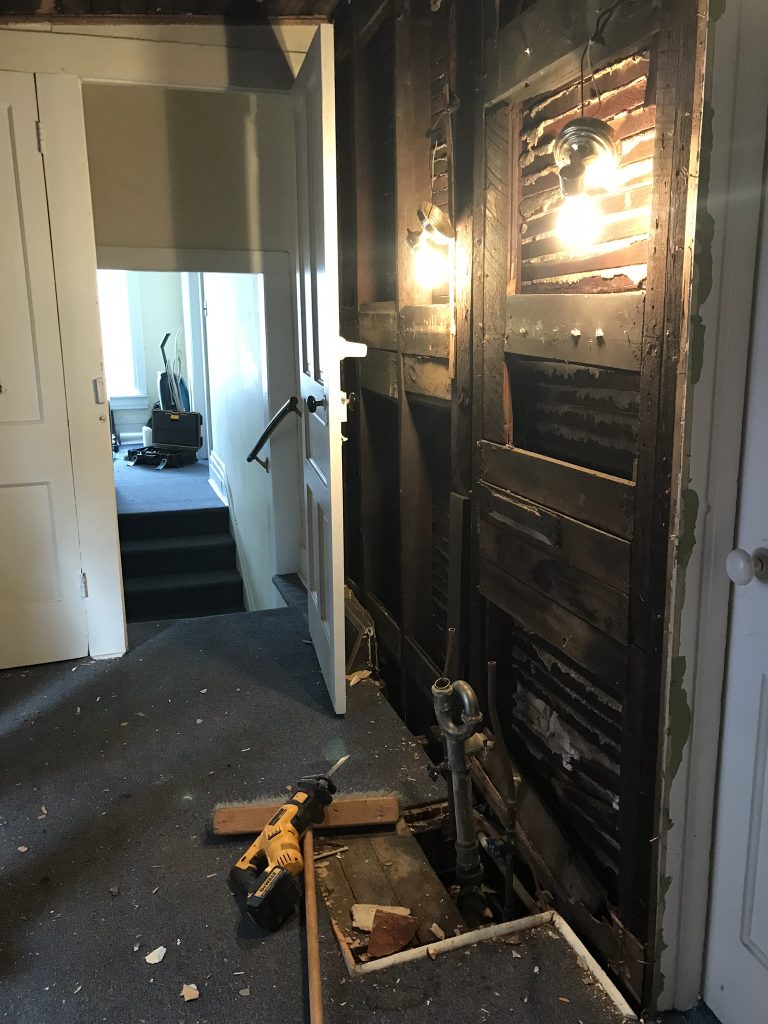
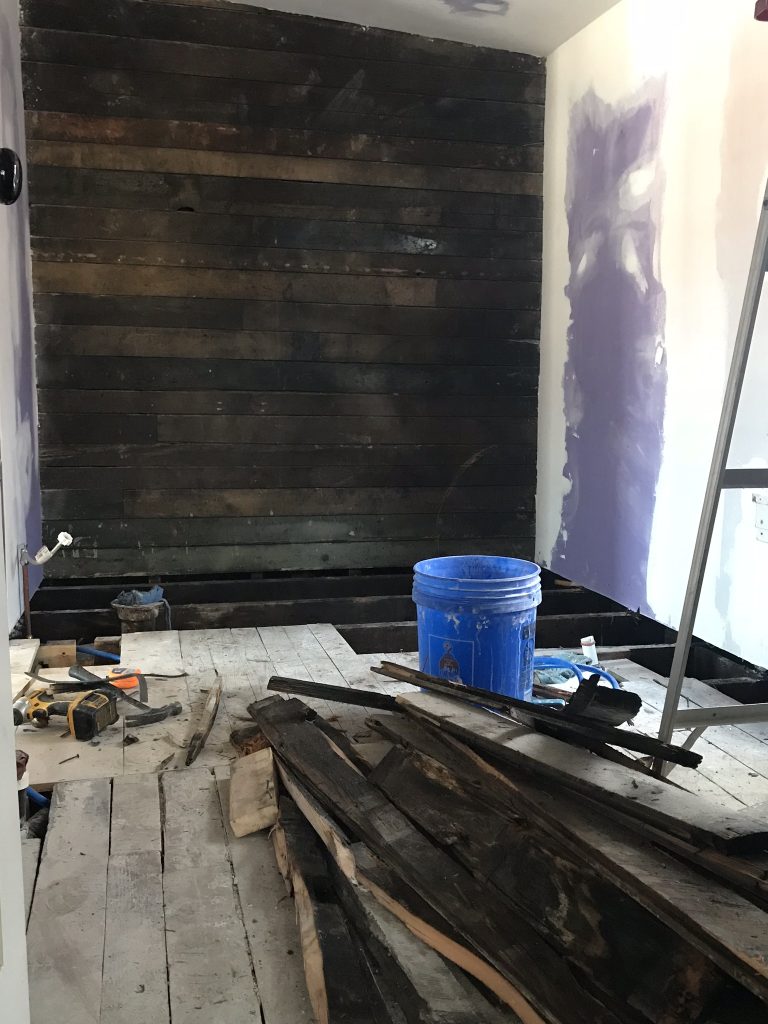
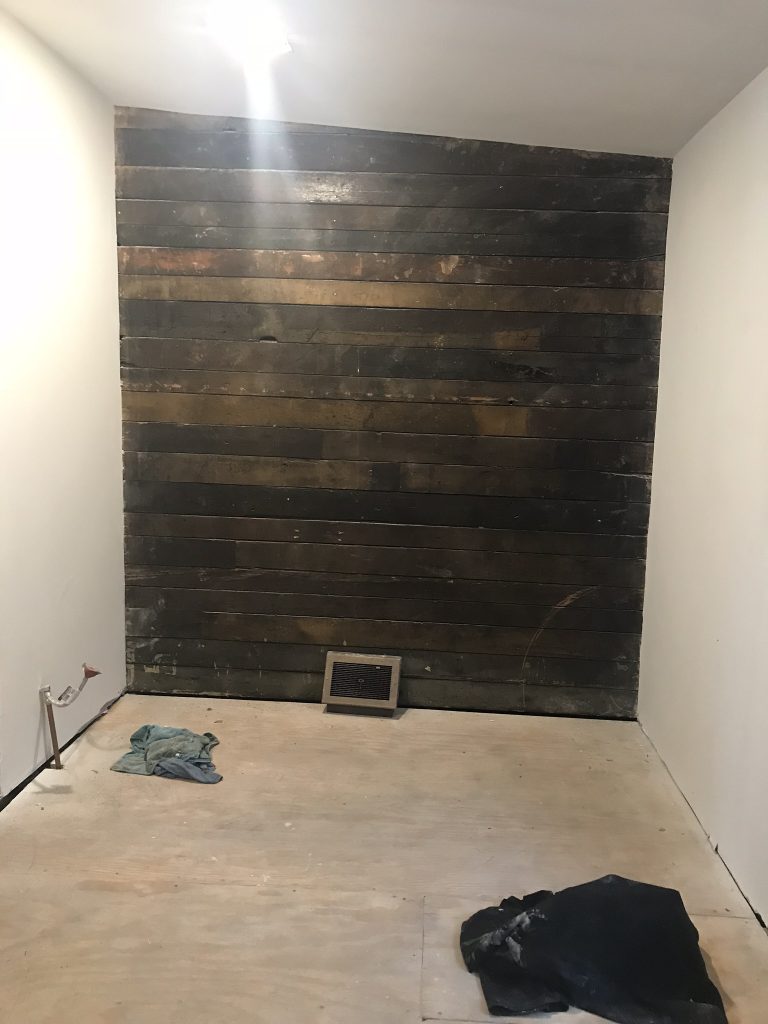
Once we removed all of the wall panels (something that was kind of like paneling without the fake wood look), we revealed the original shiplap.

bathroom demobathroom makeover in progress

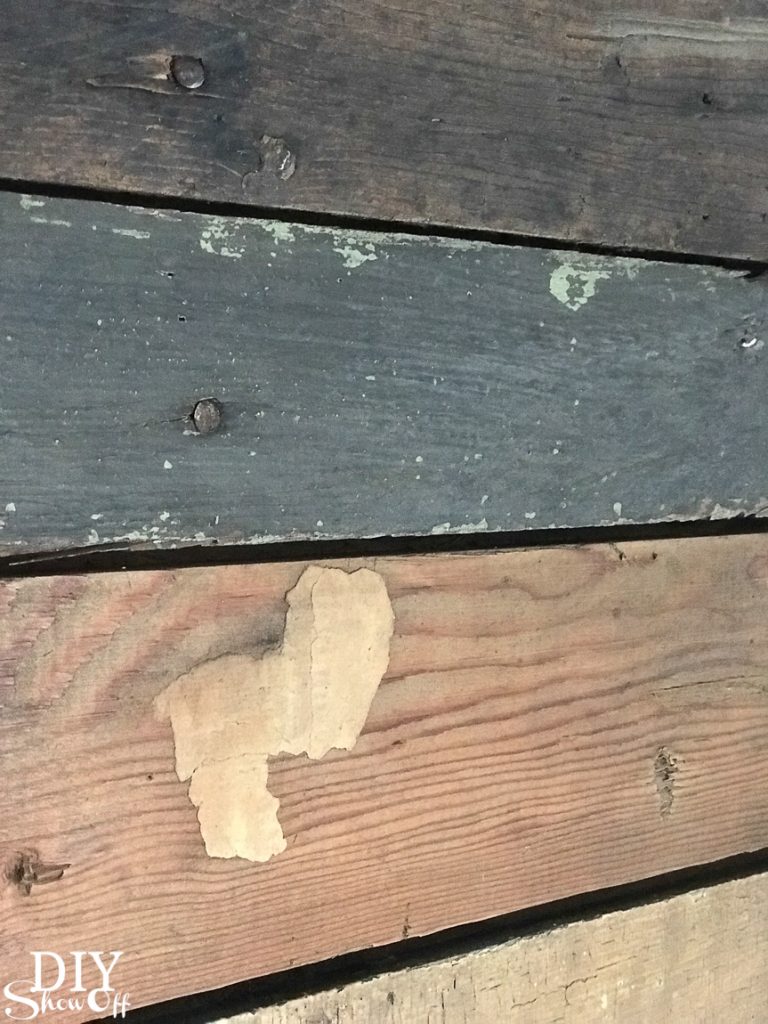
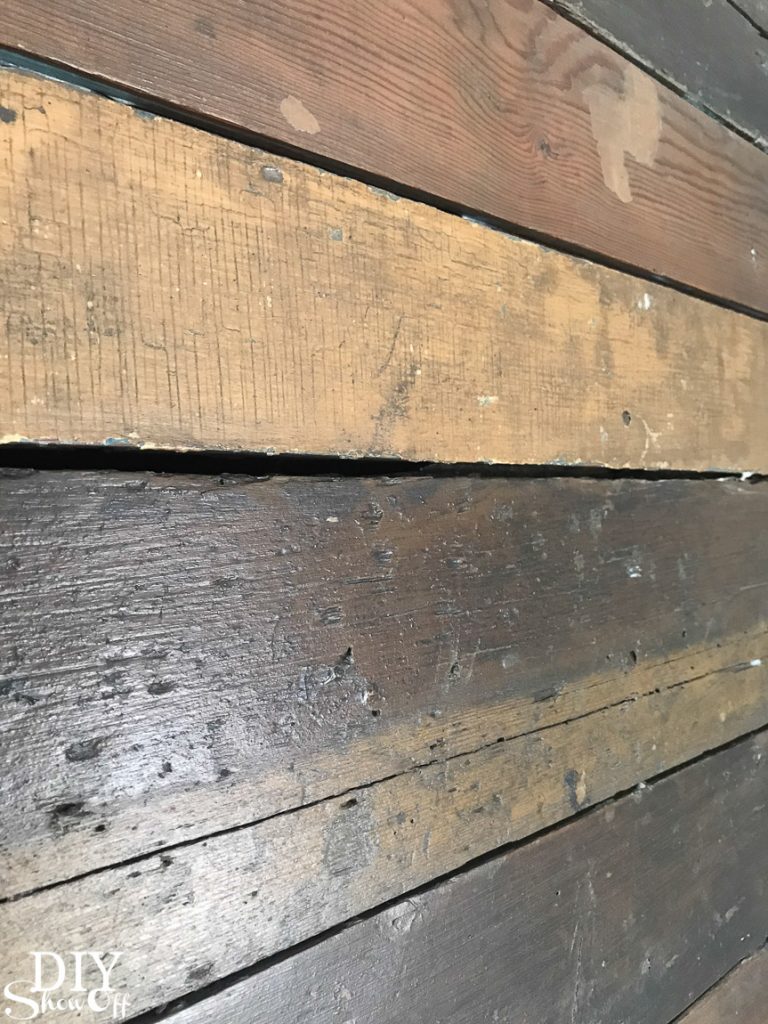
Most of which was recovered with drywall but you guys! I couldn’t bear to cover up the original beauty of the back wall. Look at that beautiful wood and all of it’s pretty shades.

bathroom makeover in progress

And it’s filthy! It got a REALLY good scrubbing with SEVERAL buckets of water!bathroom makeover
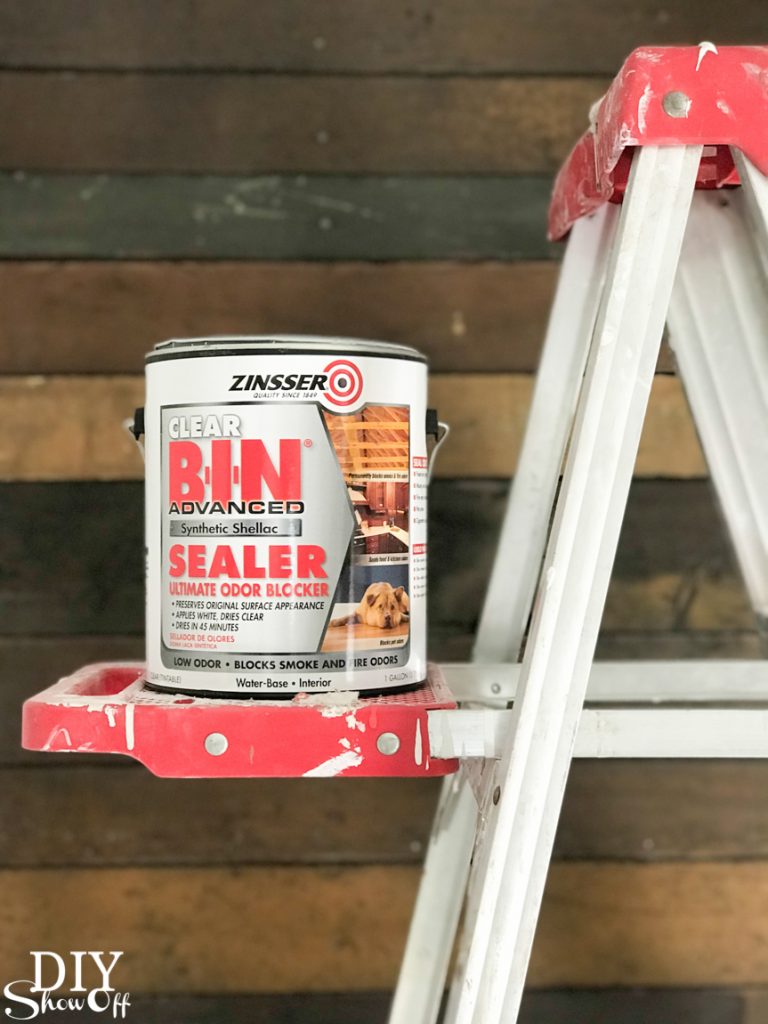
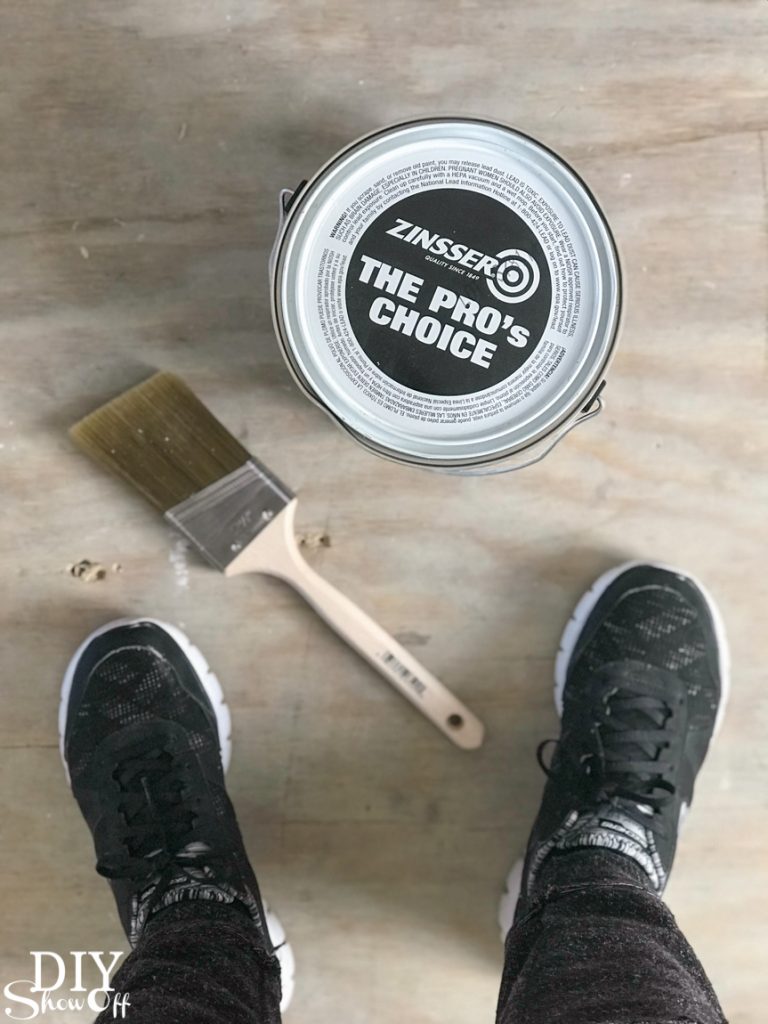
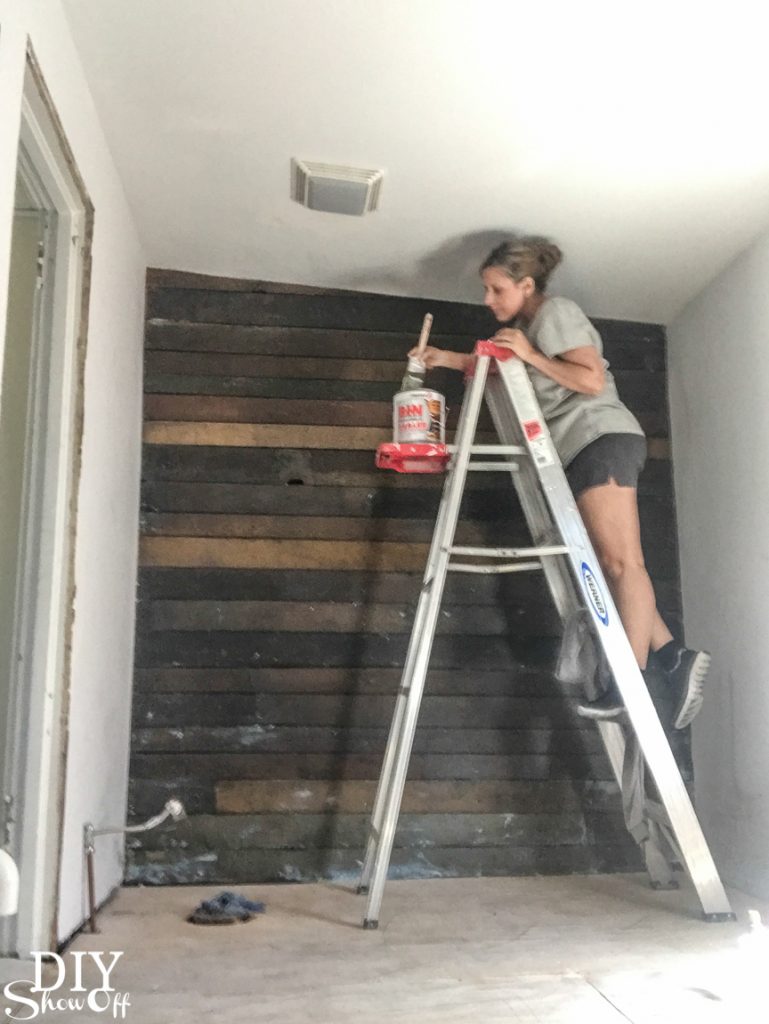
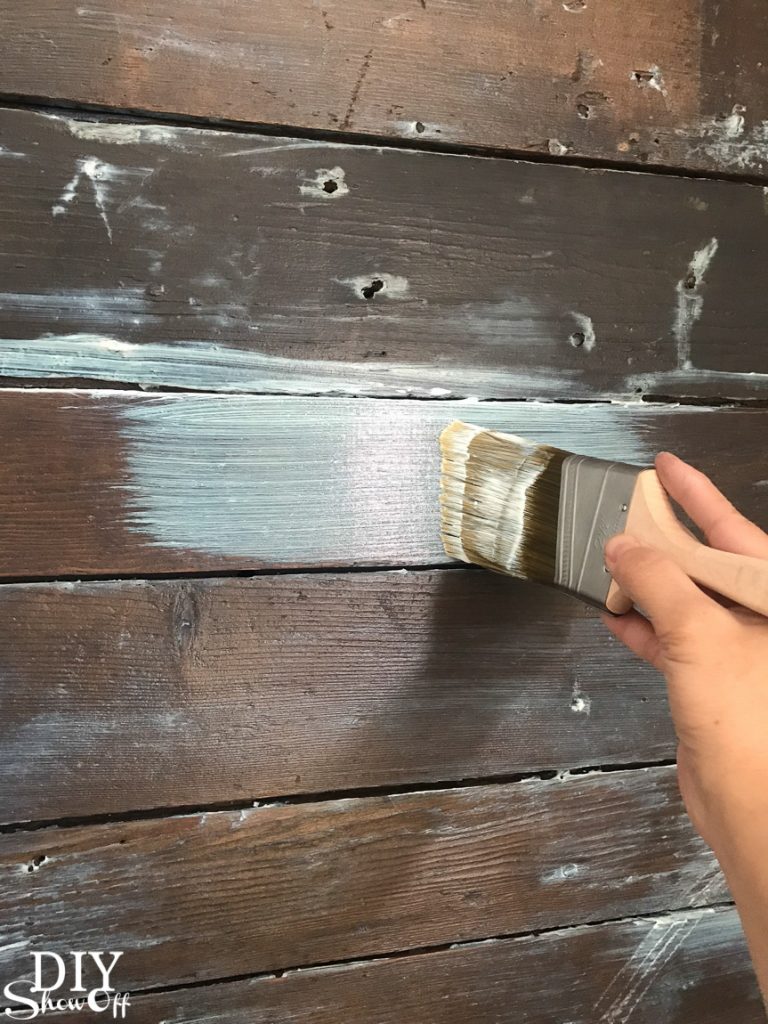
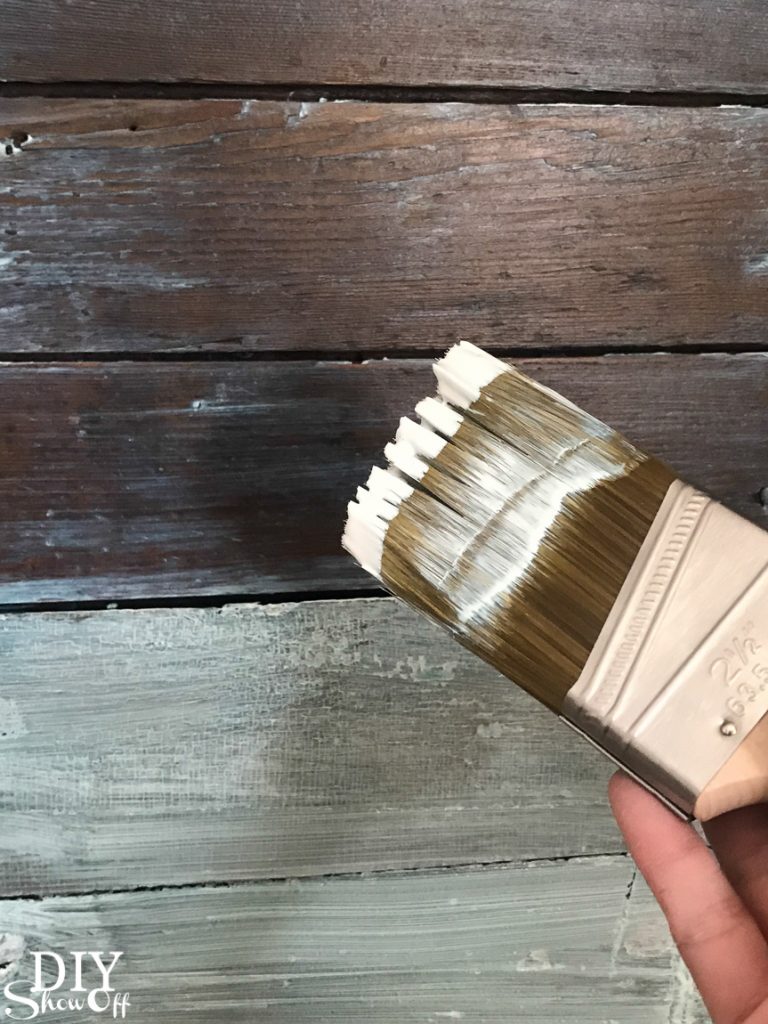
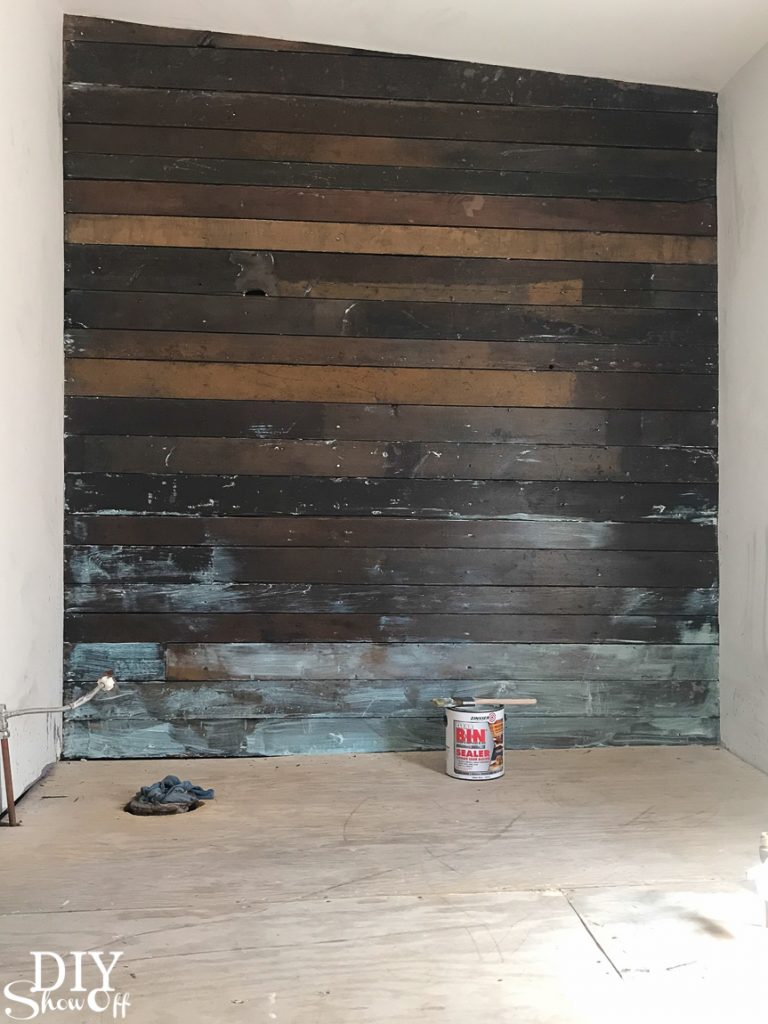
I consulted my friends at Rust-Oleum who recommended sealing with Zinsser BIN Clear Coat Shellac and sent me a can to give it a go. So it after drying from the thorough scrubbing, I simply applied the shellac with a brush.

Sealing a wood plank shiplap wall with shellac #helloredreno @diyshowoff #ad Sealing a wood plank shiplap wall with shellac #helloredreno @diyshowoff #ad Sealing a wood plank shiplap wall with shellac #helloredreno @diyshowoff #adSealing a wood plank shiplap wall with shellac #helloredreno @diyshowoff #ad Sealing a wood plank shiplap wall with shellac #helloredreno @diyshowoff #ad

Time lapse just for fun! 

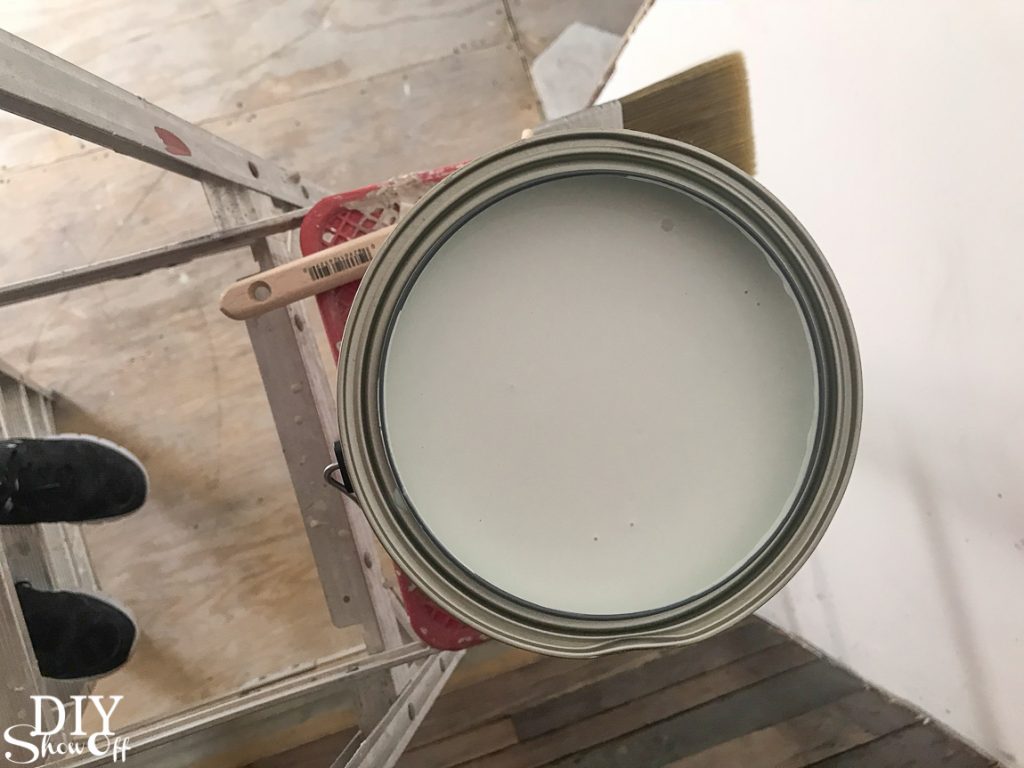
It goes on with a blue/white color but dries to a pretty clear coat. 

Sealing a wood plank shiplap wall with shellac #helloredreno @diyshowoff #ad Sealing a wood plank shiplap wall with shellac #helloredreno @diyshowoff #ad Sealing a wood plank shiplap wall with shellac #helloredreno @diyshowoff #ad

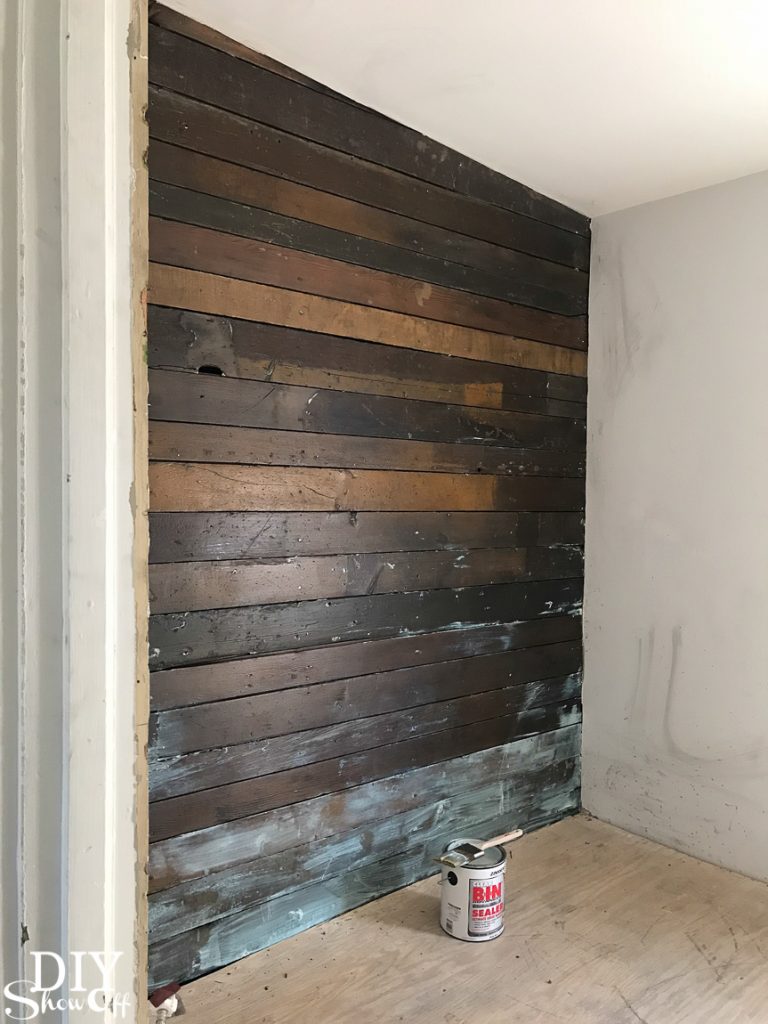
I always thought shellac had a high gloss look which I didn’t want. This finish has a very subtle sheen with very little shine, enough to seal the wood wall for the bathroom and to make it easy to clean.   

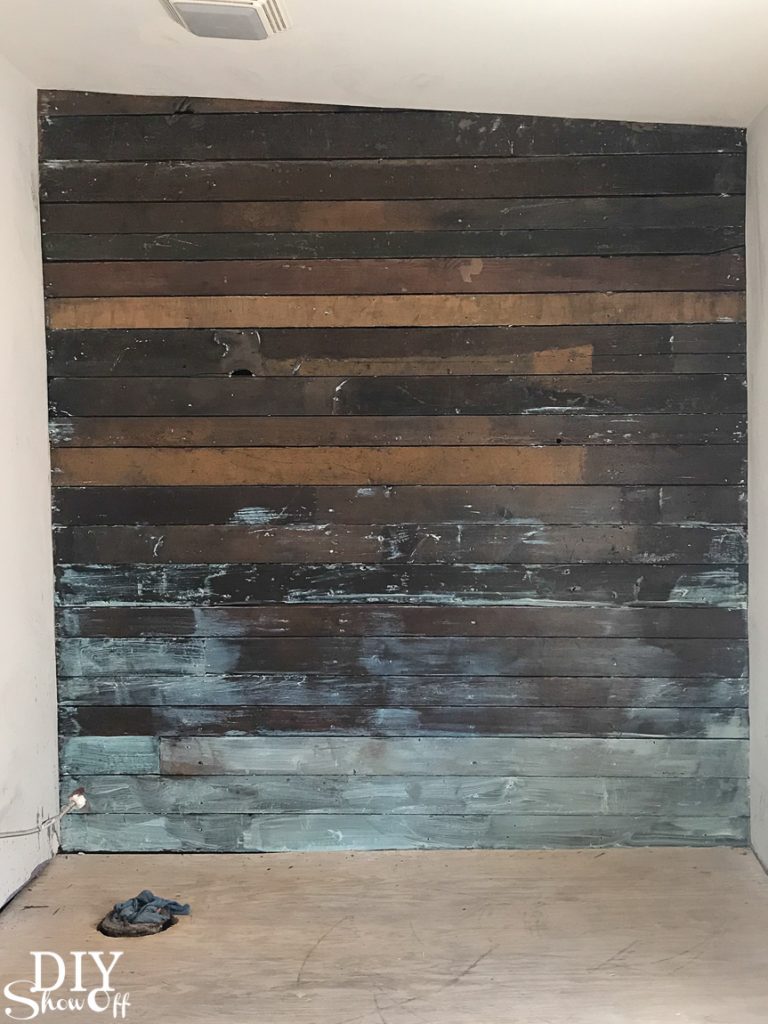
Before:Sealing a wood plank shiplap wall with shellac #helloredreno @diyshowoff #ad

After:

Sealing a wood plank shiplap wall with shellac #helloredreno @diyshowoff #ad

Beautiful! 

Sealing a wood plank shiplap wall with shellac #helloredreno @diyshowoff #ad

Progress!

Before:

Sealing a wood plank shiplap wall with shellac #helloredreno @diyshowoff #ad

After:

Sealing a wood plank shiplap wall with shellac #helloredreno @diyshowoff #ad

Next up – ceiling and wall paint! And hopefully tile soon! Stay tuned! 

The building has so much historical charm. It’s about one block from our town’s Main Street. The bus stop is literally steps away. There are breweries, the YMCA, shops, restaurants, salons, florists, candy/coffee shop, holiday parades and festivals within walking distance. So fun! If renovation from blah to ahhhhh is your thing, stay tuned!

So subscribe and be reminded of updates as the renovations progress! I’ll share before and after photos, projects underway and updates, plans and design boards, sources and links as they relate as well as fun events going on in and around the downtown area. I’ll be using a specific hashtag on social media to keep things all neat and tidy and organized.

#helloredreno

I welcome your thoughts and ideas! And as always, thanks for your encouragement and support and for sharing in my joy and vision! Watch for #helloredreno !

Project Diary Entry #4 – Full Bathroom Demo Day

Bathroom DIY Demo

The rooms at the new studio are coming along – soooooo slowly – but getting there. It’s never as fast as I plan or as smooth! Right? Hiccups and unforeseen projects and unplanned expenses. But let’s take a look at the upstairs full bath and how things are coming along! It’s the room with the biggest expense and progress to date. 

awesome vintage bathroom makeover @diyshowoff #helloredreno #shawstyleboard

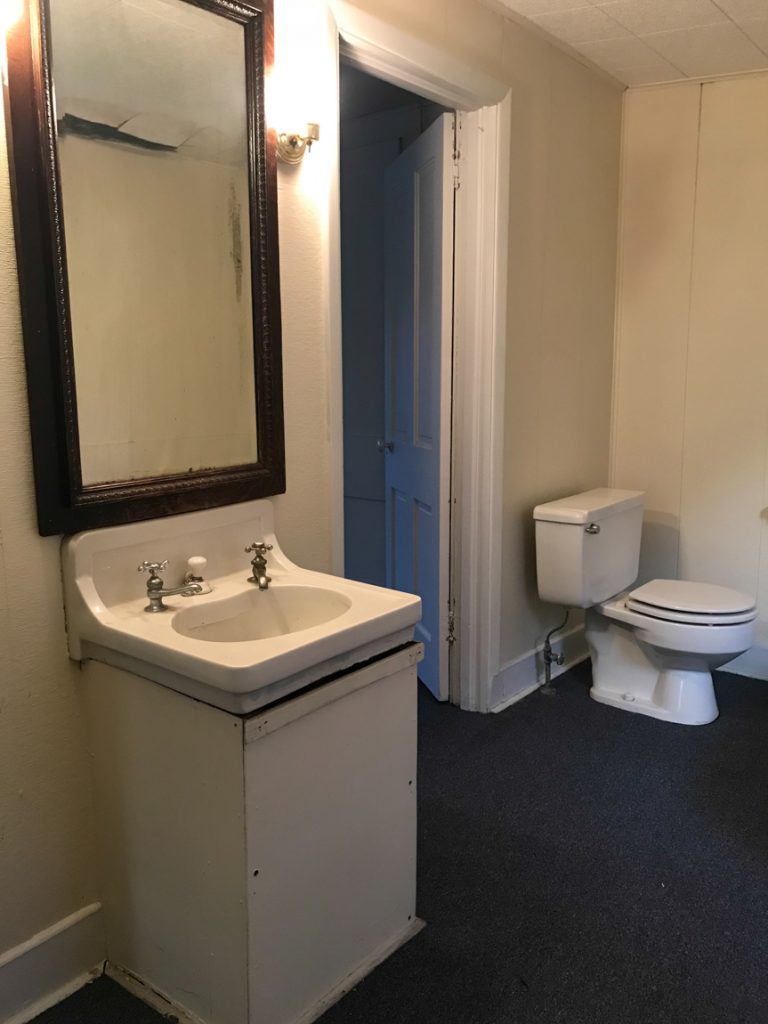
Here are some before pictures. YIKES! What a mess, what a lot of work. Yea, I under-estimated the work needed in here. Okay, let’s get started. 

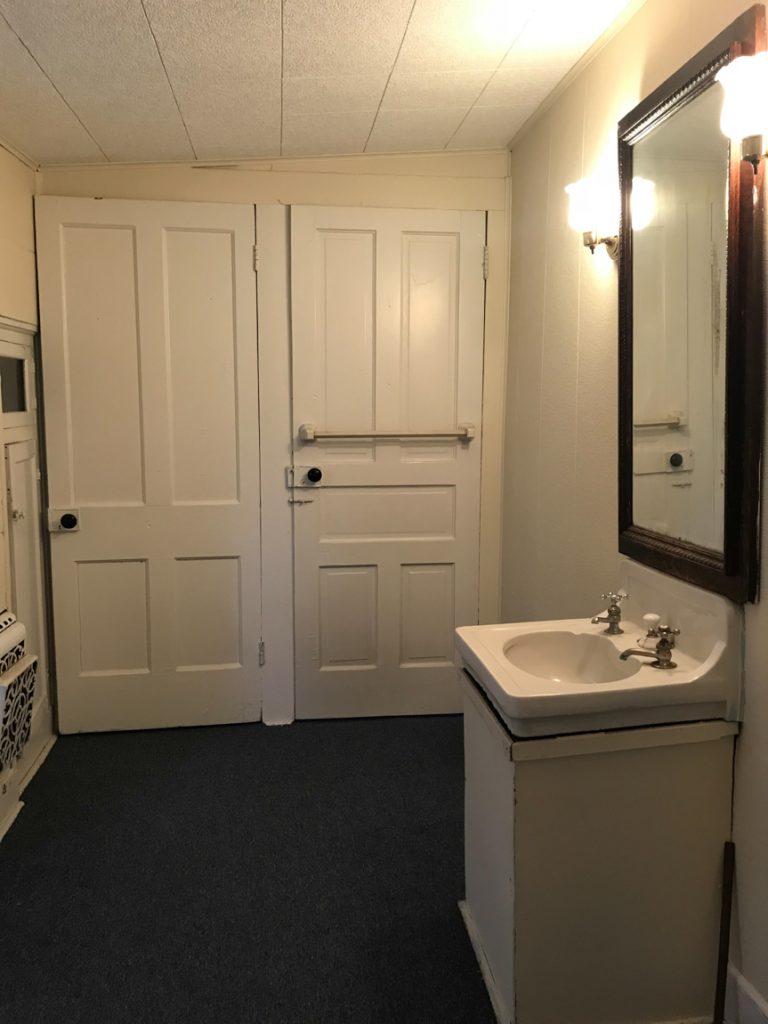
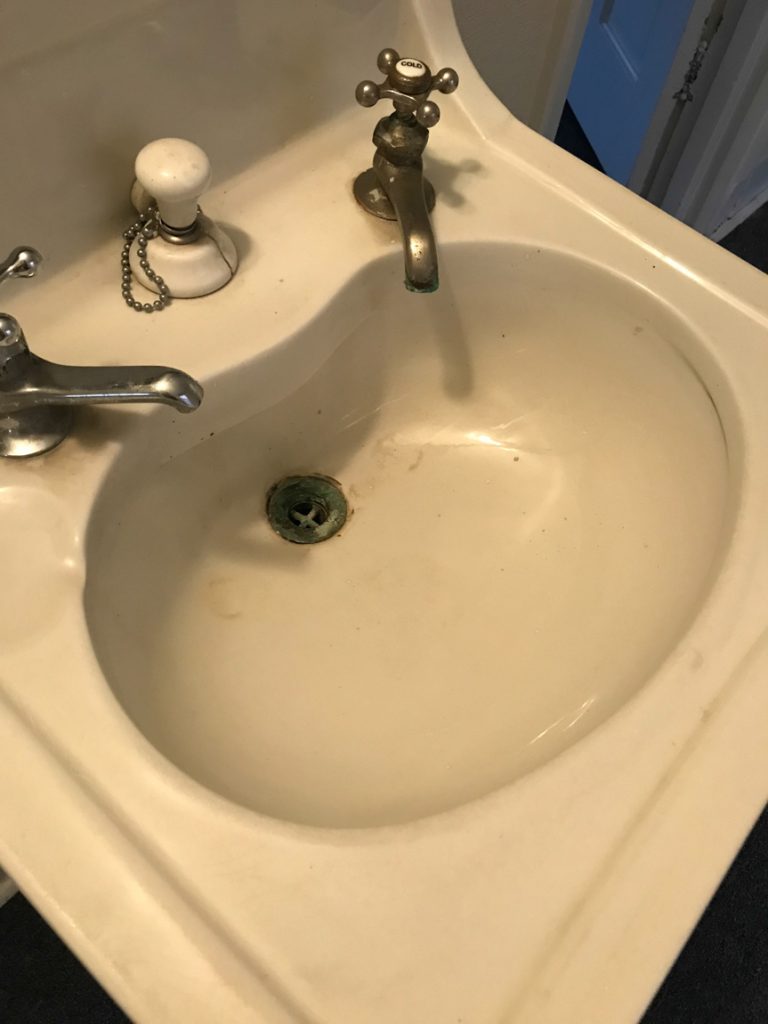
What would ever lead someone to box in a pedestal sink? That’s one way to hide exposed plumbing. ??? I do love that mirror though. Gotta re-use that somewhere. It’s got the vintage wear and tear that I love!

DIY craft studio // workshop - before room makeover @diyshowoff

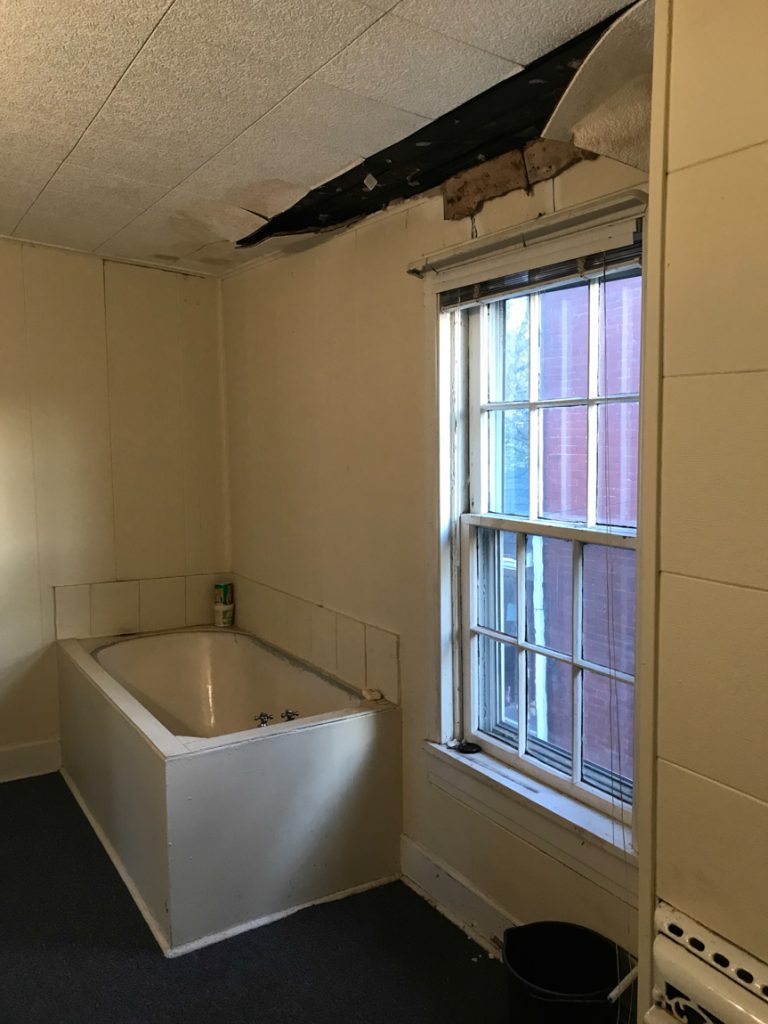
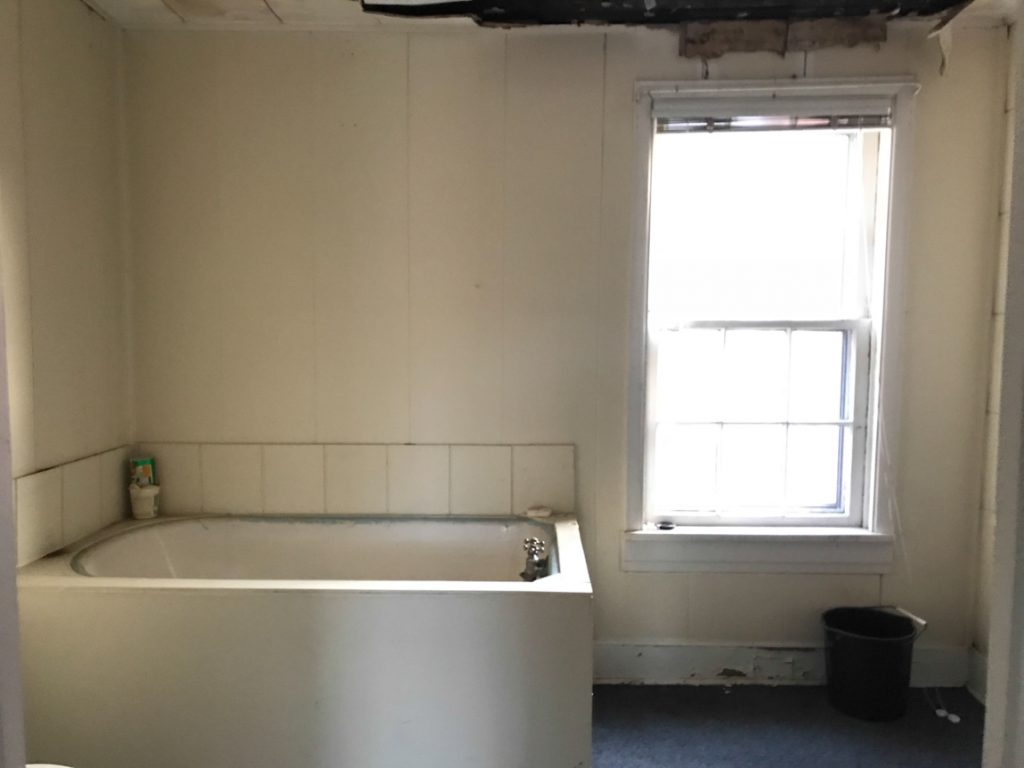
Oops. The roof had a leak and that’s been fixed. And it’s a great reason to tear down those ceiling tiles. And why yes, they’ve boxed in the claw foot tub too! What the…? Why?!  DIY craft studio // workshop - before room makeover @diyshowoff

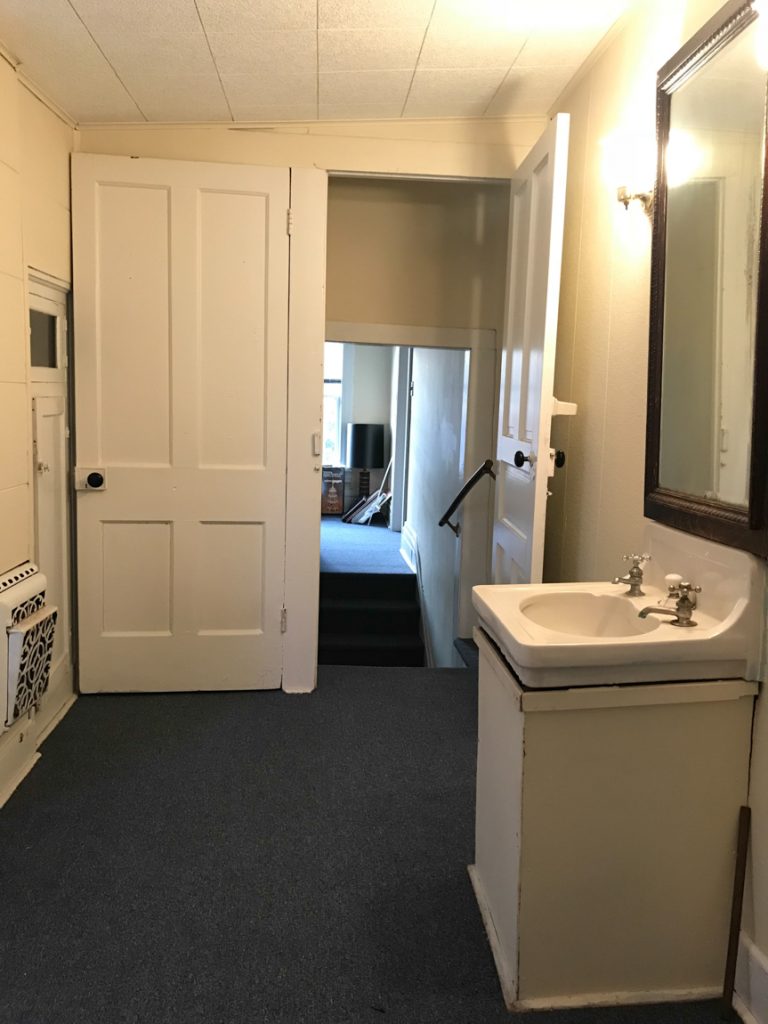
There’s even a back door out of the bathroom. One into a bedroom and this one out to the staircase. And carpet. In the bathroom. ::gag:: DIY craft studio // workshop - before room makeover @diyshowoff DIY craft studio // workshop - before room makeover @diyshowoff

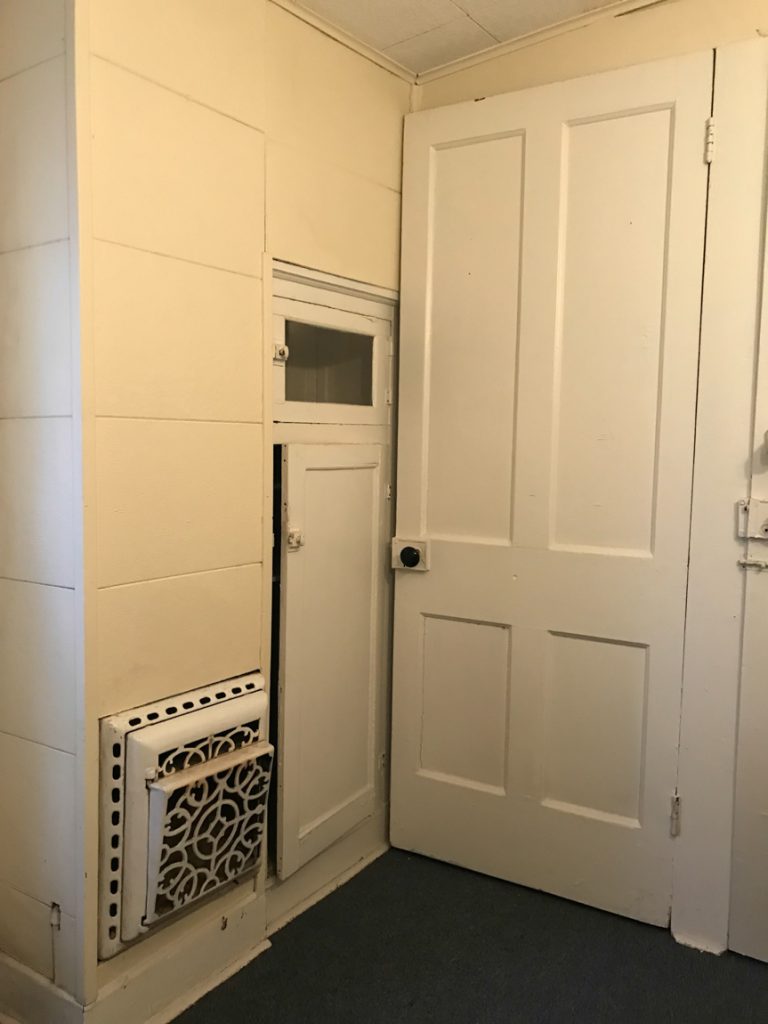
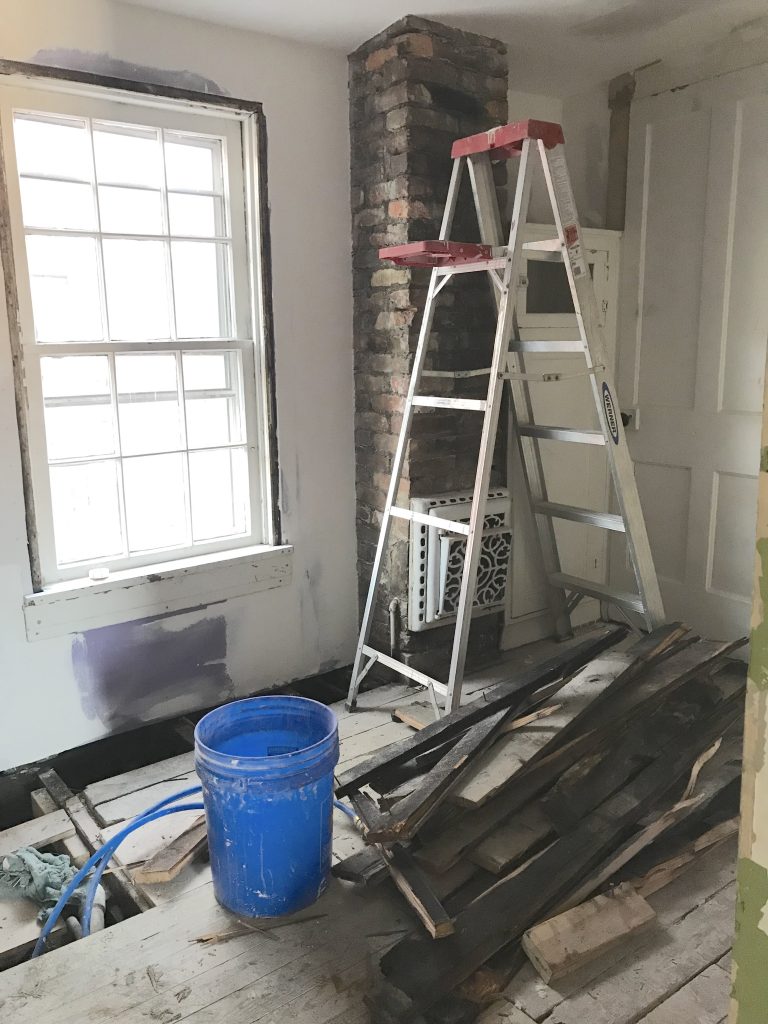
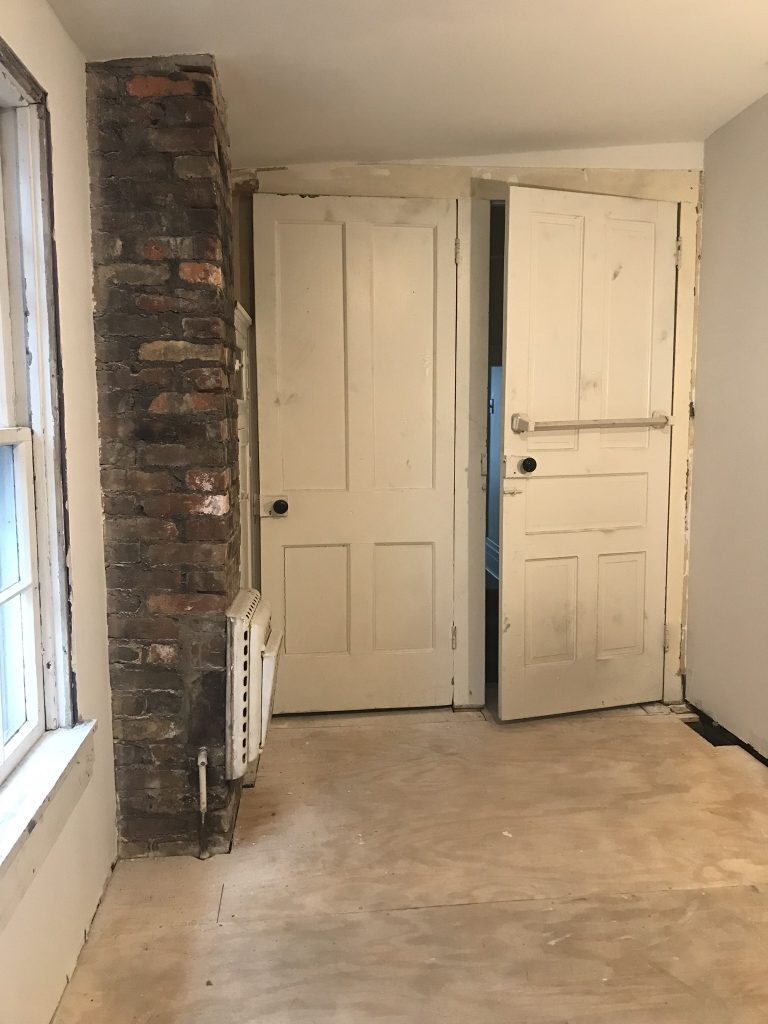
I love all the little built-ins. Aren’t they charming? That little glass door, the hardware! ::swoon:: So cute! That grate too! I have no idea…is it gas? There’s an old capped gas pipe right there to the left of it. But it’s right in the chimney where maybe the original stove from the main floor below stood. There’s a decent sized closet behind the door there too. So nice!DIY craft studio // workshop - before room makeover @diyshowoff

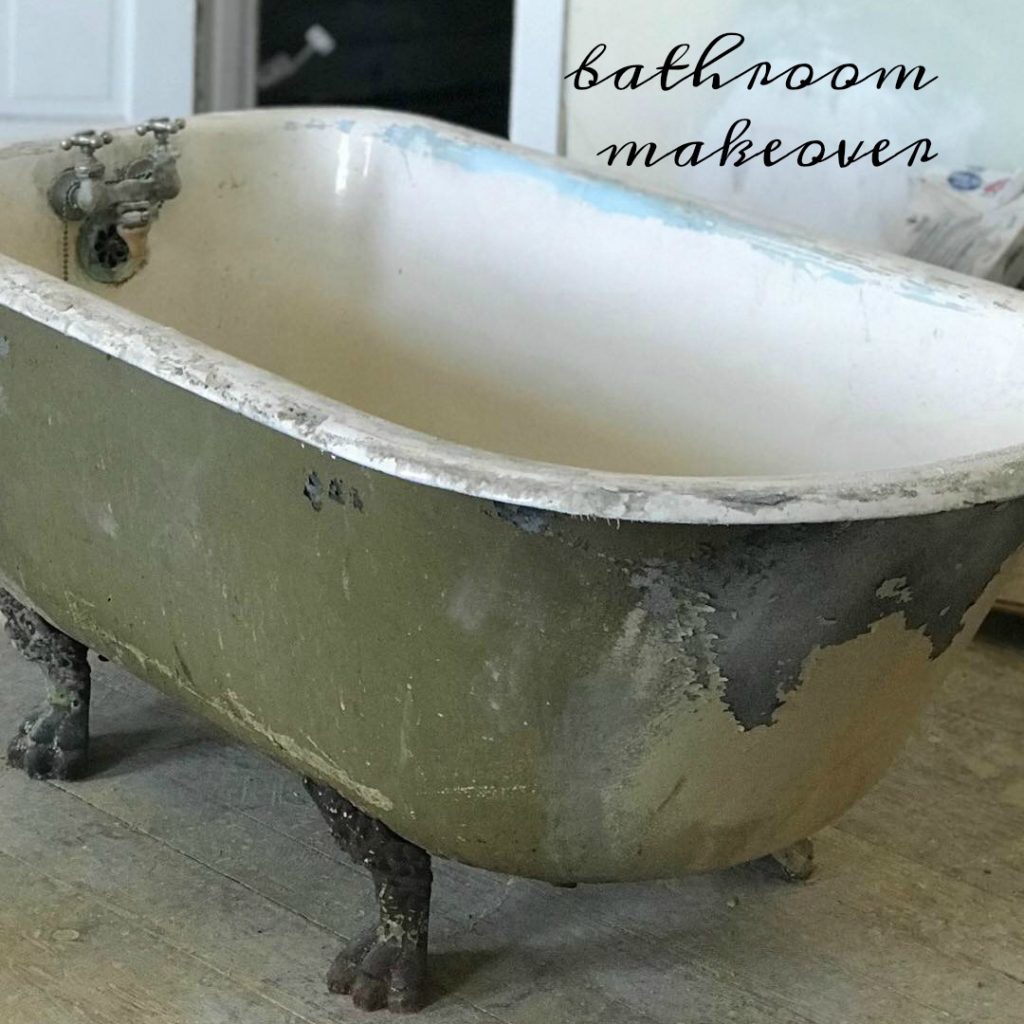
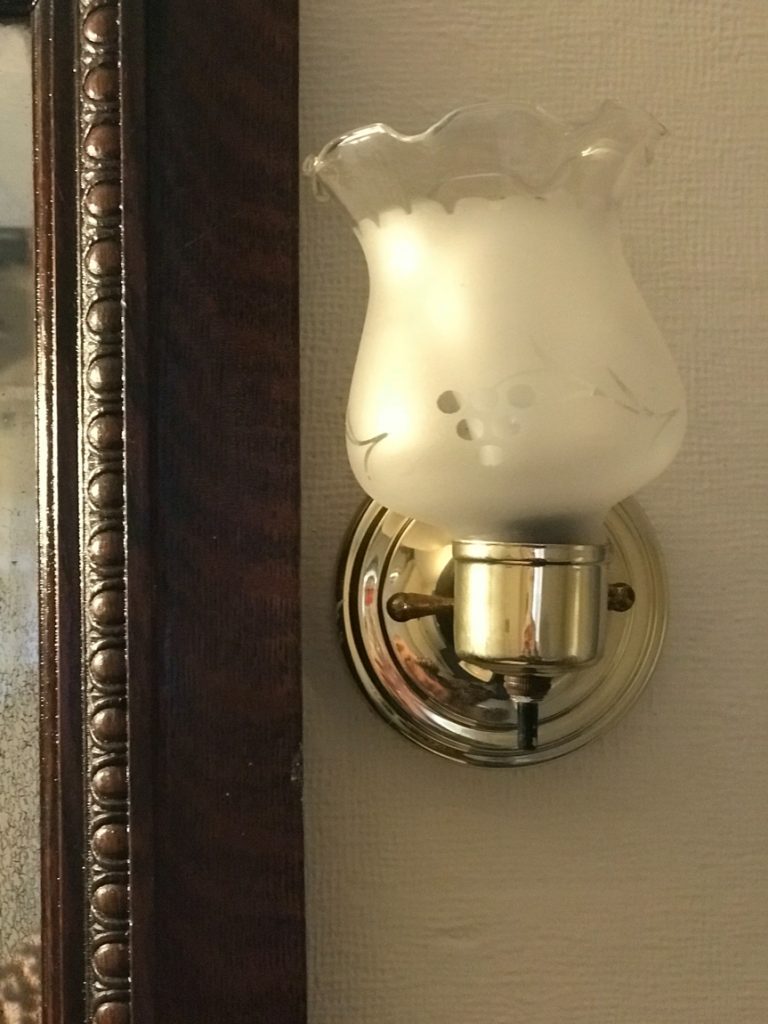
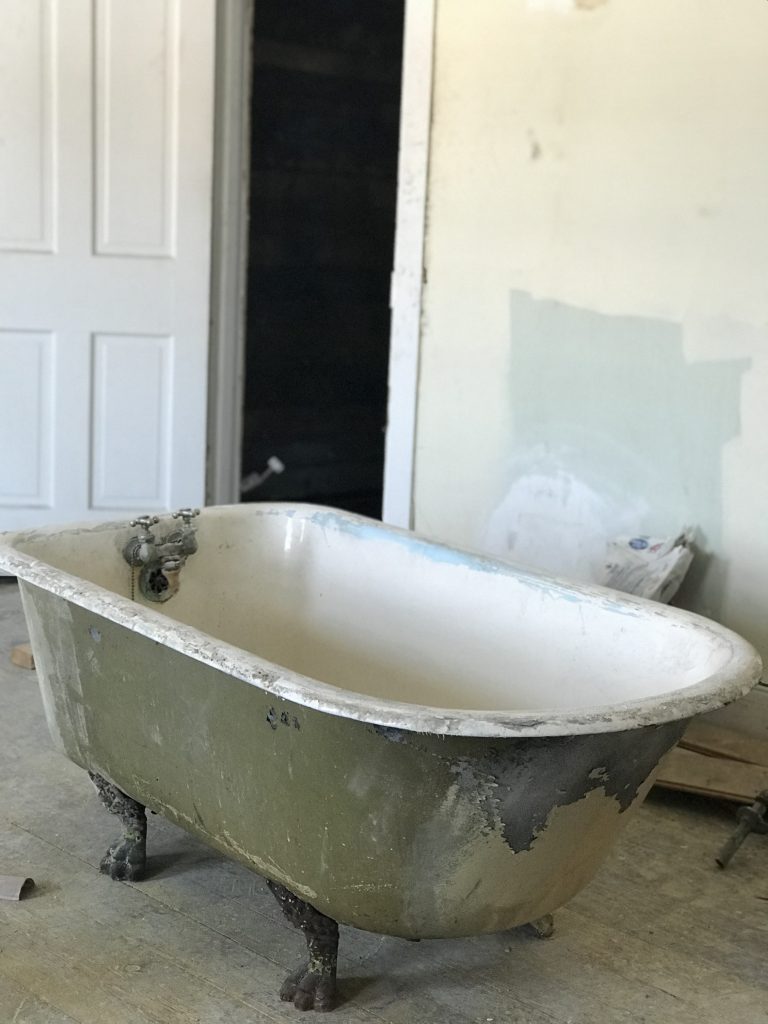
Can’t wait to reveal the cast iron claw foot tub!DIY craft studio // workshop - before room makeover @diyshowoff I love sconce lighting in the bathroom but will repurpose these cuties somewhere else some day. DIY craft studio // workshop - before room makeover @diyshowoff  These old faucets! You either get hot or you get cold. There is no “warm” unless you fill the sink. lol DIY craft studio // workshop - before room makeover @diyshowoff

Demo day! Oh man! Here we go! Hold my hand! bathroom demo bathroom makeover bathroom makeover

Out with the old, that’s for sure! Out with that nasty carpet that’s been glued down to the original hardwood floors. What a mess! Because I want Shaw tile floors in the new bathroom, our installer at A&S Carpet has recommended we remove the old squeaky hardwood and screw down plywood to prepare the base for ceramic tiles. You can see the bathroom vent that was installed too. bathroom makeover And there was quite a bit of work to be updated. Ugh. Not what I wanted to hear! It’s so hard when money goes into things we can’t see. But more importantly, it’s lifelong peace of mind.  Isn’t it looking so much better all ripped out and ready for reno?bathroom makeover in progress I’m hoping to be able to re-use this gorgeous tub! I think it may have already been re-glazed once so we’ll see. Budgets have a way of making decisions for us sometimes, especially when un-foreseen expenses arise. bathroom makeover

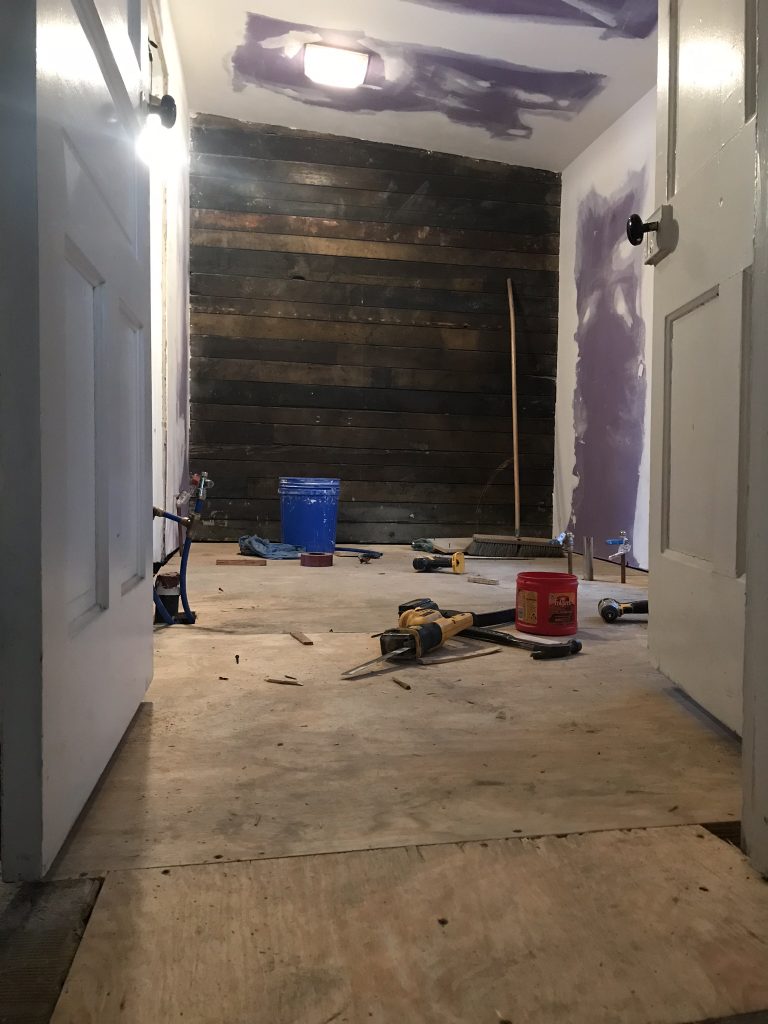
We’ve got some new drywall and sub flooring…

bathroom renovation And look how light and airy it’s looking! So happy! bathroom makeover bathroom reno bathroom makeover in progress Did I mention that I just can’t cover up all of that old original ship lap? I just can’t! So this wall and all of her rustic charm and pretty colors is staying. It’ll get a good scrub down and be sealed. More on that coming up!bathroom makeover The floor is all prepped for NEW flooring! I’ll share my choice and some other ideas I have in a design board later this week. I’m also going to clean and seal the exposed brick. I just can’t bring myself to cover up all of the rustic beauty! bathroom renovation

The building has so much historical charm. It’s about one block from our town’s Main Street. The bus stop is literally steps away. There are breweries, the YMCA, shops, restaurants, salons, florists, candy/coffee shop, holiday parades and festivals within walking distance. So fun! If renovation from blah to ahhhhh is your thing, stay tuned!

So subscribe and be reminded of updates as the renovations progress! I’ll share before and after photos, projects underway and updates, plans and design boards, sources and links as they relate as well as fun events going on in and around the downtown area. I’ll be using a specific hashtag on social media to keep things all neat and tidy and organized. 

#helloredreno

I welcome your thoughts and ideas! And as always, thanks for your encouragement and support and for sharing in my joy and vision! Watch for #helloredreno !

Project Diary Entry #3 Color Passive Paint

There’s more progress on the studio and the #helloredreno series. I need to get you caught up. I am a big lover of the power of paint. It’s such a game changer and a budget friendly one at that! There are so many possibilities. Dark and moody, fun and colorful, light and airy, neutral and soothing. Do you gravitate towards specific colors?
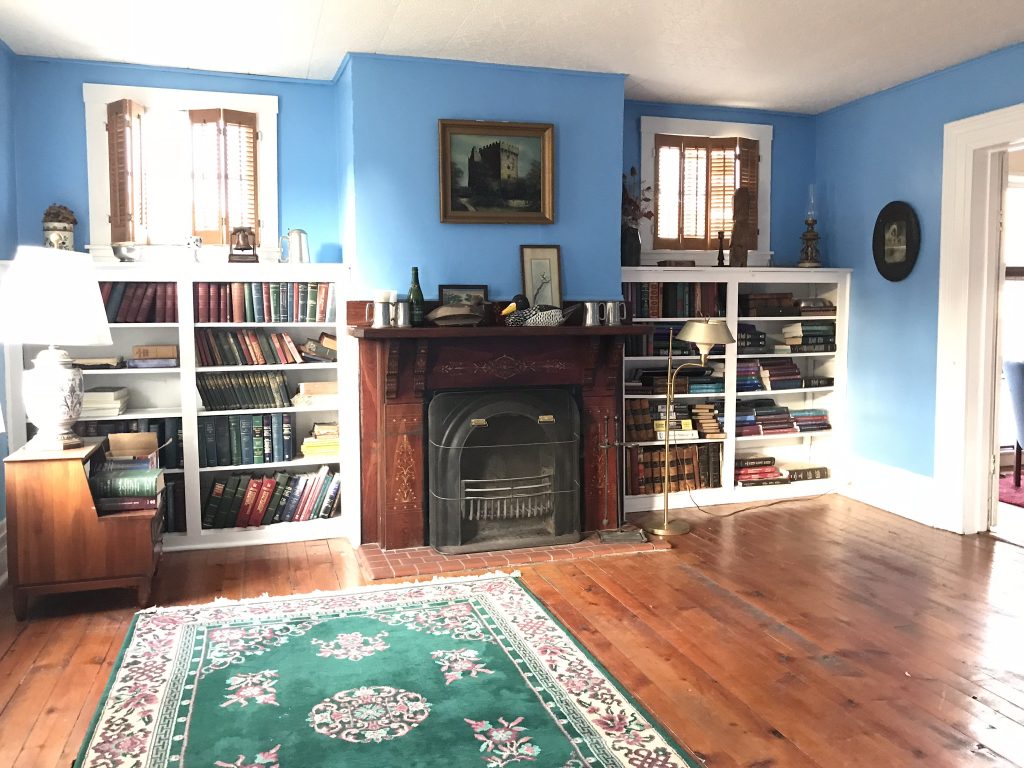
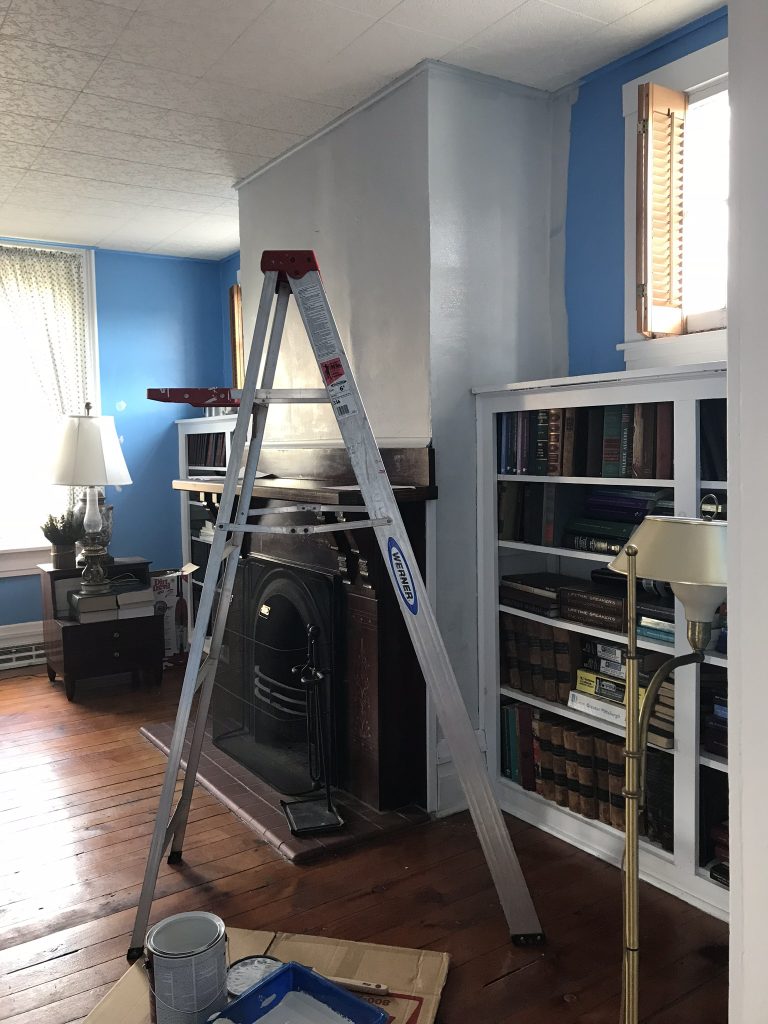
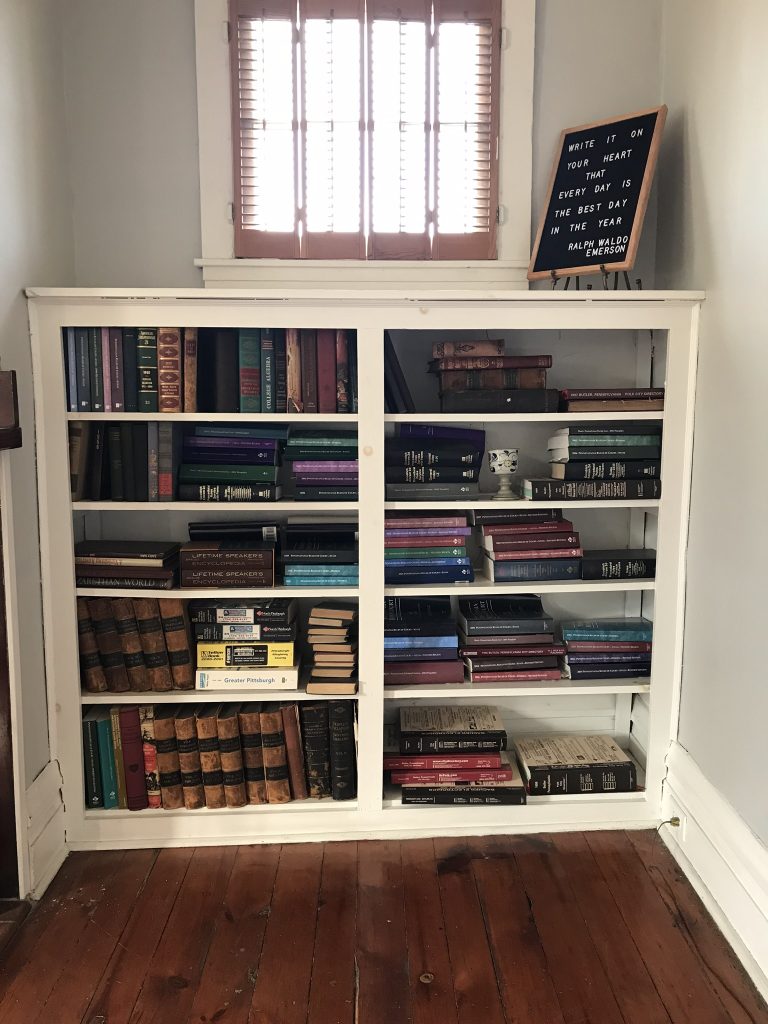
library/meeting room before…

library before

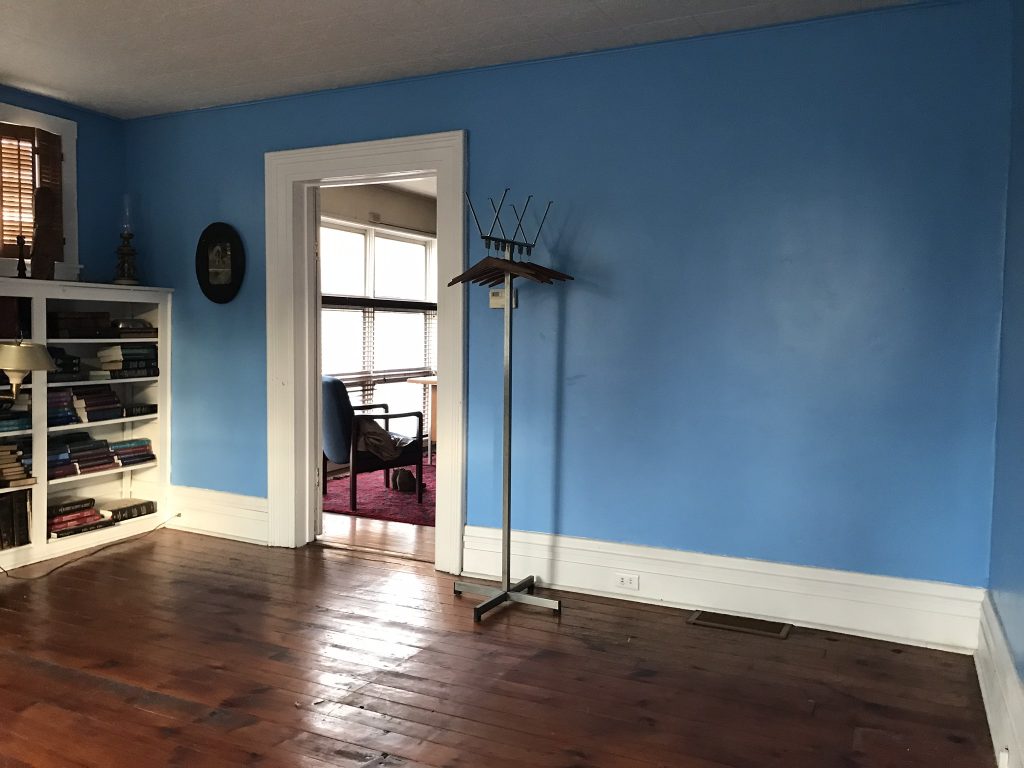
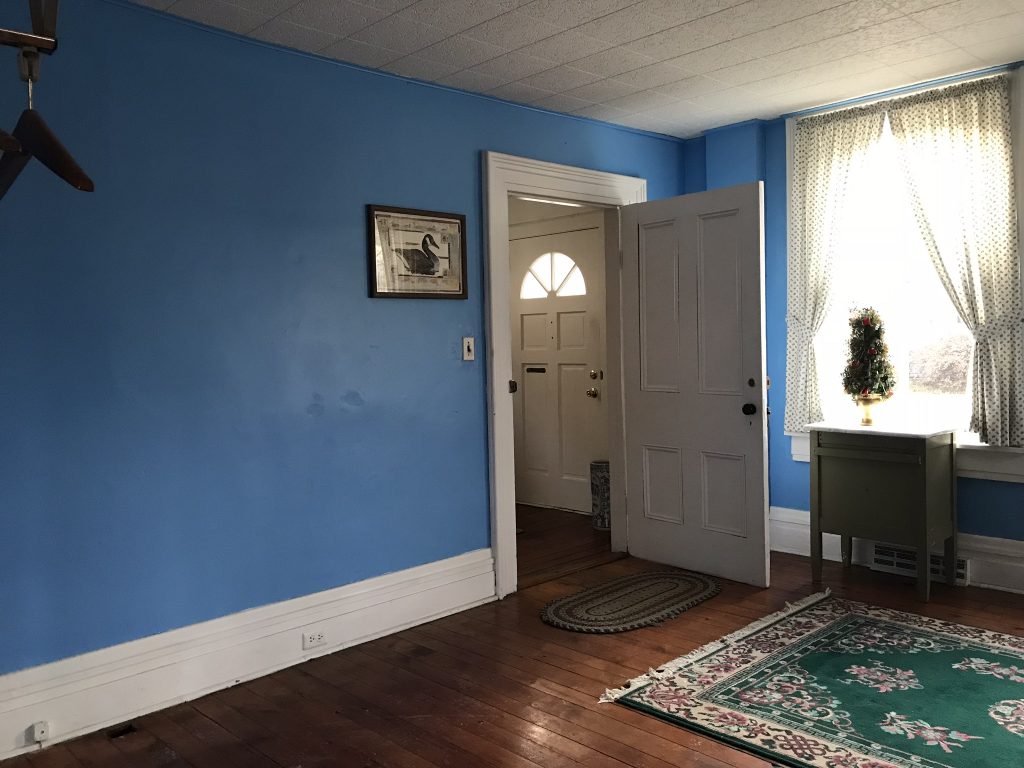
So this room. Oy. The color. Yikes. A bit on the aggressive side if you ask me. lol 

blue room

Blue is one of my favorite colors but this shade is just so very…smurf-y. It’s just not my style. blue wall

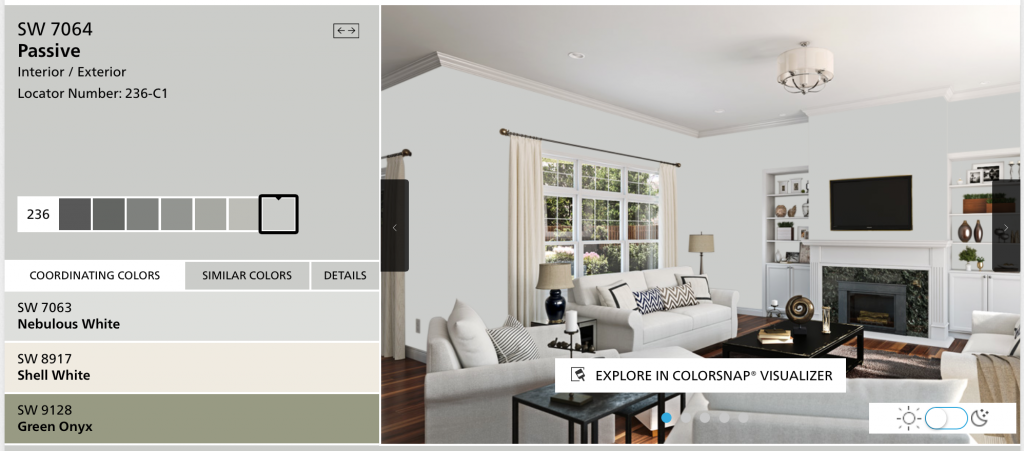
Perhaps that’s why this color called “Passive”, a pretty and neutral shade of gray from {HGTV} Sherwin Williams jumped out at me. I have painted walls in bright shades in the past and I’m a fan of accent walls, but for the most part, I prefer a neutral wall shade. 

Sherwin Williams Passive Paint Color

Because I like to decorate and redecorate so often. I’ve learned that I prefer a neutral back drop so that as my style changes or evolves, I can easily swap out decor and color schemes to fit my fickle choices.HGTV Home Sherwin Williams Passive

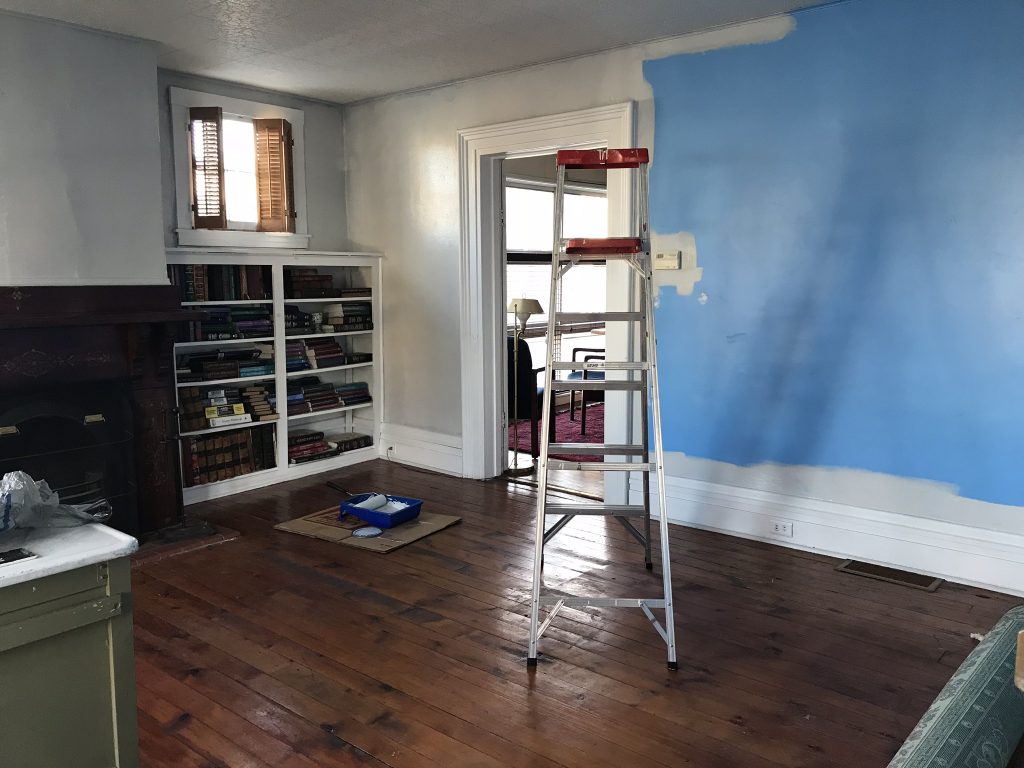
It’s gonna take two coats to cover all of the blue but I’m already feeling soothed! 

paint in progress wall paint

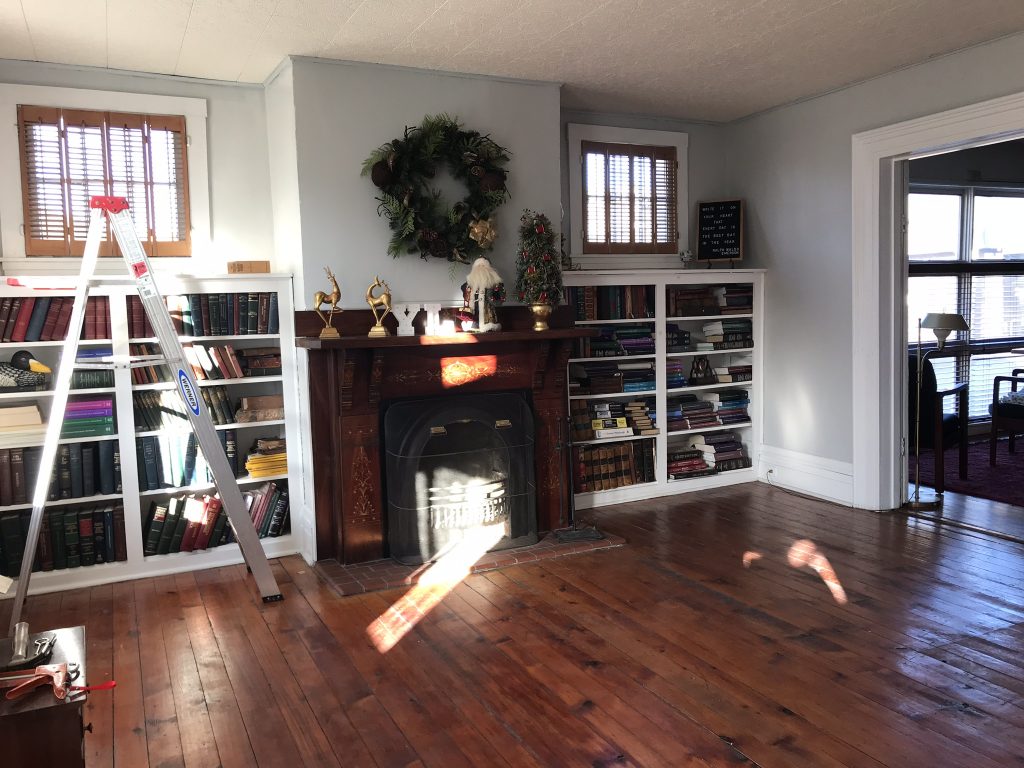
I even put up a few accessories previous owners left behind and what was in my car to help get an idea. Final thoughts? It’s definitely the right color for me. What a difference, right? 

paint after

So pretty! Ugh, this last photo shows just how much work there is to do! I spy a lot of caulking in my near future. And book donating! Stay tuned for a design board and more progress. Follow #helloredreno

helloredreno