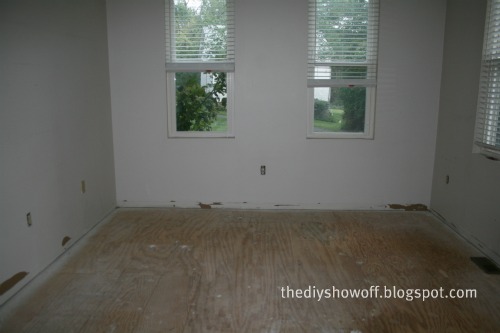
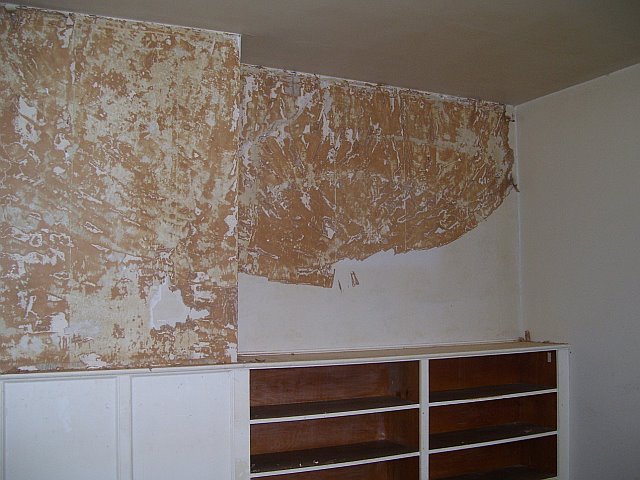
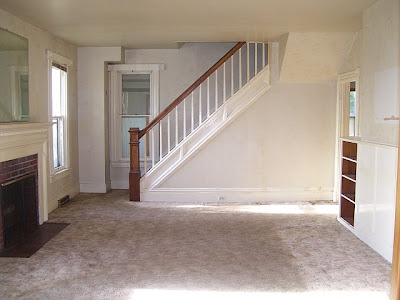
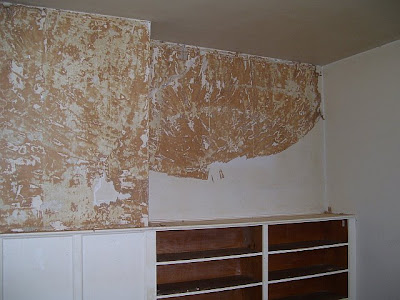
LivingRoom Transformation: Here it is when we bought our home. Before, at time of closing:
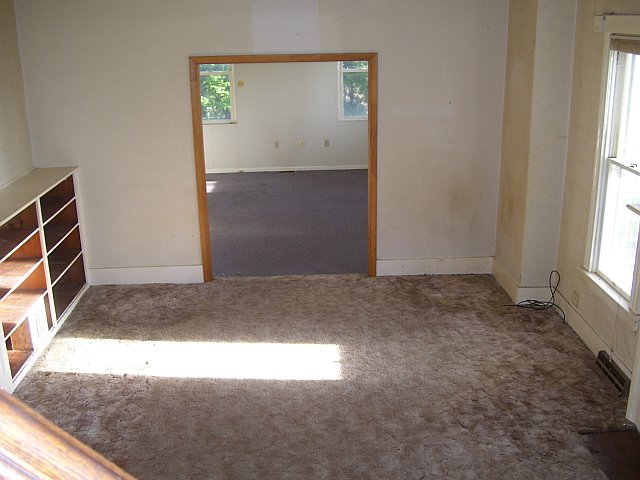
Lots of strange angled corners to work with.

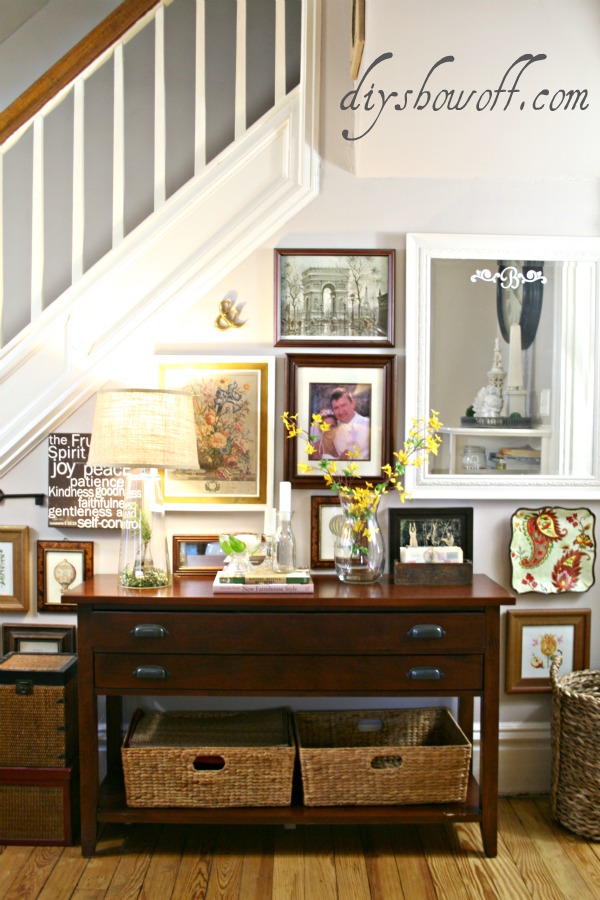
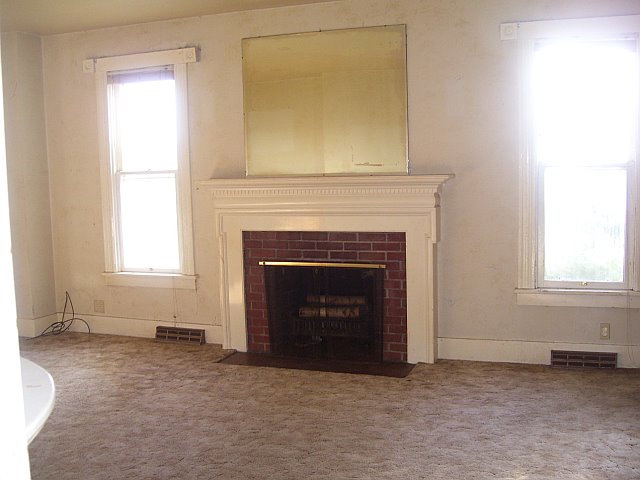
We repurposed this mirror by taking it down and framing it (more details here). It hangs in our back entry way.
The white walls were painted wallpaper. Fun!
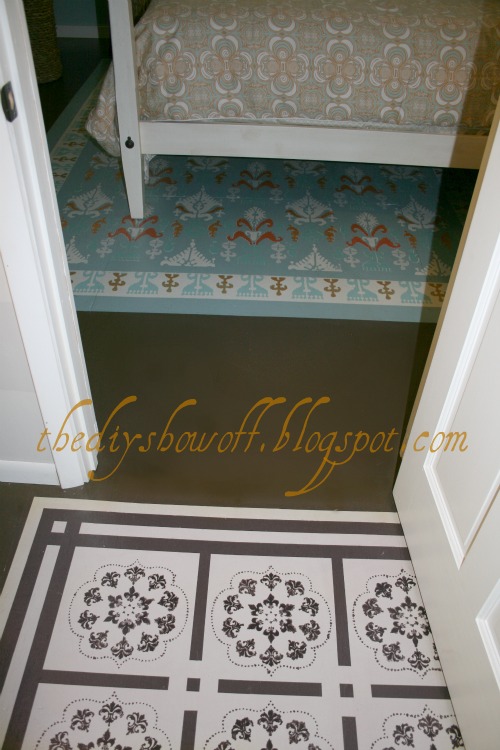
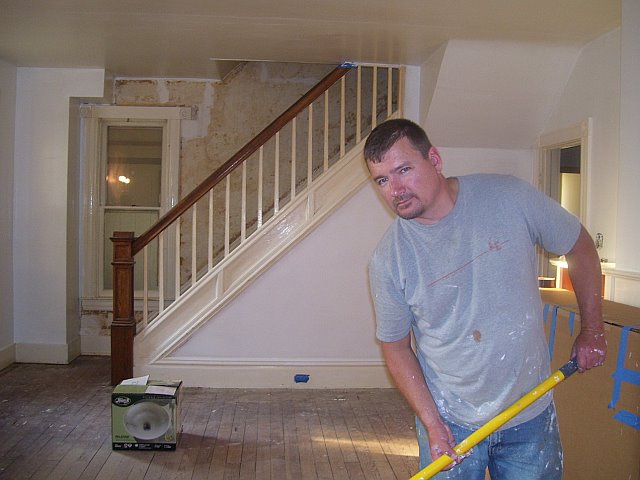
We also tore out the nasty carpet and refinished the wood floors.
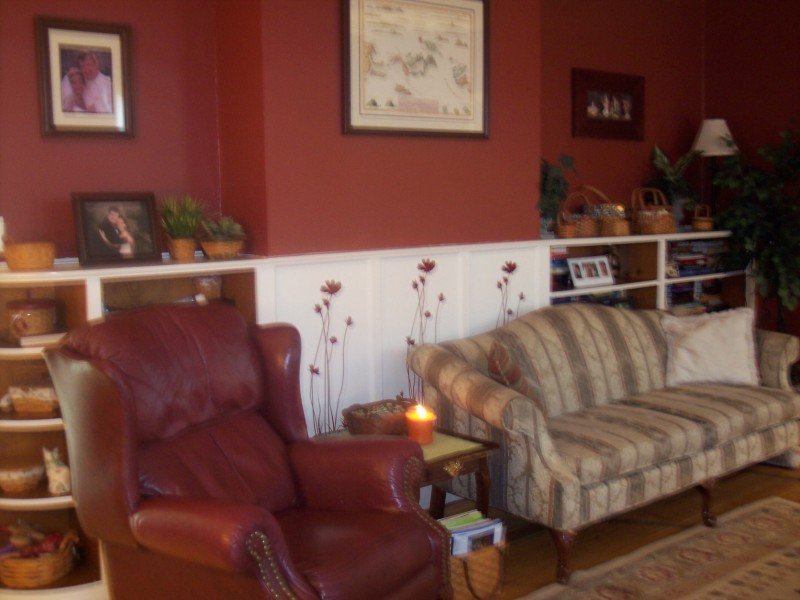
 Then, I always wanted a red room. So – I painted the room red. It wasn’t quite what I pictured but I really loved it for a little bit. Excuse the mess. Some of these I snapped right before I began painting.
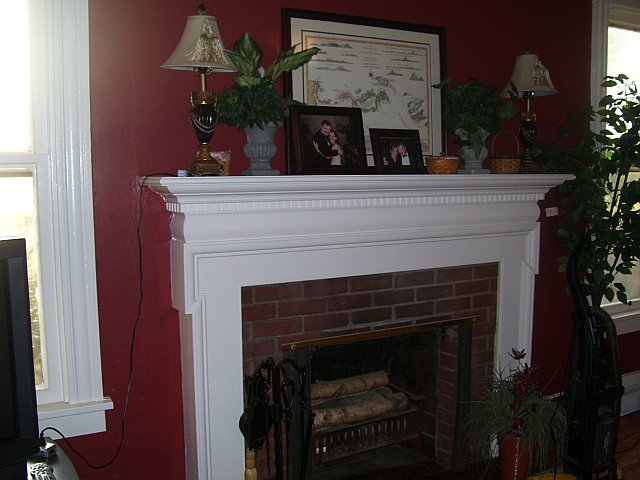
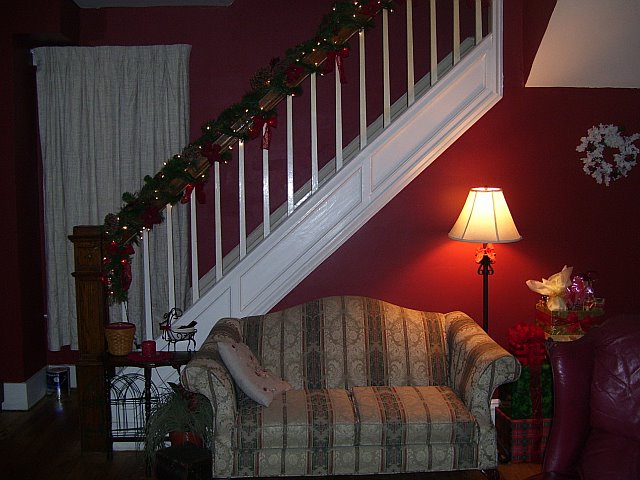
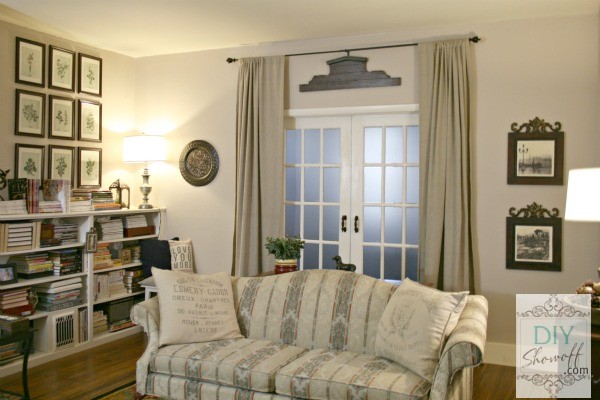
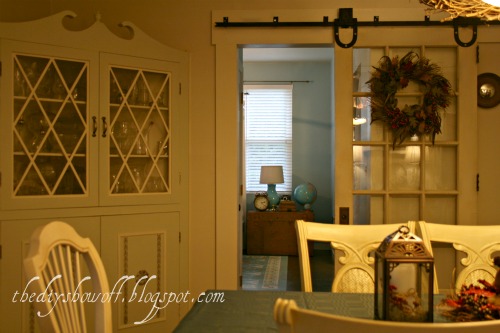
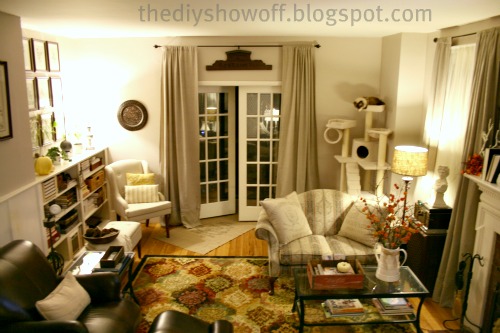
 We installed French doors between the living room and family room.
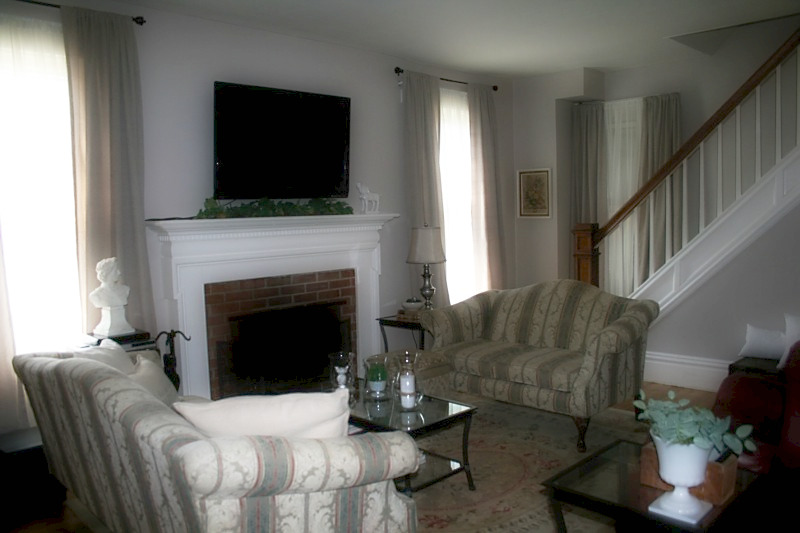
 We mounted the tv above the fireplace…I’m not sure if you can tell, but there aren’t a lot of options (wall 1=staircase, wall 2 = entry to hall and built-in shelving, wall 3 = French doors, wall 4 window/fireplace/window). It’s really not too high for viewing. We’ve adjusted to it being there. Our wood burning fireplace isn’t used at this time (another future project). Since behind the fireplace is a brick chimney and the walls are plaster, I currently hide the wires with garland (upcoming project to build up the fireplace surround will take care of that problem). Brick? Someday we’ll replace it with marble and I got a dirty look when I suggested we paint it. Mr. DIY does not like painted brick.
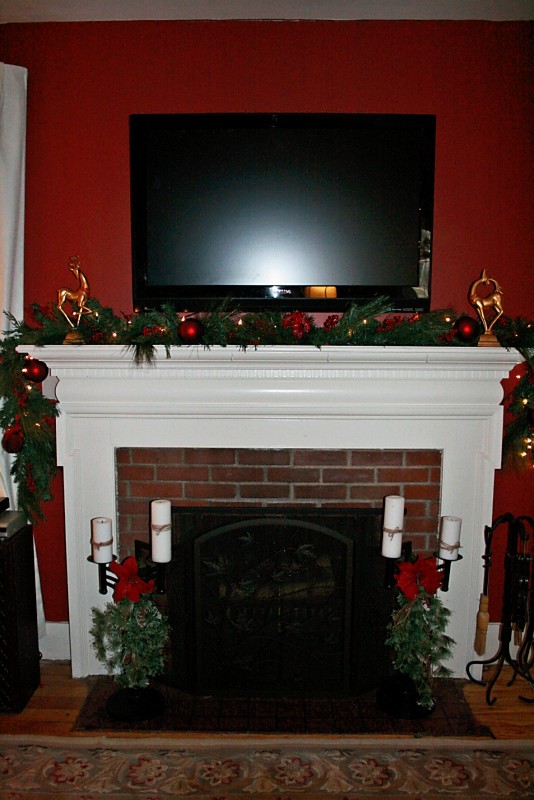
It didn’t take long before I didn’t grew tired of dark red. The room wasn’t getting any light. It just didn’t “feel” like the right color.
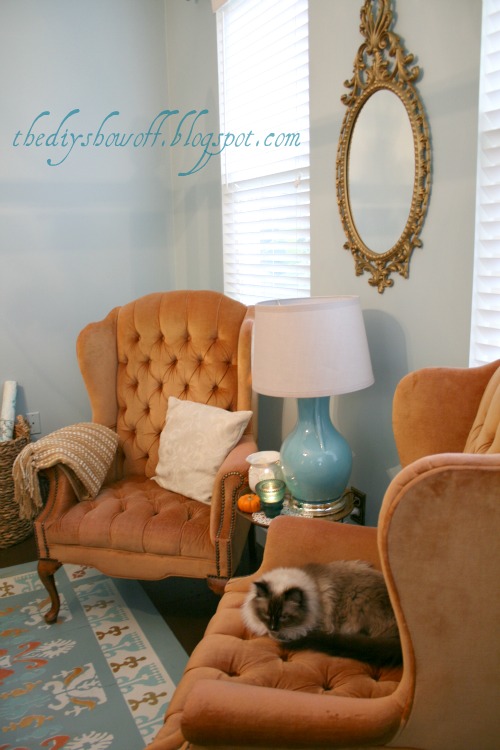
Here it is today:
Color is Benjamin Moore Smoky Taupe. It changes color in different lighting.


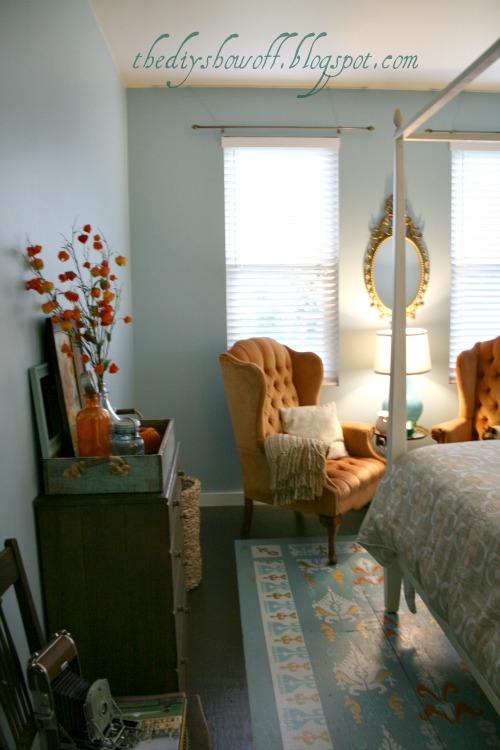
Mr. DIY’s leather chair has been replaced with another leather chaise. Compromise.


Updated pictures below.

My thrift store find – wine corks.

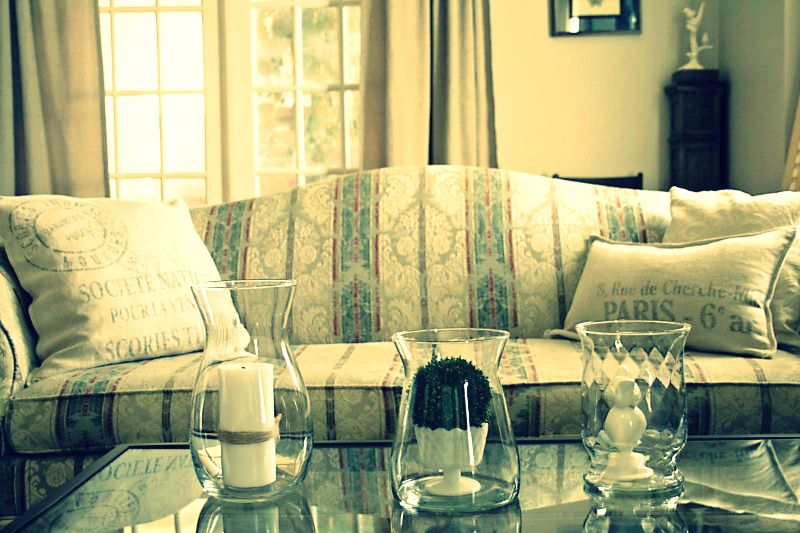
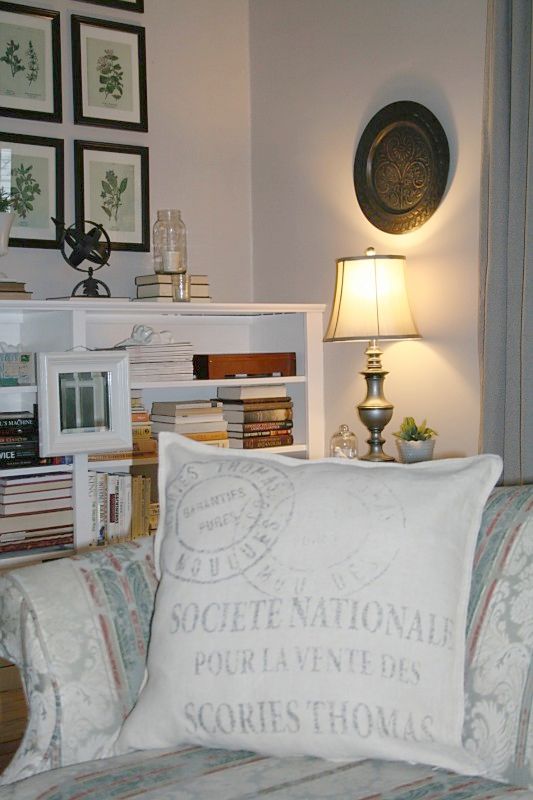
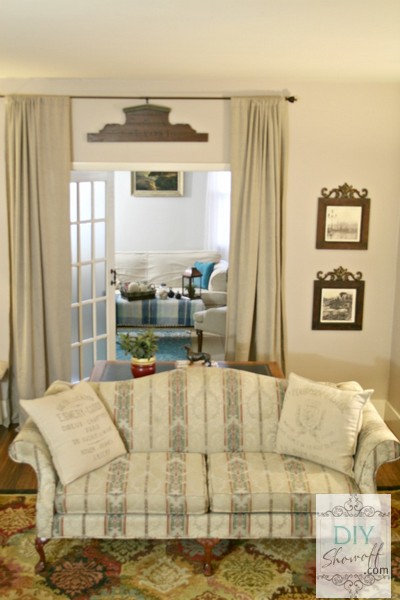
Vintage French linen pillows – Restoration Hardware
French pediment – Ballard (I plan on adding more trim to the French door to fill in the gap)
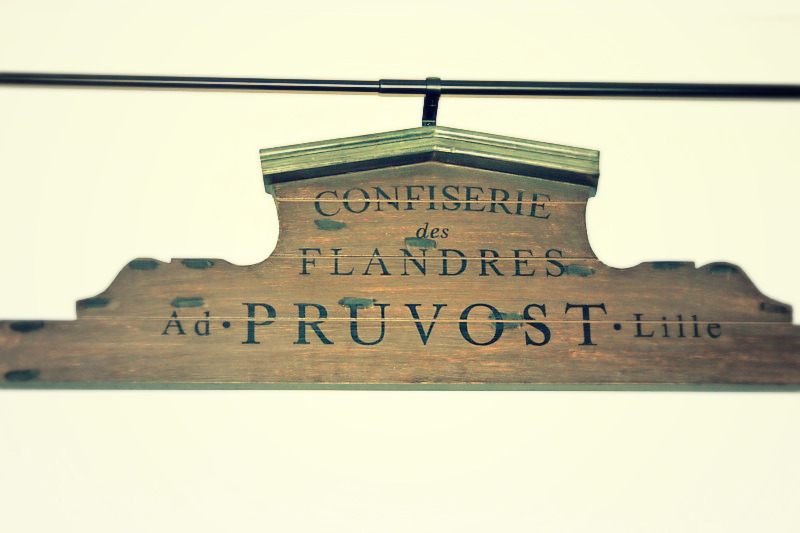
It’s weathered and says “Flanders Sweet Shop”
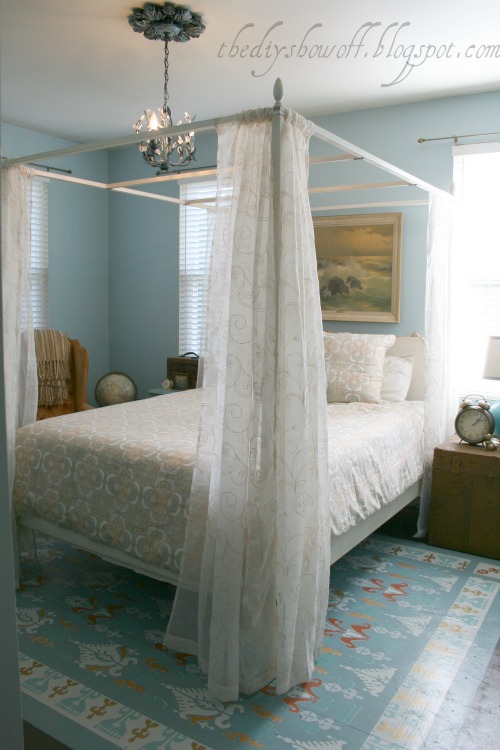
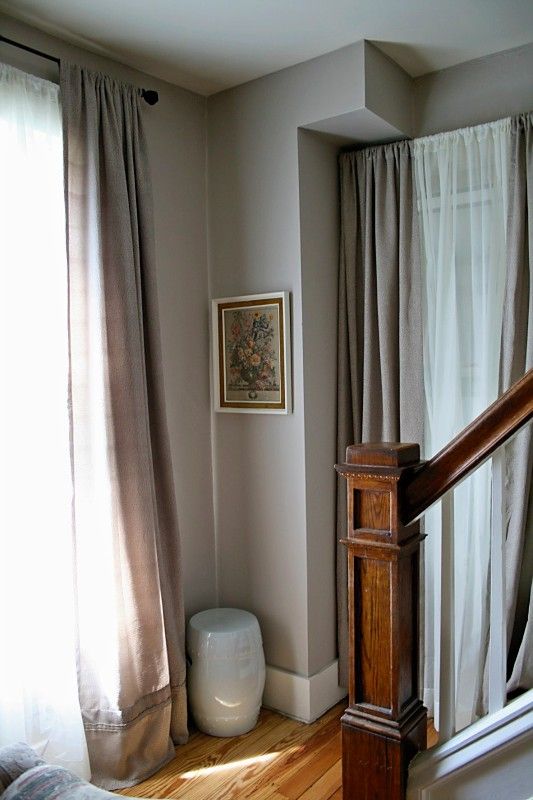
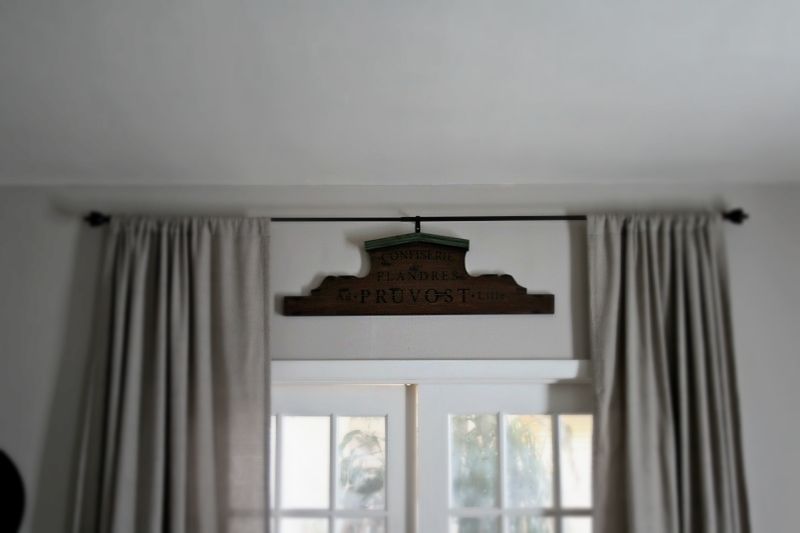 Drapery is from Target and Ebay. I ordered an extra panel to lengthen them. I love them framing the French doors.
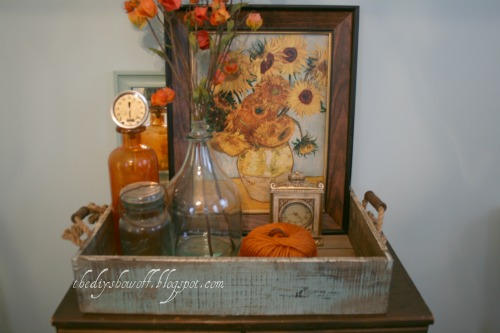
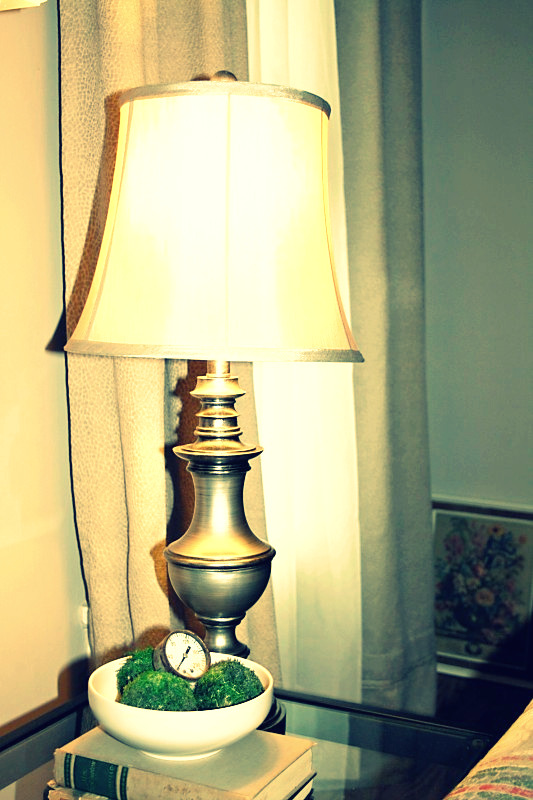
I scored a bunch of vintage boxes and crates at an estate sale (3 are the same found at Pottery Barn for $24. I paid $8 ea!). This little box holds the remote controls.


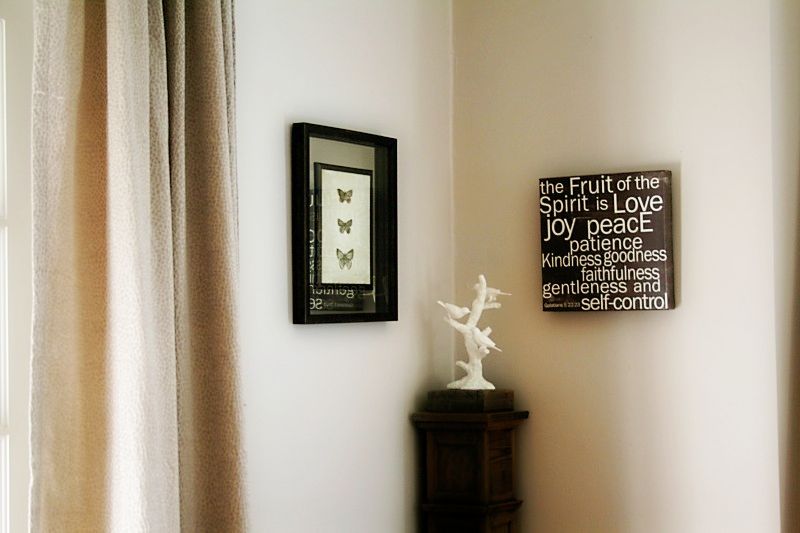
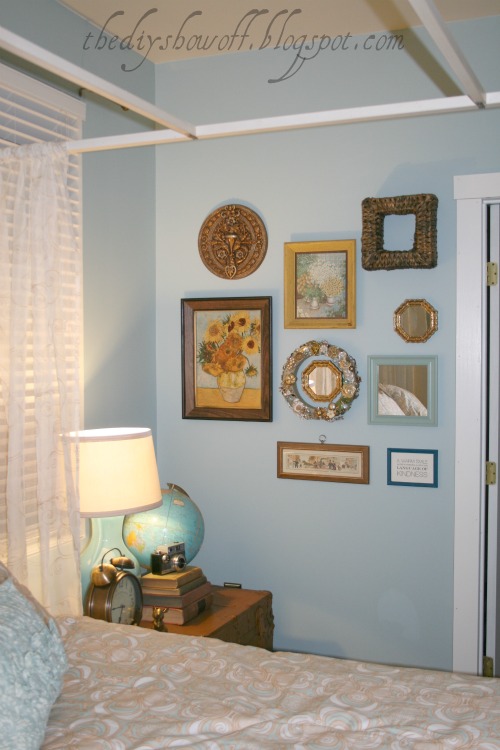
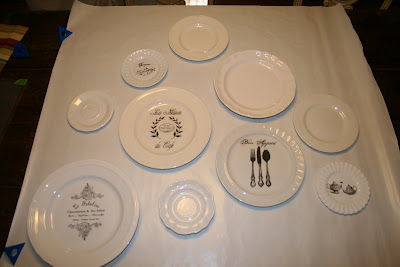
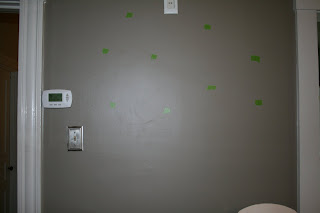
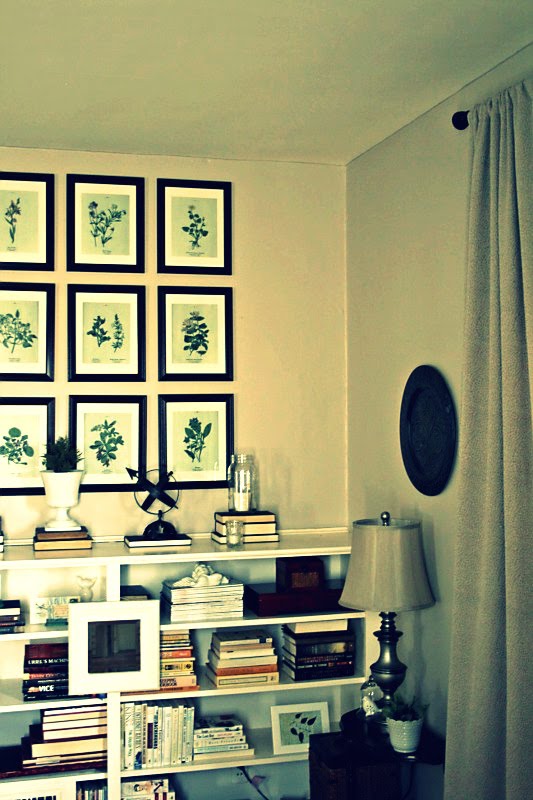
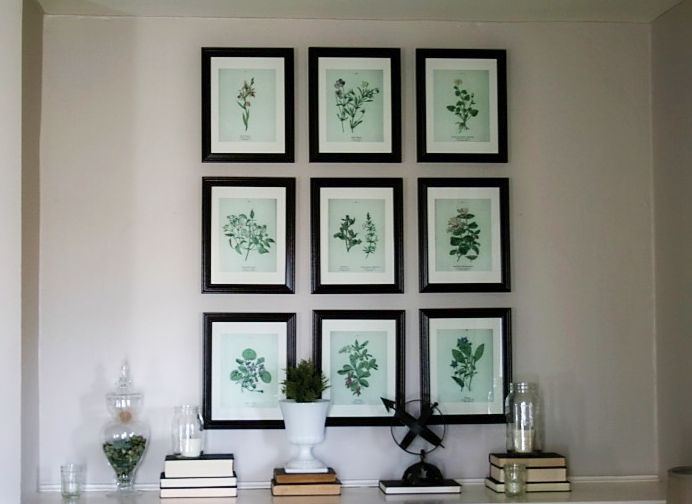
Wall art from vintageprintables.com. Tips for hanging a wall gallery.
My style? You’ll see that I have a bit of interior design ADD. French, vintage, traditional, farmhouse and so on but the thing I love about designing my own space is that I can decorate with things I love and I don’t have to follow any rules. And we’re obviously not minimalists. It’s for us, not for a decorating magazine, right? We love how much taller and bigger the room looks and our mix of decorating styles works for us. I’d love new furniture but it’s not in the budget and this set from the 90s is in excellent shape. It works for now.
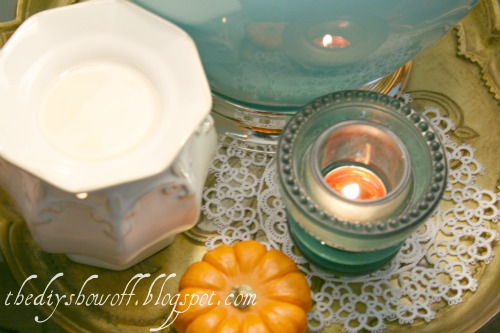
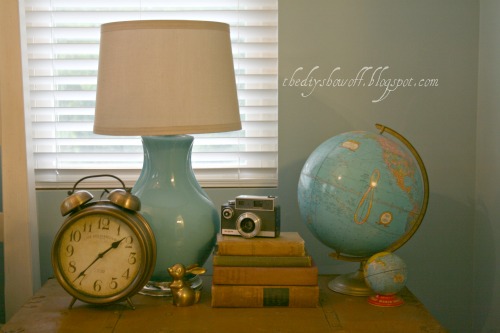
A few updated photos/fall decorated…
A few updated photos/fall decorated…


before
after


before

after
before
AFTER


What do you think?