Meet: Kate from Kate & Kuby. Kate is a DIY’er with a recently new-to-her home and a goal to decorate the entire house (including nursery) before the arrival of their sweet little bundle of joy in October – all on a small budget. She’s been doing an amazing job. Her favorite project so far (and mine too) is her DIY chicken wire wall…

Materials:
- Chicken Wire
- Staple Gun

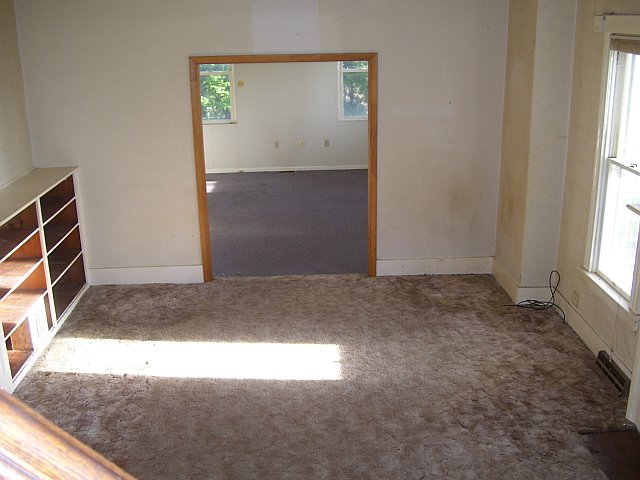
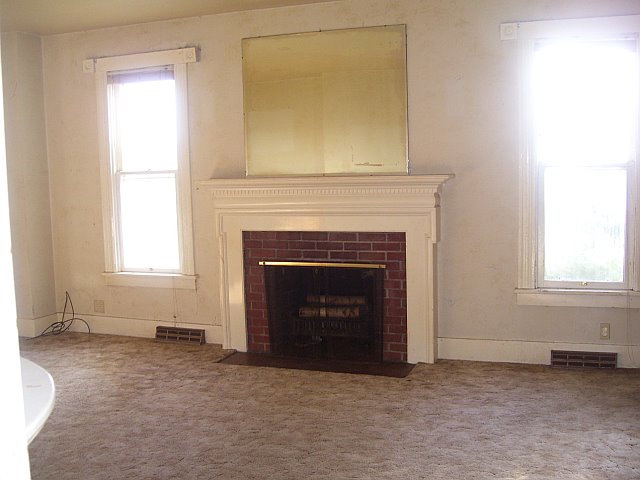
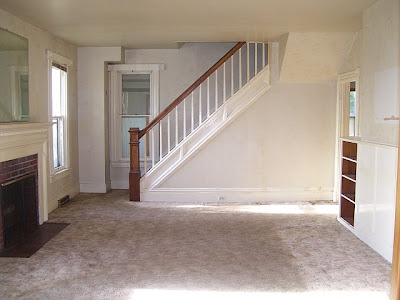
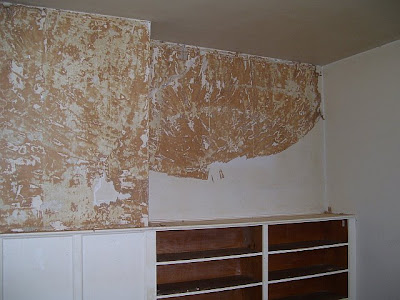
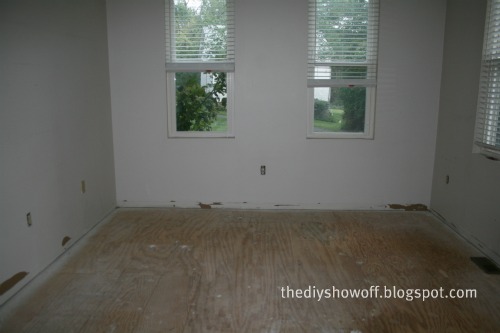
Wall before:

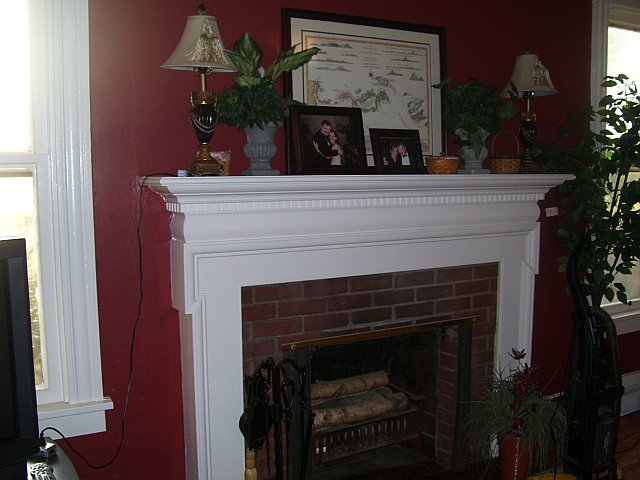
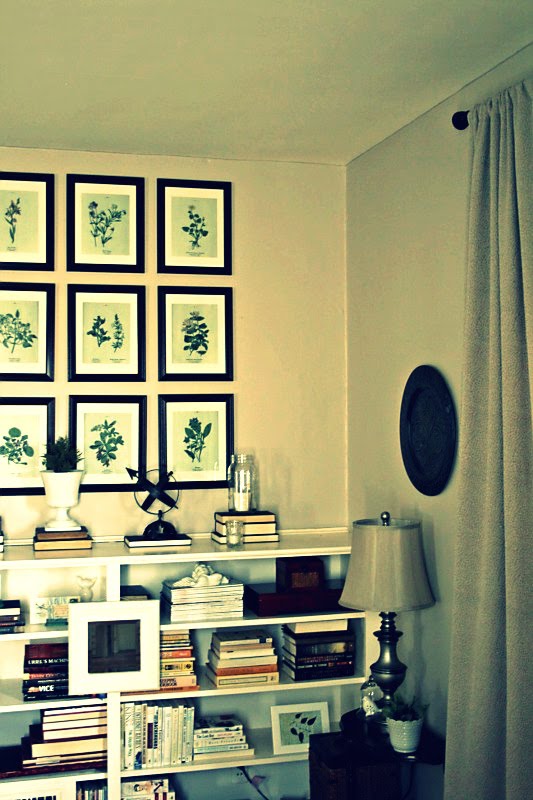
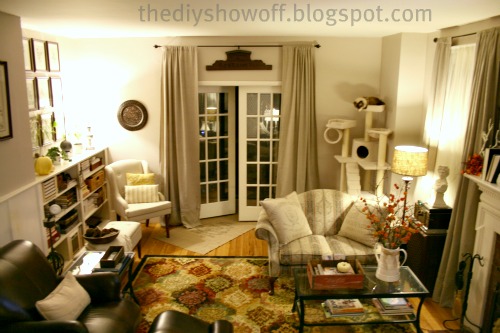
Chicken wire wall after:

Genius! Now it’s a reusable gallery wall!

Total cost $25. Easy and affordable. I love the look. I love it’s functionality. See the full post at Kate & Kuby – DIY Chicken Wire Wall.
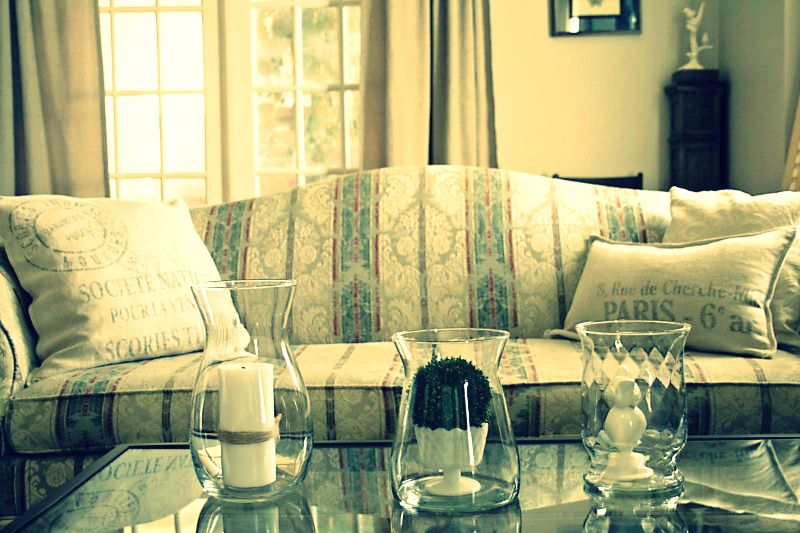
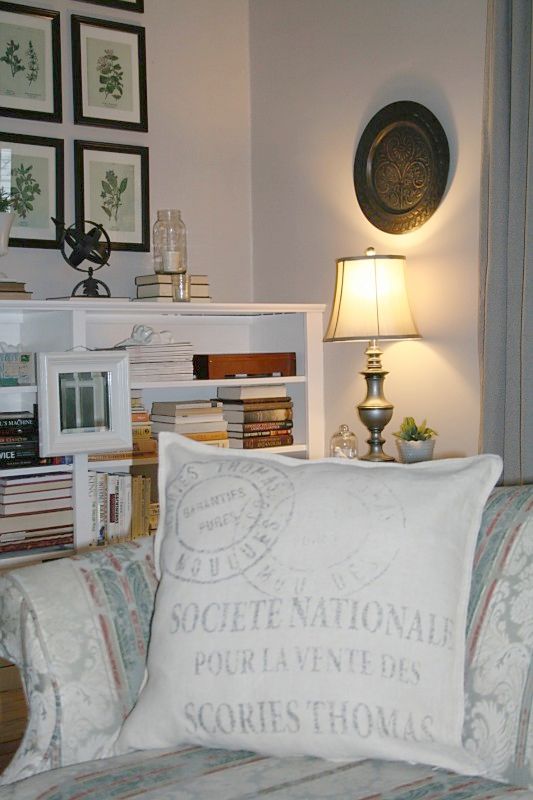
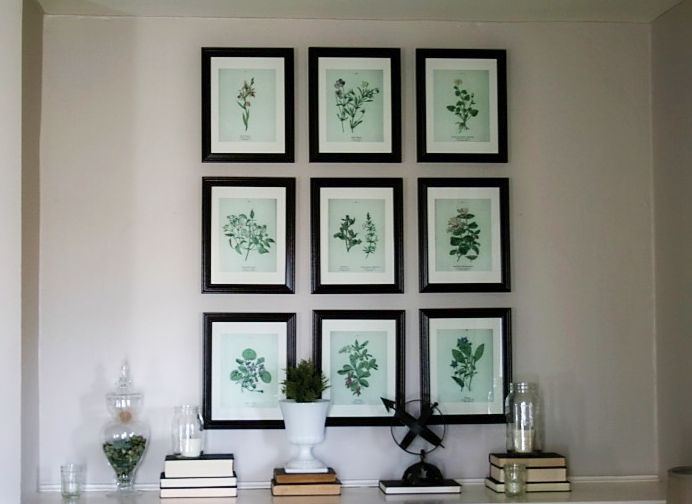
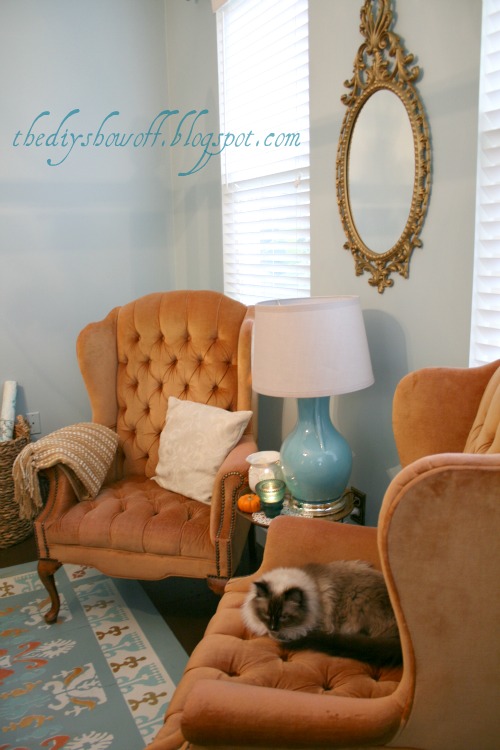
Here is a sneak peek of a few more fun DIY from Kate:


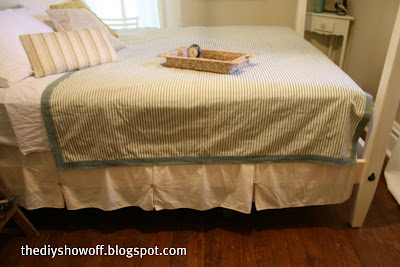
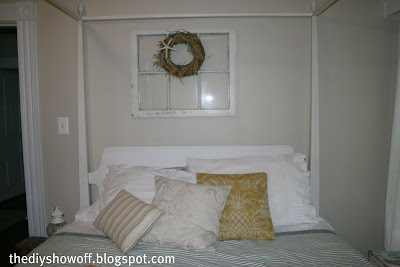
DIY newspaper trashcan makeover