Decision time:
To be honest, it took me a little while to warm up to the idea of being a swimming pool owner. I knew they came with a hefty price tag and require maintenance. However, after looking at options, my Mr. DIY’s ability to influence and inspire me to get on board (thanks, honey!), our daydreams and designs, I quickly got on board with visions of family fun and pool parties and changing up our outdoor living spaces.
Add to that, a future son-in-law who’s family is in the pool business. We thank you, Steve at Country Pools and Spas! I am so grateful for his patience, reassurance, and answers to probably way too many texts!
I’ve never owned a swimming pool and didn’t grow up with one so I didn’t know what to expect. It seemed overwhelming and very involved for someone who has no clue. But when all is said and done, I feel like most of our choices made for an easier experience over the long term. We’ve spent more time together. We enjoy using it for relaxing. Crank up the heat and we enjoy it as therapy!
Our pool install story:
If you’re like me with no idea what it all means, you may have a better idea going in. I’ve included a few affiliate links for some of our favorite finds too. Let’s go.
(Of course, this is just me reporting all that I witnessed at this point, my words on the process…not meant for a tutorial or instructions. I’m no expert! Your experience may be completely different!)
Time frame:
When the company says they can install in 1 day…that doesn’t mean you have a completed finished ‘Better Homes & Gardens’ magazine worthy swimming pool and backyard oasis the next day, week or even month. Get four months into your head to be on the safe side.
You will preferably want to decide the year before installation to get on the schedule. Because we’re practically family, we were able to be squeezed in but that’s not always the case. Most likely, the pool company you choose is already scheduling into next year (western PA outdoor construction season is shorter than warmer climates).
Budget:
It’s probably different when it comes to cost too. There may not be one price that’s all inclusive. There may be a few areas you’ll want to consider in your total budget. Here is a collection of where a budget was required in our experience:
- Permit
- Pool itself (included pool, excavating/transport/crane, basic equipment)
- Add ons/accessories – heater, salt system, lights, solar or auto cover, winter cover
- Fencing or auto-cover
- Electrical
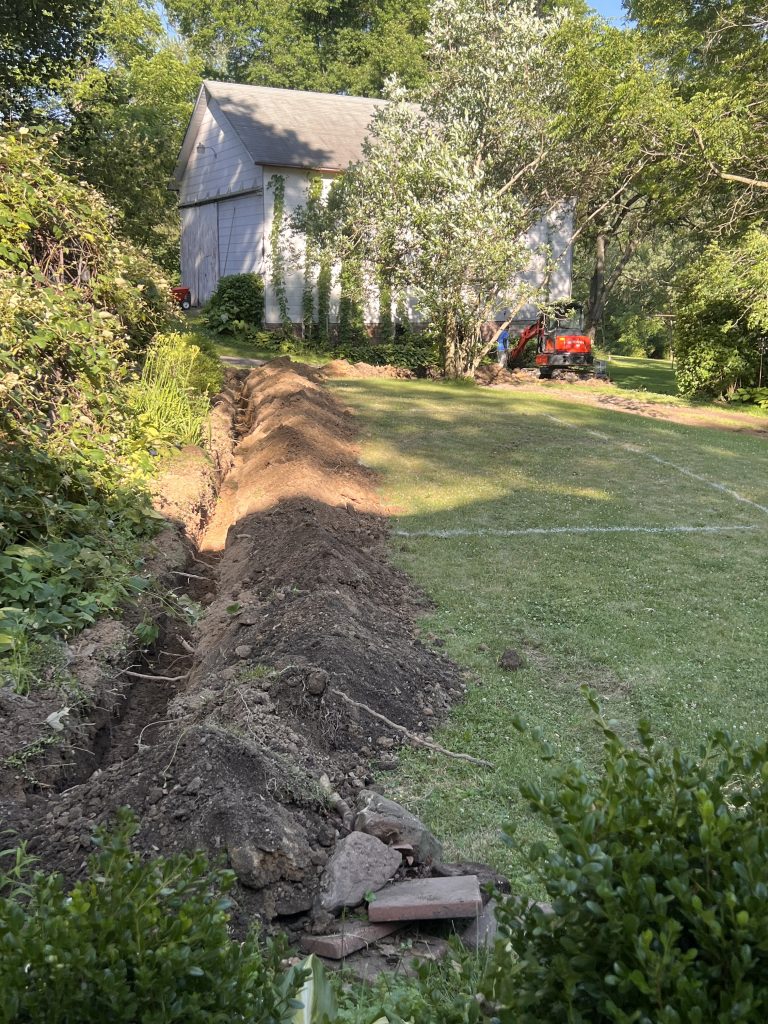
- Gas line for heater if needed (our gas meter was at the front of the house, so they had to dig a trench/run the line from front yard to back yard)
- Tree branch trimming if required
- Water (our pool size took 1 tanker truck + additional from our outside hose)
- Concrete company (additional fee for a pump truck)
- Landscaping
- Pool accessories (spot vacuum or robot, etc.)
- Lighting for backyard
- Shed (you may want to house in your pool equipment and create storage for pool accessories and pool floats and toys
Permit:
Check with your local area. Our township requires a pool permit in advance. This was our responsibility. The process was pretty easy – fill out a form, draw up a sketch, have the pool company fill out a portion of it and submit for review. Then throughout the installation process, keeping the permit officer in the loop to inspect things along the way (electrical). Our township also requires a fence or a locking auto-cover for safety. We chose an auto-cover to avoid blocking backyard views.
Pool options:
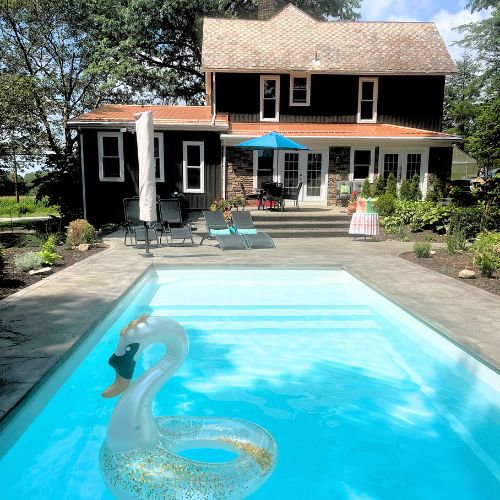
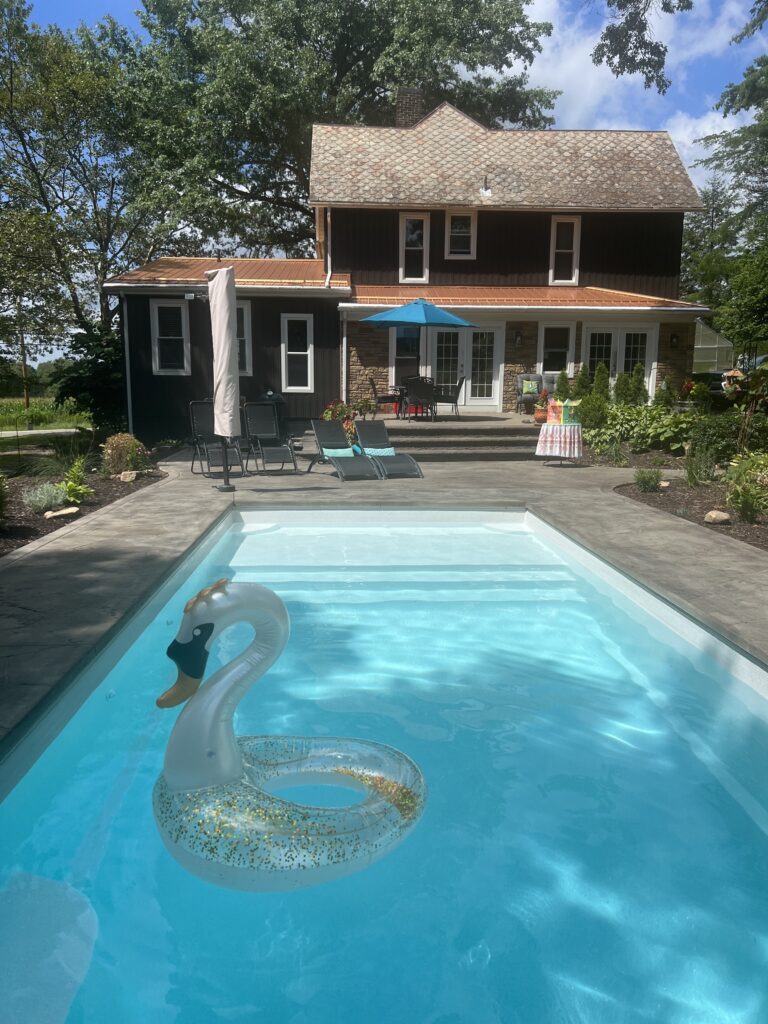
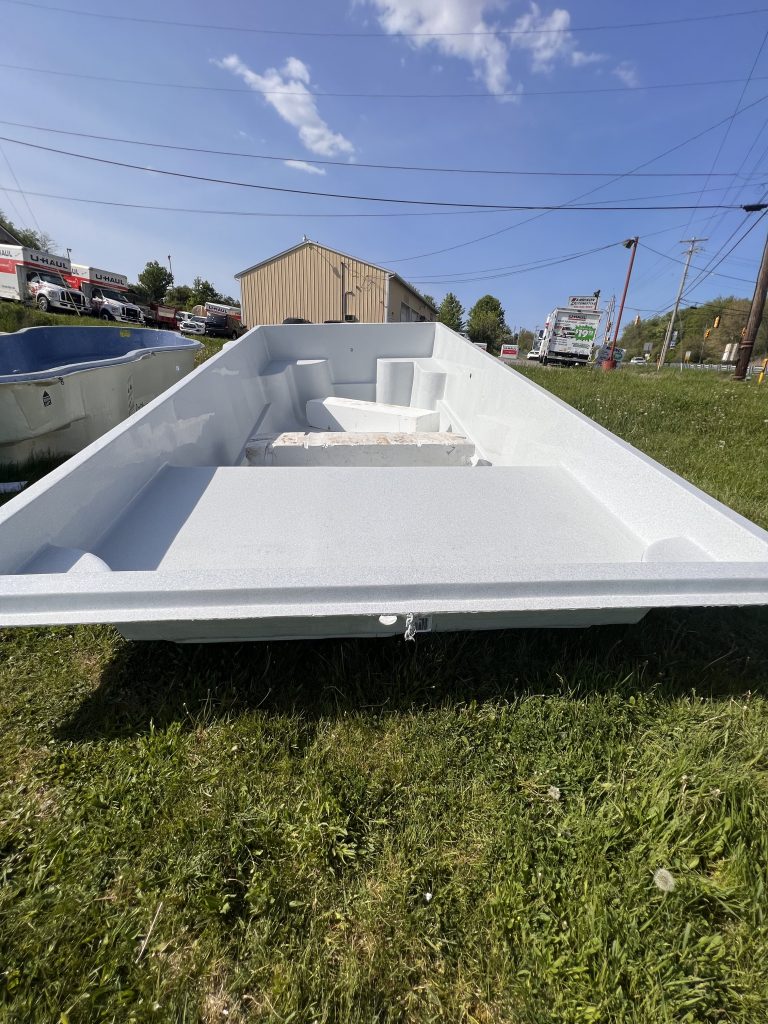
We had two choices, a steel walled pool with a liner or a fiberglass shell. We preferred the low maintenance and durability of fiberglass. It costs a little more but we weighed the slight increase in price against the maintenance of replacing liners, etc. Fortunately, Country Pools and Spas had several in stock and once we saw the beautiful sparkly pearl white finish on one in just the right size, I fell in love. A sun deck, stairs and swim up seats. A sparkly shimmery glitter finish (it’s gorgeous in the sunshine!).
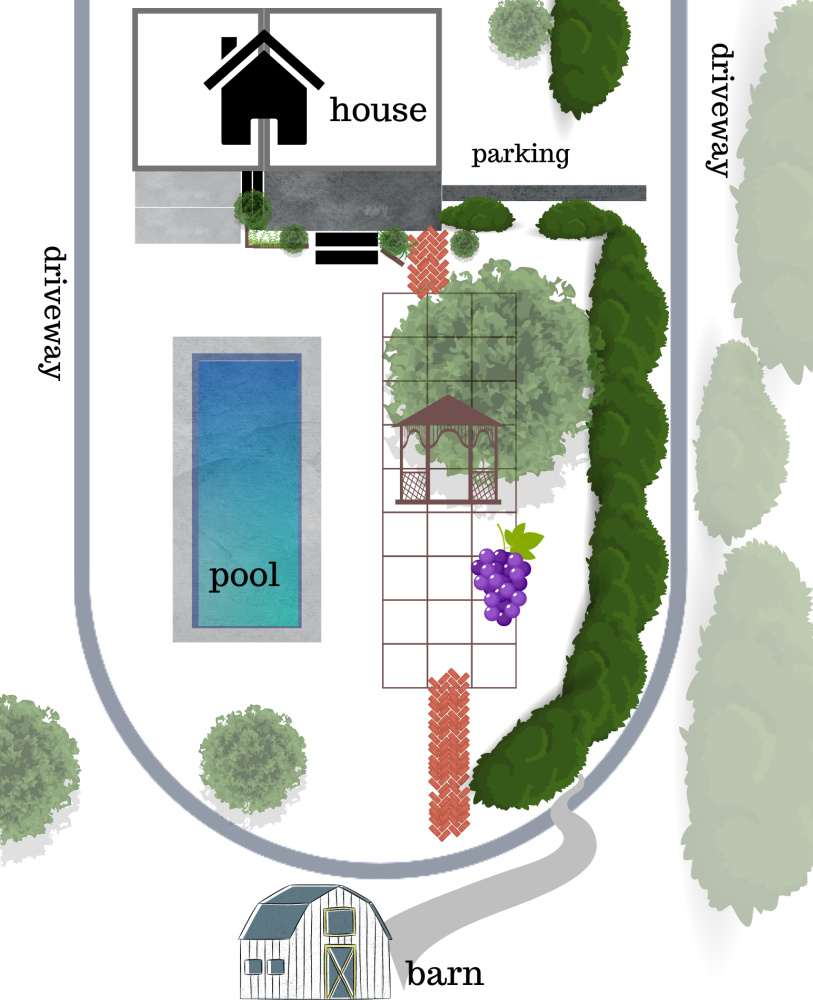
We went with a 12×25 for our backyard spot. We considered that most of the time, it would only be the two of us, plus our grandsons. And if entertaining with a larger group, that mostly likely all guests wouldn’t be in at the same time. After the fact, there’s been plenty of room for us, guests and family.
Size and placement:
12 x 25 also fit our space best. Remember to consider pool decking and patio will fill the yard too. Once we decided the best location in our backyard, we had a few things to take care of in advance to prepare.
Preparation:
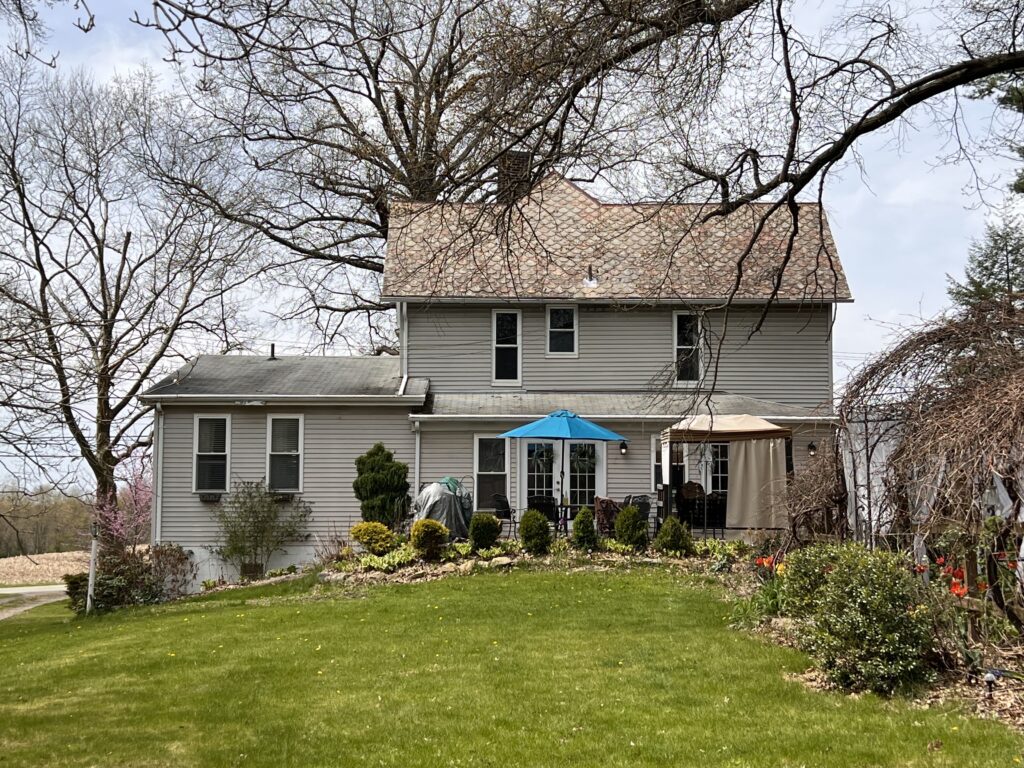
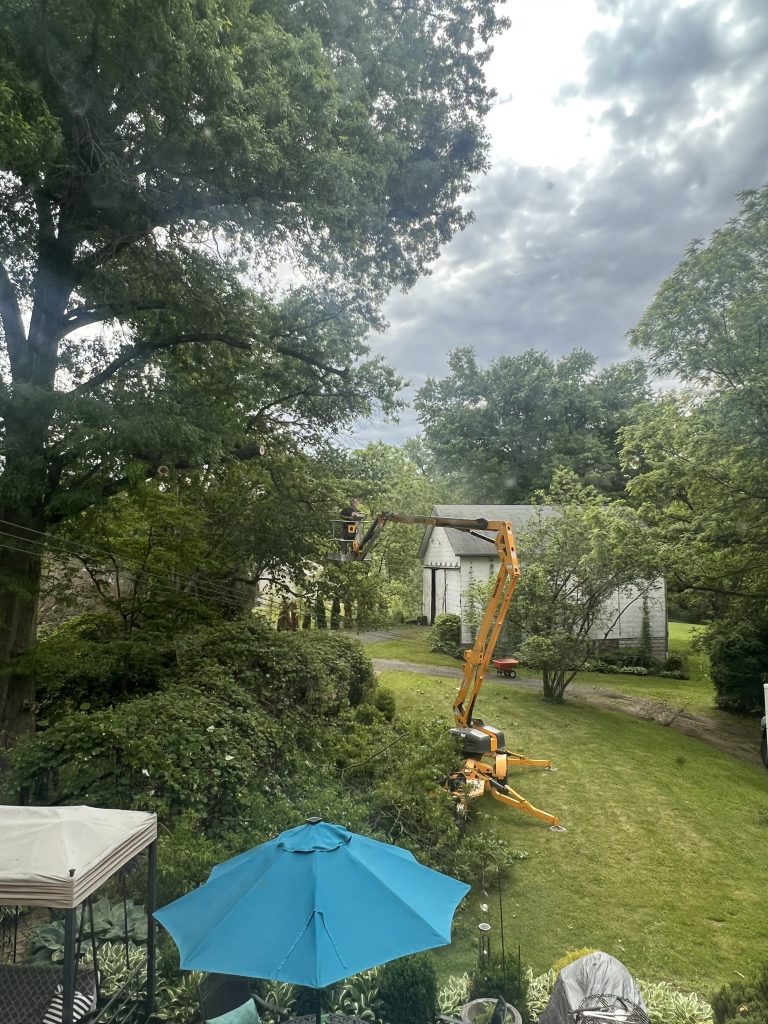
For us that included tree trimming. We have a huge oak tree with branches extending over top of the backyard where the pool was going in and had to have them cut back. This required renting a lift as well as paying someone with some experience recommended by the pool company. I recommend calling a tree trimming service directly. We didn’t know. So I believe we paid more than what directly contacting a service would have been.
Overhead wires from our house to our barn were in a path hanging above the pool area. This required hiring an electrician to run wiring underground. Speaking of electricity, he was also the one we paid to run wiring and plumbing to the pool and pool equipment including the pool pump, lighting, sump pump, switch for our auto-cover.
Add ons:
In addition to the fiberglass shell and pool auto-cover, we opted for a gas heater and salt system. We’re located in PA, so a heater is a luxury I didn’t want to go without. And once we had our “pool school”, the salt system has proven to be an awesome low maintenance chemical free option. We recommend it! We also added two lights to the pool. (Pssst. It’s October and yes, we’ve tested that heater! Worth every single penny!)
In-ground Swimming Pool installation:
After those things were decided and underway, the pool company scheduled and performed the excavation. Amazing how fast they can dig a giant hole!
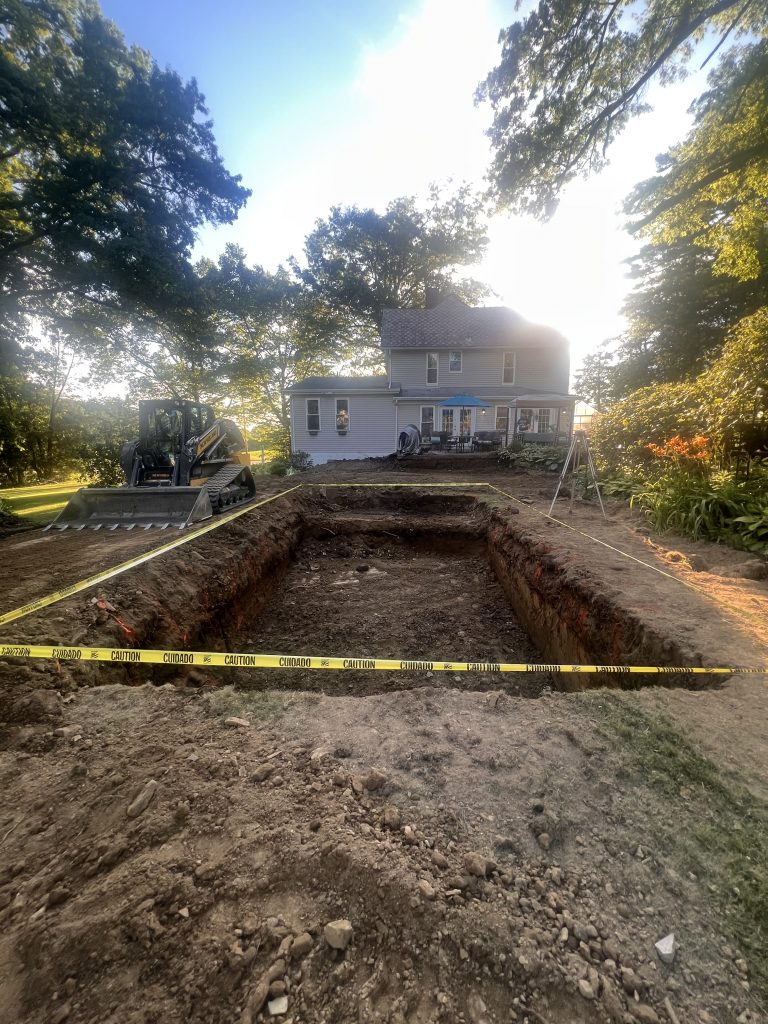
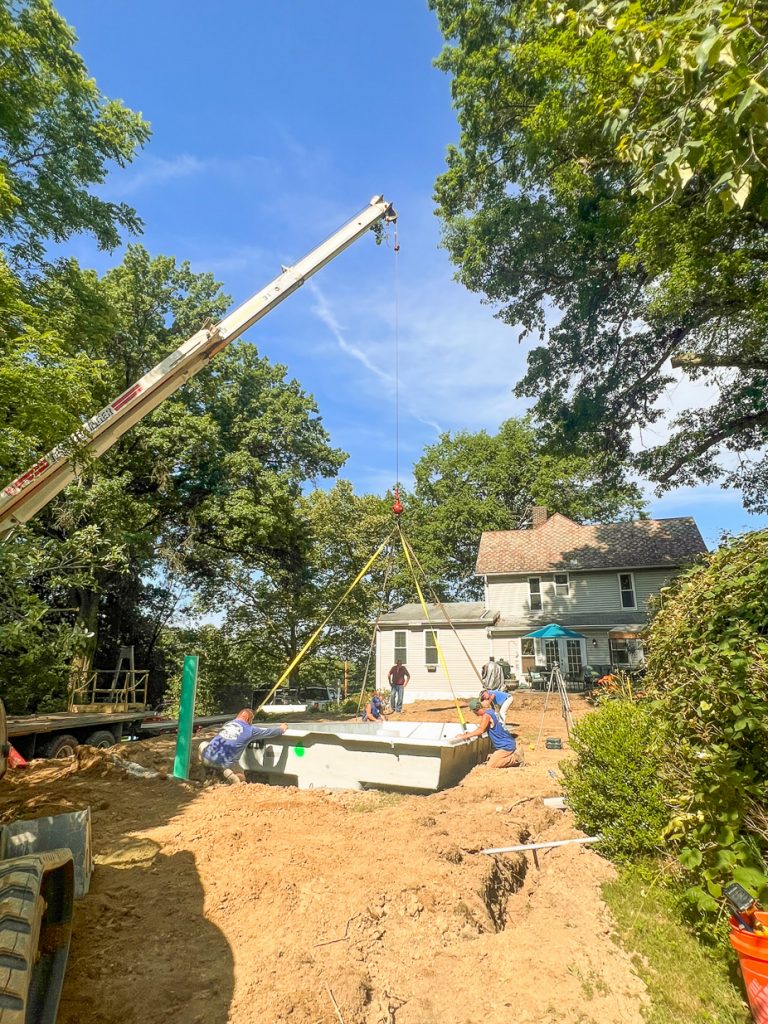
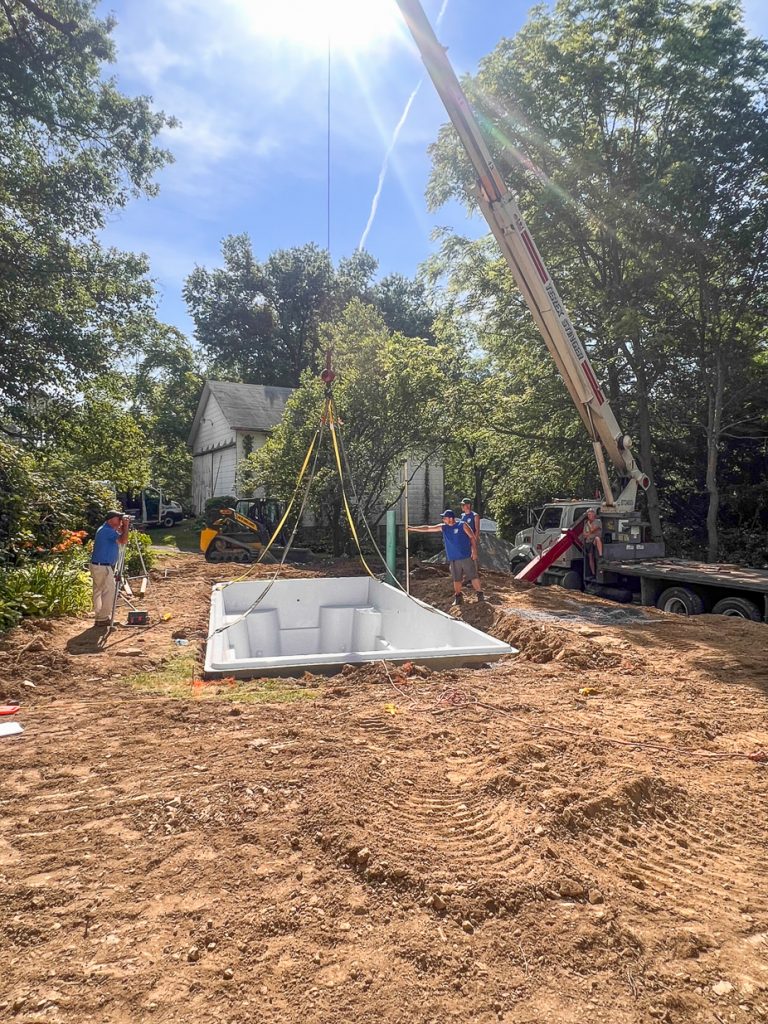
Once the excavation was done, they had a load of gravel delivered, a crane showed up, the fiberglass shell arrived on a flatbed (they scheduled these things and acquired the transportation permit).
They added the gravel and made sure the spot was level. They lifted and put the pool in place (on the first try…mentioned that’s rare). They then connected the plumbing and lighting and wiring for the pool pump/filter and heater. Next they backfilled with gravel and placed ground wiring too.
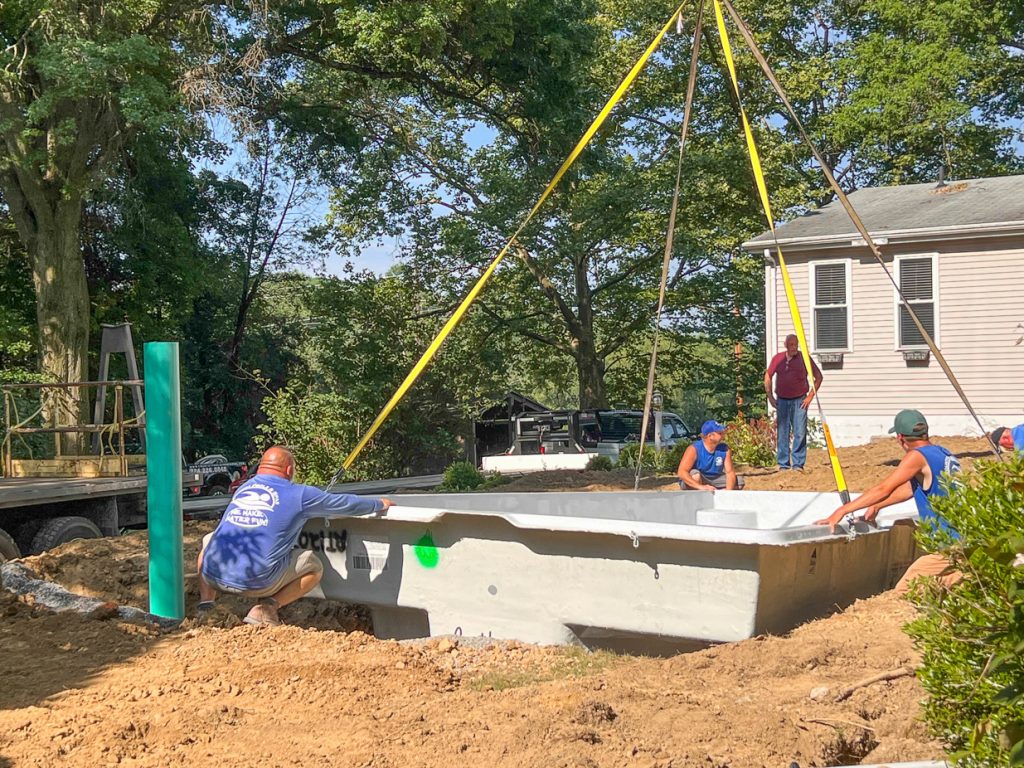
Then the water arrived! Our pool took one truckload + some additional from the hose/our outdoor water spigot. I keep meaning to look at our paperwork for how many gallons.
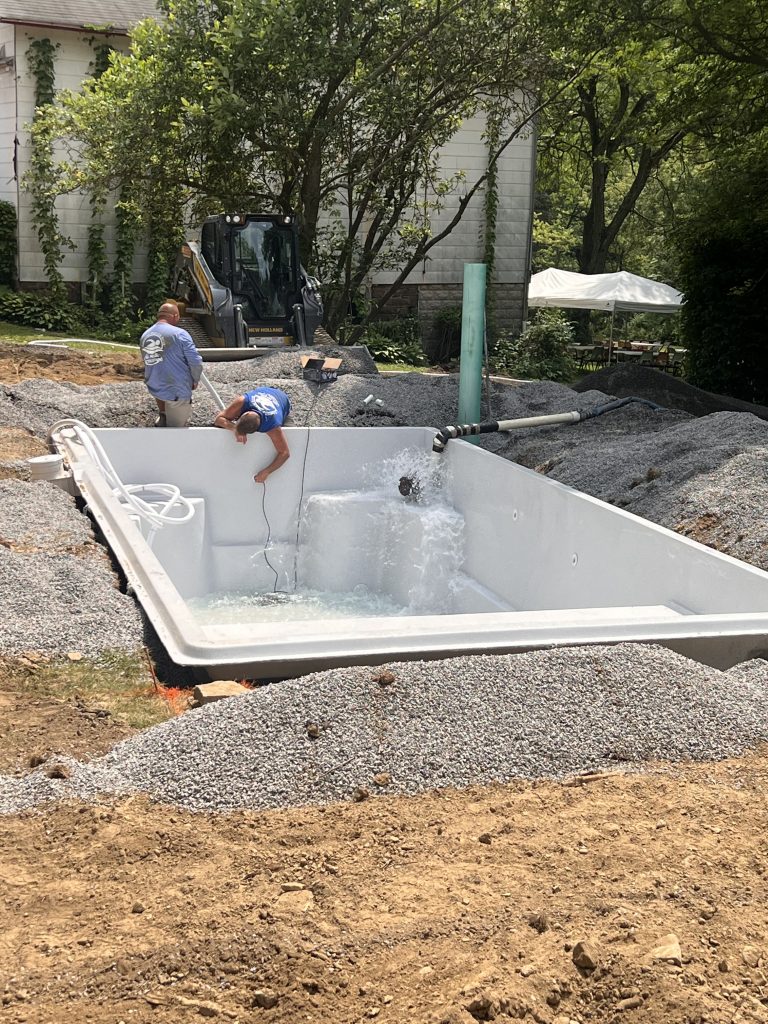
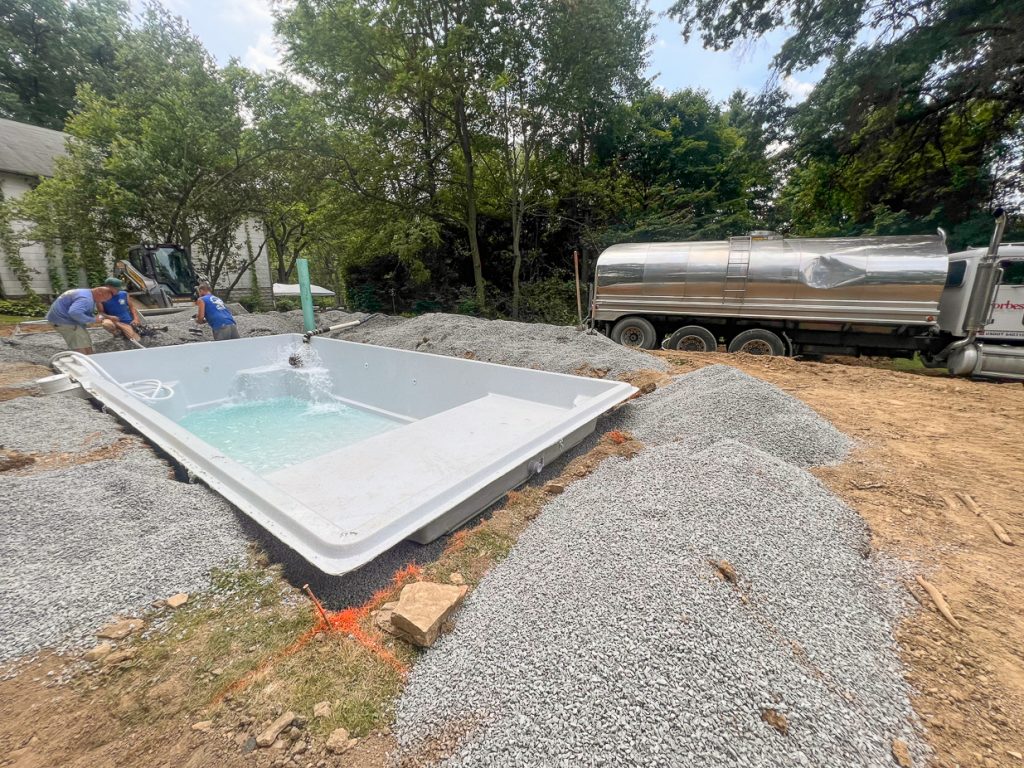
The actual placement went pretty fast! One day!
Concrete:
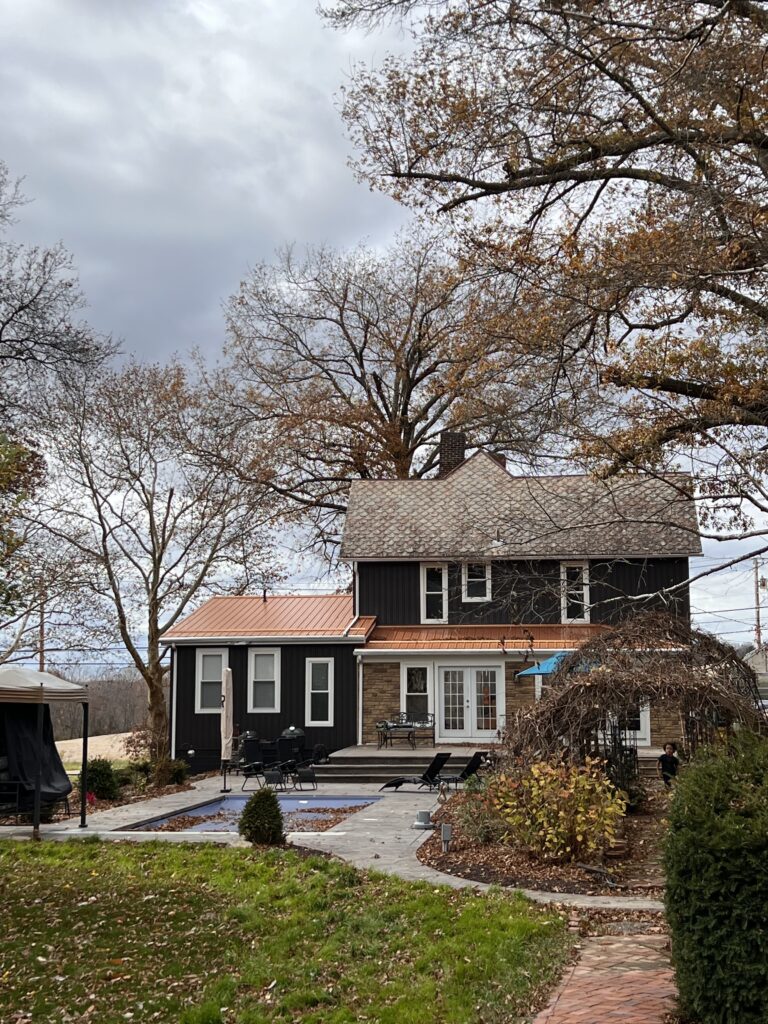
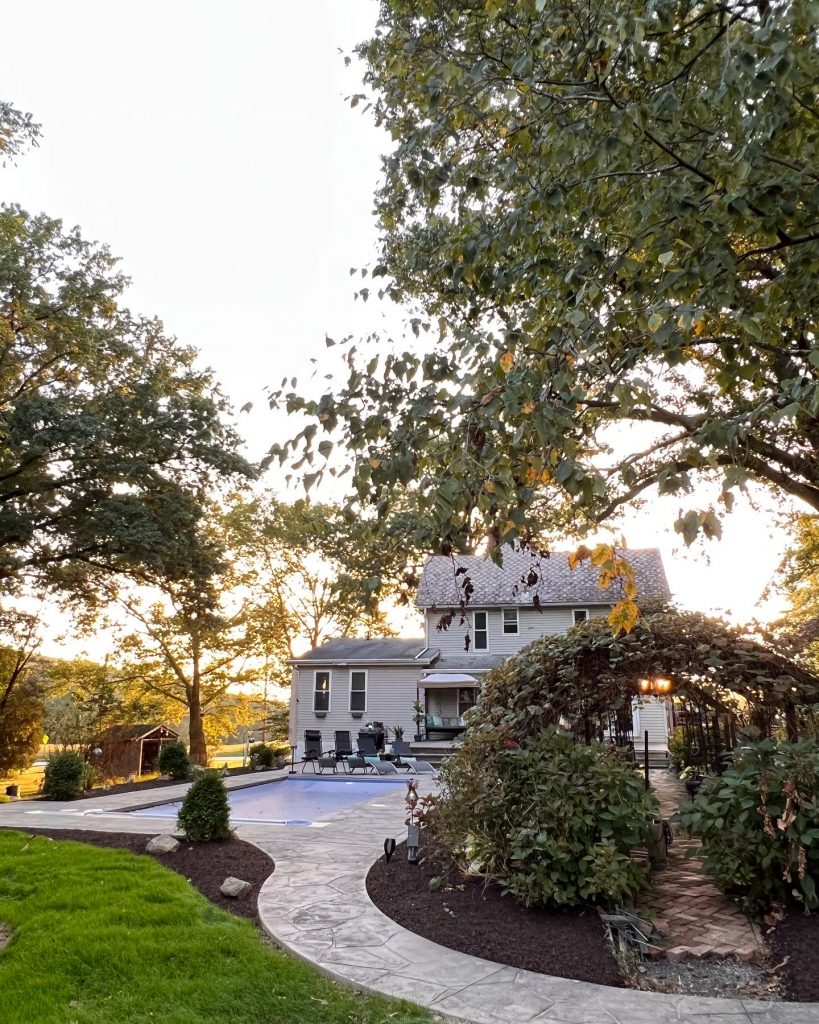
The next step was concrete. We liked the look of stained/stamped concrete so we hired a separate company for the concrete pool coping (the edge where concrete sets over top of the edge of the pool), pool deck, walkways and integrating stairs to our existing concrete patio.
Made in America Concrete
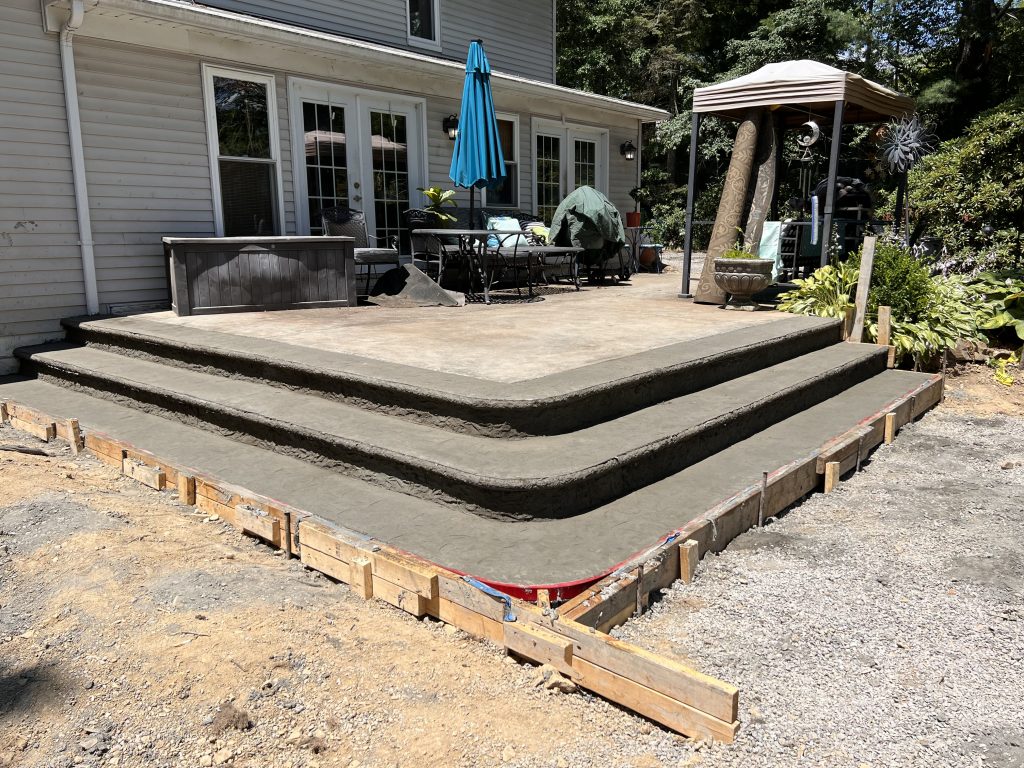
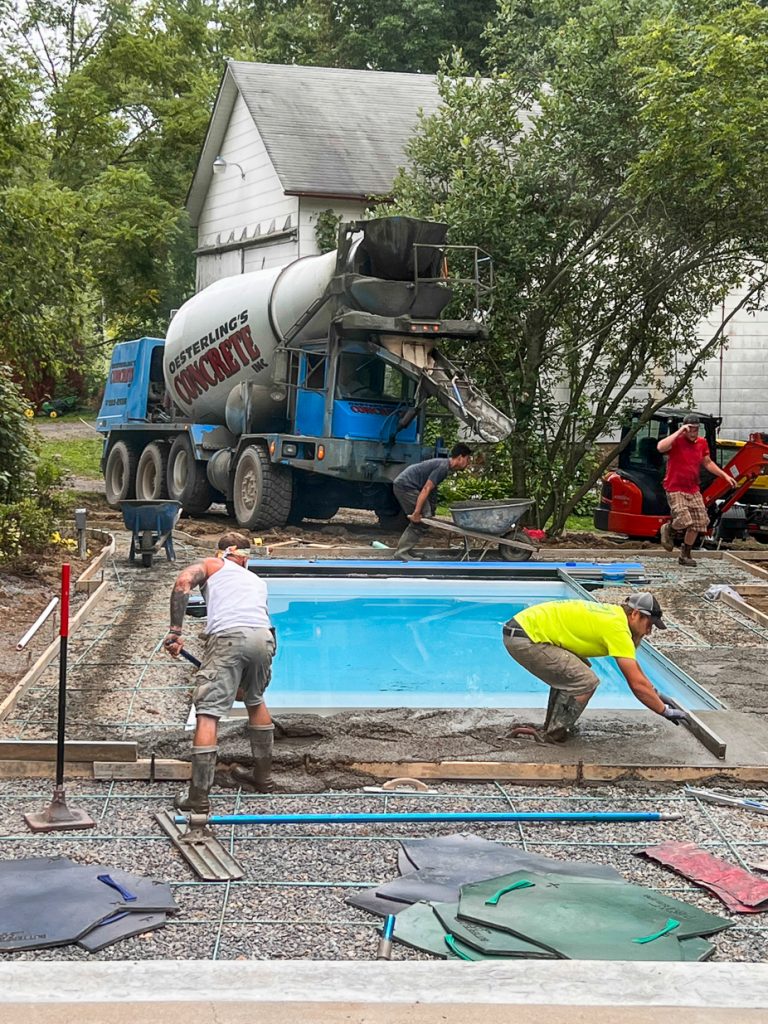
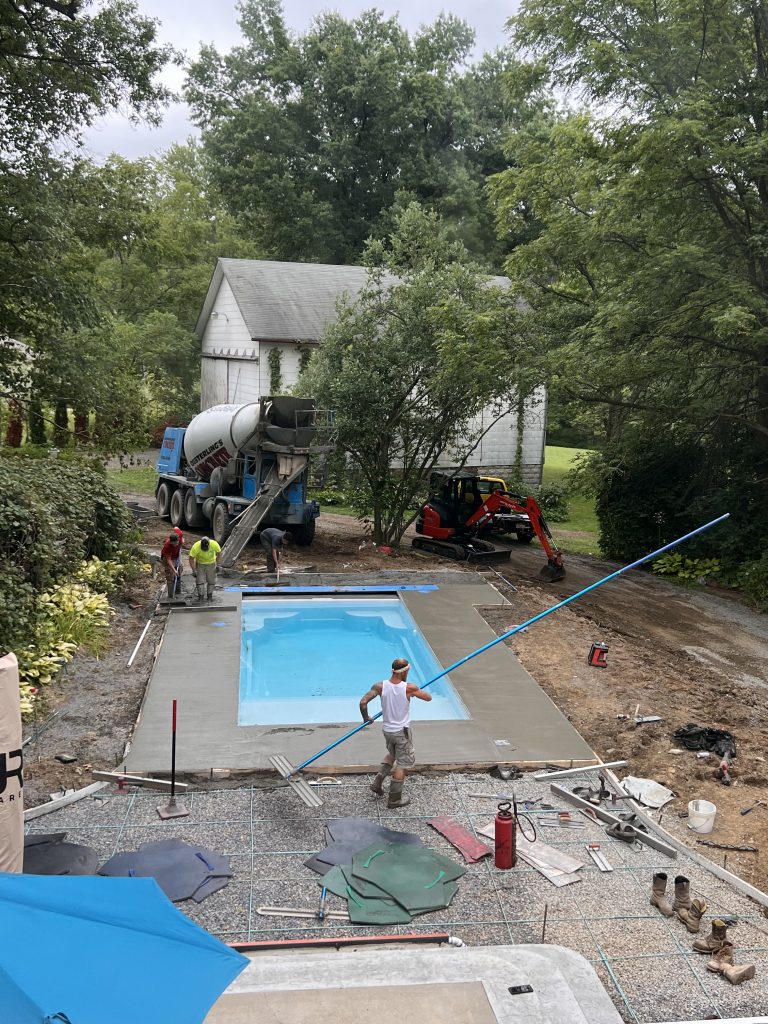
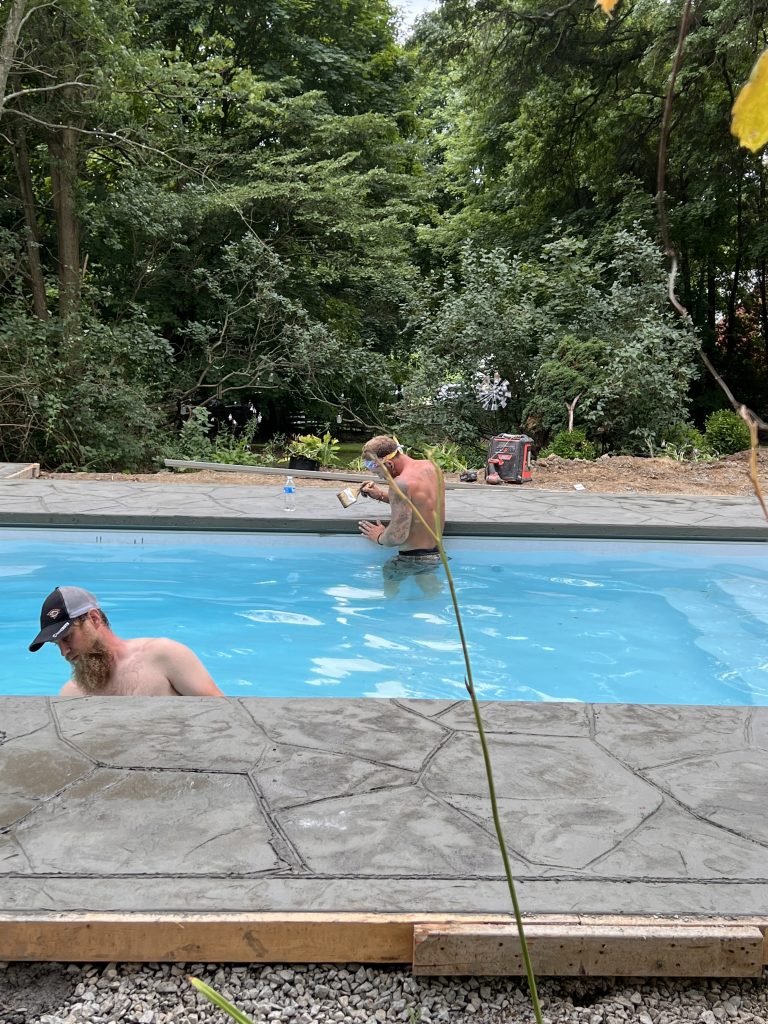 The concrete workers had to get into the water. Of course it was a cold summer day and the heater wasn’t connected yet. Brrr!
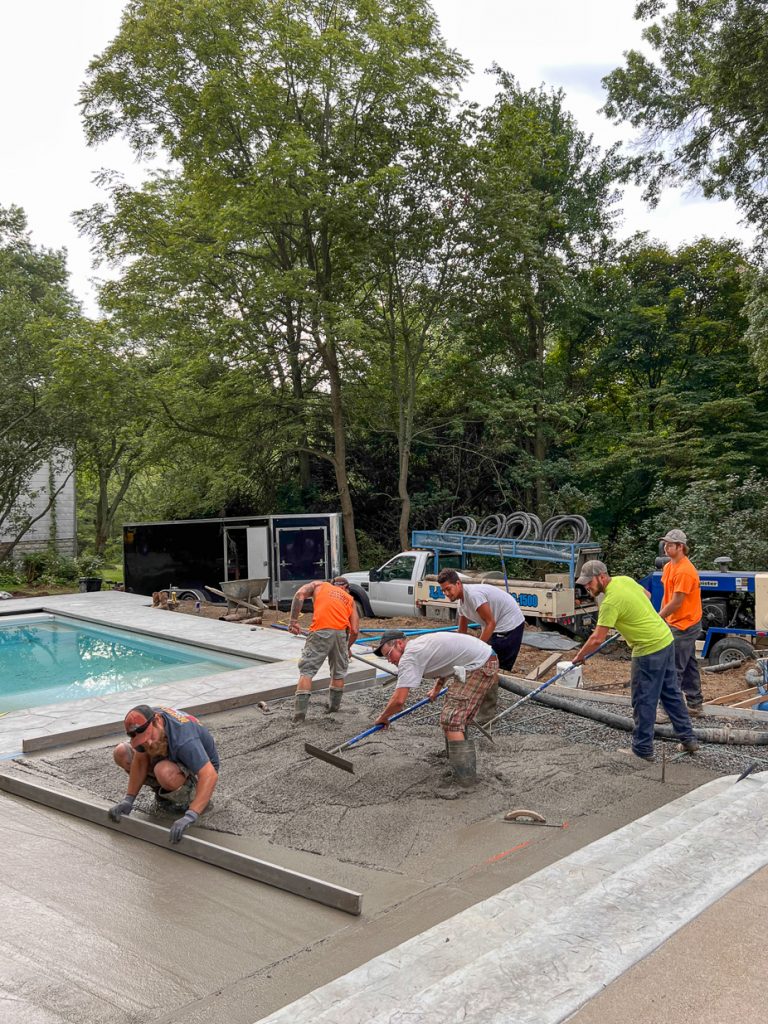
In addition to lining up each contractor for a seamless install, concrete was the most time consuming. They excavate, frame, add gravel and rebar, then pour and stamp. It’s weather dependent so rainy days set things back. Then they return another day after concrete is set and dry to stain. Add at least one day or more if it’s the weekend or rain is in the forecast. Then another day to seal. Our project wasn’t small and they did it in 3 parts (stairs, then half of the concrete patio/1 walkway, then the pool deck/pool coping, then the rest of a walkway, pad for a shed and surrounding the pool equipment).
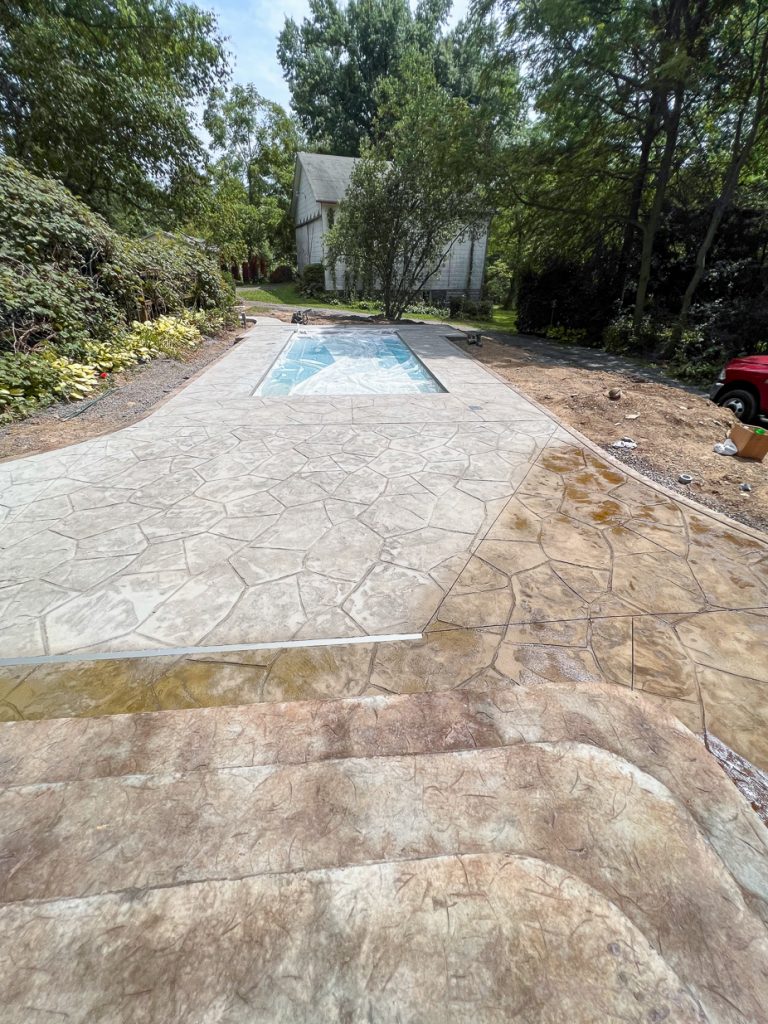
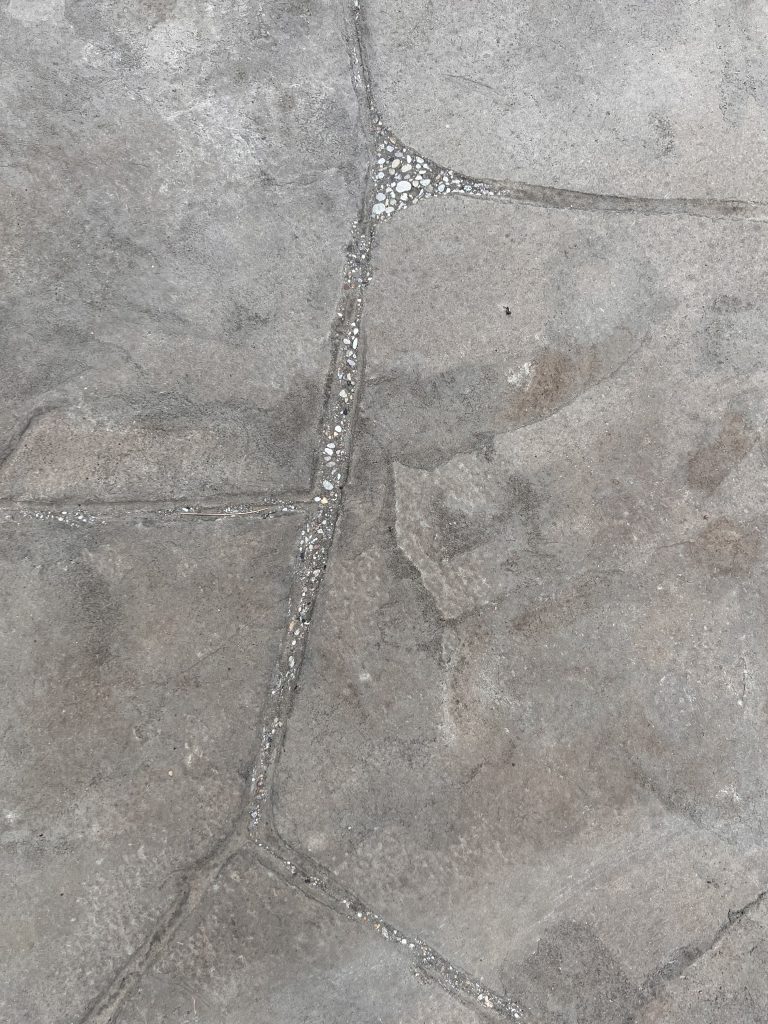
Stain by DecoCrete. Color: weathered oak. It’s recommended that stained concrete is sealed every year. Can also be re-stained as needed. It dried to a nice natural looking taupe-color.
Learning experience: If overspray from stain gets into your pool water (can happen even if pool is covered with plastic), metallic ingredients in the stain may react to chlorine (even salt water chlorine) and turn your pool water green. This will require a trip to your pool store with a sample of pool water for instructions and a bottle of metal remover. Ask us how we know. ::freaked out!:: But don’t panic, it’s then back to normal after 24 hours.
Security: Fence or Auto Cover
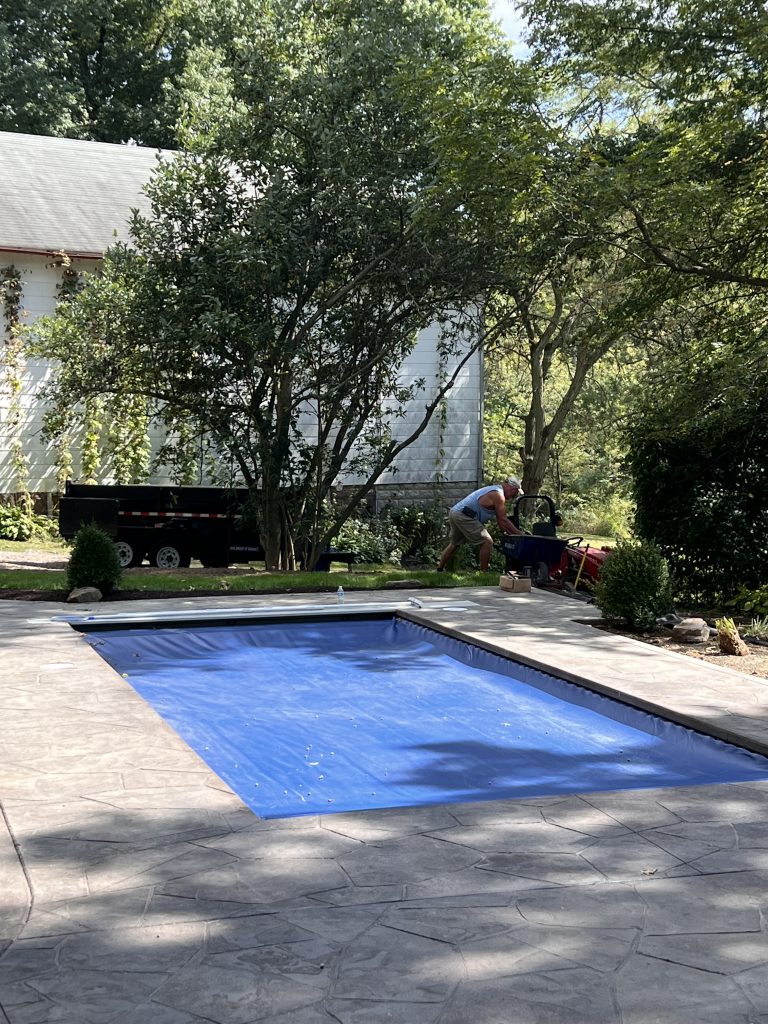
We chose the auto pool cover. When the pool was installed, they also took final measurements for the auto-pool cover (made to order). That took about 10 weeks to arrive. The pool company installed it for us (included in the price) once it arrived in September.
Landscaping:
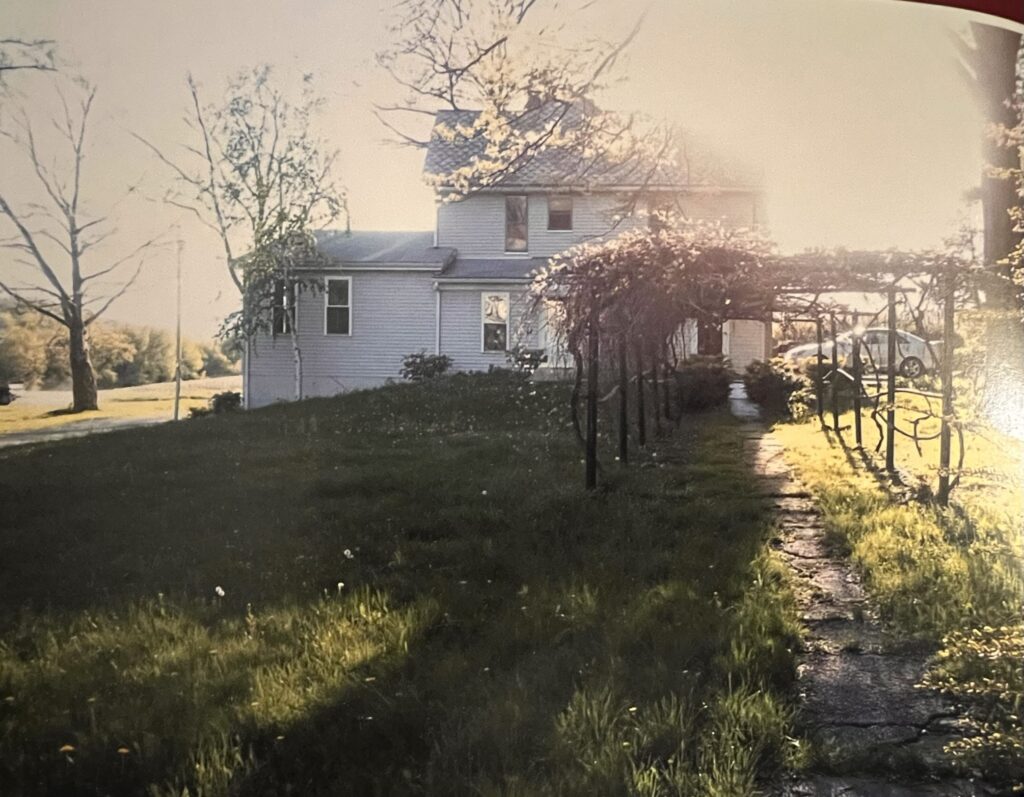
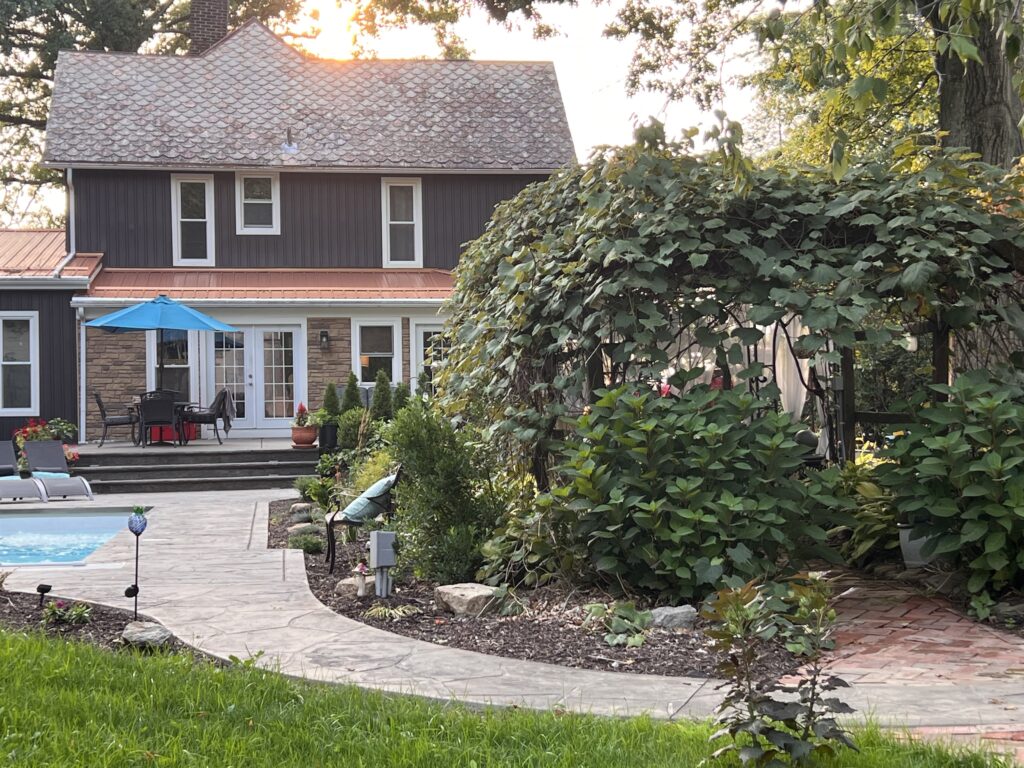
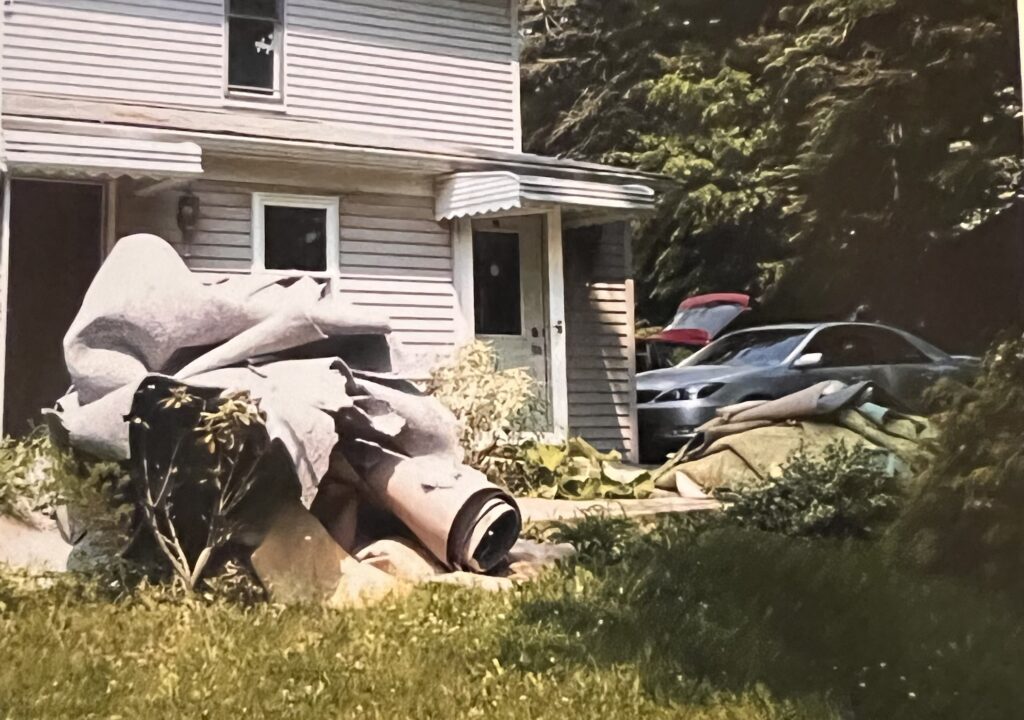
Once all of that was done, our yard was quite a mess. I didn’t really consider that they don’t drop a pool in and leave the yard the way they found it. Haha! So, figure in landscaping into your budget. The machinery tears up the lawn so it’ll require grading, top soil and grass or plants and mulch. Thanks to Orloski Landscaping! We have grass and mulch and the start of a beautiful landscape!
Budget friendly tips: We were able to re-plant several costa and bushes and that were removed prior to the pool installation as well as some stones that came with our property. We also made a few trips to Lowe’s after the landscaping was completed for clearance perennial flowers, grasses and plants and planted those ourselves. Mr. DIY did the hard labor intensive part of digging holes. I mostly supervised and leant a hand in deciding placement and pushing mulch back into place. And since its fall, I did put in some spring bulbs.
Misc:
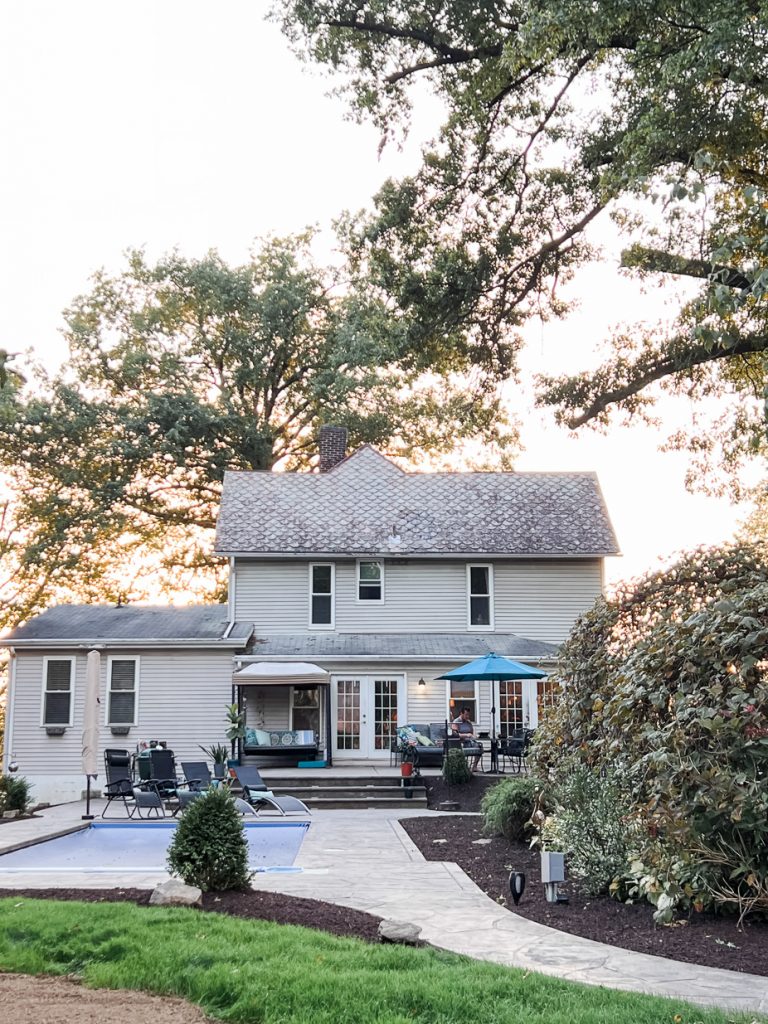
Of note, I also found a cantilever umbrella anchor and had them place that (requires a hole and gravel and concrete to set in place so level with the patio). So smart! I love that it’s super anchored and it doesn’t require the big “x” base and sandbags (tripping hazard and it very aesthetically pleasing).
Cantilever umbrella • Umbrella anchor
With an auto-pool cover, draining off rain water is a task! A pool cover pump was provided but hooking up the hose is inconvenient and takes a while. The pool company recommended this little tool. This small spout is powerful, easy to connect (game changer) and shoots water 25 ft. The hose connection is a slower process. This spout is fast!
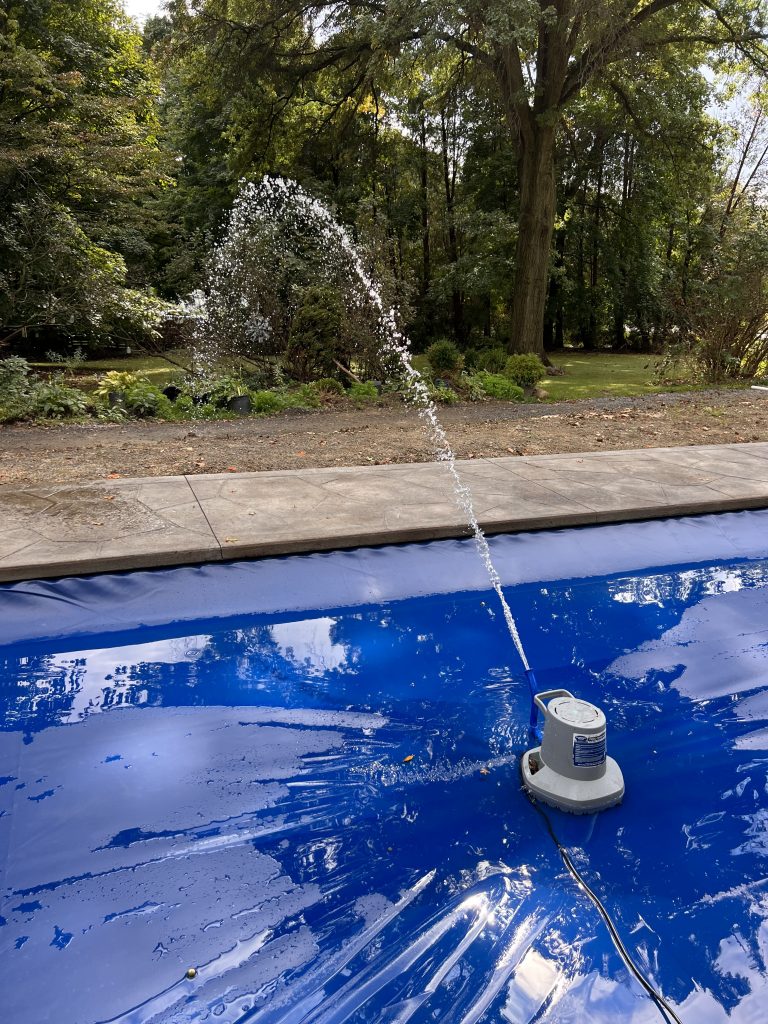
CoverBlast pool cover pump
I was also suckered into a Facebook ad for a Skim-Around. All good reviews, including ours! Love the whirlpool it creates and it does seem to keep the surface cleaner quicker!
Skim-Around
Also worth mentioning, once the auto-cover was installed, the pool didn’t require a lot of vacuuming … just a little. And connecting the hose and sweeper to the pump/skimmer is time consuming. I love this small rechargeable handheld vacuum for a quick vacuuming job!
Similar to this rechargeable handheld pool vacuum
Let’s swim!
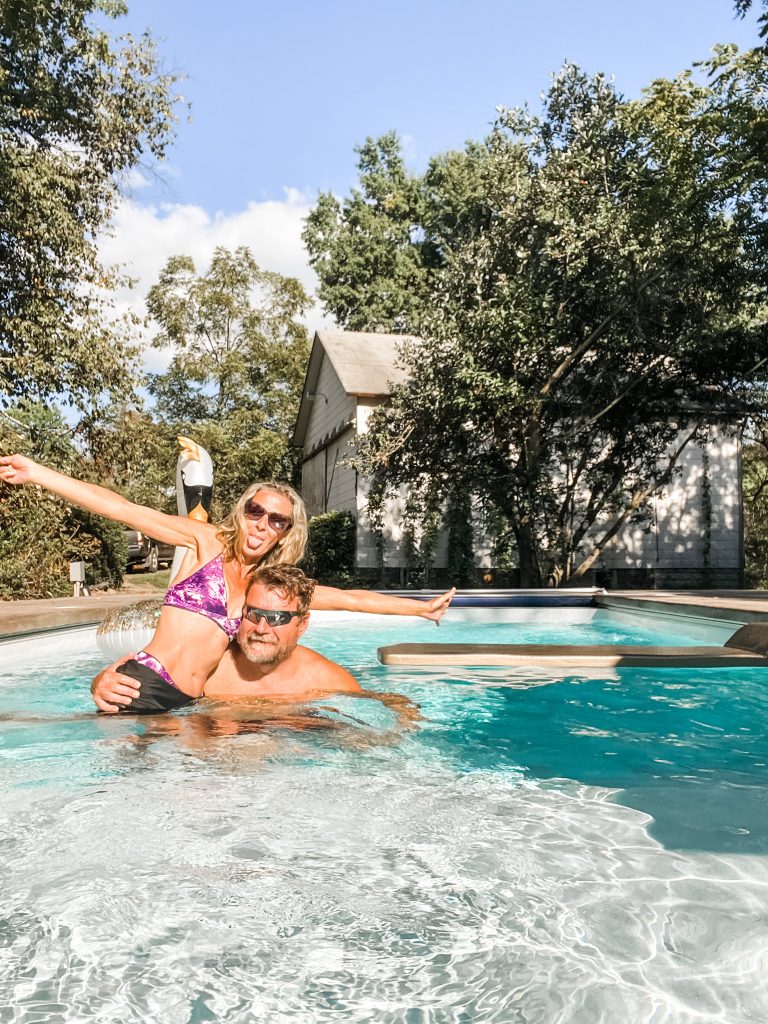
Check out our fun pool party reel on Instagram!
We were able to swim before the concrete job. And we did! But once the concrete was poured, we had to stay out to avoid salt water on the concrete until sealed. But before you know it, what felt like a project was dragging out all summer long, will be complete. Just in time to close it up for the season! Actually – we are able to fit in some swims when the sun is shining and the heater makes that possible. Also of note: the first pool closing is included in the cost.
Closing thoughts:
Our driveway is simply limestone. It was also torn up during the process and we’ll need to spread more limestone (another cost to consider when looking at your own property and the route to pool and concrete placement/surrounding area).
Was the entire investment worth it? YES! We’ve lived in this house for 15 years and consider it our forever home so it’s worth it to us and we’ll enjoy many summers making memories! It hasn’t been long since it was finished up and now we’ll be closing it soon for the season but next year, we will enjoy it every day all summer long right from the get go!
So … yes! It was, is and will be. We love that our girls and grandsons, family and friends can visit for swim days! We love that we spend time together in the evenings relaxing in the pool. It’s been a great way to unwind and bond. And our 7 year old grandson gets a lot of exercise when he visits weekly. And the little one is acclimating to pool life (that sun deck is perfect for little ones) too.
Despite not having a full pool season, the older one has already improved his swimming skills. No fear, no hesitation. He’s worked his way up to braving the deep end and swimming under water. He wakes up Saturday mornings, changes from pajamas to swimming trunks, grabs his towel, fins, mask and bluetooth speaker (beach music is a must) and waits for me to accompany him to the backyard. That big smile on his face? Priceless!
- Are you a swimming pool owner?
- Was your experience similar?
- Do you have anything to add?
- Any favorite tips or tricks for pool care or anything a pool newbie should know?
- Or are you thinking of installing an in-ground pool?
Every job and budget is different but I hope our experience helps you feel a little more prepared on what to consider and expect.


