Pantry Makeover Prep and #ReadyDoneClean Giveaway

This giveaway is now closed. And the winner is…winner1

winner2

Congratulations, Jessica! I’ll send you an email to get your mailing information!

We’ve been using an enclosed porch as a temporary pantry ever since we removed a closet from our kitchen but with warmer weather approaching, it’s going to need to be moved inside for better temperature control. So, it’s time to start considering a pantry makeover.

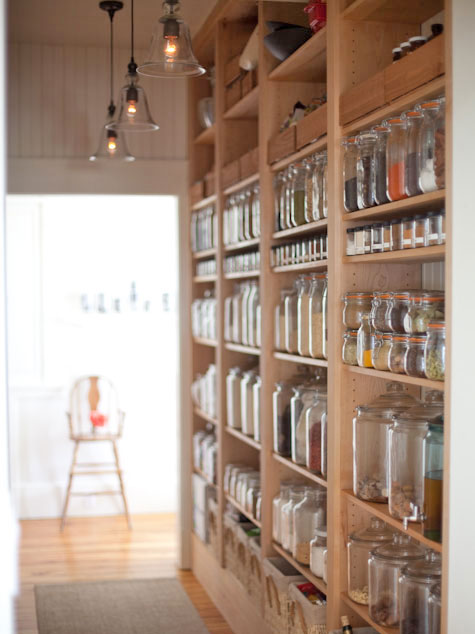
Inspiration: I have had this open pantry image from Emerson Made saved in my inspiration files forever.

Emerson Made open pantry

via Apartment Therapy

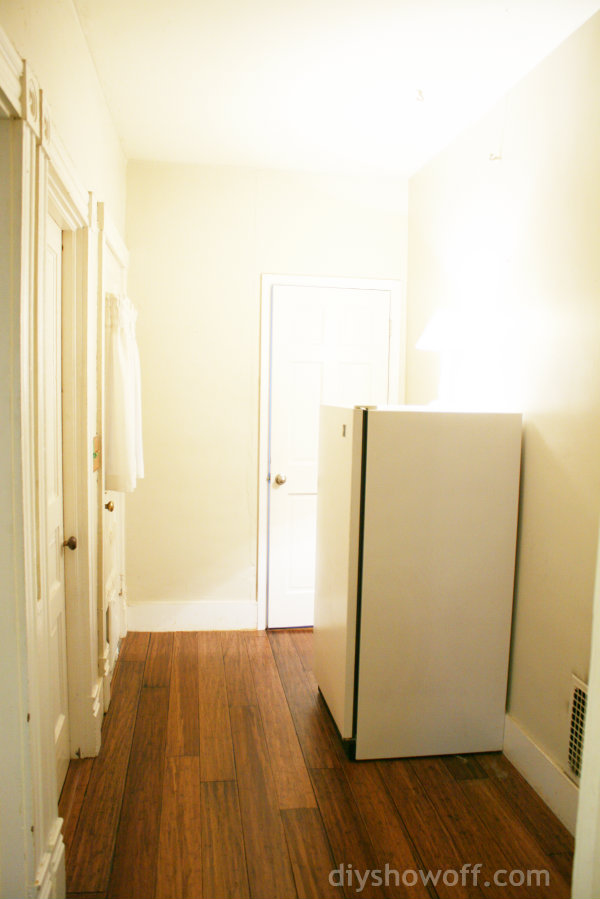
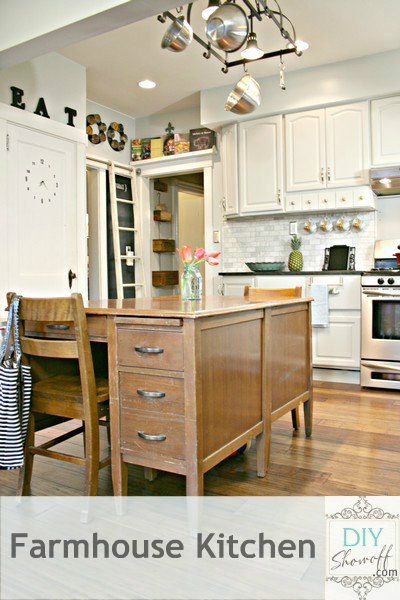
The ideal spot is the ‘room’ behind this back wall in the kitchen… farmhouse kitchen
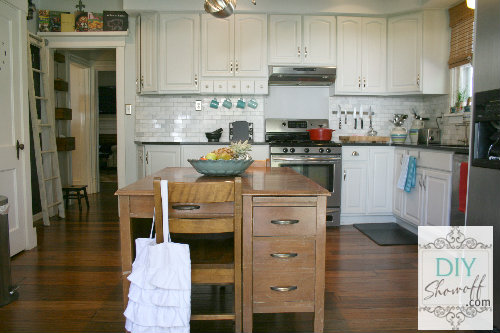
It’s wider than a hallway and sits between our kitchen and living room and has FIVE doorways. Time to make the most of what has always been a waste of space. The freezer will be relocated to the basement.
open pantry before

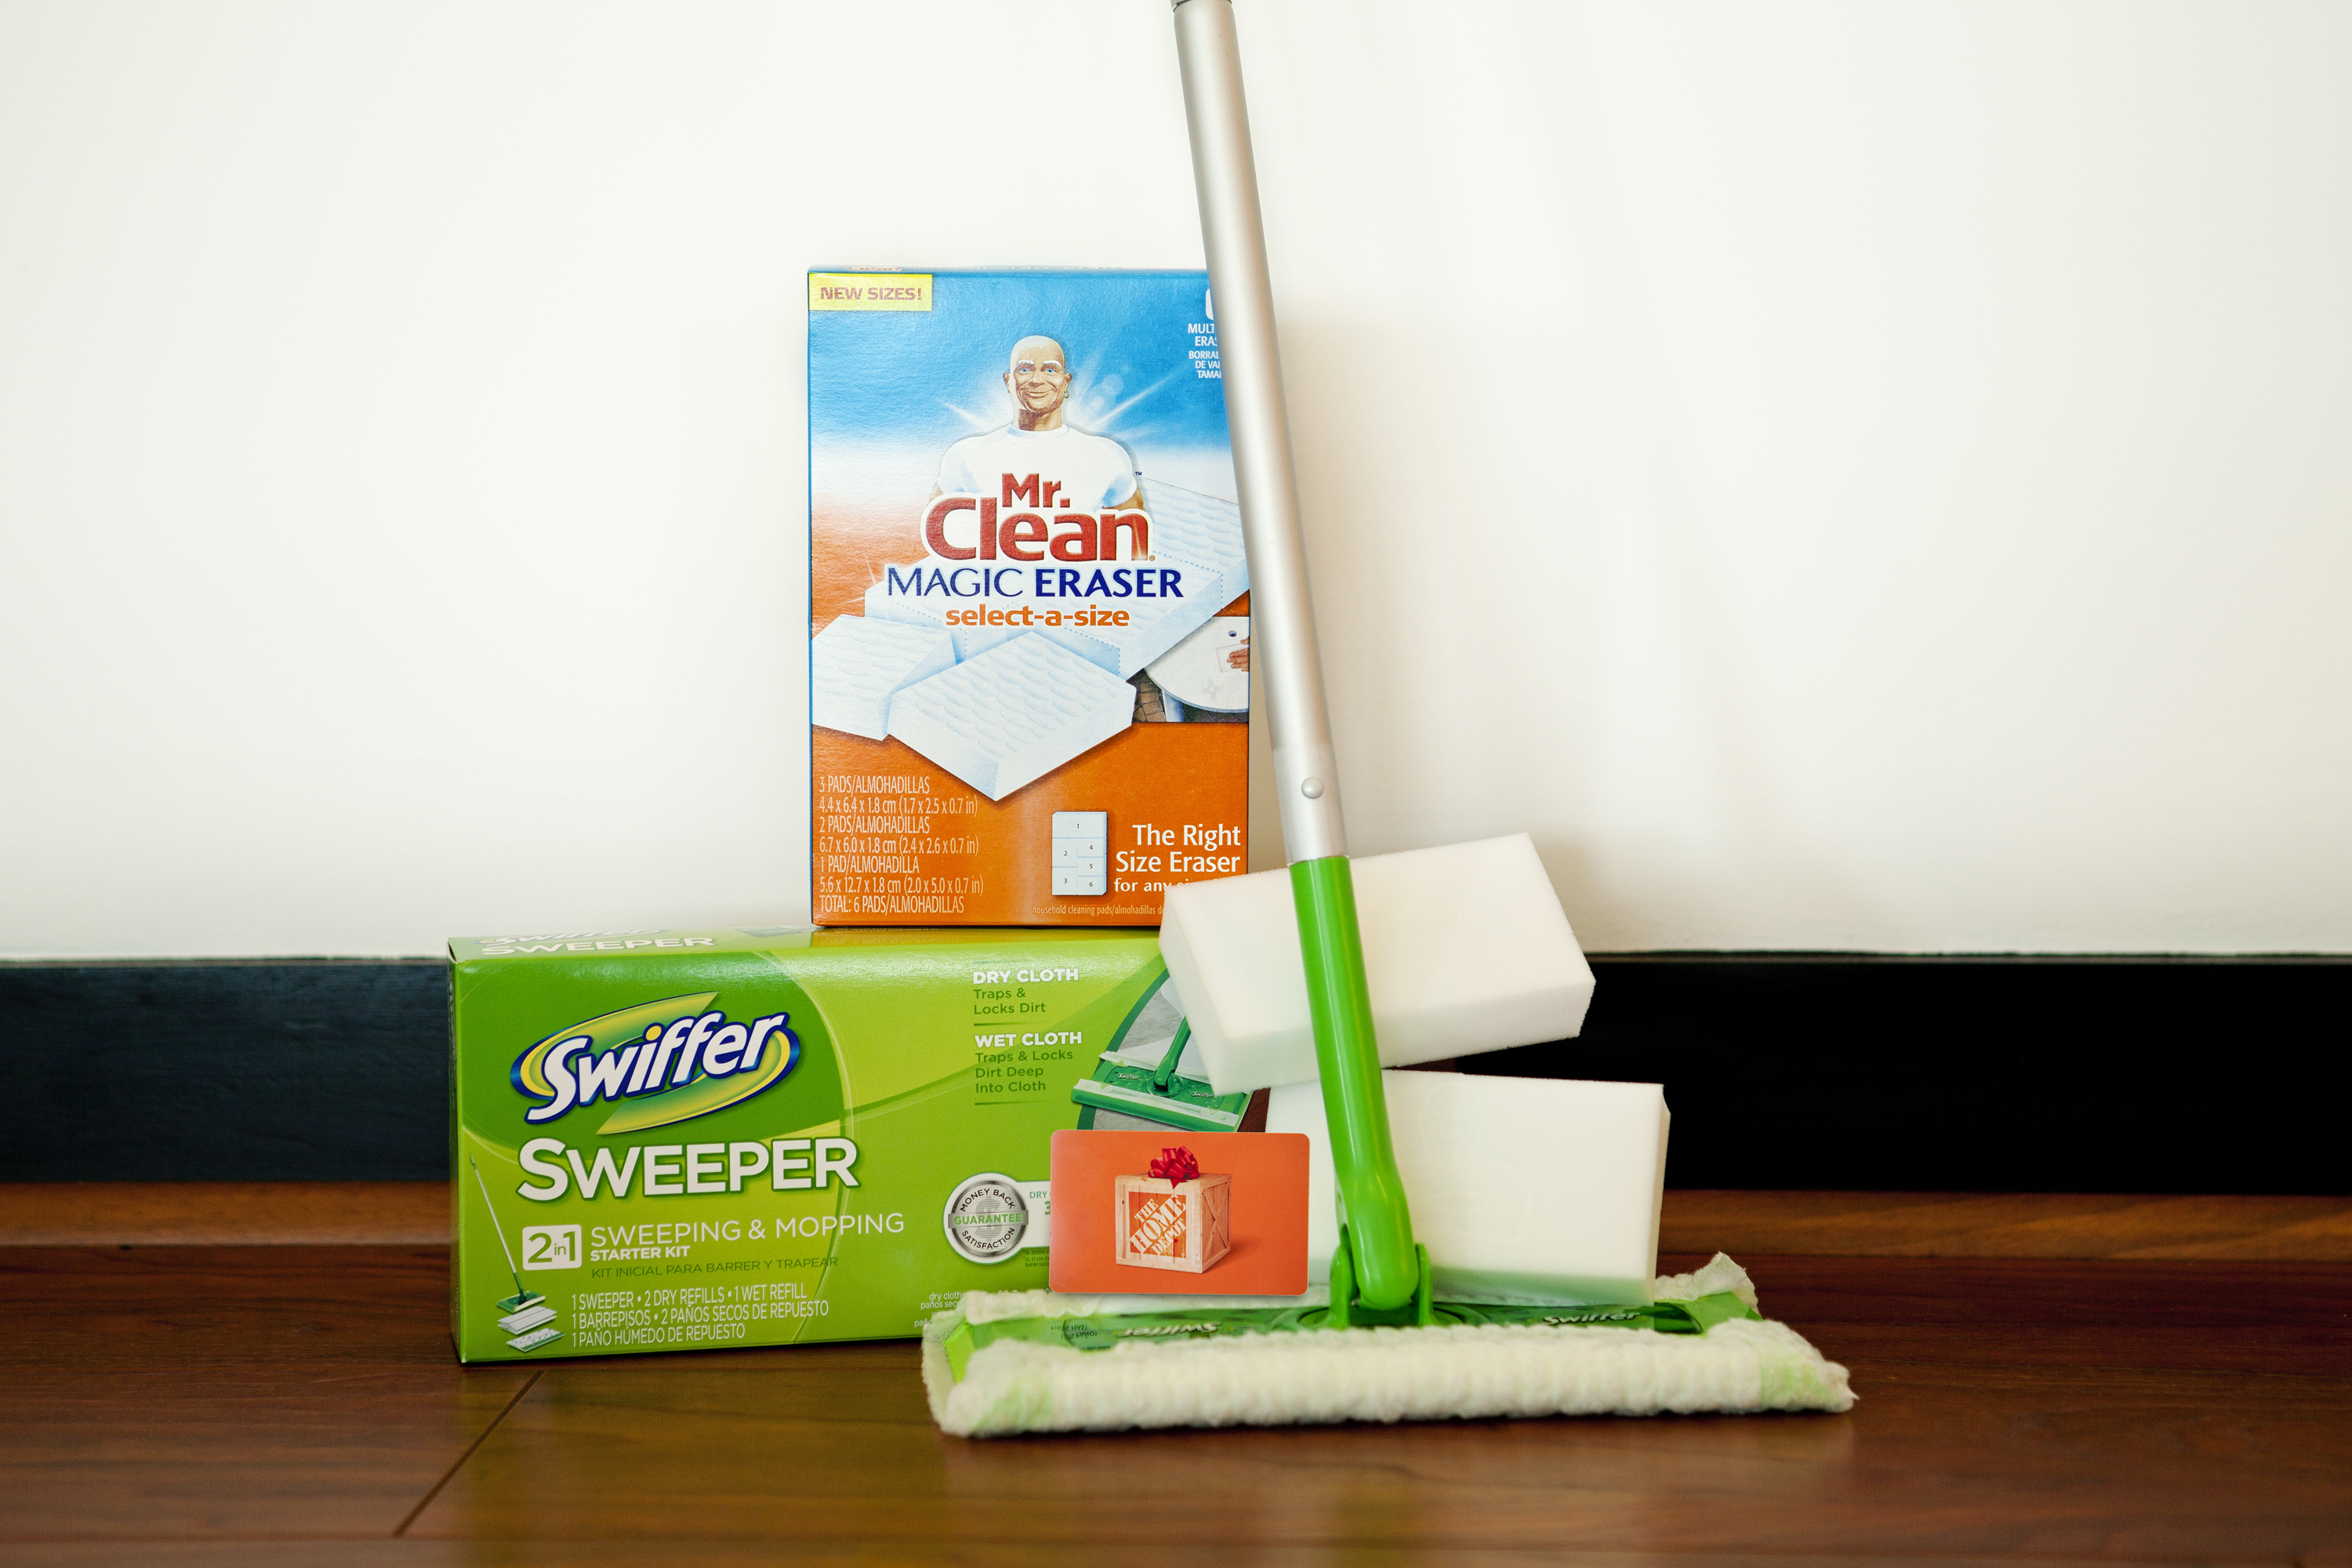
The first step in prepping for painting is to examine the walls and fill any holes, cracks or imperfections with spackling, letting it dry and sanding smooth. My Swiffer Sweeper is handy for cleaning up the spackling dust.

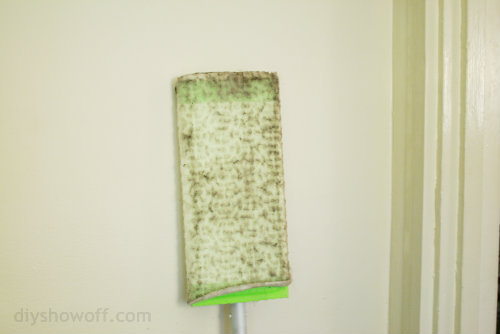
Then time for a little clean up. This area is so dark and un-used, meaning it often gets overlooked even though we walk through here nearly every day. Cleaning up before painting is important. Ever get cobwebs on your wet paint brush? No fun. A Swiffer Sweeper with a dry sweeping cloth works really well by attracting dirt and dust from virtually any surface, including walls, ceiling and baseboards with it’s 360 degree swivel head. With the long Swiffer Sweeper handle, I don’t even need a ladder to dust the 9 foot ceilings and corners.

I DO clean so I’m embarrassed by the dirt that accumulated in this dark, unused space. Yikes! This is just from the ceiling, walls and trim above 5 door frames. It’s not something you’ll want to paint over.

dirt and dust

I can’t believe it took cleaning this room for me to actually see the dirt. Gross! Next prepare for painting by taping off trim. Then paint!

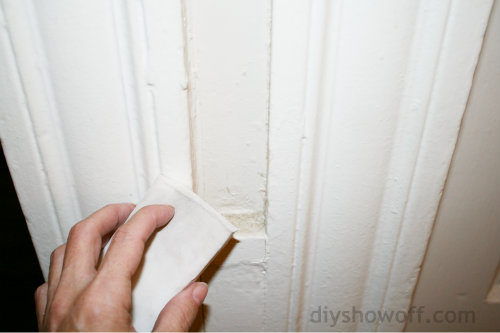
After painting, I use my Magic Eraser. It’s is so powerful that it removes more grime per swipe than the leading all-purpose bleach spray cleaner, and it has no harsh chemicals. I seriously have a basket full of Magic Erasers. With a husband who loves to cook, I use them all.the.time. for cleaning up spills and drips on white kitchen cabinets too.

magic eraser clean up

It’s going to feel so good to use this space, for it to be lighter and organized! I can’t wait!

You can find all of your painting supplies, including the Swiffer Sweeper and Mr. Clean Magic Eraser, at the Home Depot near you. Be sure to visit Paint Like a Pro at HomeDepot.com for a paint calculator and more great DIY painting and tips.

Home Depot P&G Prize Pack

Ready to paint?

Get ready. Get done. Get clean. Giveaway

#readydoneclean-giveaway

DIY Painting #ReadyDoneClean Prize Pack:

  • Swiffer Sweeper
  • Mr. Clean Magic Eraser Original
  • $50 The Home Depot gift card

(1) entry per person: Simply leave a comment below describing your next paint project to enter to win.  Giveaway starts today and ends March 1, 2013. Open to US and Canadian residents. Winner will be chosen randomly and announced shortly after.

*This review and giveaway is sponsored by The Home Depot and Proctor & Gamble, however opinion is my own and these are products I do purchase and use even when not sponsored. Read more about the DIY Show Off disclosure here

How to install a tiled backsplash

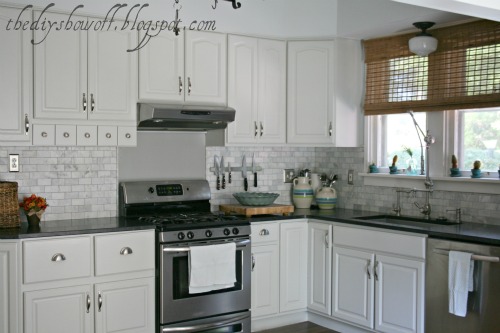
We’re finally shopping for tile for behind our stove area so I wanted to revisit how our kitchen has evolved and the tile we chose for our back splash as well as review the steps we took to install the tile. Our kitchen when we bought the house was outdated…

When we moved we only paint the walls green, inserted new SS appliances and range hood. We lived with it for 3 years then painted the cabinets and finally replaced the countertop with granite (Virginia Jet Mist). Working as time and budget allow sometimes mean waiting for the things we want.
tile-backsplash-tutorial
We had a savings to get started on our dream kitchen (the dream where we have savings but the dream without winning the lottery.
The back splash:

Materials:
Venatino Polished Marble Tiles 12×12 mosaic, 5 Venatino Pencil Borders
OmniGrip Maximum Strength Adhesive
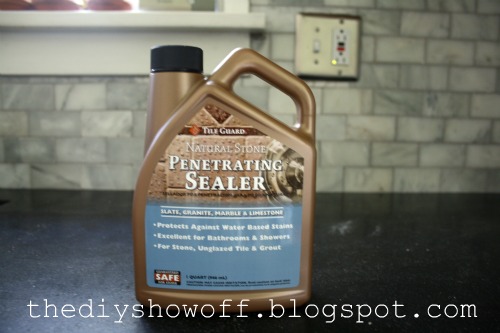
Tile Guard Natural Stone Penetrating Sealer
QuartzLock Grout – silver
FrogTape
Caulk

Tools:
Tile saw
Trowel
Float
Putty knife
Bucket
Sponge
Bucket
Paper towels
Rags
Caulk gun
DAP Pro Caulk Tool Kit

Back Splash Tutorial:

1.  Apply caulk to gap where countertop meets the wall.

2.  We used a DAP Pro Caulk Tools to make an even/straight line, but a using your finger (and water) works just as well.

3.  Prep area.  Cover countertop or clean as you go to protect the counter top.

4.  Upper cabinets sit back further than the edge of the countertop. We wanted out backsplash to cover the entire area. We started at the edge of the counter for our backsplash. Decide how your tile edge will be finished.  We used a matching border from the countertop’s edge vertically and ended at the bottom of the end of the wall cabinet.  We mitered the joint where vertical meets horizontal.
5.  Apply border and tile with OmniGrip Adhesive using a trowel.  Coat the wall (can be done directly on drywall).  OmniGrip is pre-mixed so there’s no guessing on consistency and this product works really well for a back splash.
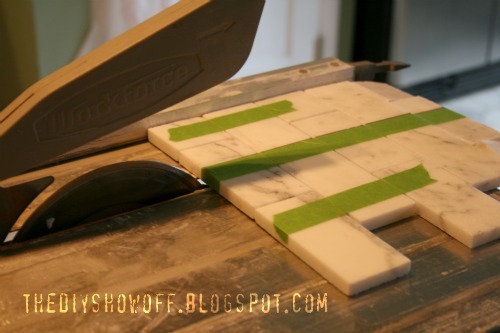
6.  To lessen breakage and crumbling when cutting (the vibration nearly pulverizes edges of the marble), we used FrogTape on cuts.

7.  Apply pressure to ‘set’ tiles in place.

Another shot of how we ended the tile on the countertop/cabinet edge.

8.   Let dry at least 2 days.

9.  Seal tiles using Tile Guard.  Wipe on with a rag.  It dries within seconds.

10.  After drying, prep area by covering countertops or clean as you go – dried grout {We chose Quartz Lock in a darker gray} will be hard to remove.

Have a bucket of water handy.

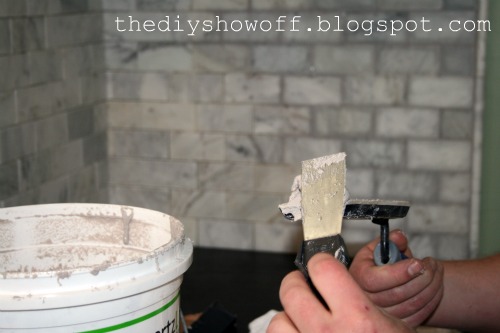
11.  Apply generous amount of Quartz Lock to the float using a putty knife.

Quartz Lock is pre-mixed. We cover with a plastic grocery bag, then the lid with a tight seal and save leftover for a future project.
12.  Add grout to spaces between the tiles, filling every gap, working in small areas going to next step and starting again with the next area.  Smoosh it in the gaps.
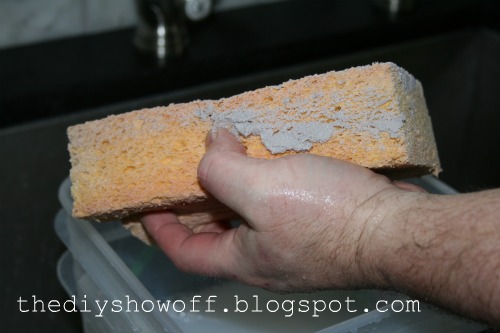
13.  Using a well-wrung wet sponge, wipe in a diagonal motion (except when necessary against countertop and cabinets), wiping away grout from tile.  Grout should stay in the cracks and gaps, but be cleaned away from tiles.

14.  Rinse sponge.

15.  Repeat.

16.  Let dry.  Grout will hide imperfections/crumbled edges of marble tile.  Don’t stress with tiny chips. Grout will disguise them. We have an old farmhouse, so our motto is “imperfection adds character”.
Before Grout:
After Grout:
Kitchen before:
Kitchen after:
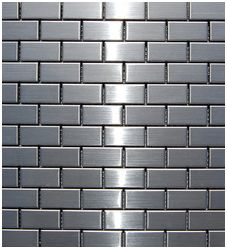
We’re thinking of stainless steel tiles for behind the stove but I haven’t decided on the pattern or shape of tiles yet.
stainless-steel-tile
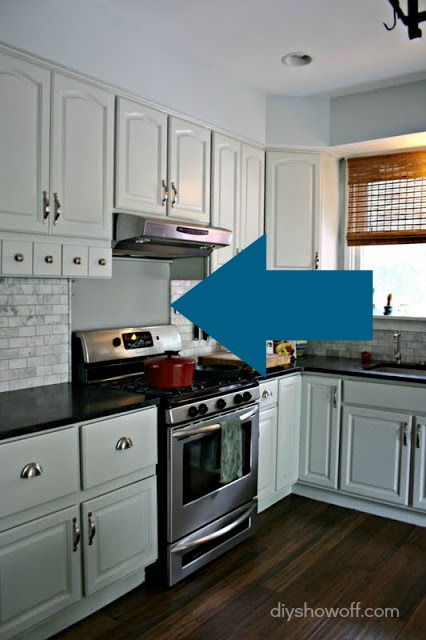
We just calculated that we’ll be in our house 7 years this summer. And we’re ready to put the finishing touches on the kitchen. About time, right?  We’ll be removing the cabinets above the stove to install a proper vent. It means losing those two cupboards but more on a pantry coming soon too. What do you think?
tile-kitchen
I think the chef’s dream stove/range is on that ‘winning the lottery’ dream kitchen and he’ll have to make do with what we have but it’s functional. Sorry, Mr. DIY.
See more about our kitchen makeover at our Home Tour
DIY Show Off farmhouse kitchen makeover
Similar products for this project:
Star Quartz Quartz Lock 2 Ug Tile Grout-Birch 18lb bucket
Carrara Marble Italian White Bianco Carrera 3×6 Marble Subway Tile Honed
Custom Building Products TLOSQT-3 TileLab OneStep Cleaner and Resealer
Frog Tape 82021 Pro Painters Masking Tape, 1-1/2-Inch by 60-Yards, Green
Pro Caulk Complete Caulking Kit (As Seen On TV)
Goldblatt G02391 1/4-Inch By 3/8-Inch By 1/4-Inch Square Notch Trowel With Plastic Handle
TBC Margin Trowel Float 6″x 2-1/2″ Professional Gum Rubber Face Bonder to Foam Rubber Pad. Speciality Grout Float Designed for Hard to Reach Areas. Narrow Width & Offset Handle Allow Work Under Toe-Kick Space Under Cabinets and Small Areas. Float 11″
SKIL 3540-02 4.2-Amp 7-Inch Wet Tile SawThis is a sponsored post brought to you by FrogTape. The opinions are completely my own based on my own experience. FrogTape Blog Squad

Bathroom Makeover Before and After

When Amanda from Mommy is Coocoo shared her bathroom makeover after, I had serious bathroom envy. That doesn’t sound right, does it?  But read on, you’ll get it.


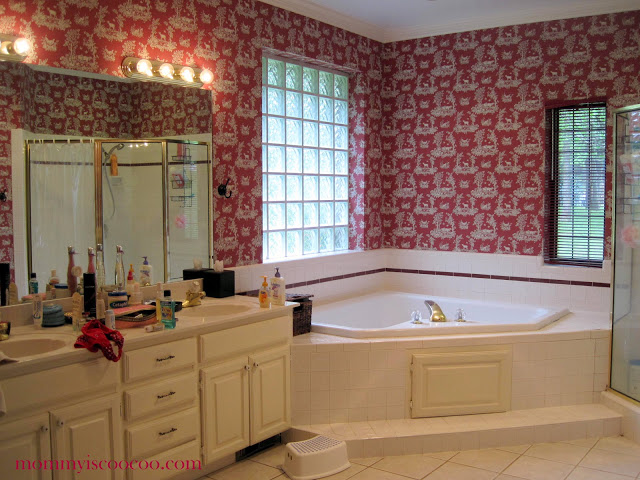
And when she shared the ‘before’ pictures, I may have involuntarily shuddered. There’s a reason you’ve never seen our upstairs bathrooms. It’s the stuff nightmares are made of. Amanda understands because she had a nightmare bathroom too…

Mommy is CooCoo - bathroom-before

{see all ‘before’ bathroom pictures here}

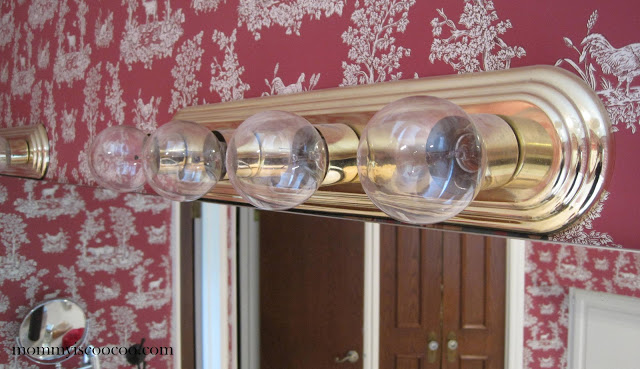
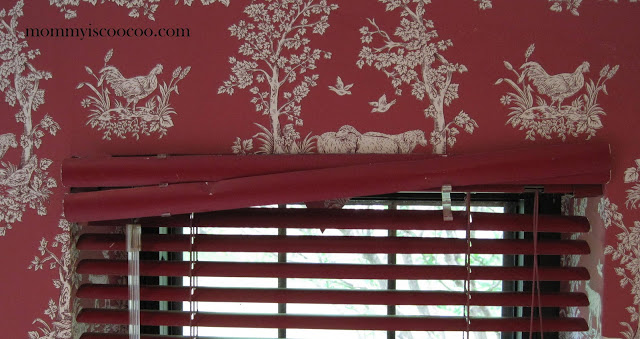
This bathroom was HOT STUFF back in the early 1990s. Wallpaper {those are lambs and roosters…are you to be lulled to sleep counting sheep or cock-a-doodle-doo’d wide awake?}, gold fixtures, the Hollywood vanity lighting, and jacuzzi tub. Hubba hubba…luxxxxuuuuuury, baby.

Mommy is CooCoo - 1990s-bathroom-before

But as time wore on (holy cow! 1990 was 23 years ago? way to feel old.), the wallpaper peeled, the gold wasn’t as classy, the tub broke, tiles cracked, color coordinated metal blinds went out-of-style…

Mommy is Coocoo - maroon bathroom before

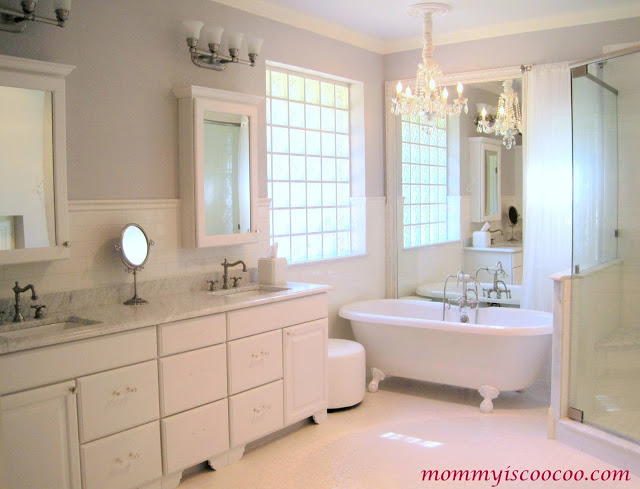
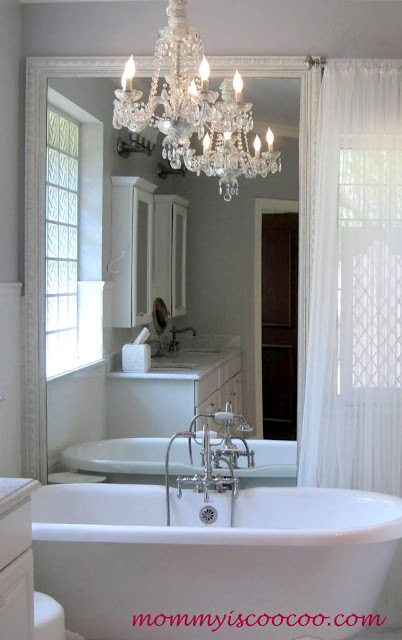
but Amanda had had enough and designed a brand new relaxing, peaceful, functional, beautiful bathroom retreat…and yea, I’m envious.

Mommy is Coocoo - bathroom reveal

It’s a bathroom that dreams (no nightmares) are made of now.

Mommy is Coocoo - bathroom after

Go ahead, visit Amanda at Mommy is Coocoo for the full details on her bathroom reveal. Just walk right into the bathroom. She won’t mind. I’ve already warned her you’ll be stopping by.

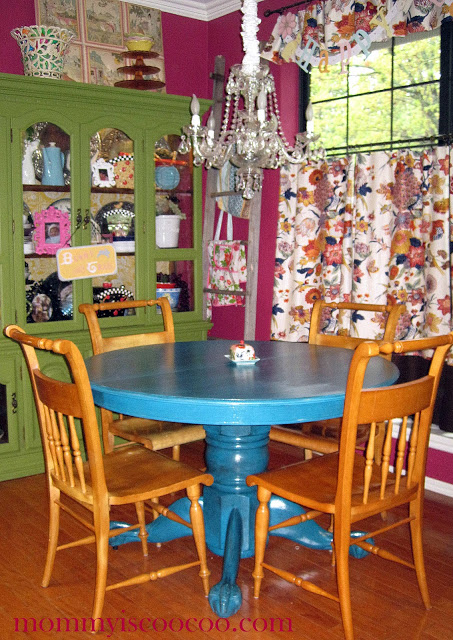
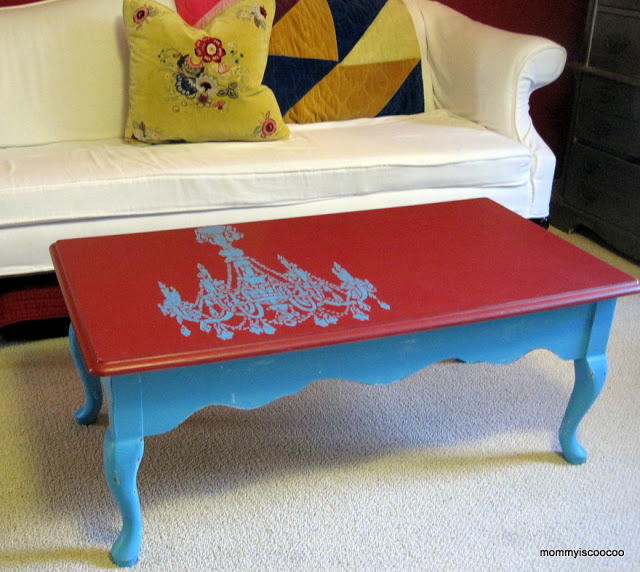
And I love it “as is”. Now (not before) but girlfriend looooves color. Evidence here:

{click the pictures below to be redirected to her original posts}how to glaze furniture

chandelier stenciled coffee table

I wonder what she’s up to with adding color to the bathroom. I can’t wait to see!